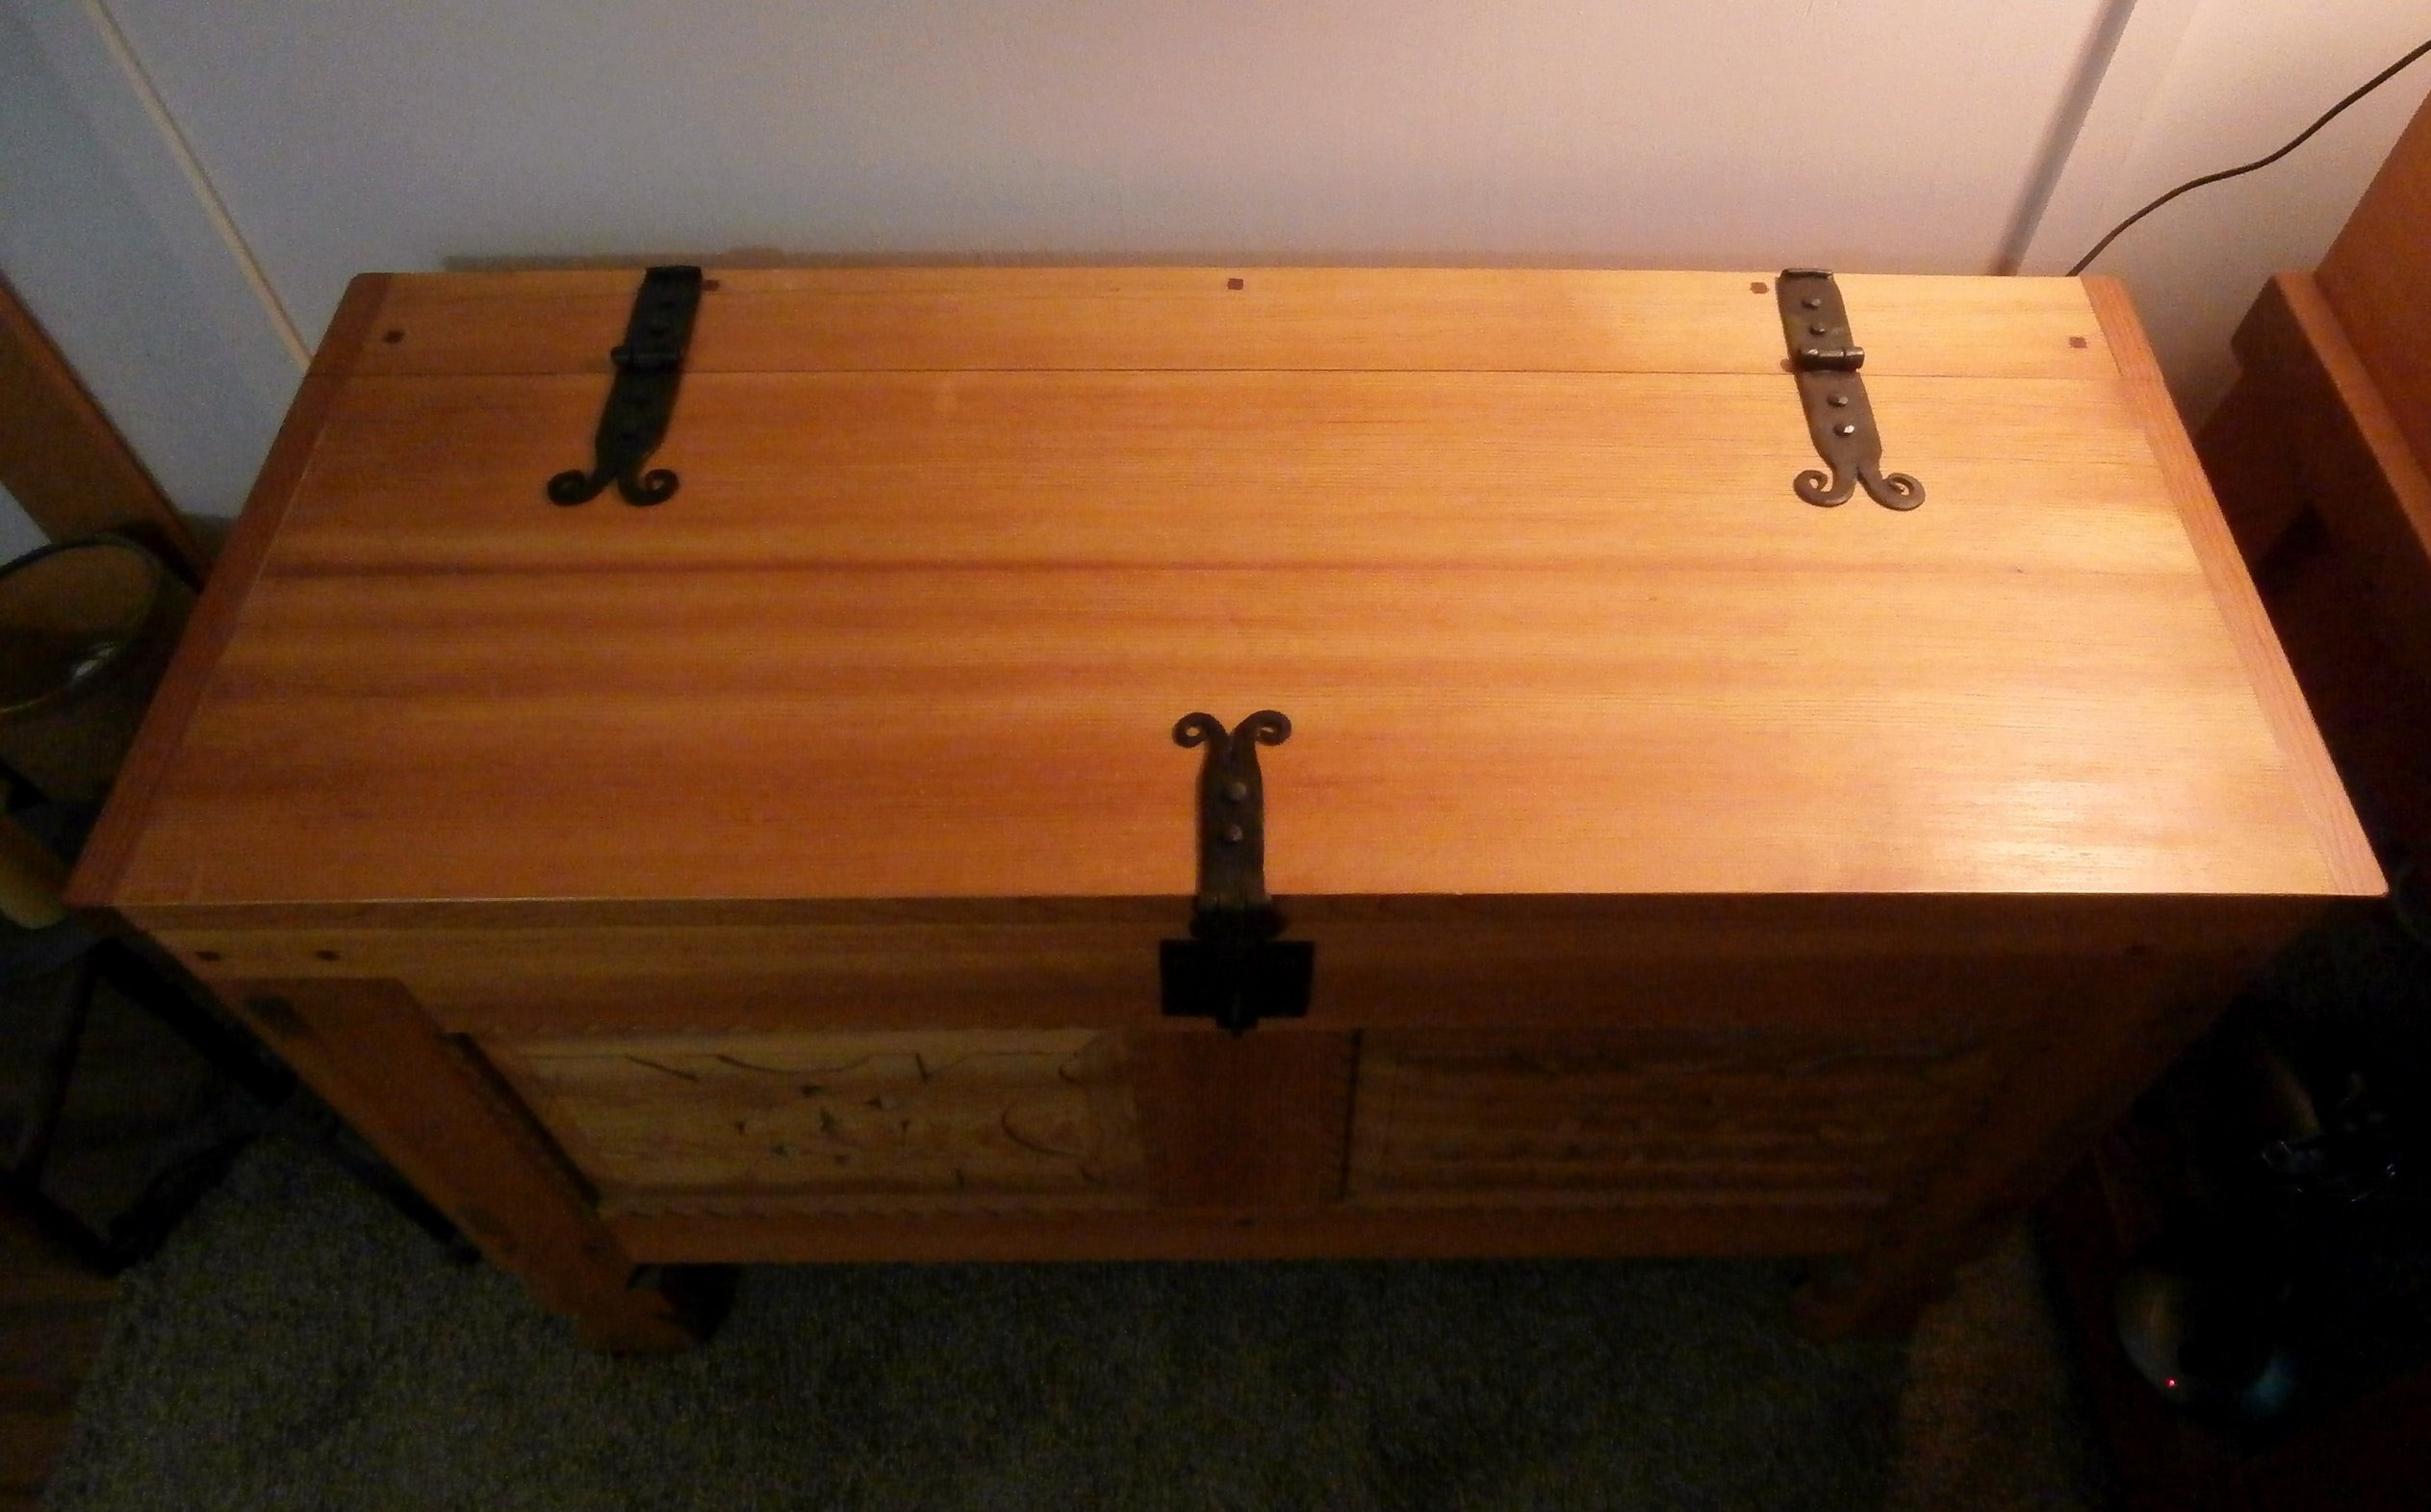
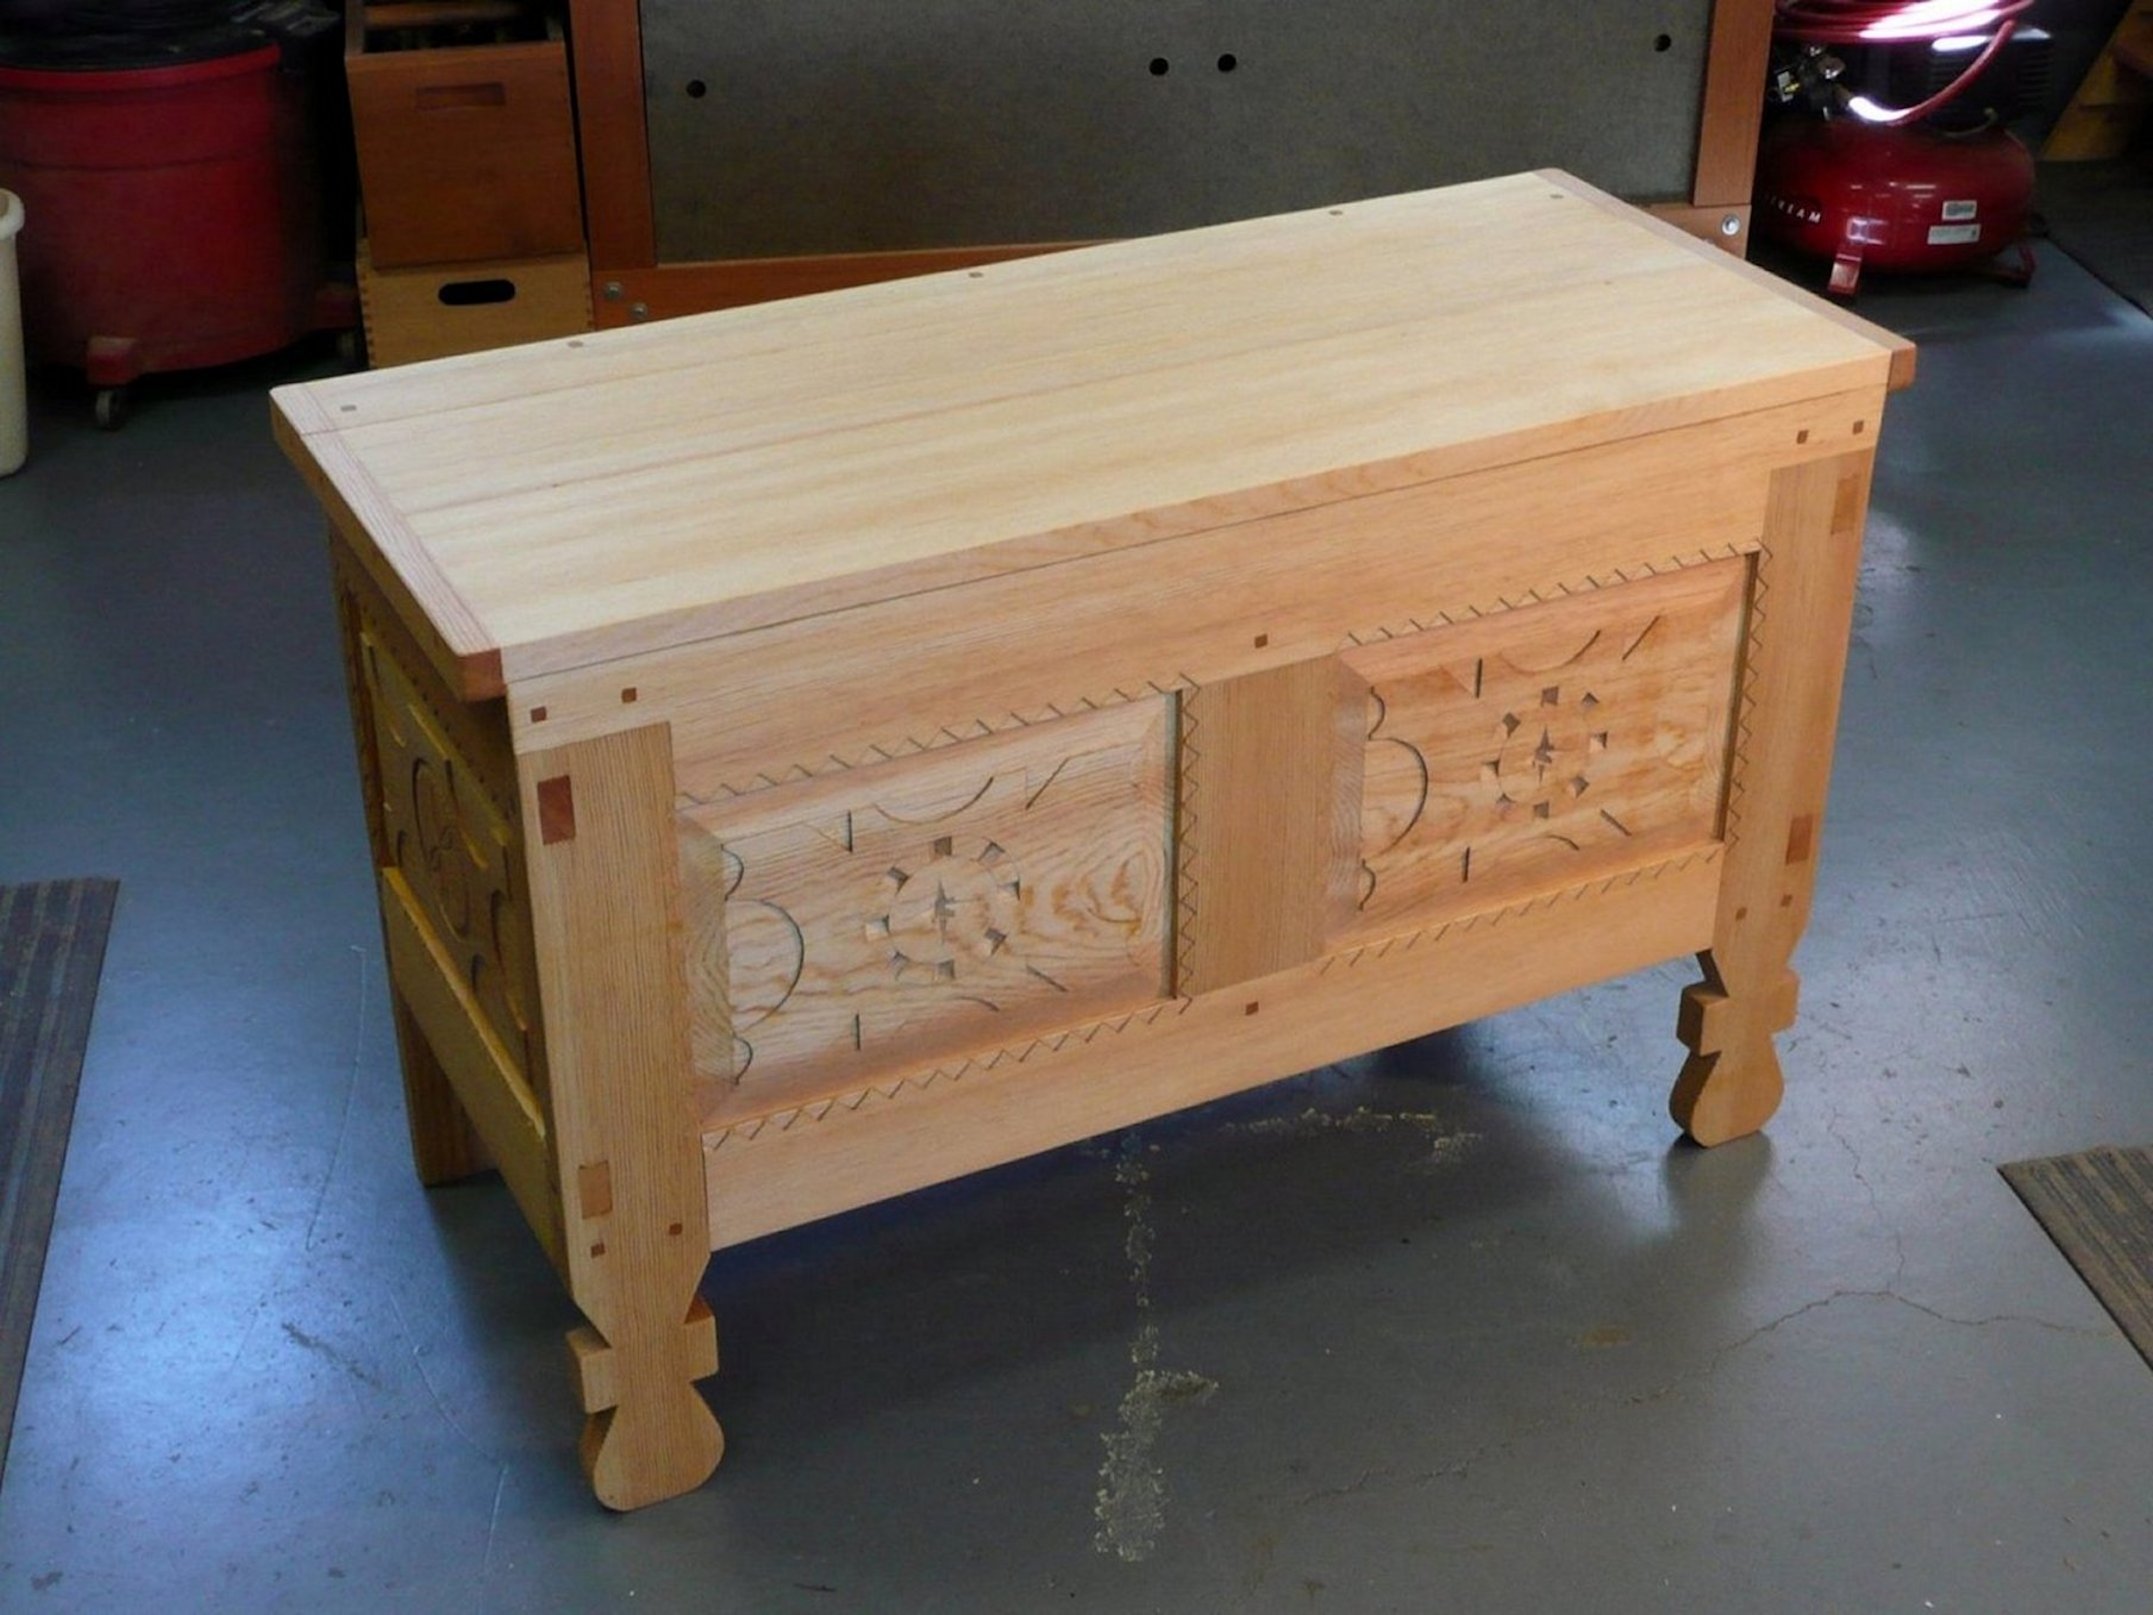
In 2006, I built a carved, aromatic cedar lined chest in Joseph, OR, that was inspired by an original “harinero” (flour storage chest) from northern New Mexico dating from the late 17th – early 18th century. My chest, like the original, is constructed with Ponderosa pine and is scaled and proportioned using the historic Spanish “vara” system of measurement (one vara = 33 1/3 inches). At the time I did not have my blacksmithing equipment set up so the chest went without hardware until 2018. Here’s a photo of the chest without hinges and a hasp. (All photos ![]() Max Vollmer, Click on any Photo to Enlarge it.)
Max Vollmer, Click on any Photo to Enlarge it.)
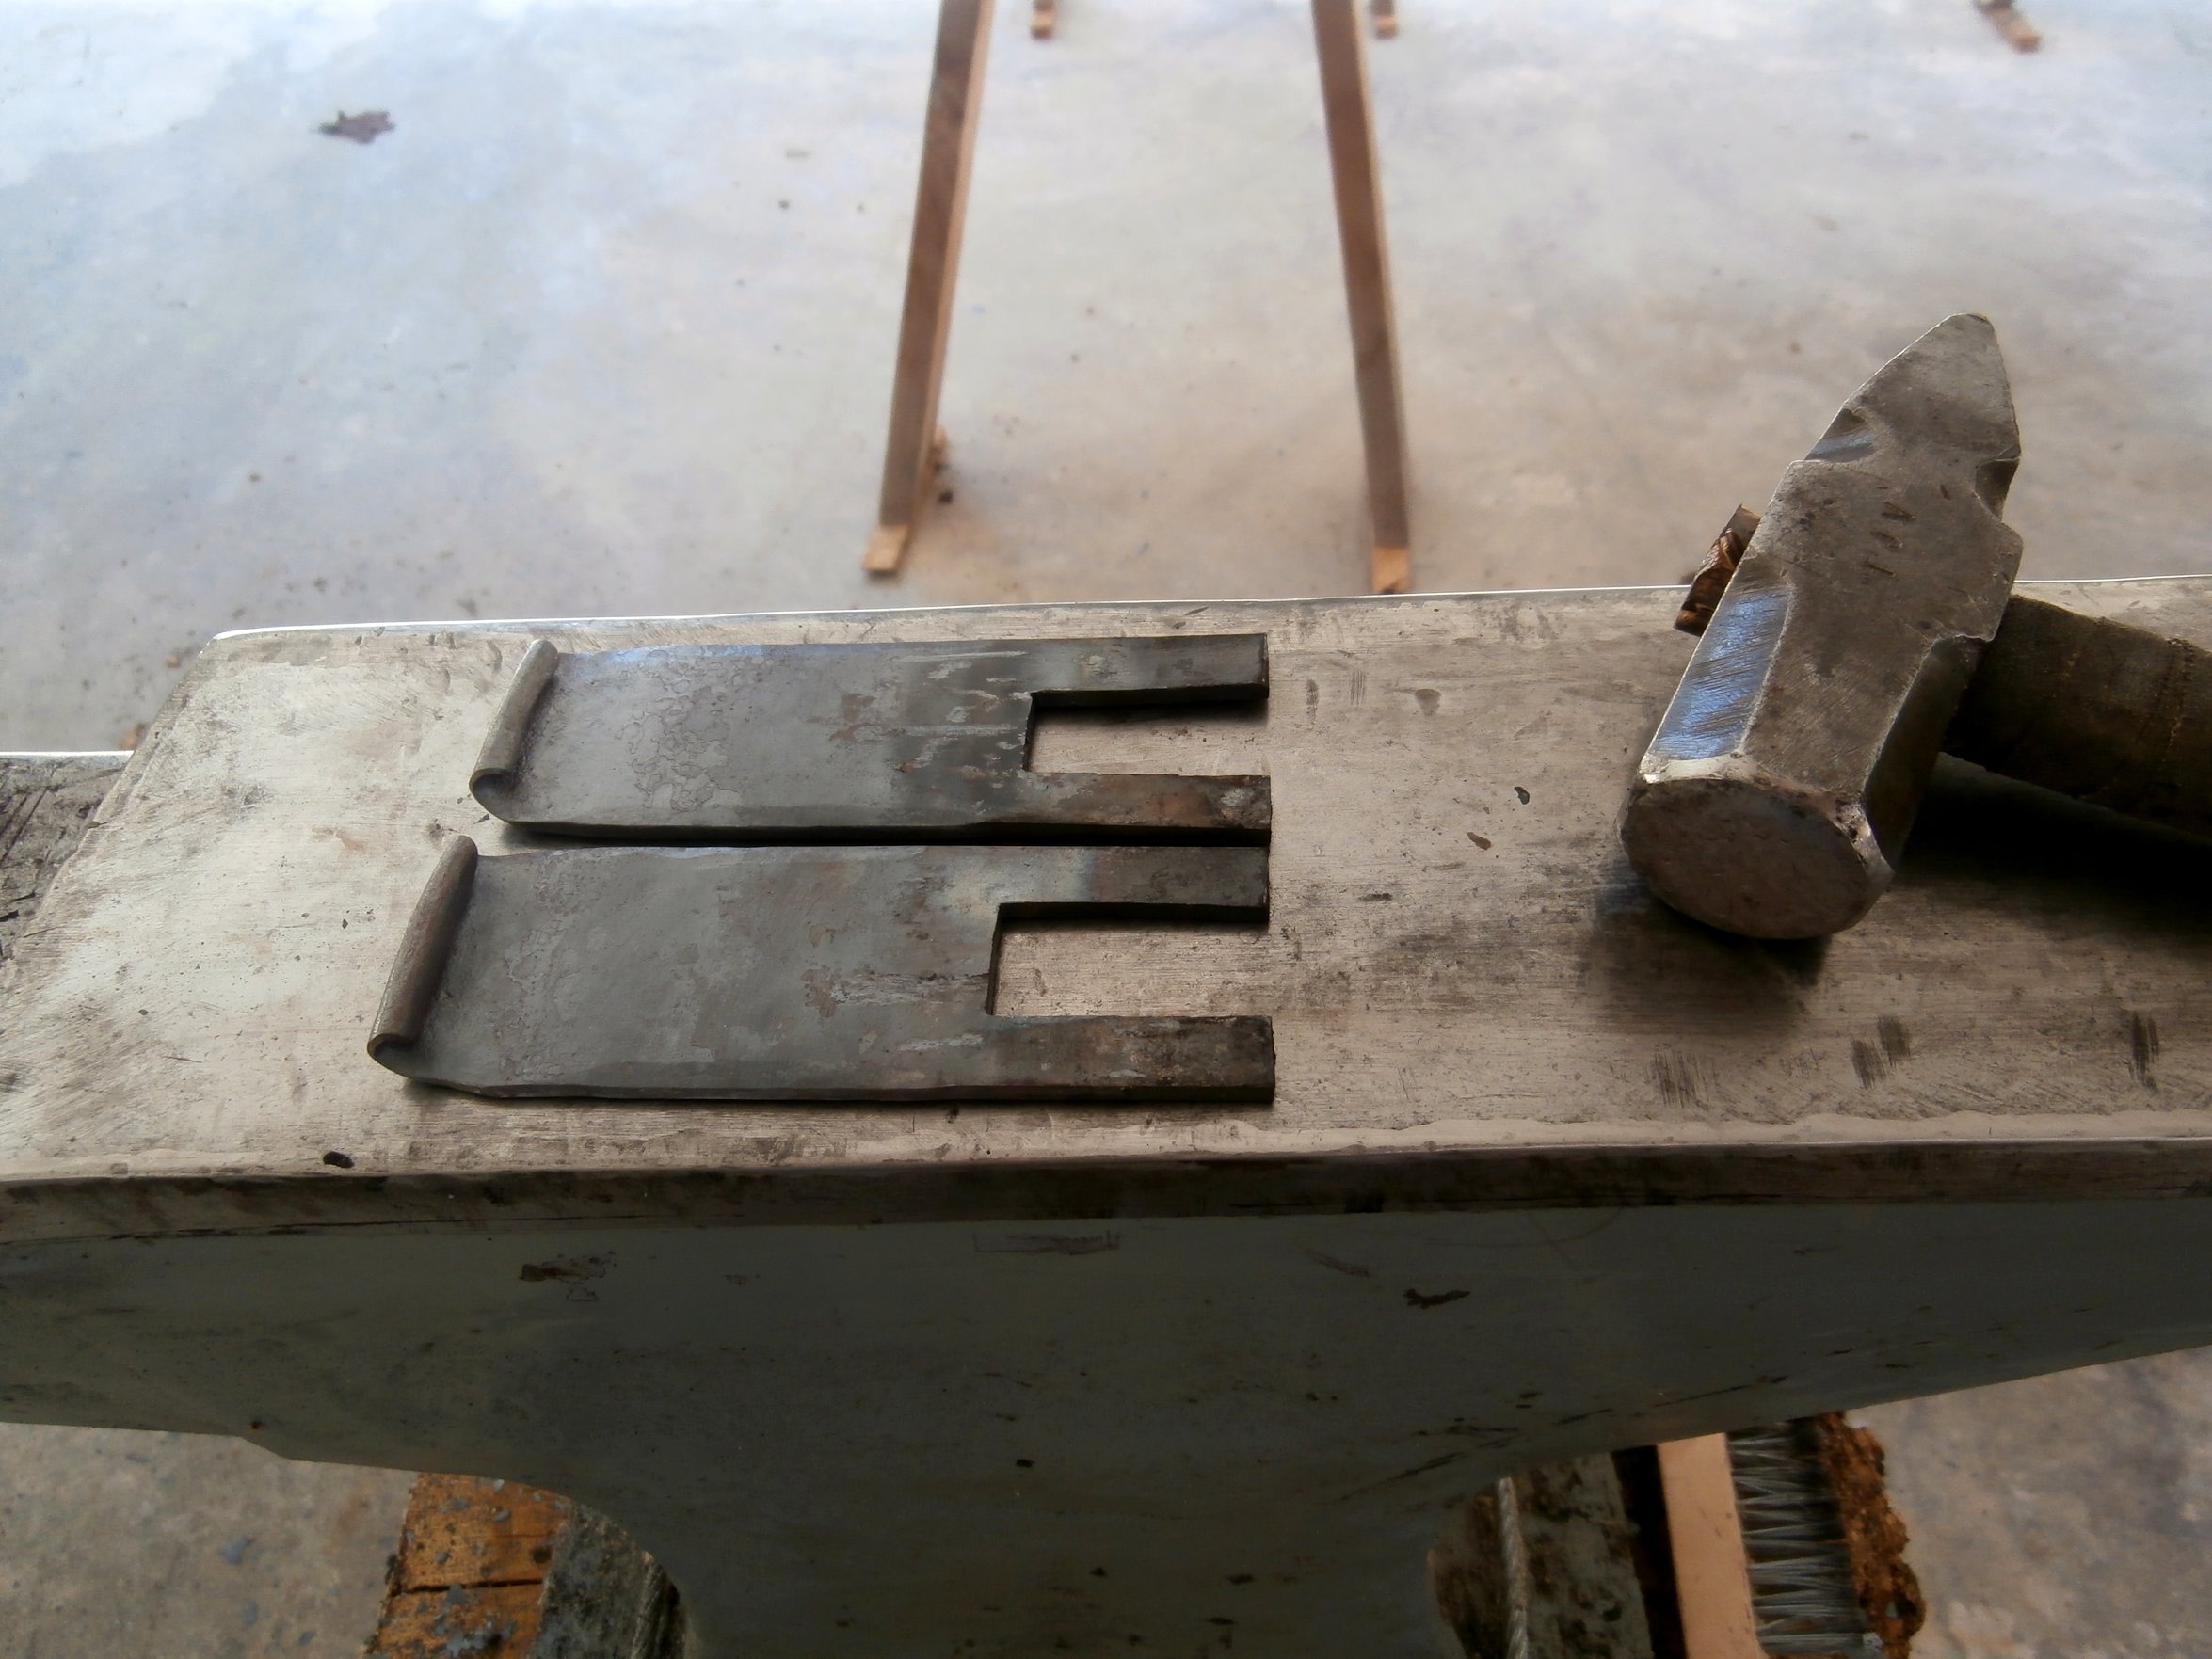
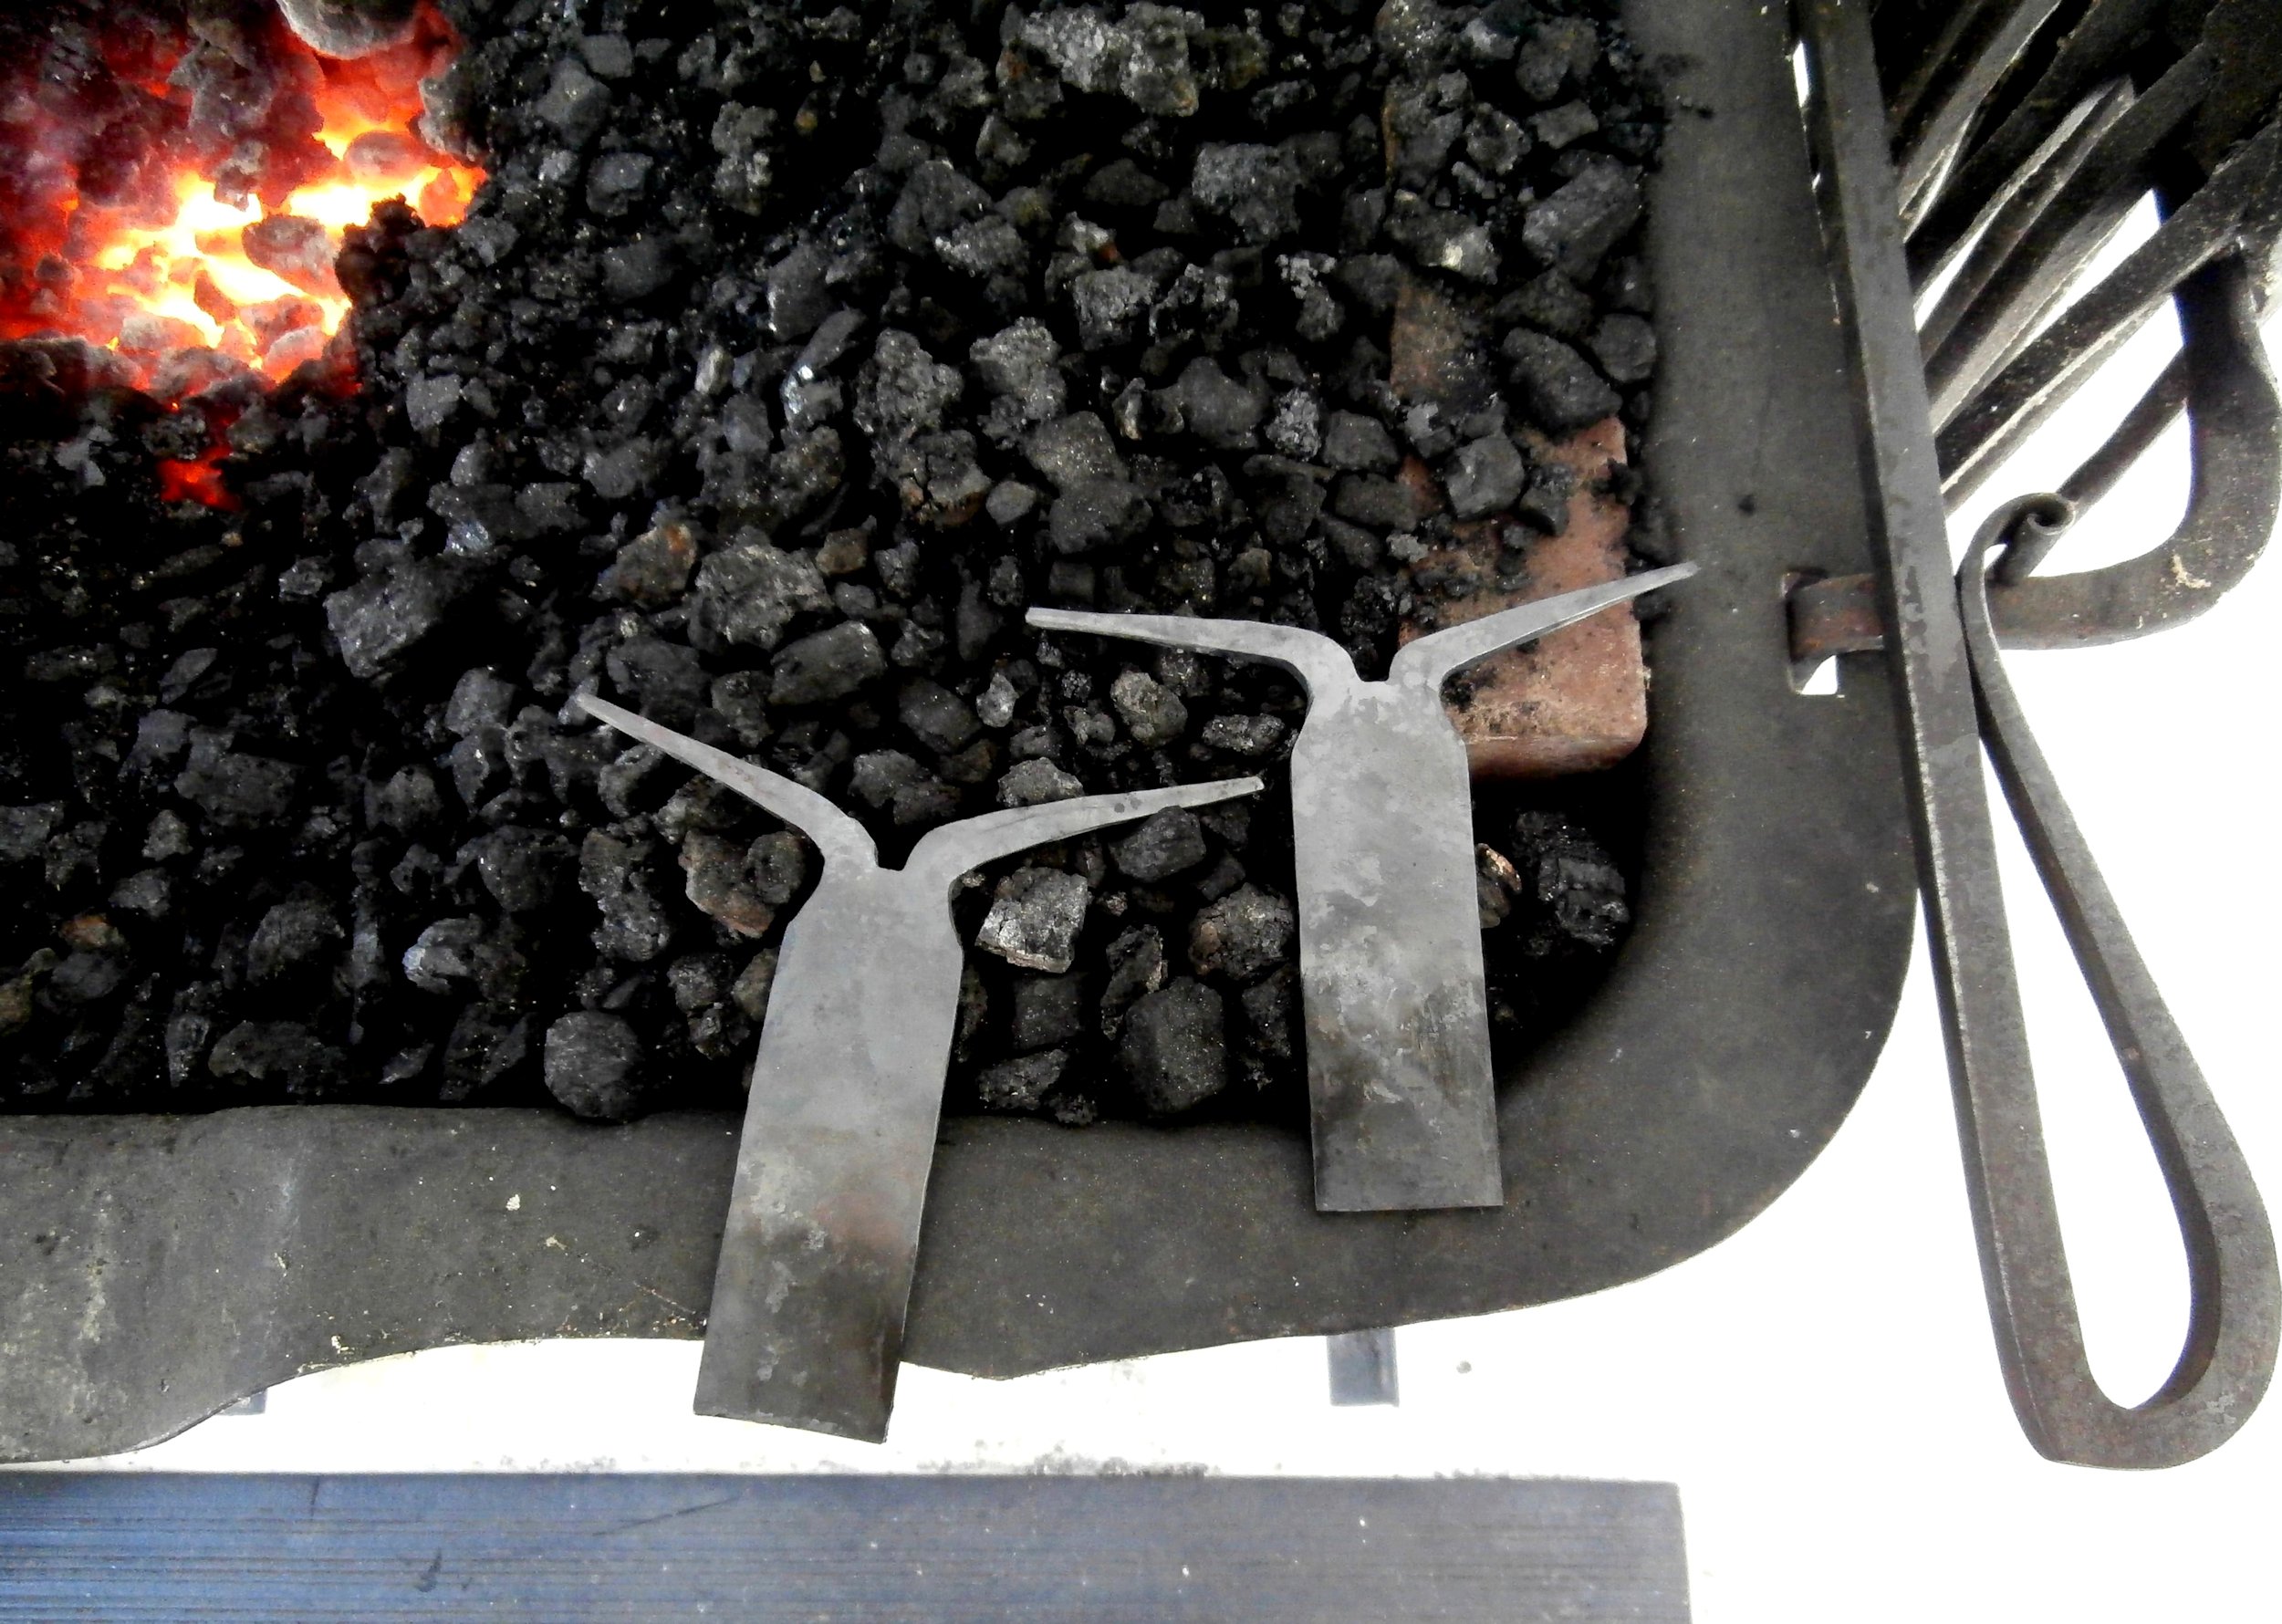
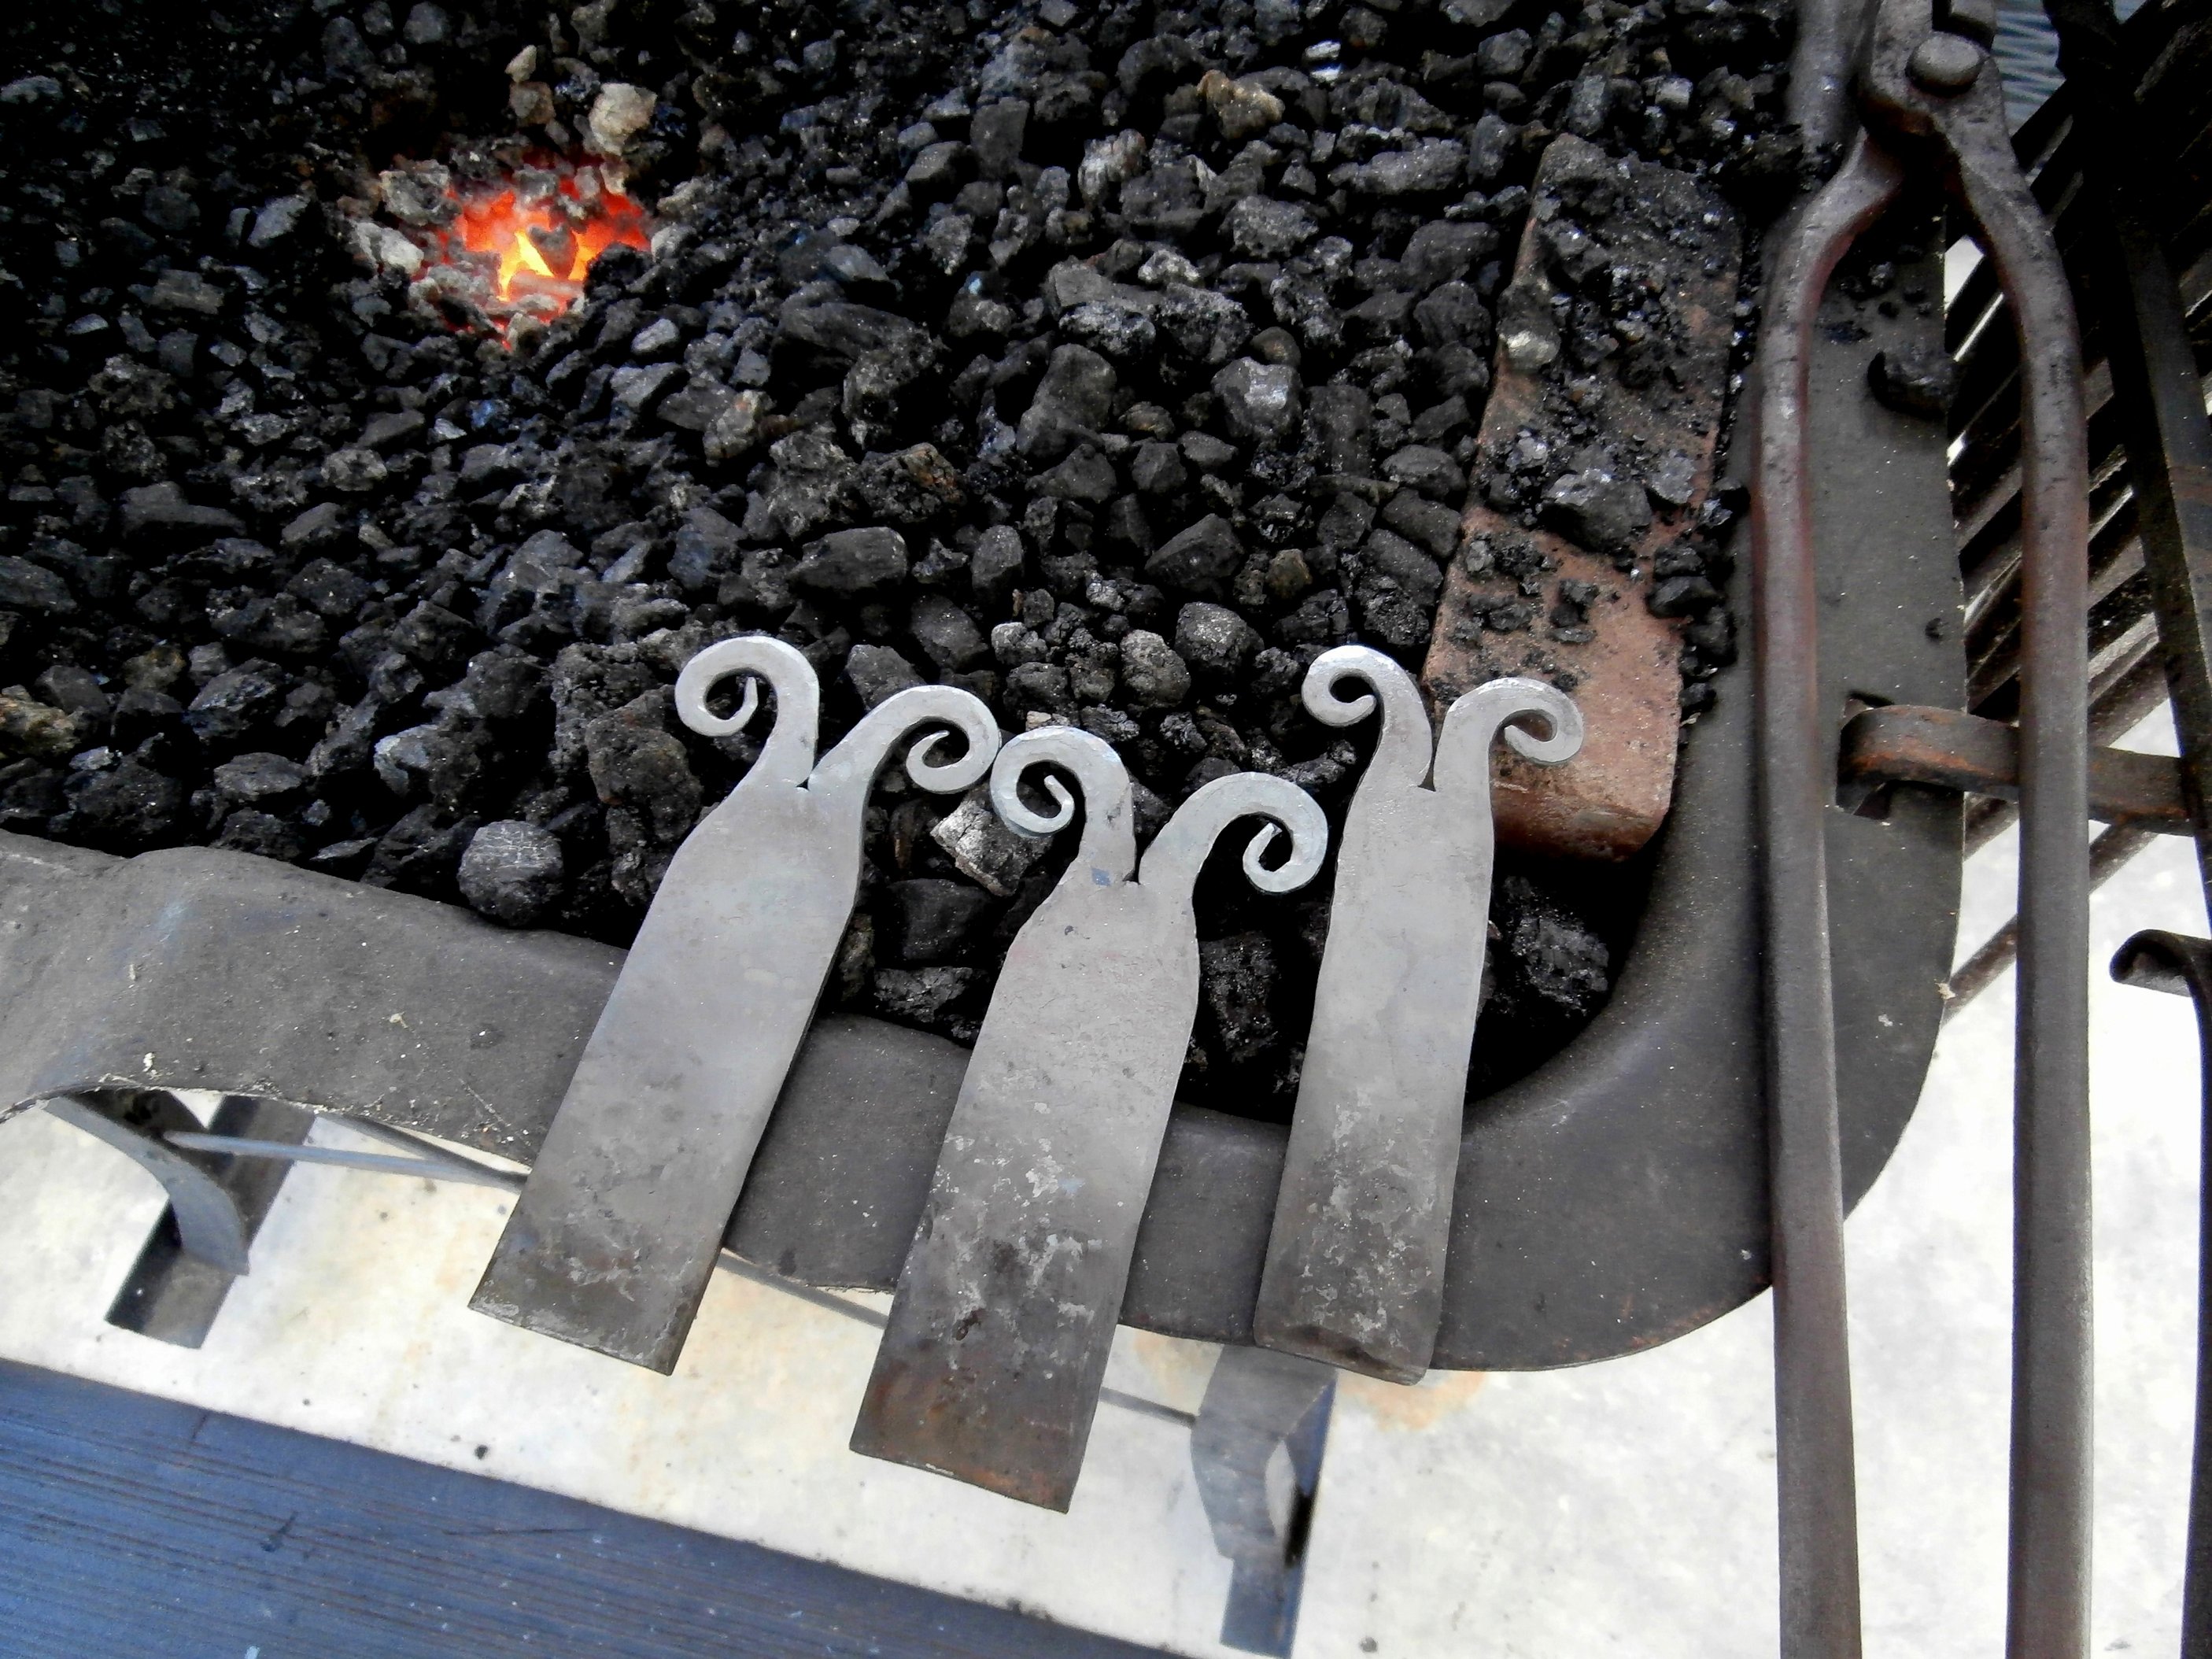
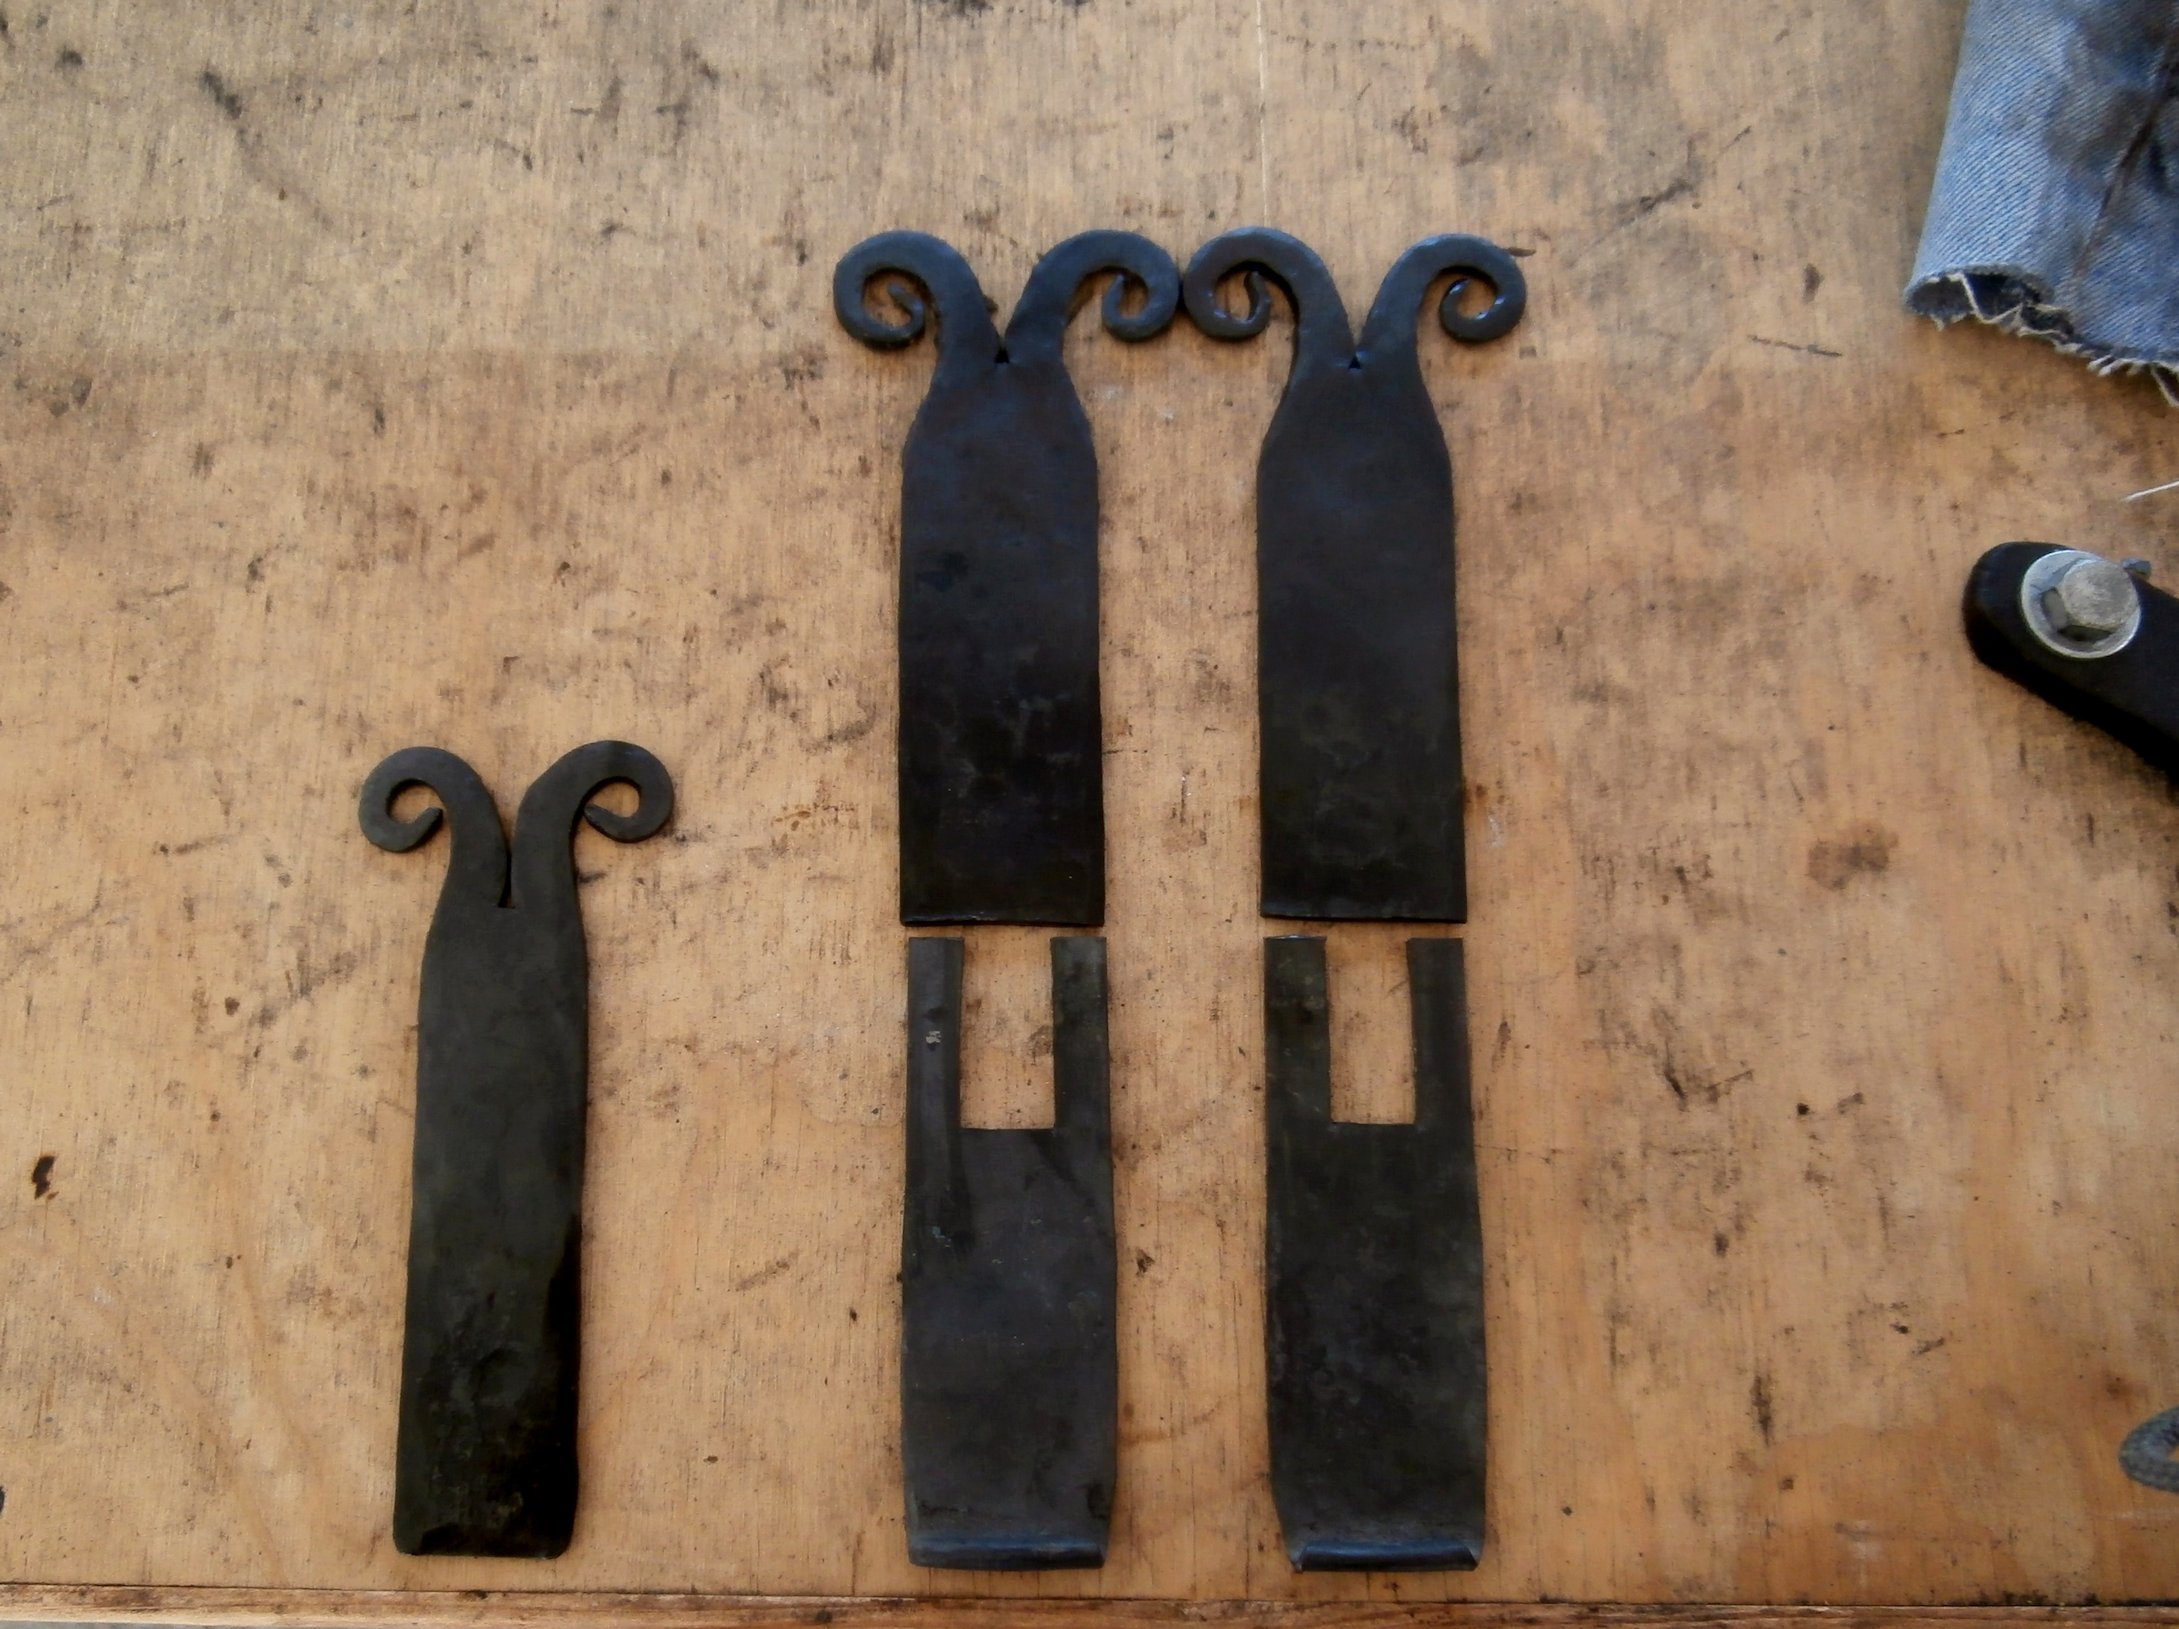
I made scale drawings of the strap hinges and hasp I wanted for the chest in the style of 17th~18th century, northern New Mexico. I used mild steel to forge the parts and a hack saw to make cuts for the barrels/knuckles of the hinges. The next four photos show intermediate steps in the forging of the scrolls for the two-part hinges and hasp.
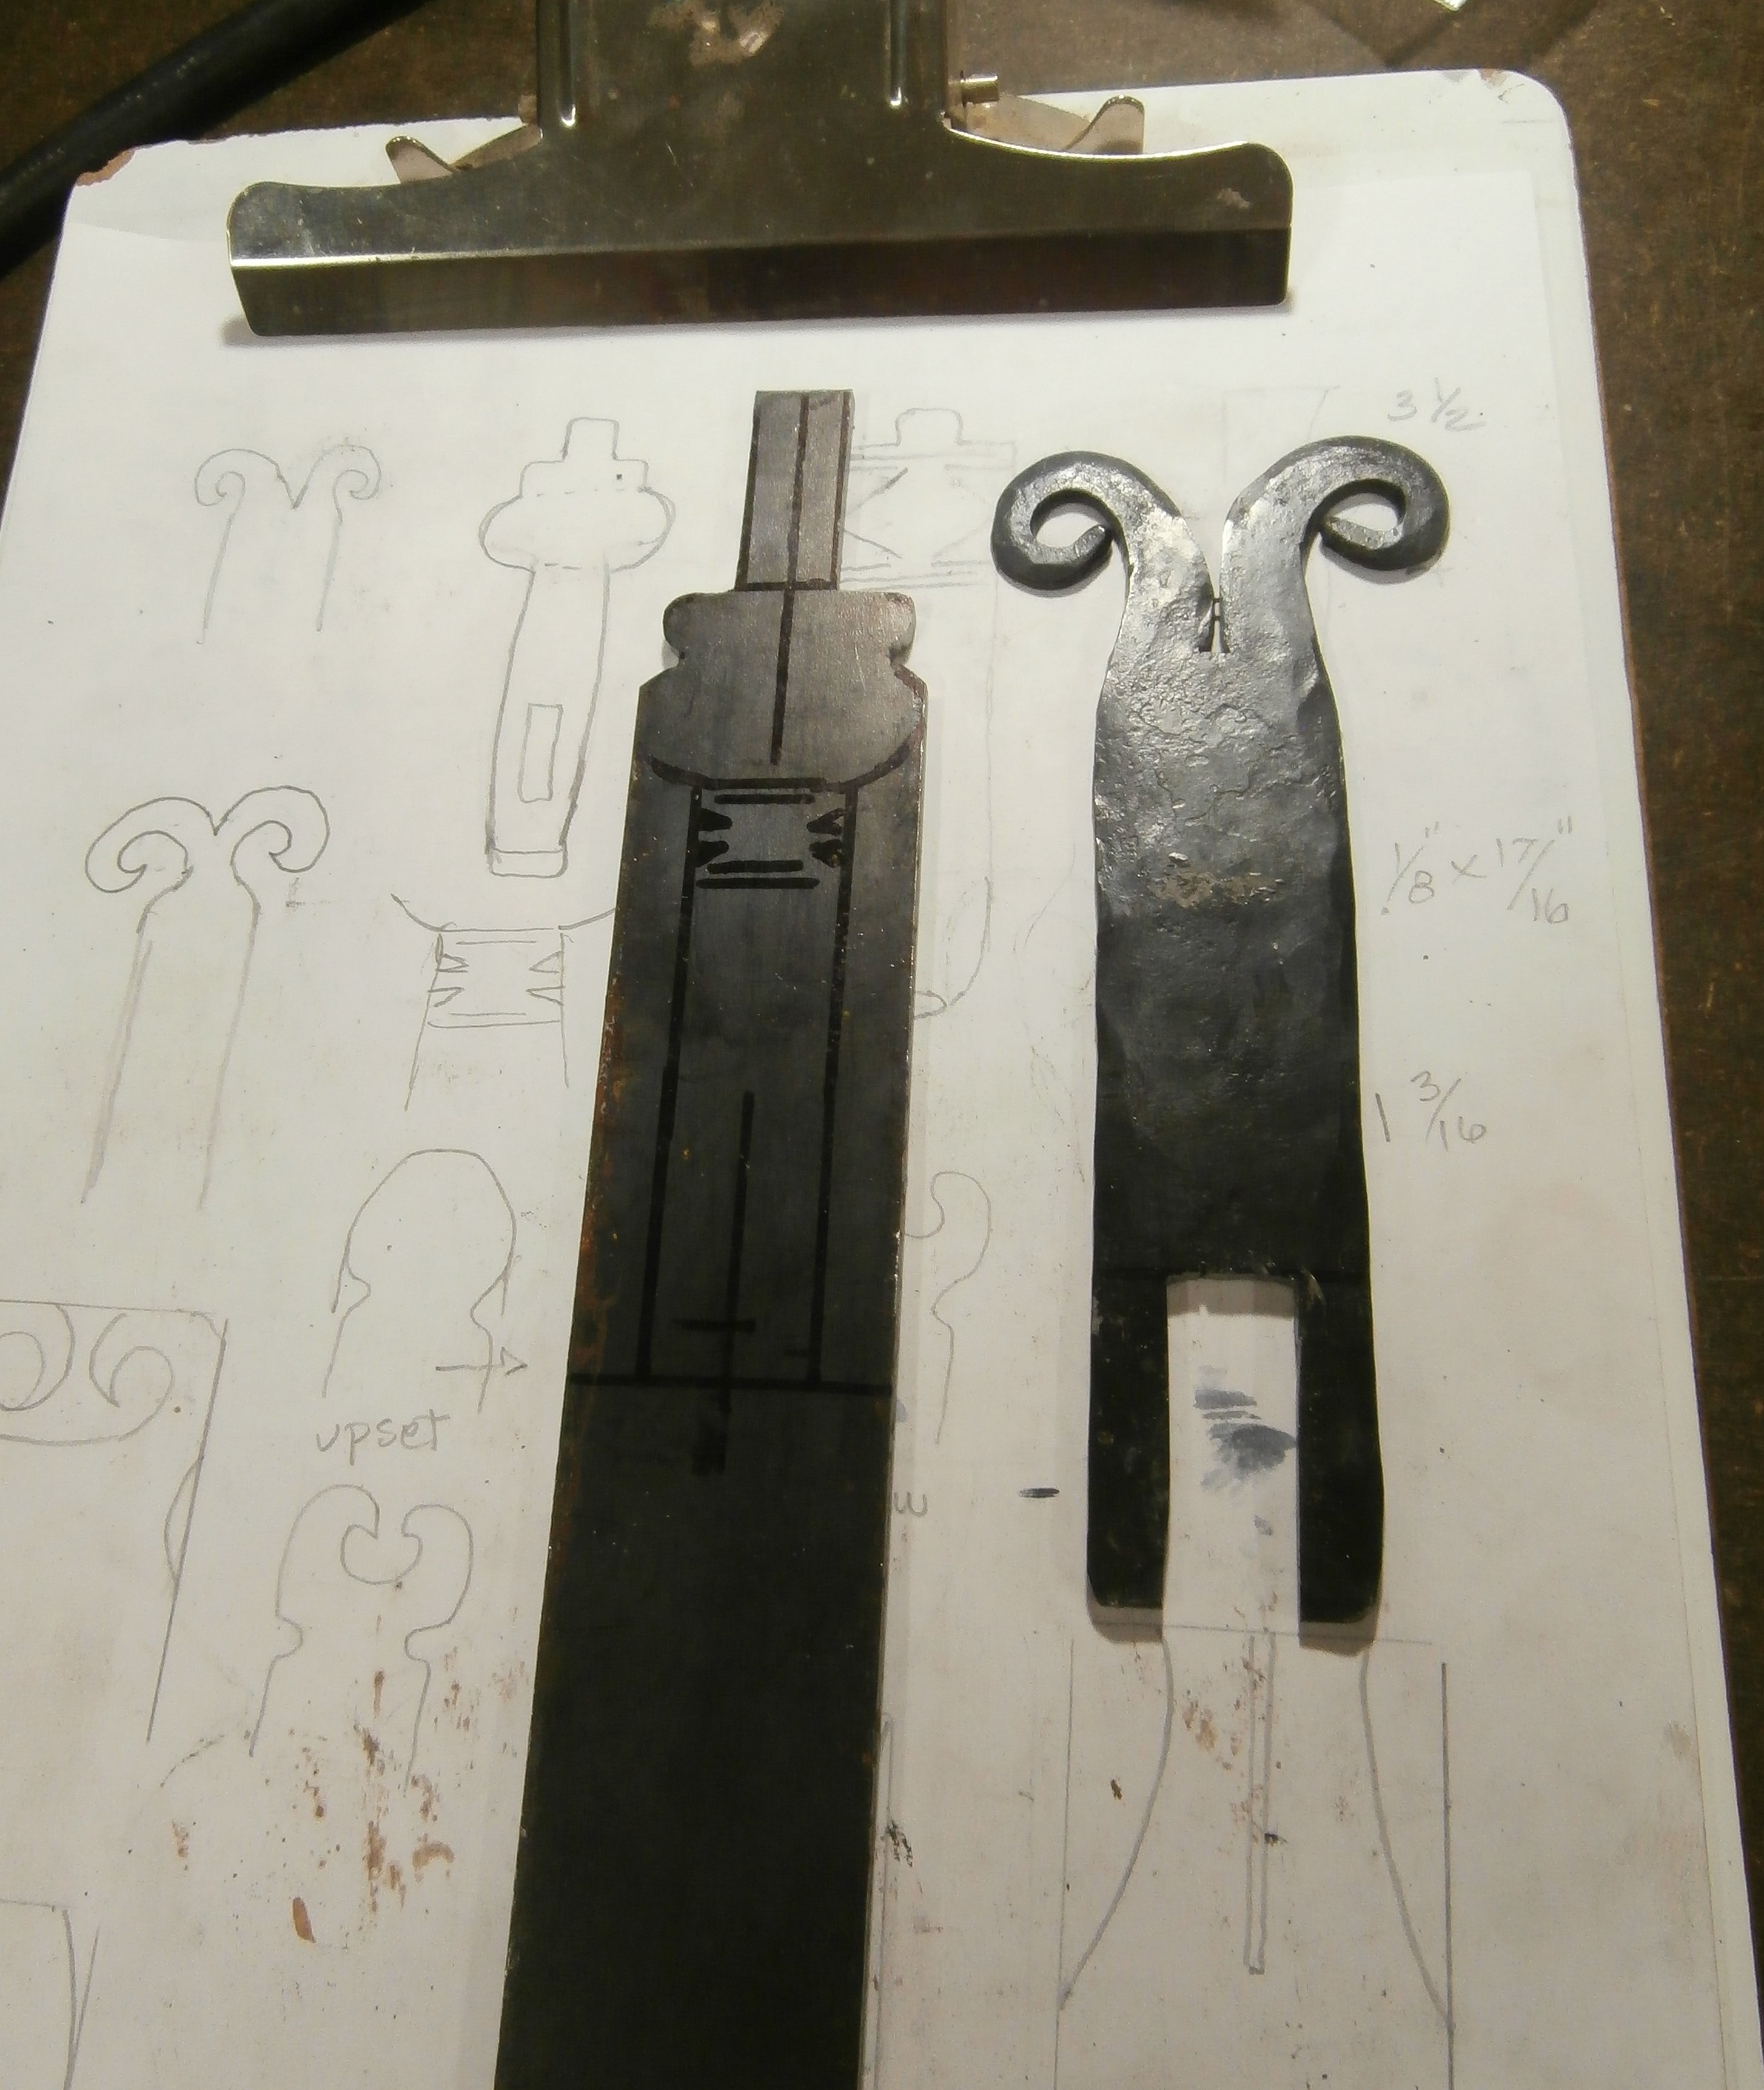
The next photo shows the design for the latch part of the hasp marked on the steel with magic marker so that I could rough cut and file that part before going to the forge to finish it.
After shaping all the individual parts, I cut pieces of steel rod for the pintles (the pins) around which the the gudgeons (barrels or knuckles) of the hinge parts rotate. The pins were held in the jaws of the post vise so that the gudgeons (yellow-hot at 1800 degrees F) of the hinge, straight from the forge, could be hammered/forged around the pins. The next picture shows the hinge and hasp parts joined together, plus a 3″ square, hammer-textured plate and “staple” (U-shaped) to which the latch part of the hasp would attach.

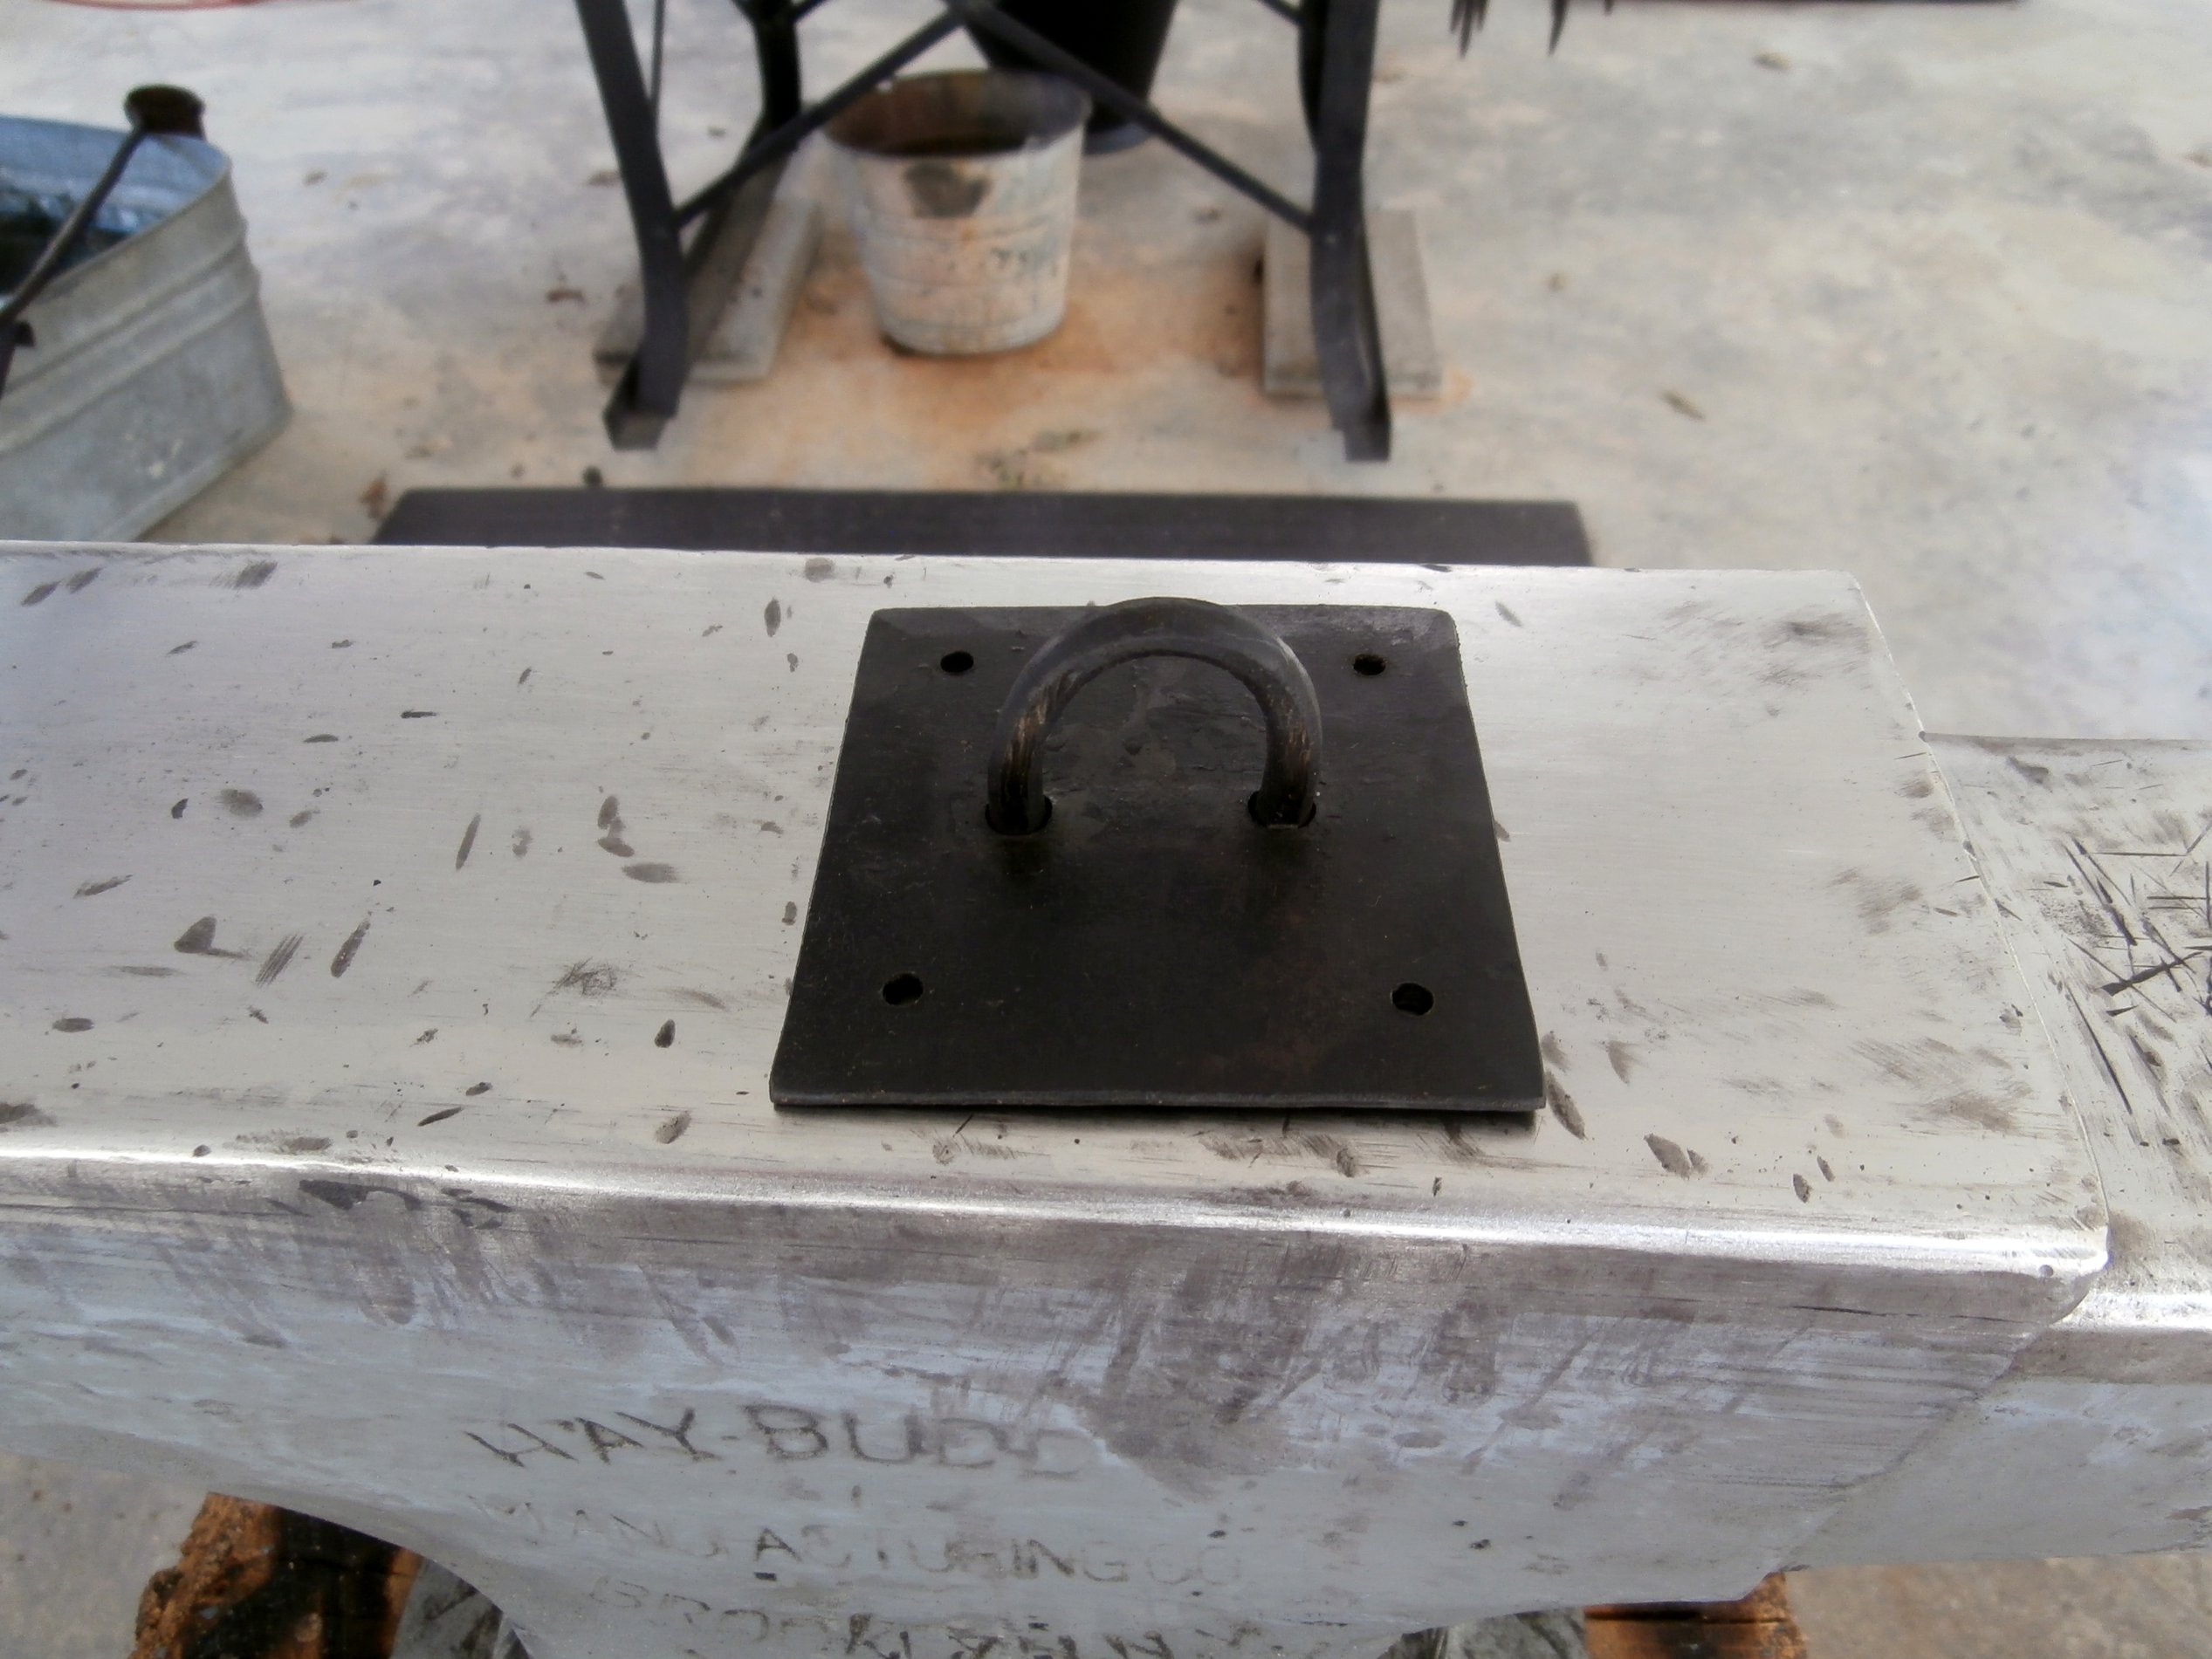
The next photo shows the assembly of the 3″ square plate and staple to complete the second part of the hasp. To do that, I drilled two holes in the 3″ square plate to match the U-shaped staple “legs” . . . then in very rapid succession I heated the staple legs to yellow-hot in the forge, and holding the staple with tongs I cooled all but the tips in the slack tub, quickly clamped the staple in the post vise with the hot tips pointed up, fit the plate (with drilled holes) over the staple tips, and upset (hammered) the tips so that they mushroomed down over the back of the plate into shallow recesses I had pre-drilled with an oversize drill bit.

Here is what that part looks like sitting right side up on the anvil.
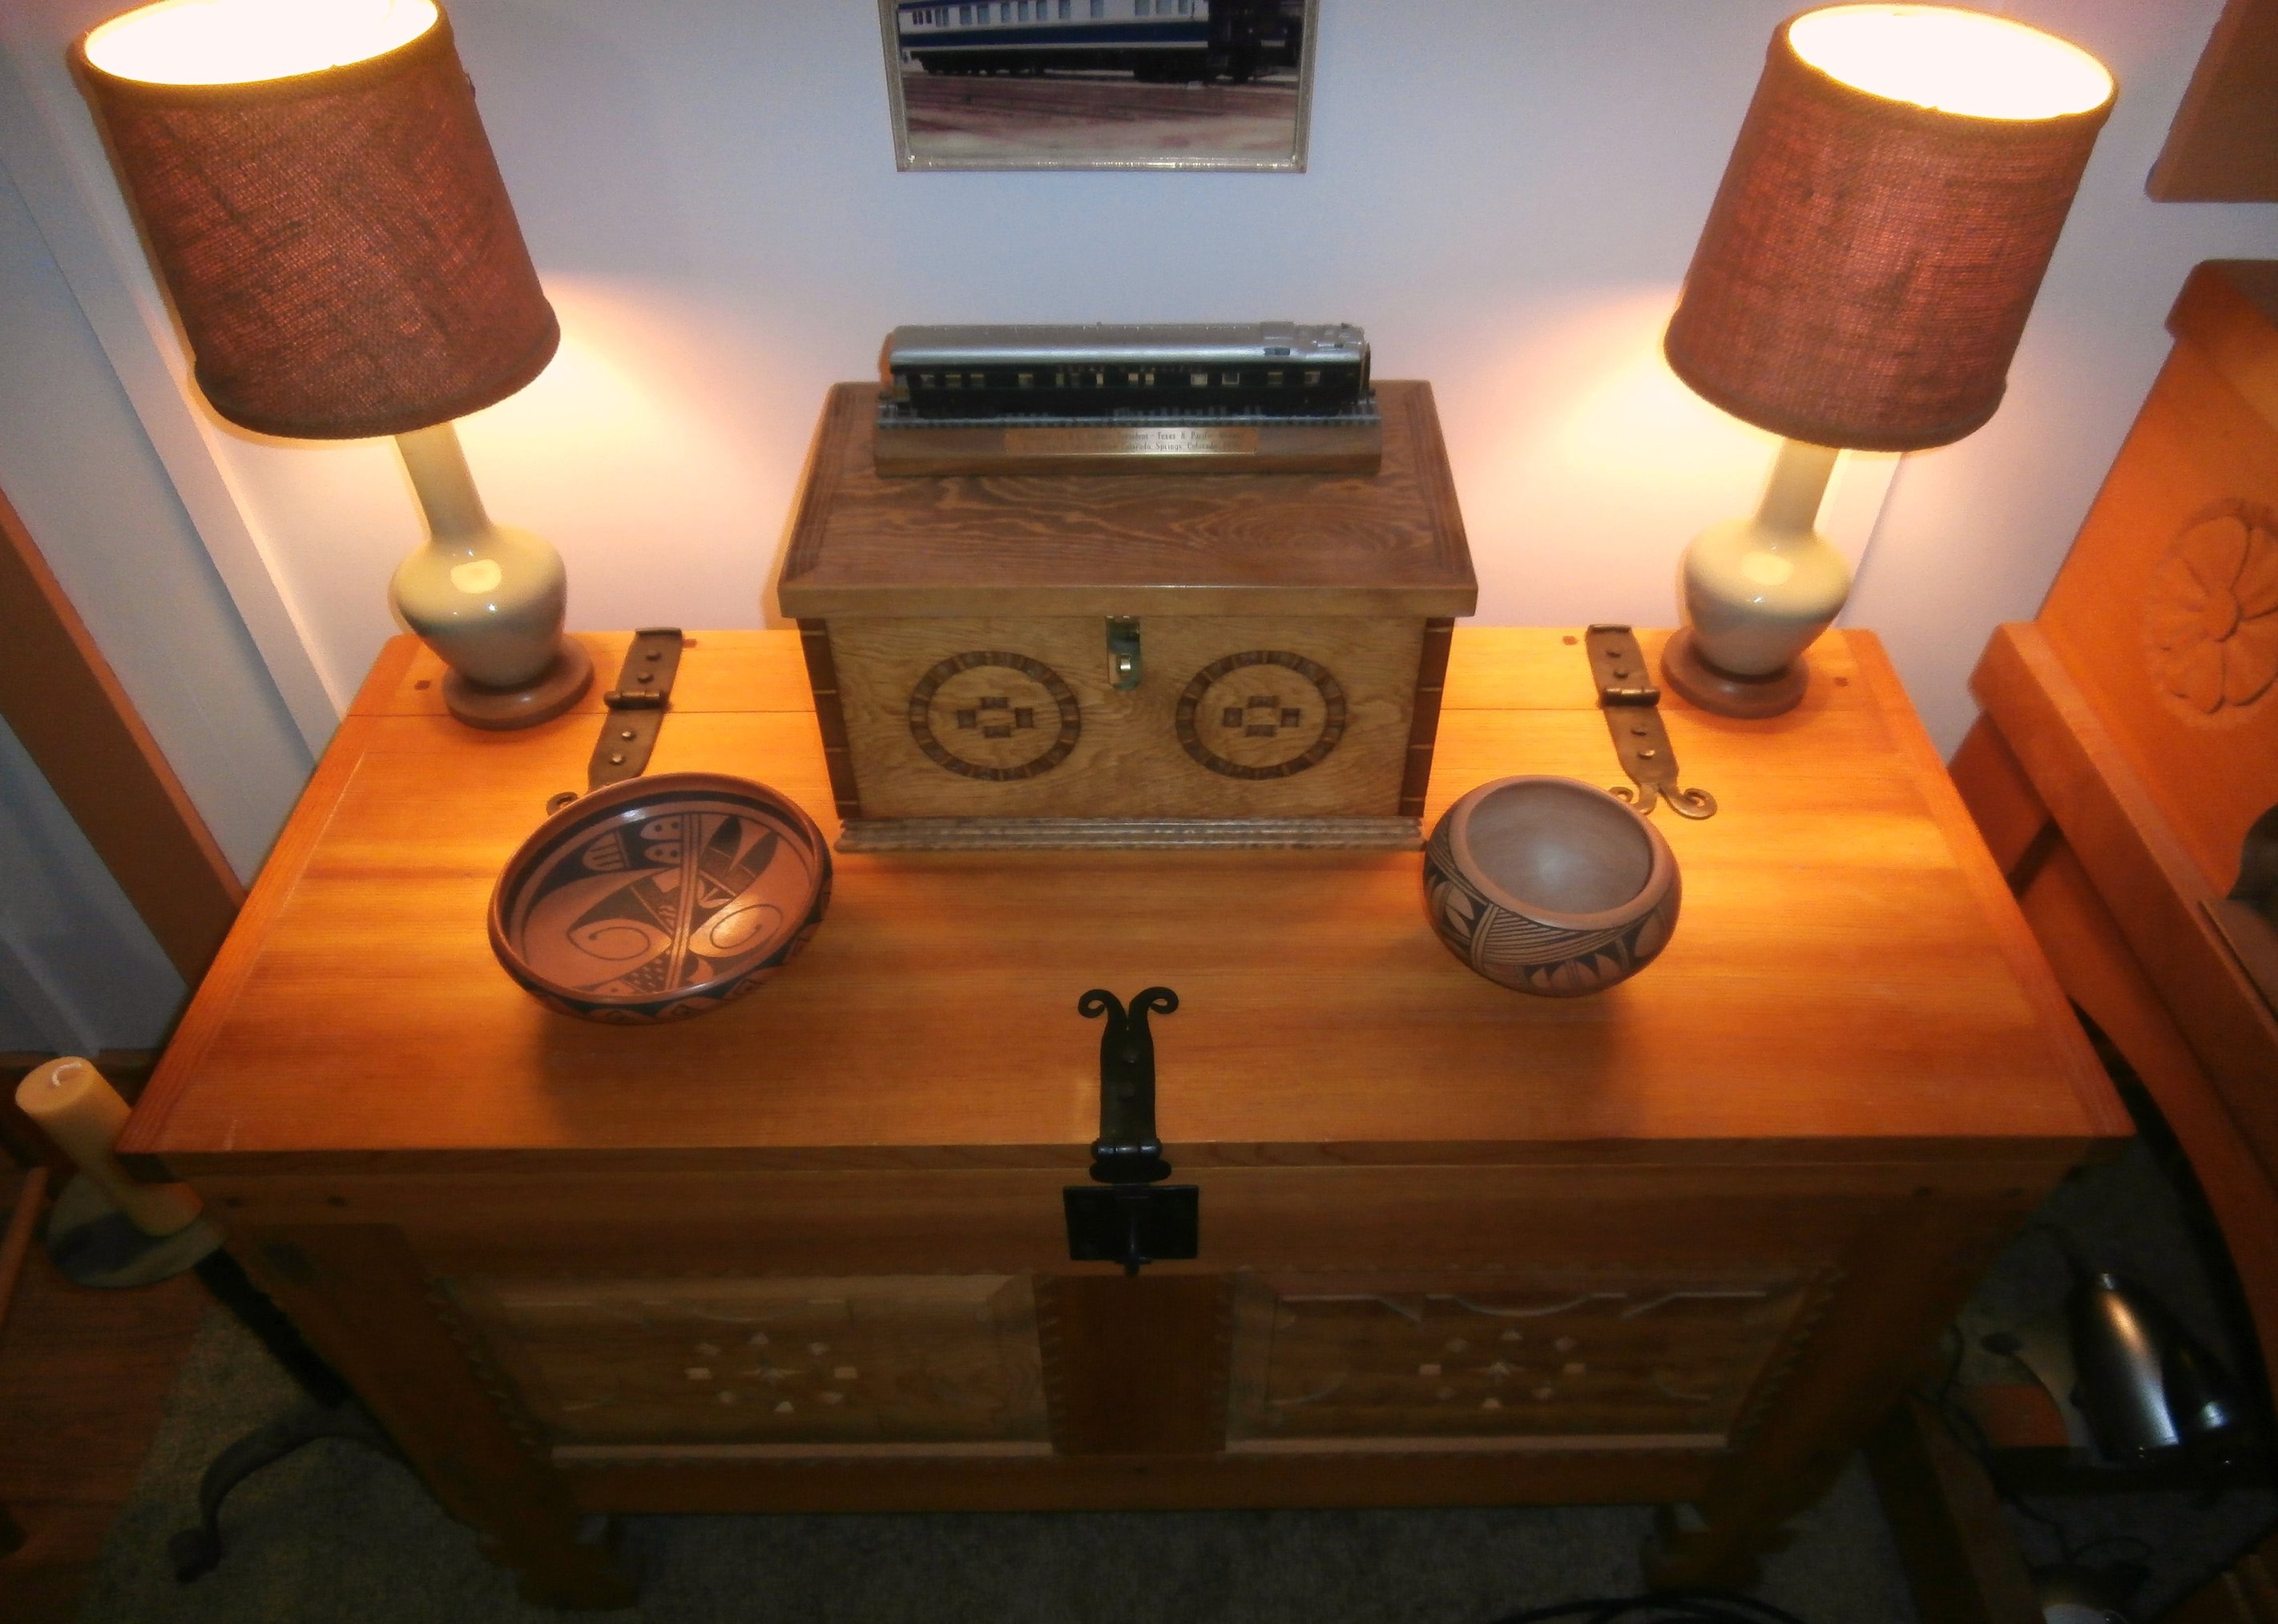
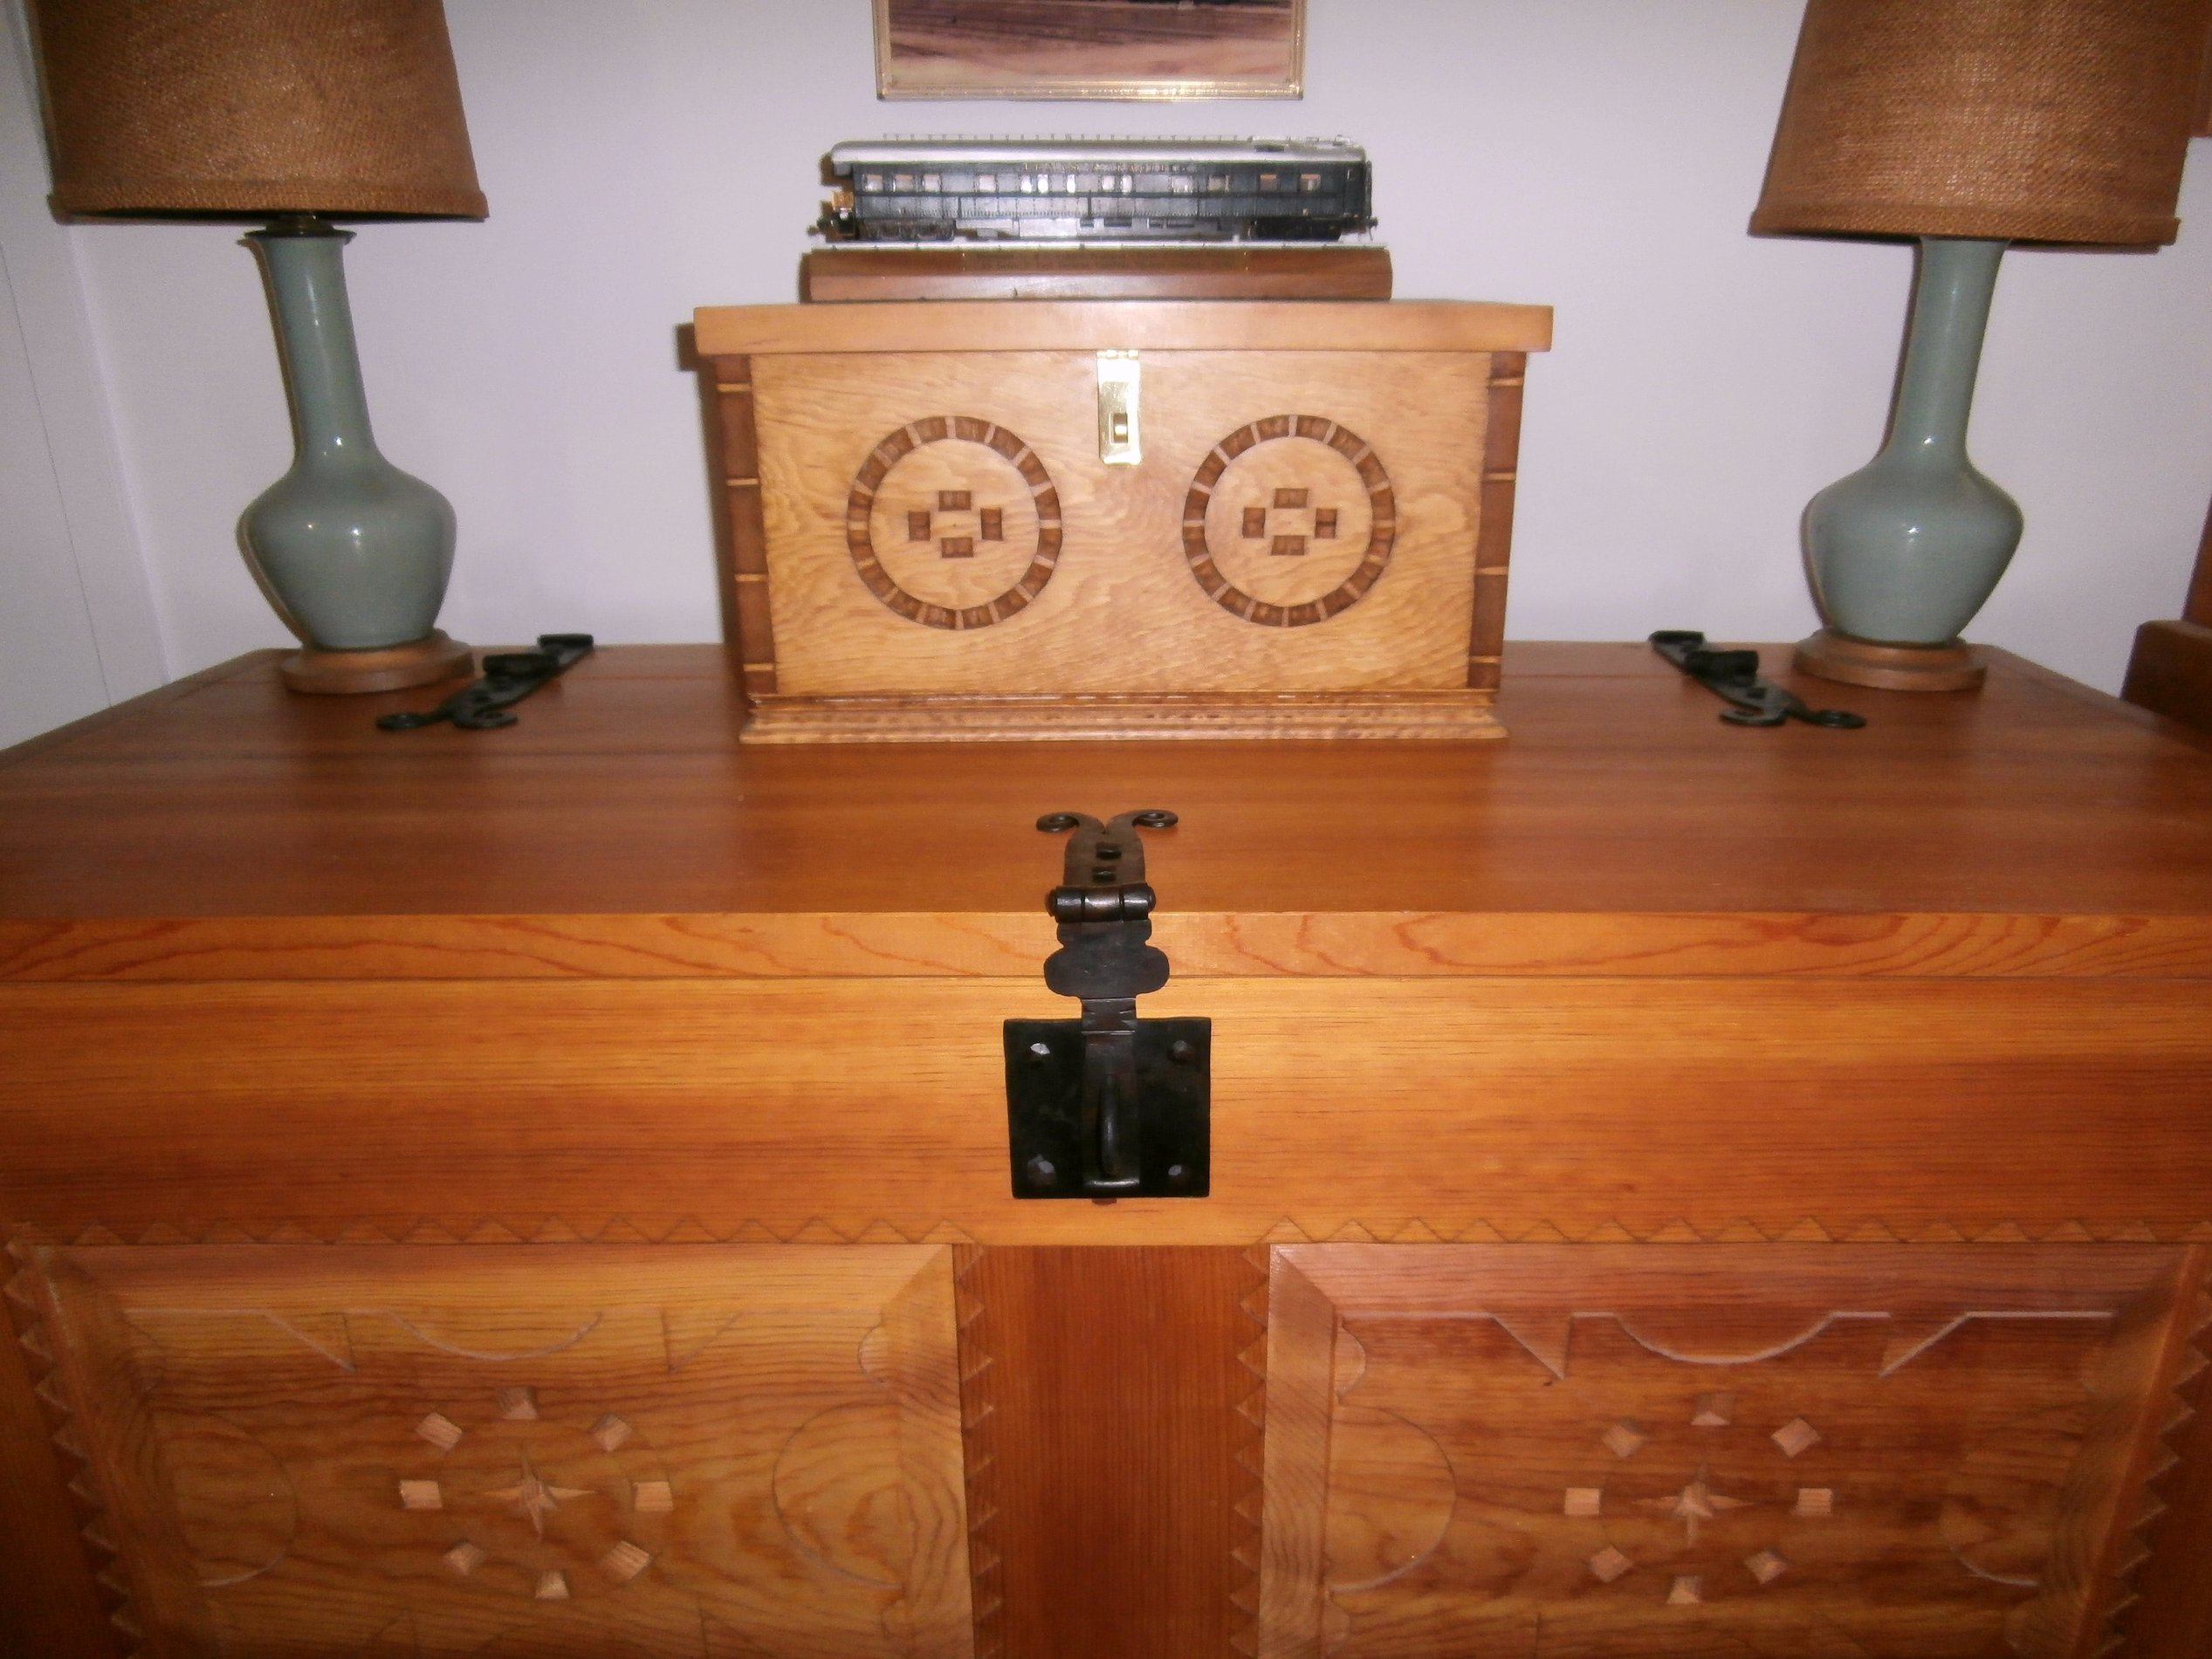
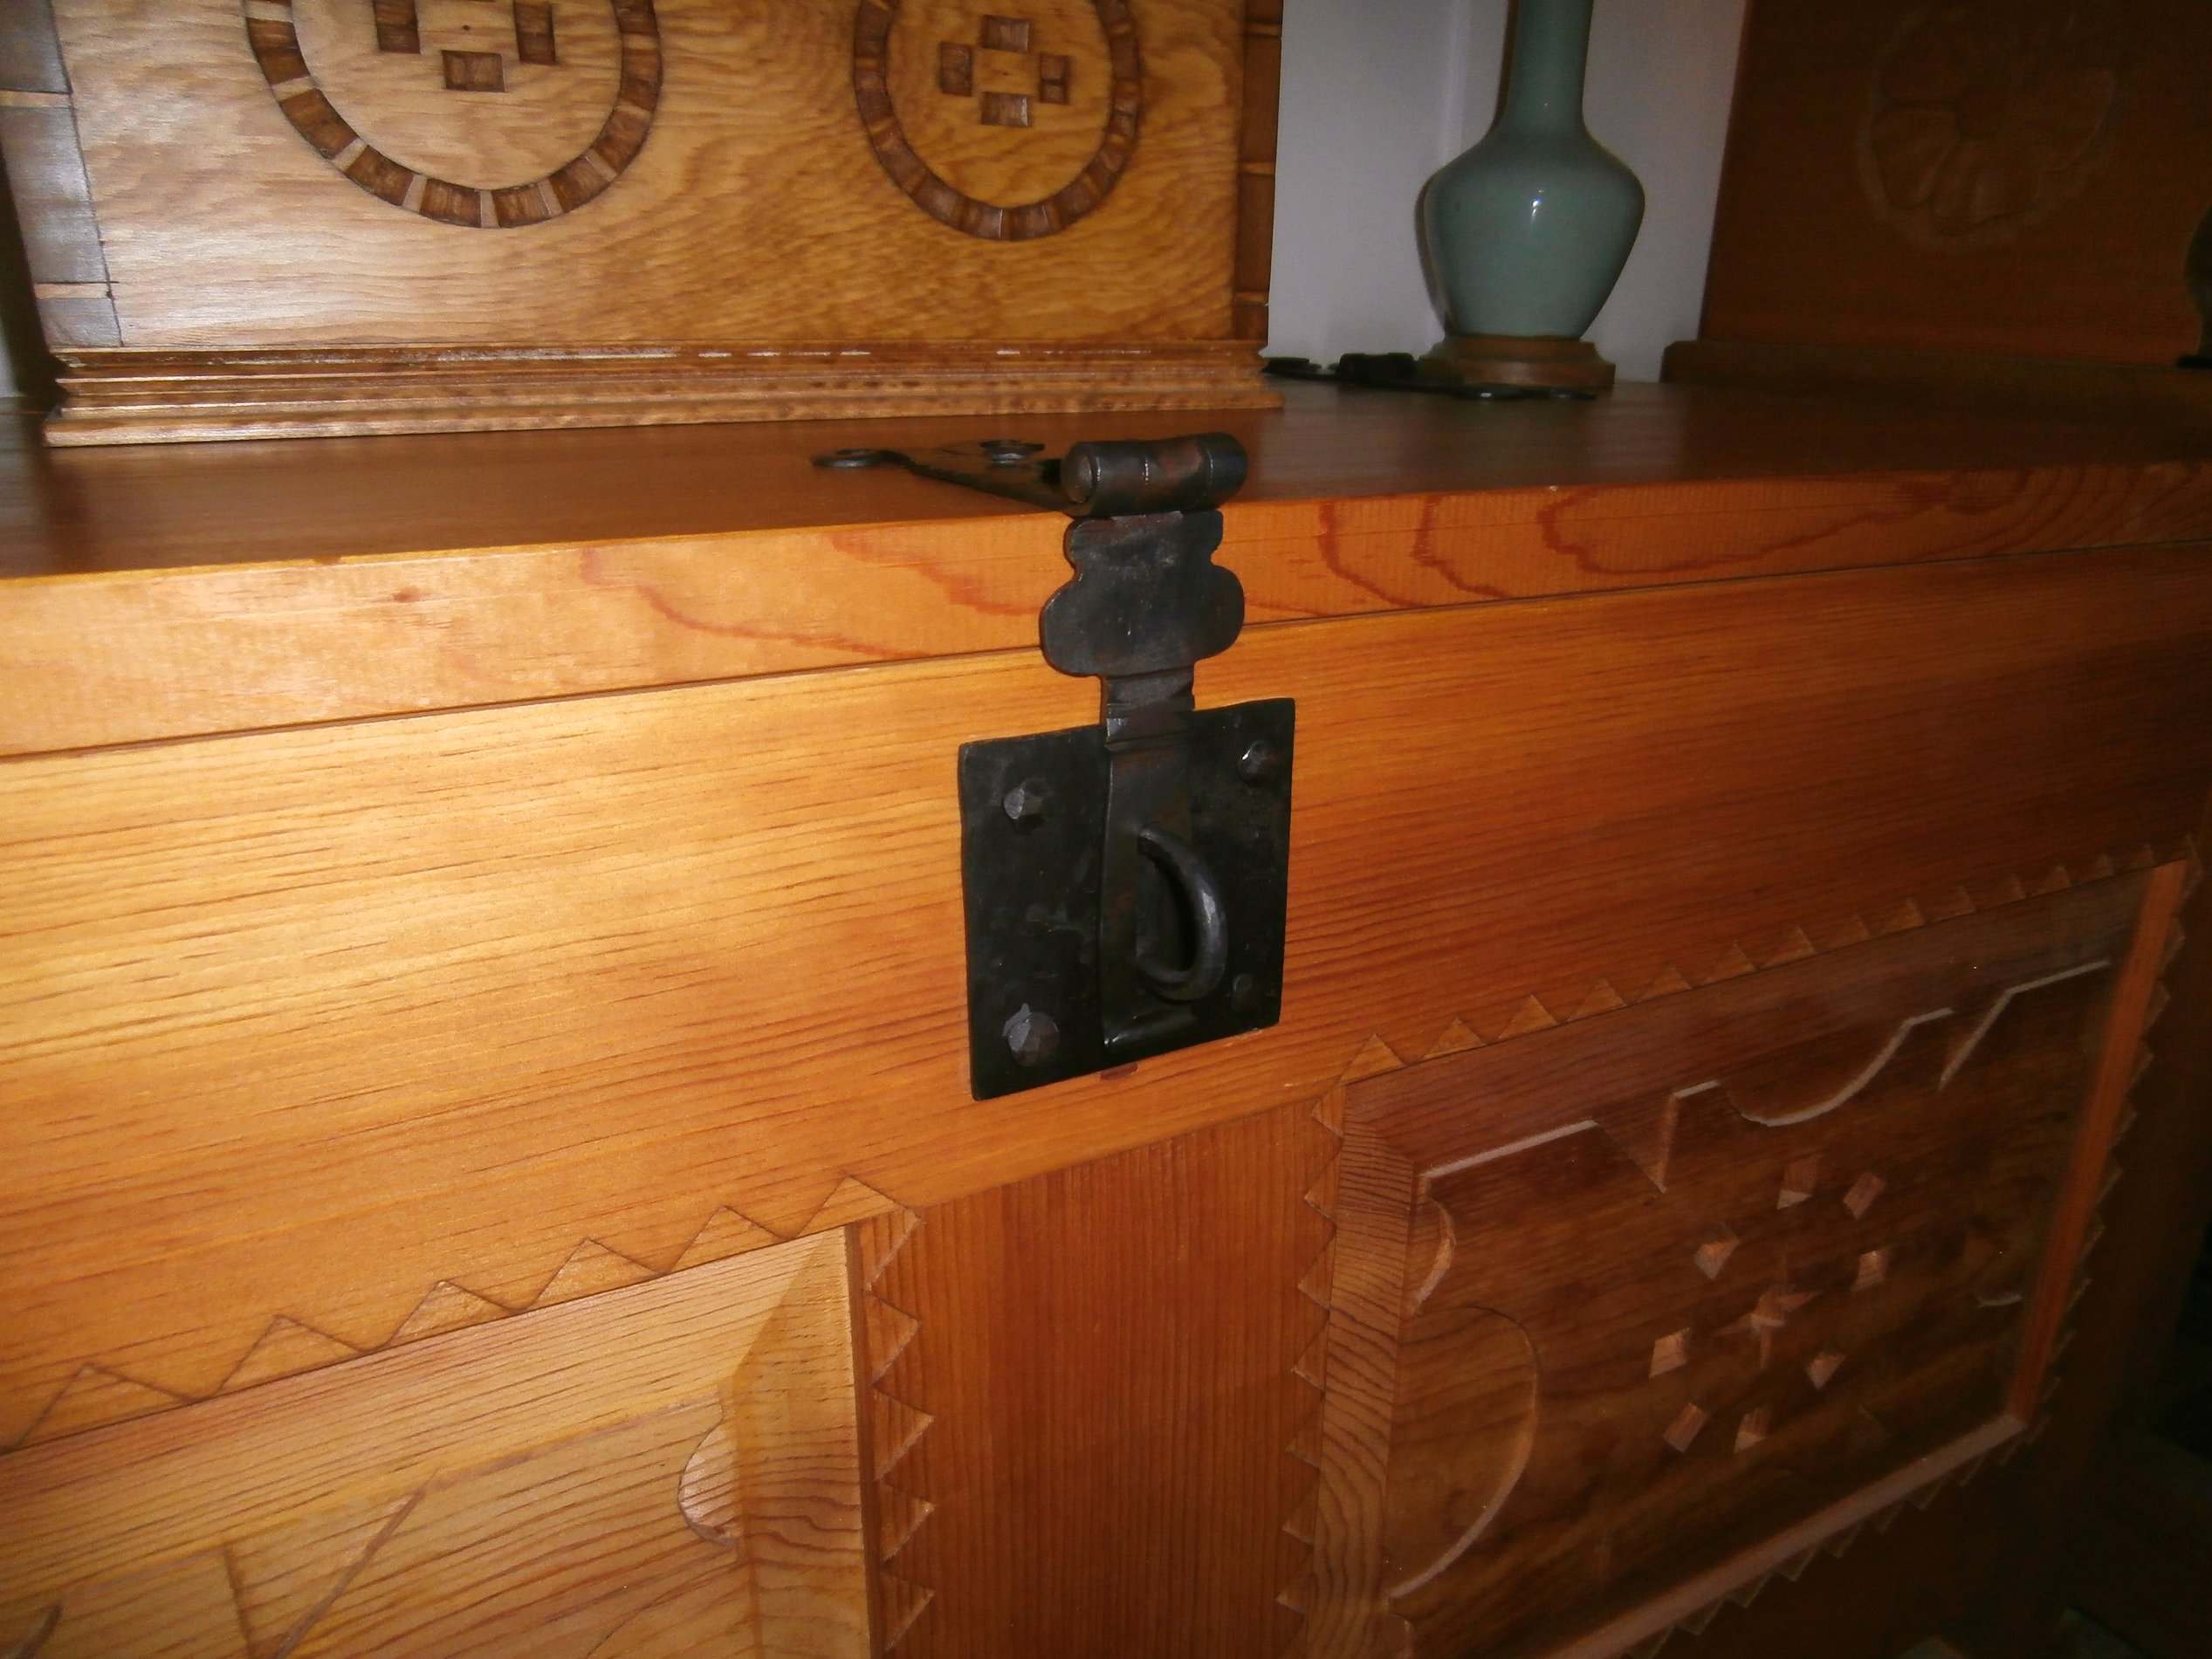
All that remained was to forge some nails, drill the holes for the nails in the hinges and hasp, heat the parts to a black heat in the forge and coat the parts with Johnson’s Floor Wax while the steel is still hot. This leaves a nice, semi-gloss surface finish that offers some protection from corrosion. Obviously, the next step was to mount the hardware on my chest. The next four photos show the mounted hinges and hasp on my chest as it sits in my living room.