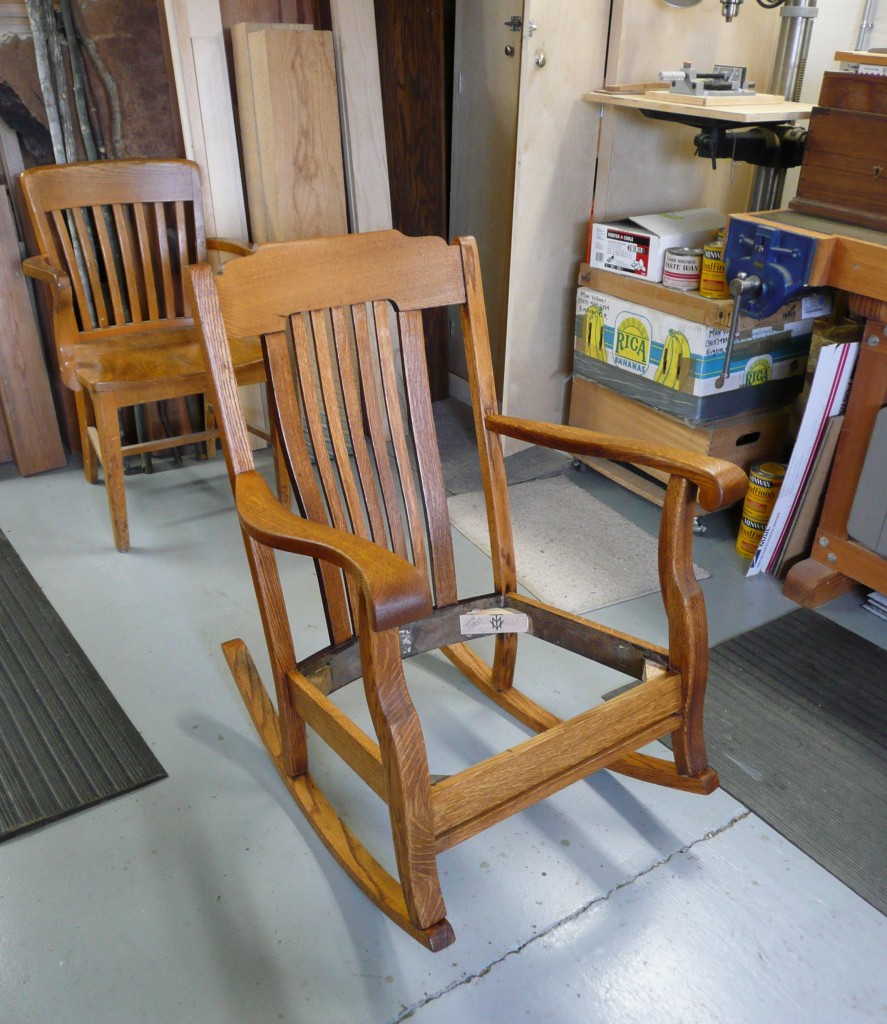
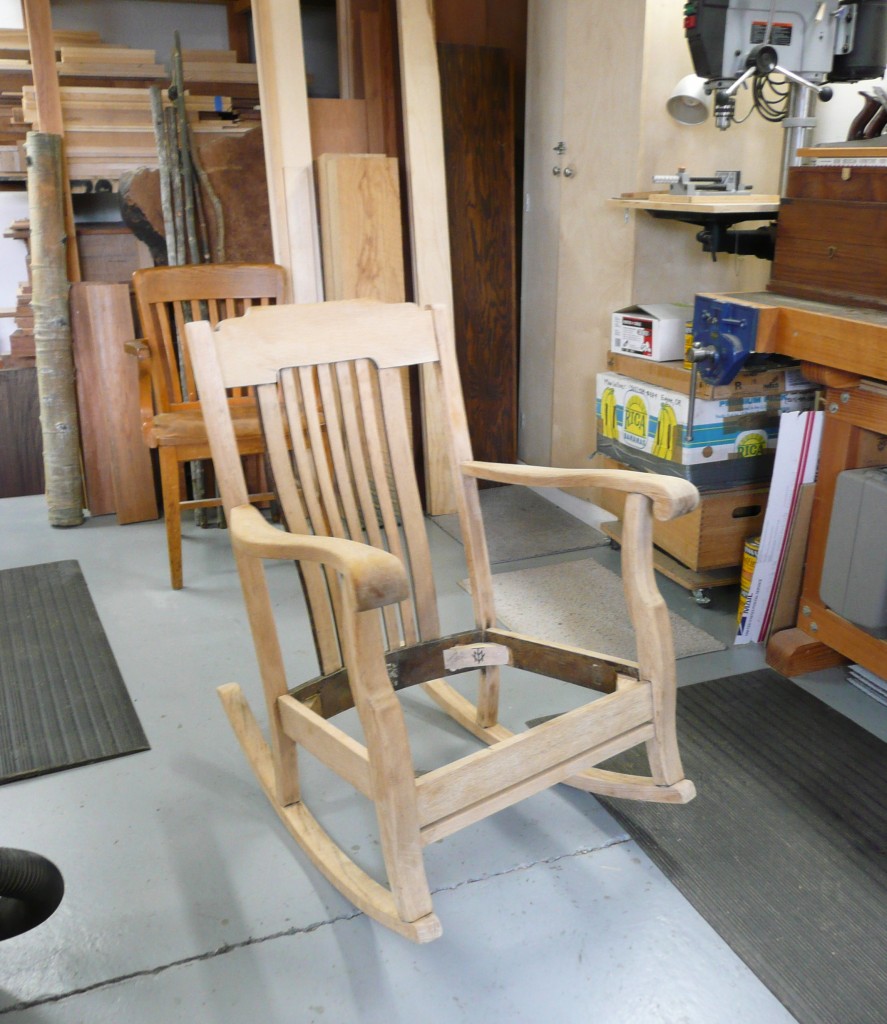
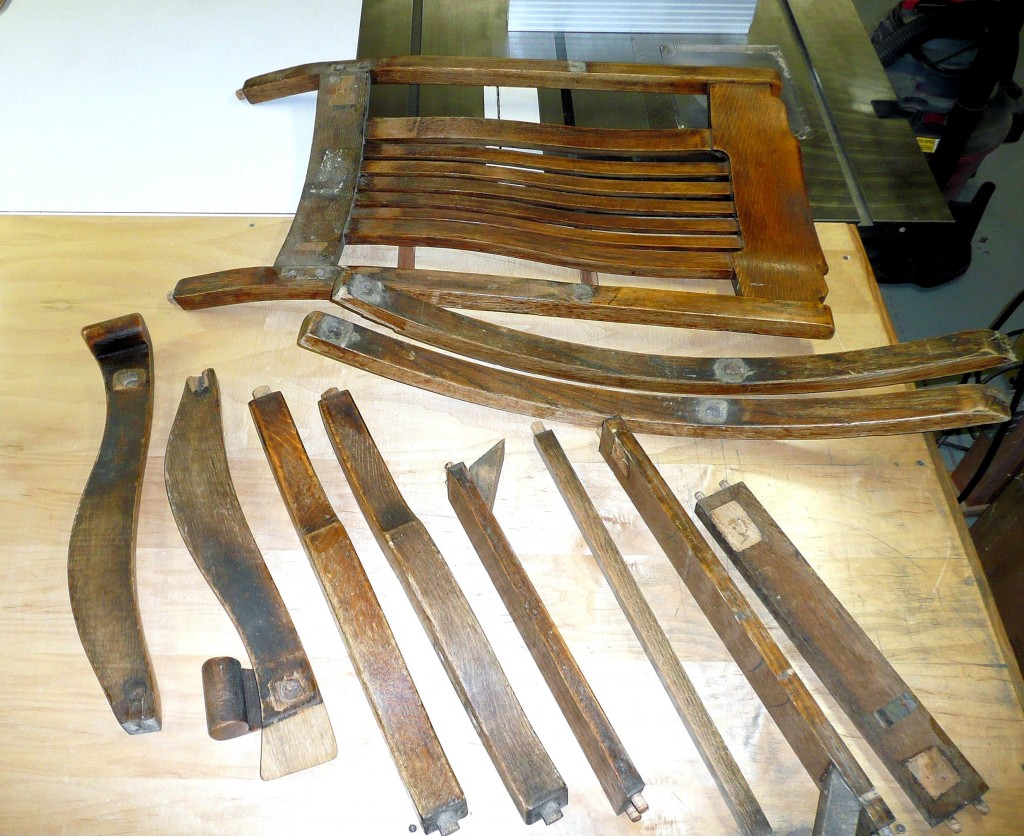
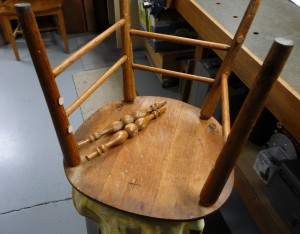
I once had a dog, a fine dog with a stout heart, named “Danger” . . . actually his full name was “Nick Danger, Third Eye.” When Danger was a puppy, he liked to chew on things, as all puppies do. When my back was turned, he went to work on the rungs of an old oak chair I found at a flea market. He chewed all the way through a side rung and mangled the two turned rungs in front as you can see below. It was that way for 20 years. (Click on any image to enlarge)
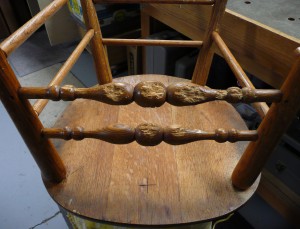
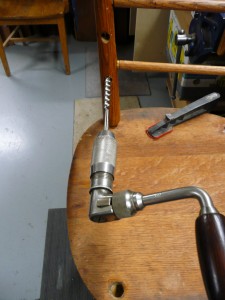
With Danger a distant but fond memory, I finally decided it was time to do something about the chair. To begin, I cut the old front rungs off and drilled out the sockets.
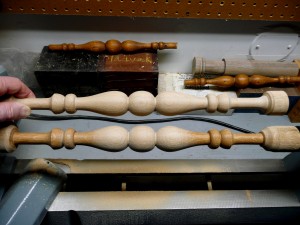
I pulled some white oak from my stash and went to work on my lathe to turn one new side rung and two new front rungs, modeled as closely as possible after the originals.
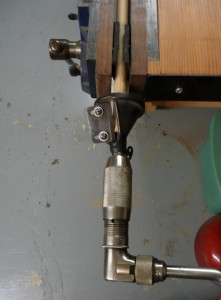
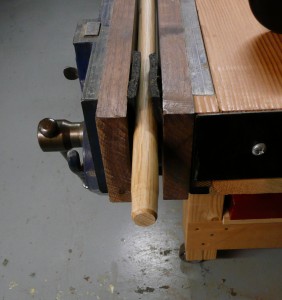
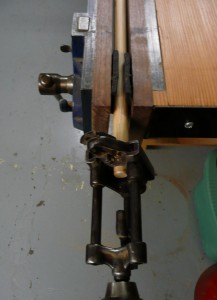
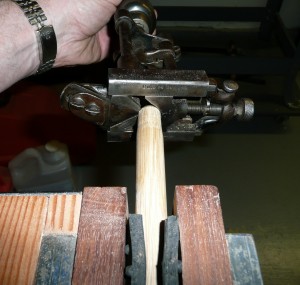
Next, I turned to two tools from the 18th century to prepare the new parts to go in the leg sockets. The first, a spoke pointer mounted on a hand brace at the bottom of the following picture, is used somewhat like a pencil sharpener to trim down the end of the rung so that the second tool, a tenon cutter also mounted on a brace in the middle of the picture, can be used to cut down the end of the rung to fit the leg socket.
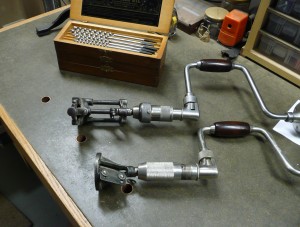
The process, as the following sequence shows, is to “point” the rung and then cut it down to a pre-determined diameter.
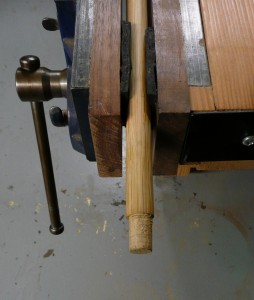
All that remained after the ends were cut down to size was to temporarily remove one front leg so that the new rungs could be inserted and glued in place. Then, with a new coat of Minwax, Danger’s chair was restored to something close to it’s original appearance.
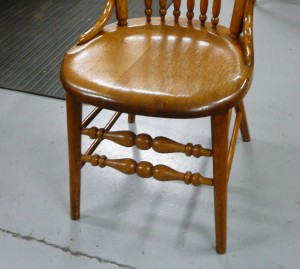
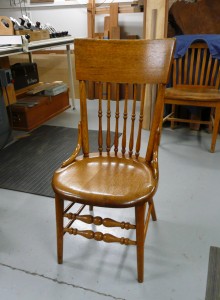
All is forgiven, Danger!
