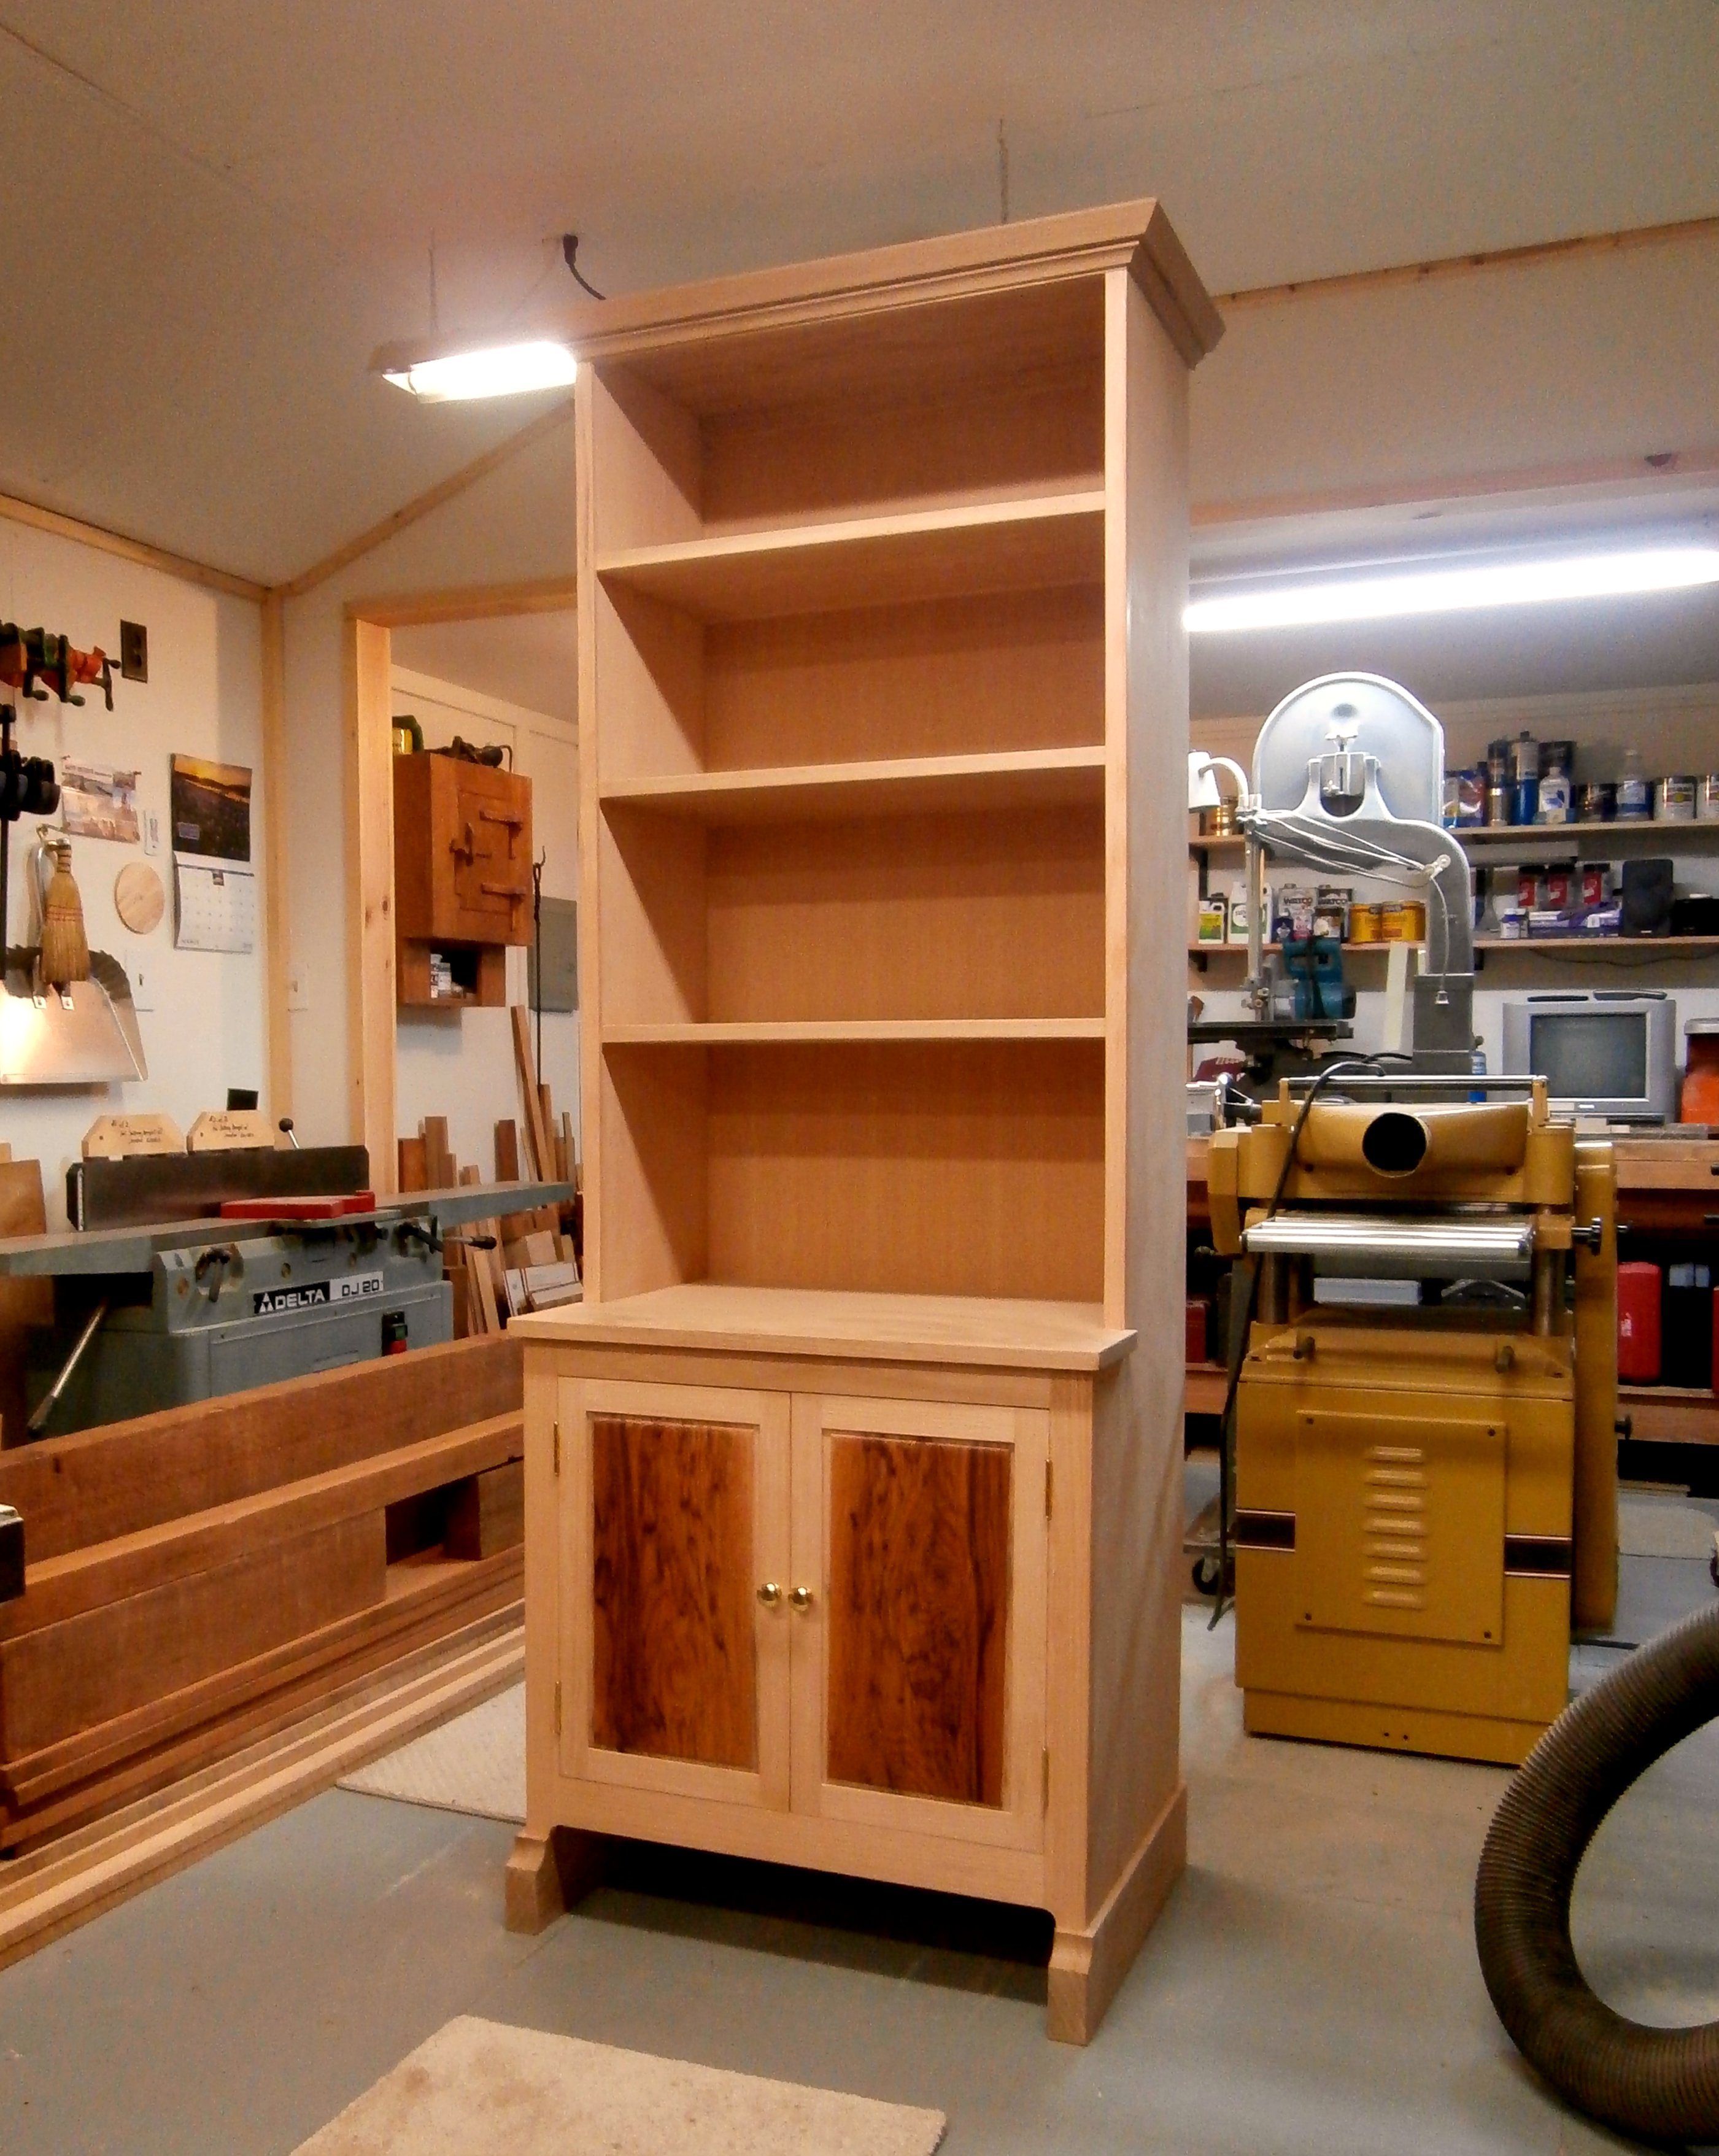
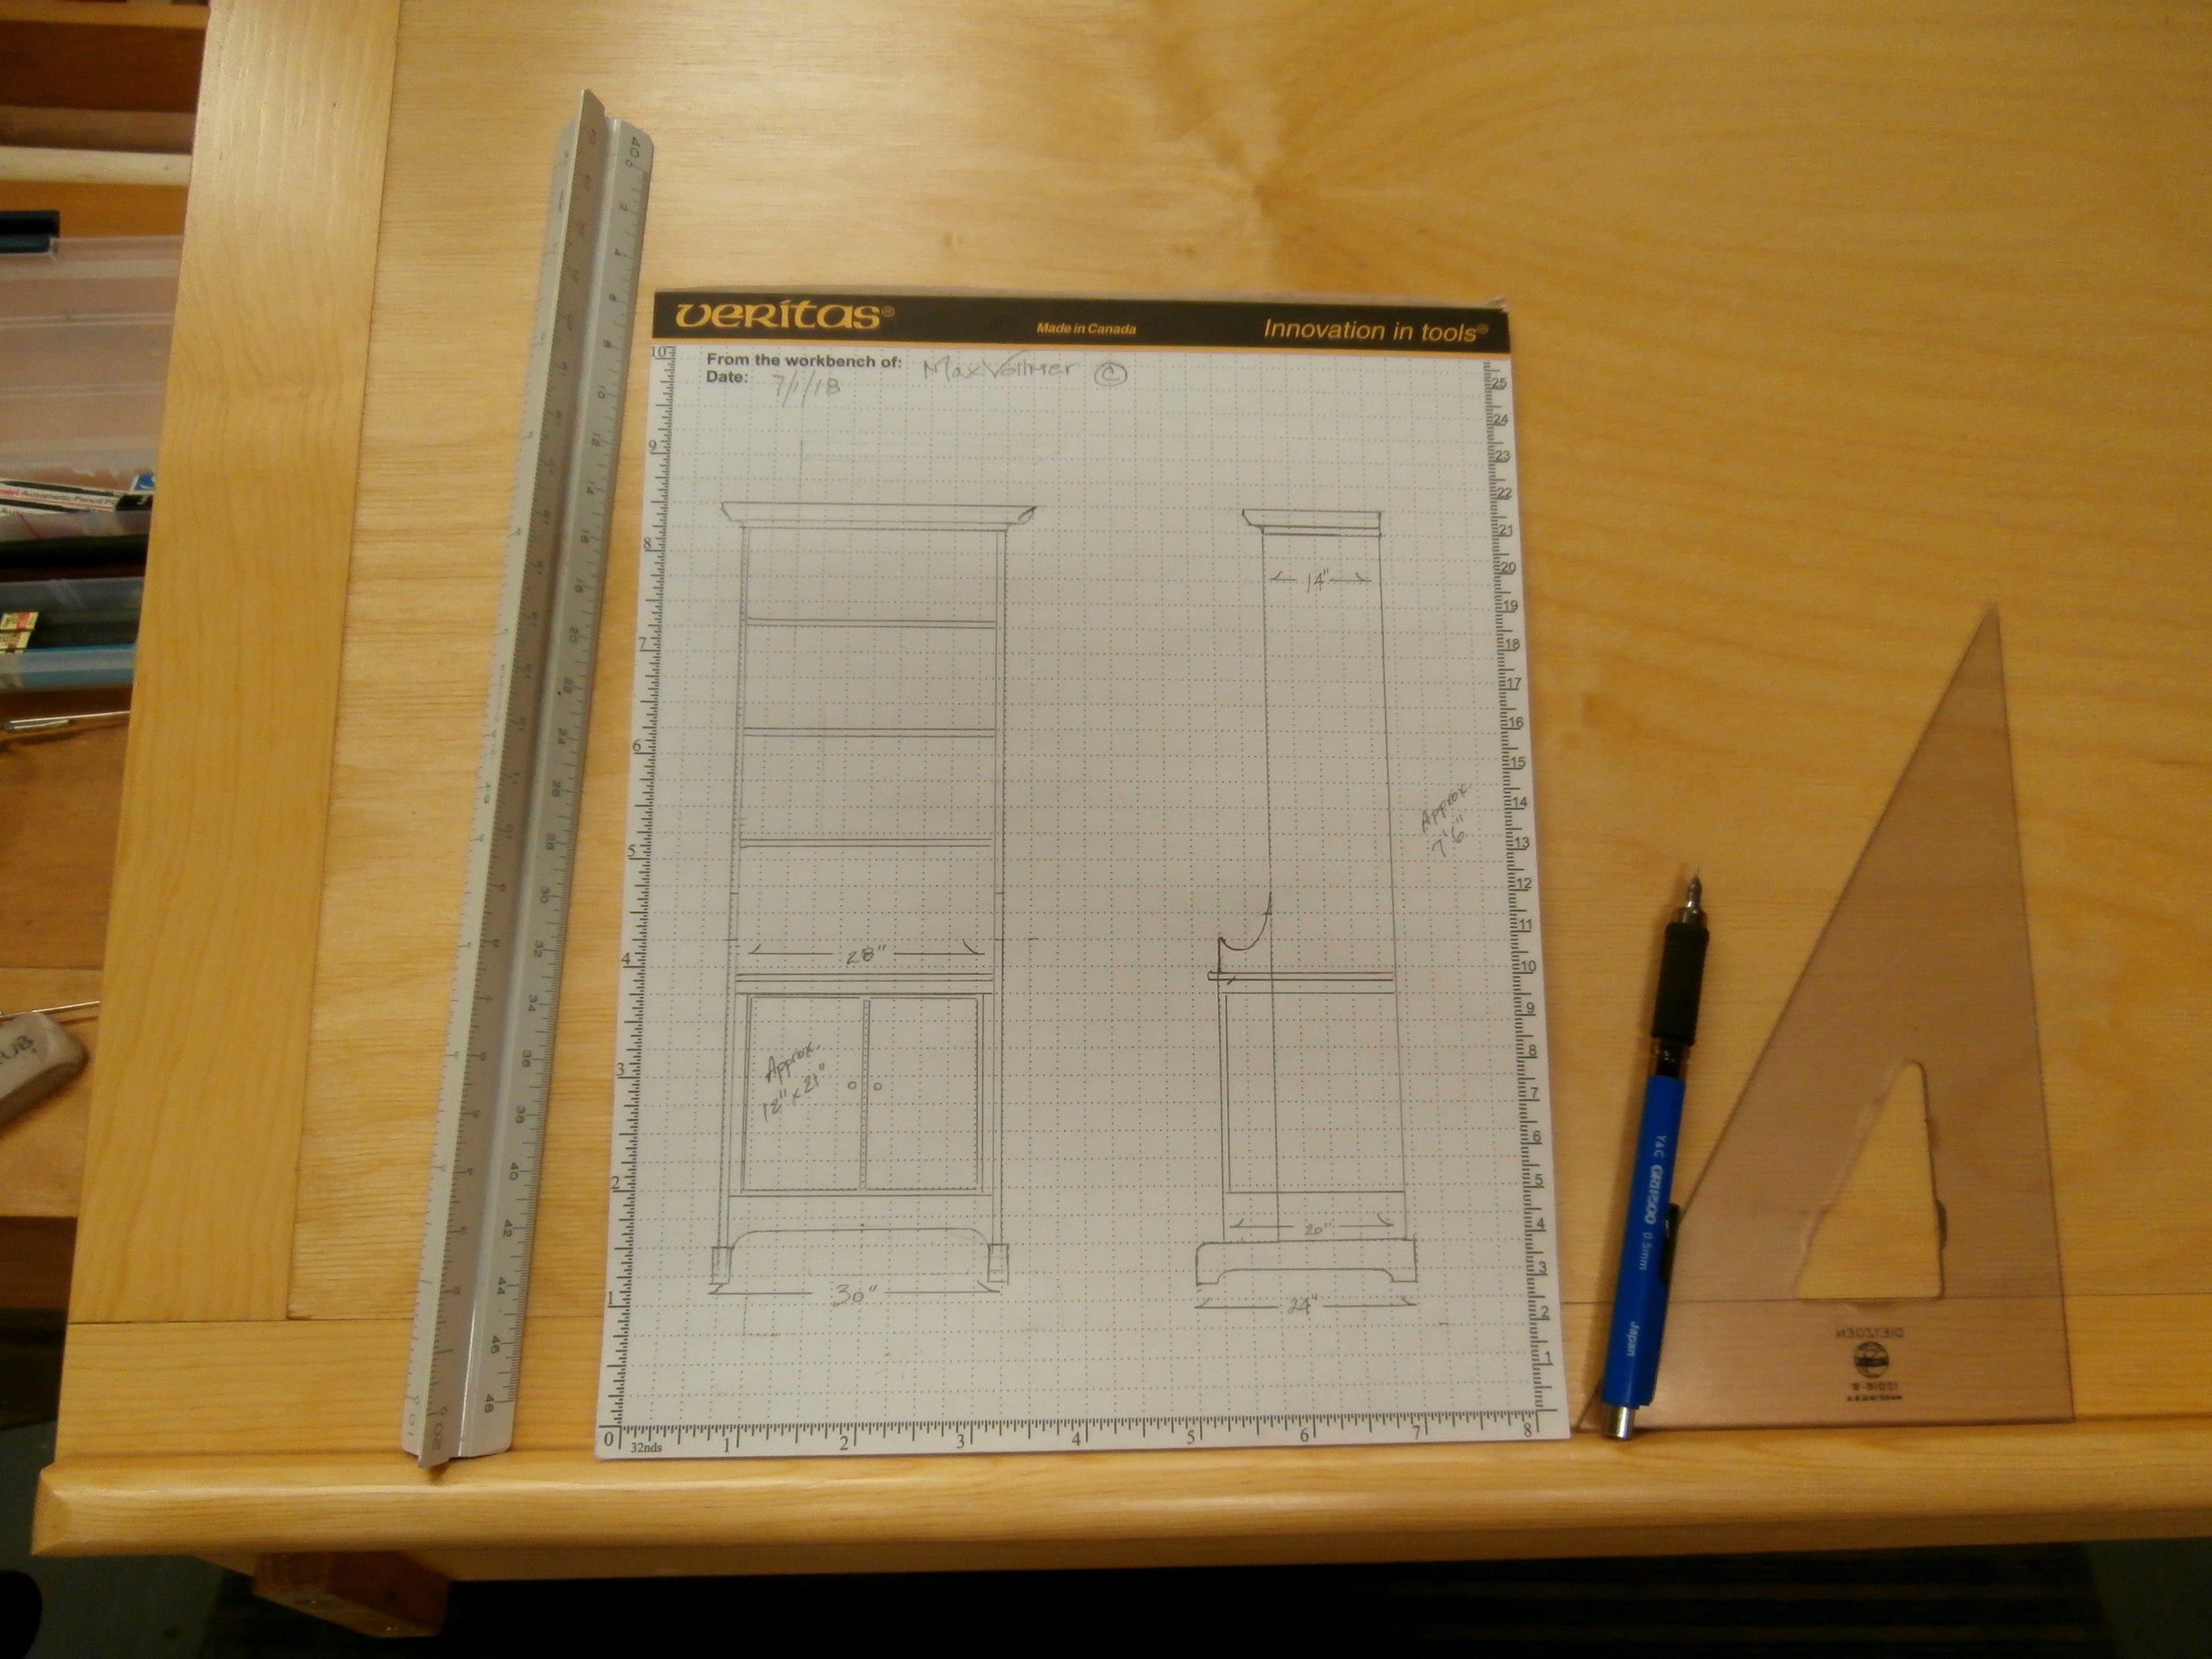
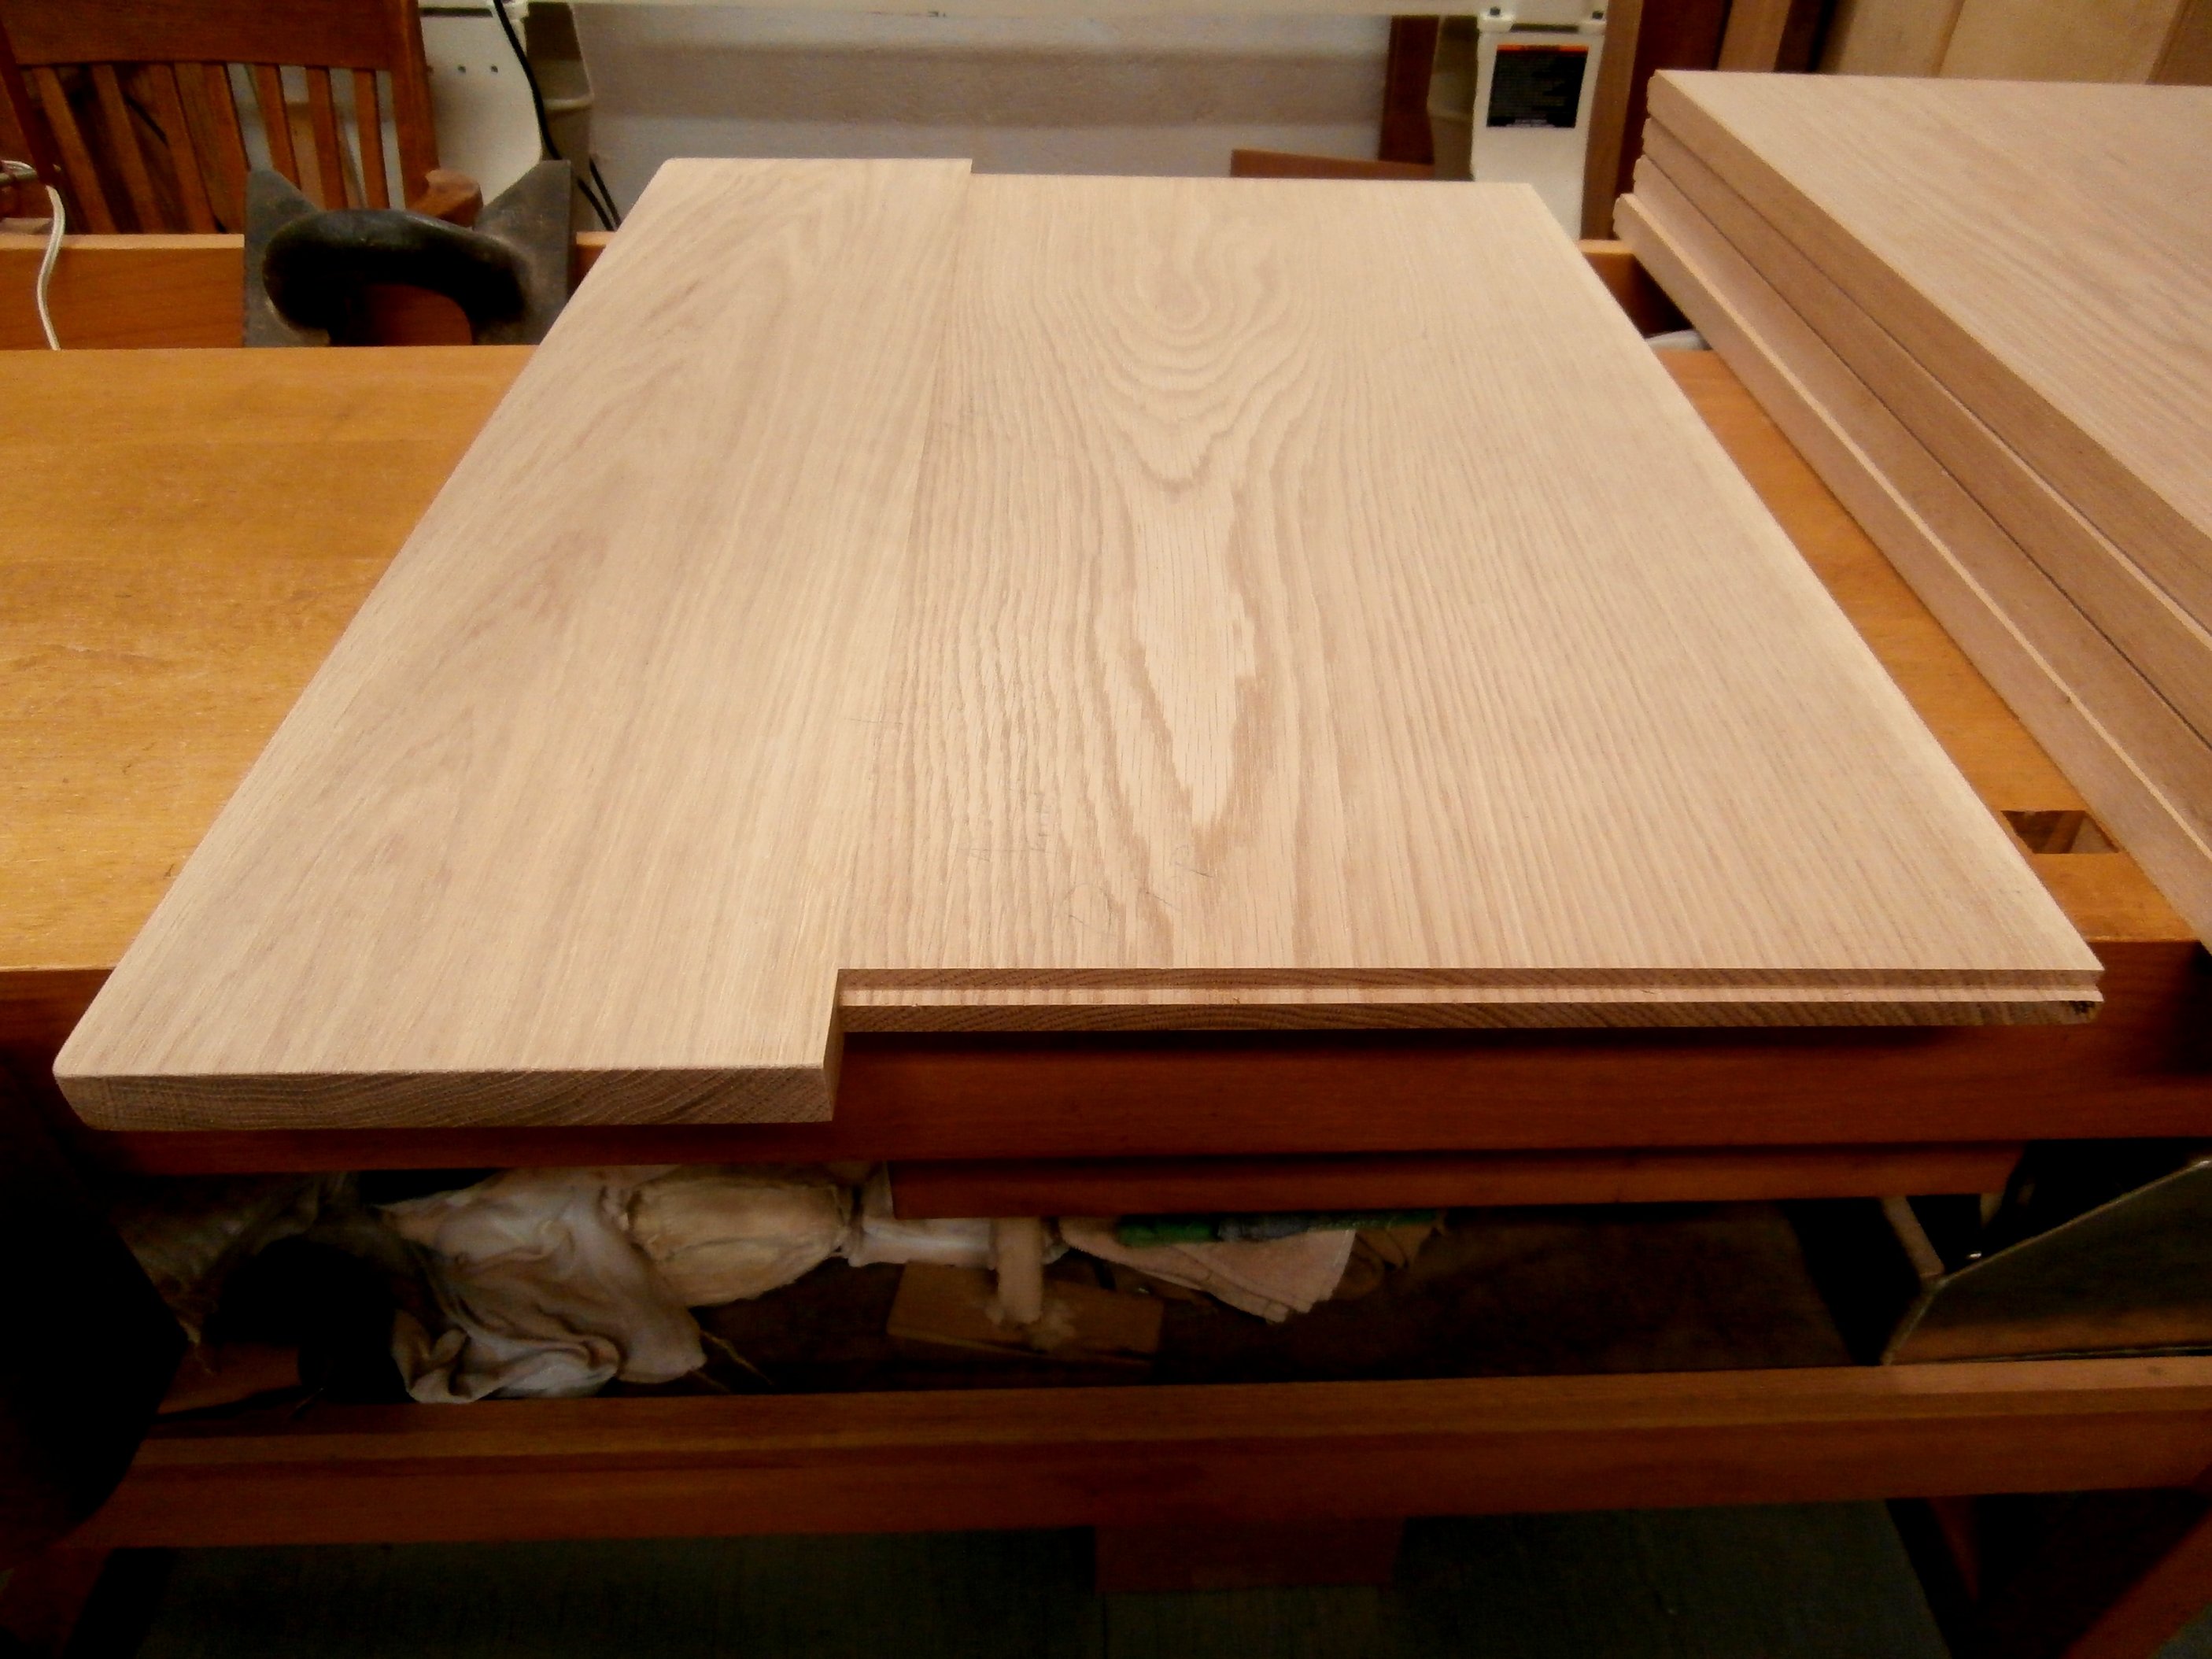
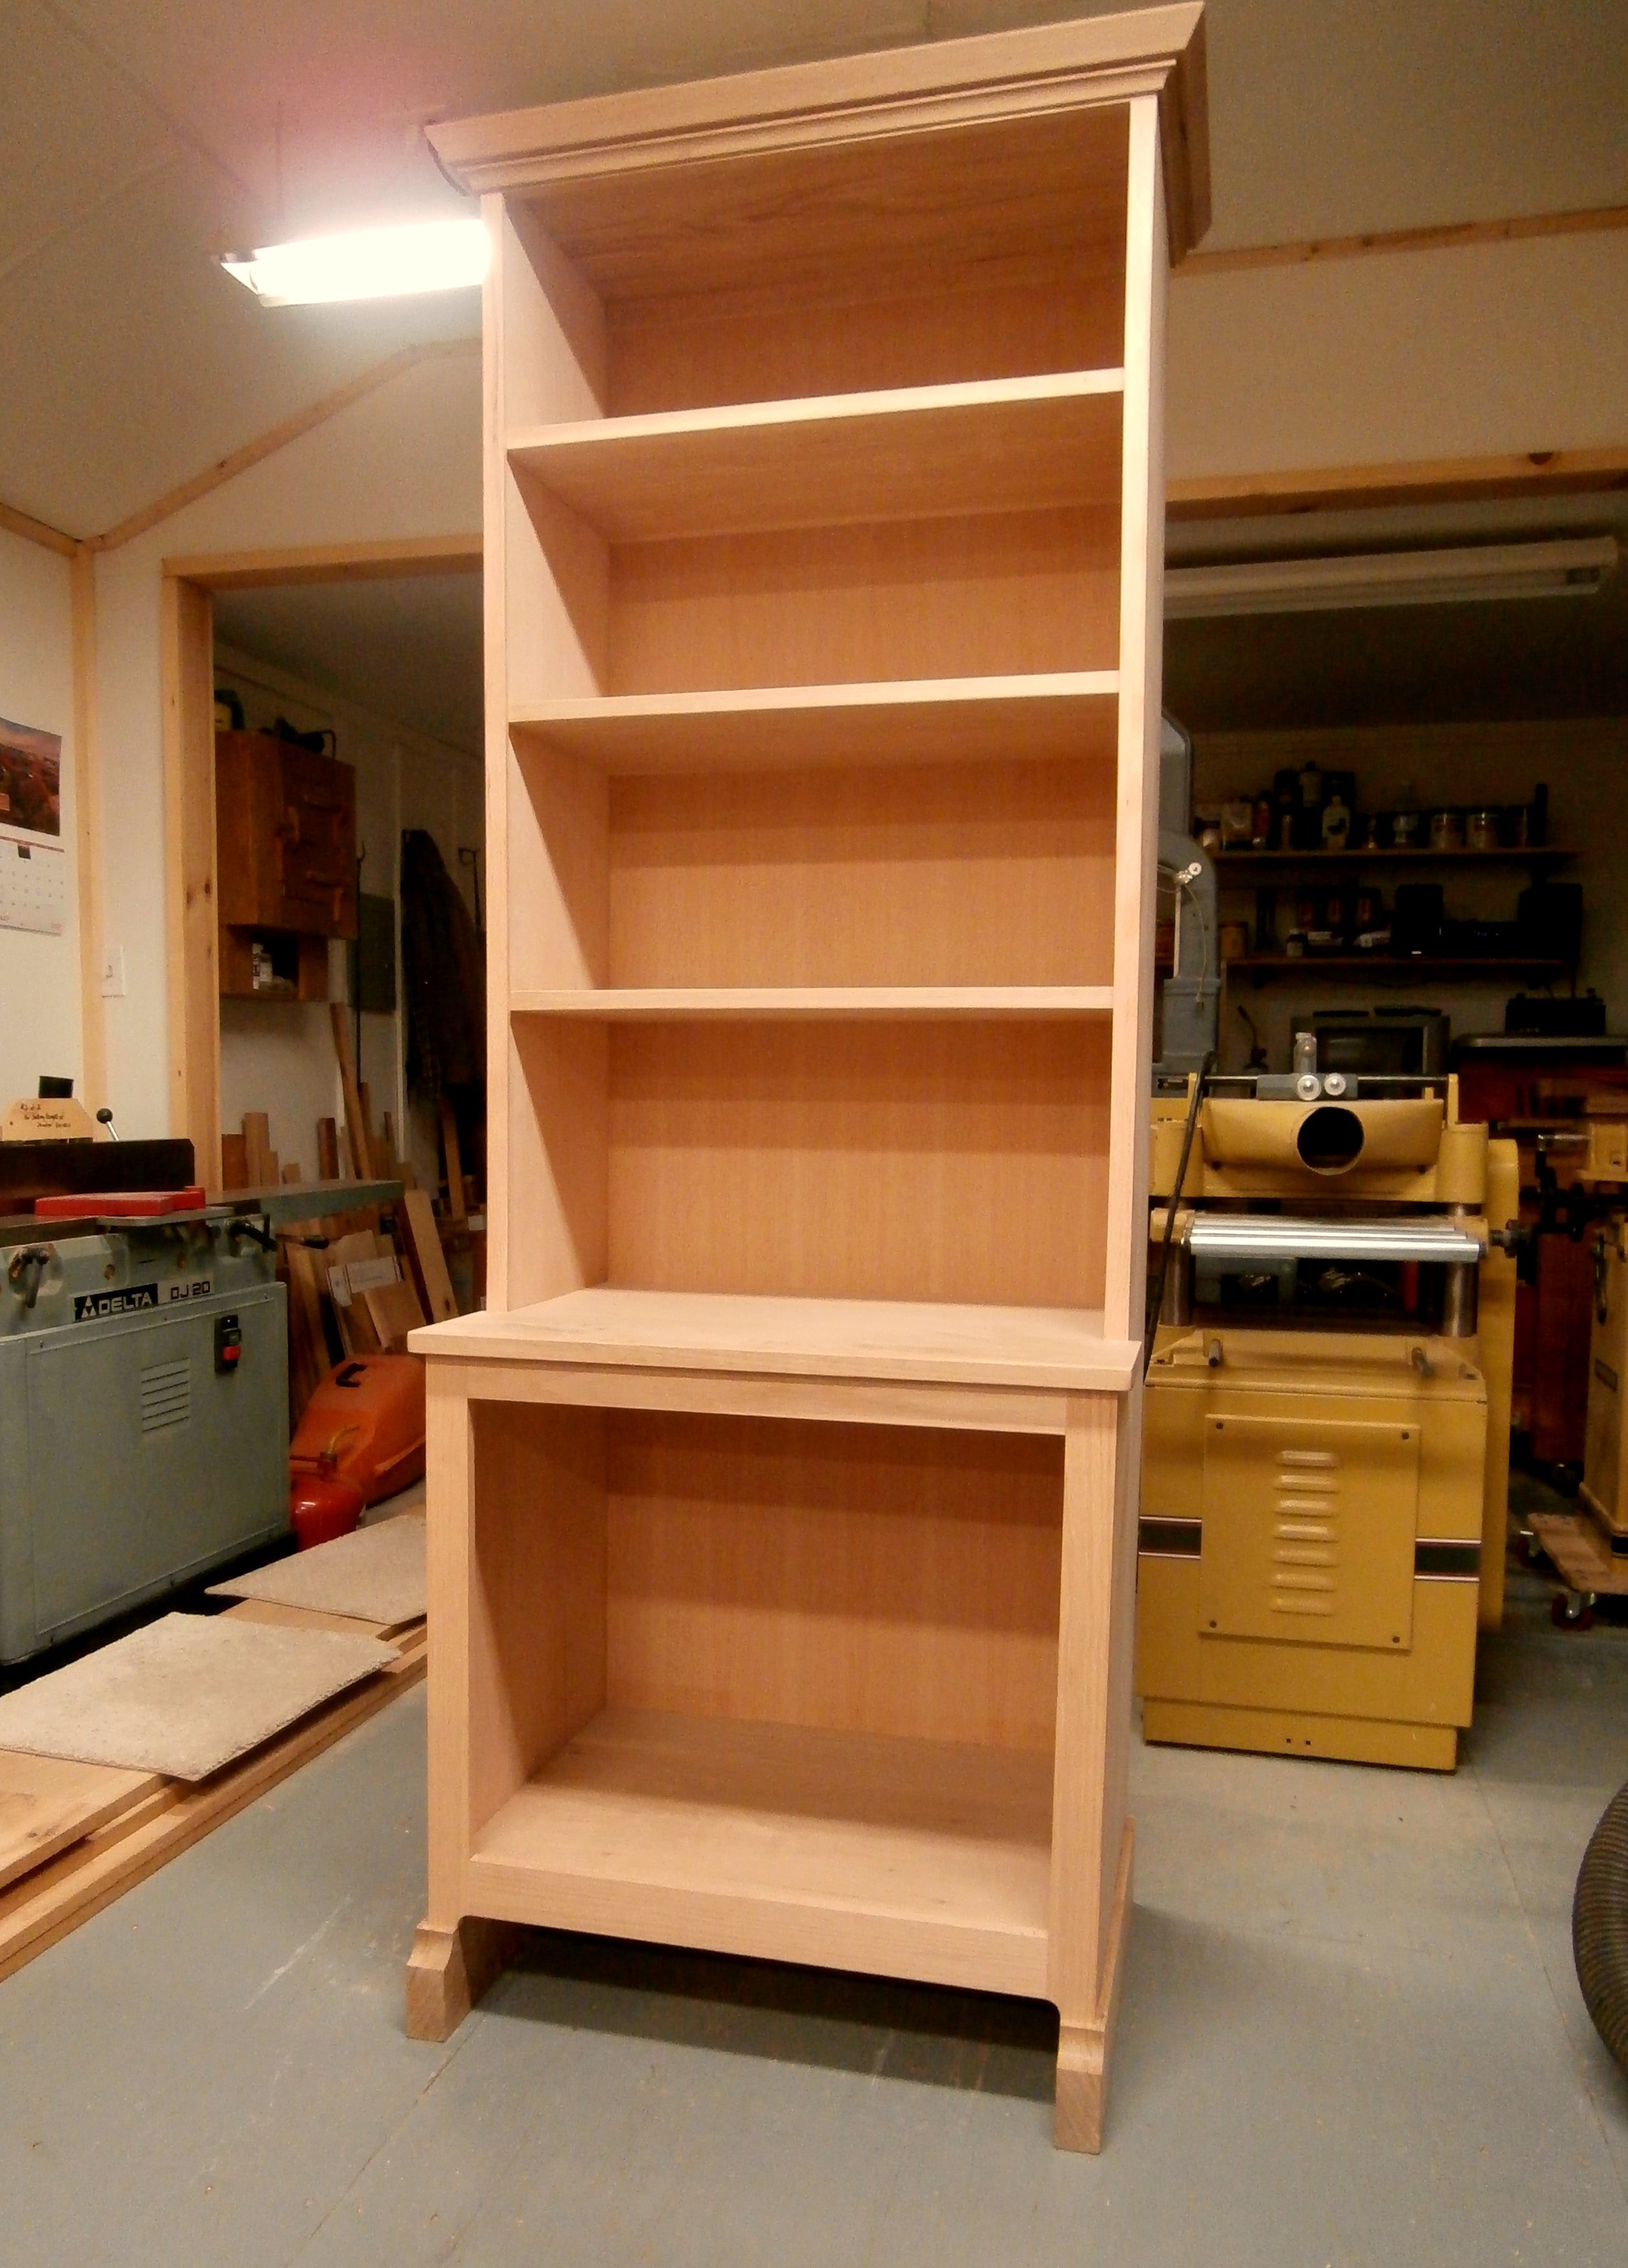
I designed my tall bookcase with a small footprint to hold a quantity of books without occupying a lot of floor space. The case is just under 83″ tall, but is only 31″ wide. No one wants a bookcase toppling over on them, so I designed the lower cabinet section and base to project forward, thereby bracing the upper portion. The sides of the case are primarily made from two full length, 14″ wide, clear, 1″ thick, red oak boards . . . too nice to be cut down. I started with a simple but scaled drawing to guide my work. I worked out the details and made separate drawings as I went along. [All photos ![]() Max Vollmer, Click on any photo to enlarge]
Max Vollmer, Click on any photo to enlarge]
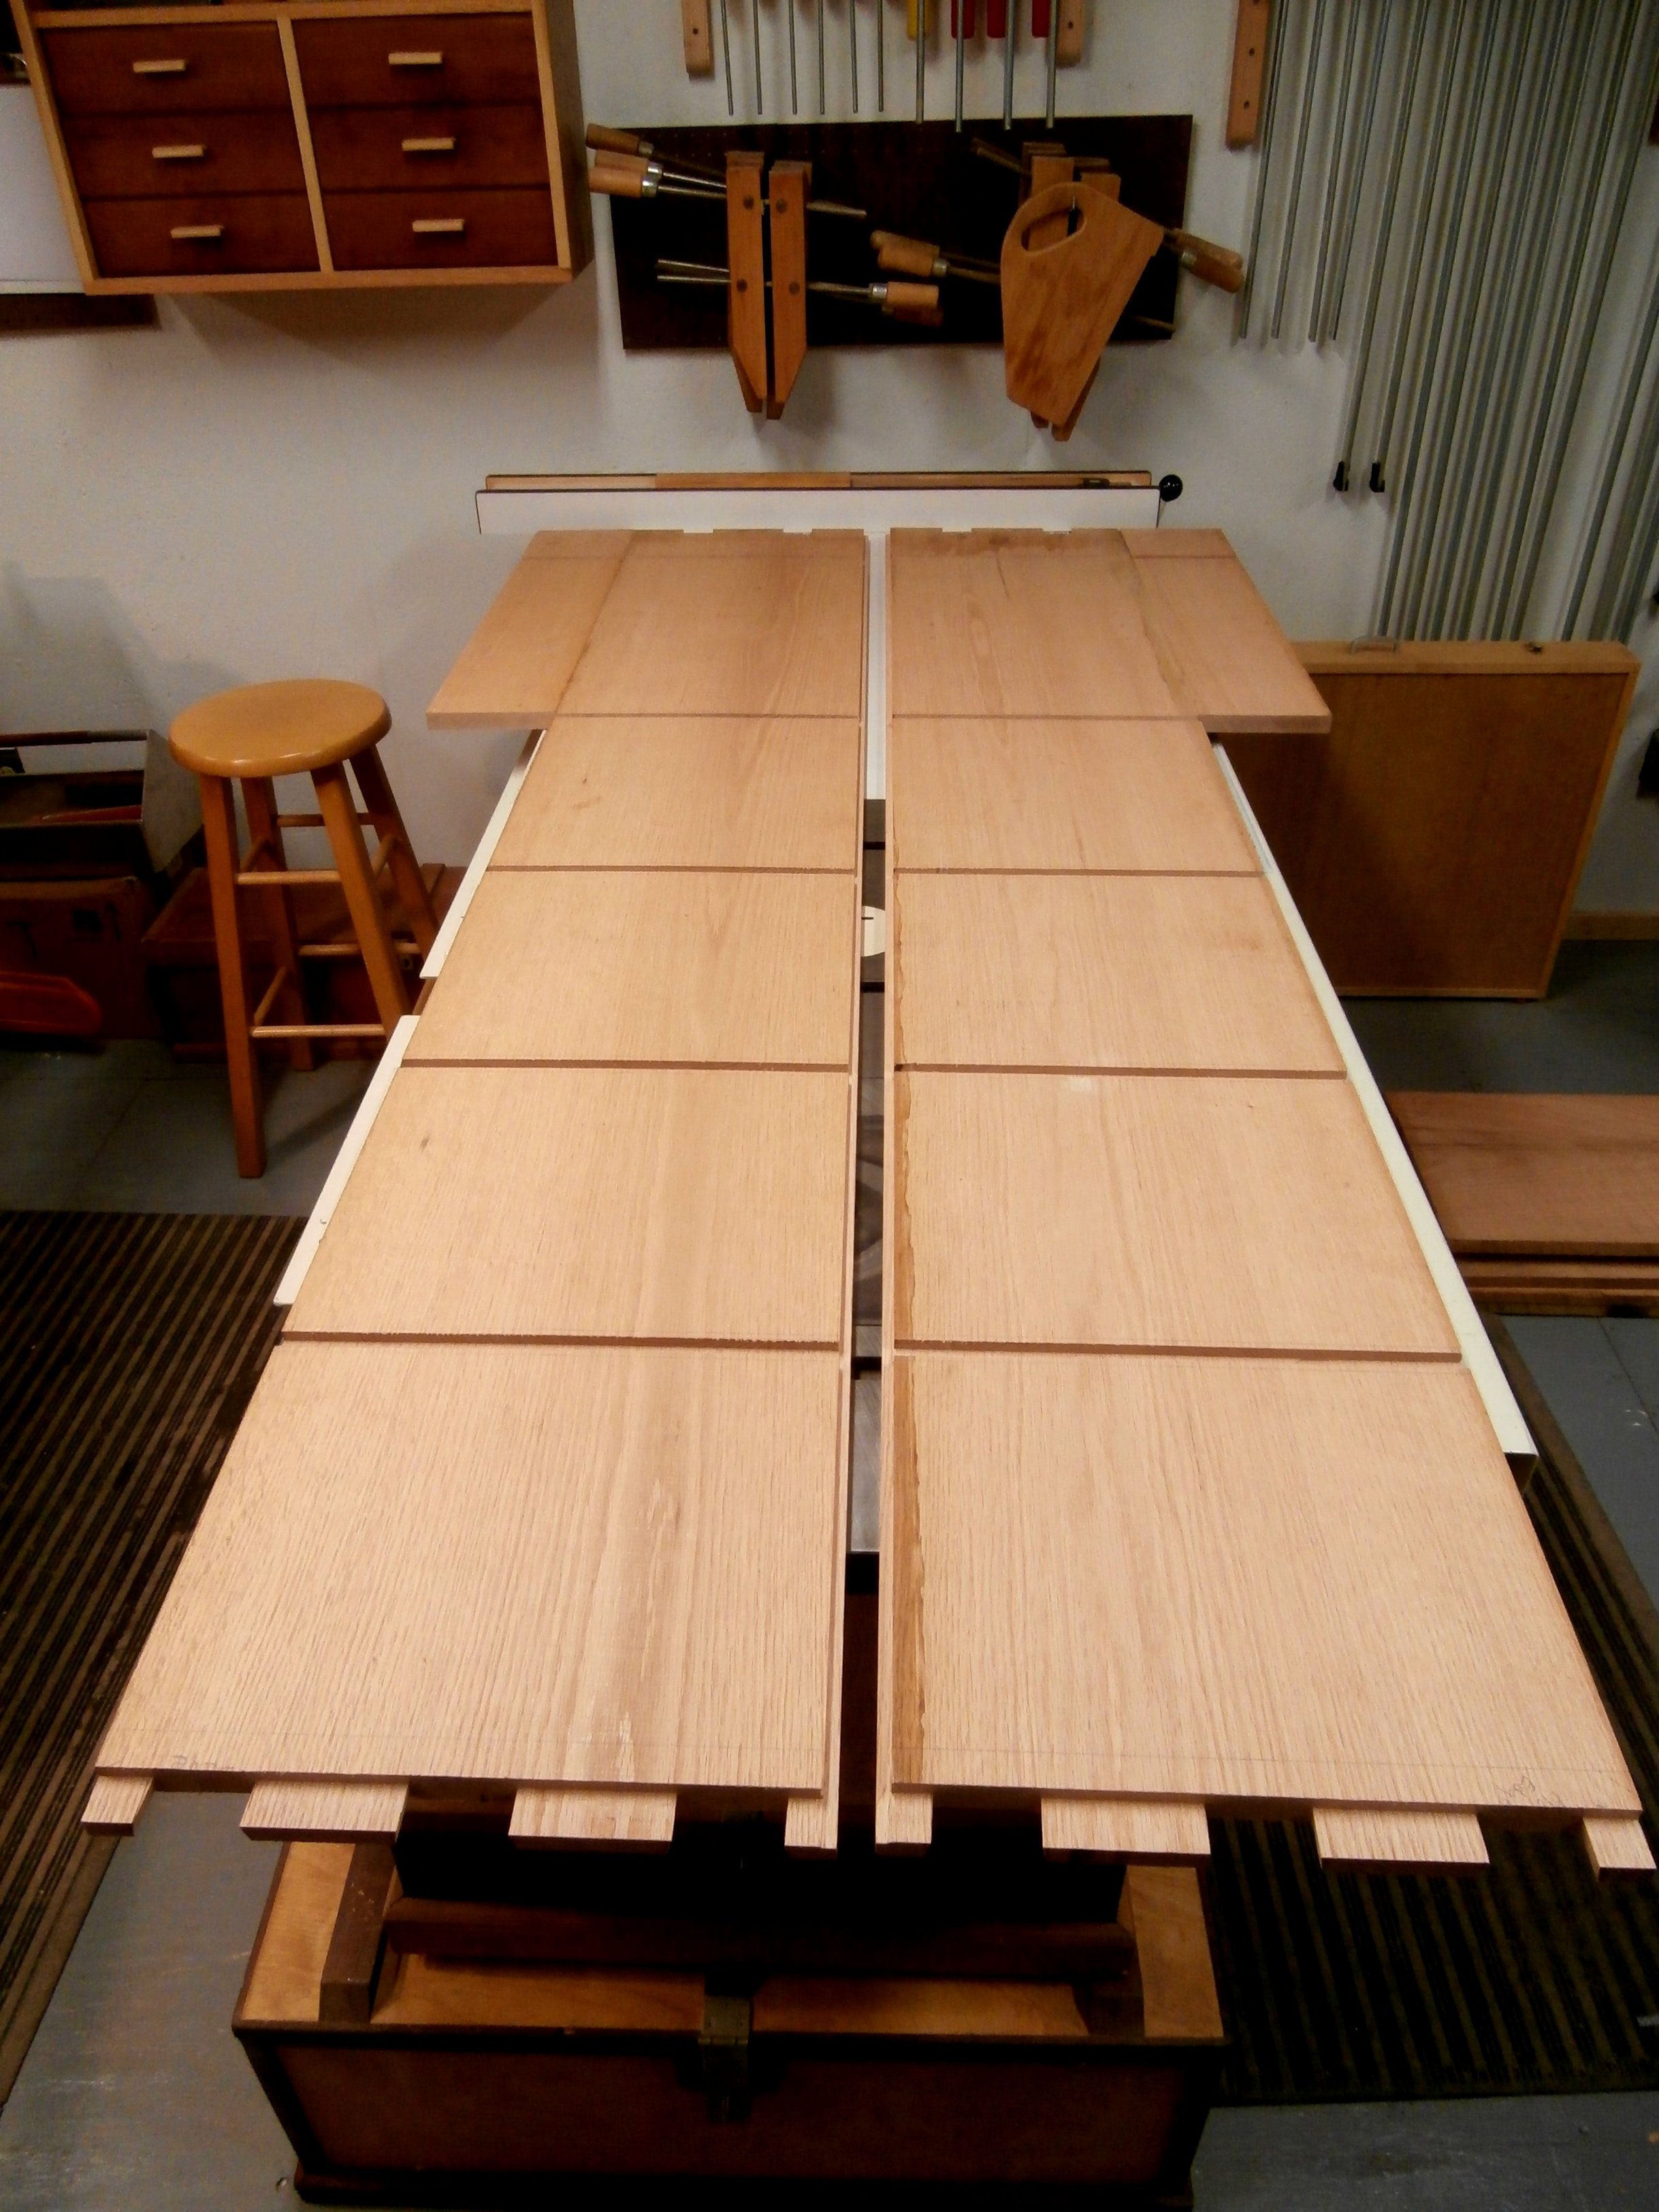
Having cut tongues on the individual 14″ wide, 1″ thick shelf boards, including the extra deep shelf that doubles as the top for the lower cabinet, so that they would slide into the dadoes on the sides, I was faced with the initial assembly of the long case. As you can see, I set the two sides on edge on two sawhorses, then affixed the solid top and two bottom cross pieces, using four very long pipe clamps to hold everything in place while the glue dried. [Aside: an option would have been to join the shelves to the case sides with sliding dovetails, but I don’t have a shaper or router table so I opted for saving time.]


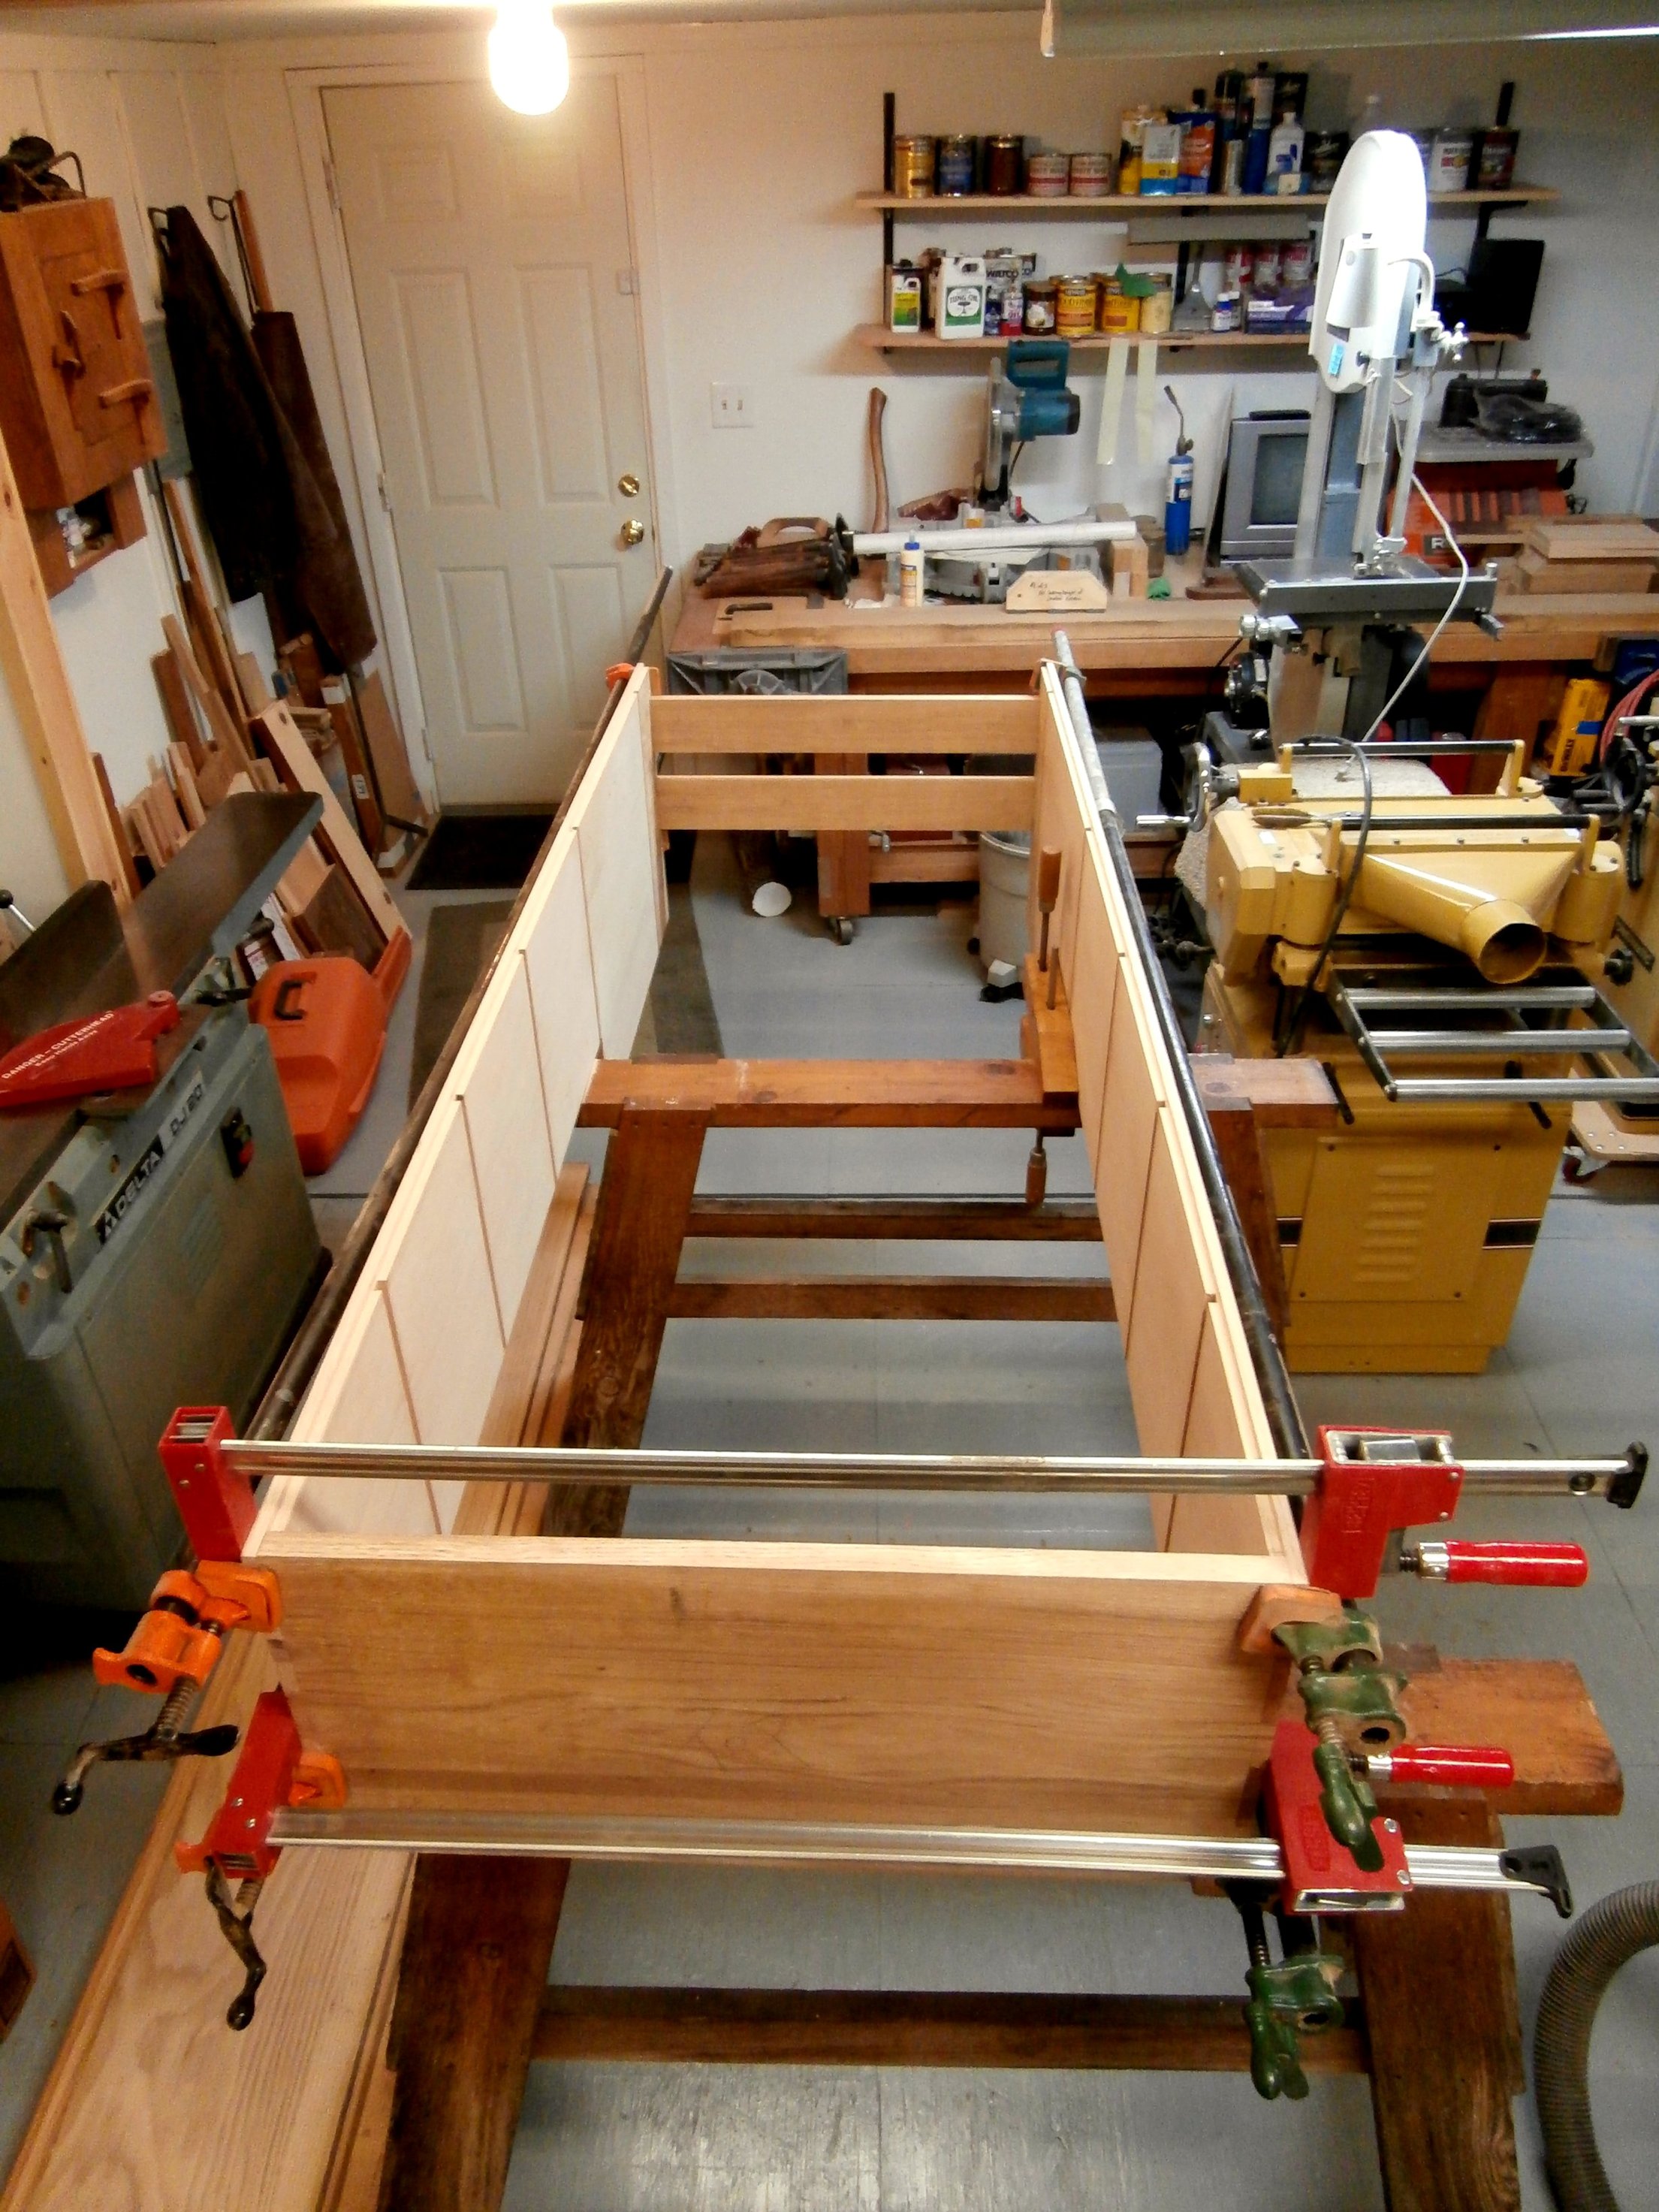
With the shelves glued in place, the basic case took shape. The shelf spacing is graduated from bottom to top: approx. 13, 12, 11, and 10 inches respectively. The dovetails joining the solid top to the sides can be seen in the photo below.
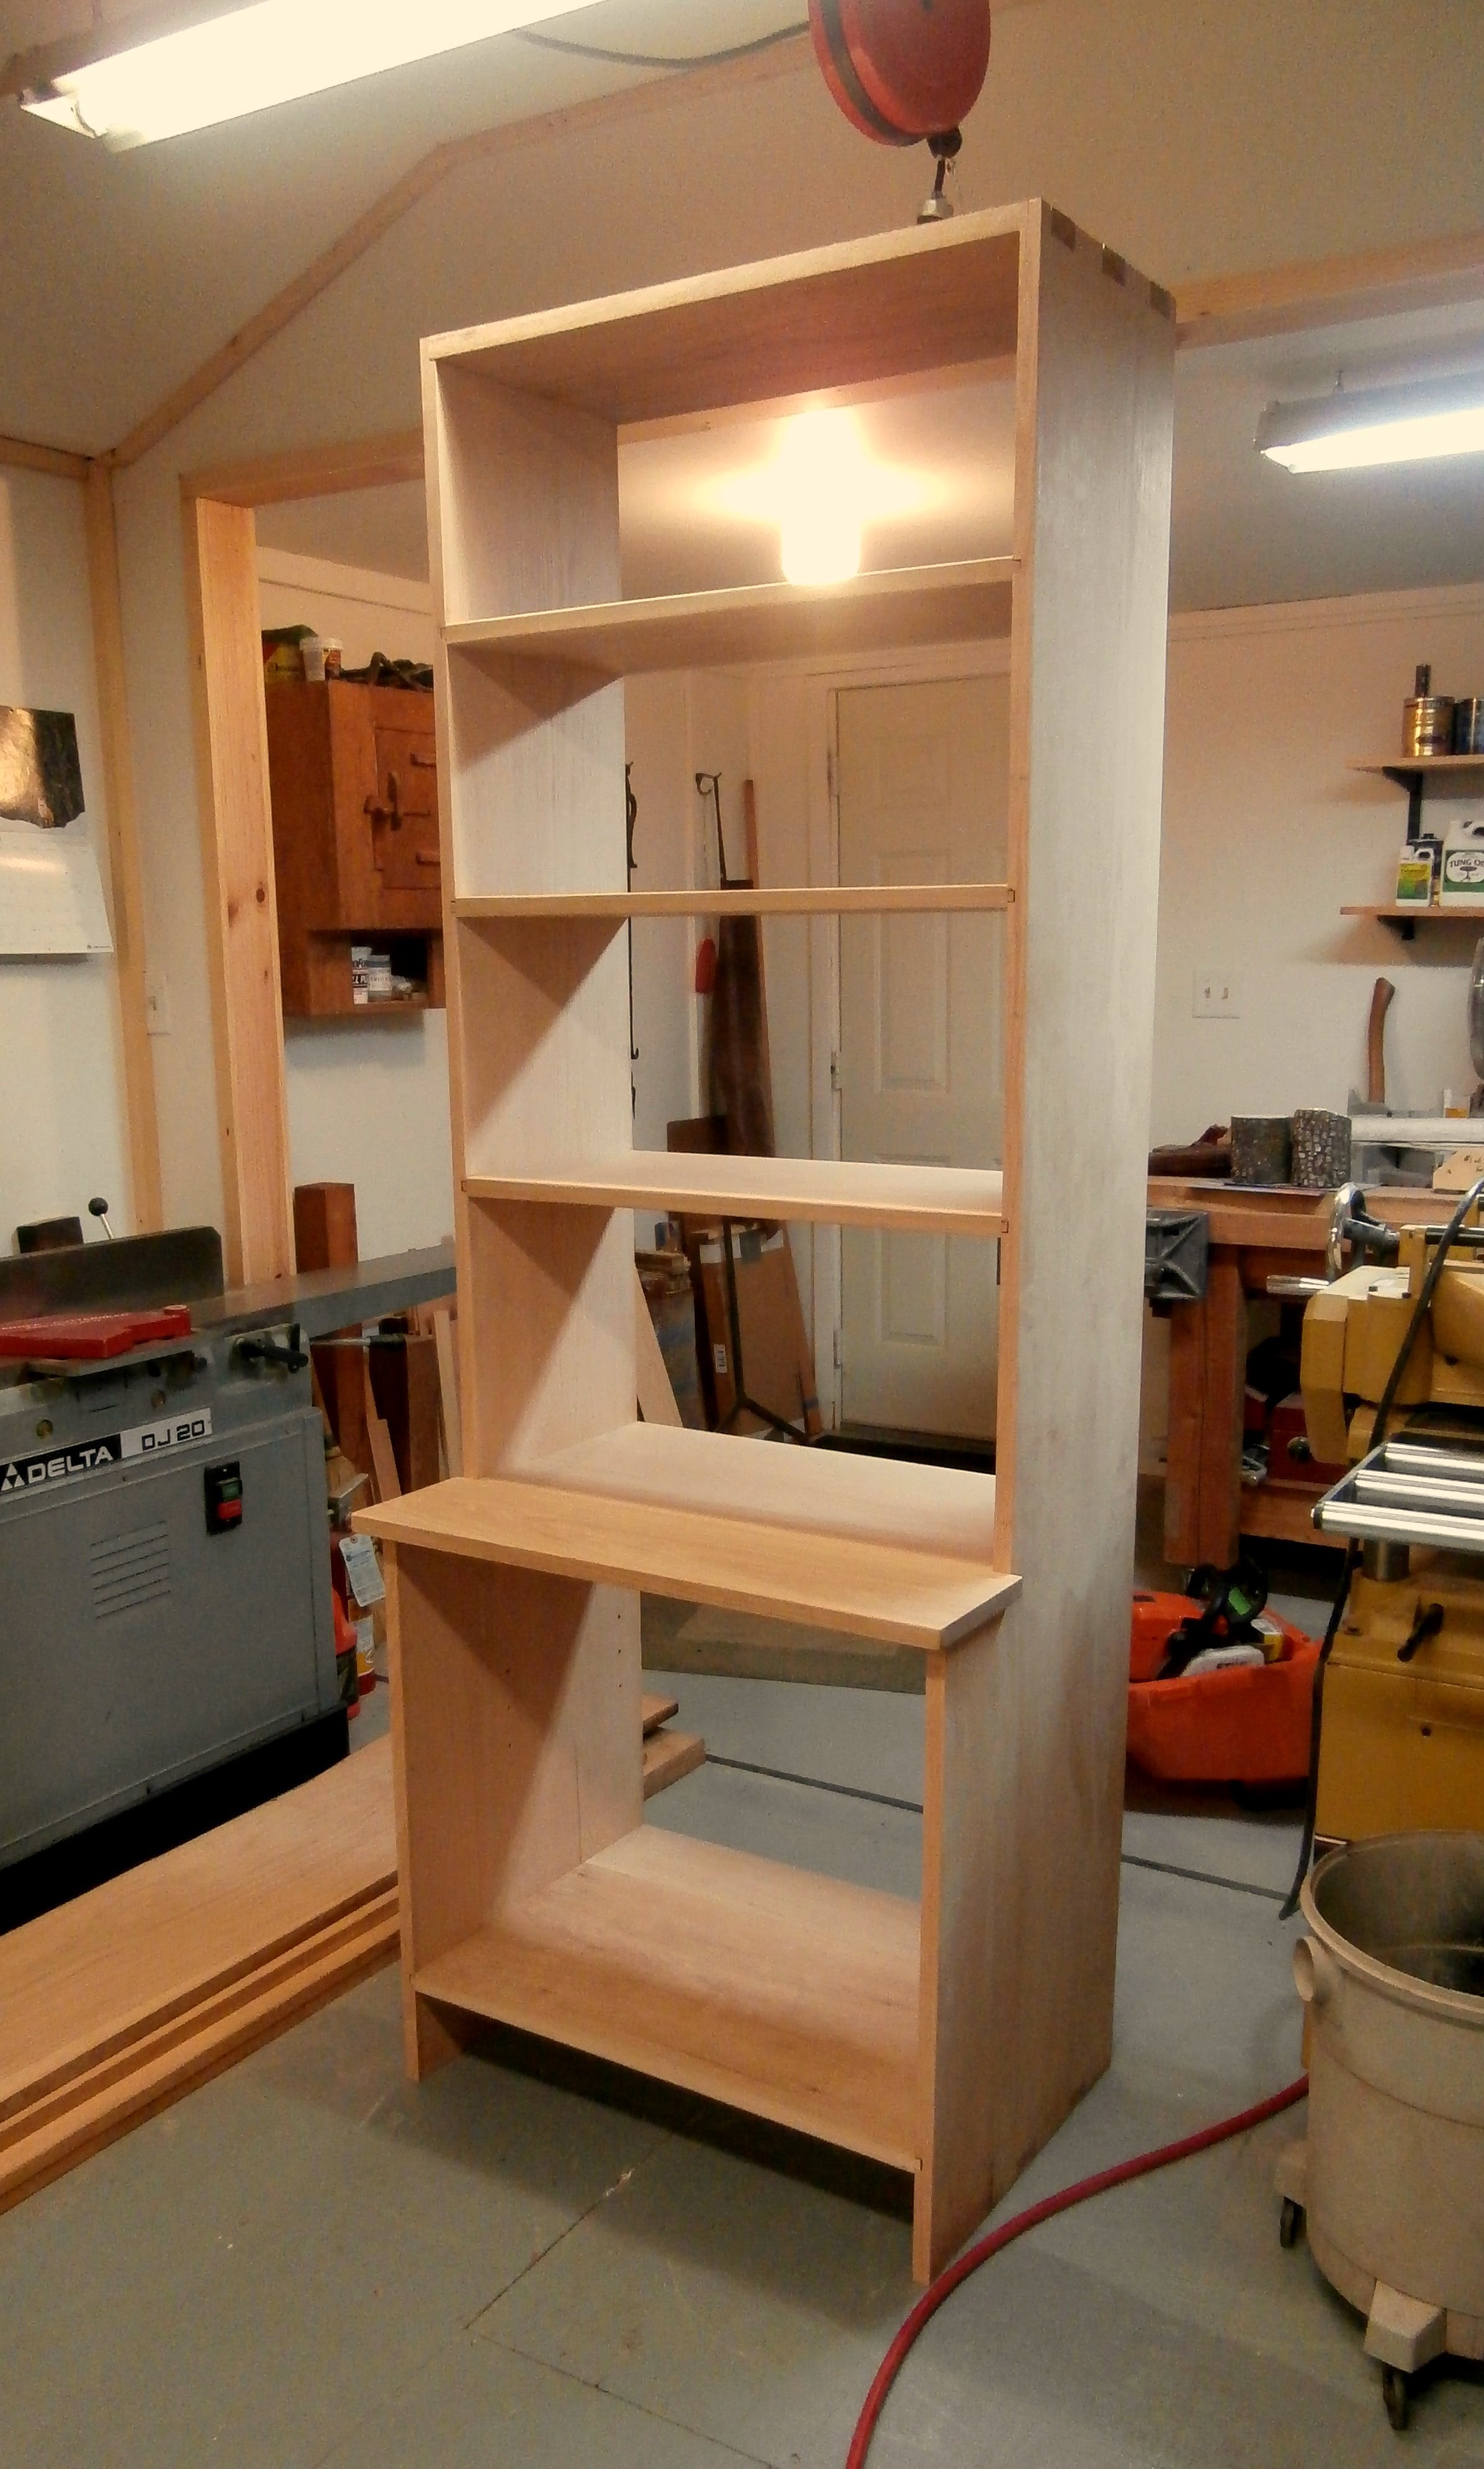
I made and attached the trim pieces at the top of the case and installed the oak plywood back. The back provides rigidity (i.e. 90 degree corners) for the whole case. I also applied trim pieces to both front edges of the upper case to hide the shelf dadoes and to generally improve the overall appearance.
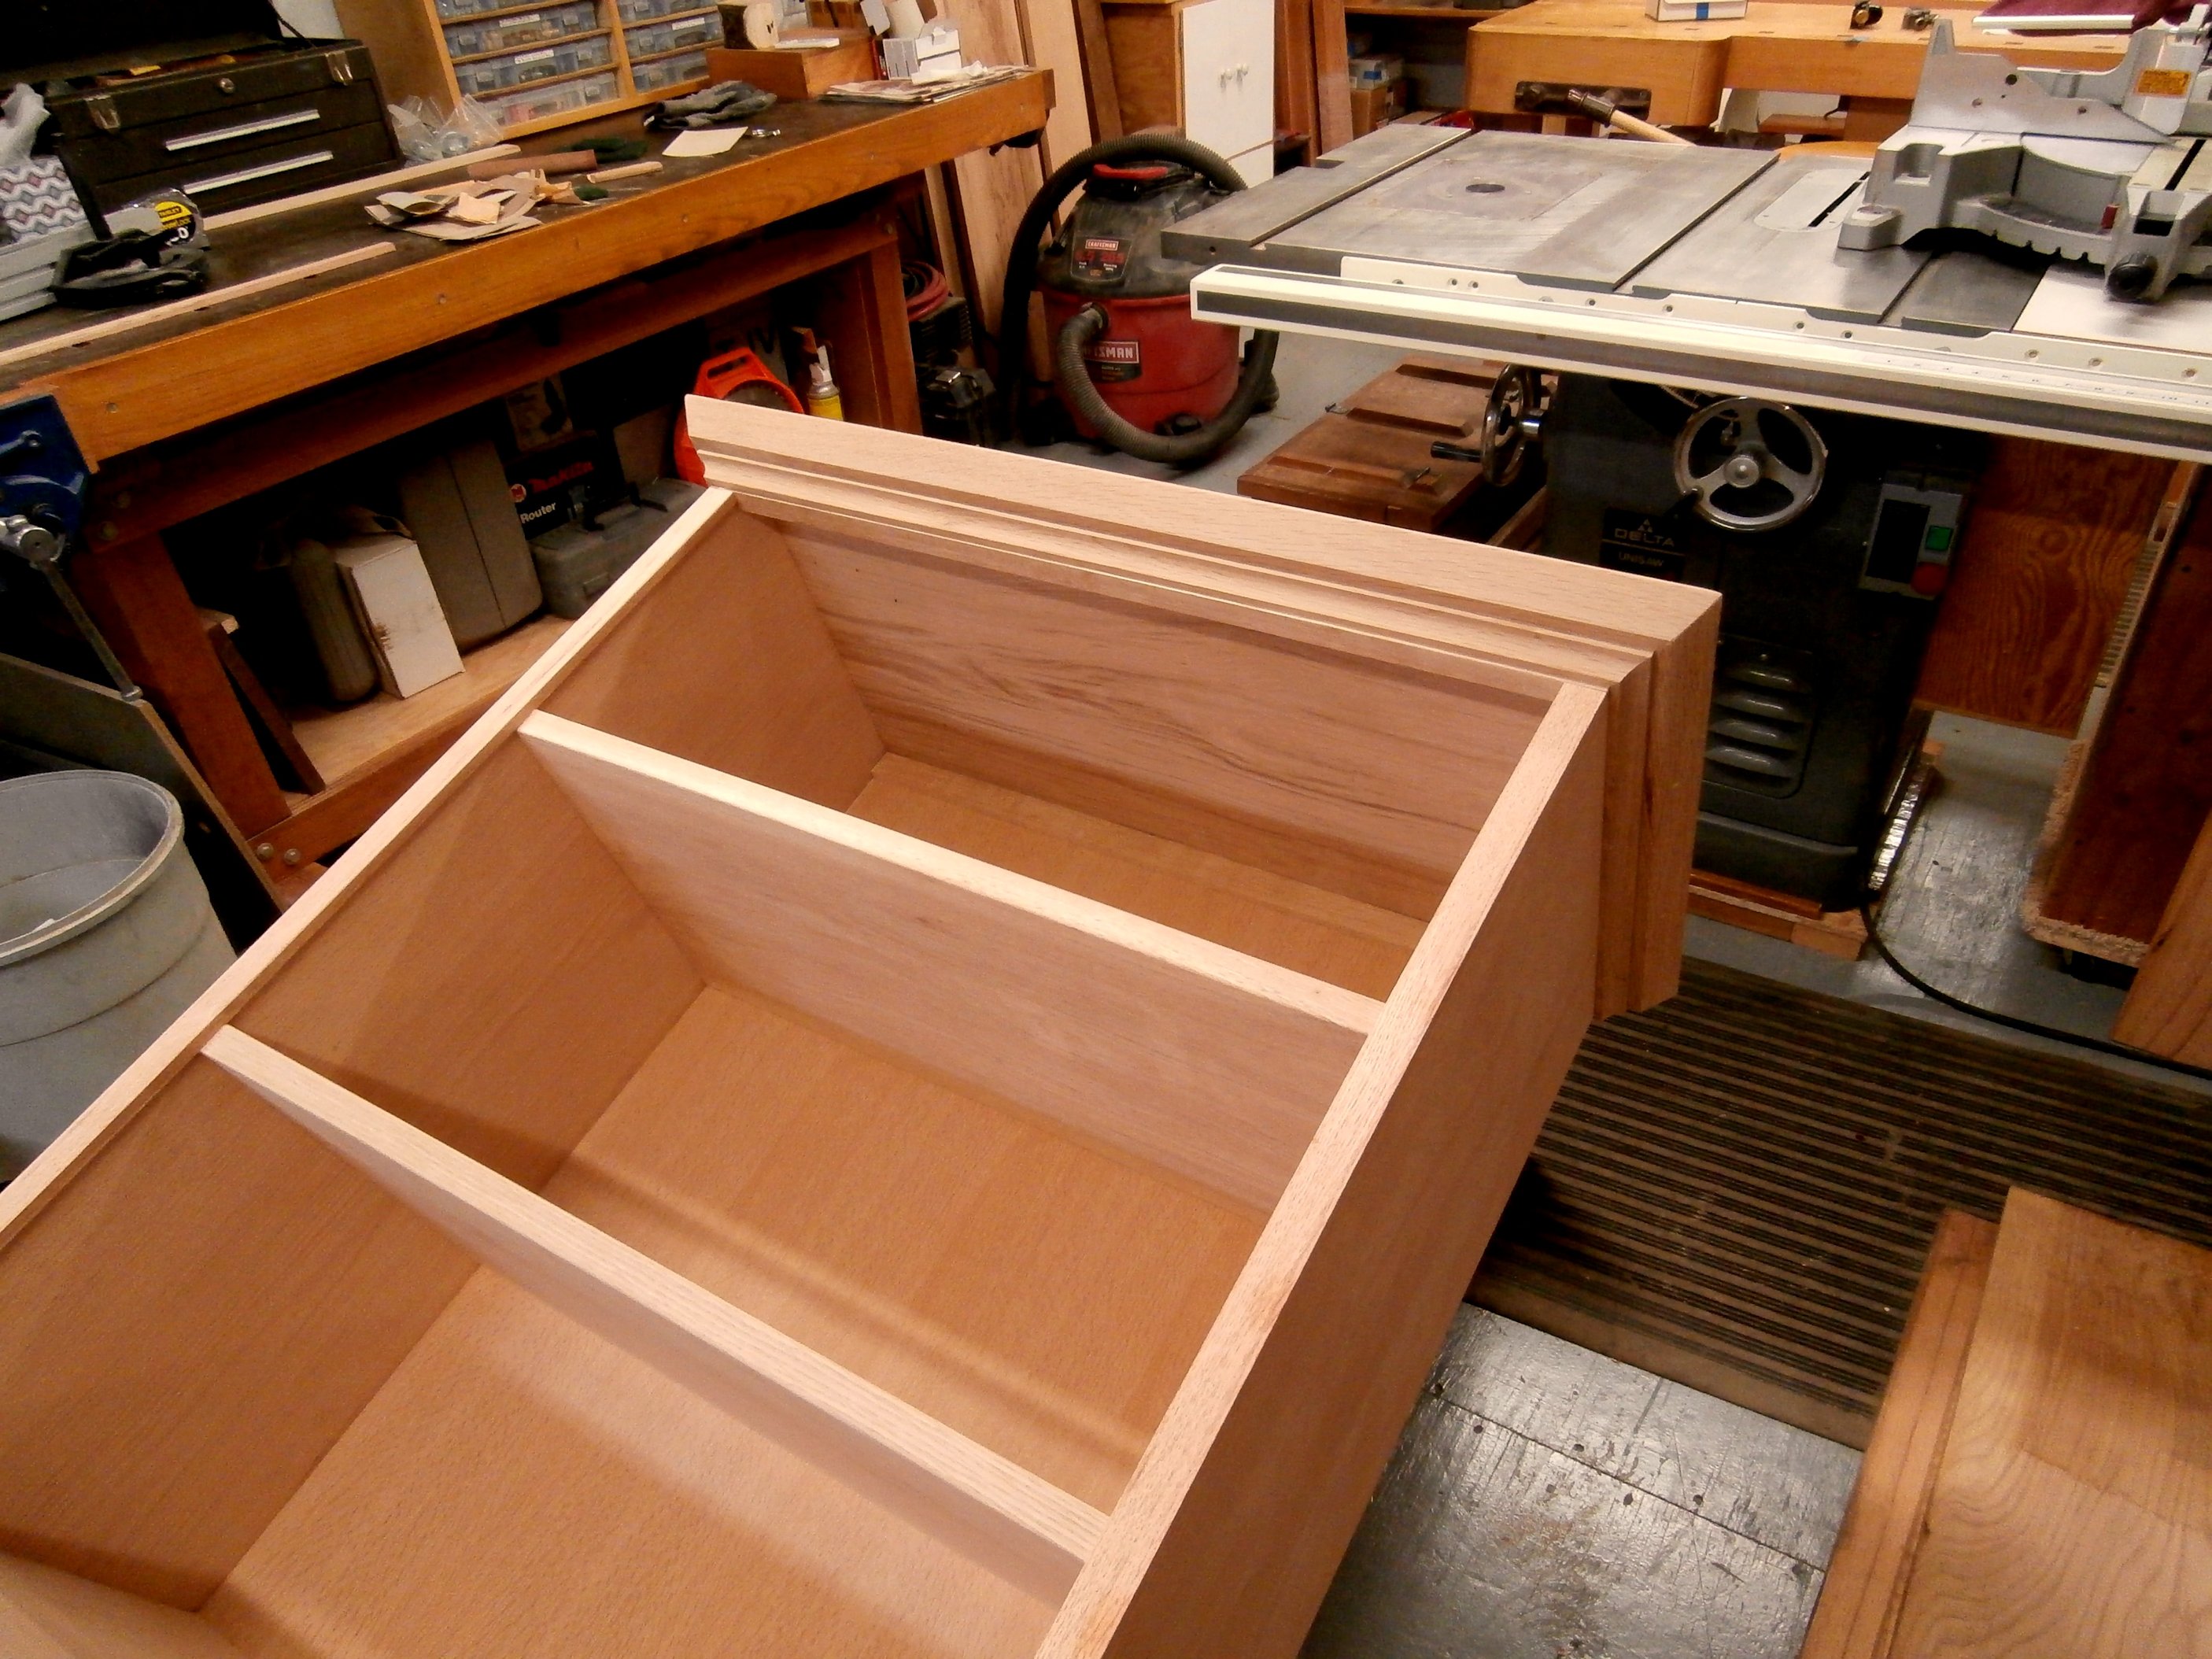
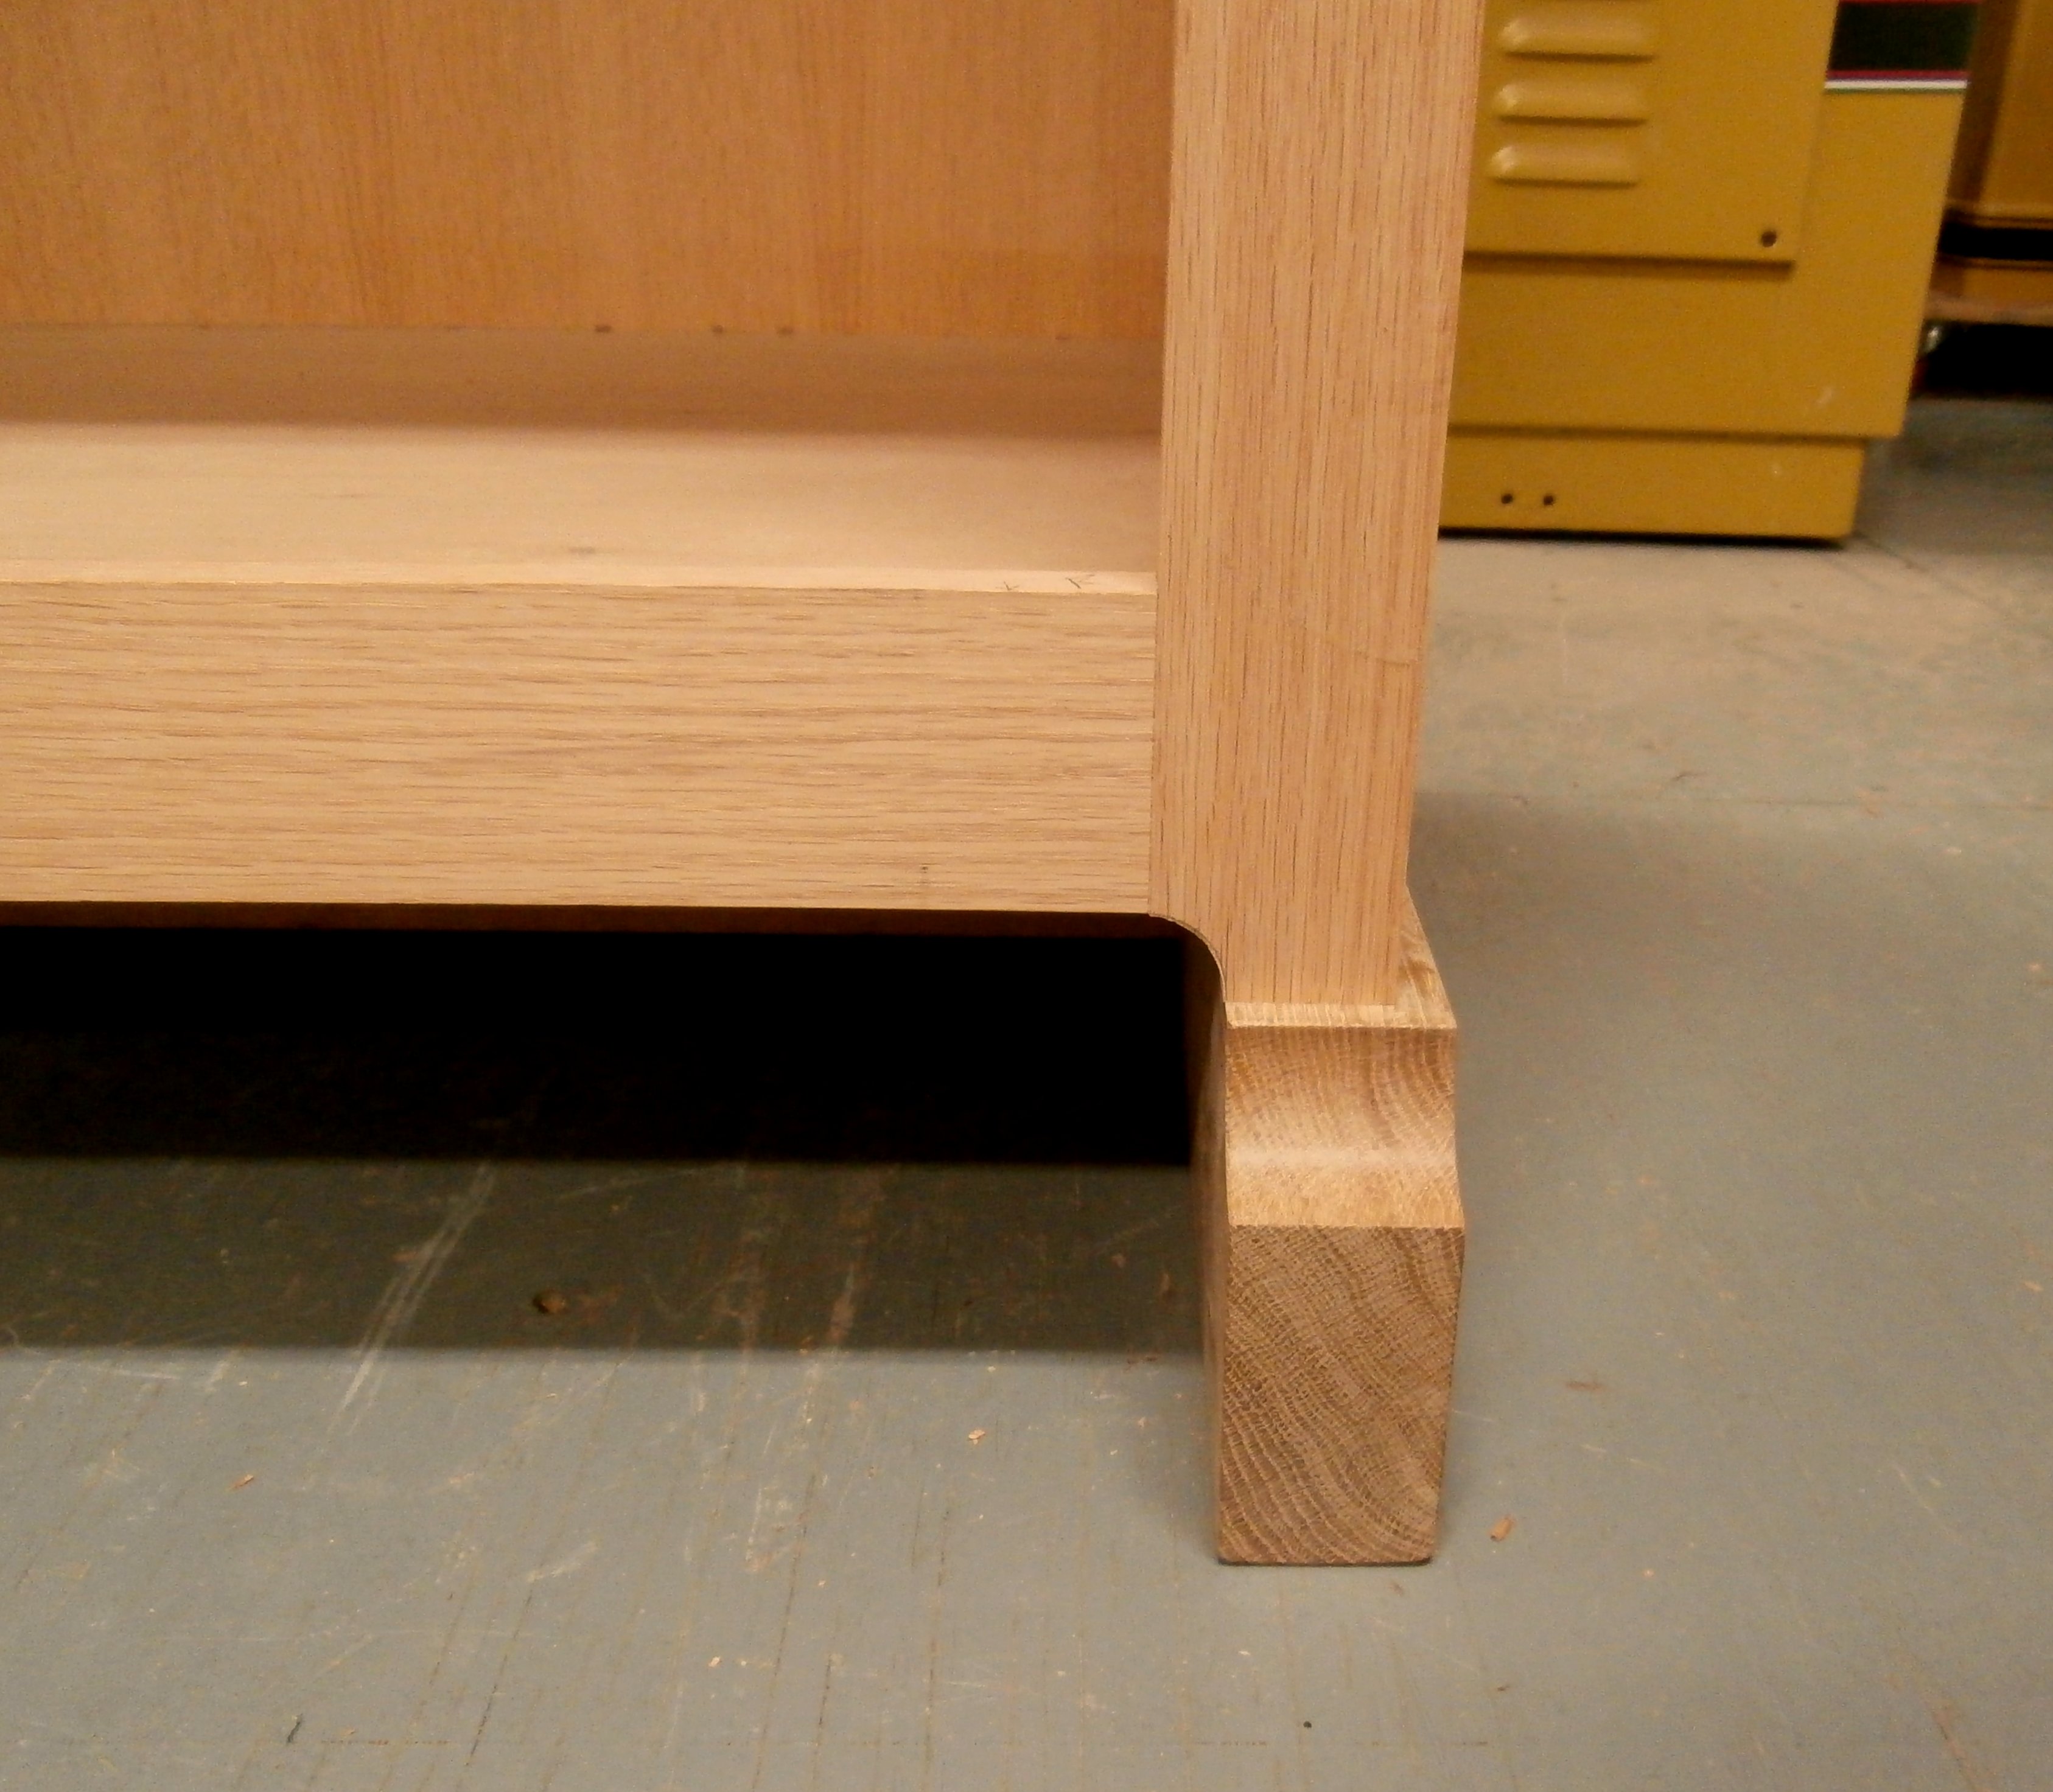
To finish off the raw bottom edges of the sides and to provide some of the stability envisioned in the original design, I cut long grooves, technically “stopped dadoes,” into two pieces of 2″ thick oak to make what look like “shoes” to cover the “feet” of the cabinet. I then applied a face frame for the lower cabinet section.

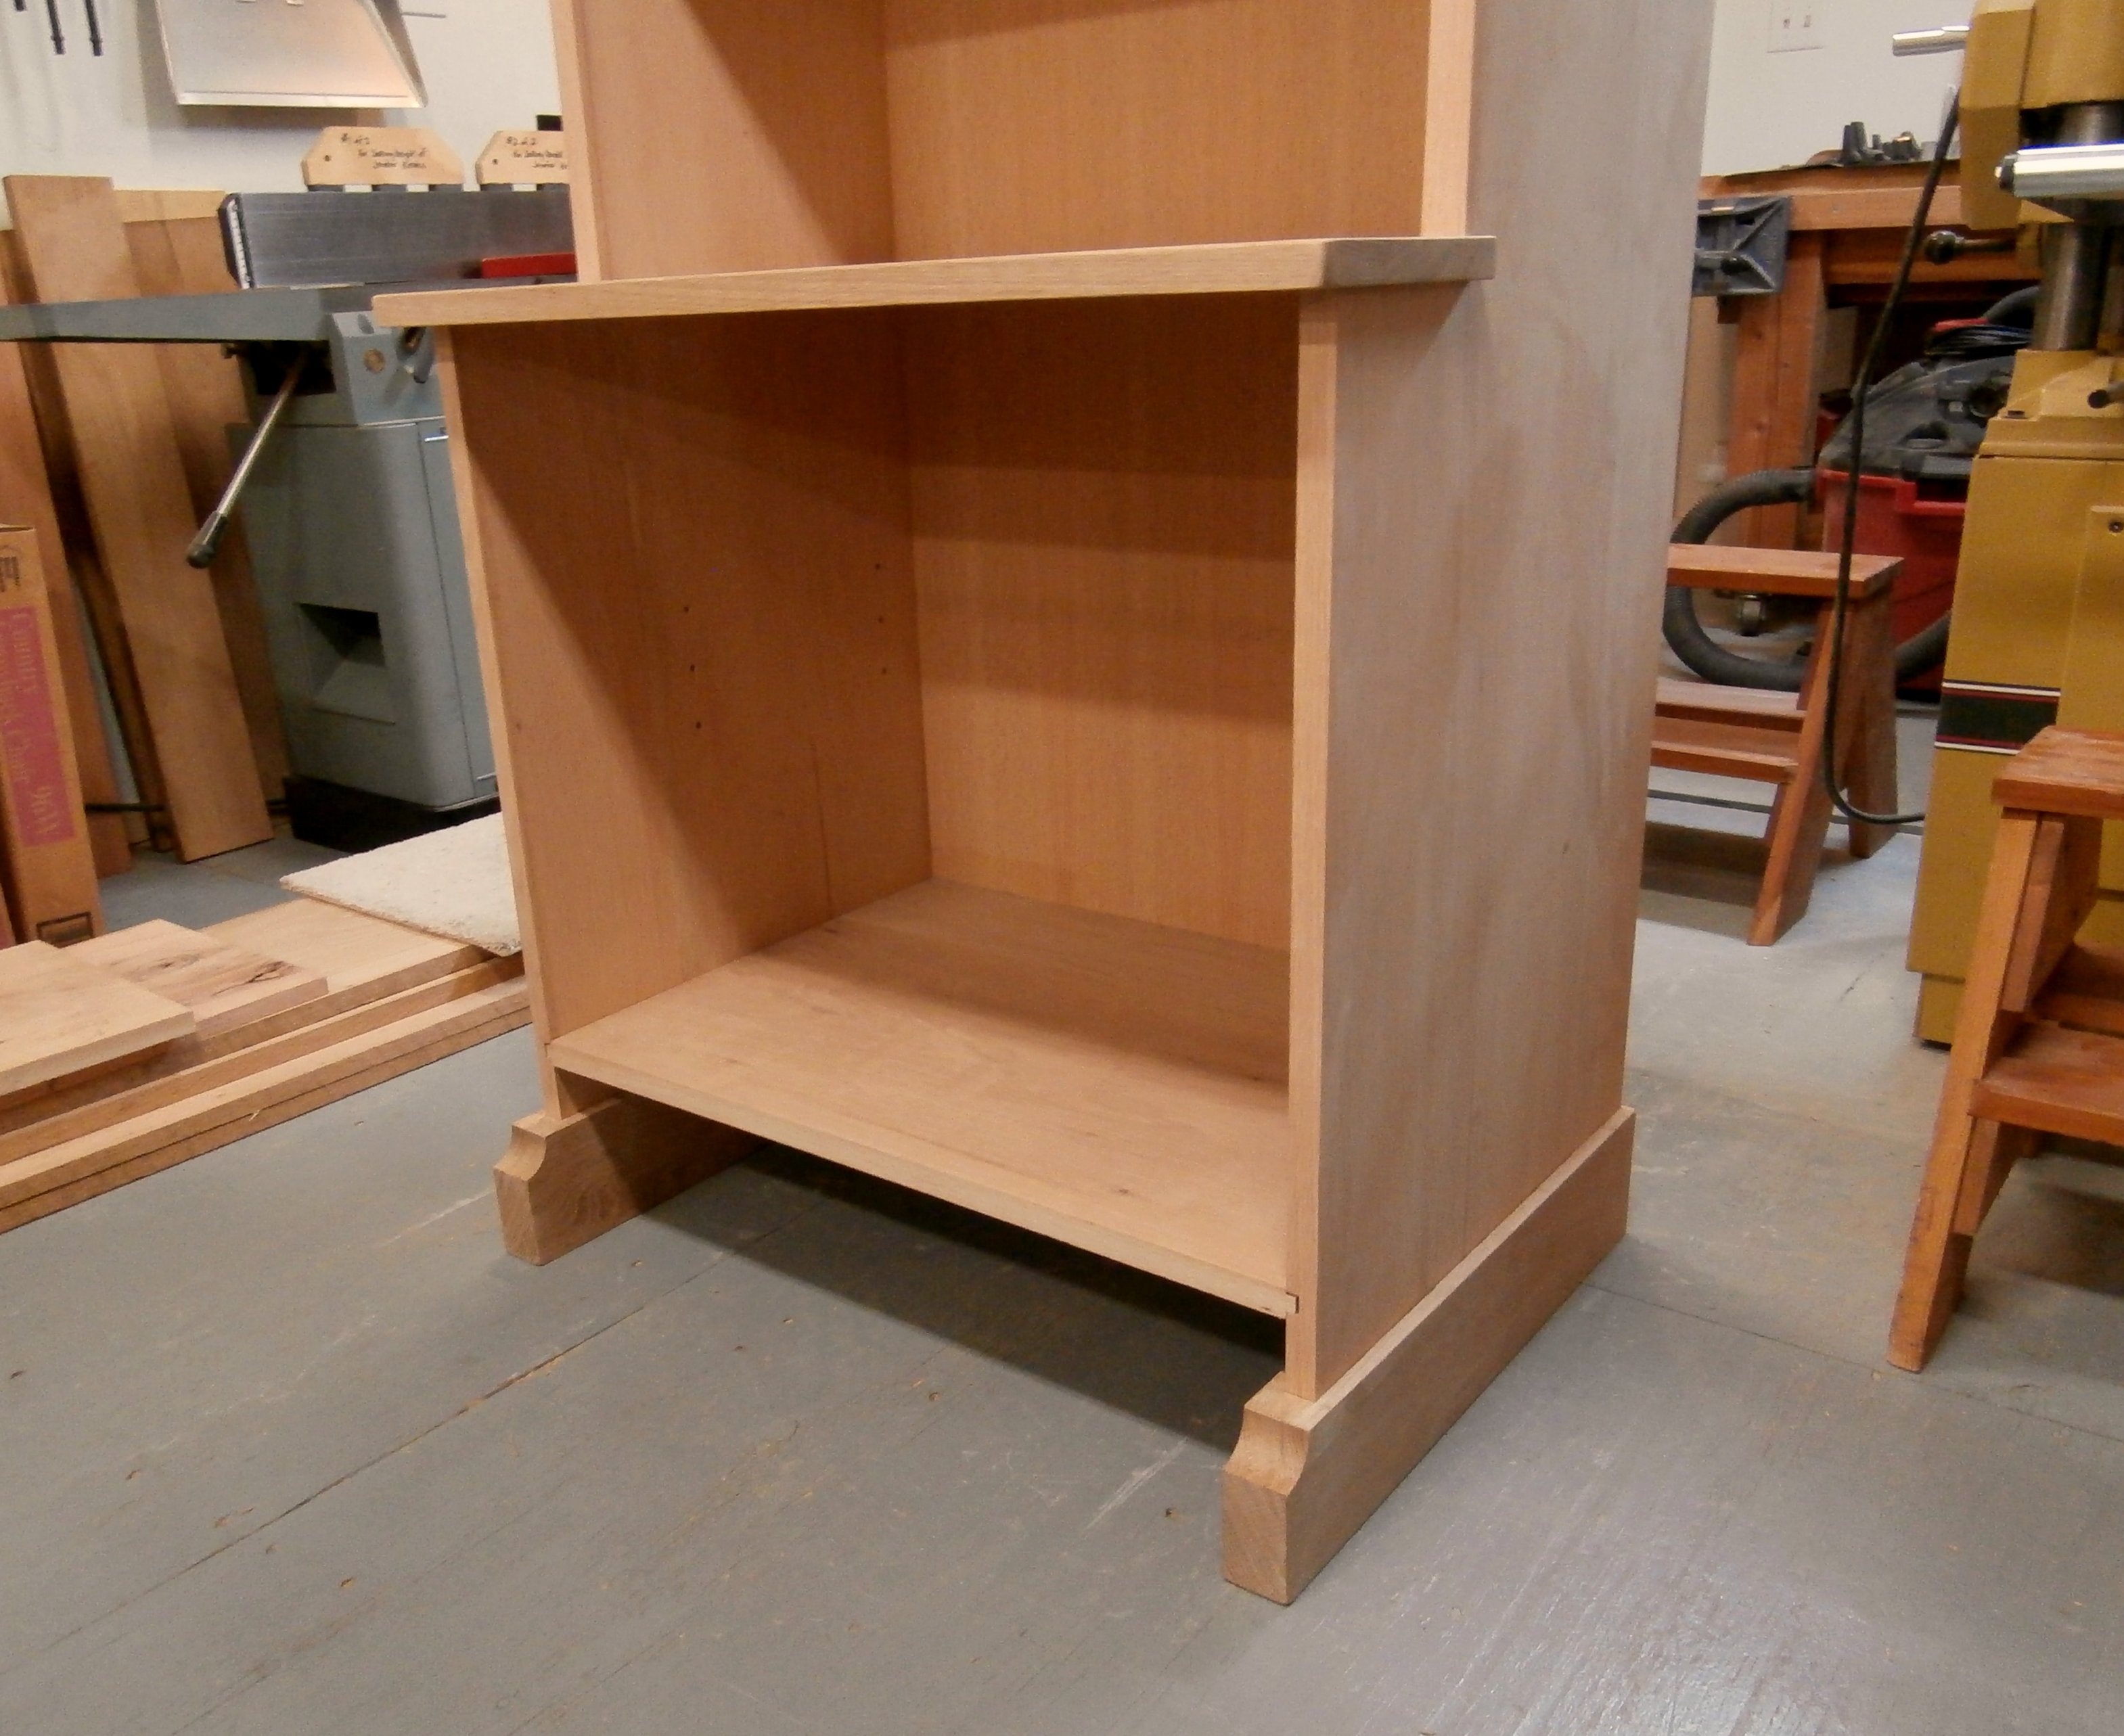
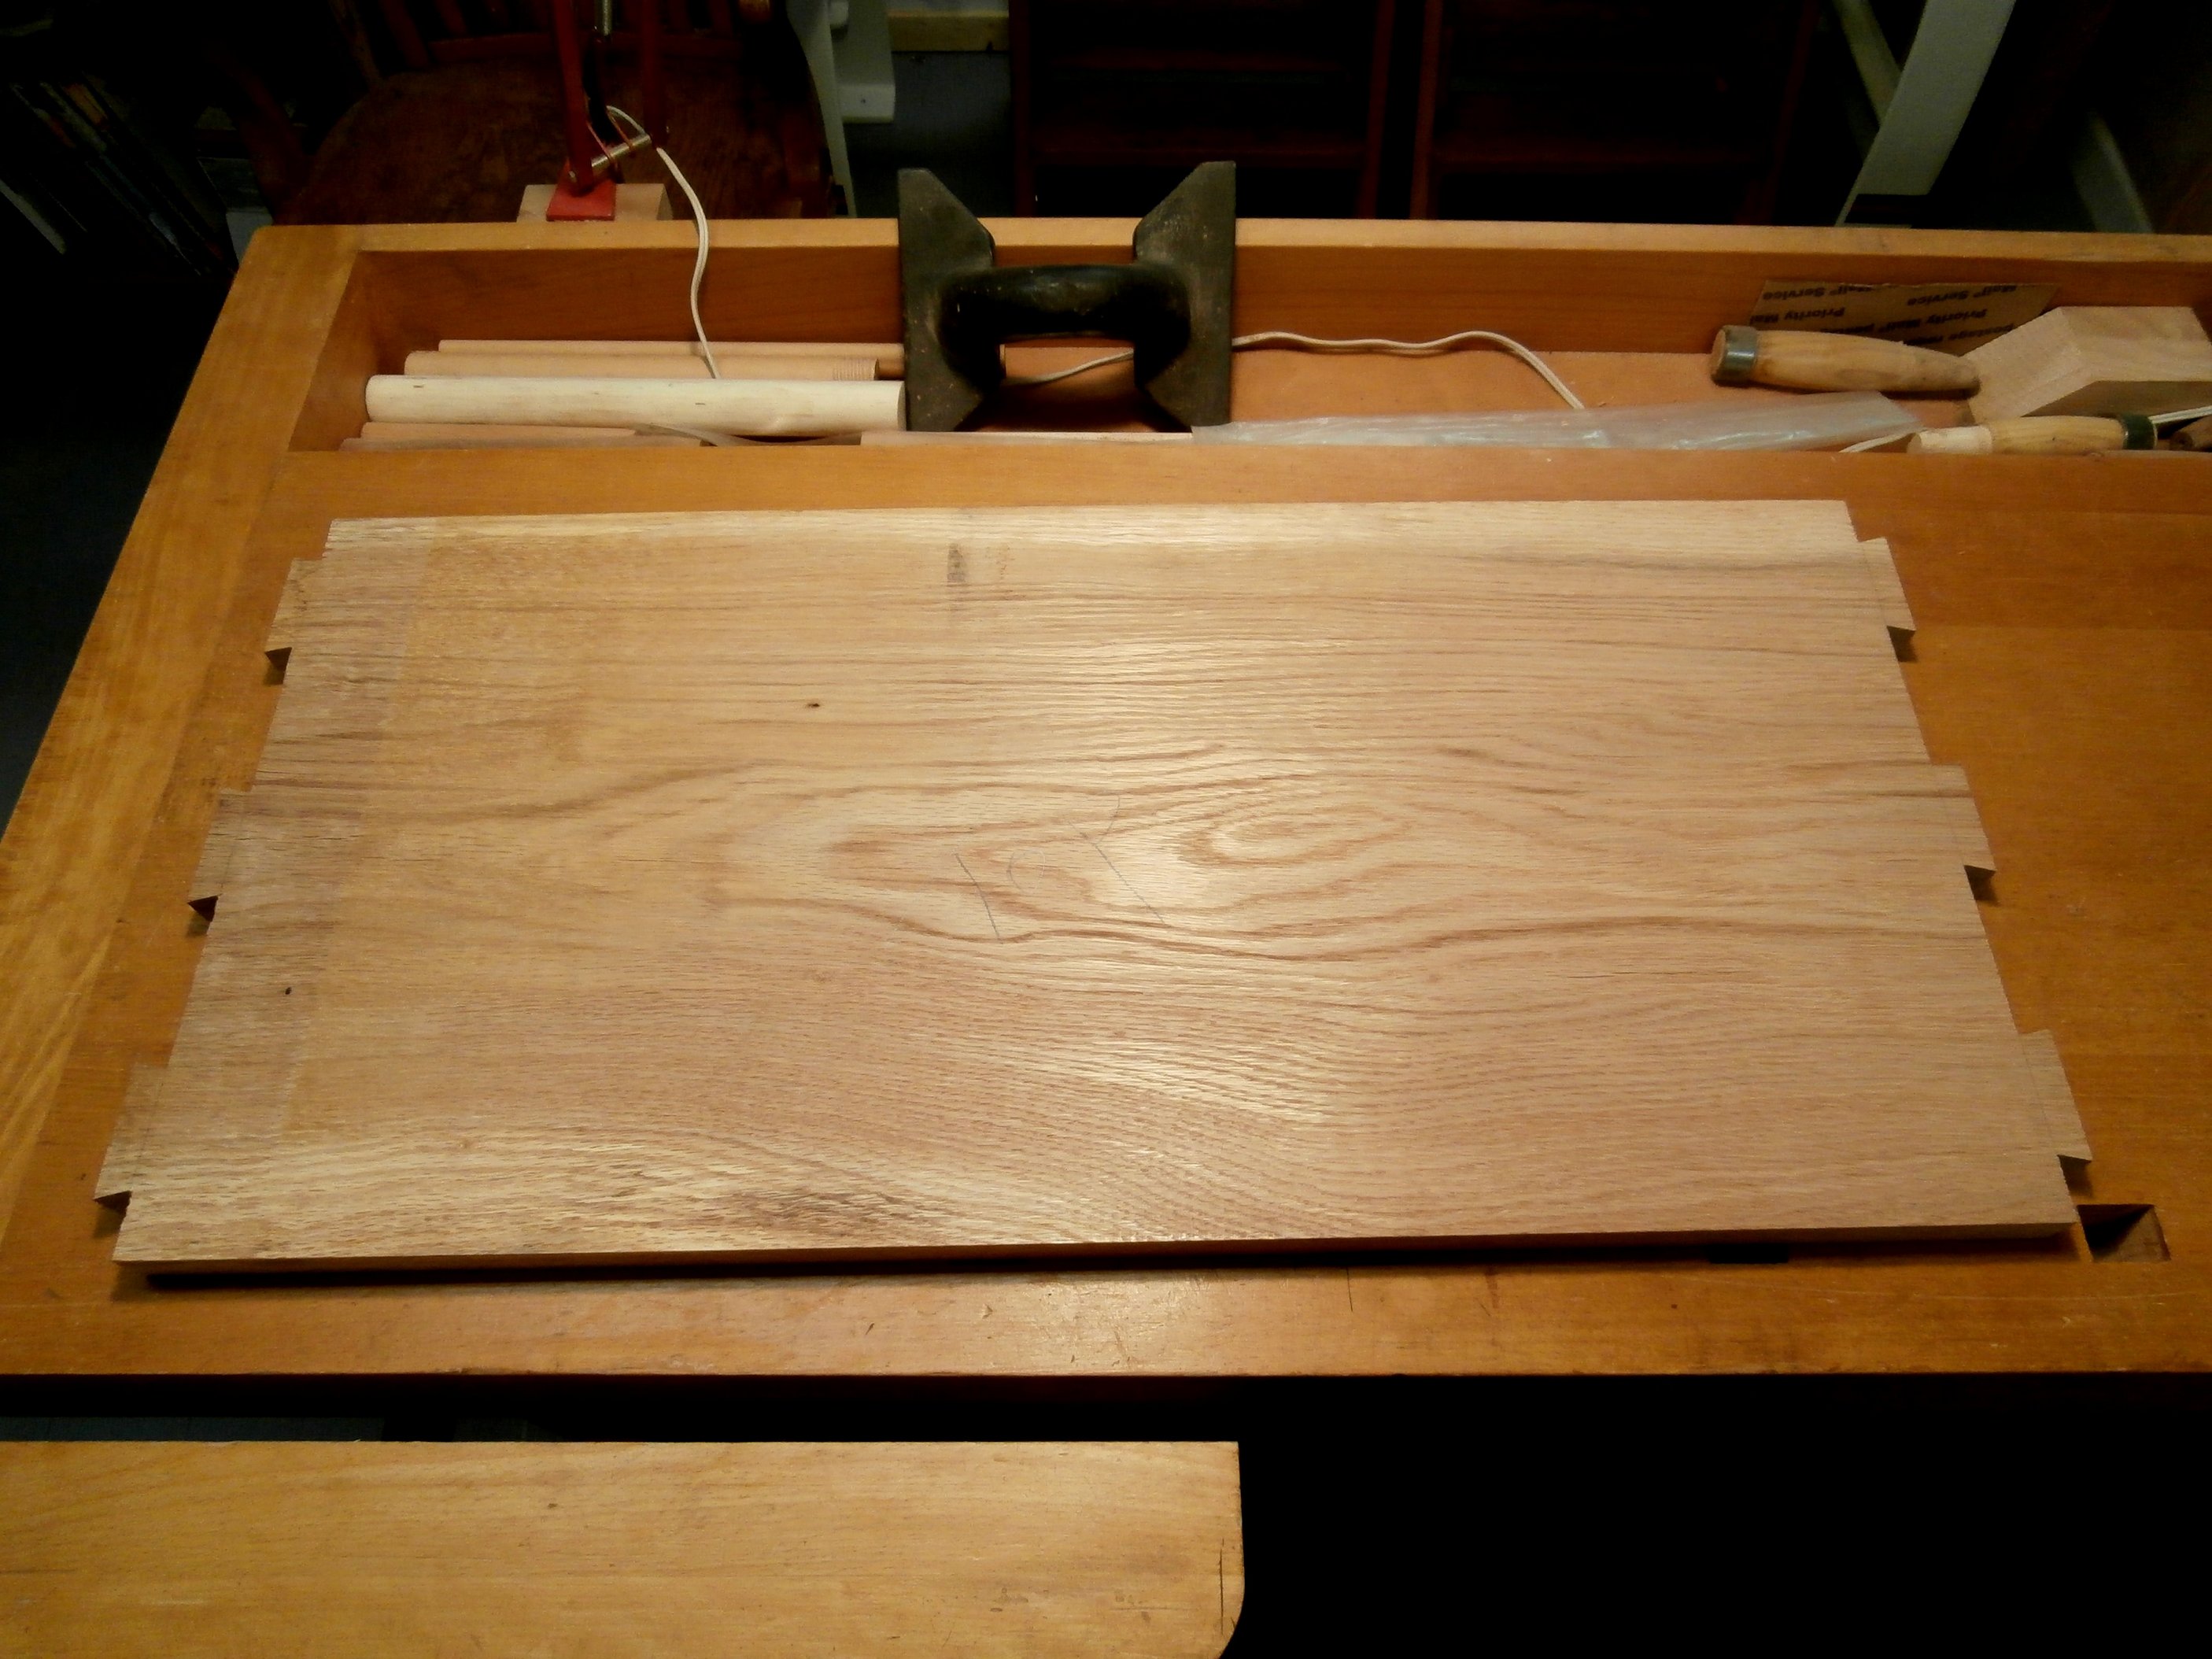
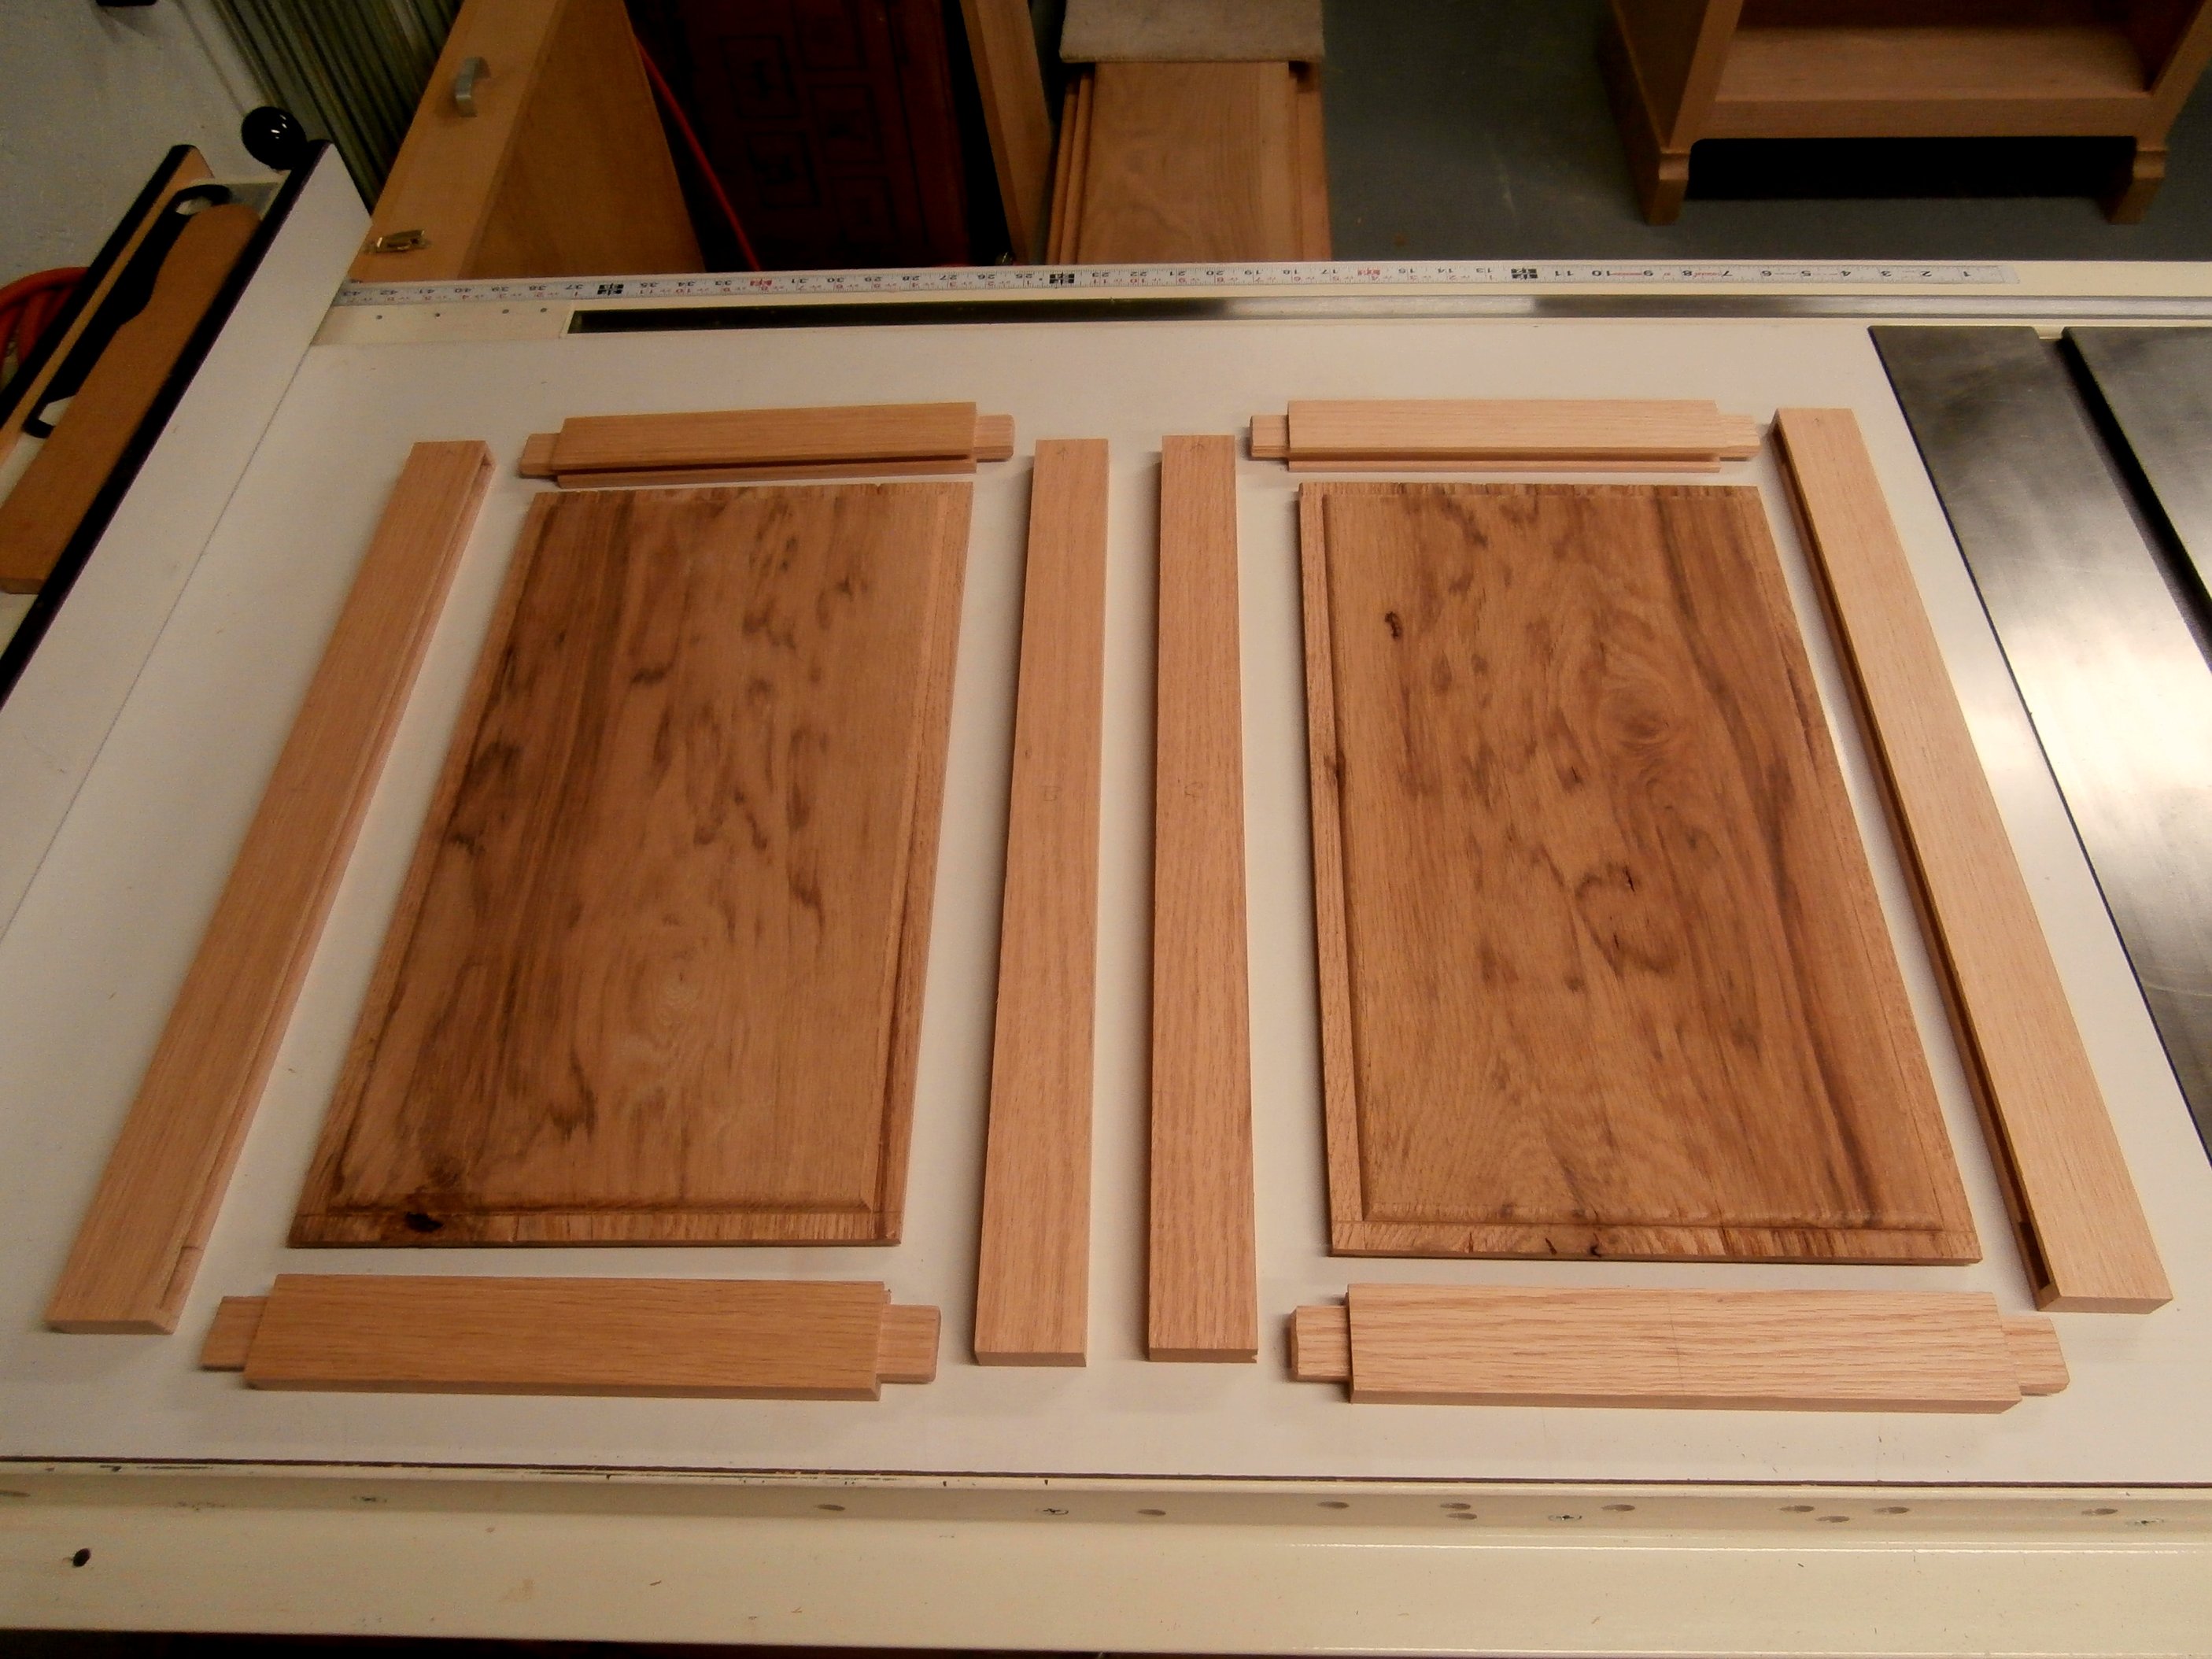
For the cabinet doors on the lower section, I made panels out of a streaked and water stained piece of red or black oak that I rescued 40 years ago from the mud of John Root’s sawmill yard in Fishersville, VA, where it had been driven over multiple times by a forklift. It had “character” and had been hanging out in my wood stash all these years just waiting for the right application.
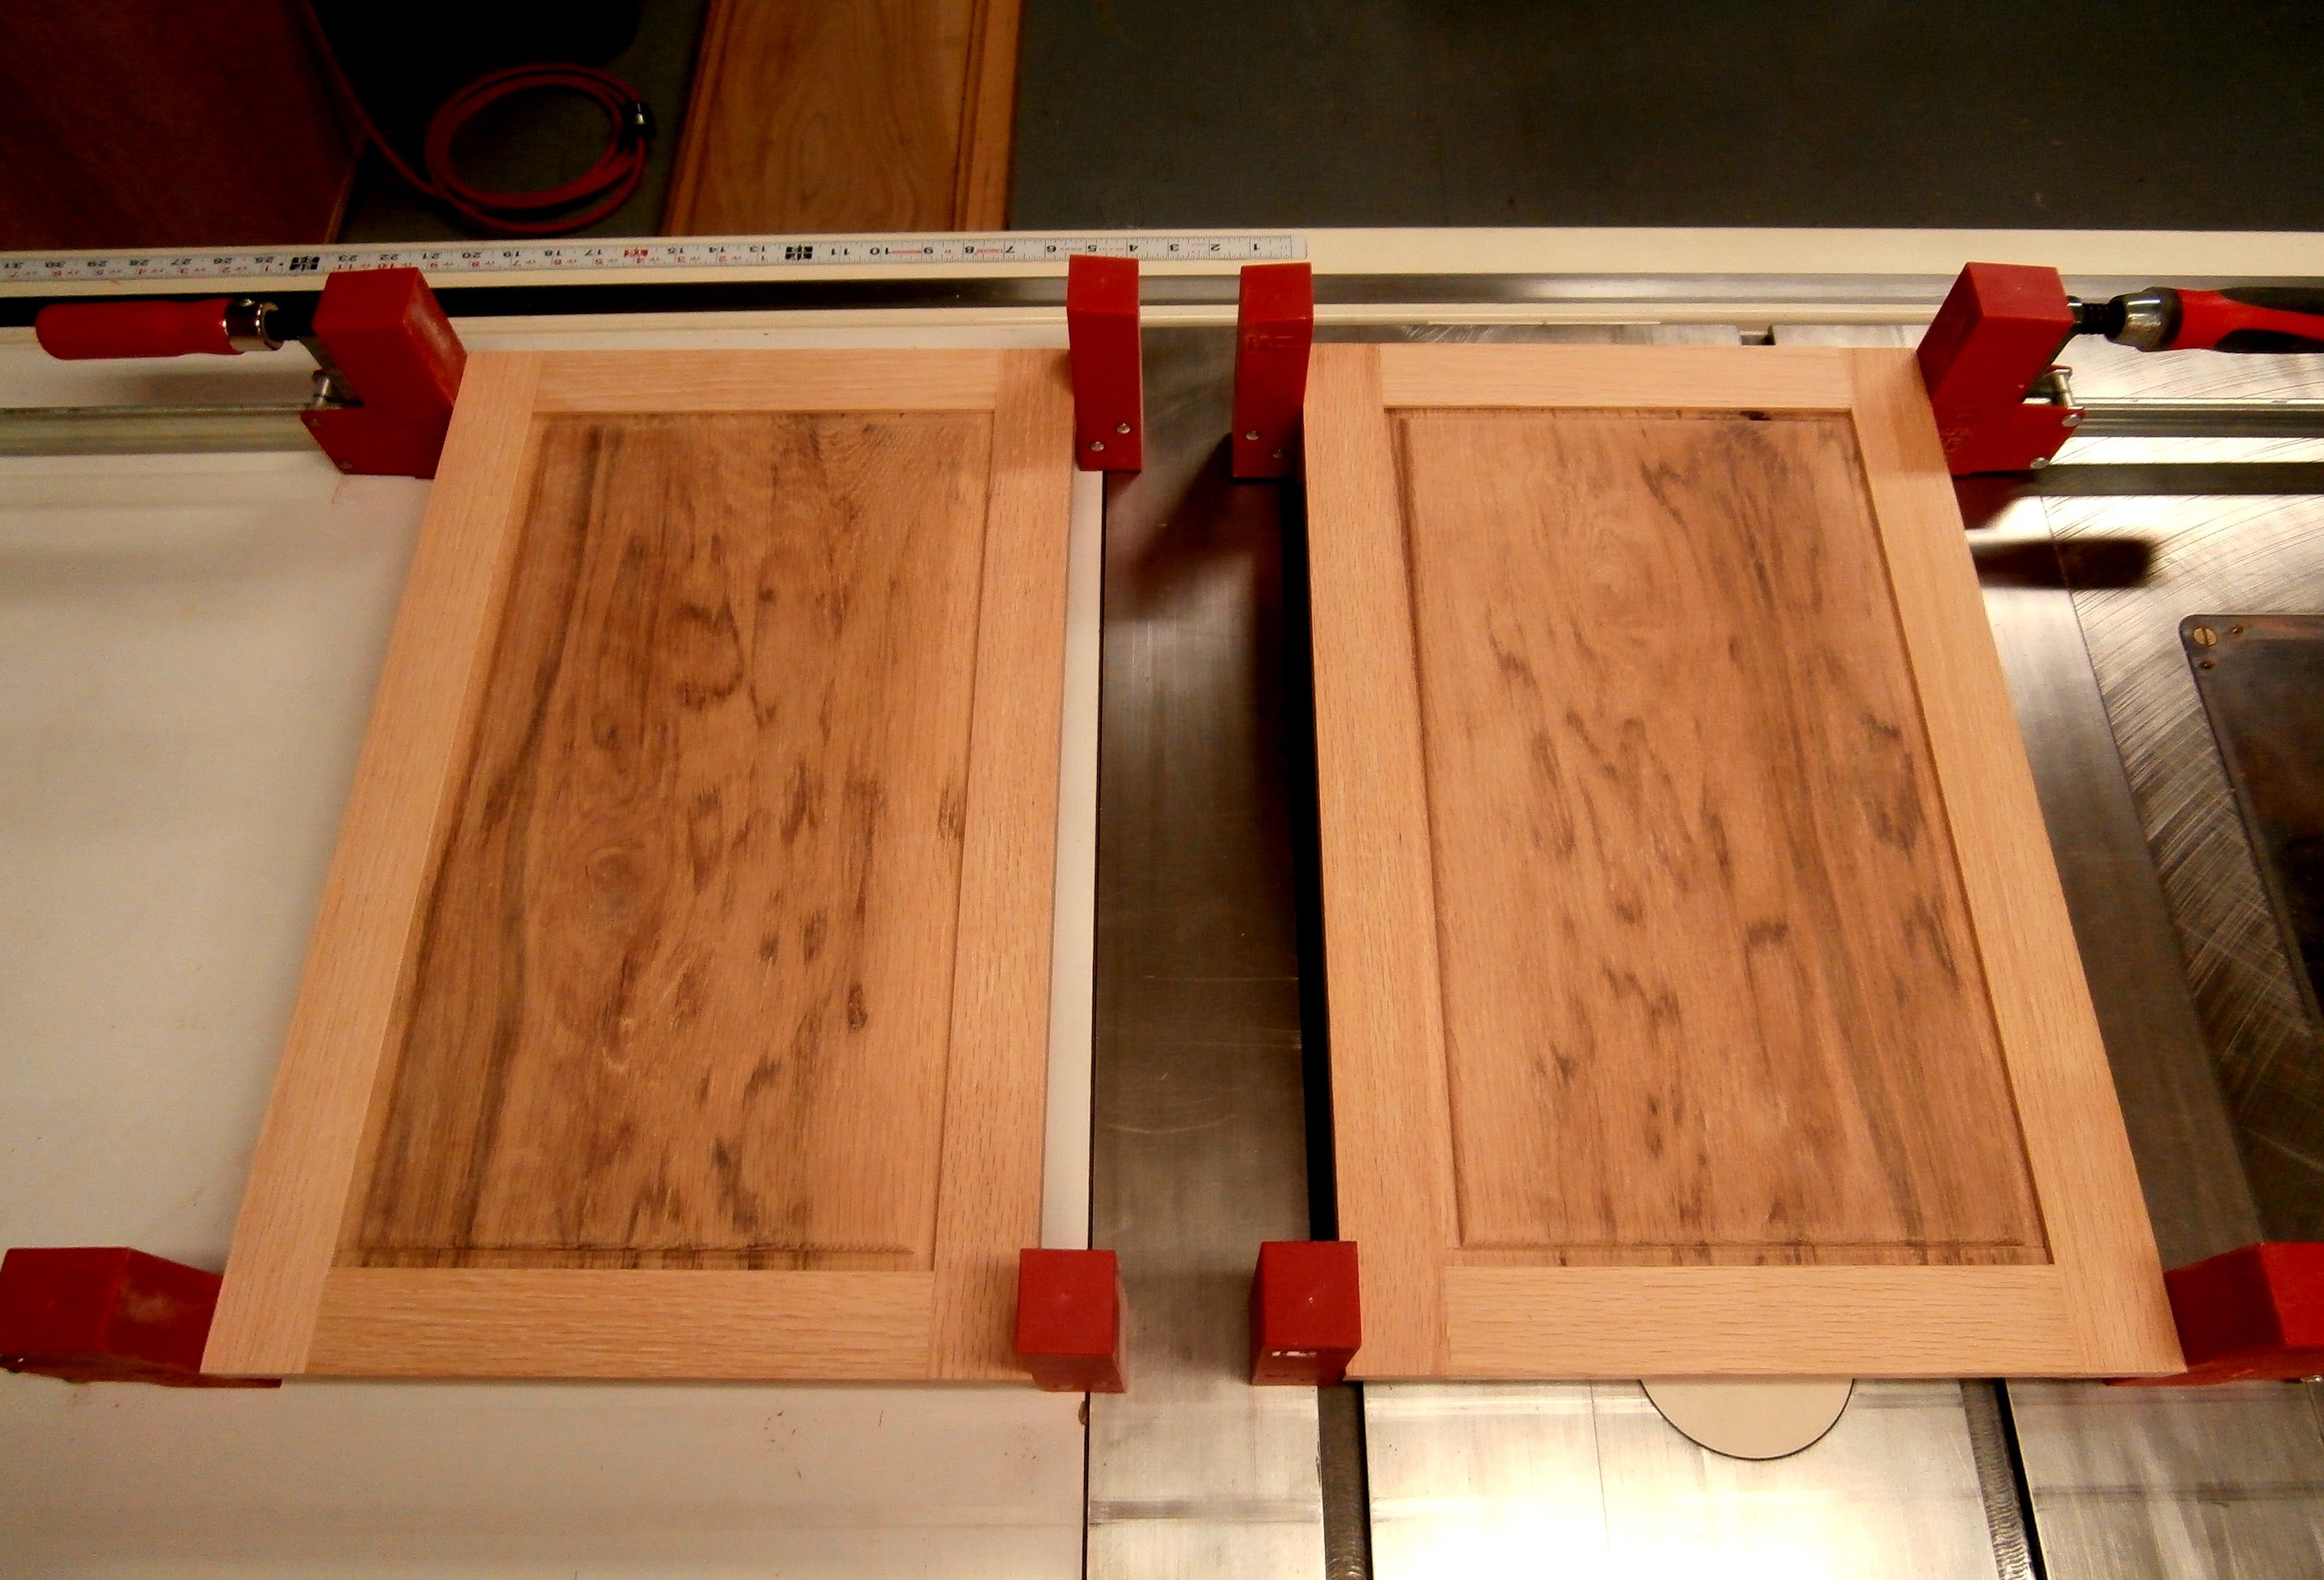
The doors, with brass pulls, were installed with brass leaf hinges. An adjustable shelf was added in the lower cabinet section. All that remained then was to finish the bookcase with one coat of Minwax (natural) for a sealer and two coats of Watco Danish Oil (clear).