Let’s have some fun. [Go FULL SCREEN, on lower right]
To Dare – Jón Kalman Stefánsson

“What does it mean to betray yourself?
* * *
To dare not. To dare not speak. To dare not be afraid. To attempt not to overcome . . . the dark storm inside you. If you do nothing, you betray everyone who matters. … Nor should you betray those who are dead; we should live for them, as well, they mustn’t be left in the dark and cold, and they mustn’t be forgotten at the bottom of the sea.”
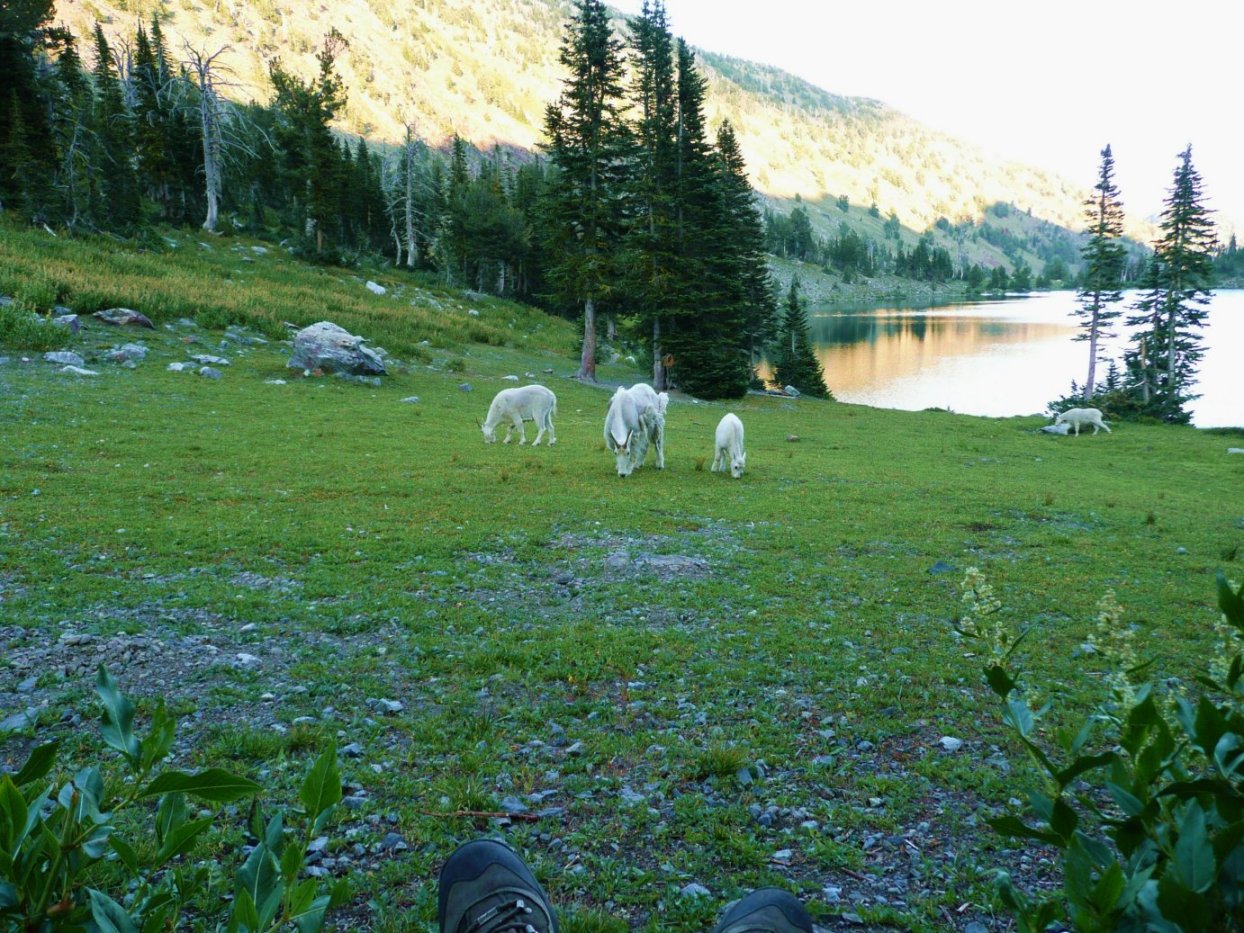
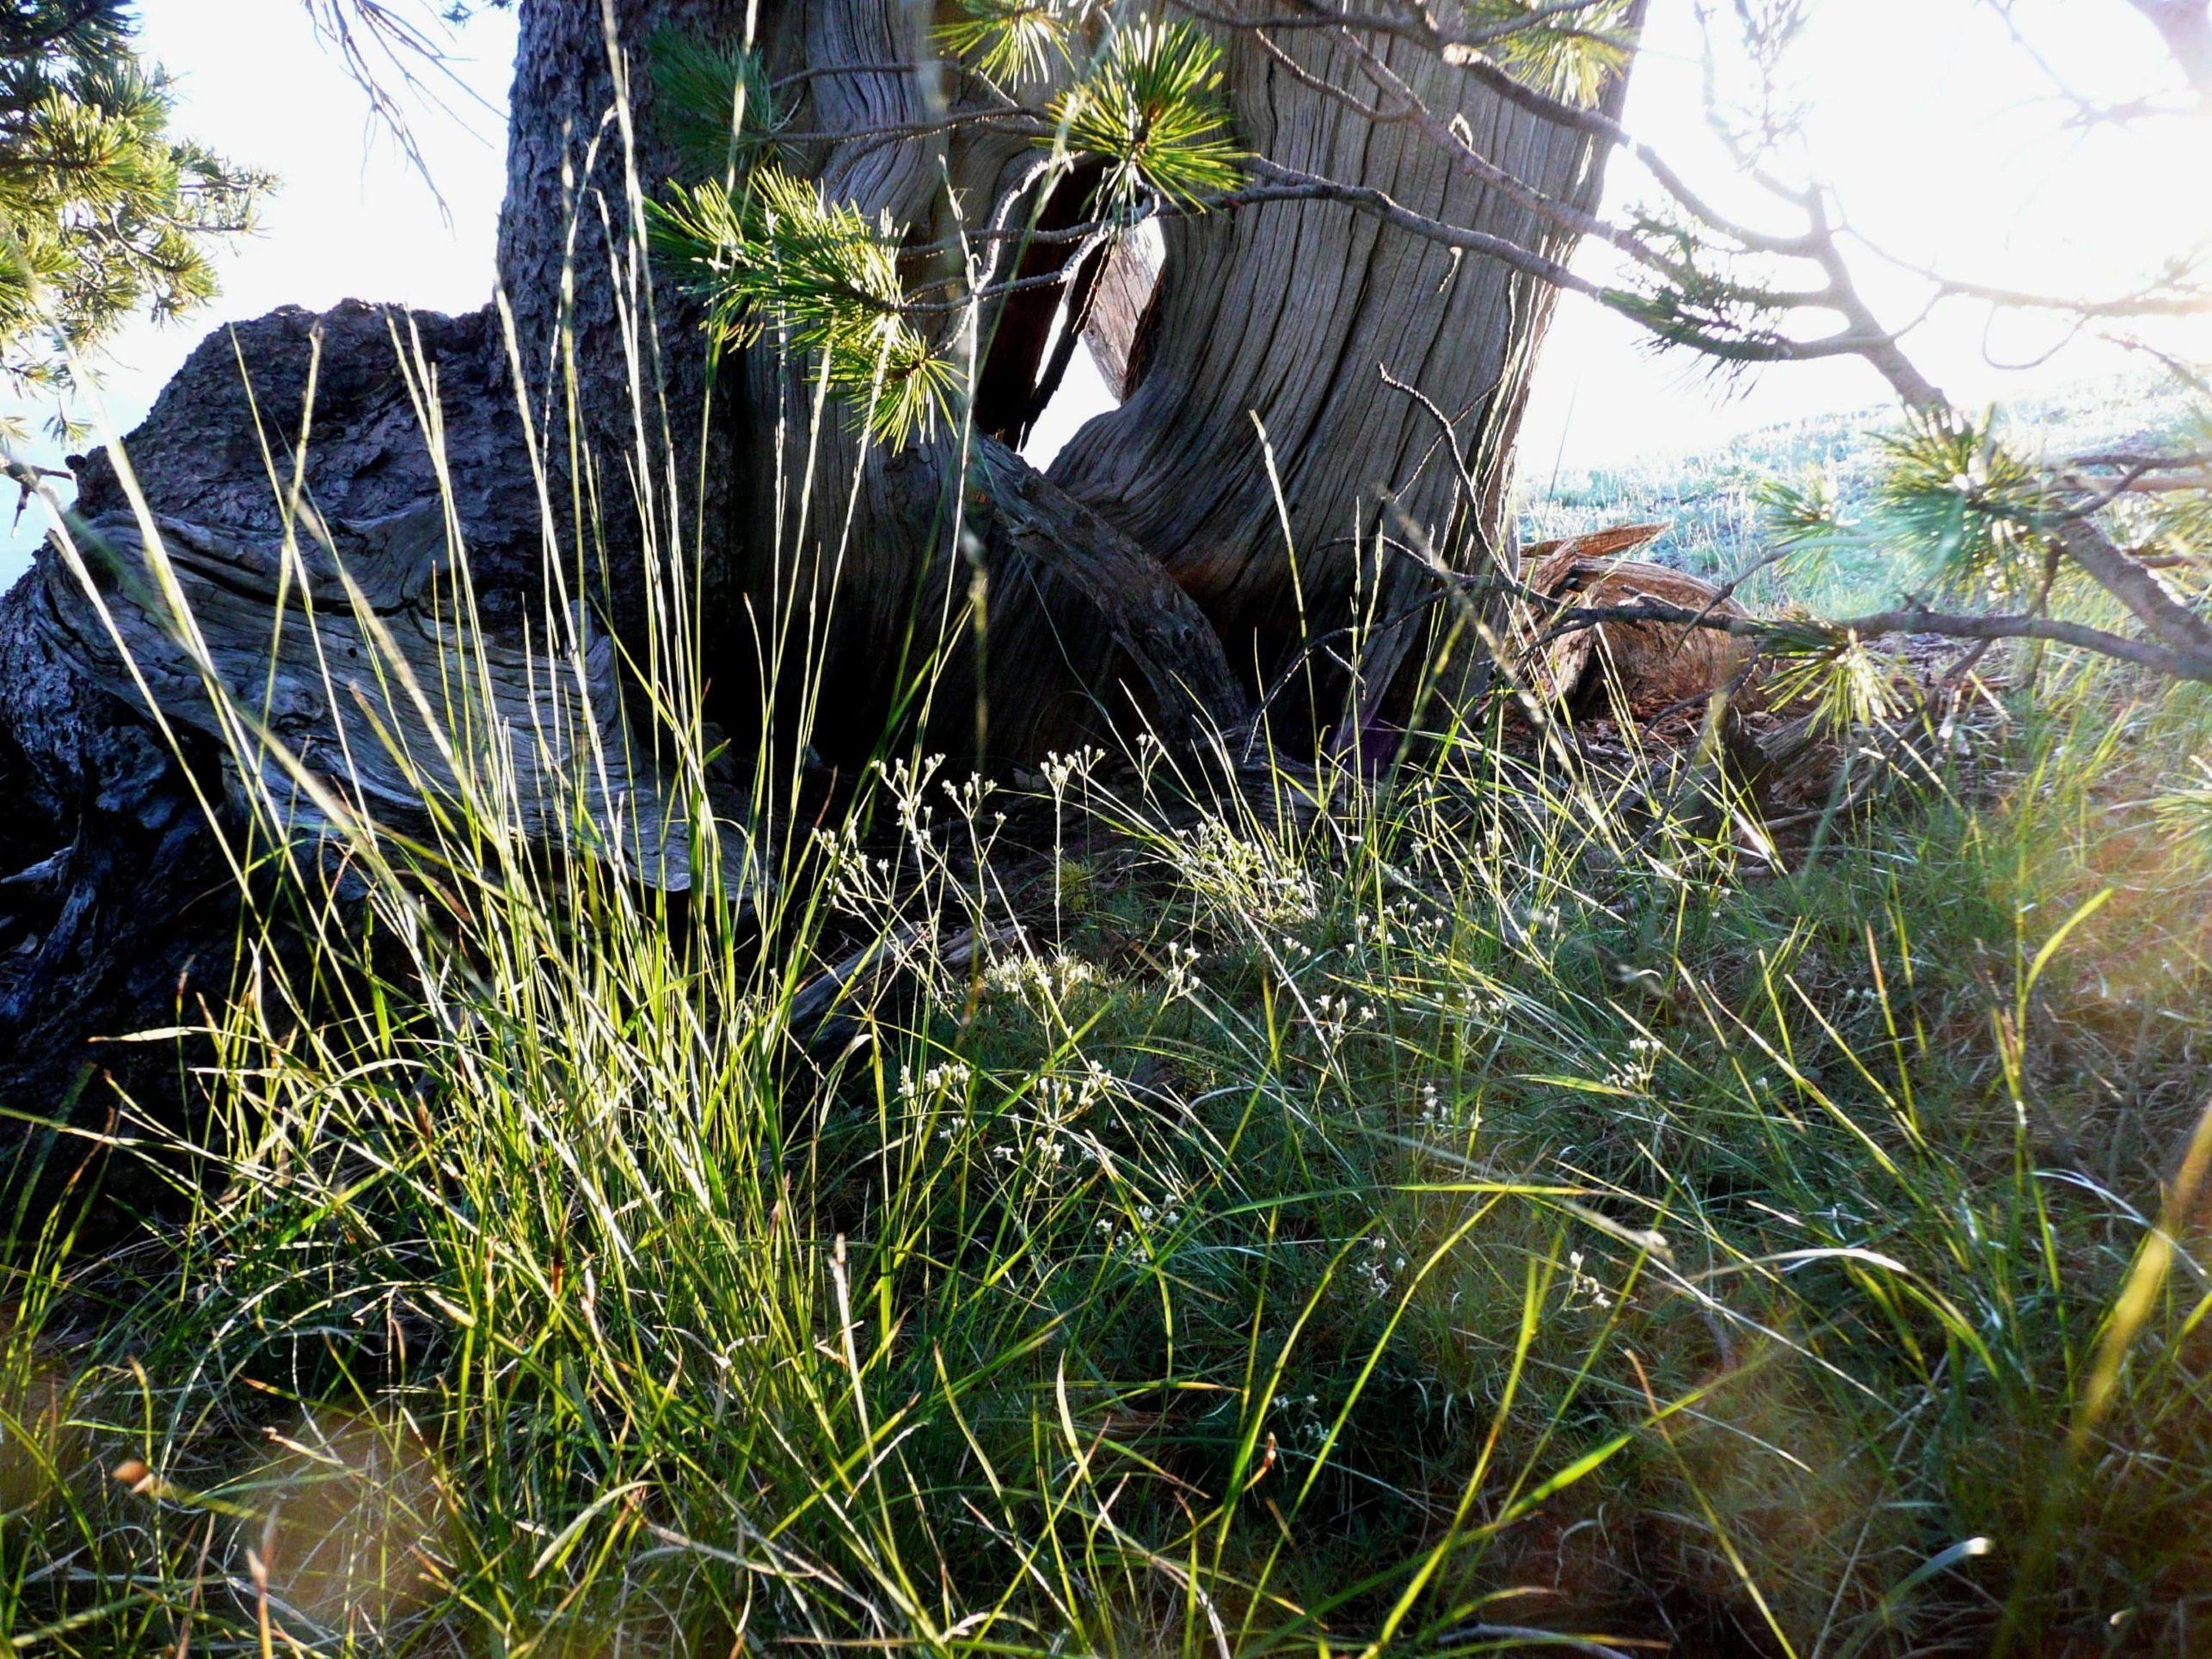
Twin Lakes Backpack – Baker County, OR
[All photos ![]() Max Vollmer, Click on any image to enlarge]
Max Vollmer, Click on any image to enlarge]


Son Rompe Pera – Cumbia Algarrobera
From Columbia. [Watch in Full Screen, lower right]
Drowning Sorrows in Wine – The Zhongruan
“Jiu Kuang,” Drowning Sorrows in Wine. [Watch in Full Screen, lower right]
Flowing Water – the Chinese Gugin
The gugin is an ancient Chinese seven-string harp. [Watch in Full Screen, lower right]
Emerald Drifter – Cig Harvey
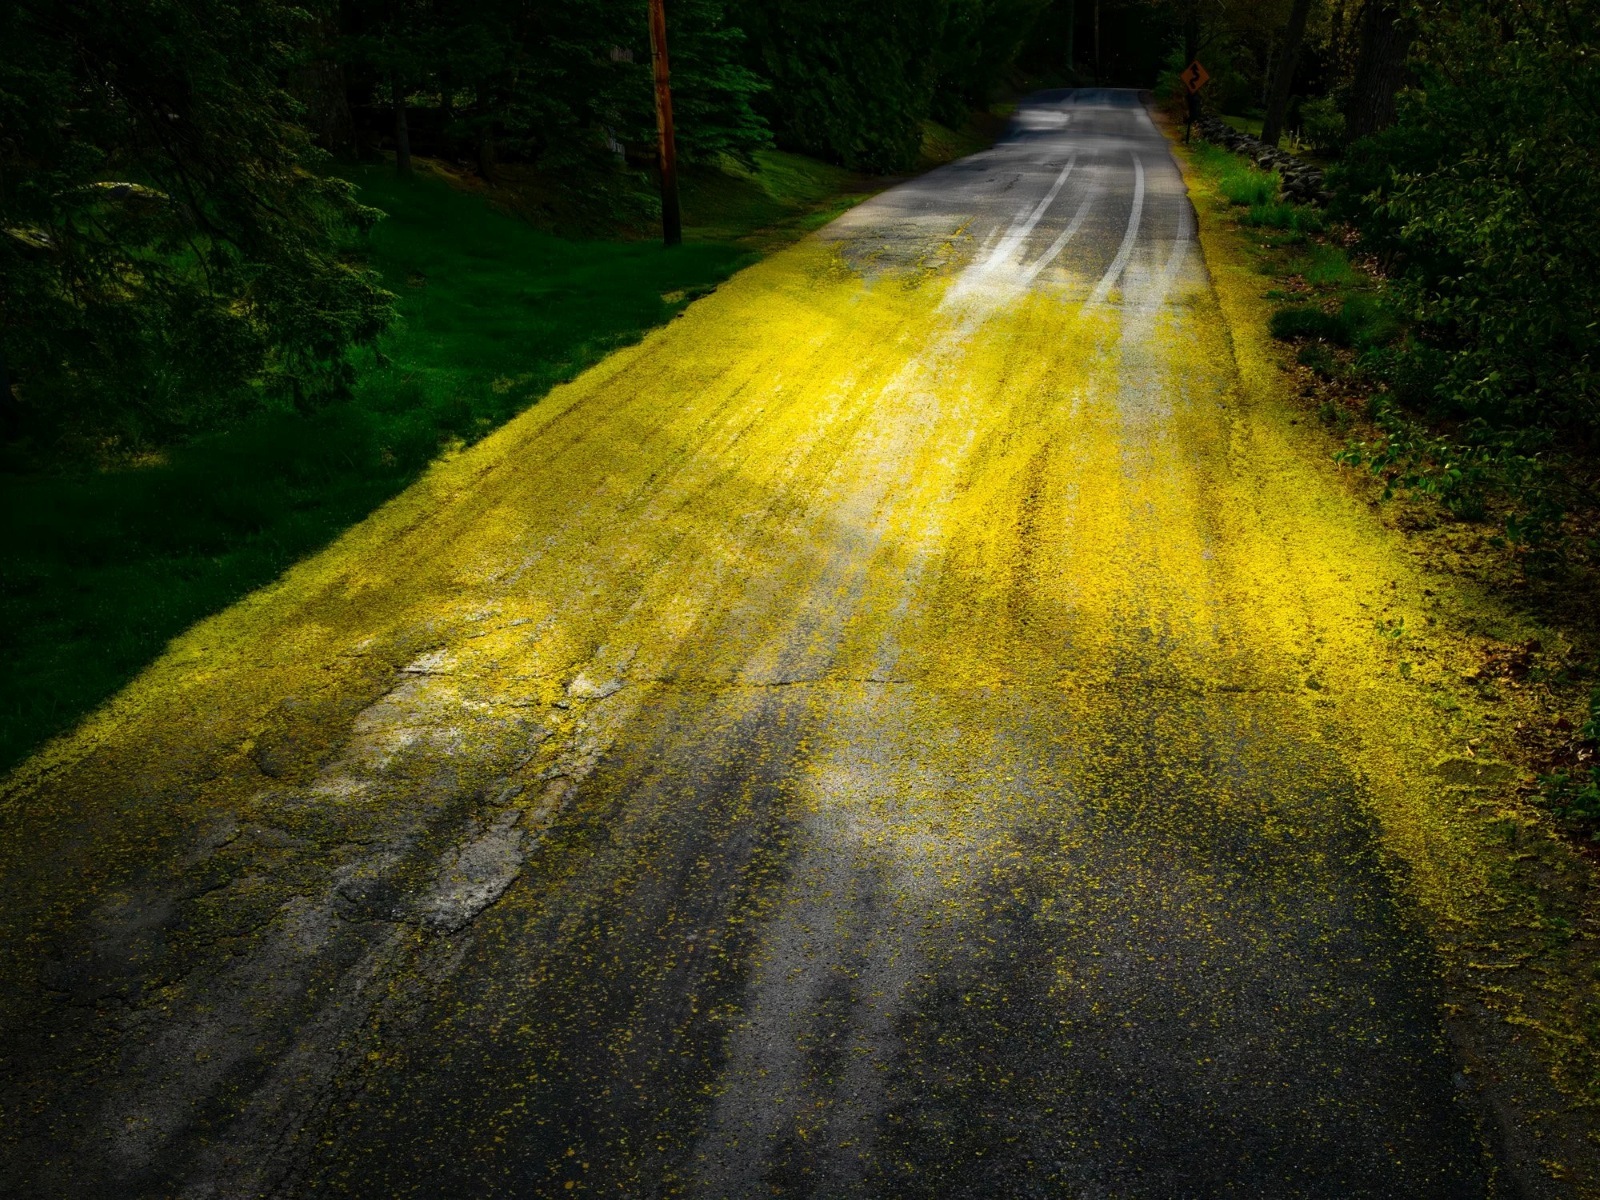

NEW YORKER Magazine Newsletter April 19, 2025, article by Ocean Vuong about the photography of Cig Harvey in Emerald Drifter [Click on either image to enlarge]
“. . . Emerald Drifter is a rallying cry to exist in our bodies, where all the senses encounter the world. Viewing these images brings to mind an anecdote I once heard and think of often in relation to art: French colonizers, upon arriving in Vietnam in the nineteenth century, were aghast to see gold-clad Buddhas and stupas, porcelain and jade vases and statues, left in the open air, for anyone, even beggars, to touch. How can a people’s finest enaction of craft be left so unguarded, they wondered. Quickly, the conquerors dislodged these treasures and locked them in vaults to be sent back to the empire’s capital and displayed in museums as “relics.” What does it mean to be so frightened by beauty’s power that it must then be plundered and removed, caged? I’ve seen psychological research suggesting that, for some communities in Asia, the touching of religious artifacts has medicinal results that rival the effects of psychotropic drugs. In other words, it reaffirms what artists have known for centuries, and what Harvey so deftly reveals to us here: that beauty, despite being degraded by commerce, or shunned as merely decorous, feminine fussing, heals.”
Mastery – Tao Te Ching
My View – Eugene, Oregon
[Photos ![]() Max Vollmer, Click on any image to enlarge]
Max Vollmer, Click on any image to enlarge]


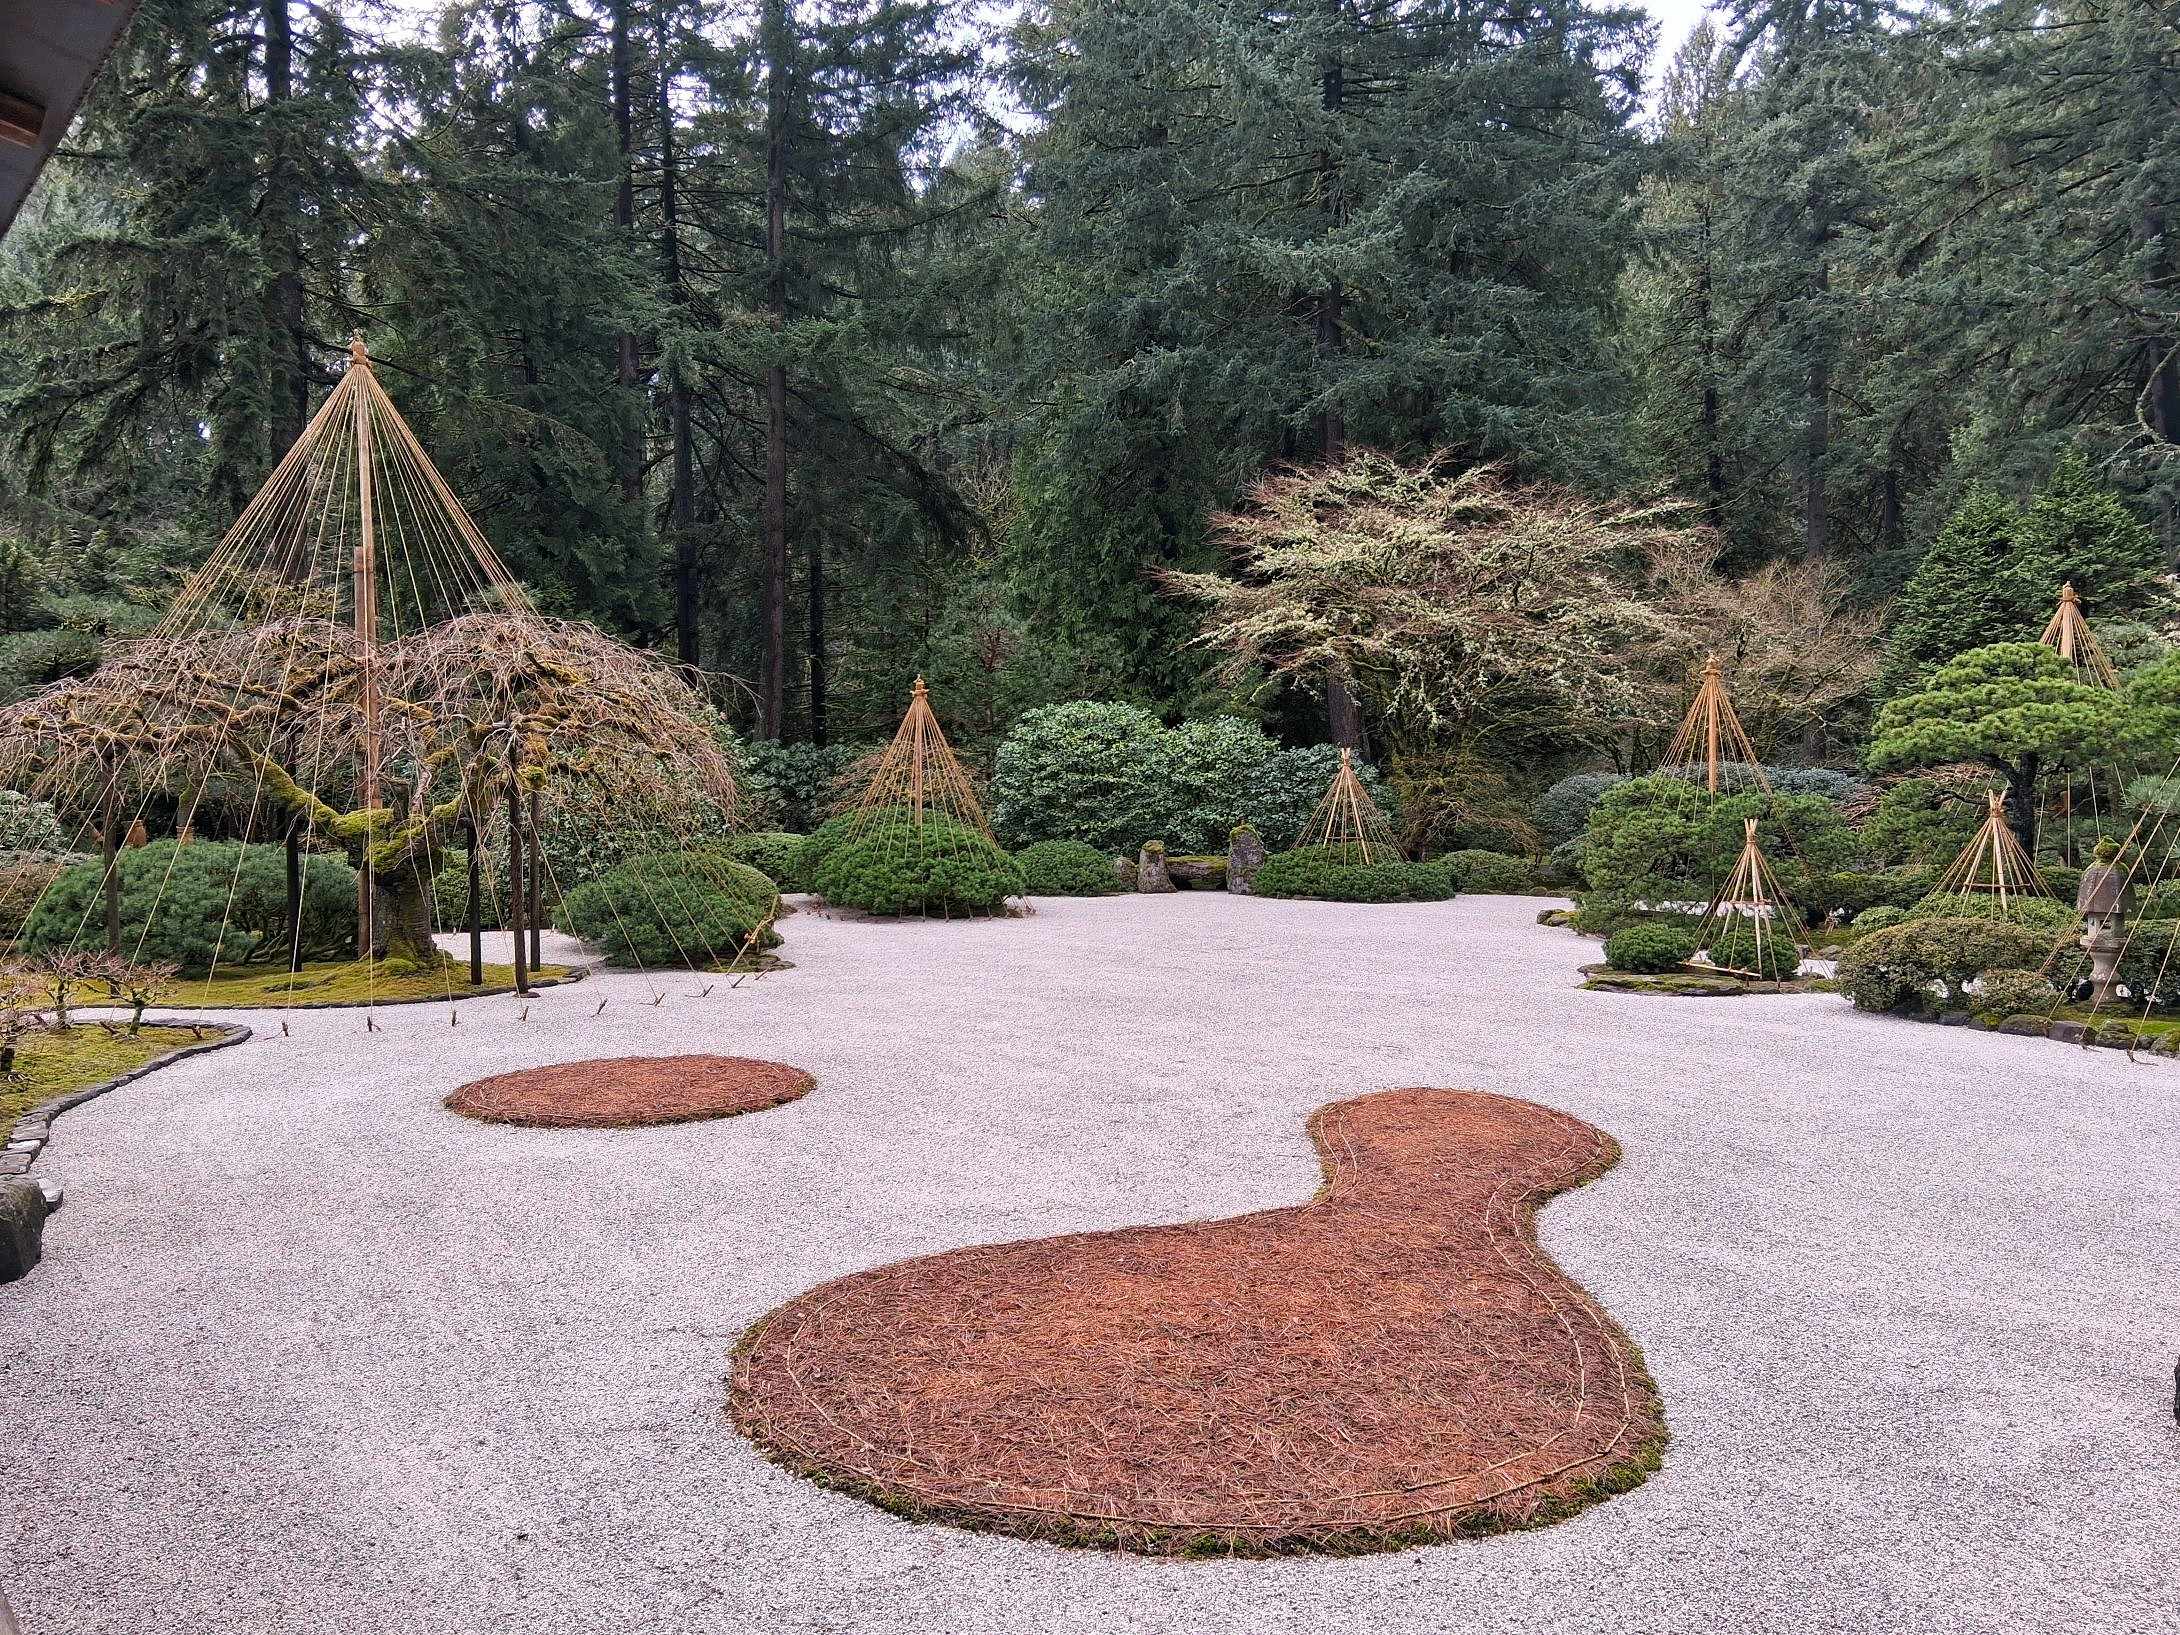
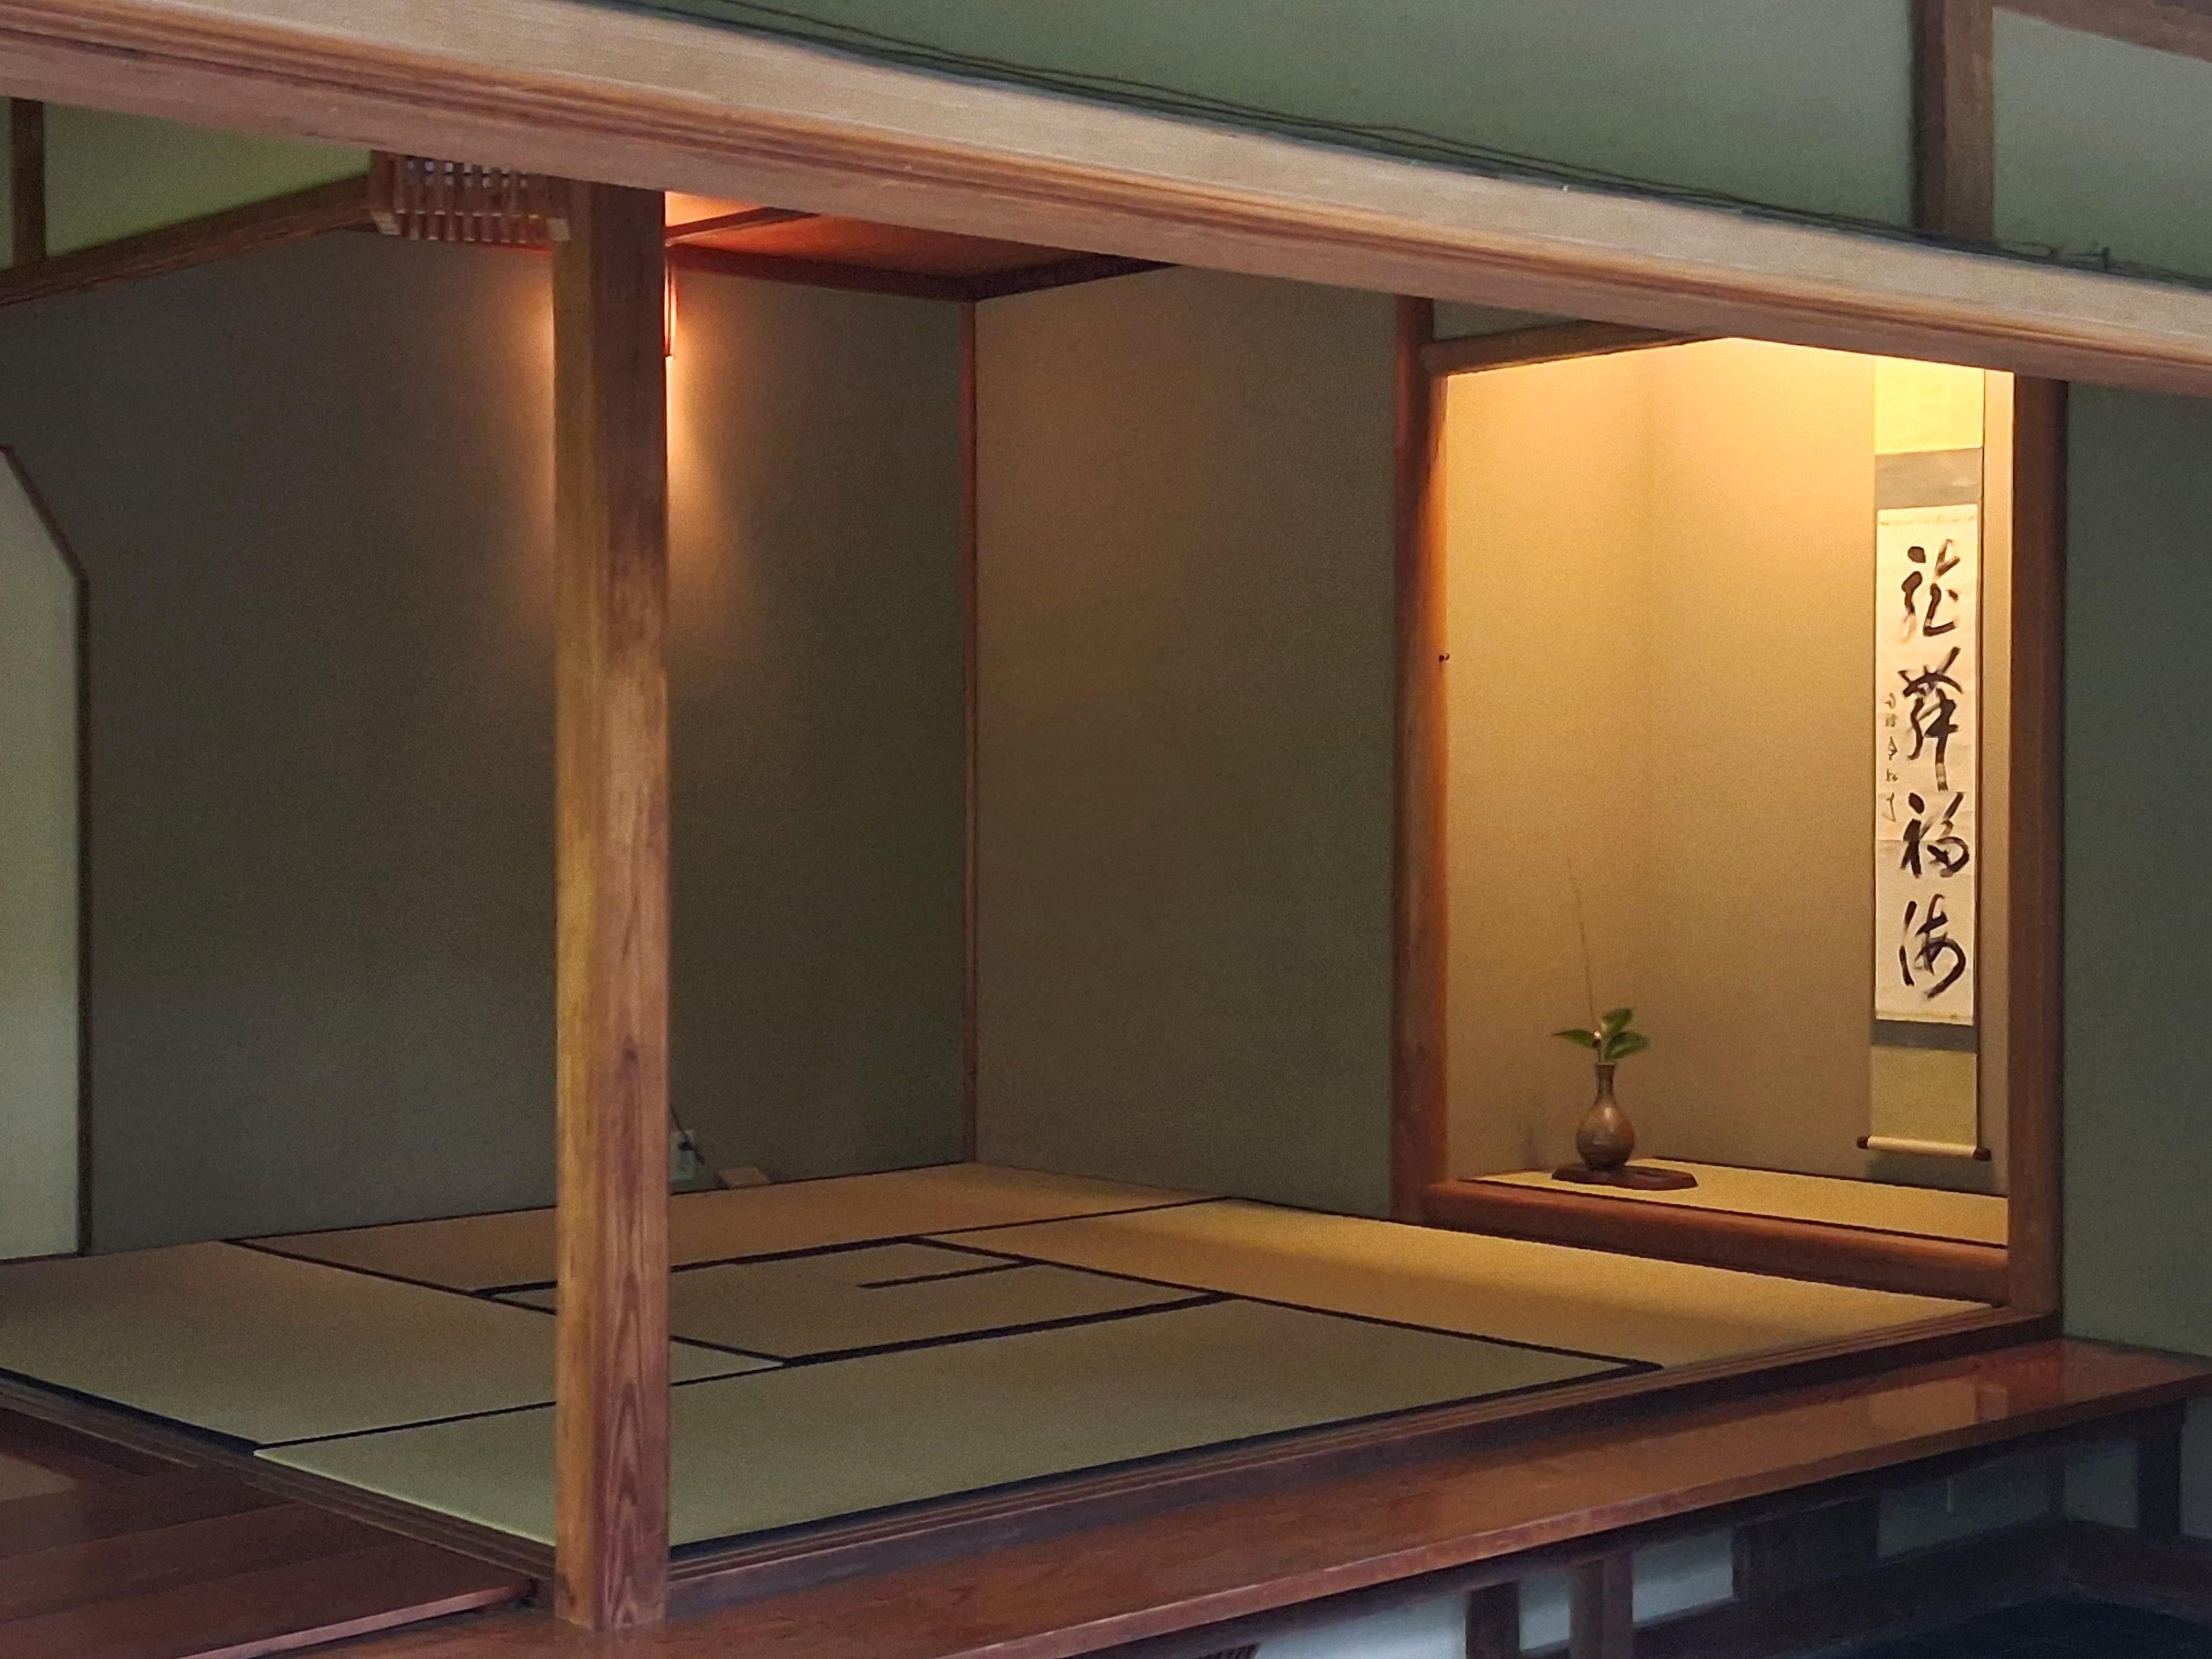
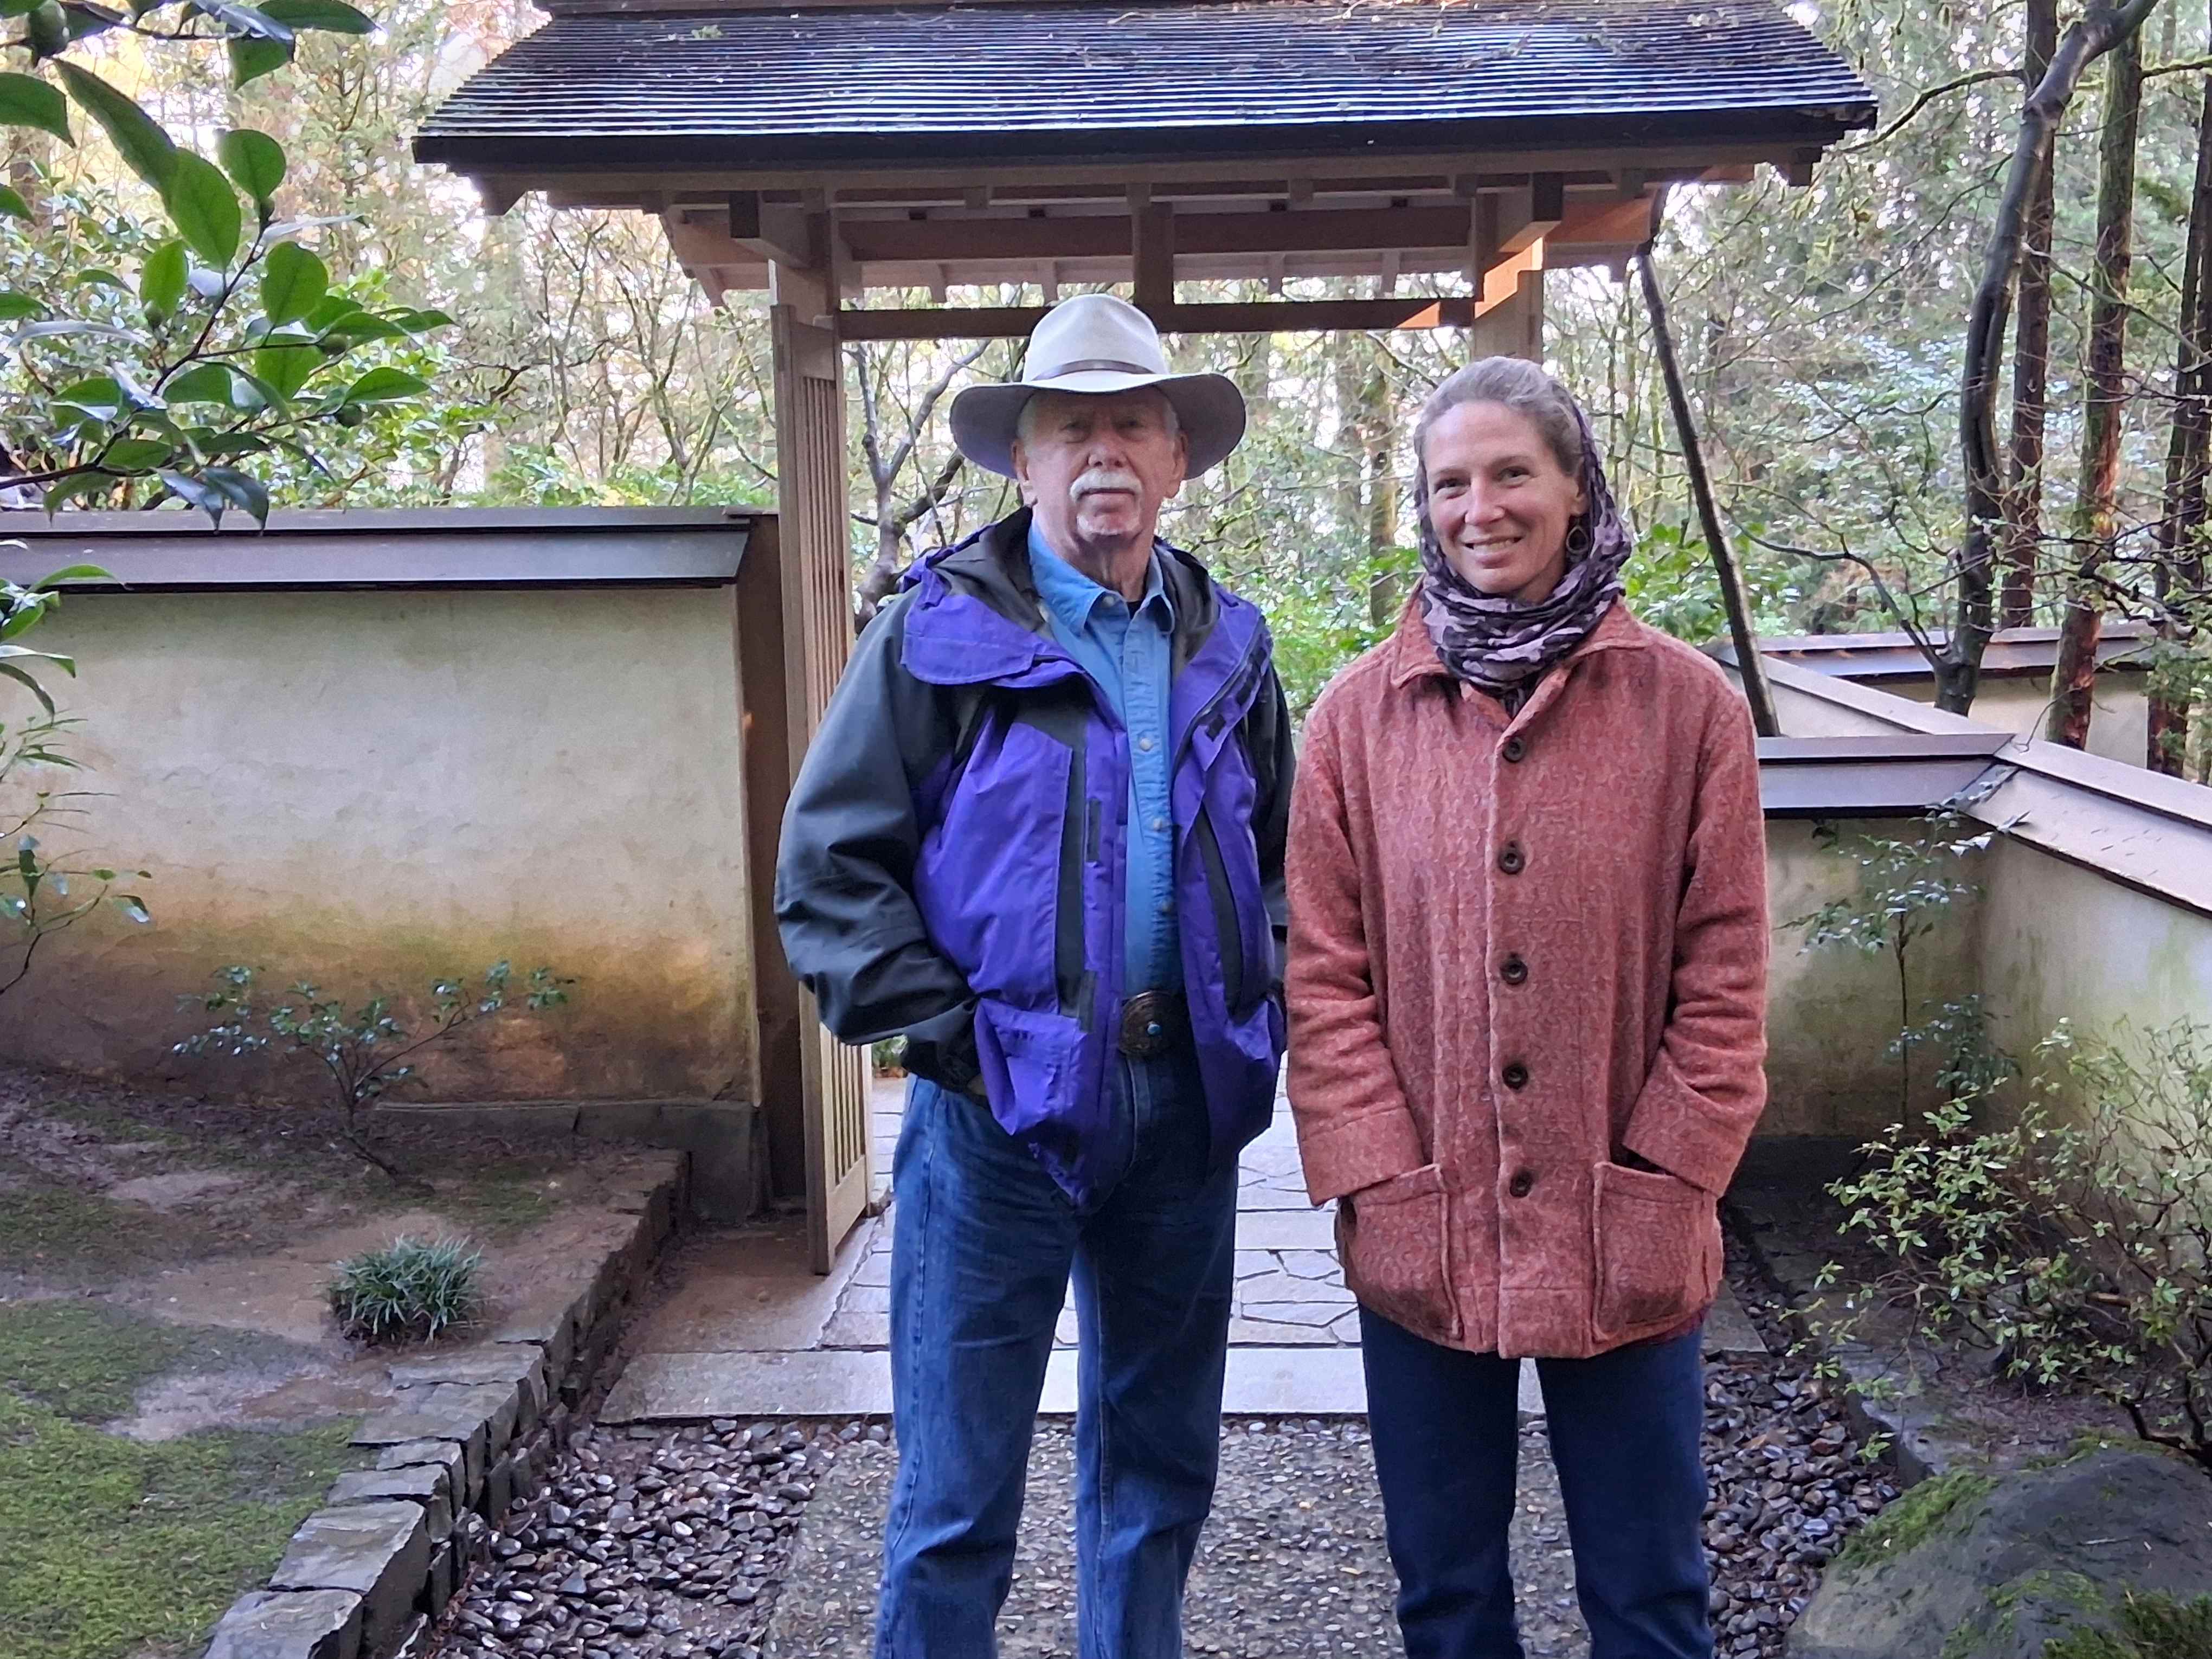
Japanese Garden – Portland, Oregon
[All photos ![]() Max Vollmer, Click on any image to enlarge]
Max Vollmer, Click on any image to enlarge]