My daughter and her partner are building a Tiny House from the ground up in Nehalem, Oregon. My contribution is a pocket door for the bathroom. For this project I selected some rough sawn, old-growth, clear vertical grain (CVG) Douglas fir that I had been hoarding for 30 years for the door frame and panels. [Click on any image to enlarge, All photos ![]() Max Vollmer]
Max Vollmer]

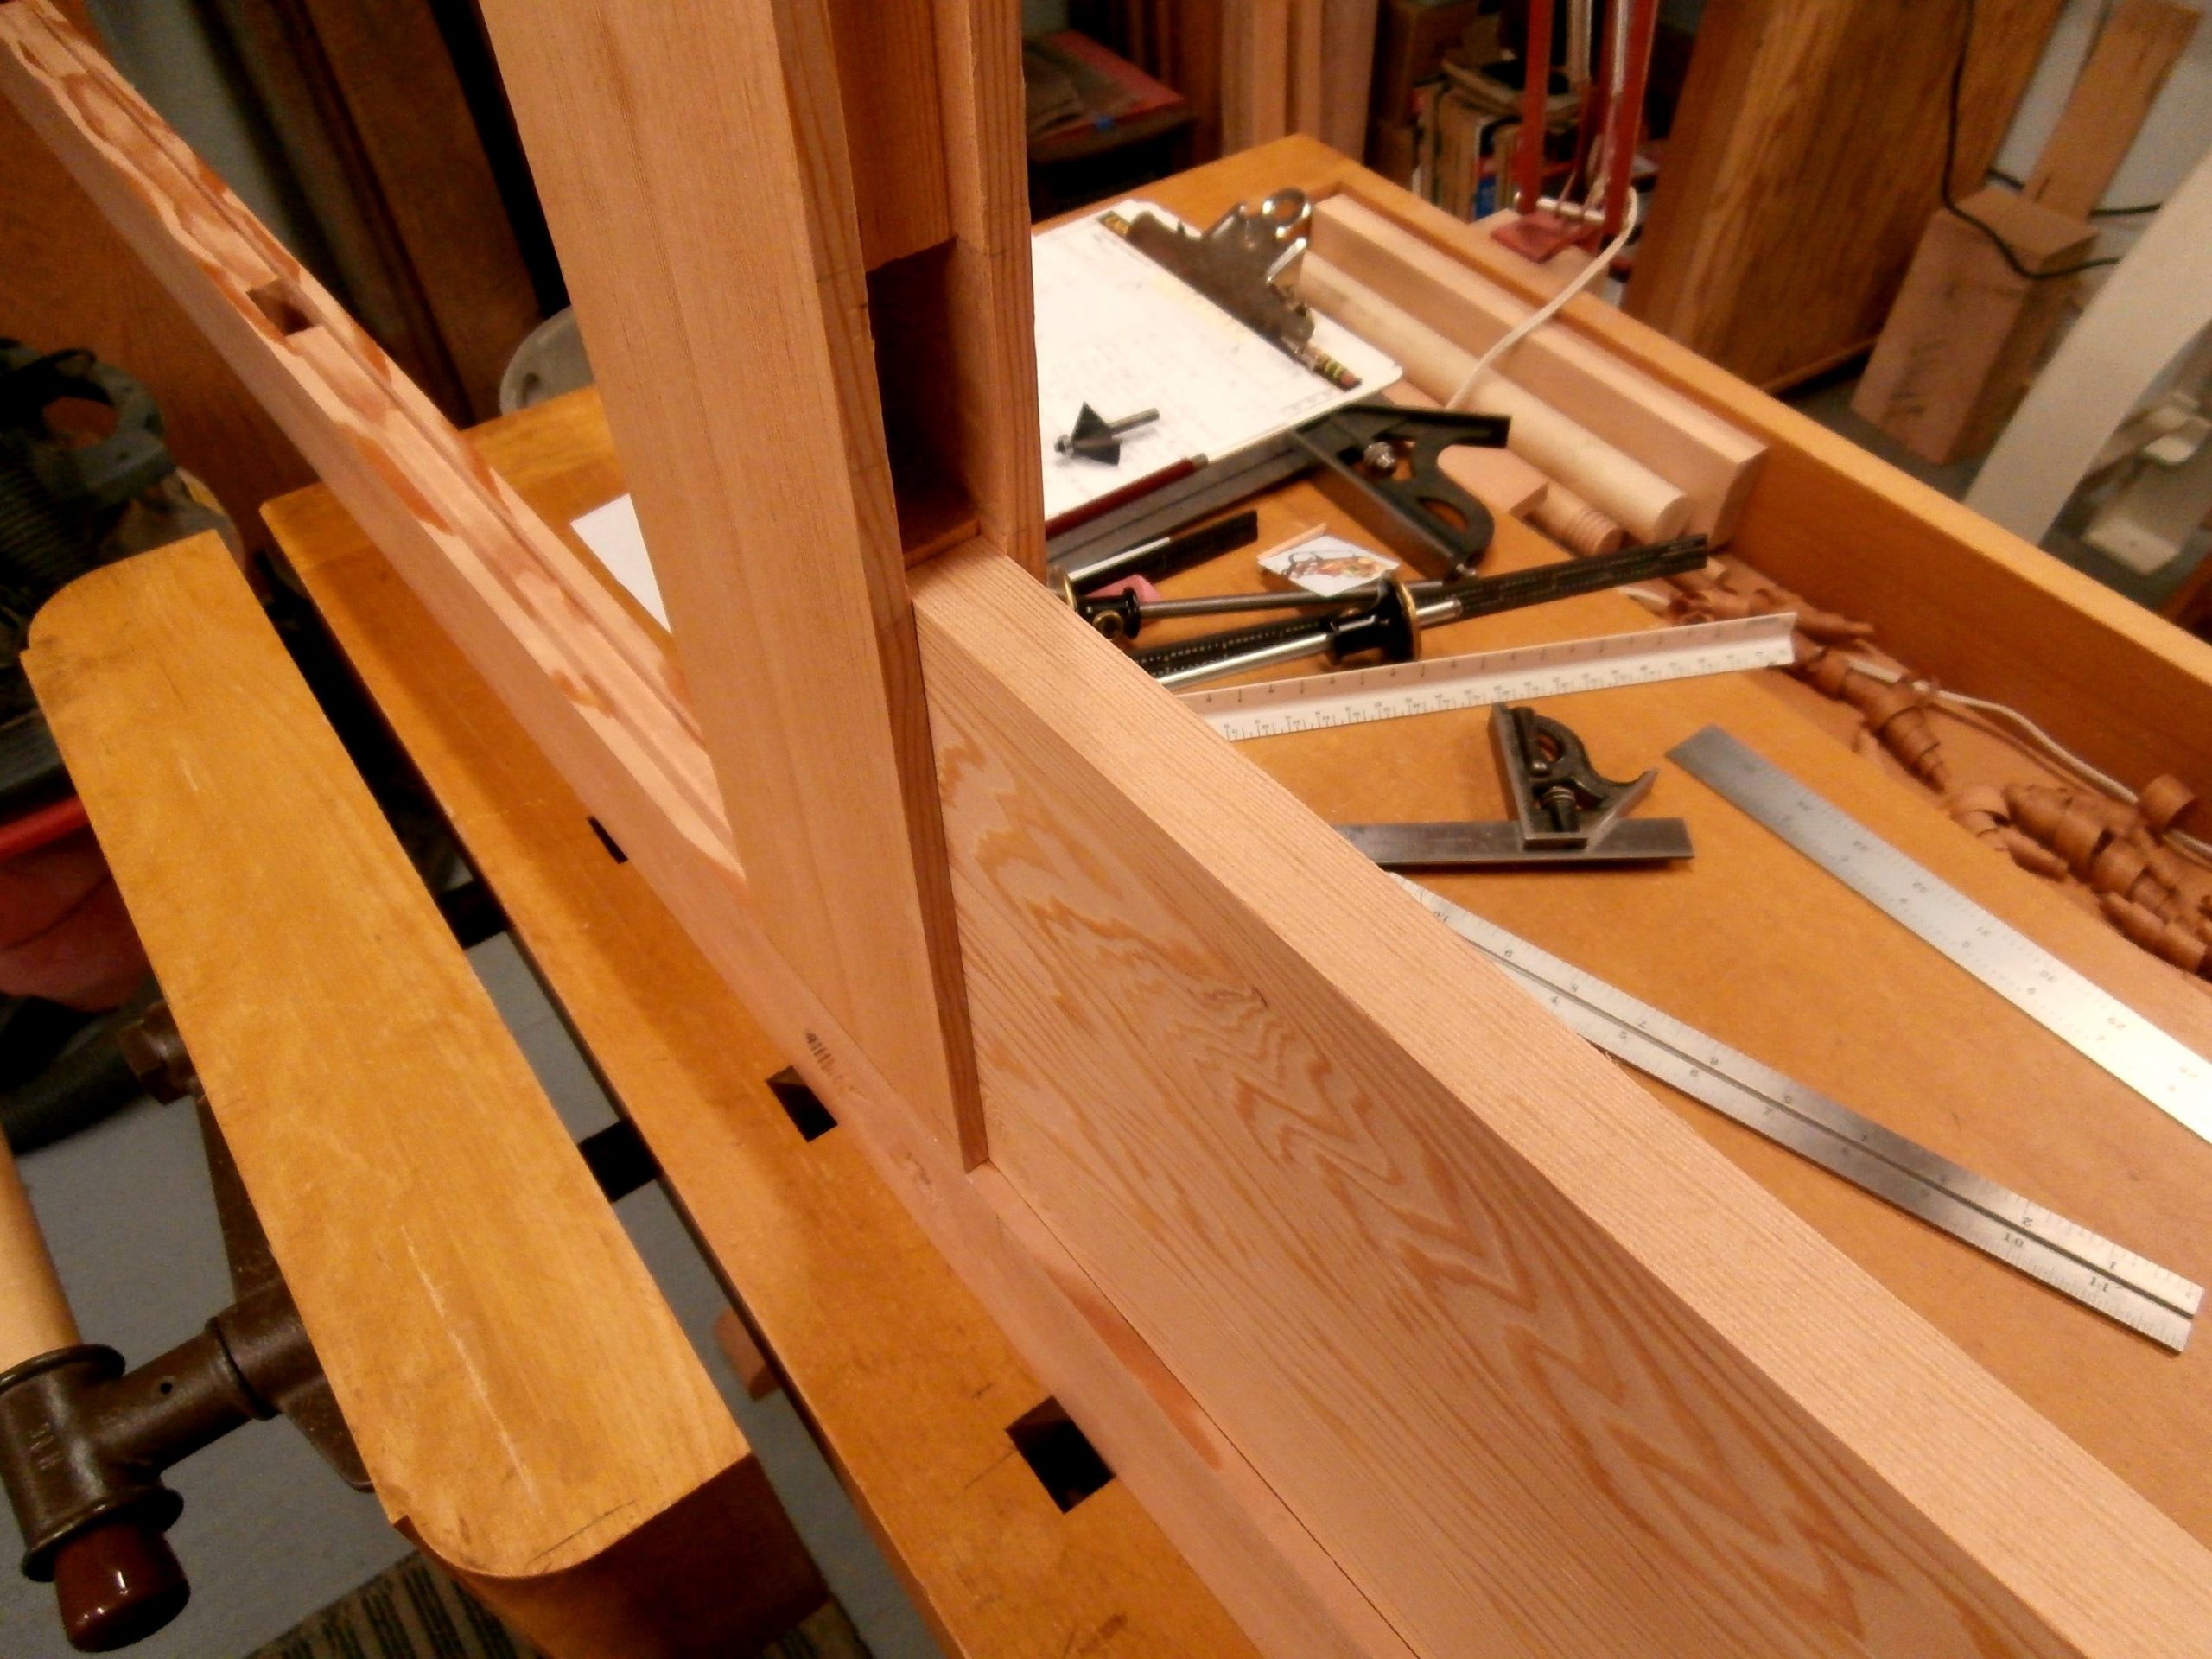
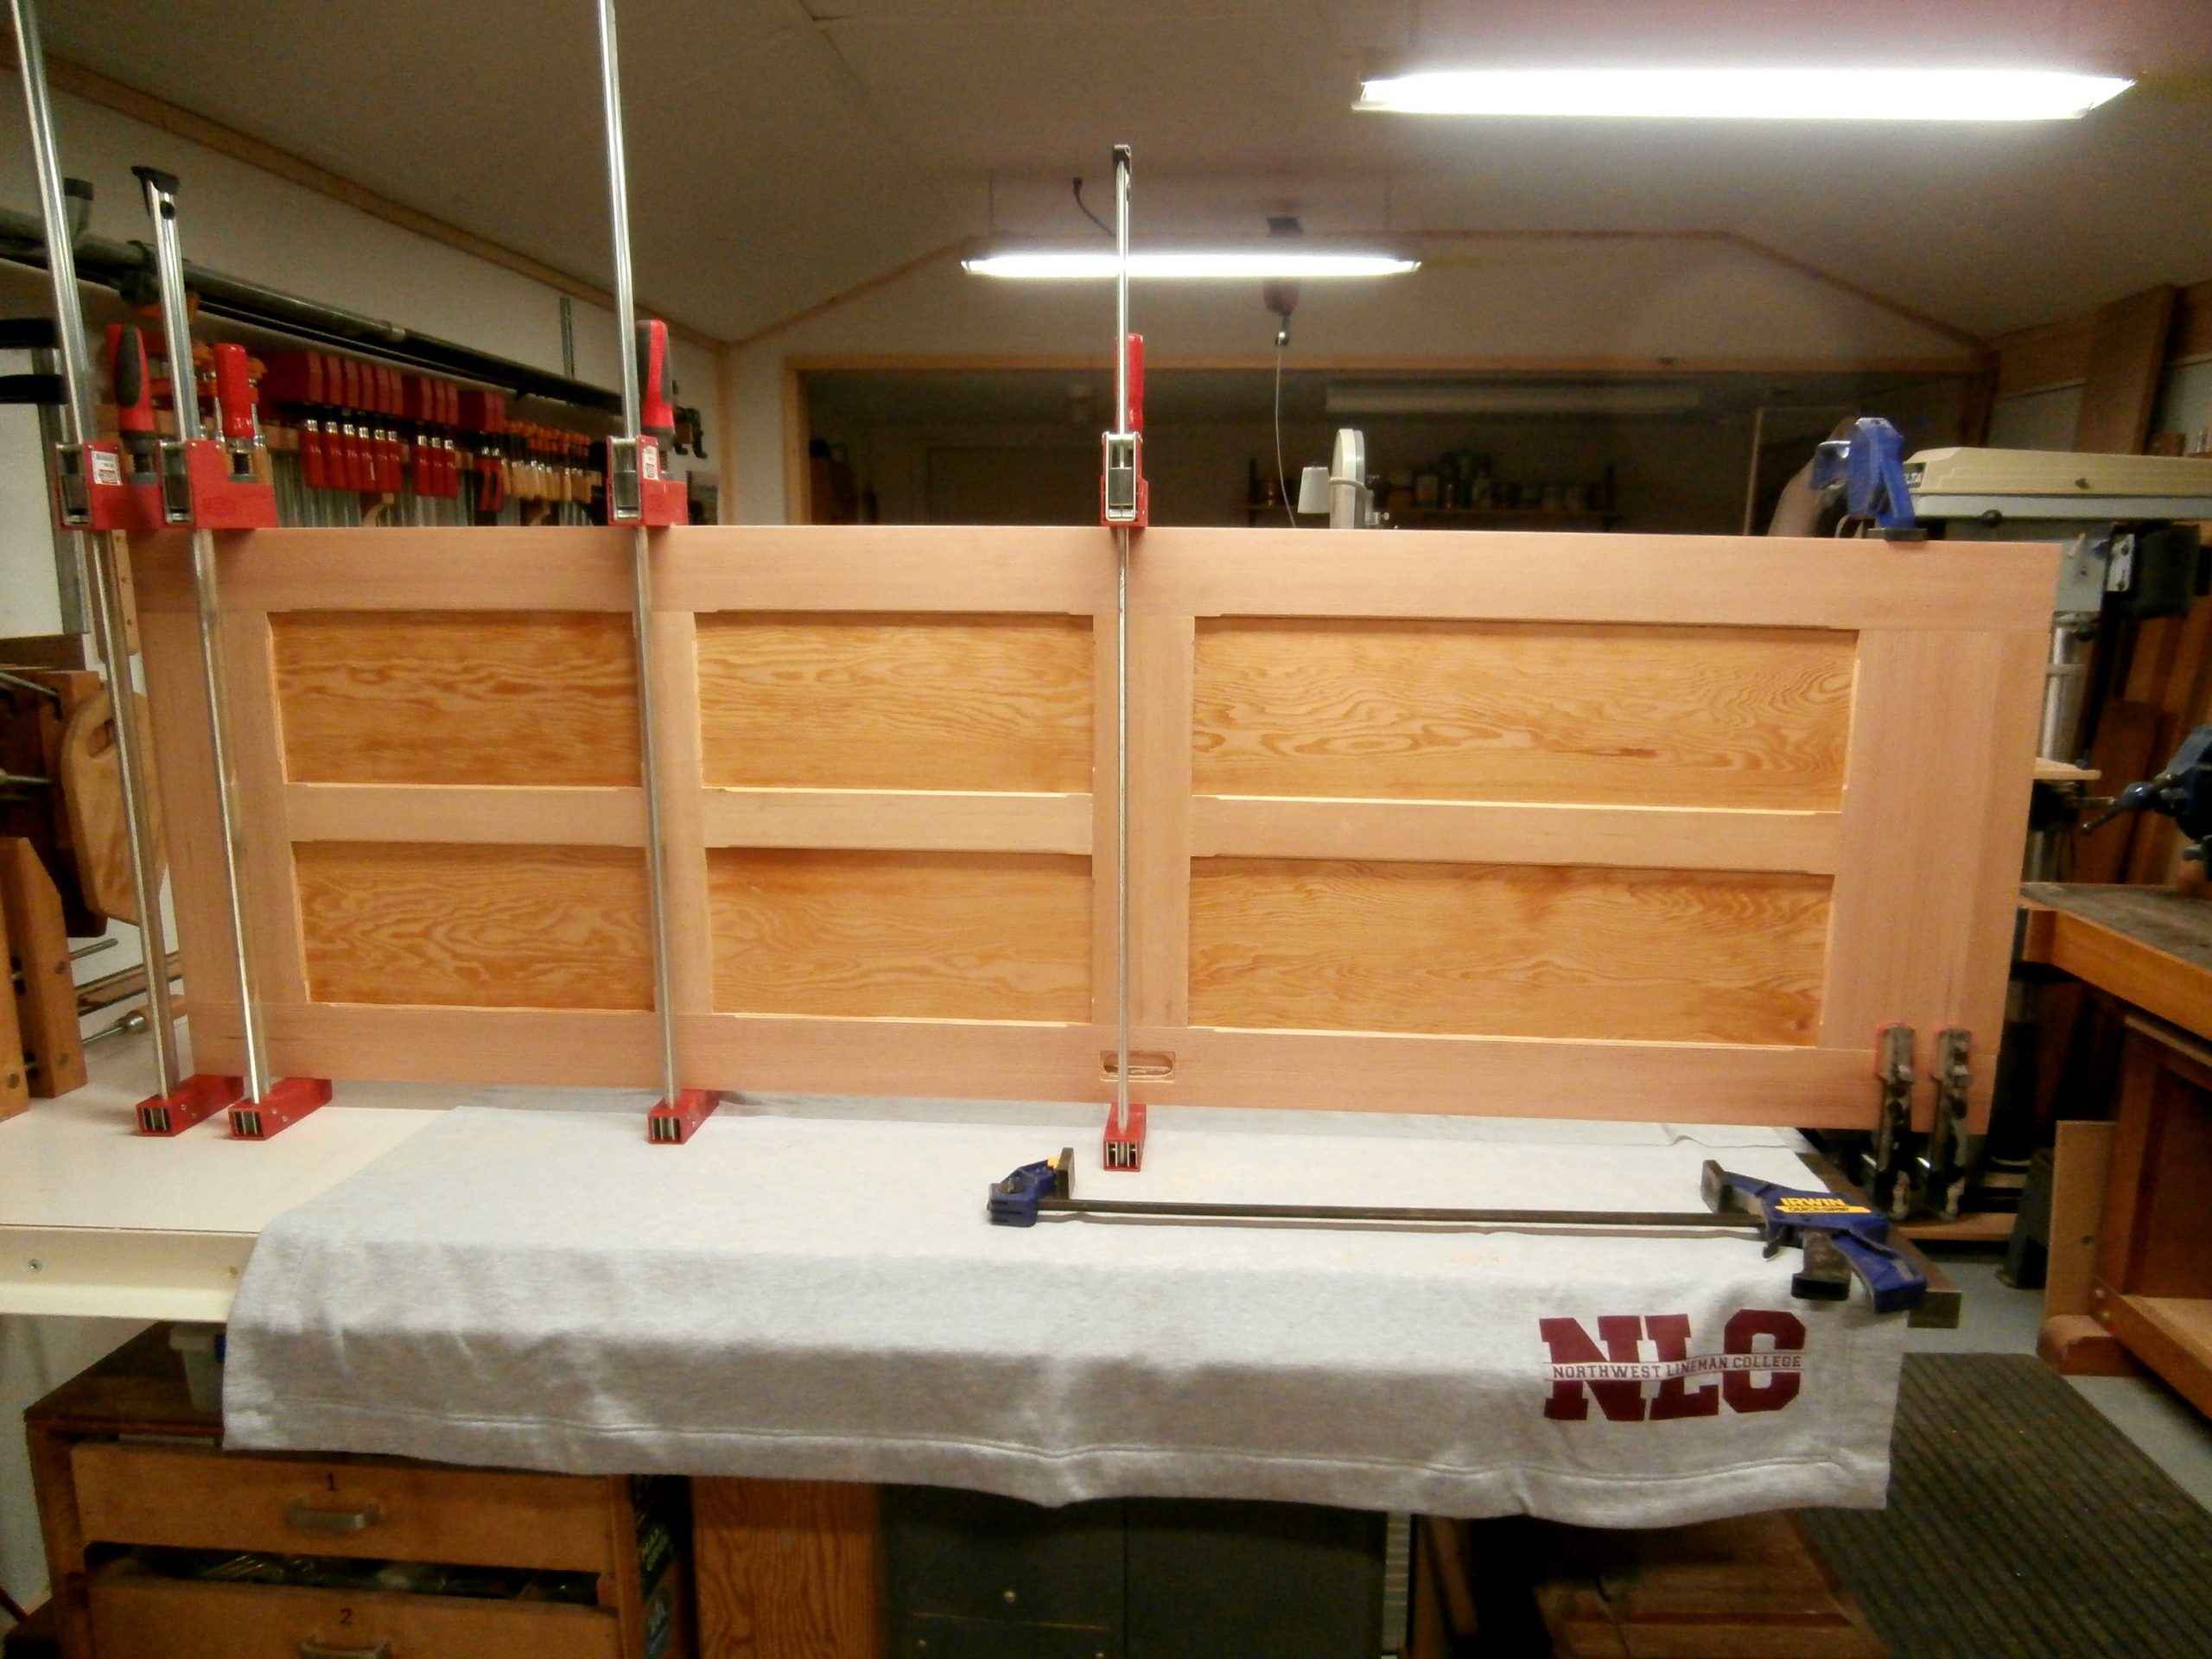
The first step was to size and plane the lumber according to my plan and cut list for a six-panel door with a stained glass mosaic visible from one side only. Then I cut the mortises and tenons for the door frame and dry-fit the pieces. It is absolutely critical for a door that the frame be dead-square, with 90 degree angles at all joints.

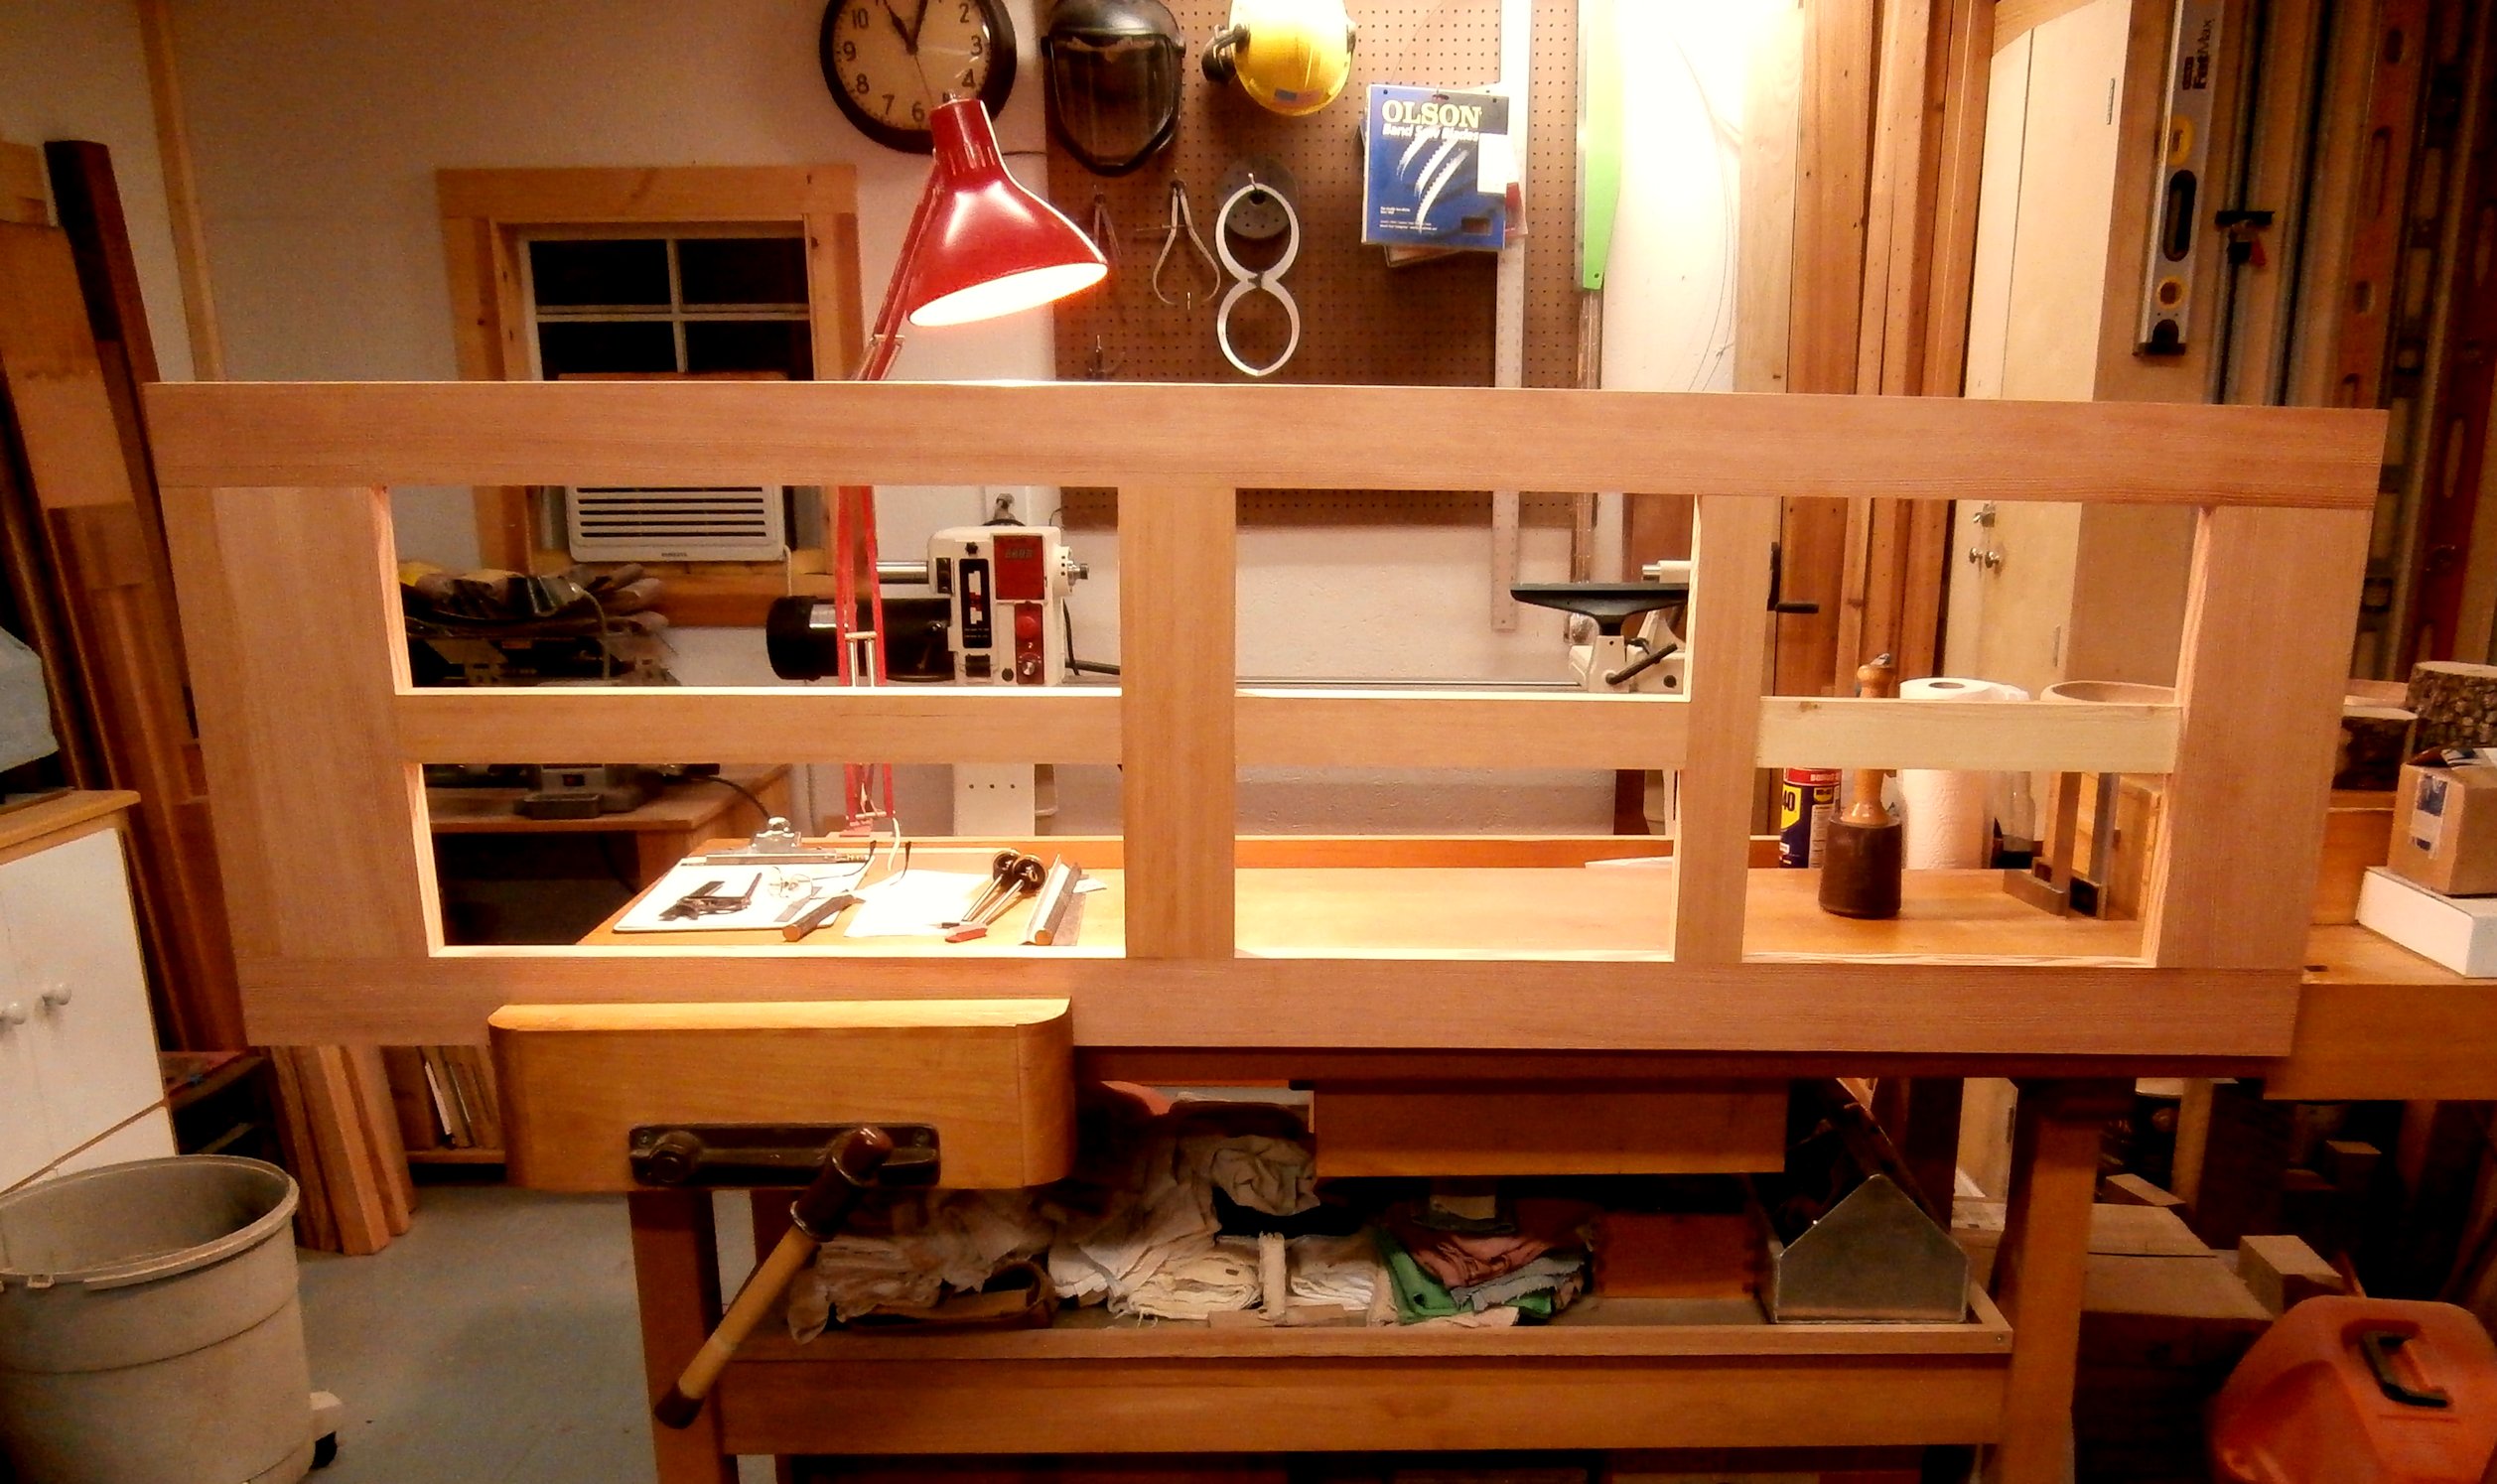
The next step was to cut the rabbets all around the inside of the frame members to accept the 3/4 inch thick panels. As with any frame and panel construction, allowance has to be made for the expansion-contraction of solid wood panels that occurs with changes in ambient humidity.
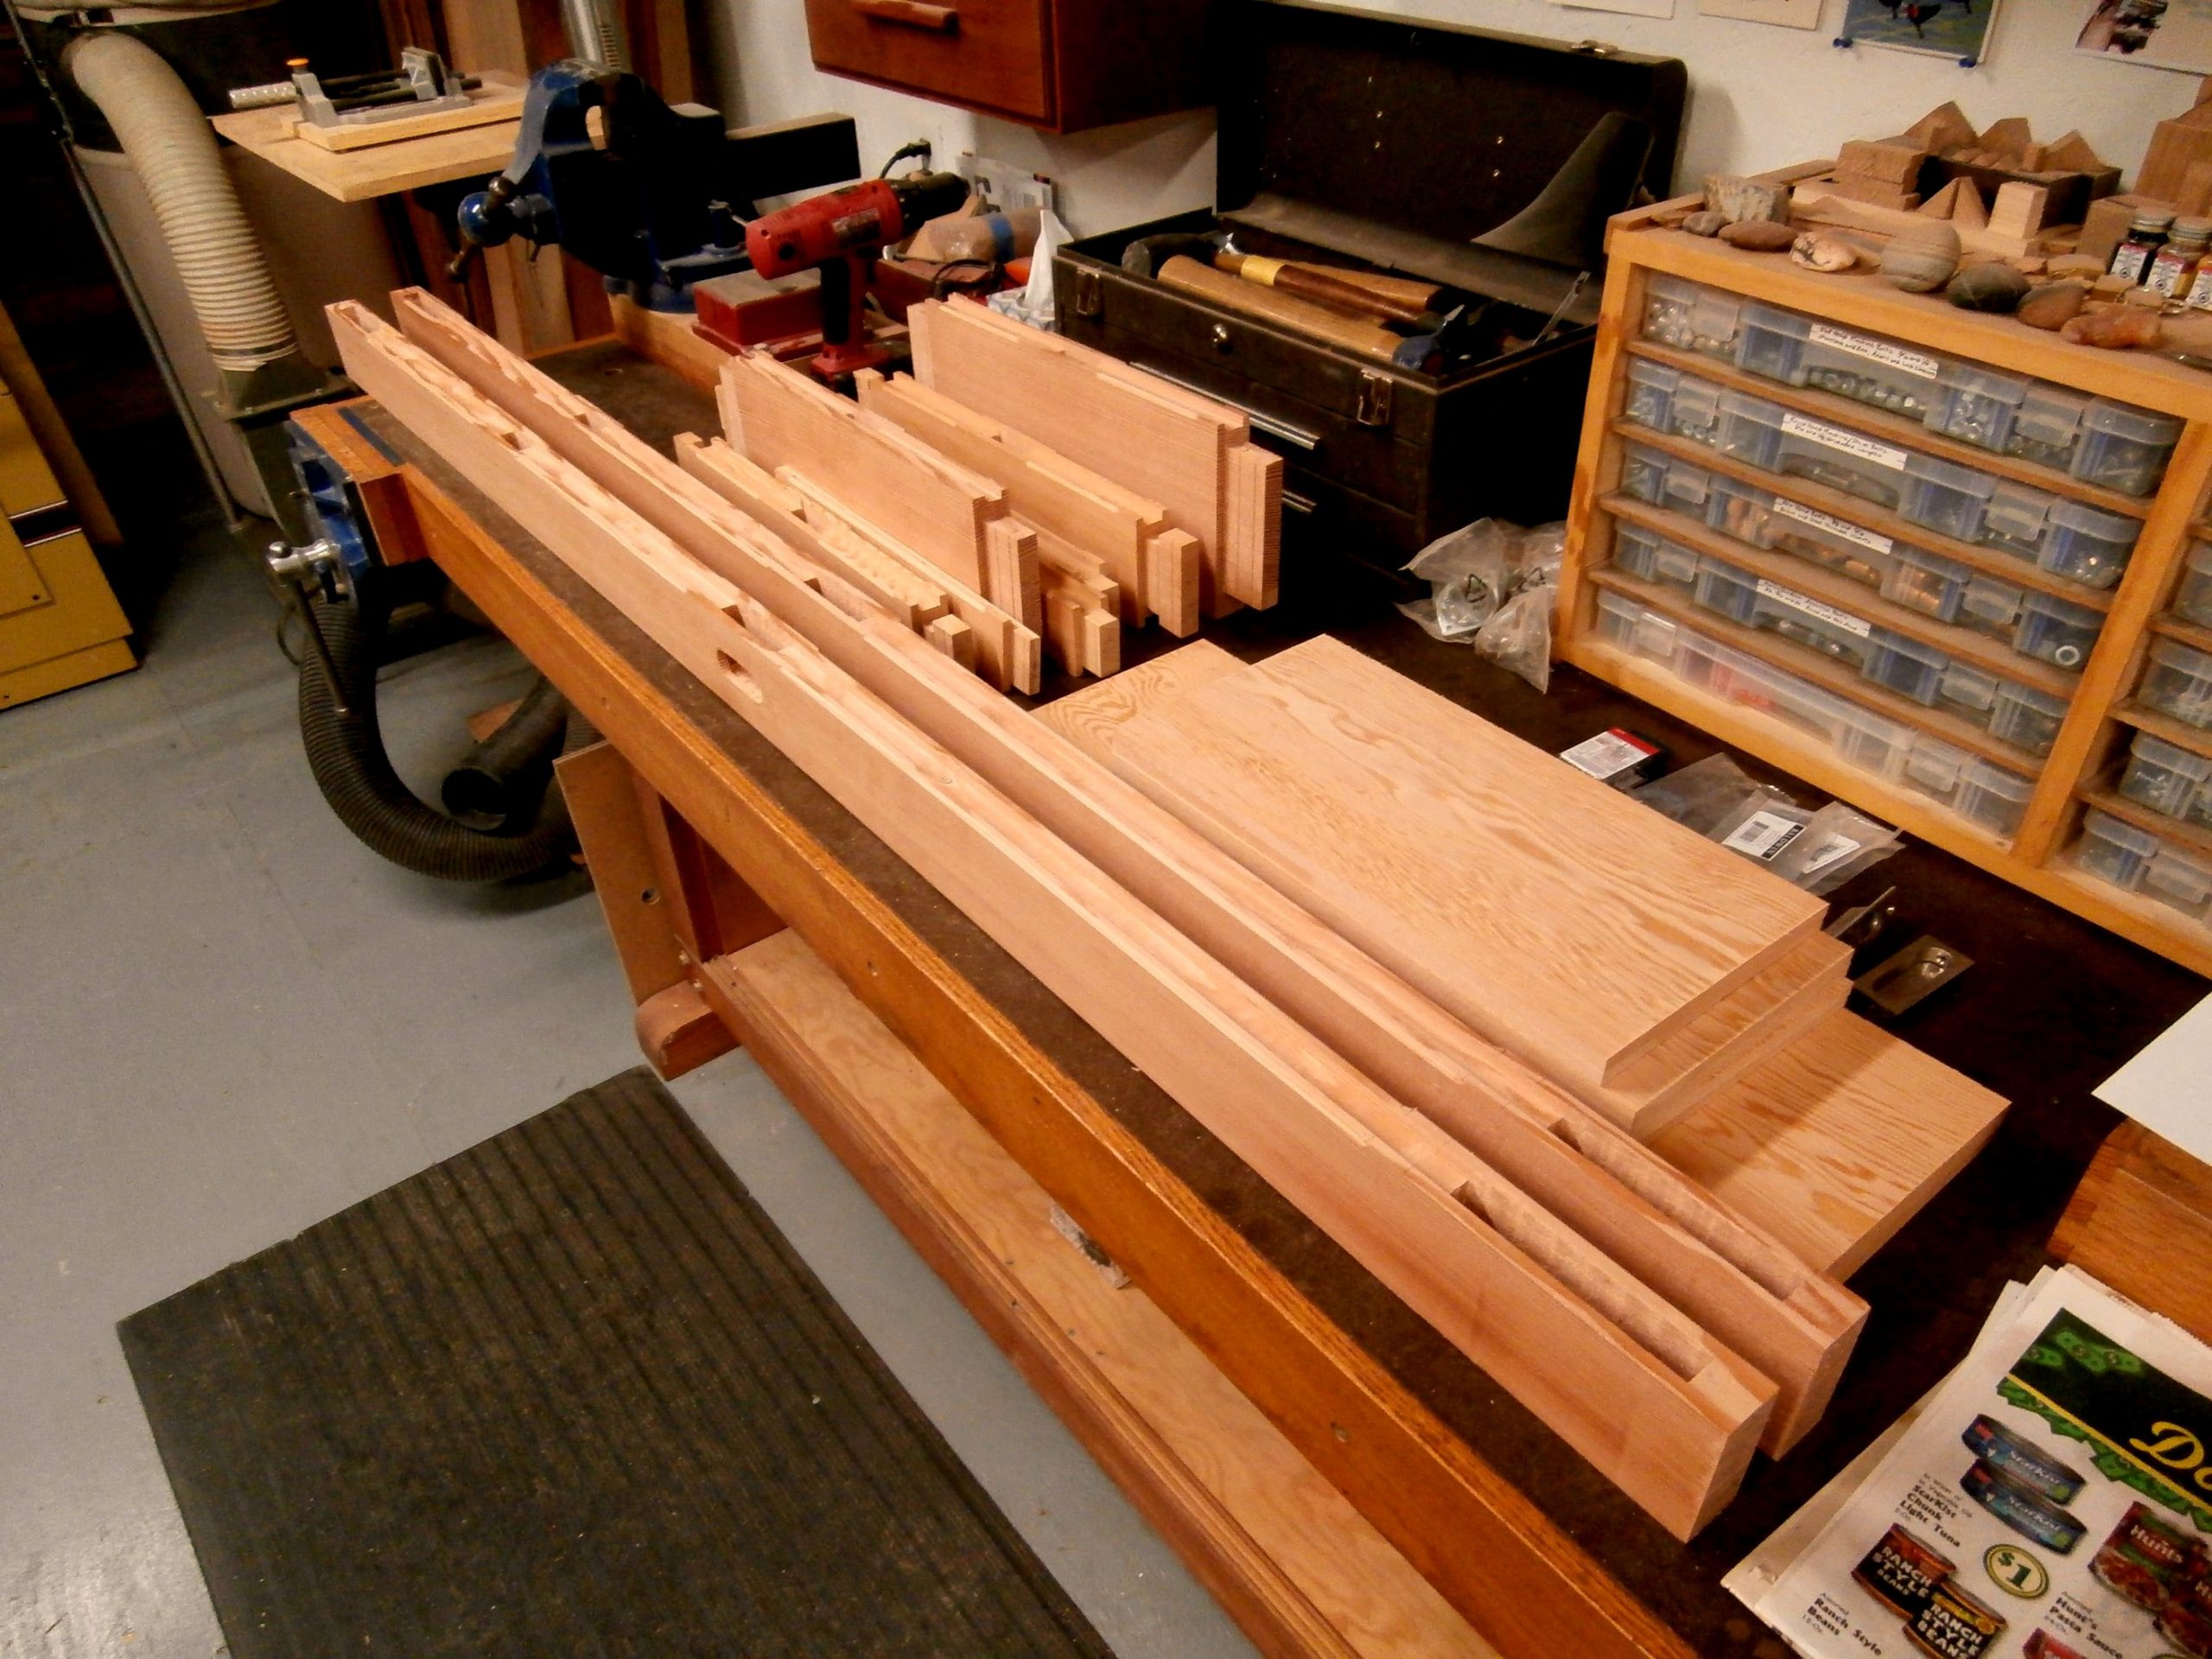
With the door frame members sized, the mortises and tenons cut, and the panels sized, I now had a door “kit” ready for embellishment, sanding, and assembly.
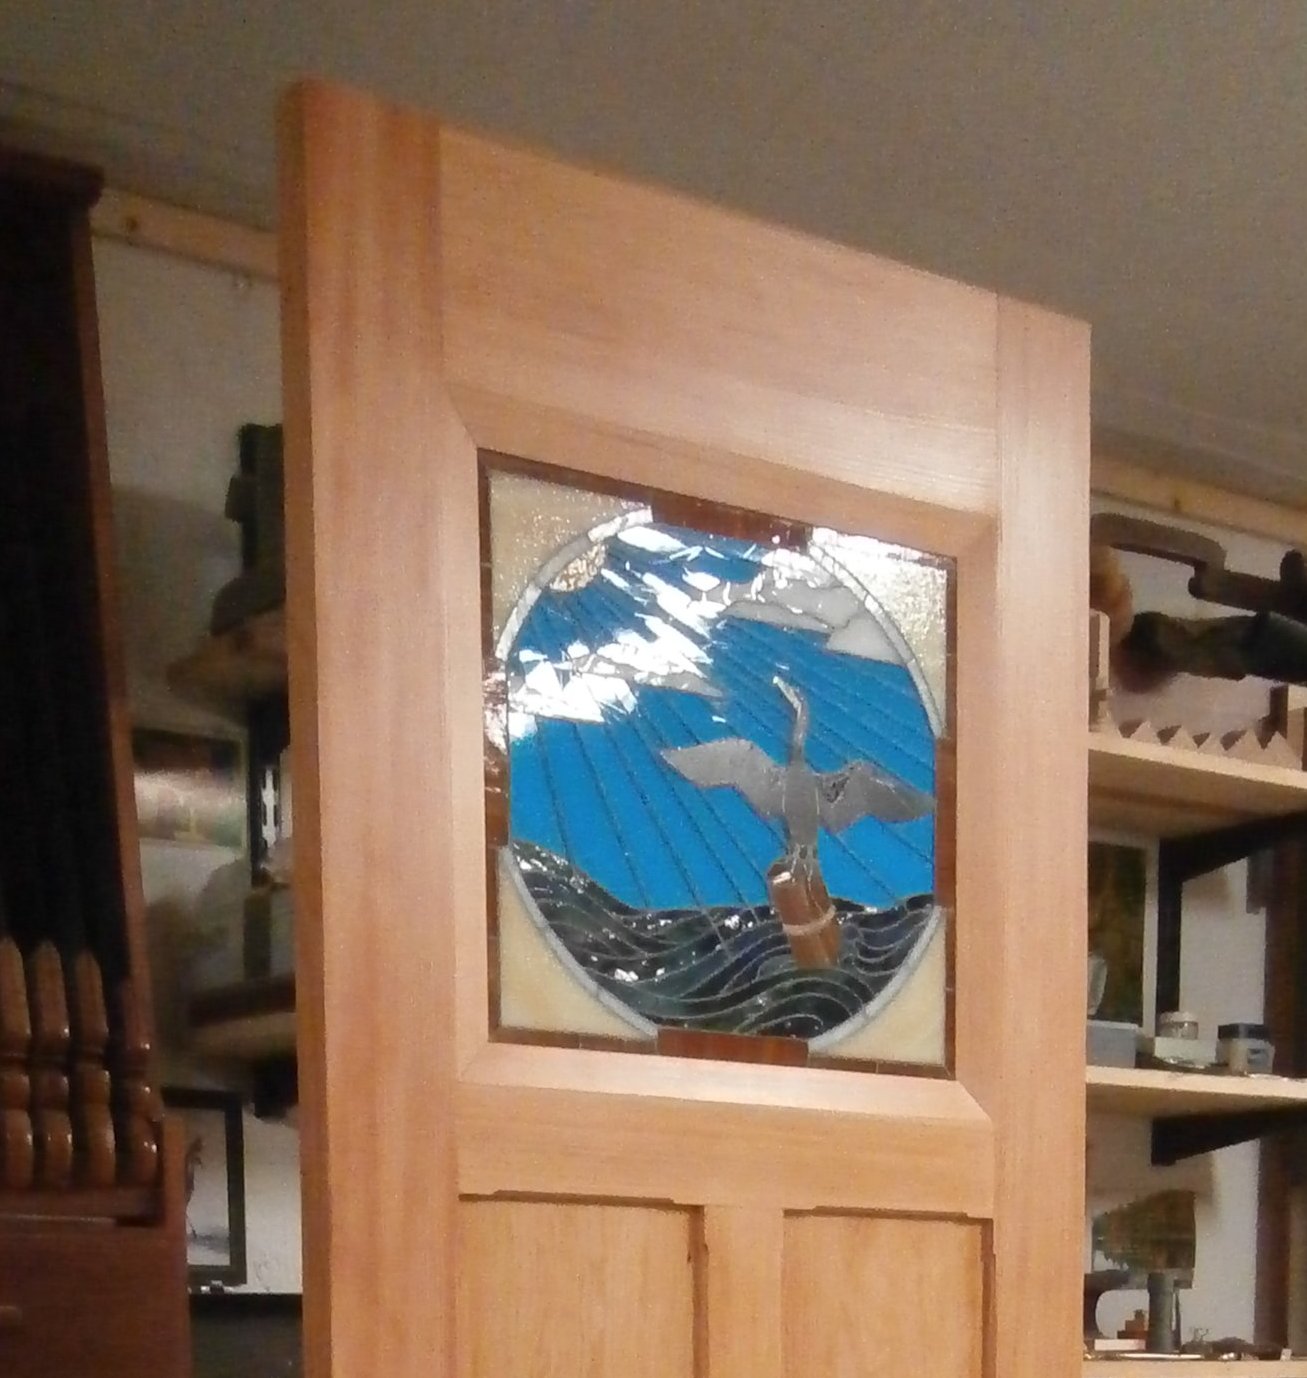
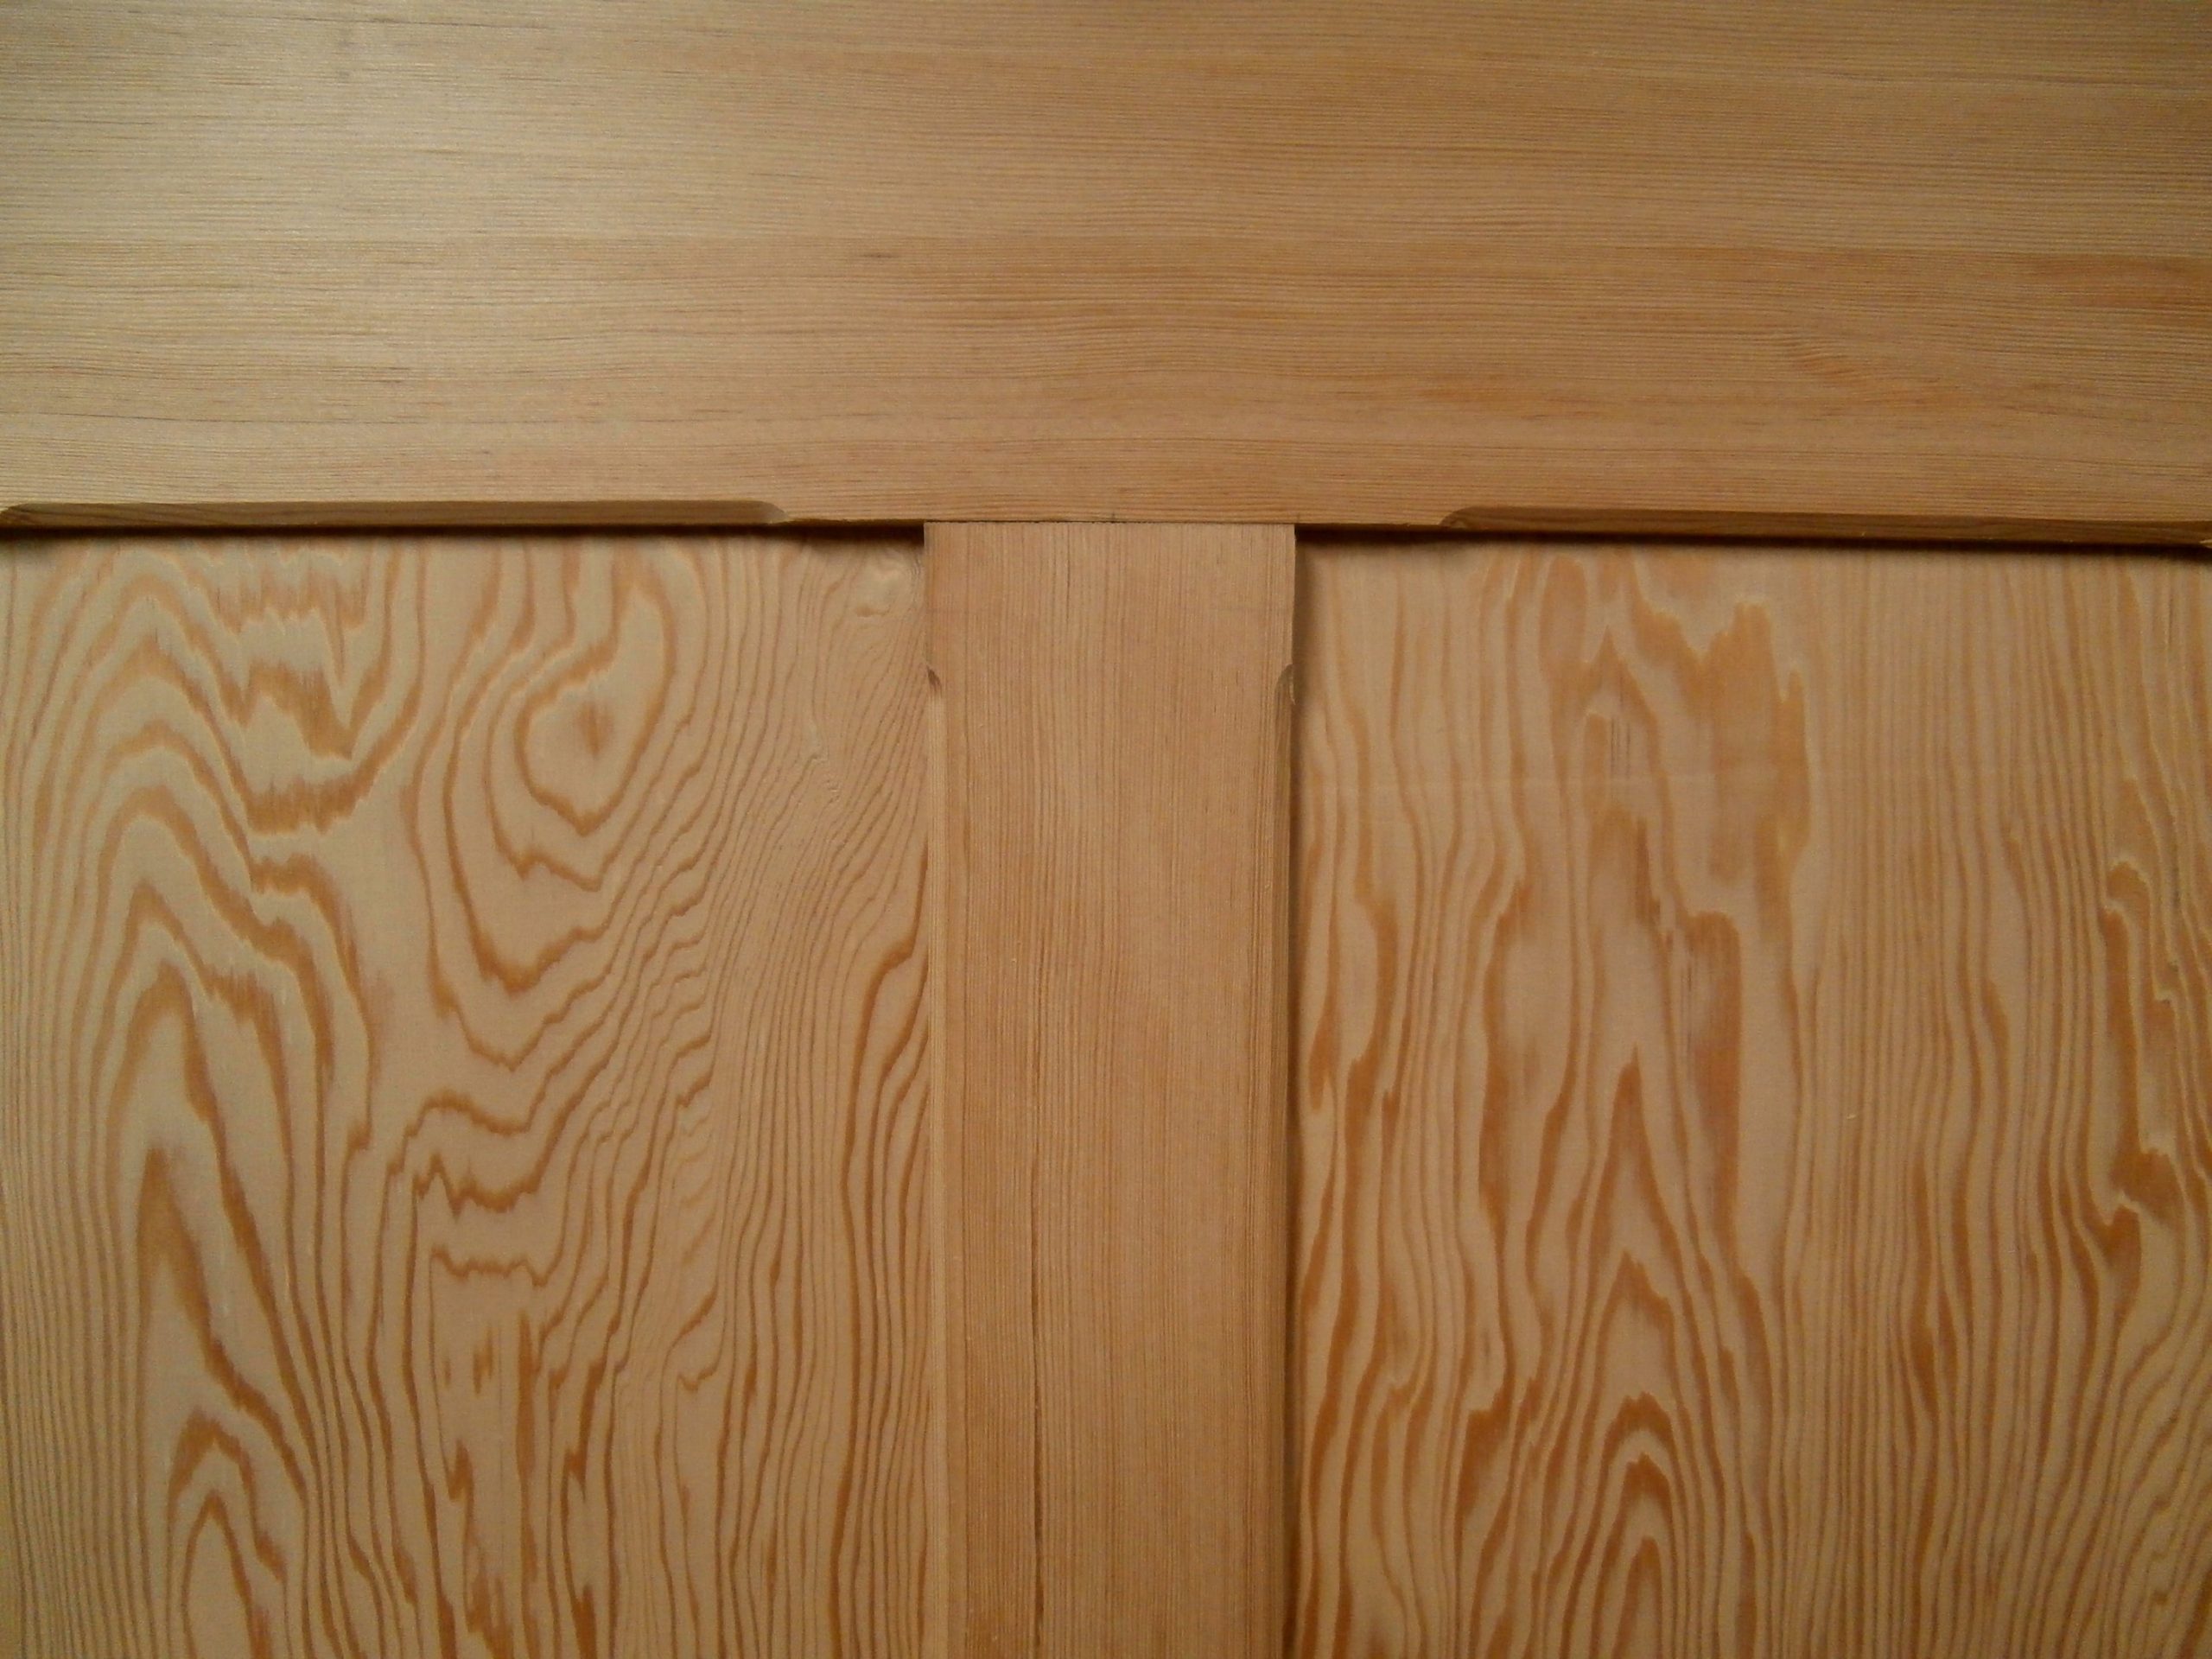
To add a little interest, I created 45 degree, stop-chamfers around all framed openings in the door on both sides.
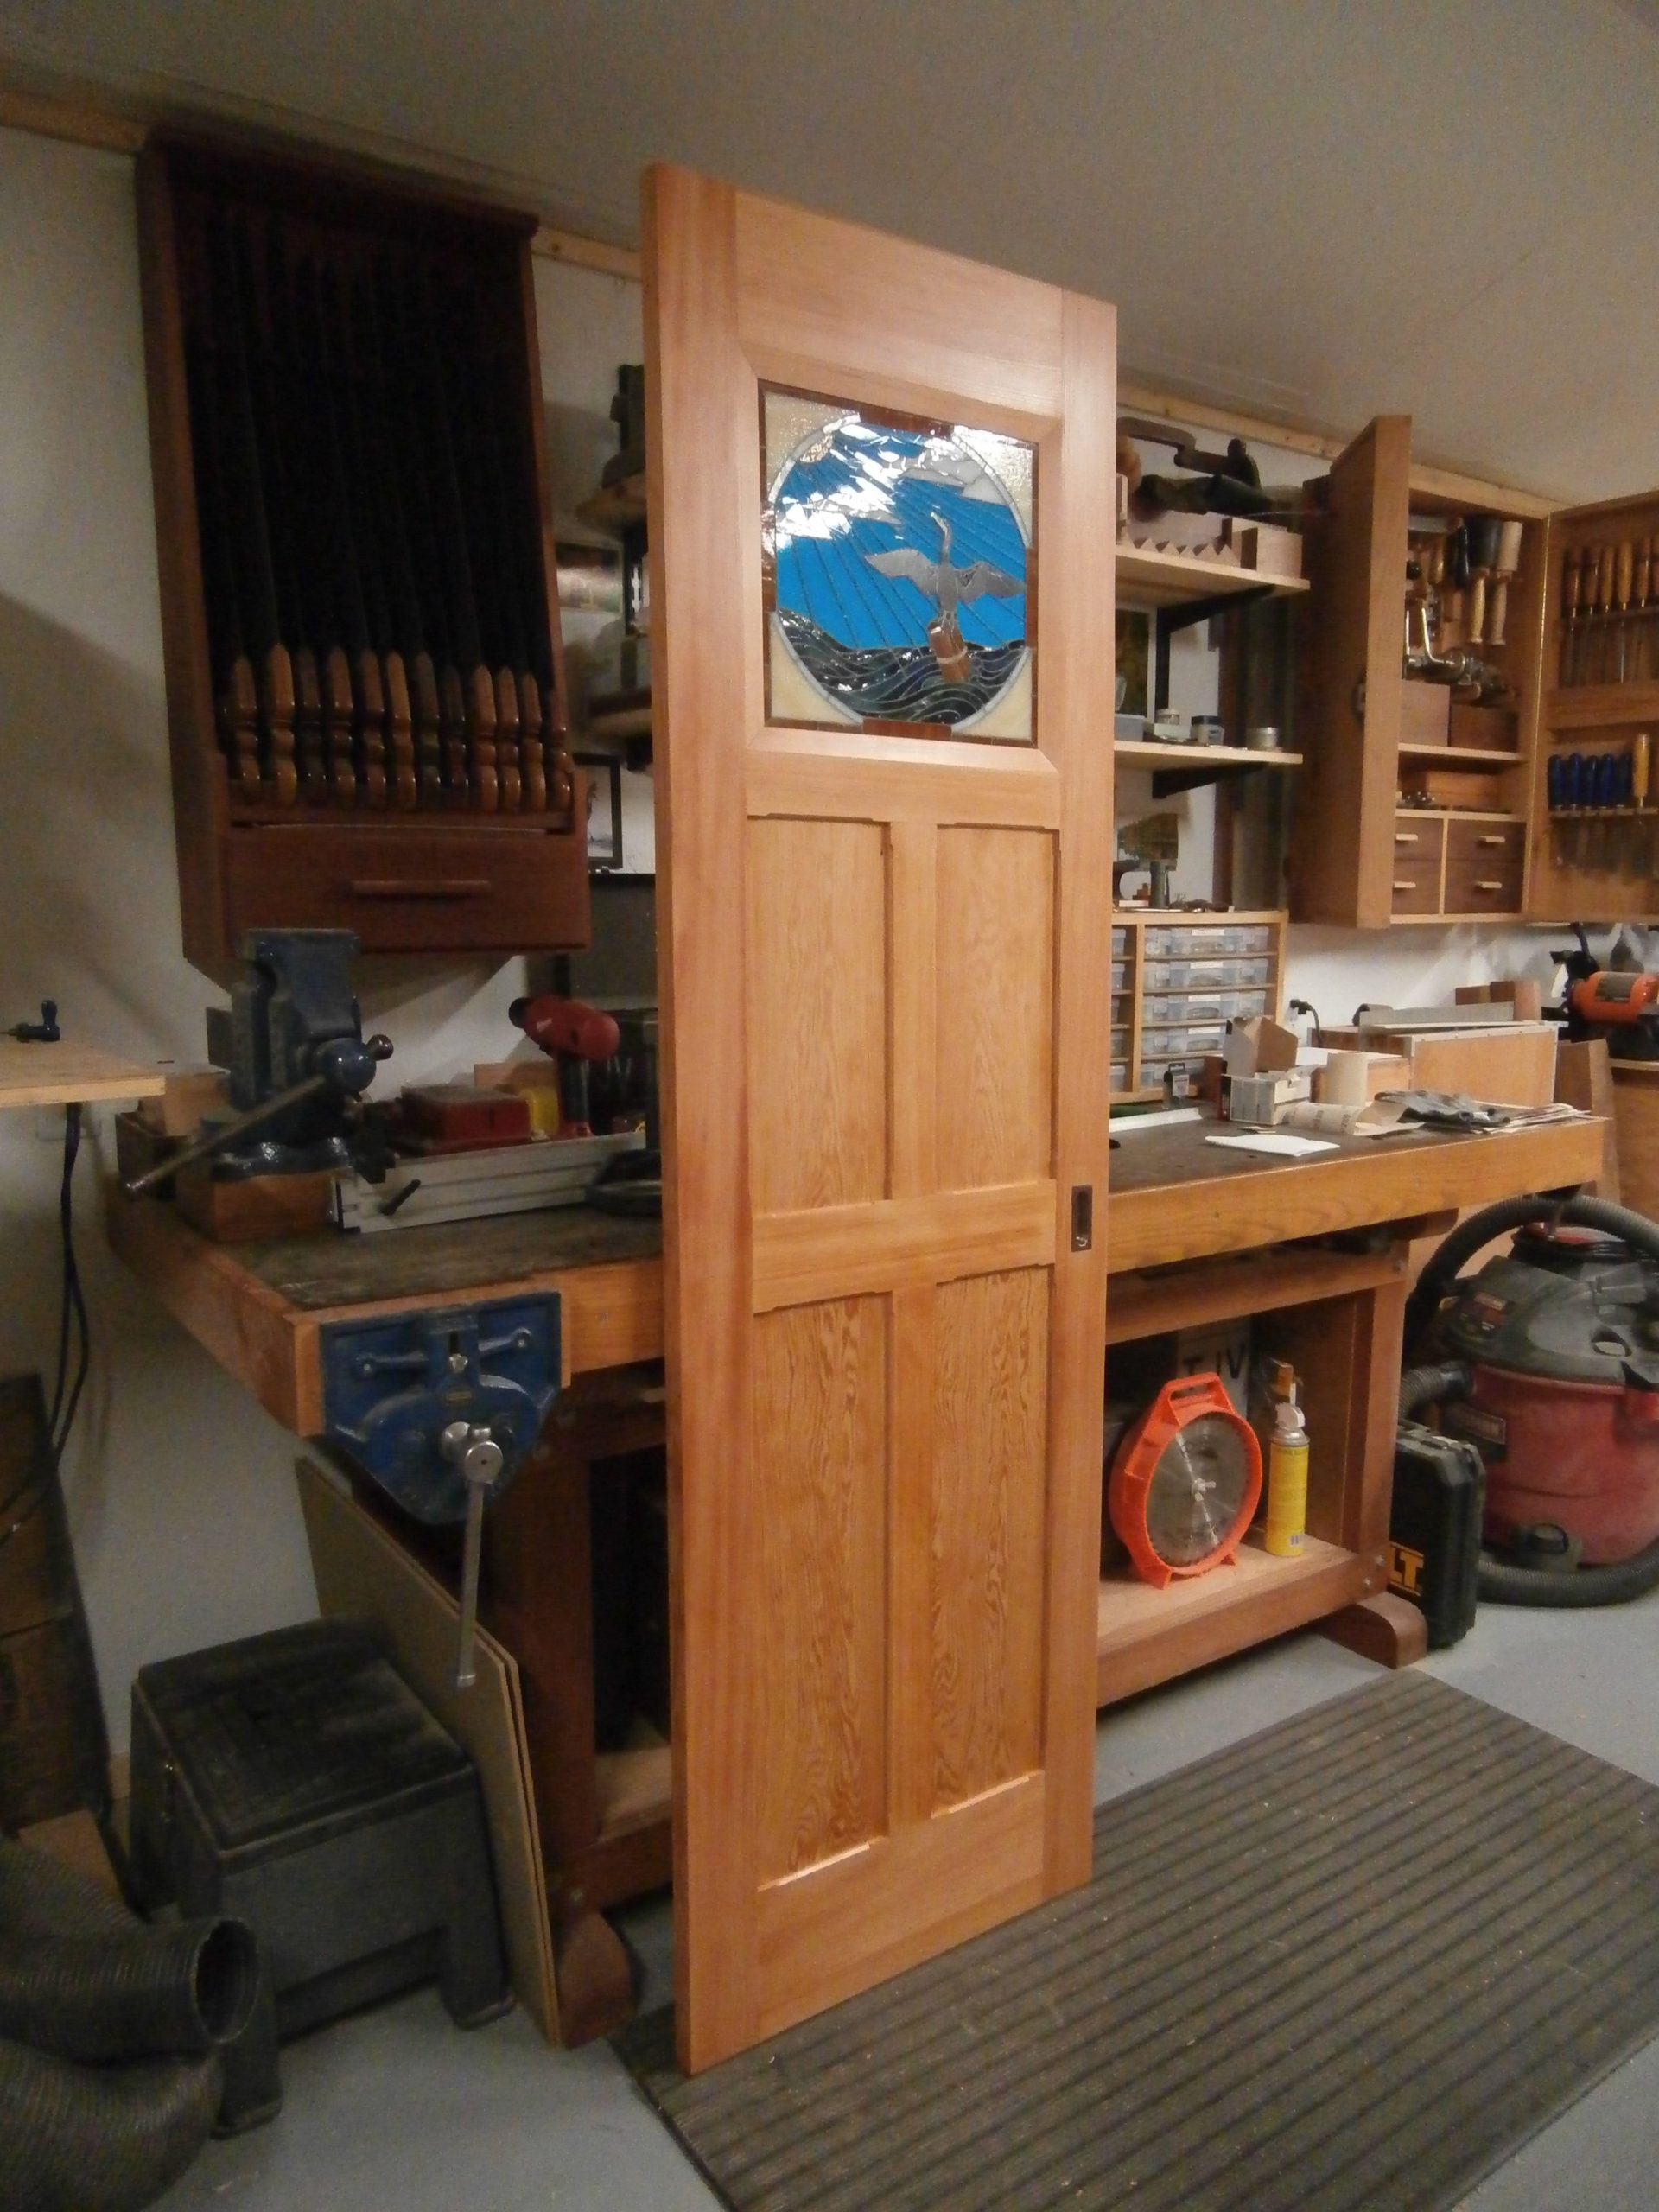
The side of the door that faces out was planned with a stained glass mosaic depicting a cormorant perched on a piling in the surf, a common sight on the Oregon coast. The hand crafted mosaic was glued down to a 1/4 inch thick masonite panel sized to fit the door frame.
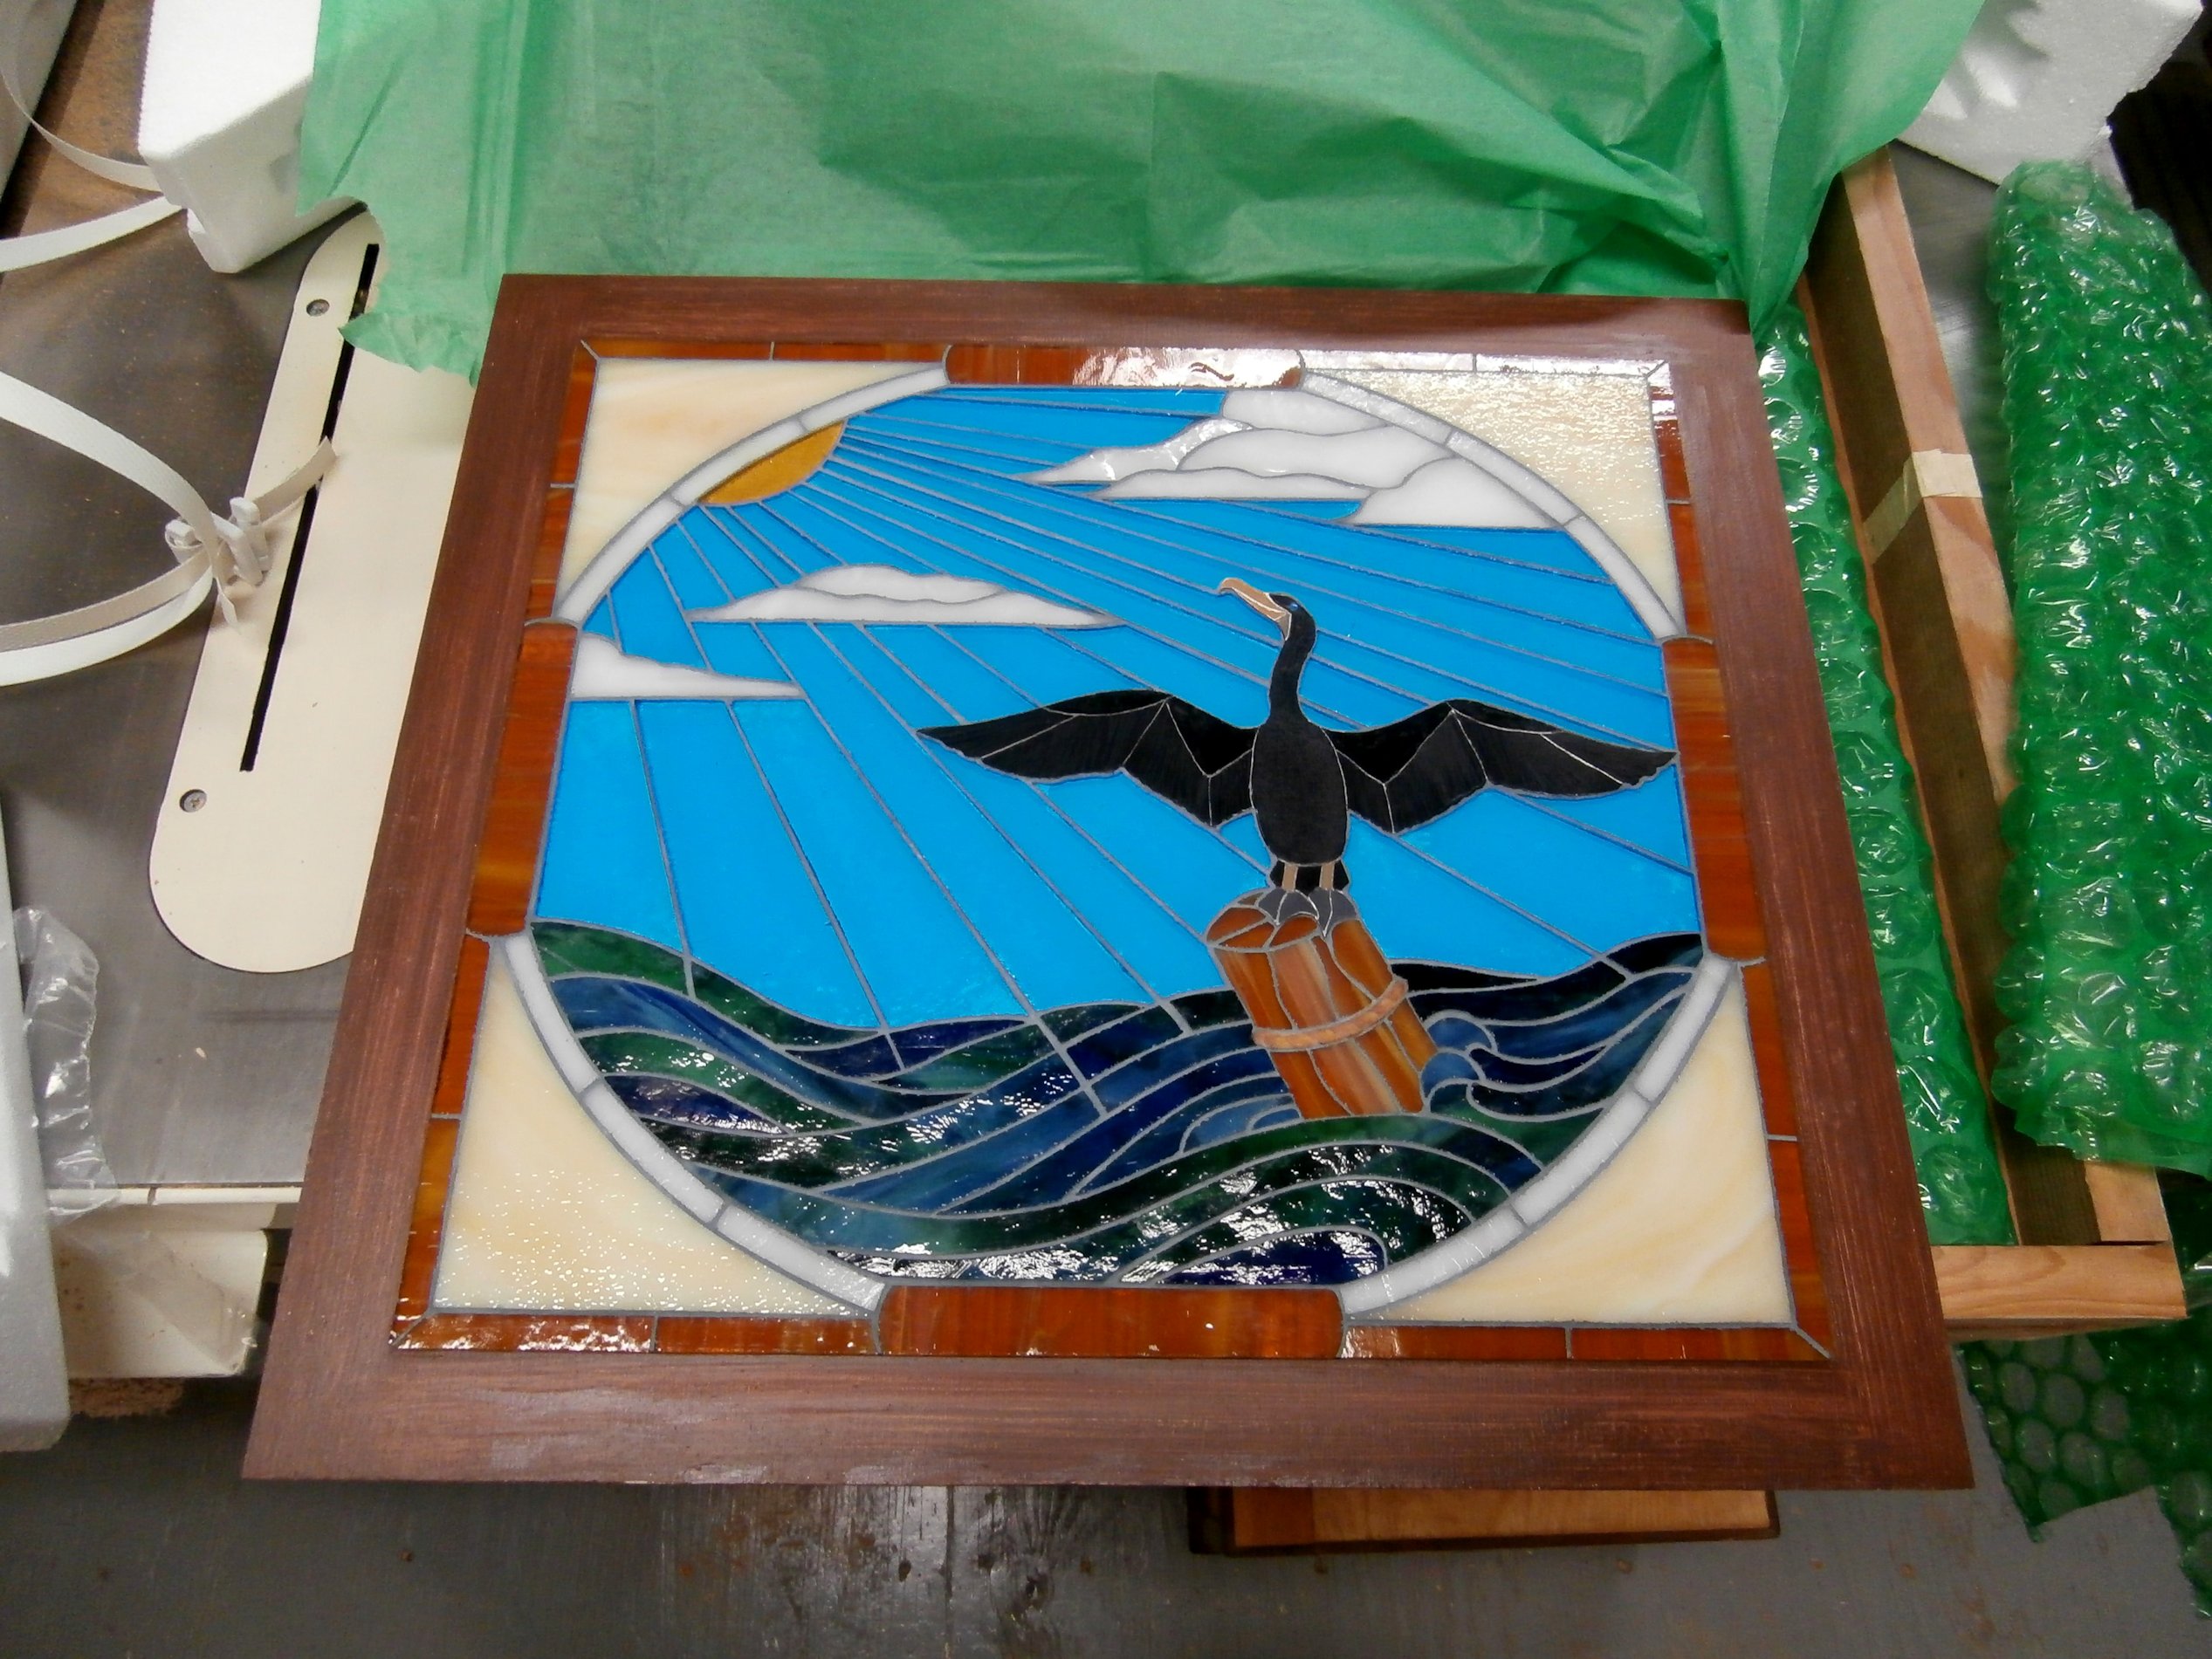
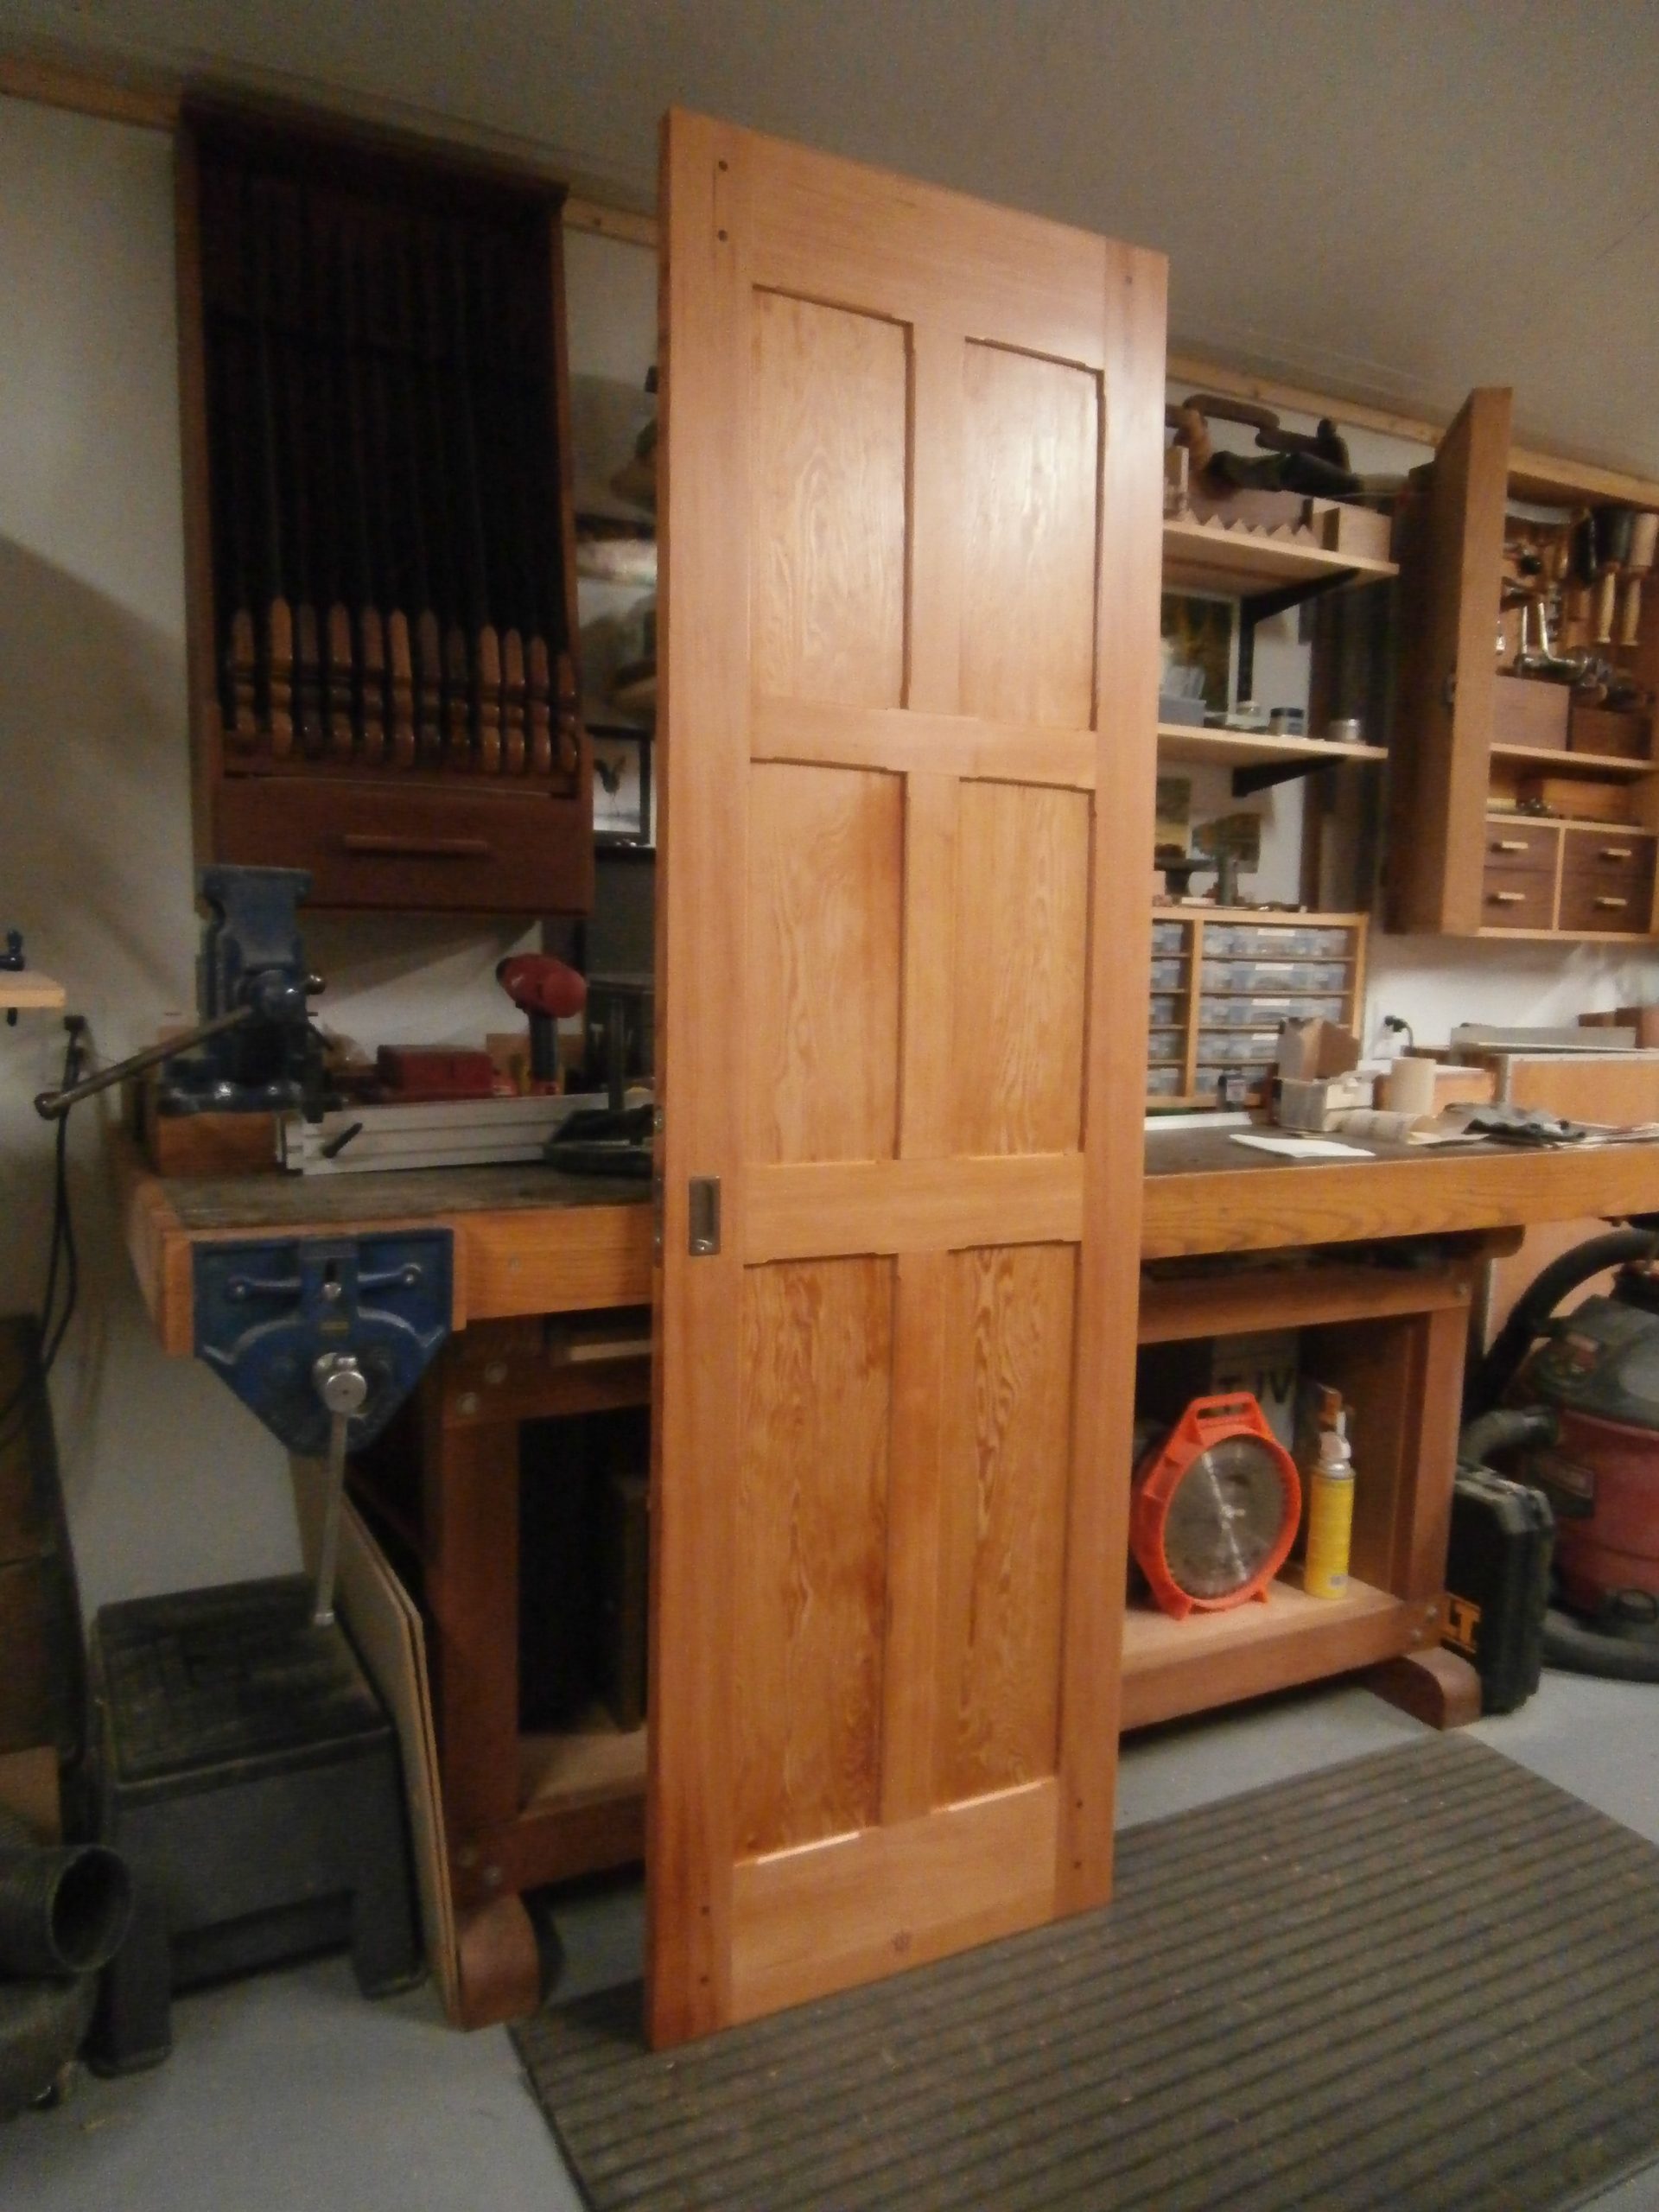
My plan called for the stained glass mosaic to be recessed 1/4 inch in from the front surface of the door frame and “picture-framed” with thin, beveled pieces of fir. Then backing up the mosaic, and on the back side of the door, I cut and planed thin but solid fir panels to make it appear as a six-panel wood door on the reverse side.

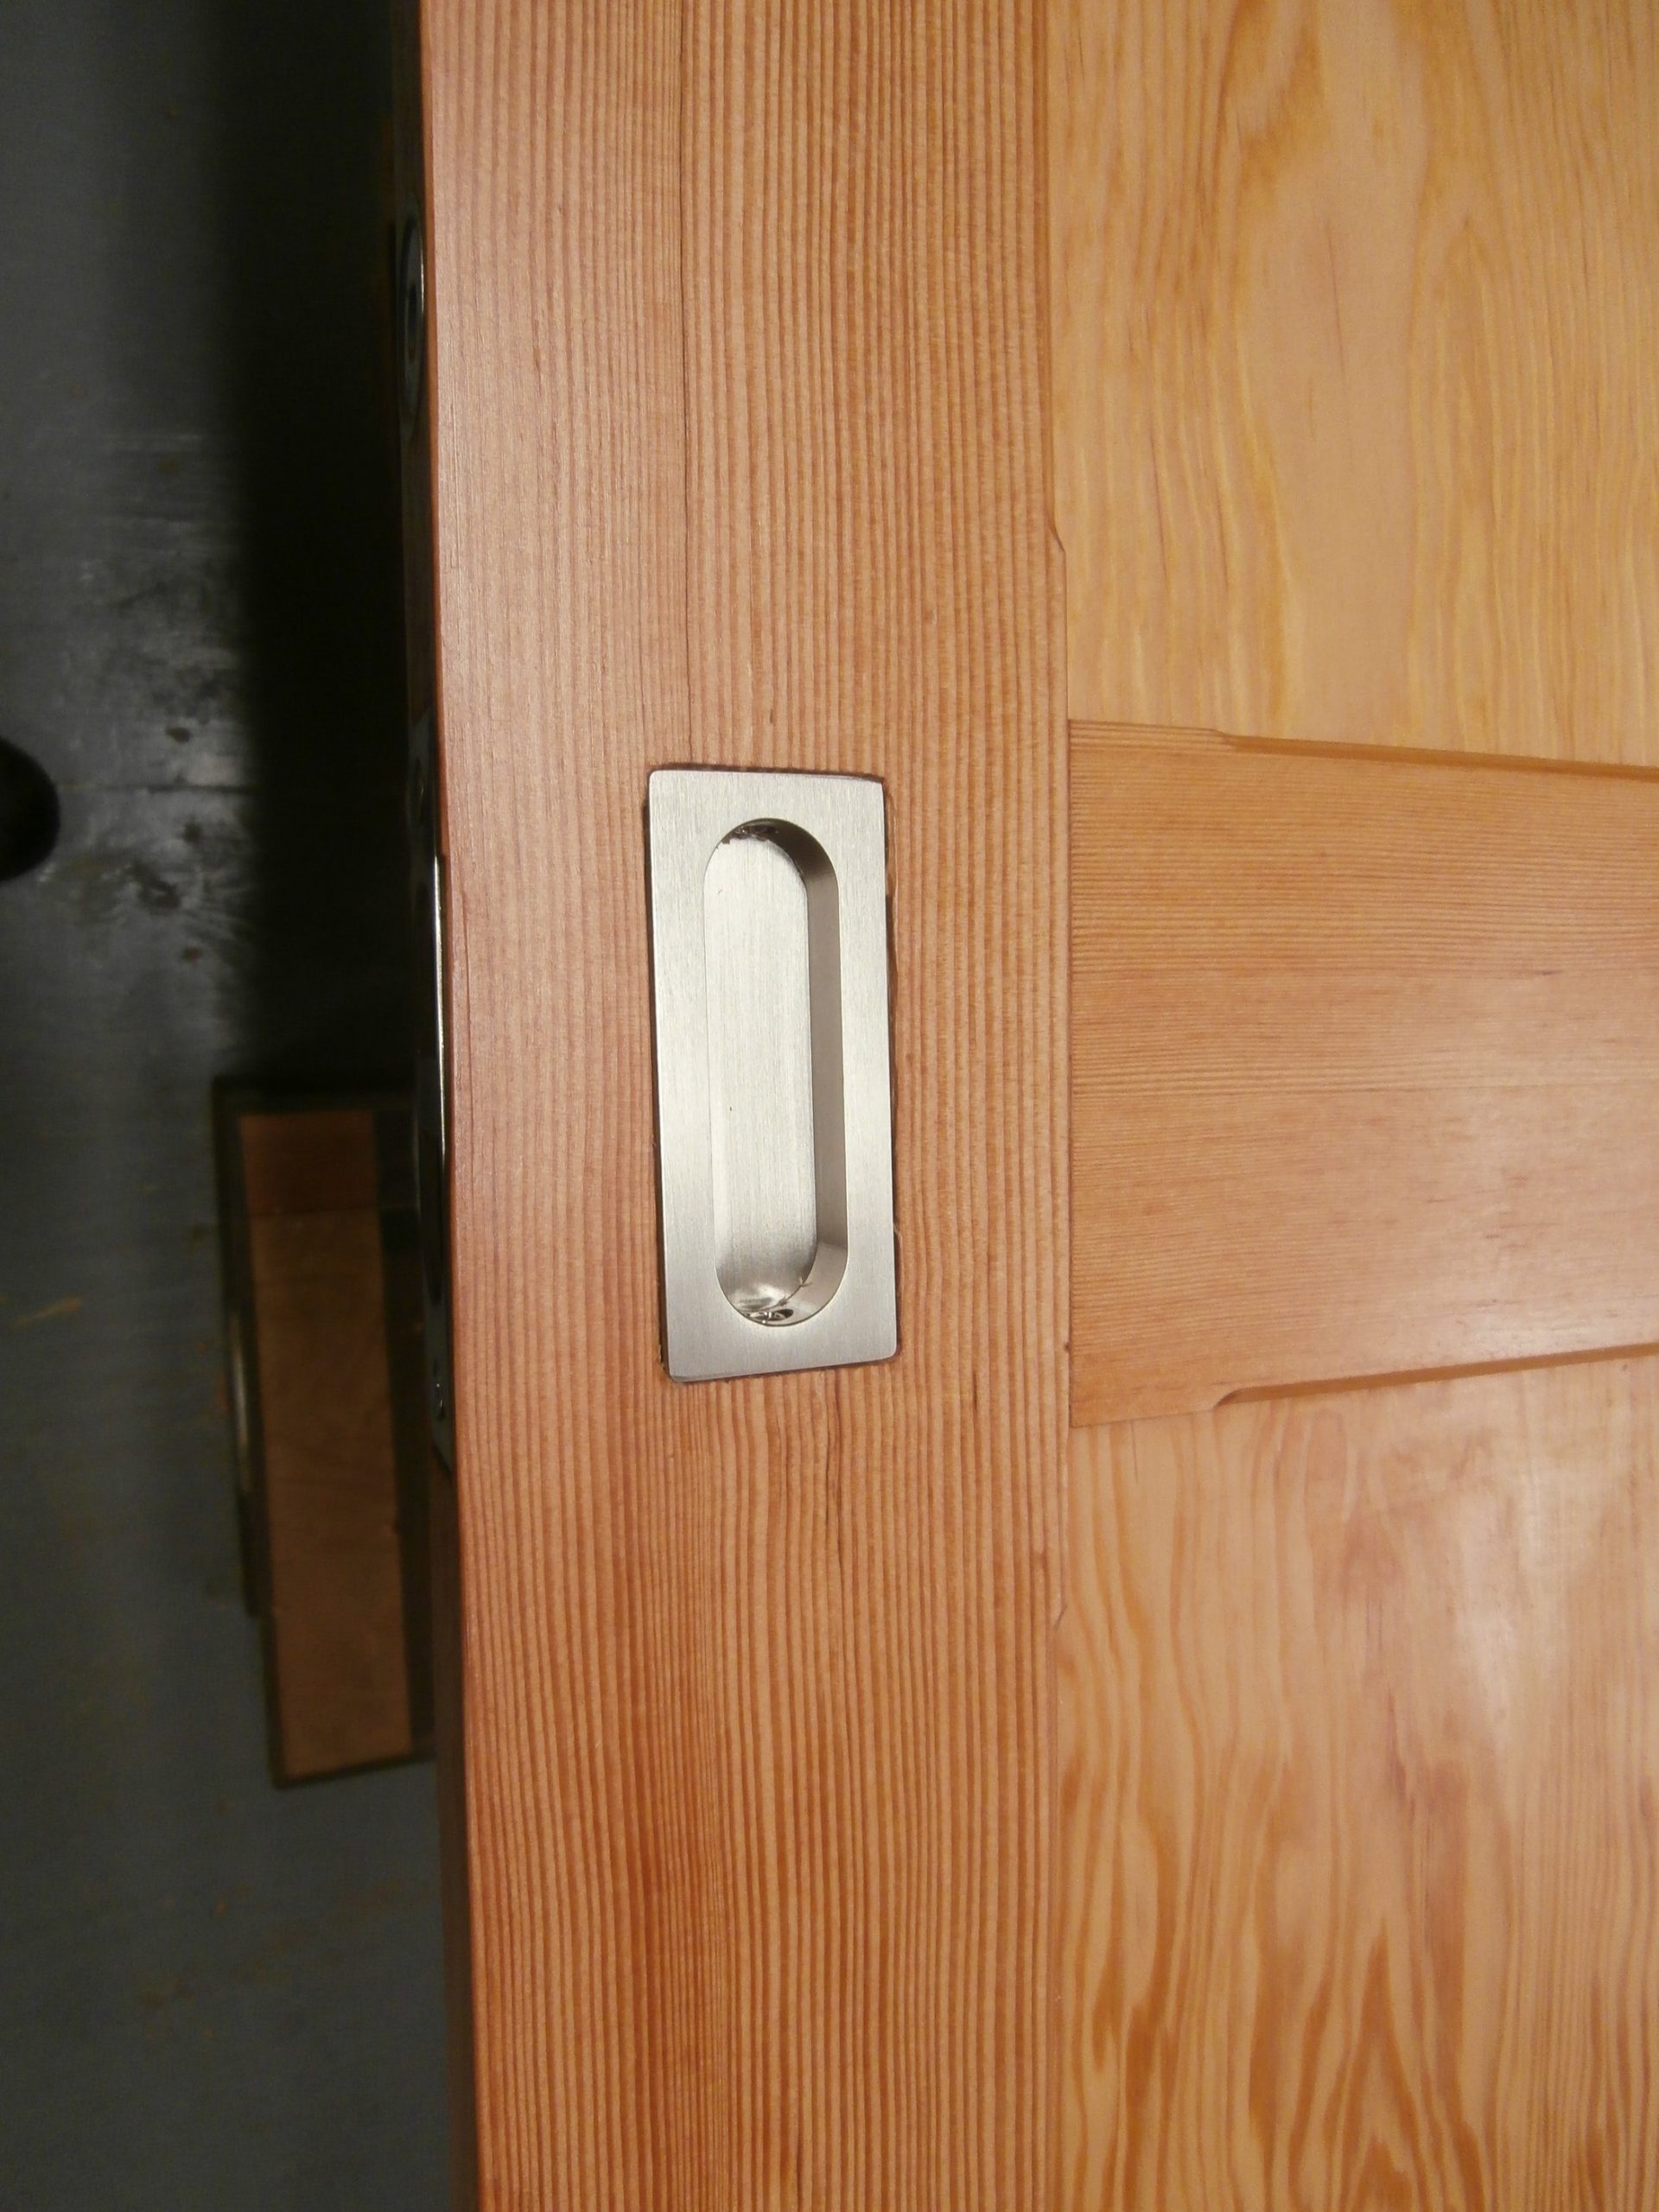
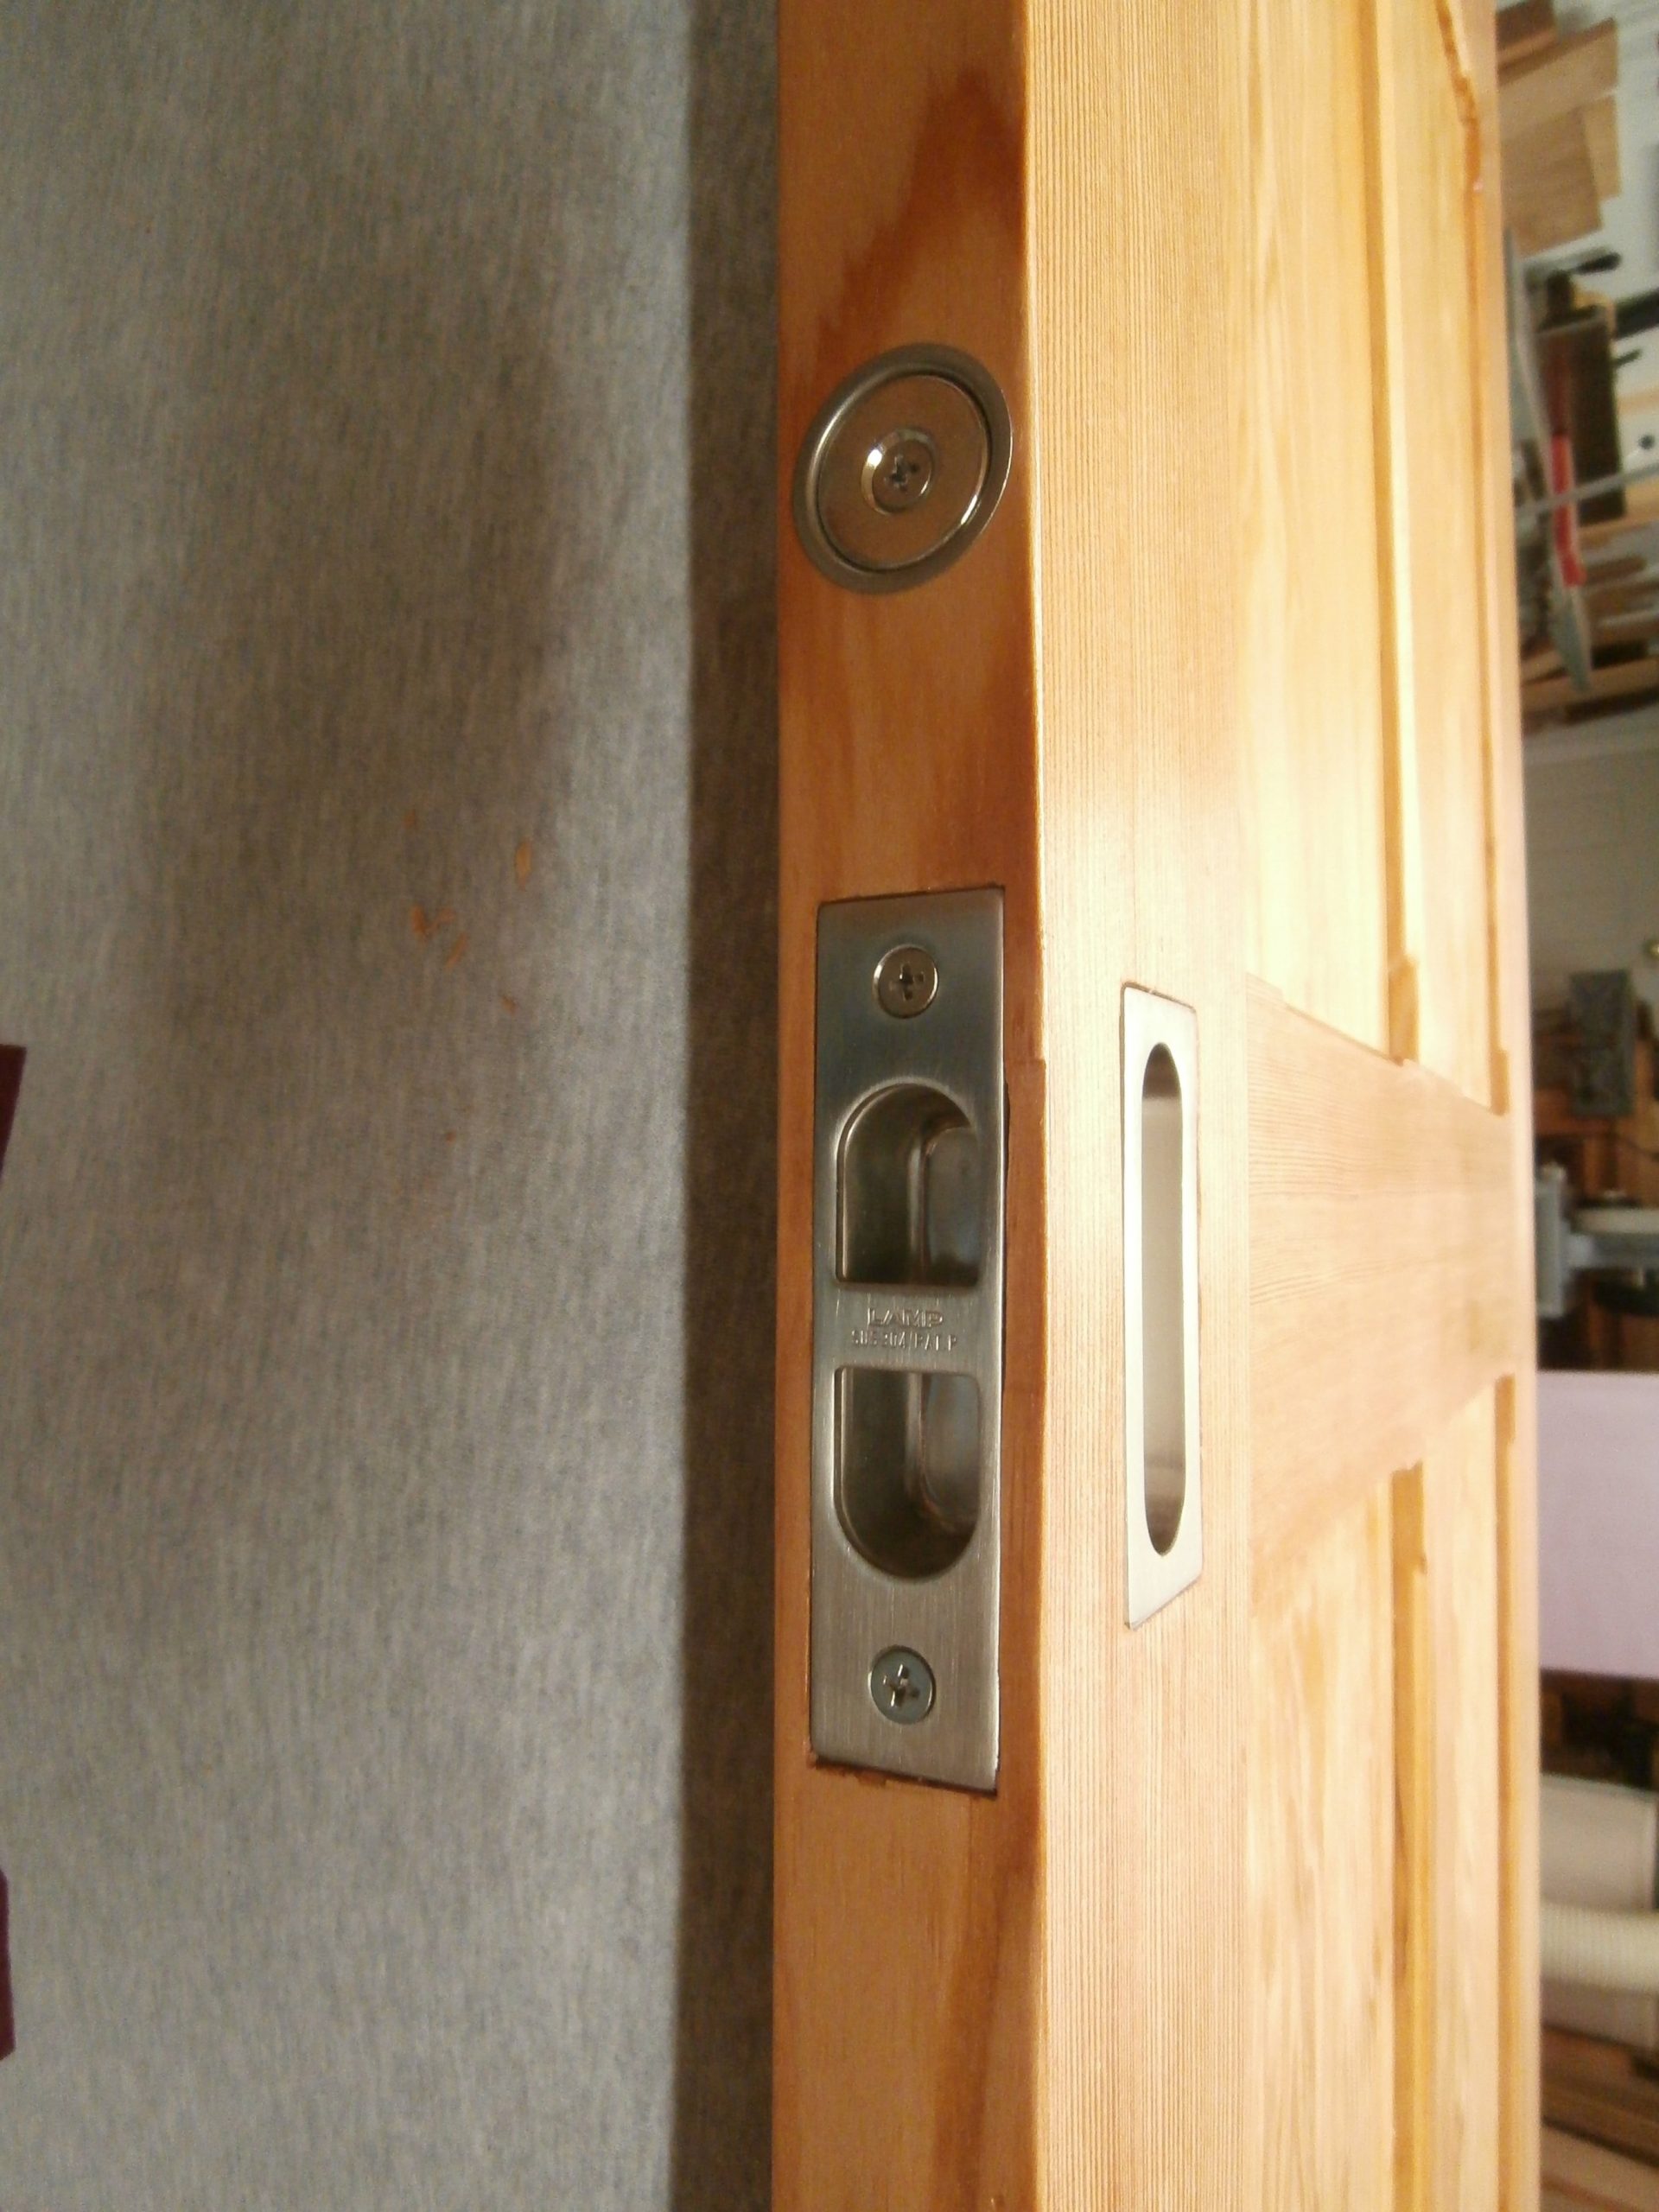
Because this is a pocket door and will slide into a cavity in the wall rather than be hung from hinges, I used door pulls that were inset flush with the door surface, instead of regular door knob hardware. To retrieve the door from the pocket when it is open, I used an edge pull inset into the door frame. Finally, we wanted to employ a rare-earth magnet catch to hold the door closed and you can see one-half of that magnetic catch installed above the edge pull.
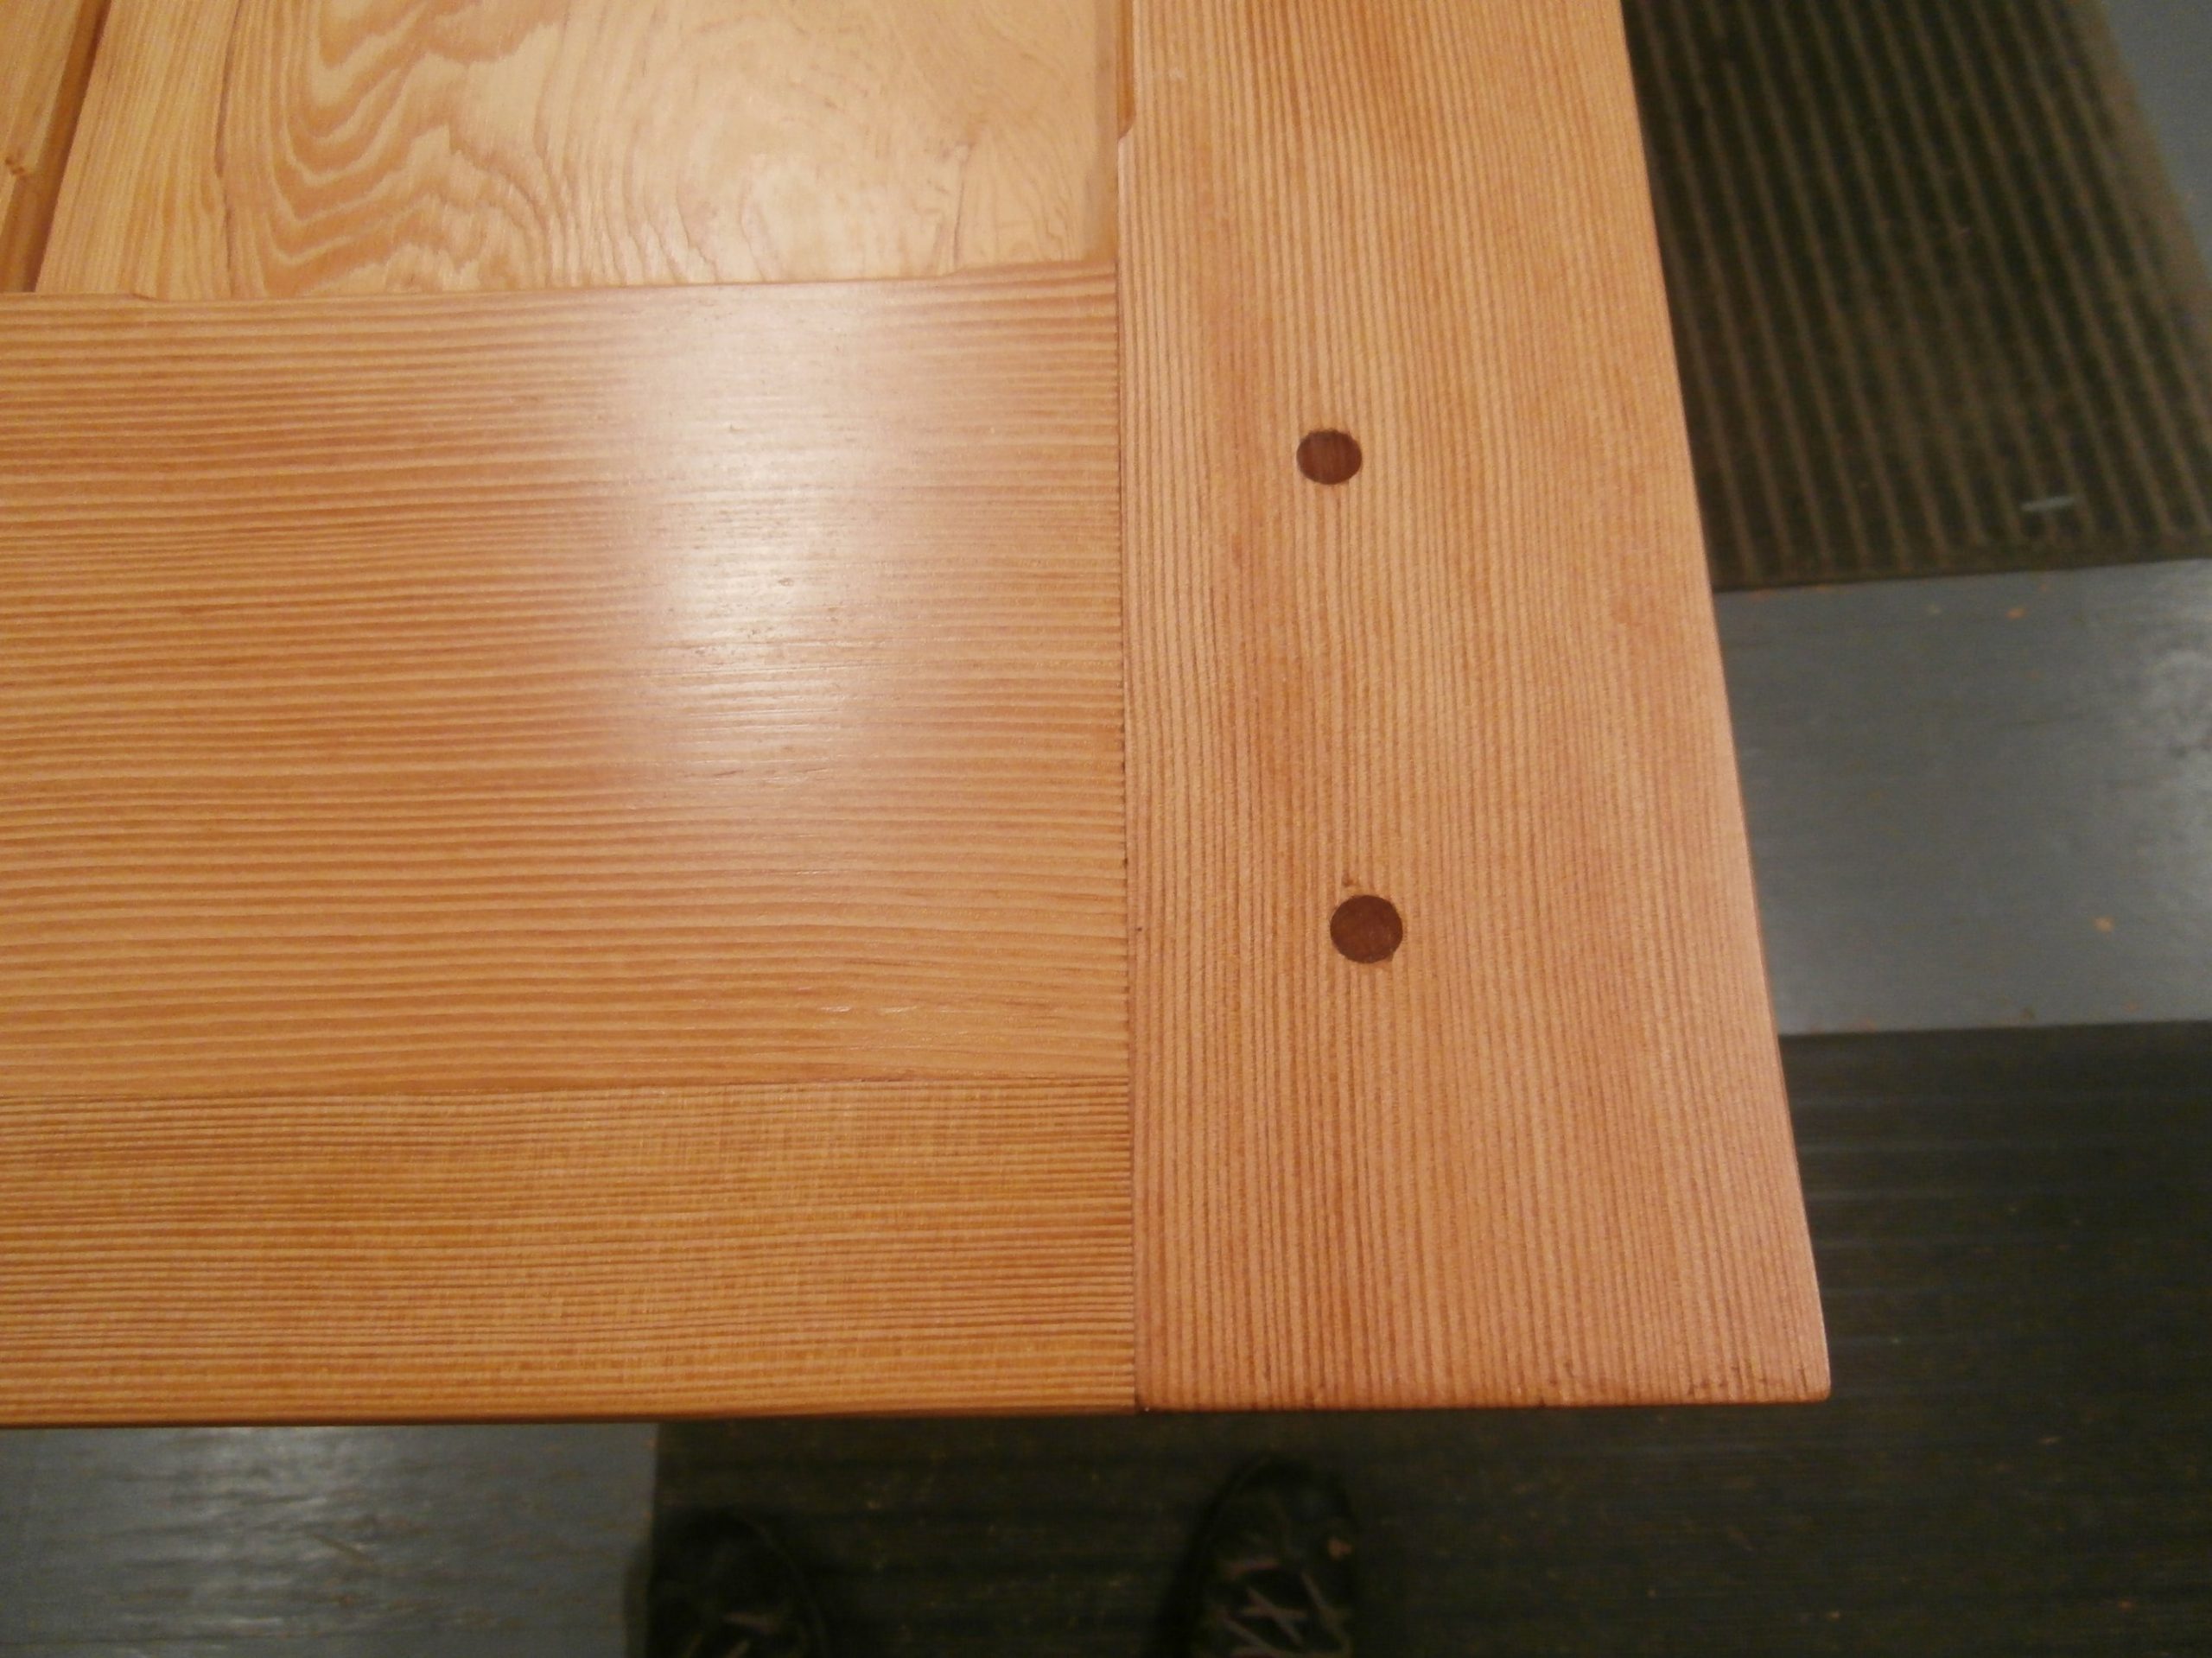
Although the framing members were glued at the mortise and tenon joints, I built in extra stability and longevity by pinning the four corners of the frame with 1/2 inch cherry dowels that are visible only from the back side of the door.
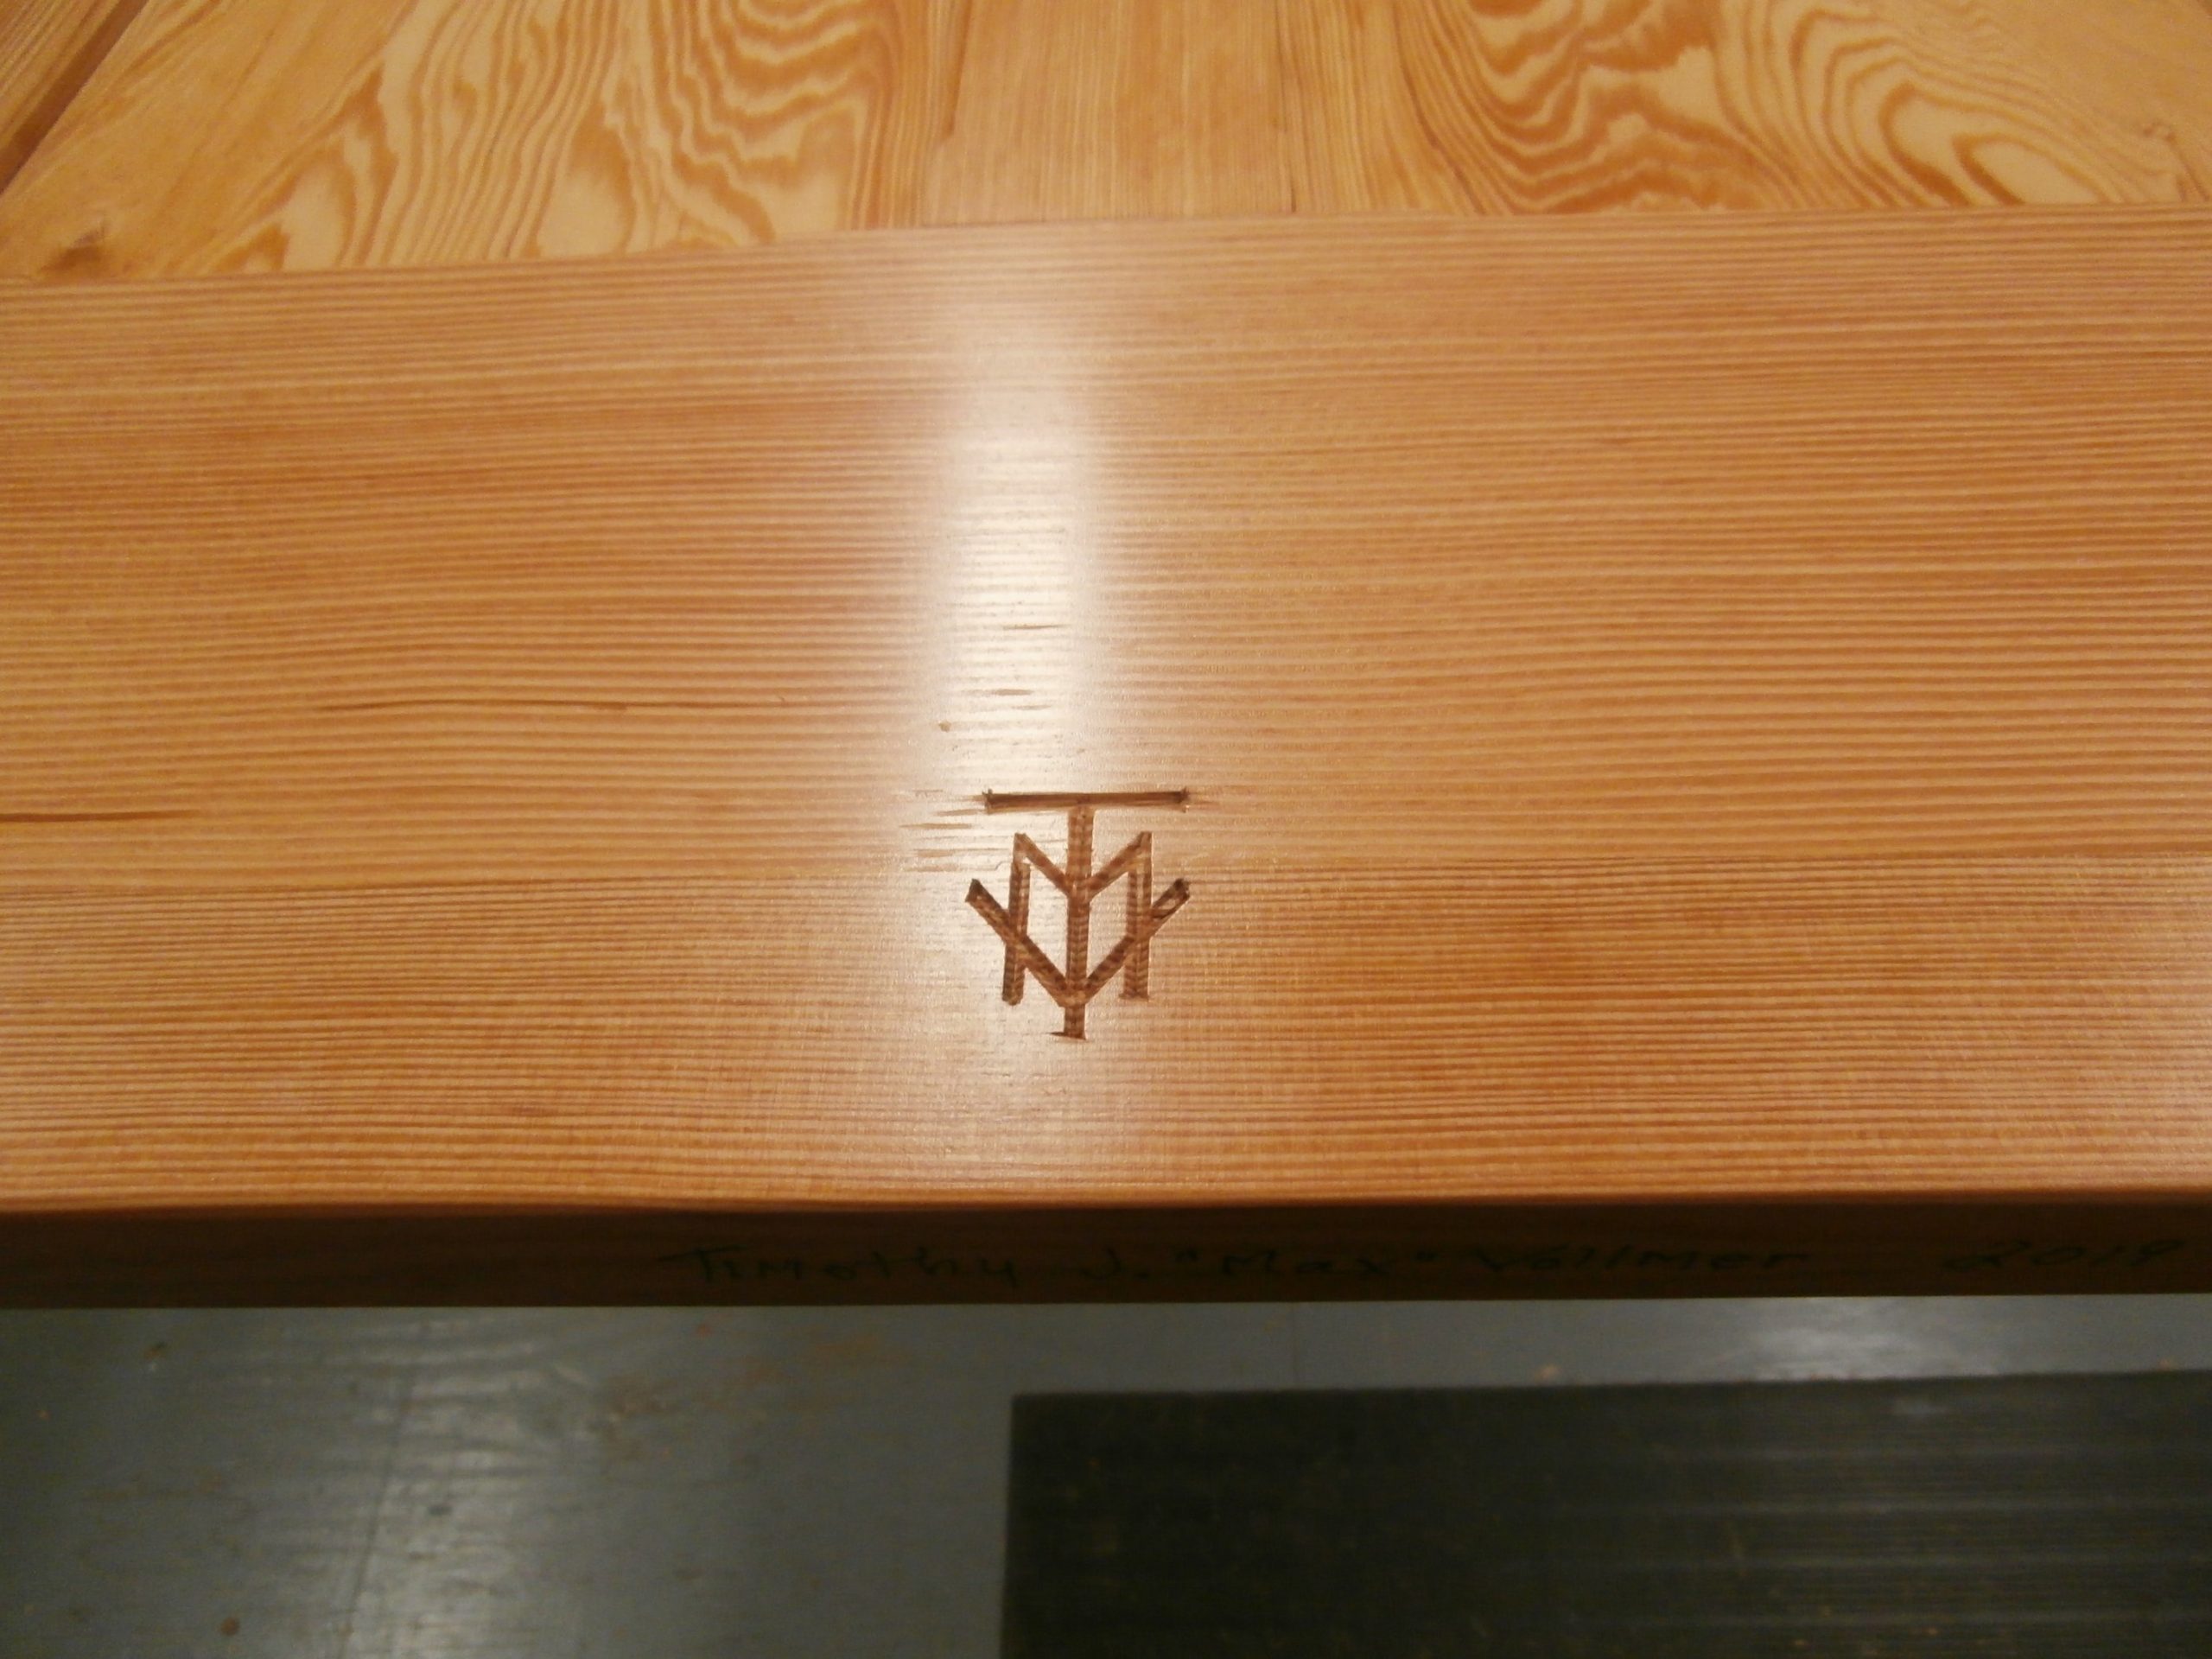
I signed the door on the bottom edge of the back side with my “makers mark.”
Here are photos of the finished door, front and back, in my shop.