I began my journey into building solid wood, traditionally joined furniture while in law school 35 years ago. After a career in agricultural finance, law and business, I felt an irresistible call to do something different with the next chapter in my life. Building furniture was a natural fit.
I begin each new project with a commitment to the highest level of craftsmanship. Machines can do the "heavy lifting" but can't duplicate the human quality, the subtle "fingerprints" of the artisan. For that reason, I employ traditional hand tools in shaping every piece. The hand plane, chisel and scraper each play a part in creating a fit and finish that says, "hand built." Every piece that comes out of my shop is designed to serve the practical needs of my clients. But furniture should also be a source of quiet satisfaction . . . an invitation to the hand and eye to come again.
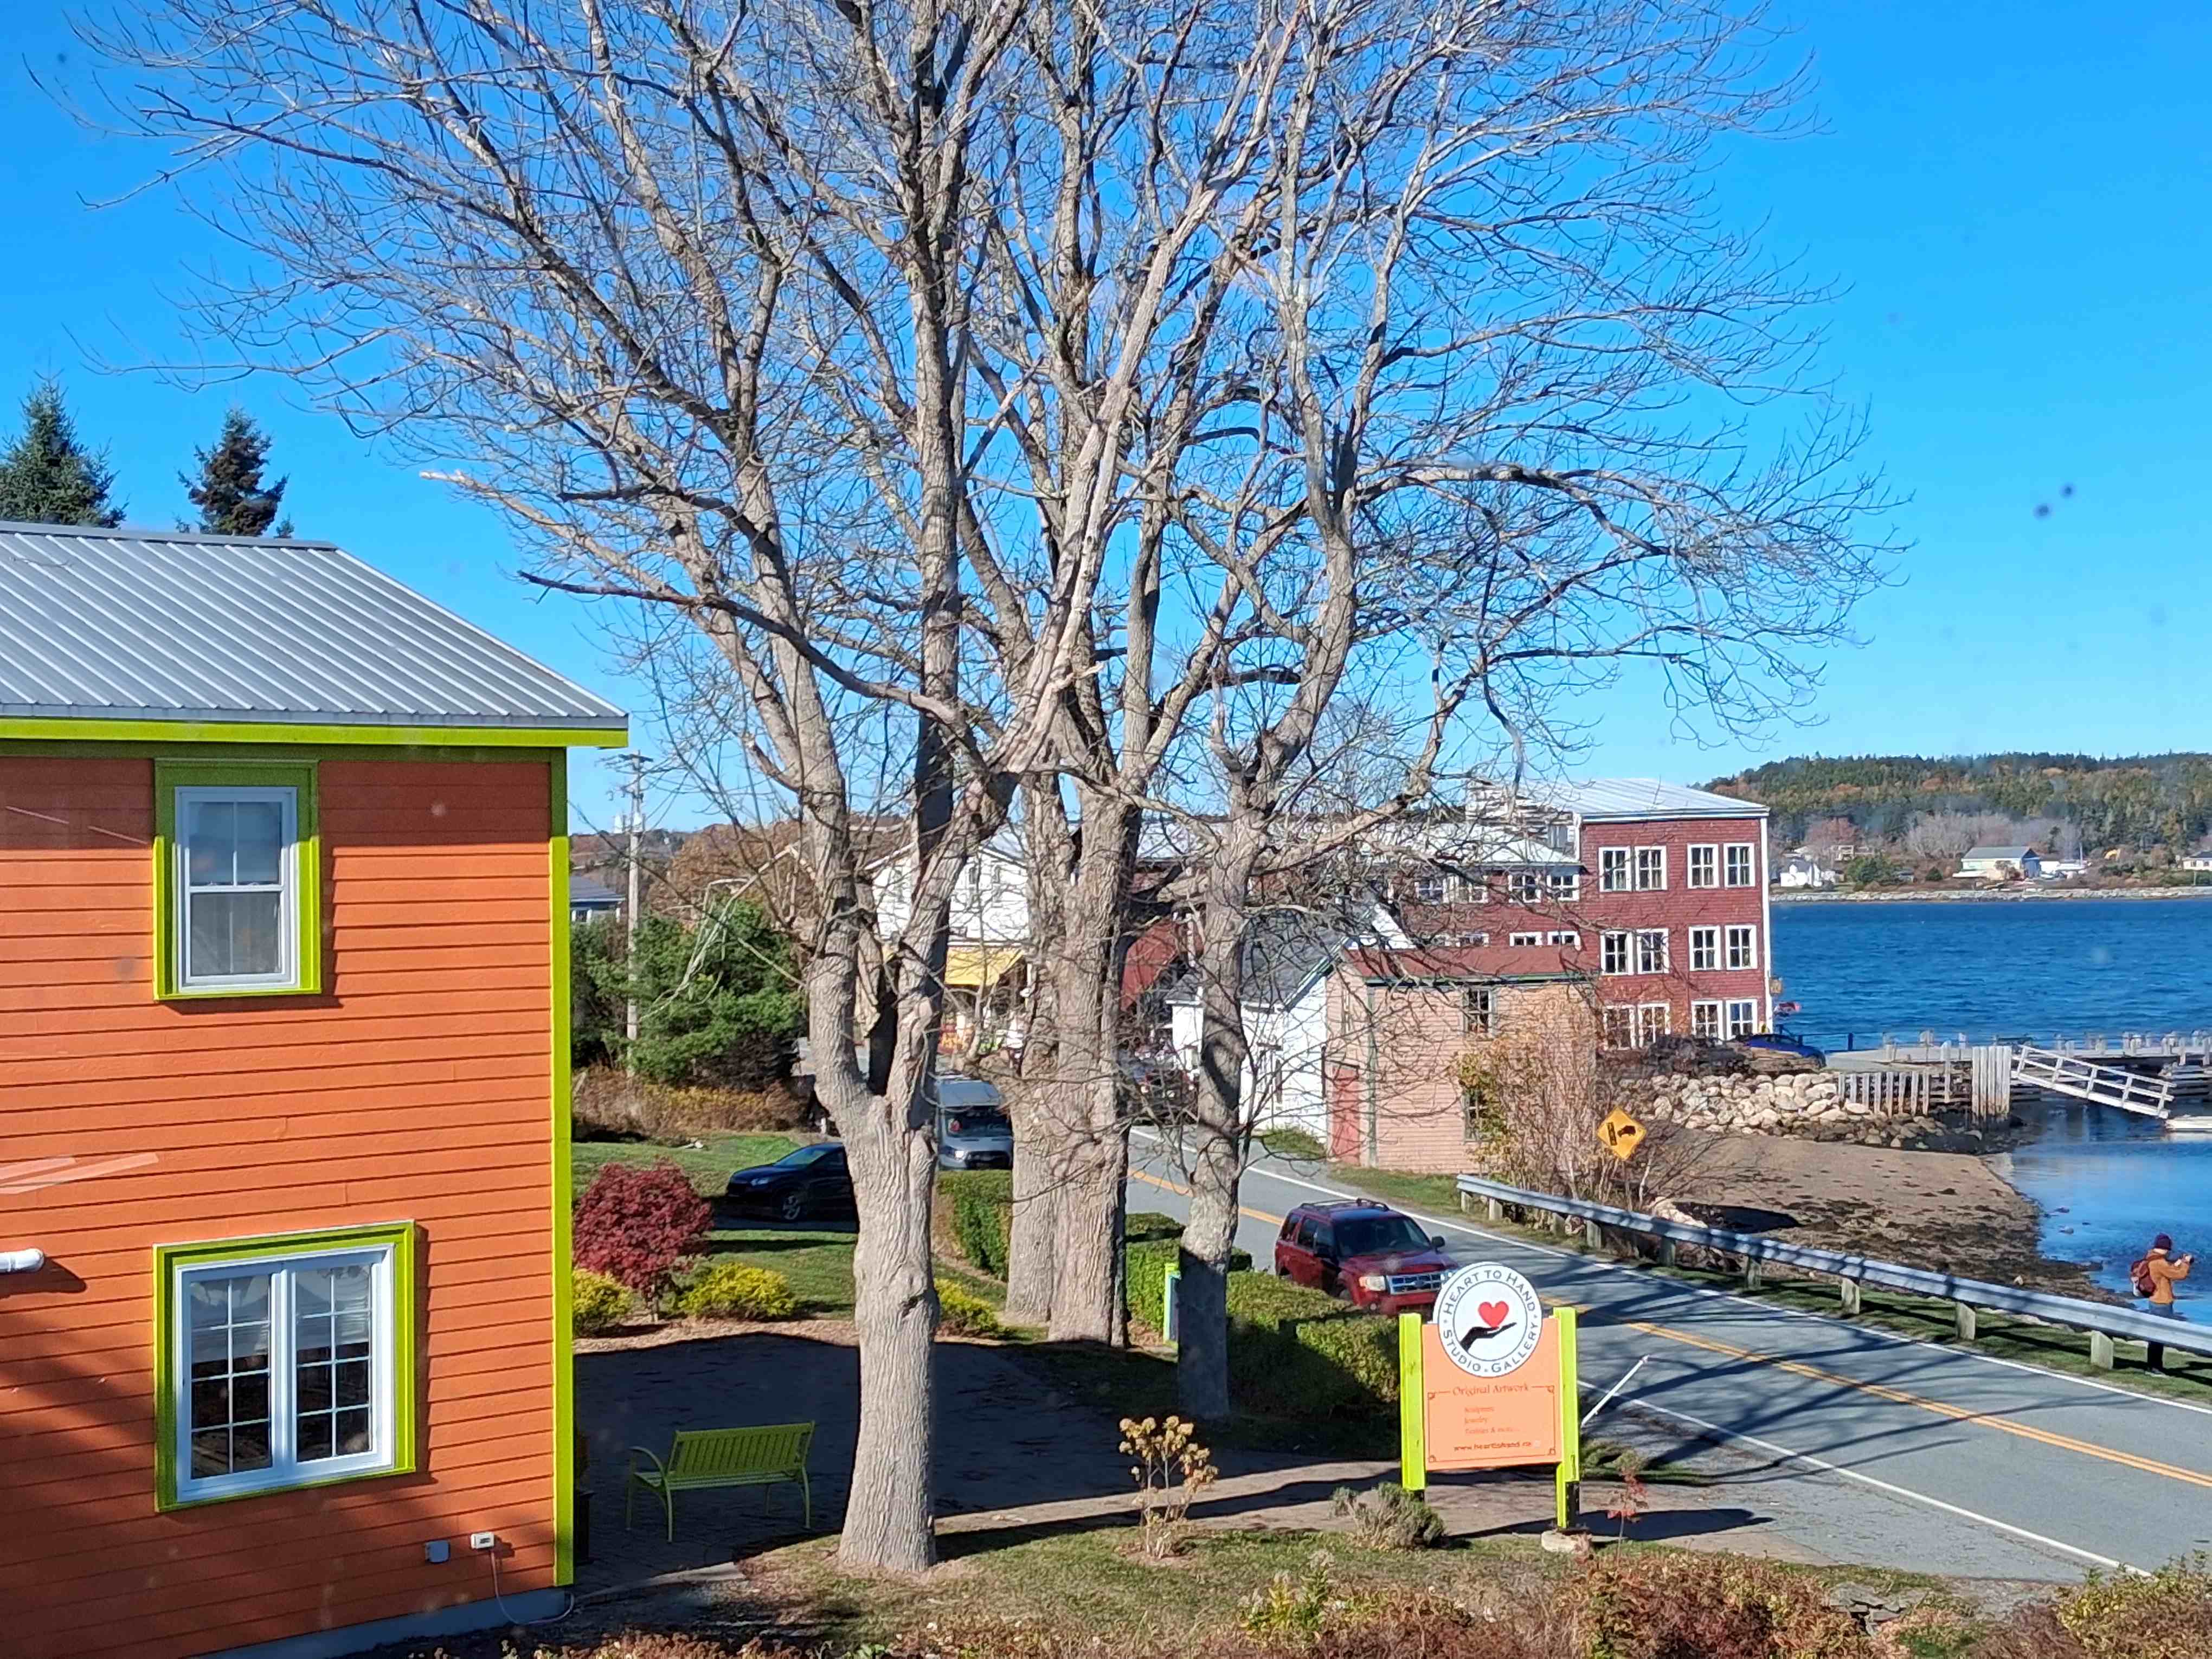
The south shore of Nova Scotia is known for its picturesque small towns where fishing is still an important part of local economies, and for its historic buildings, artist galleries, restaurants, surfing beaches and resorts. [All photos Max Vollmer, Click on any image to enlarge]
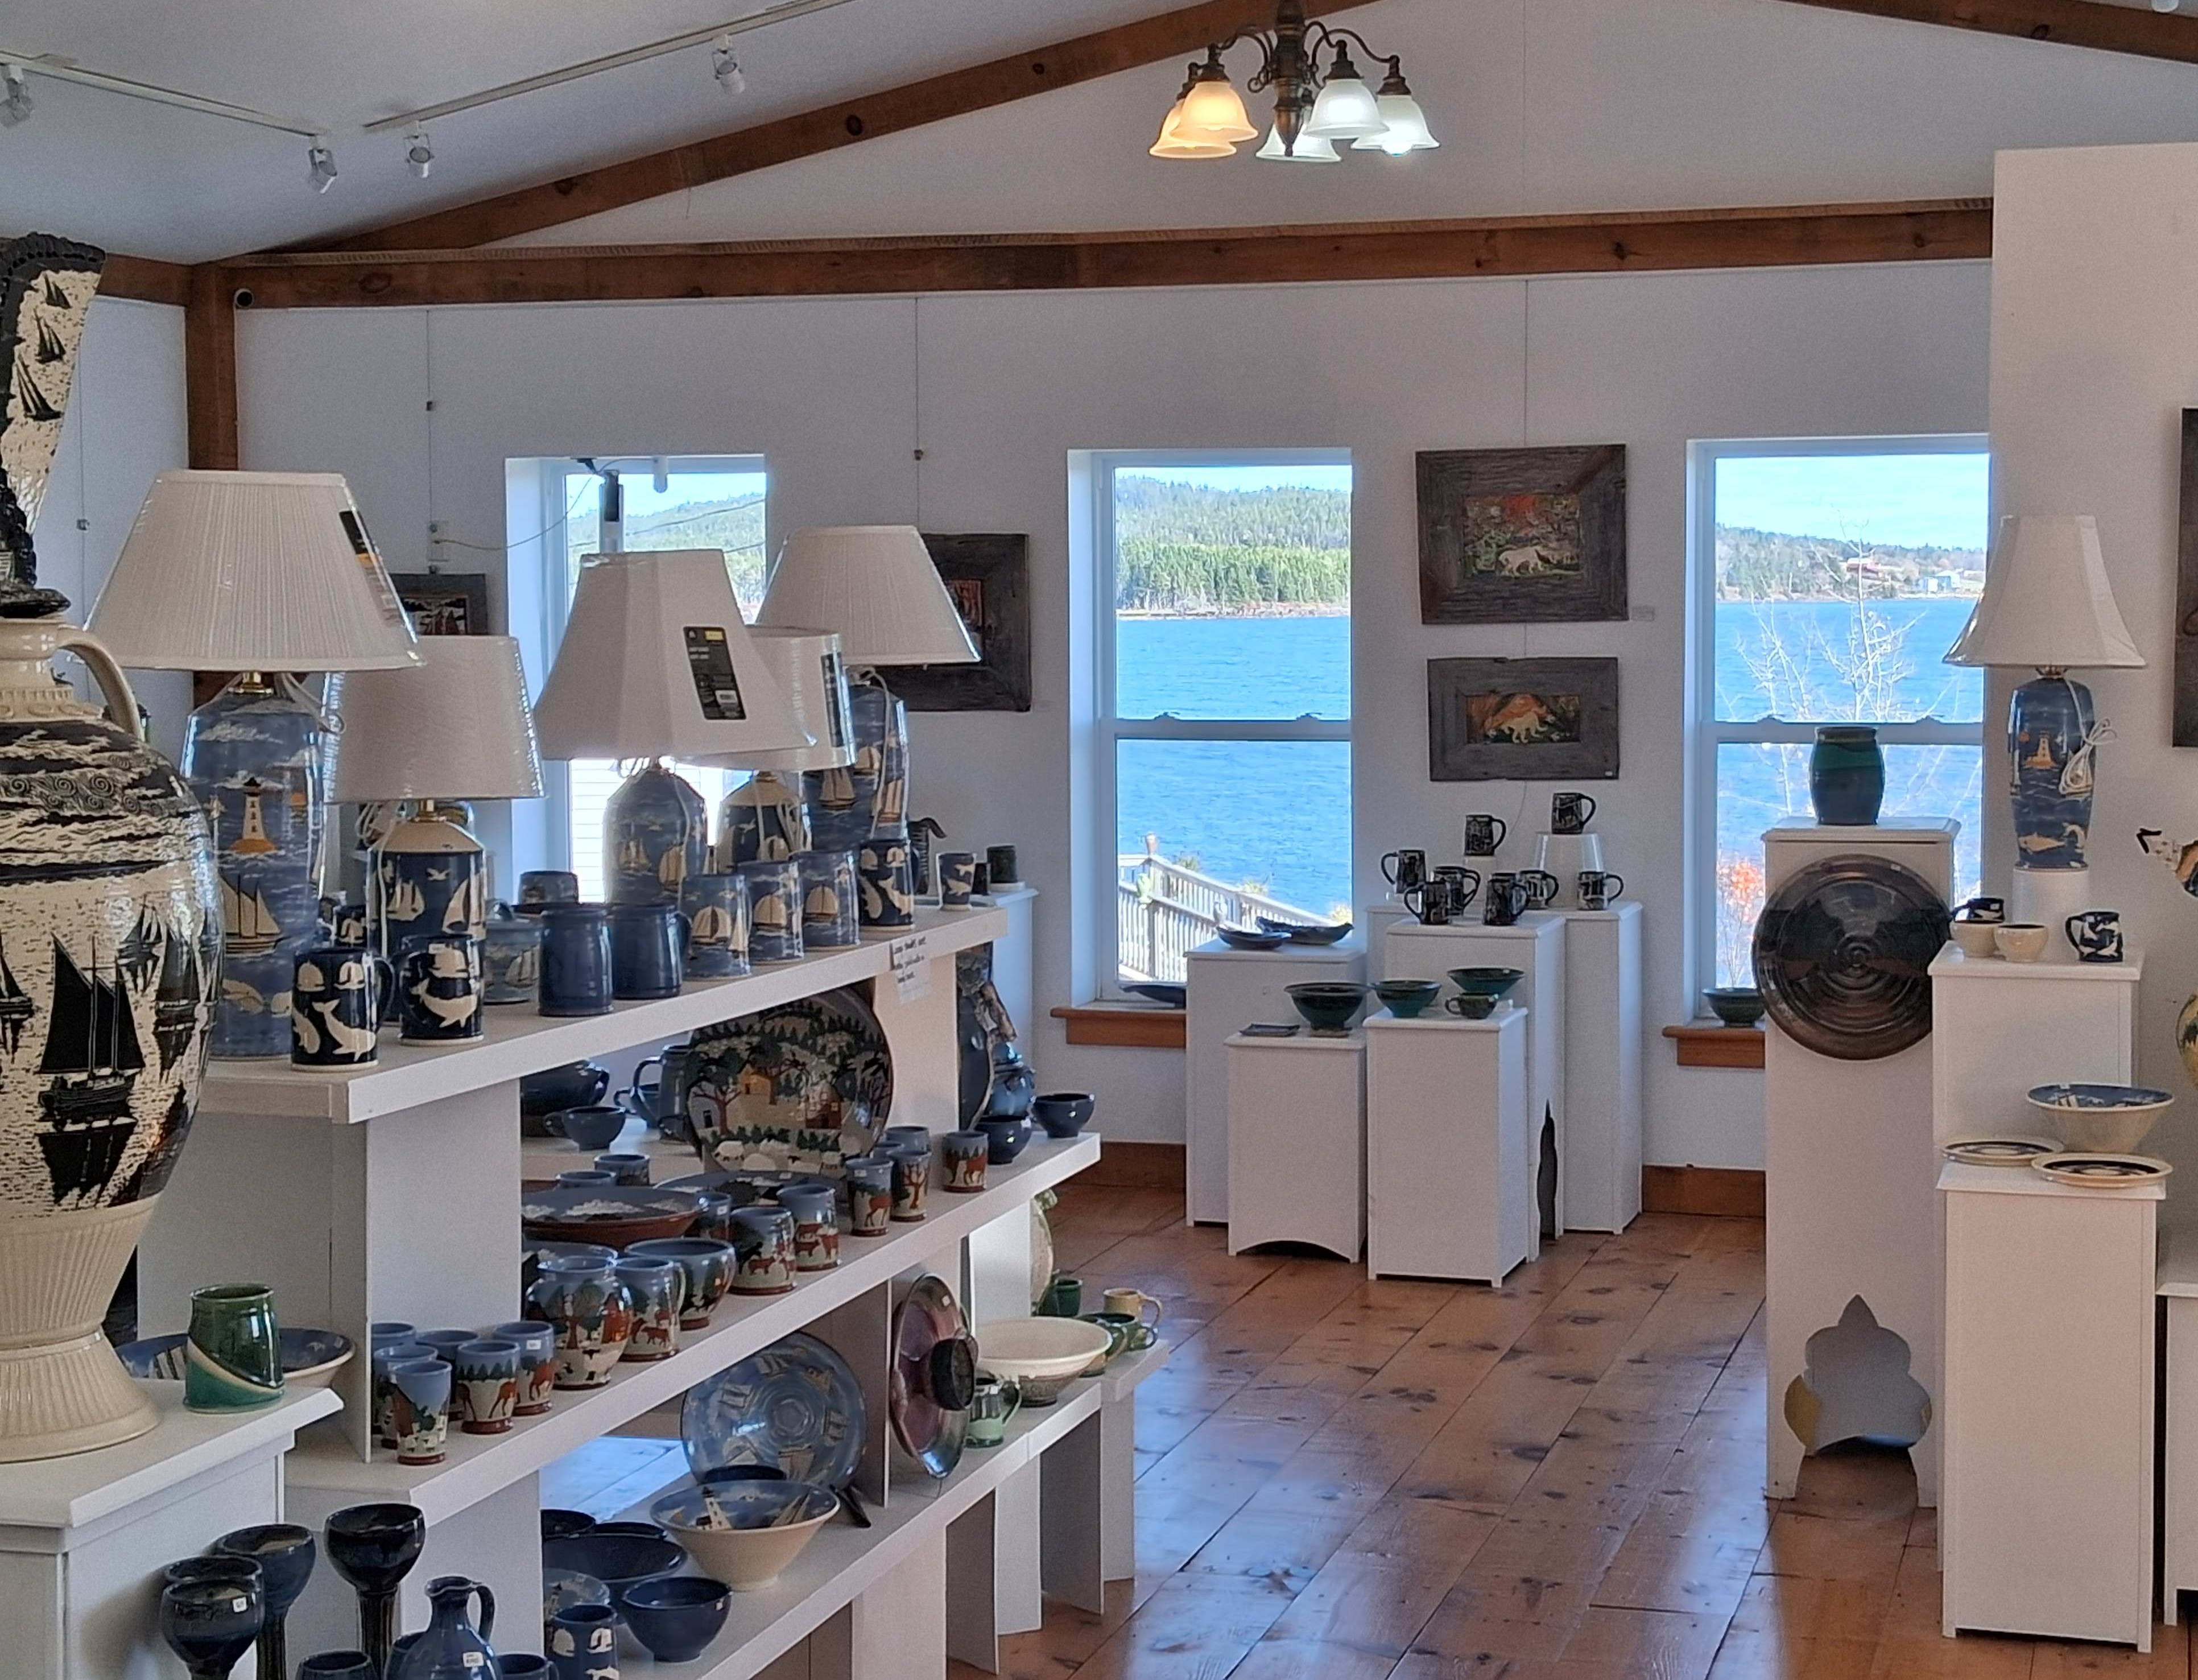
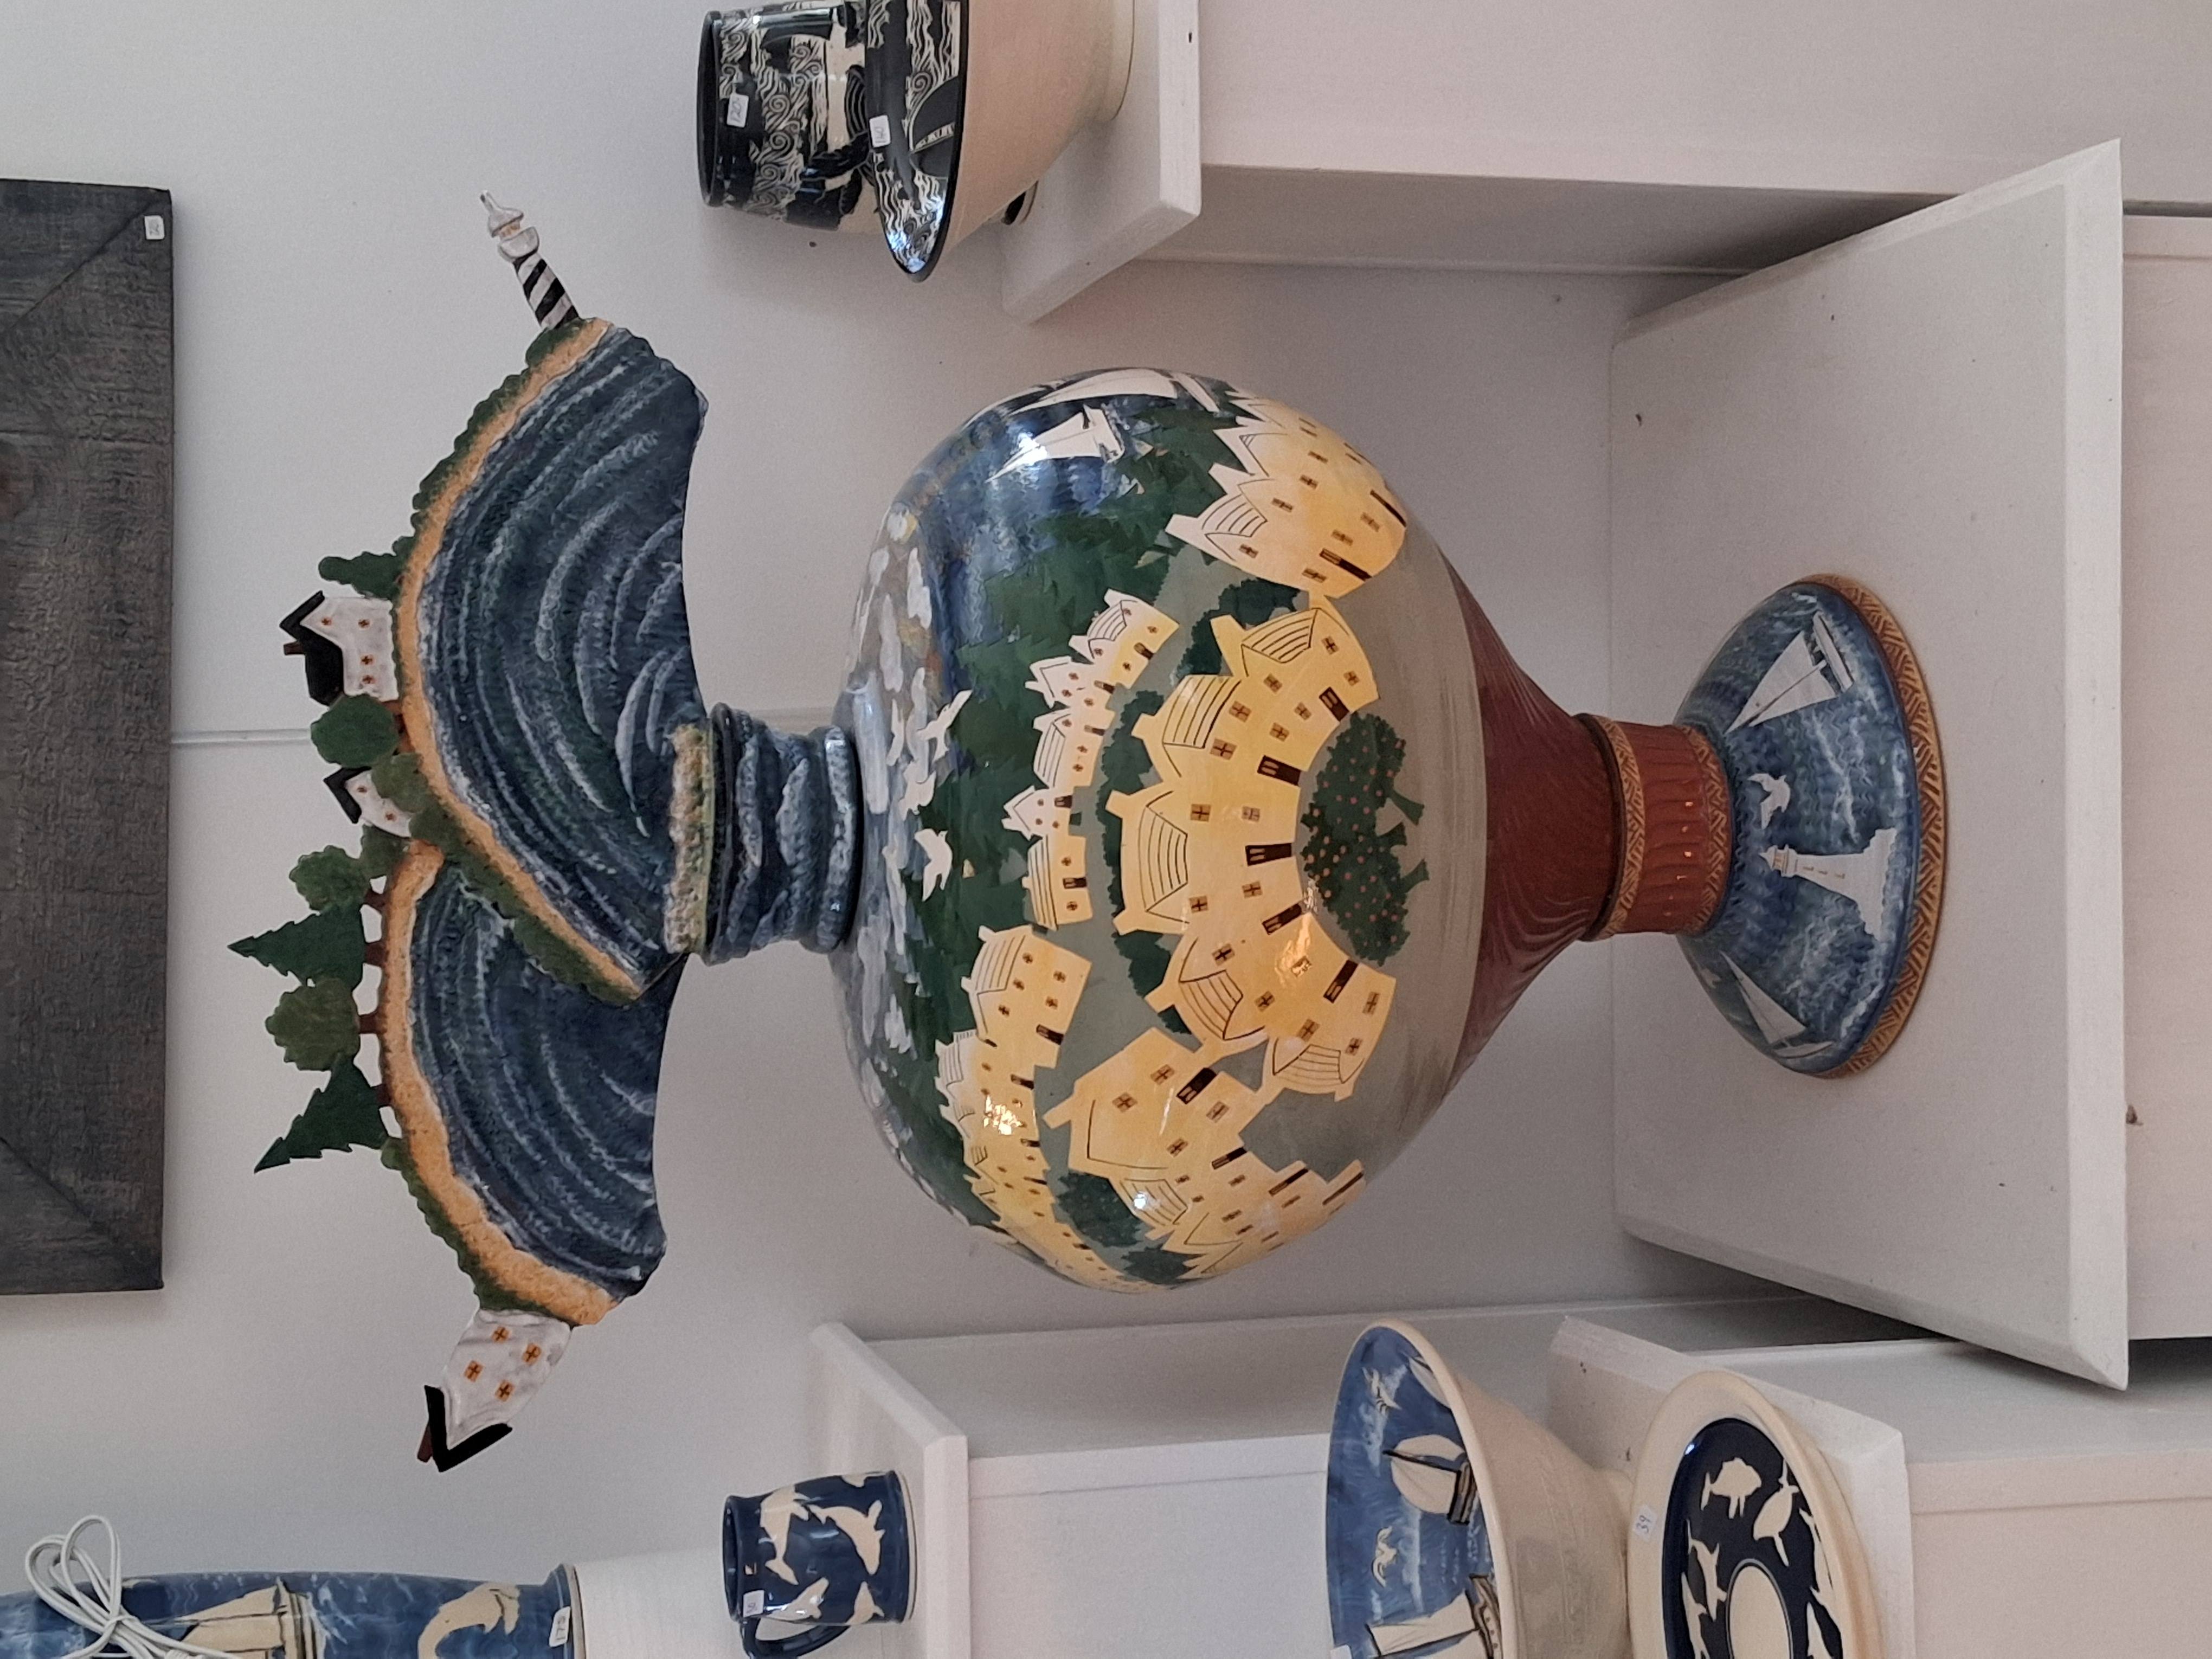
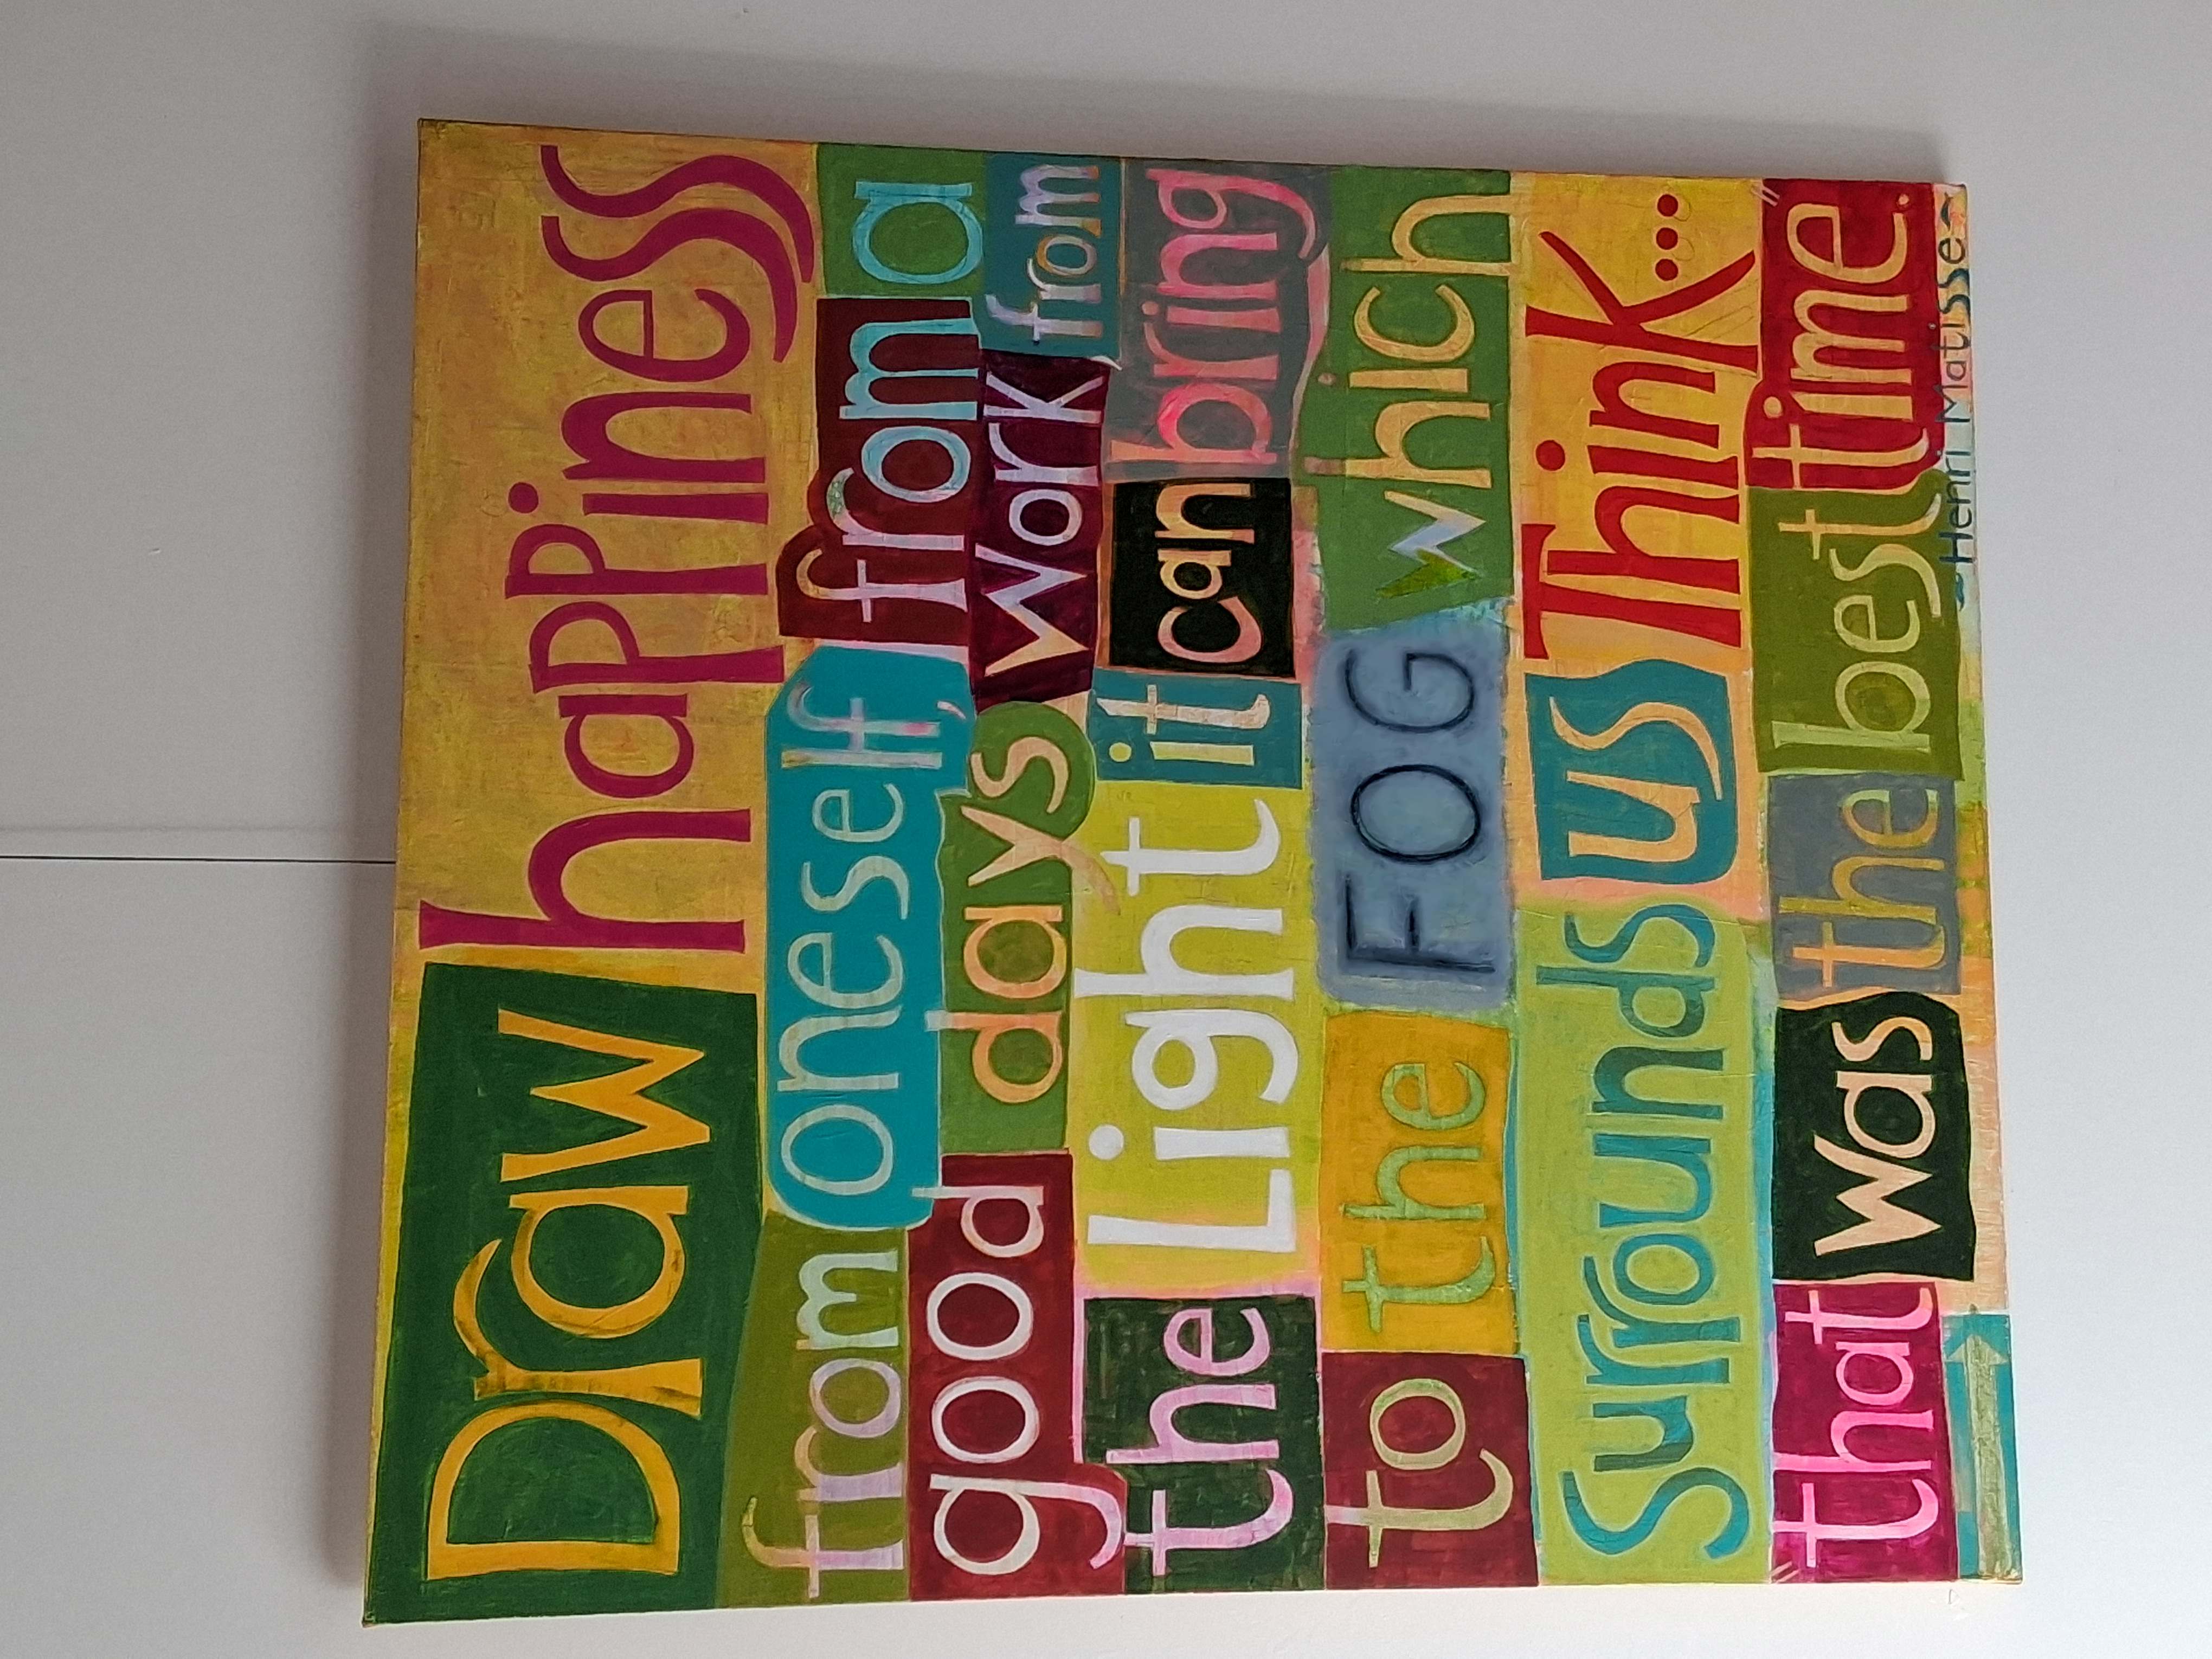
Le Have galleries along the waterfront.Westcote Bell Pottery in LeHaveLarge ceramic jar with iconic images of Nova ScotiaArtwork, Le Have
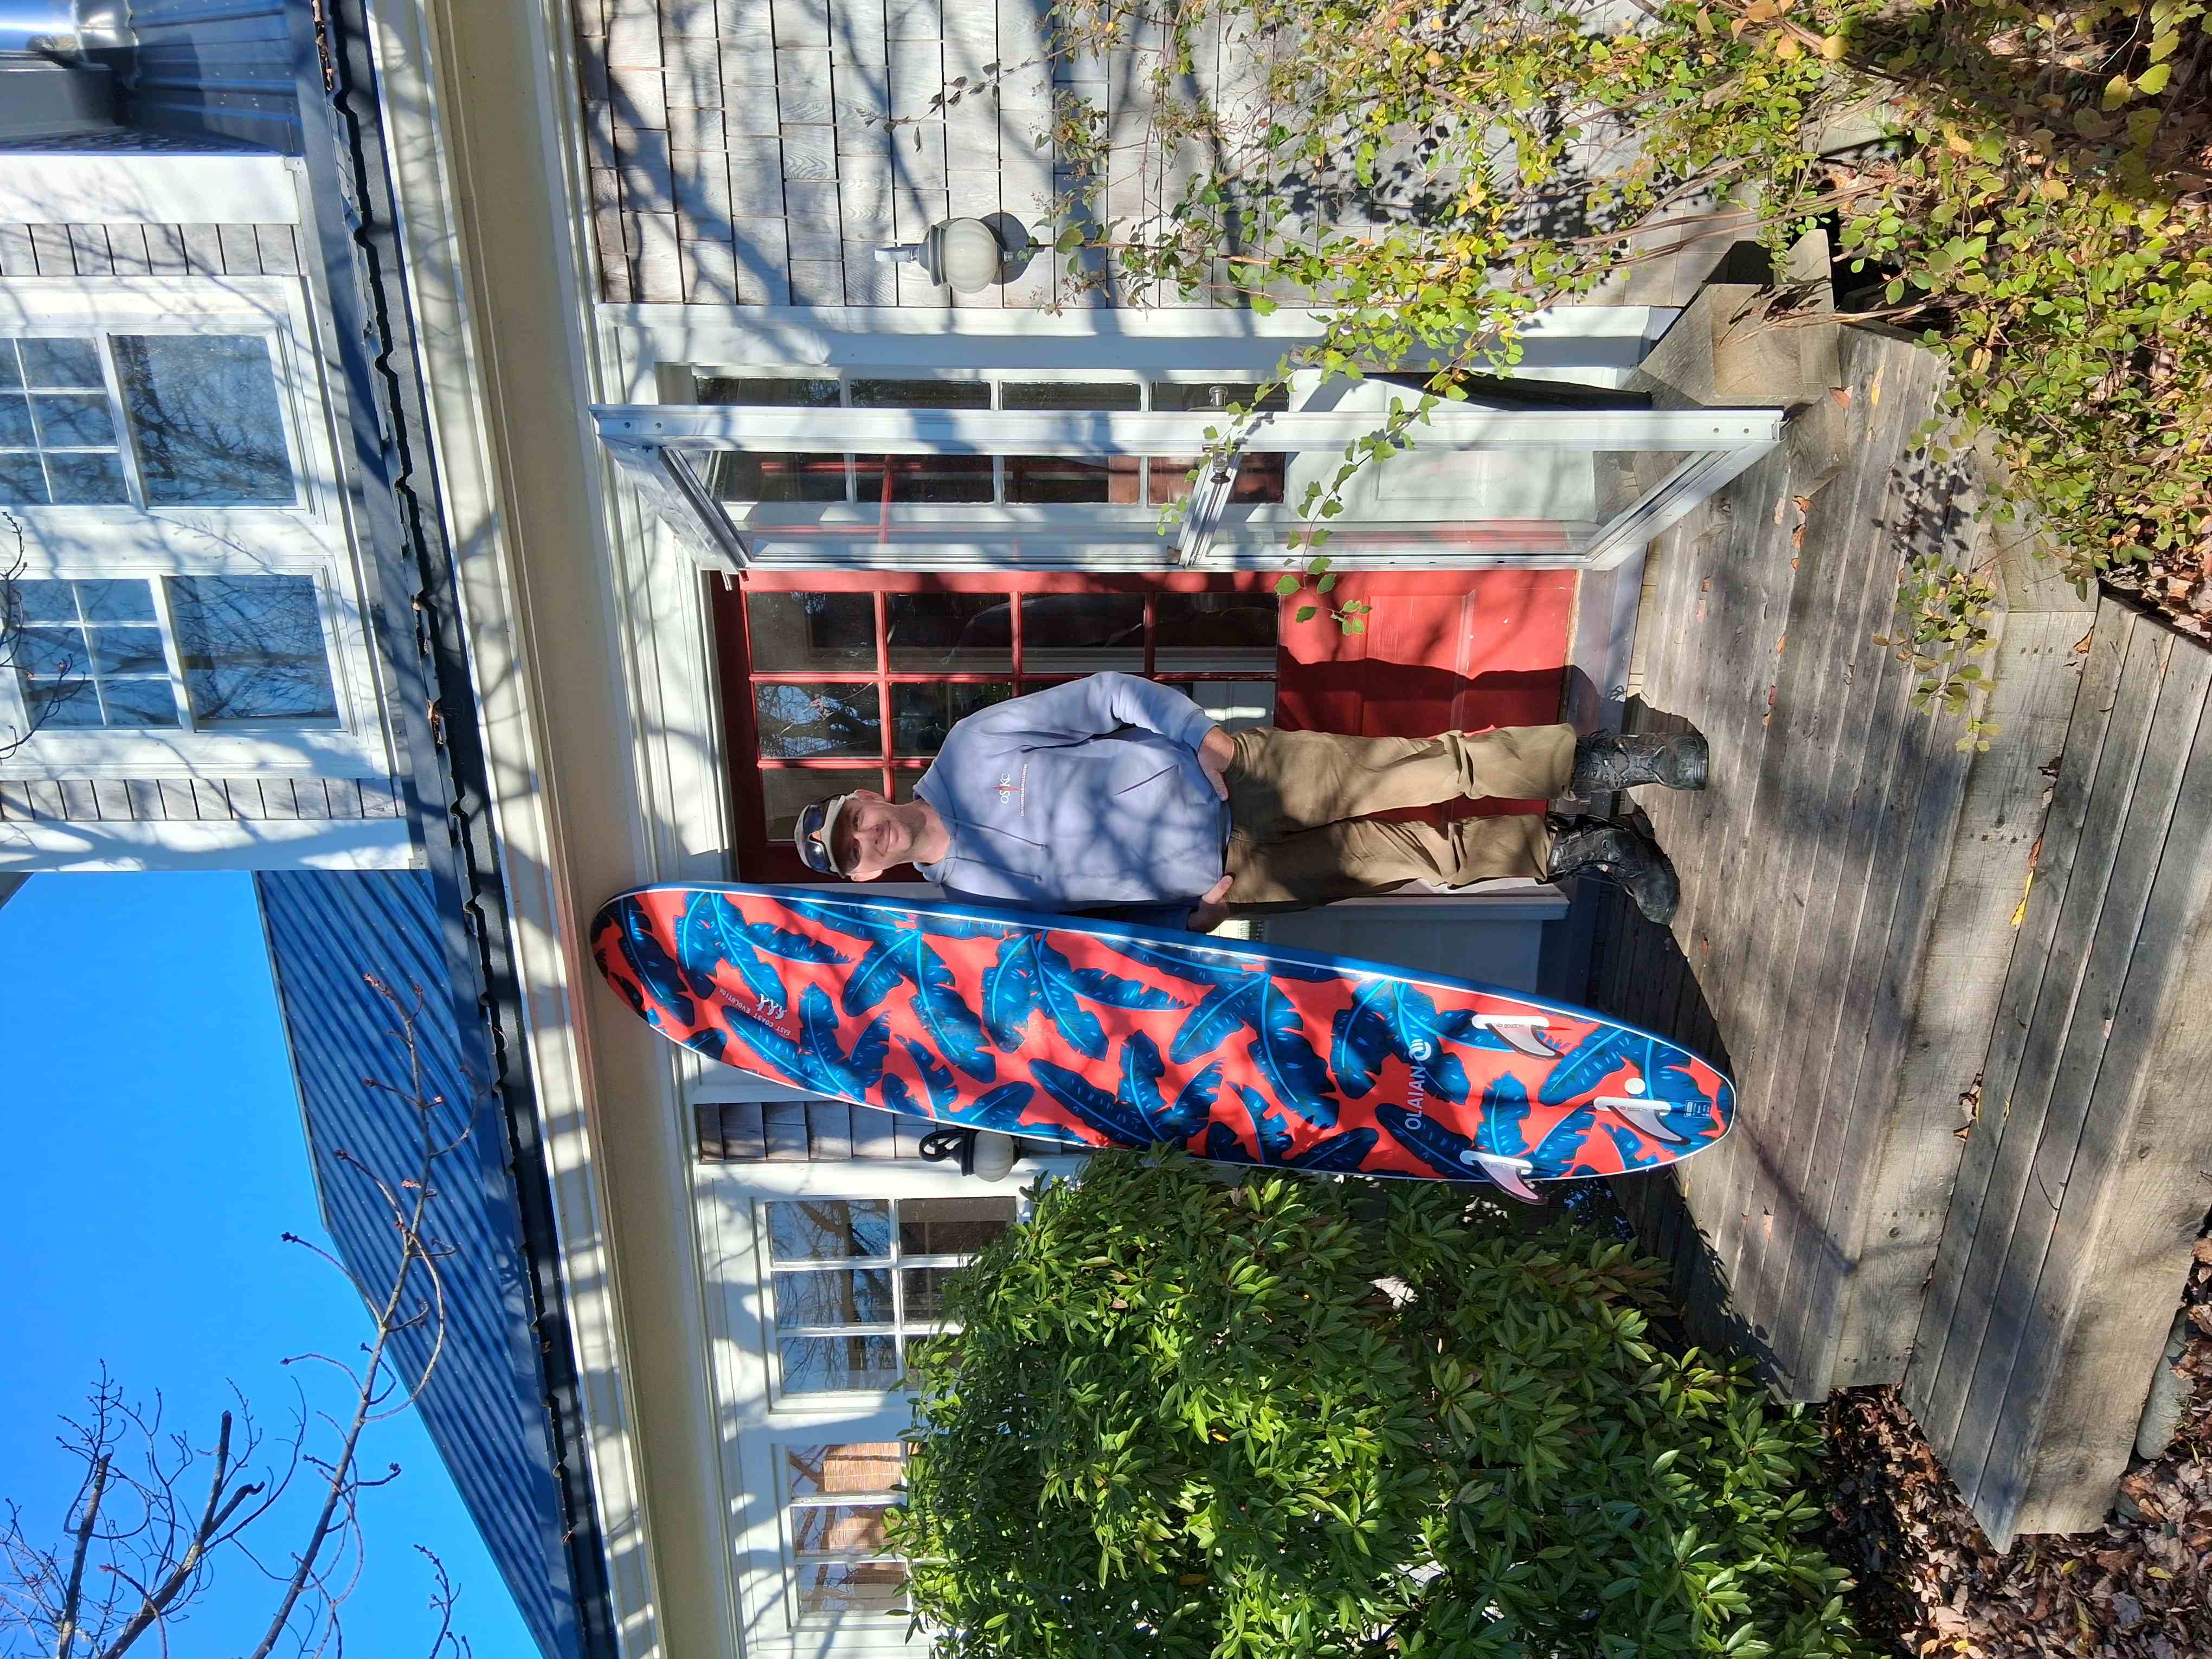
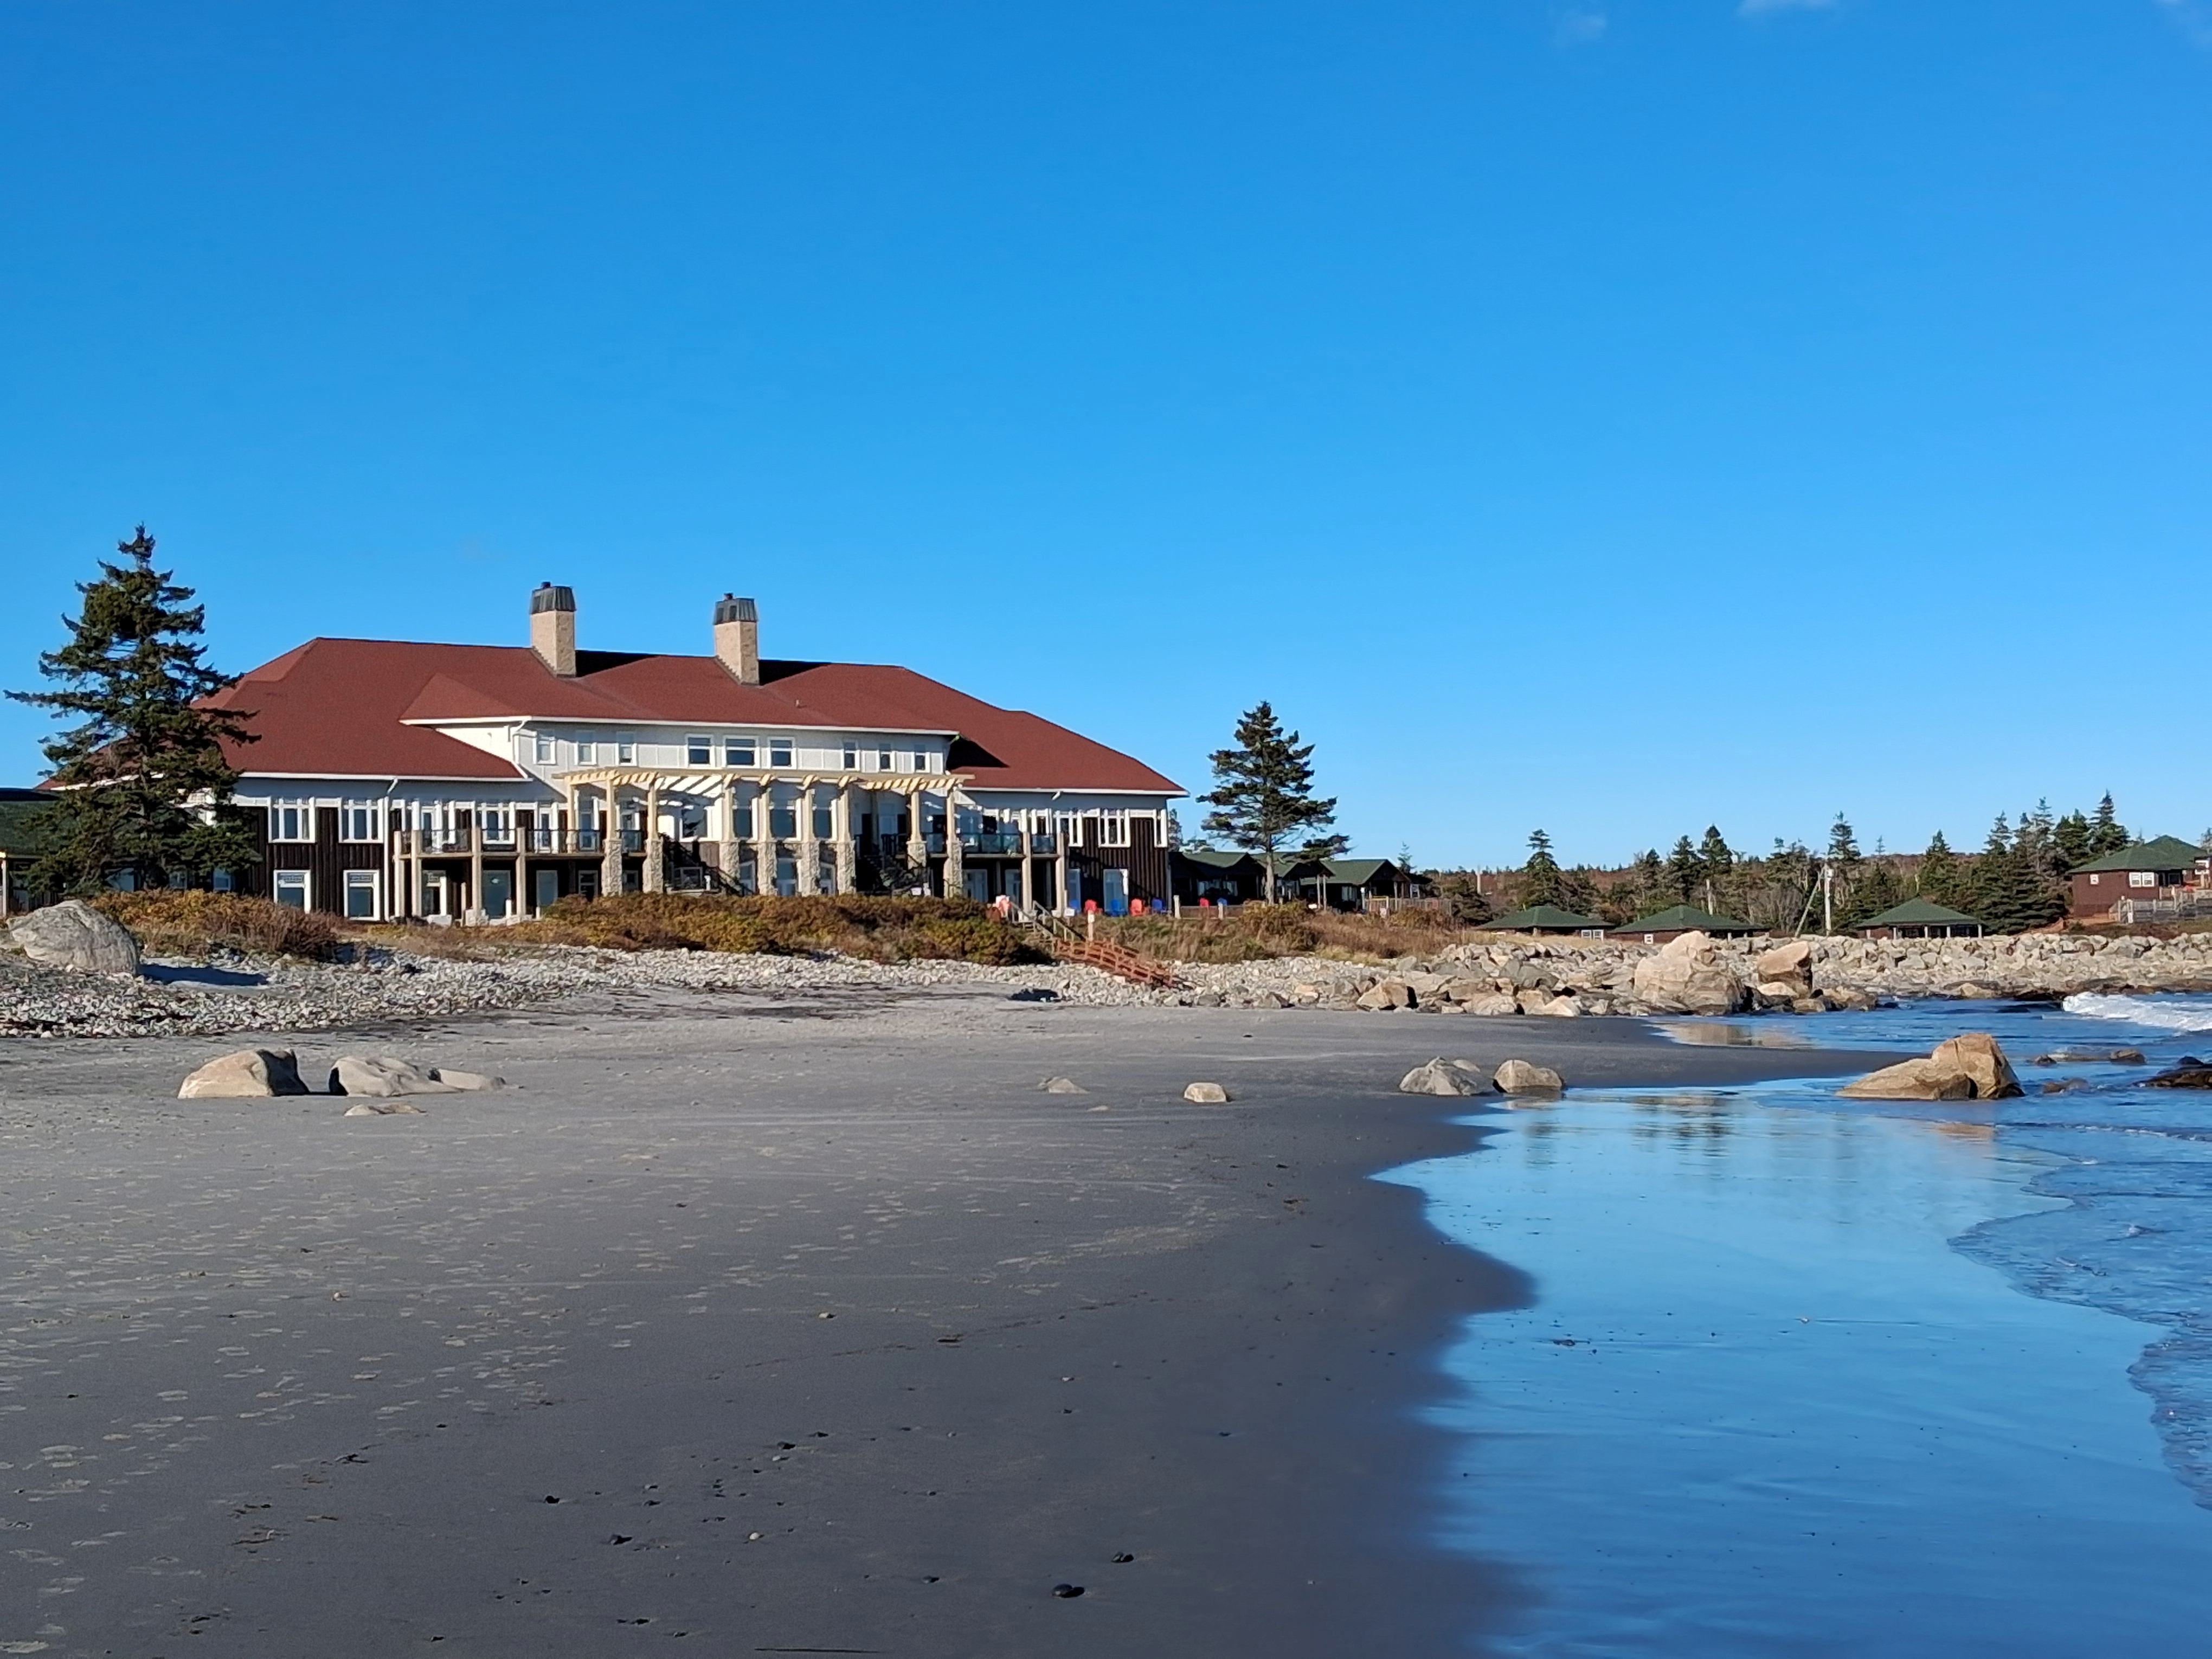
On Sunday, Karl, Stephi and I had dinner at the historic White Point Inn. Beaches there and nearby attract surfers from as far away as Halifax when the waves are good.
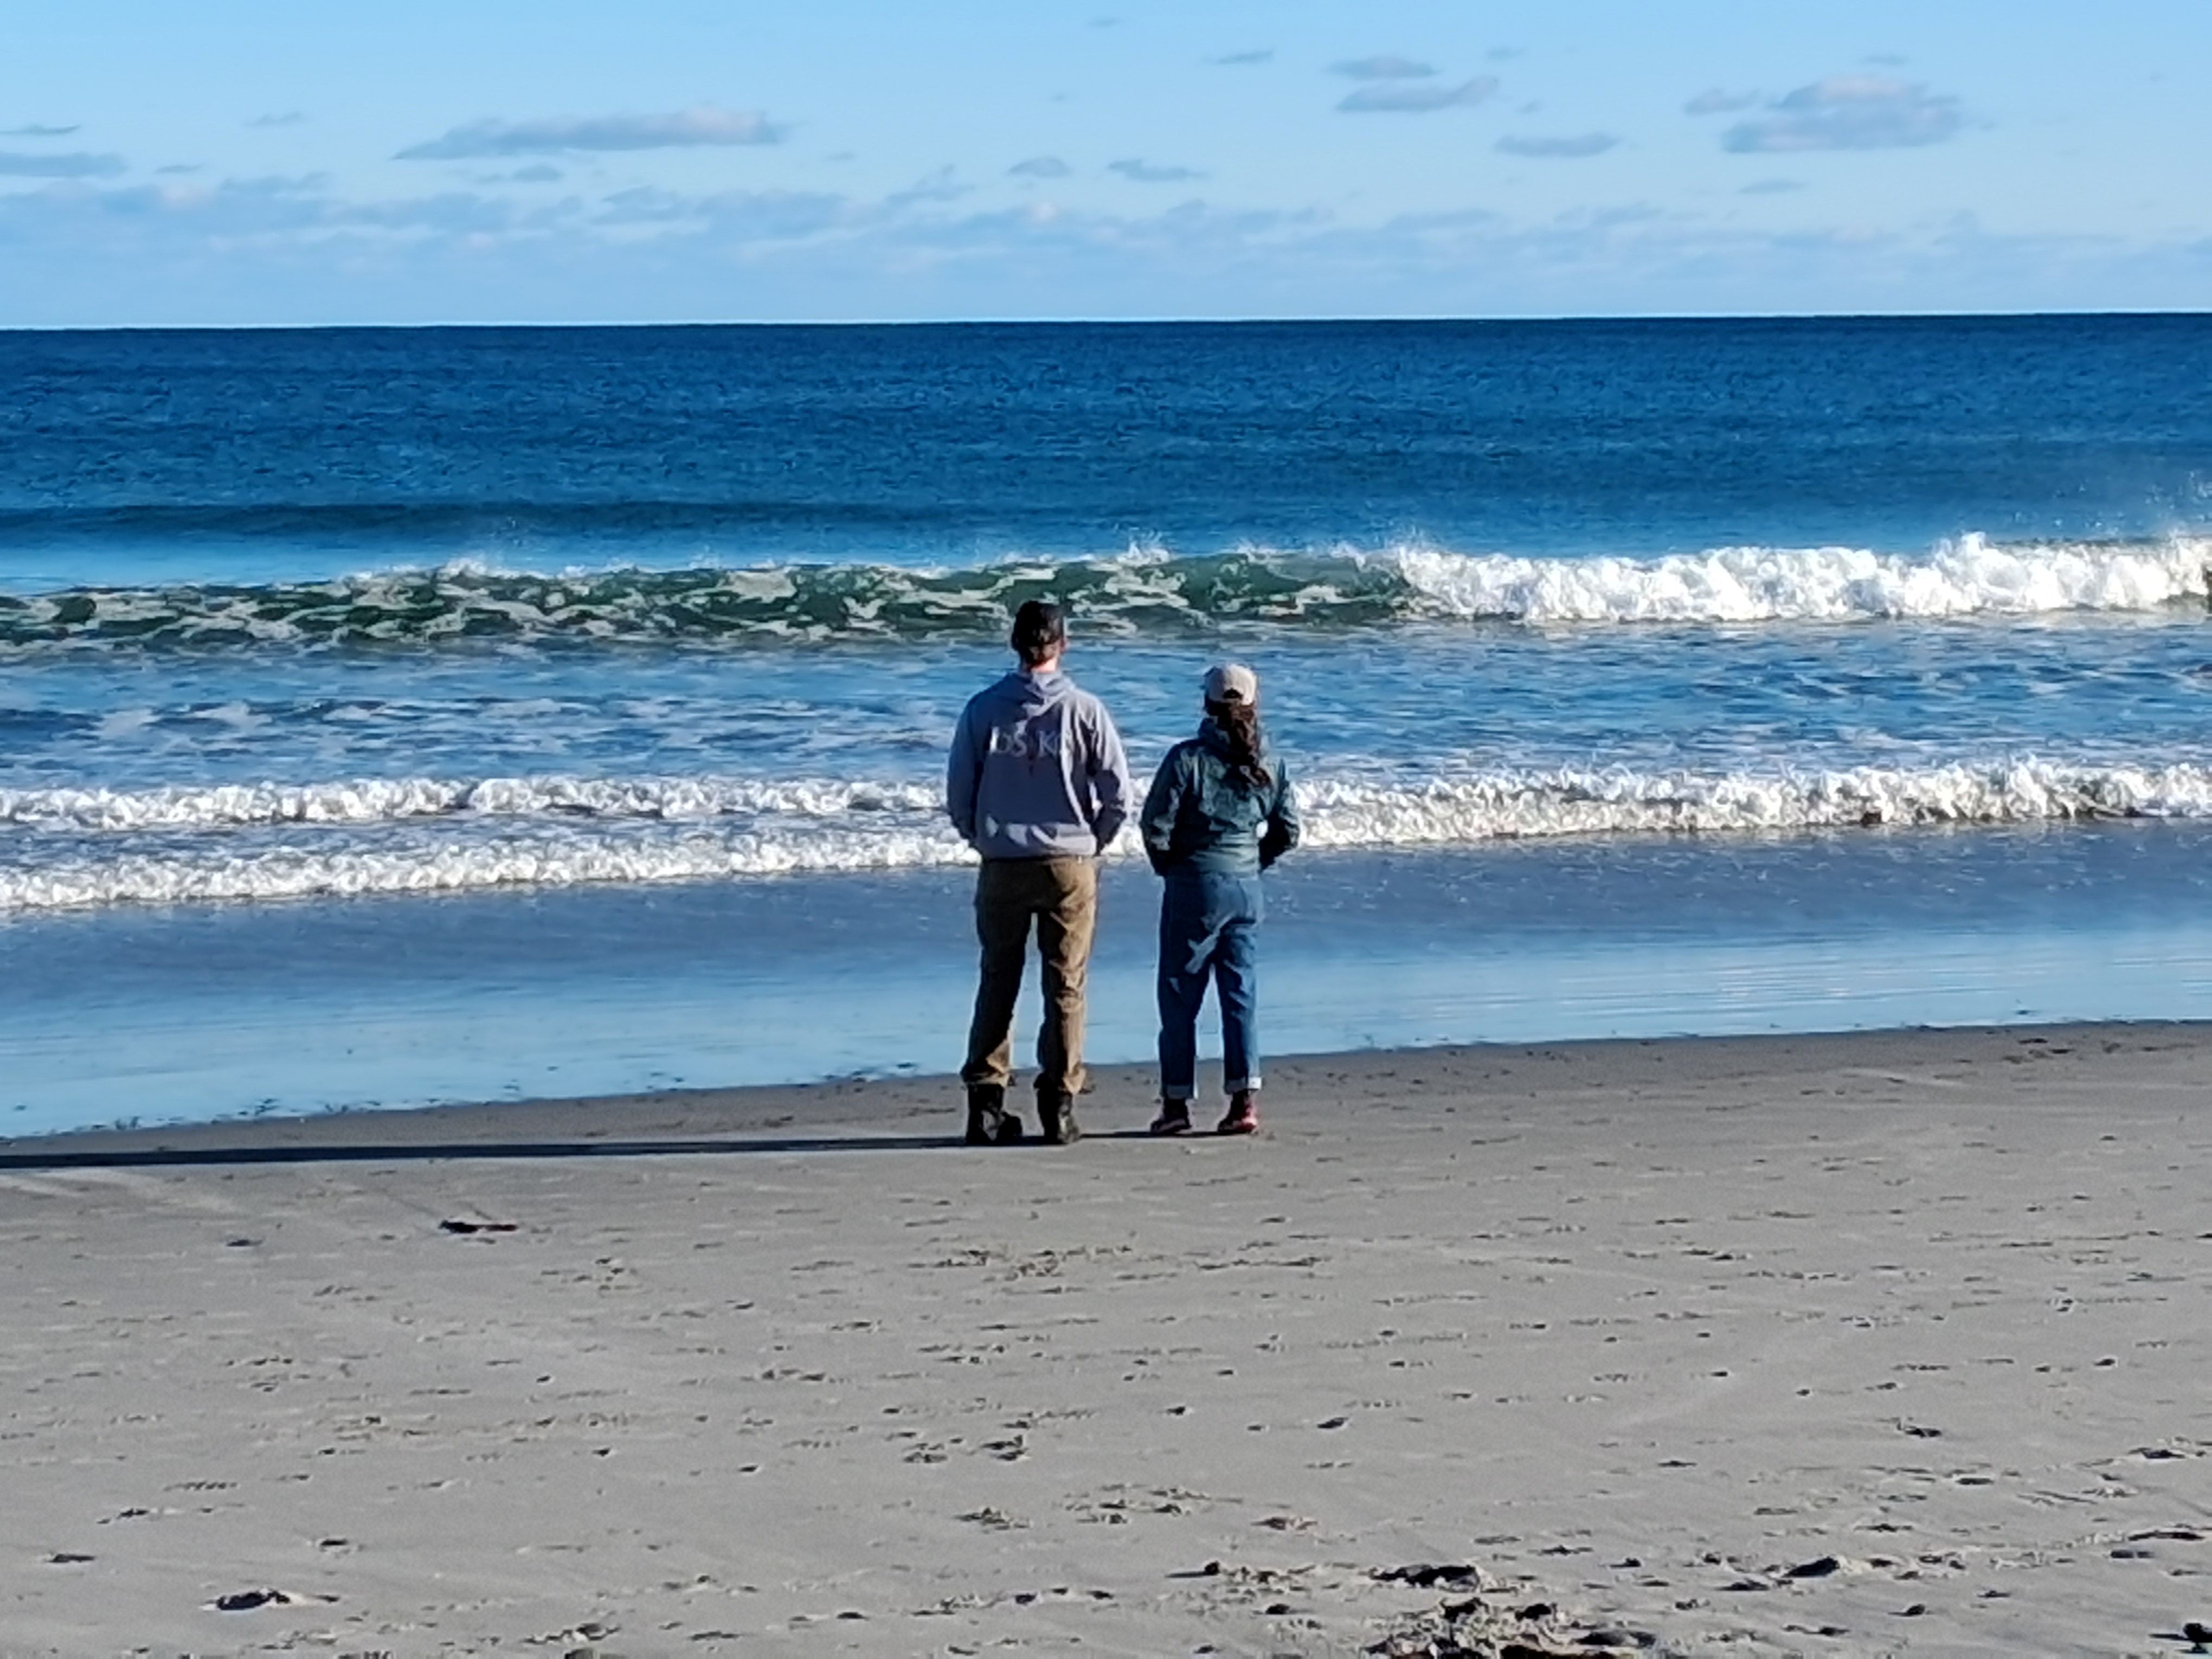
Karl and his surfboard at Stephi’s house in LeHaveWhite Point Inn dates from 1928.Karl and Stephi checking out the surf (??) at White Point.
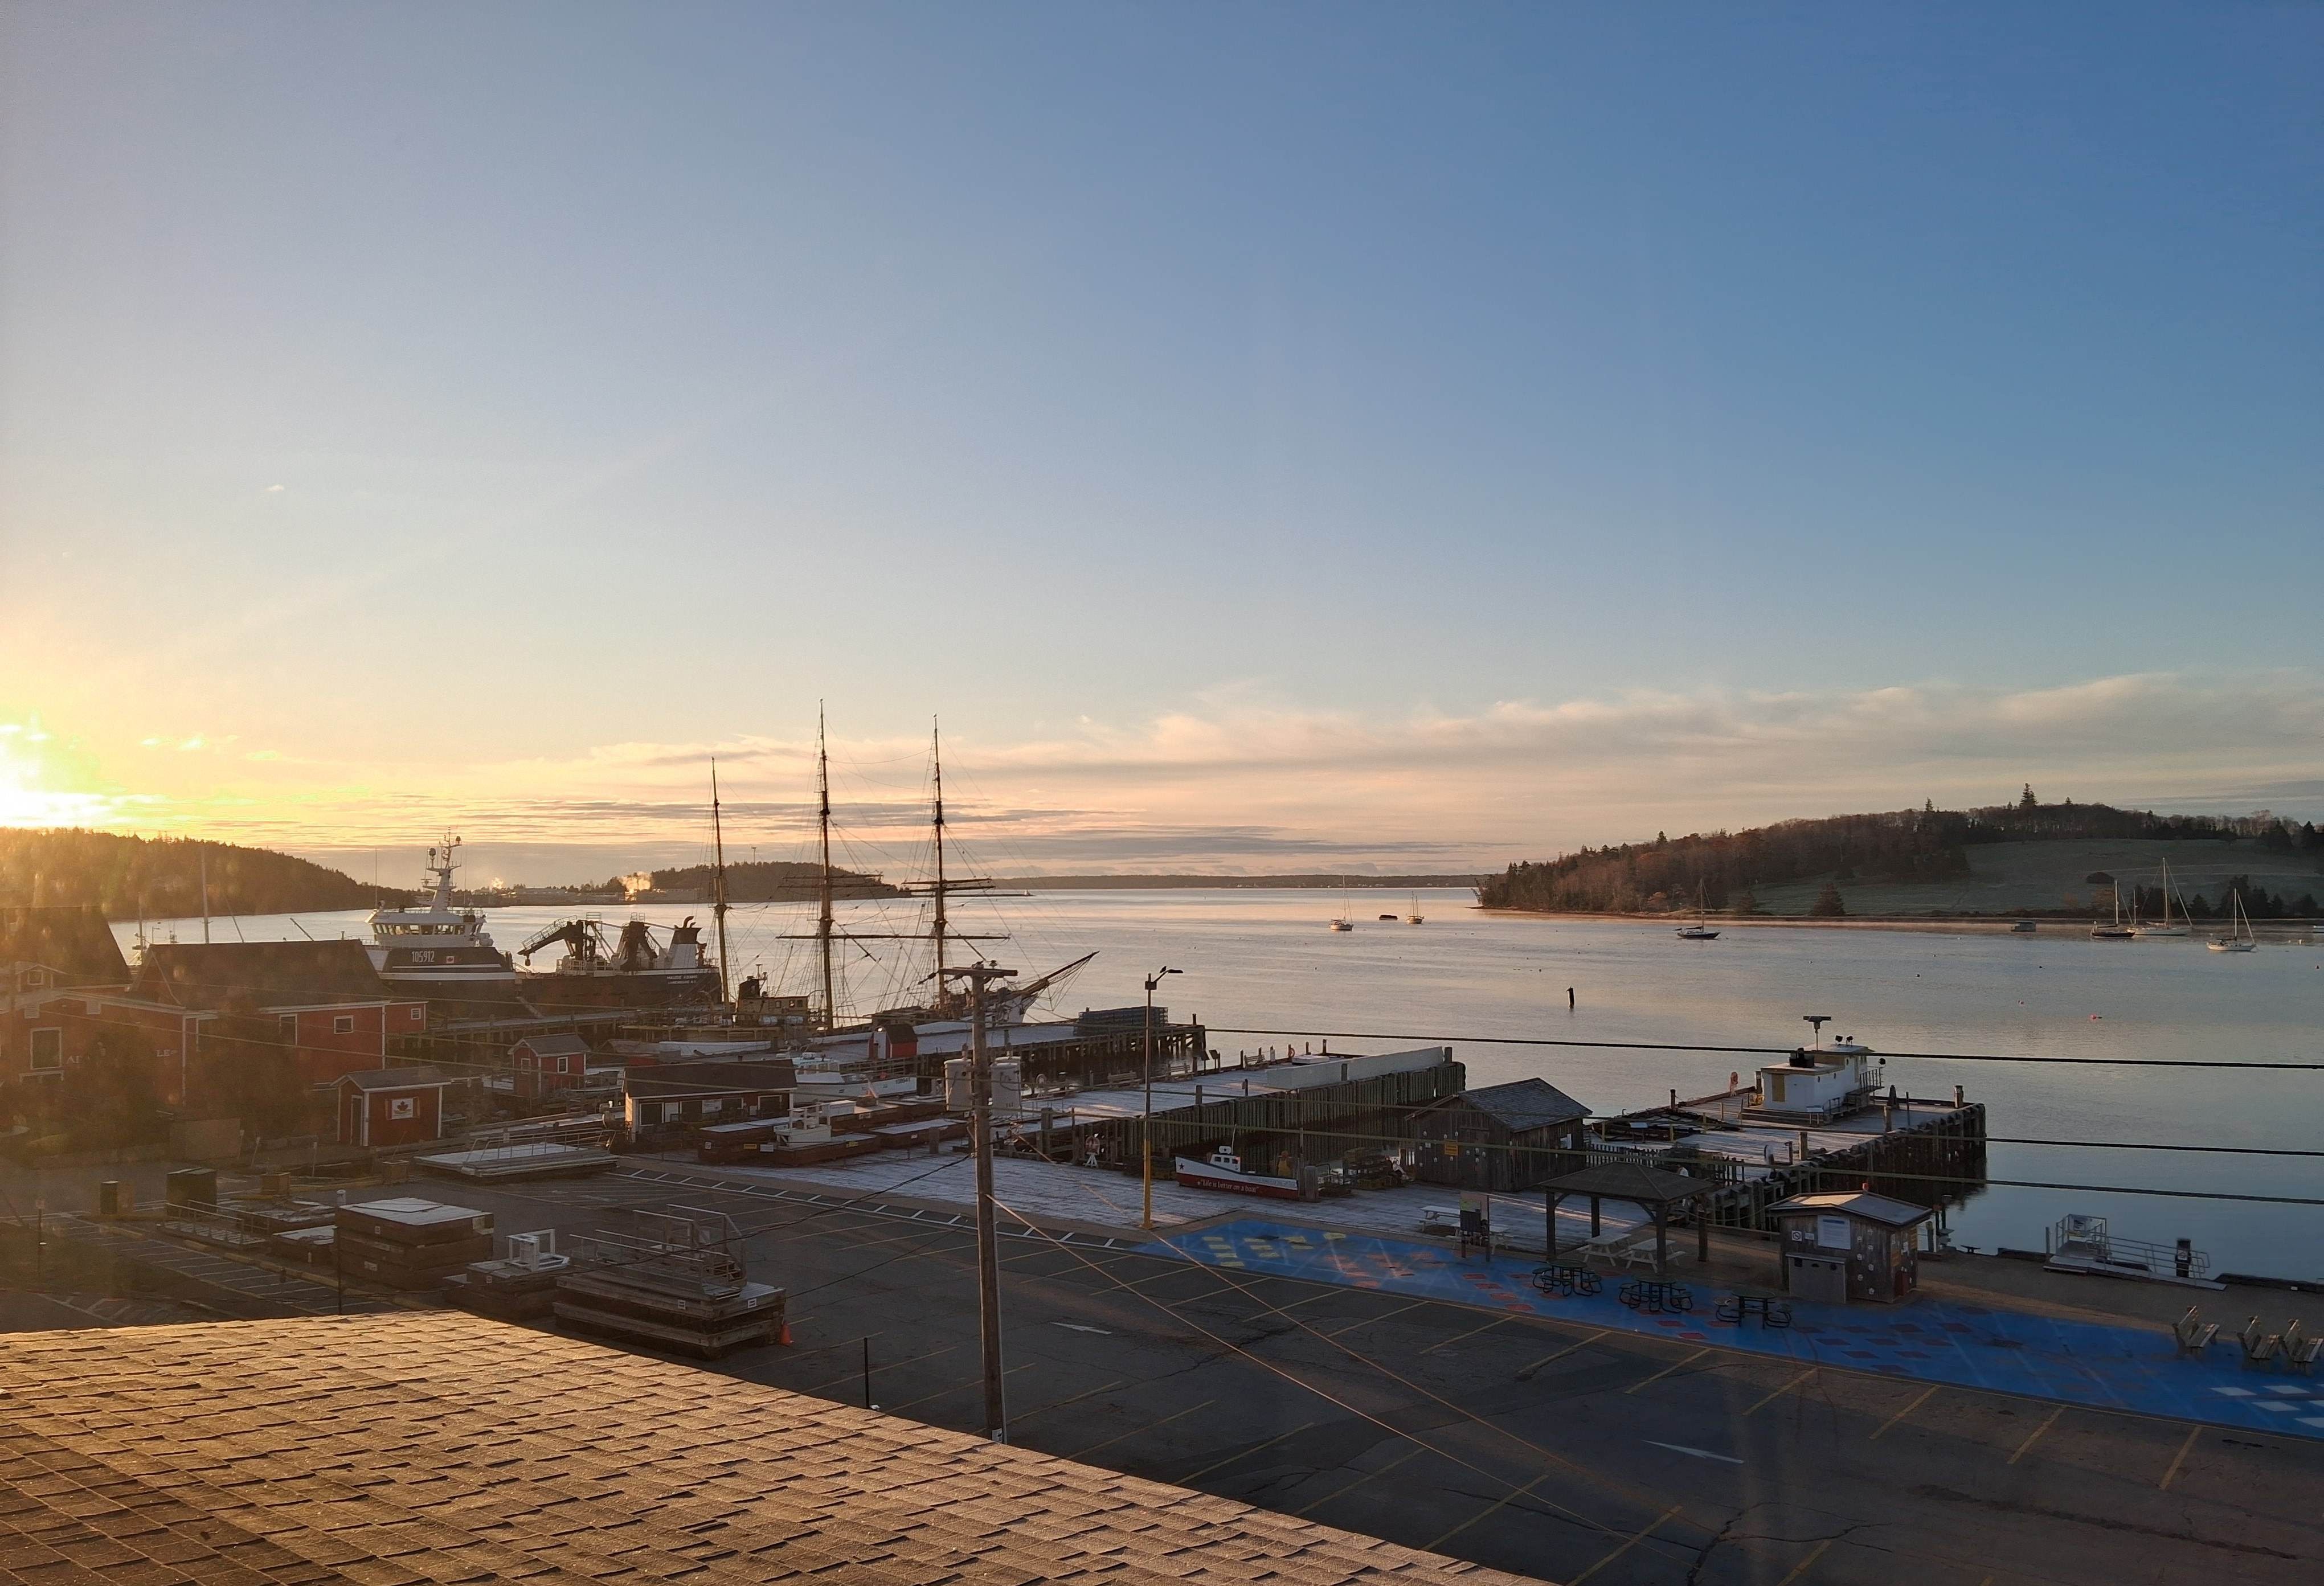
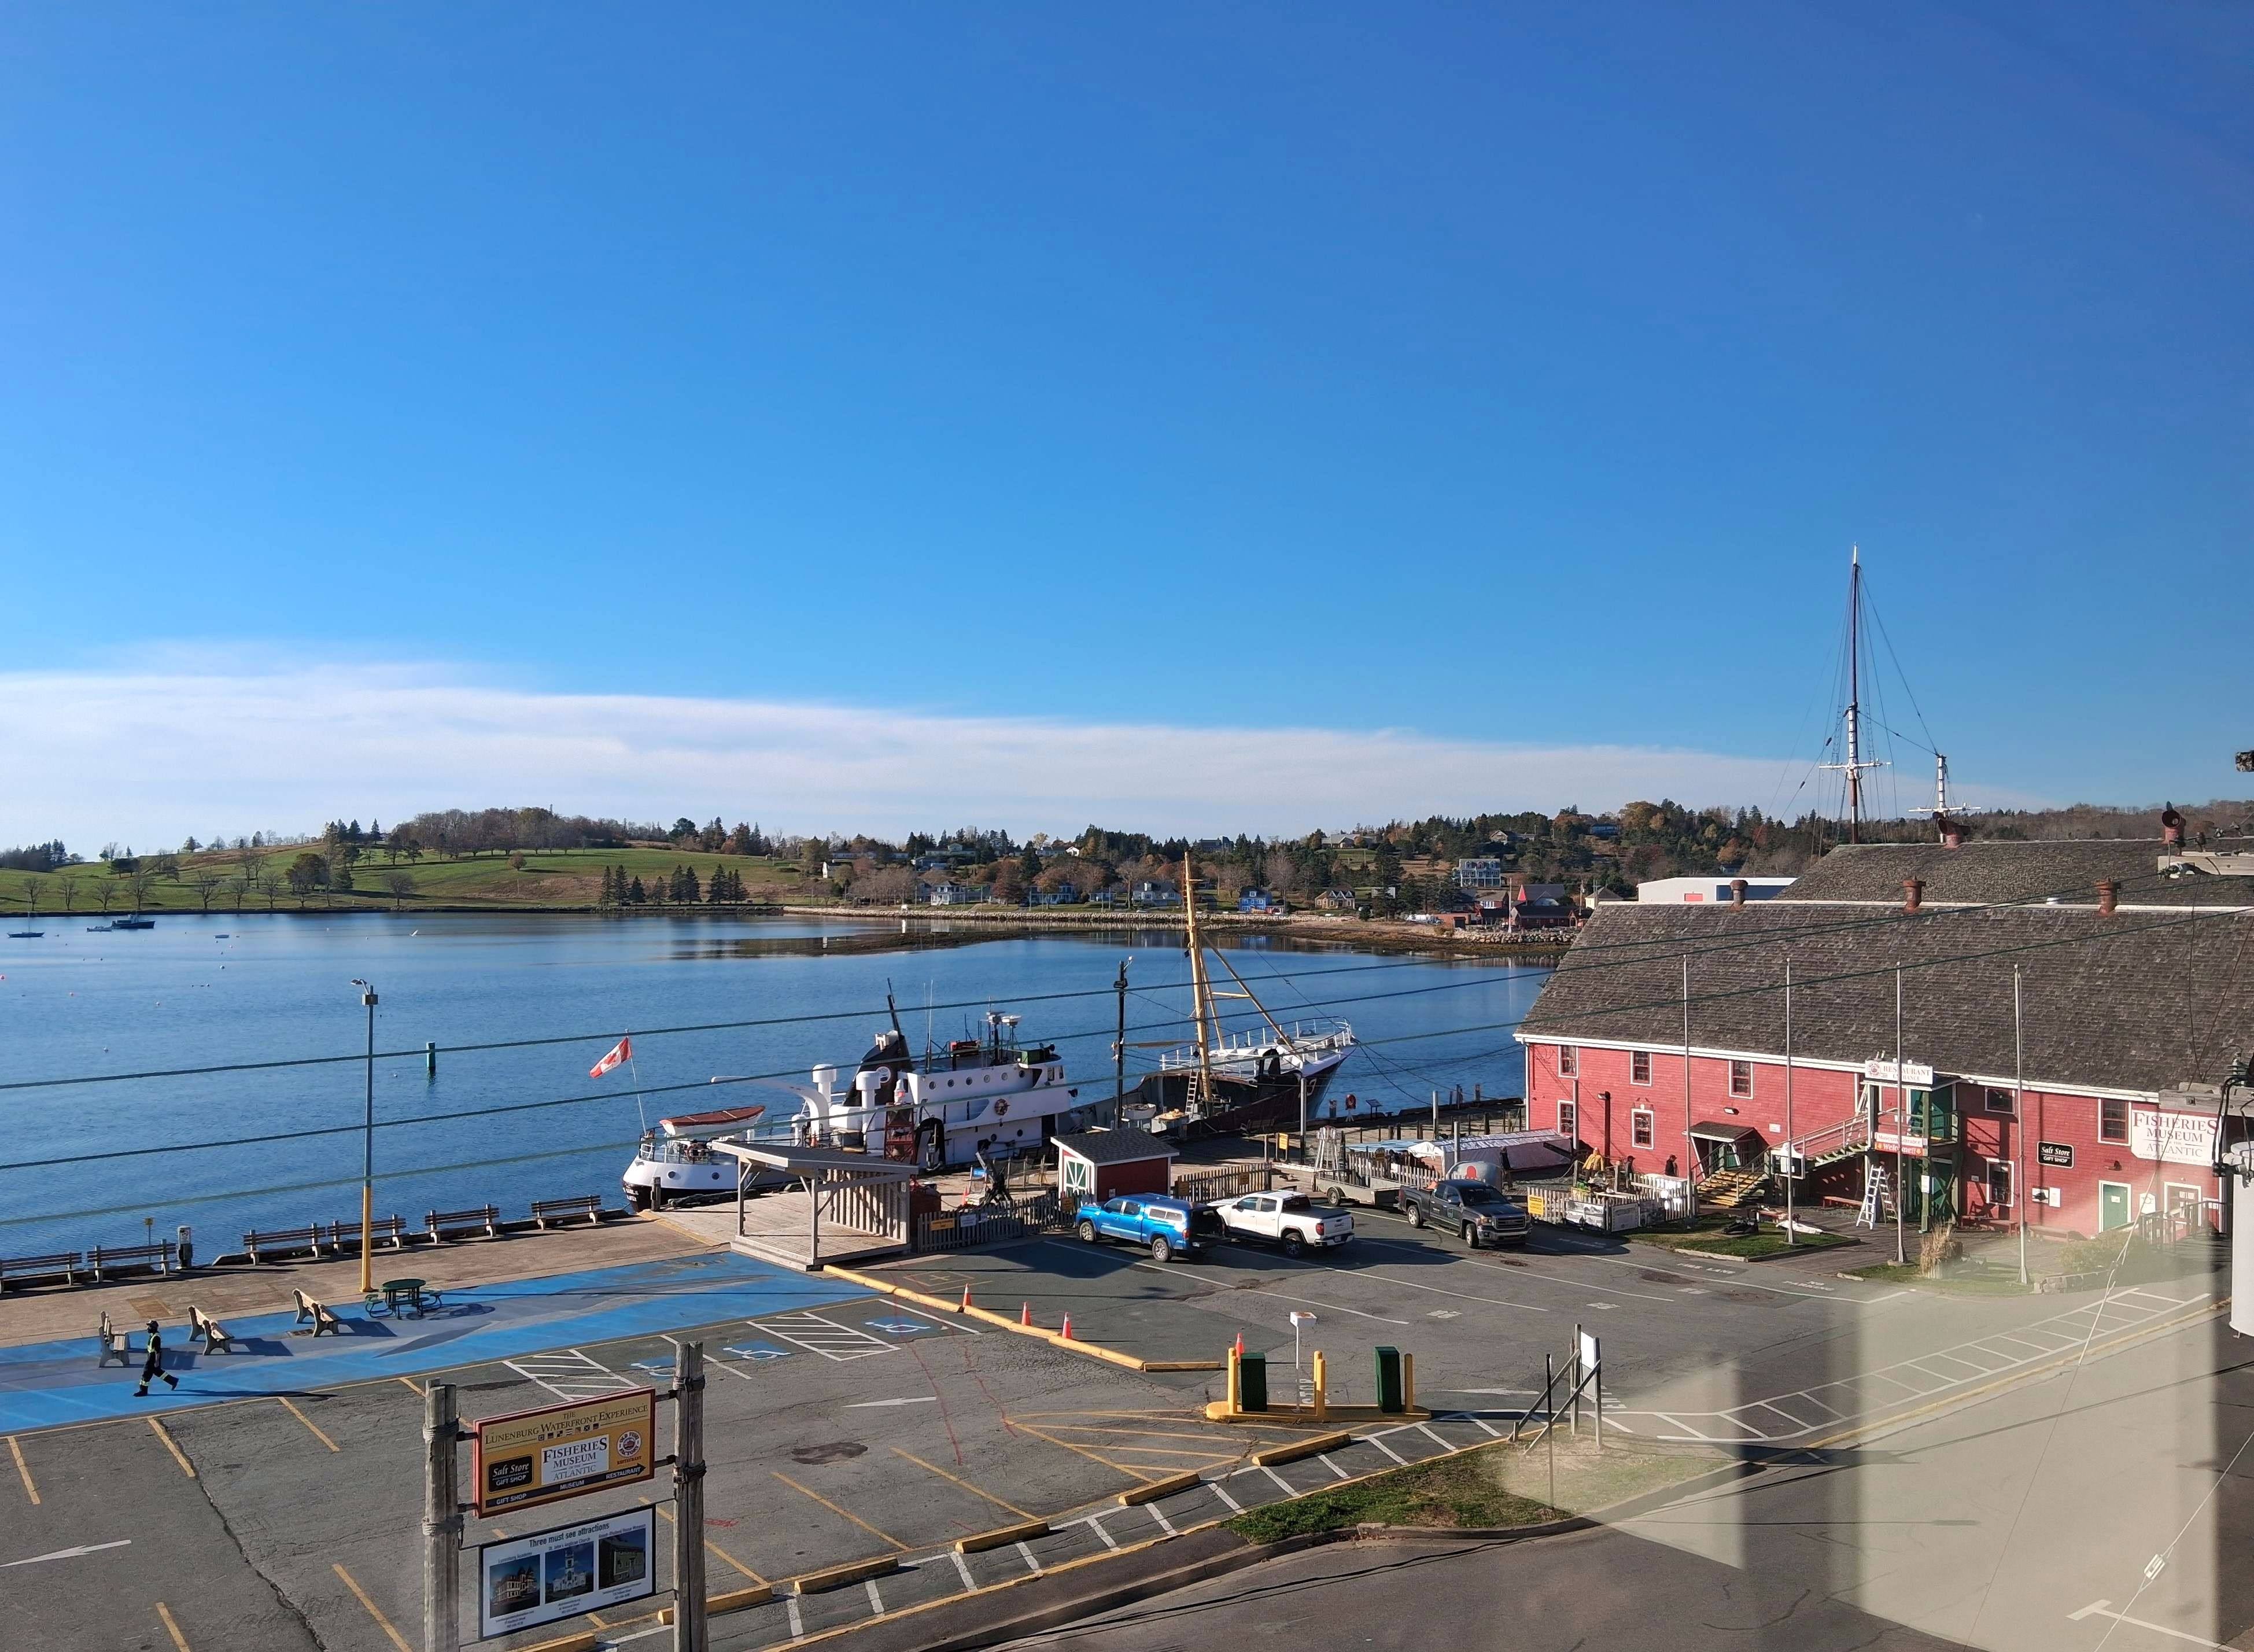
I stayed in the Dockside Hotel in Lunenberg Sunday night with a room overlooking the harbor. Lunenberg was founded in 1753 by German immigrants and is known for its lobster fishery and its colorful historic Old Town which is a UNESCO World Heritage Site.
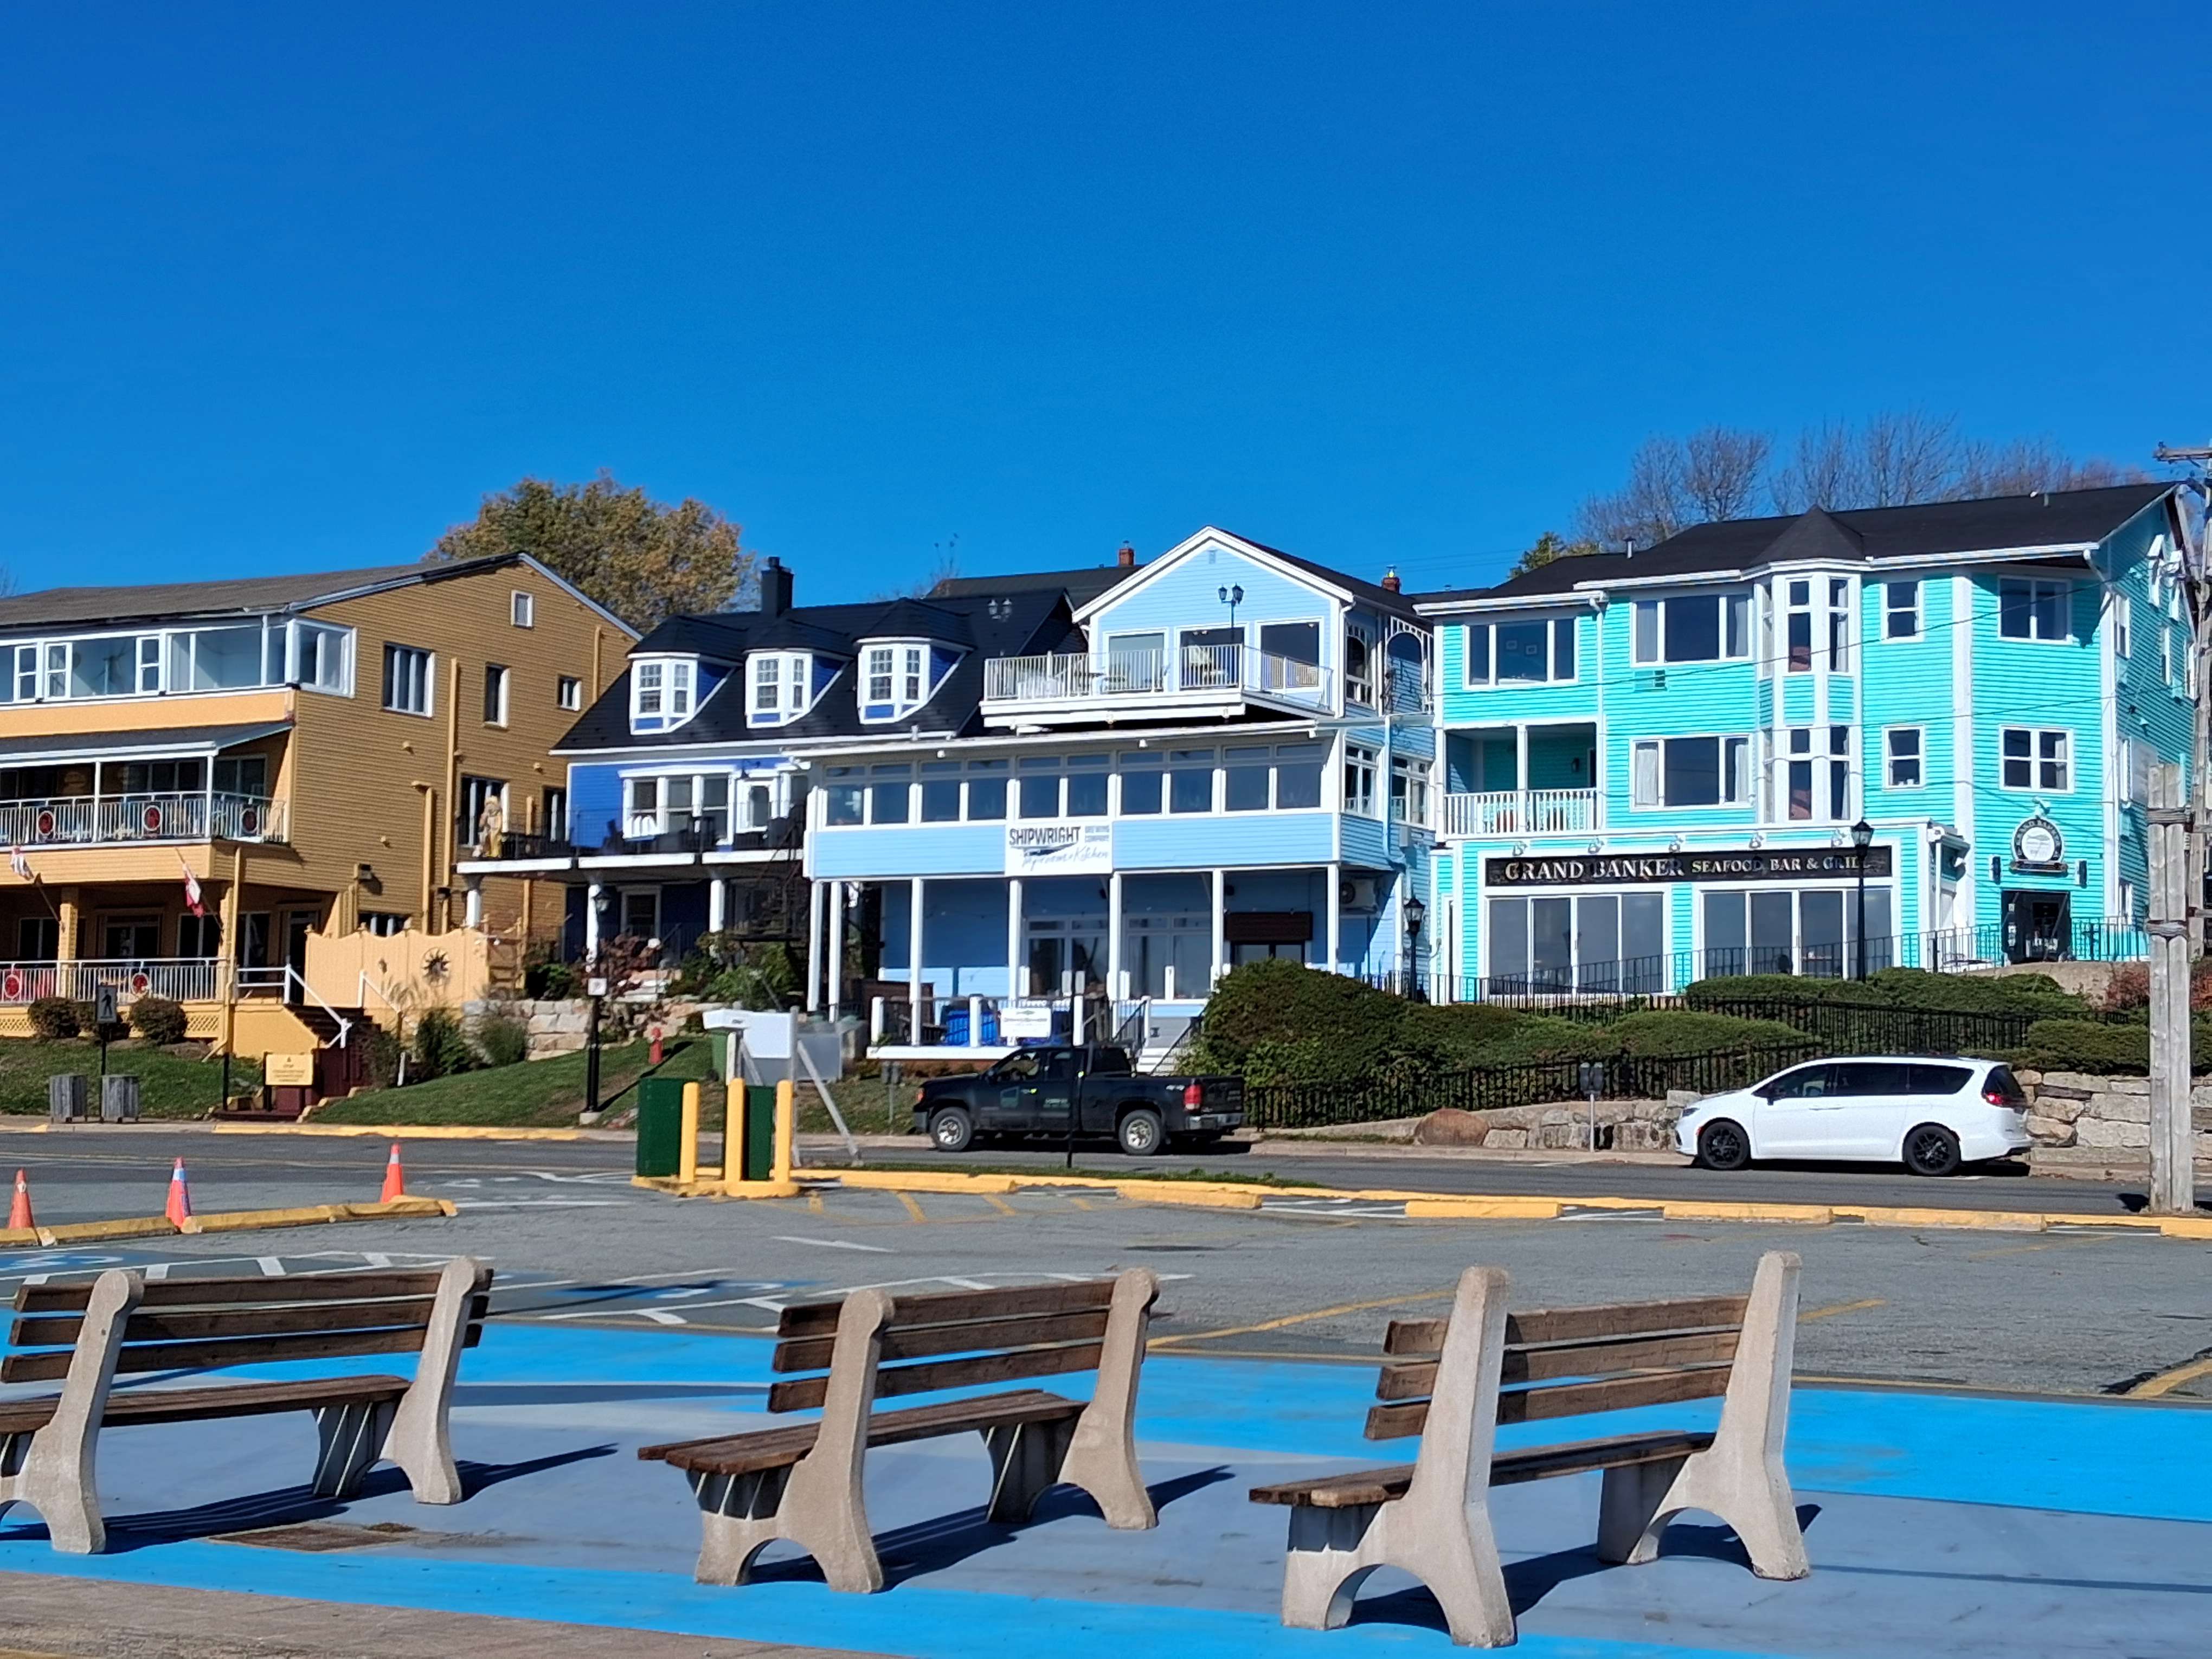
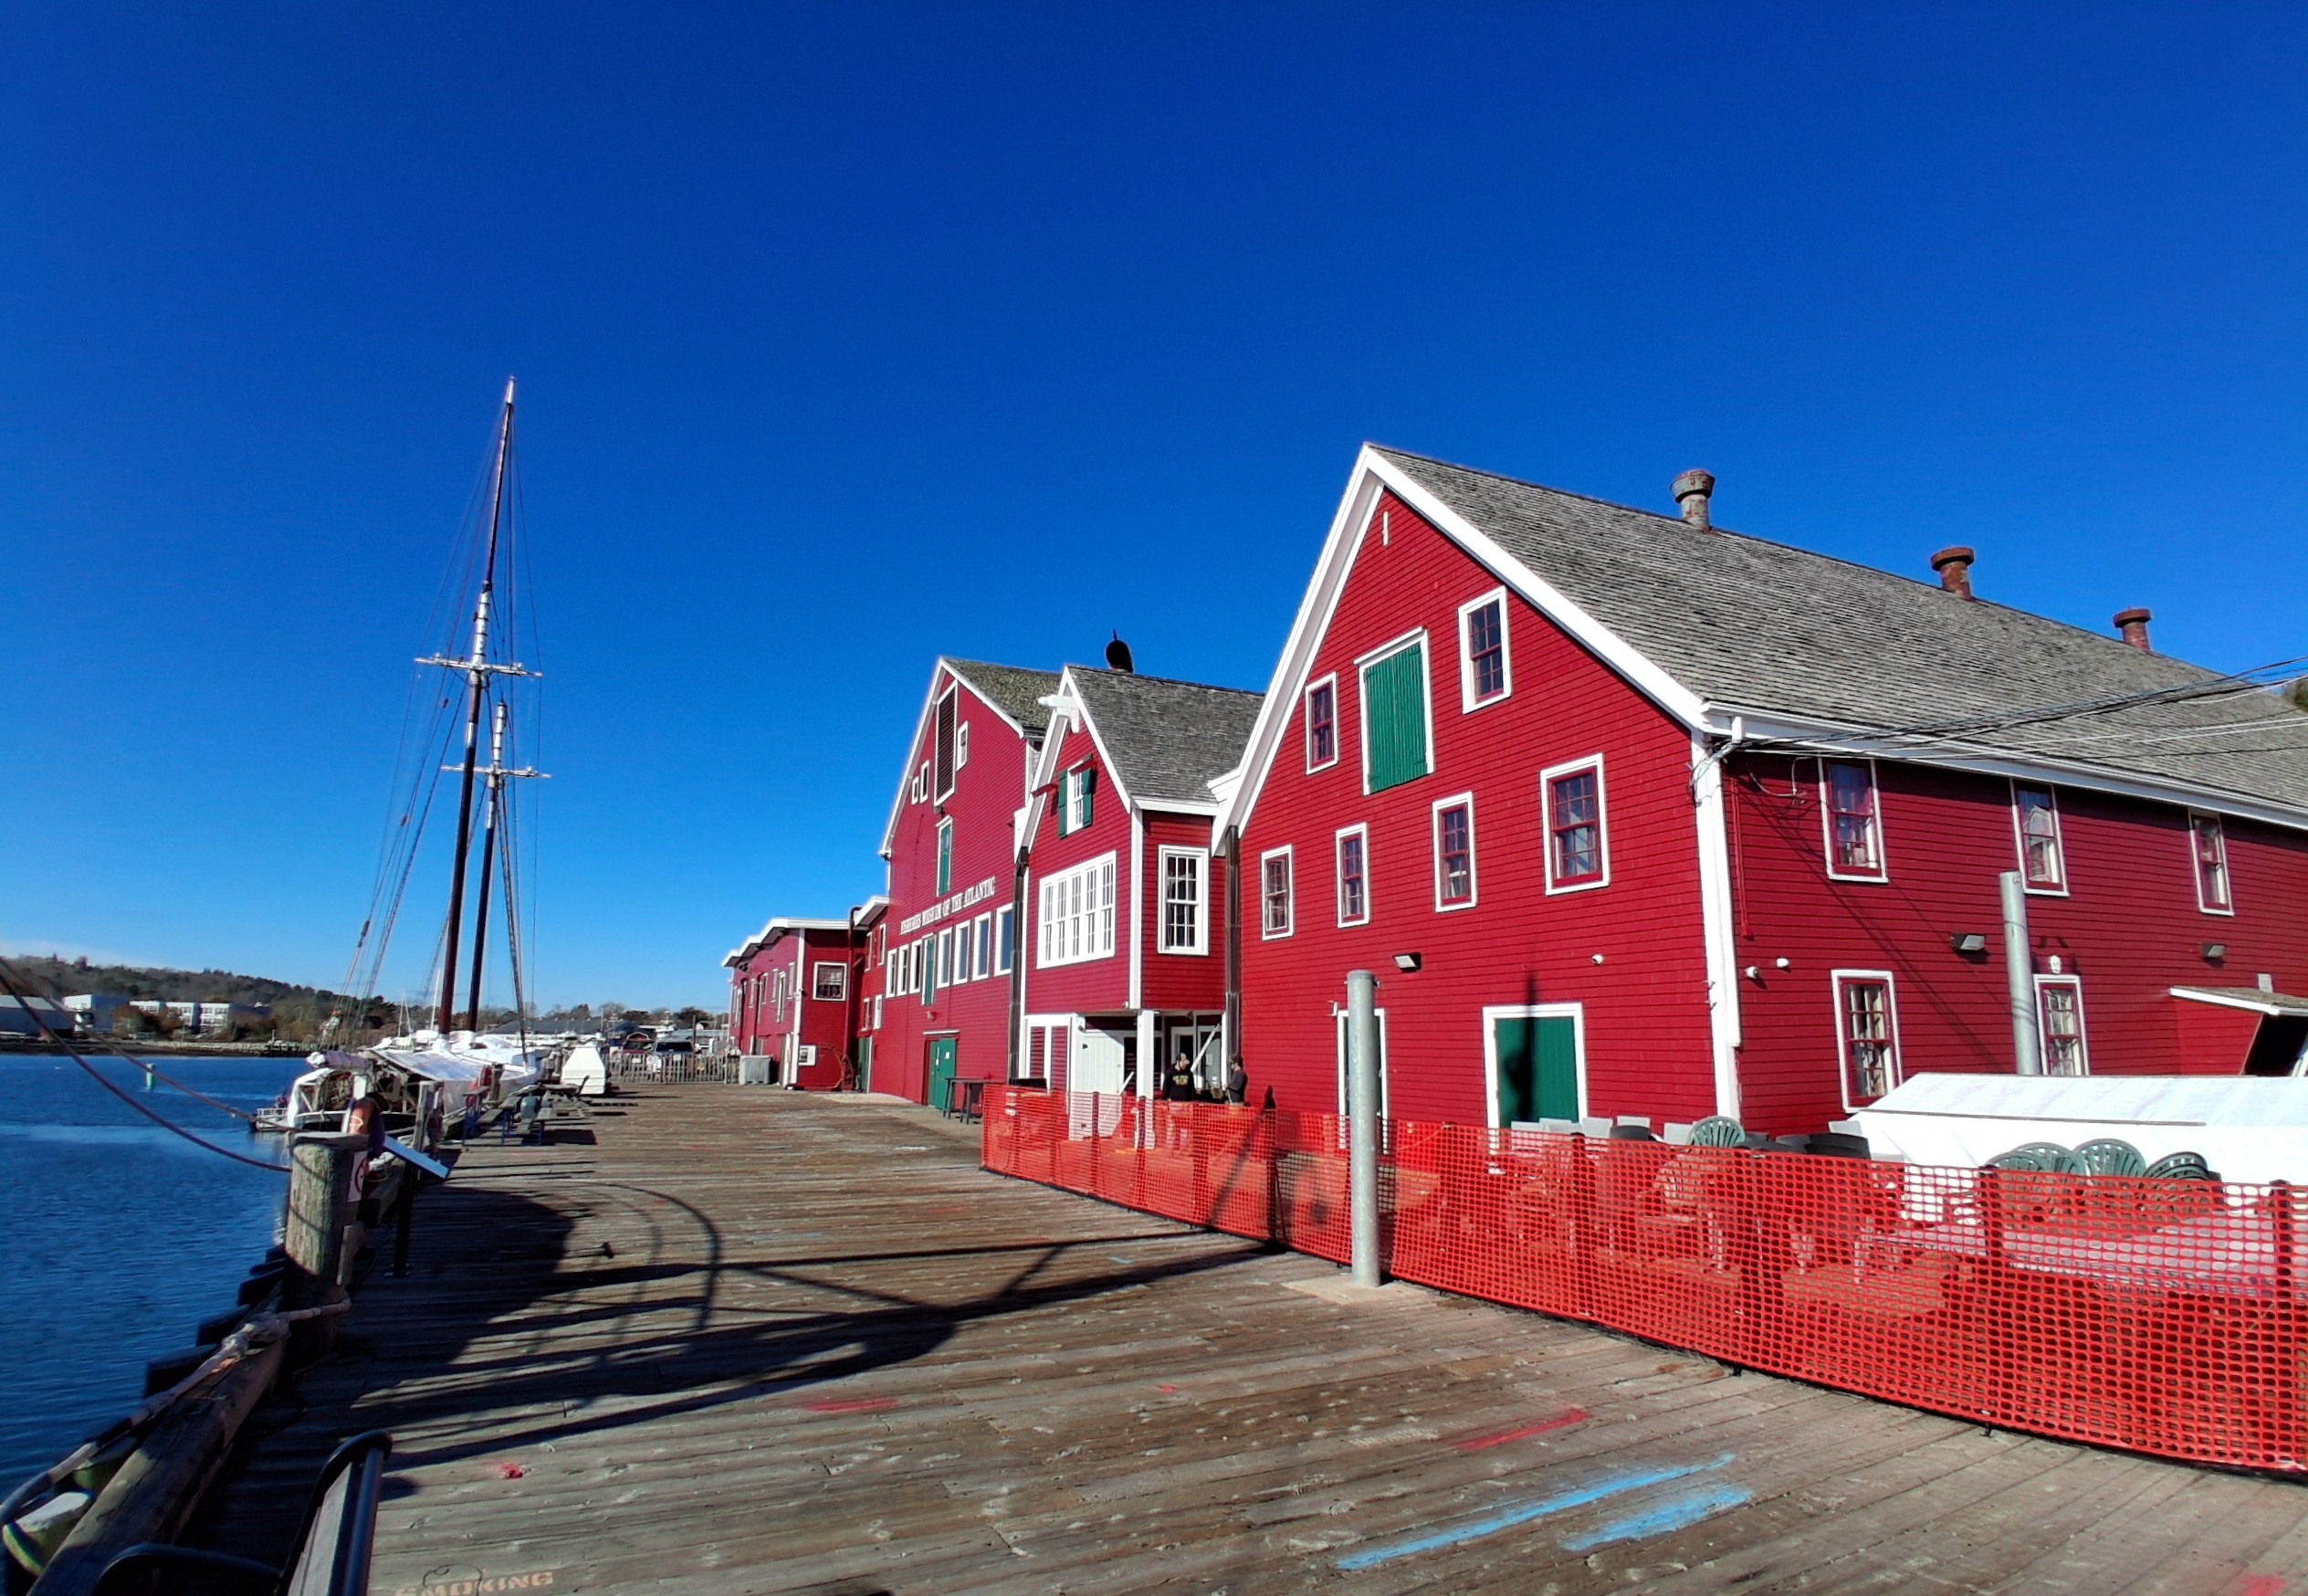
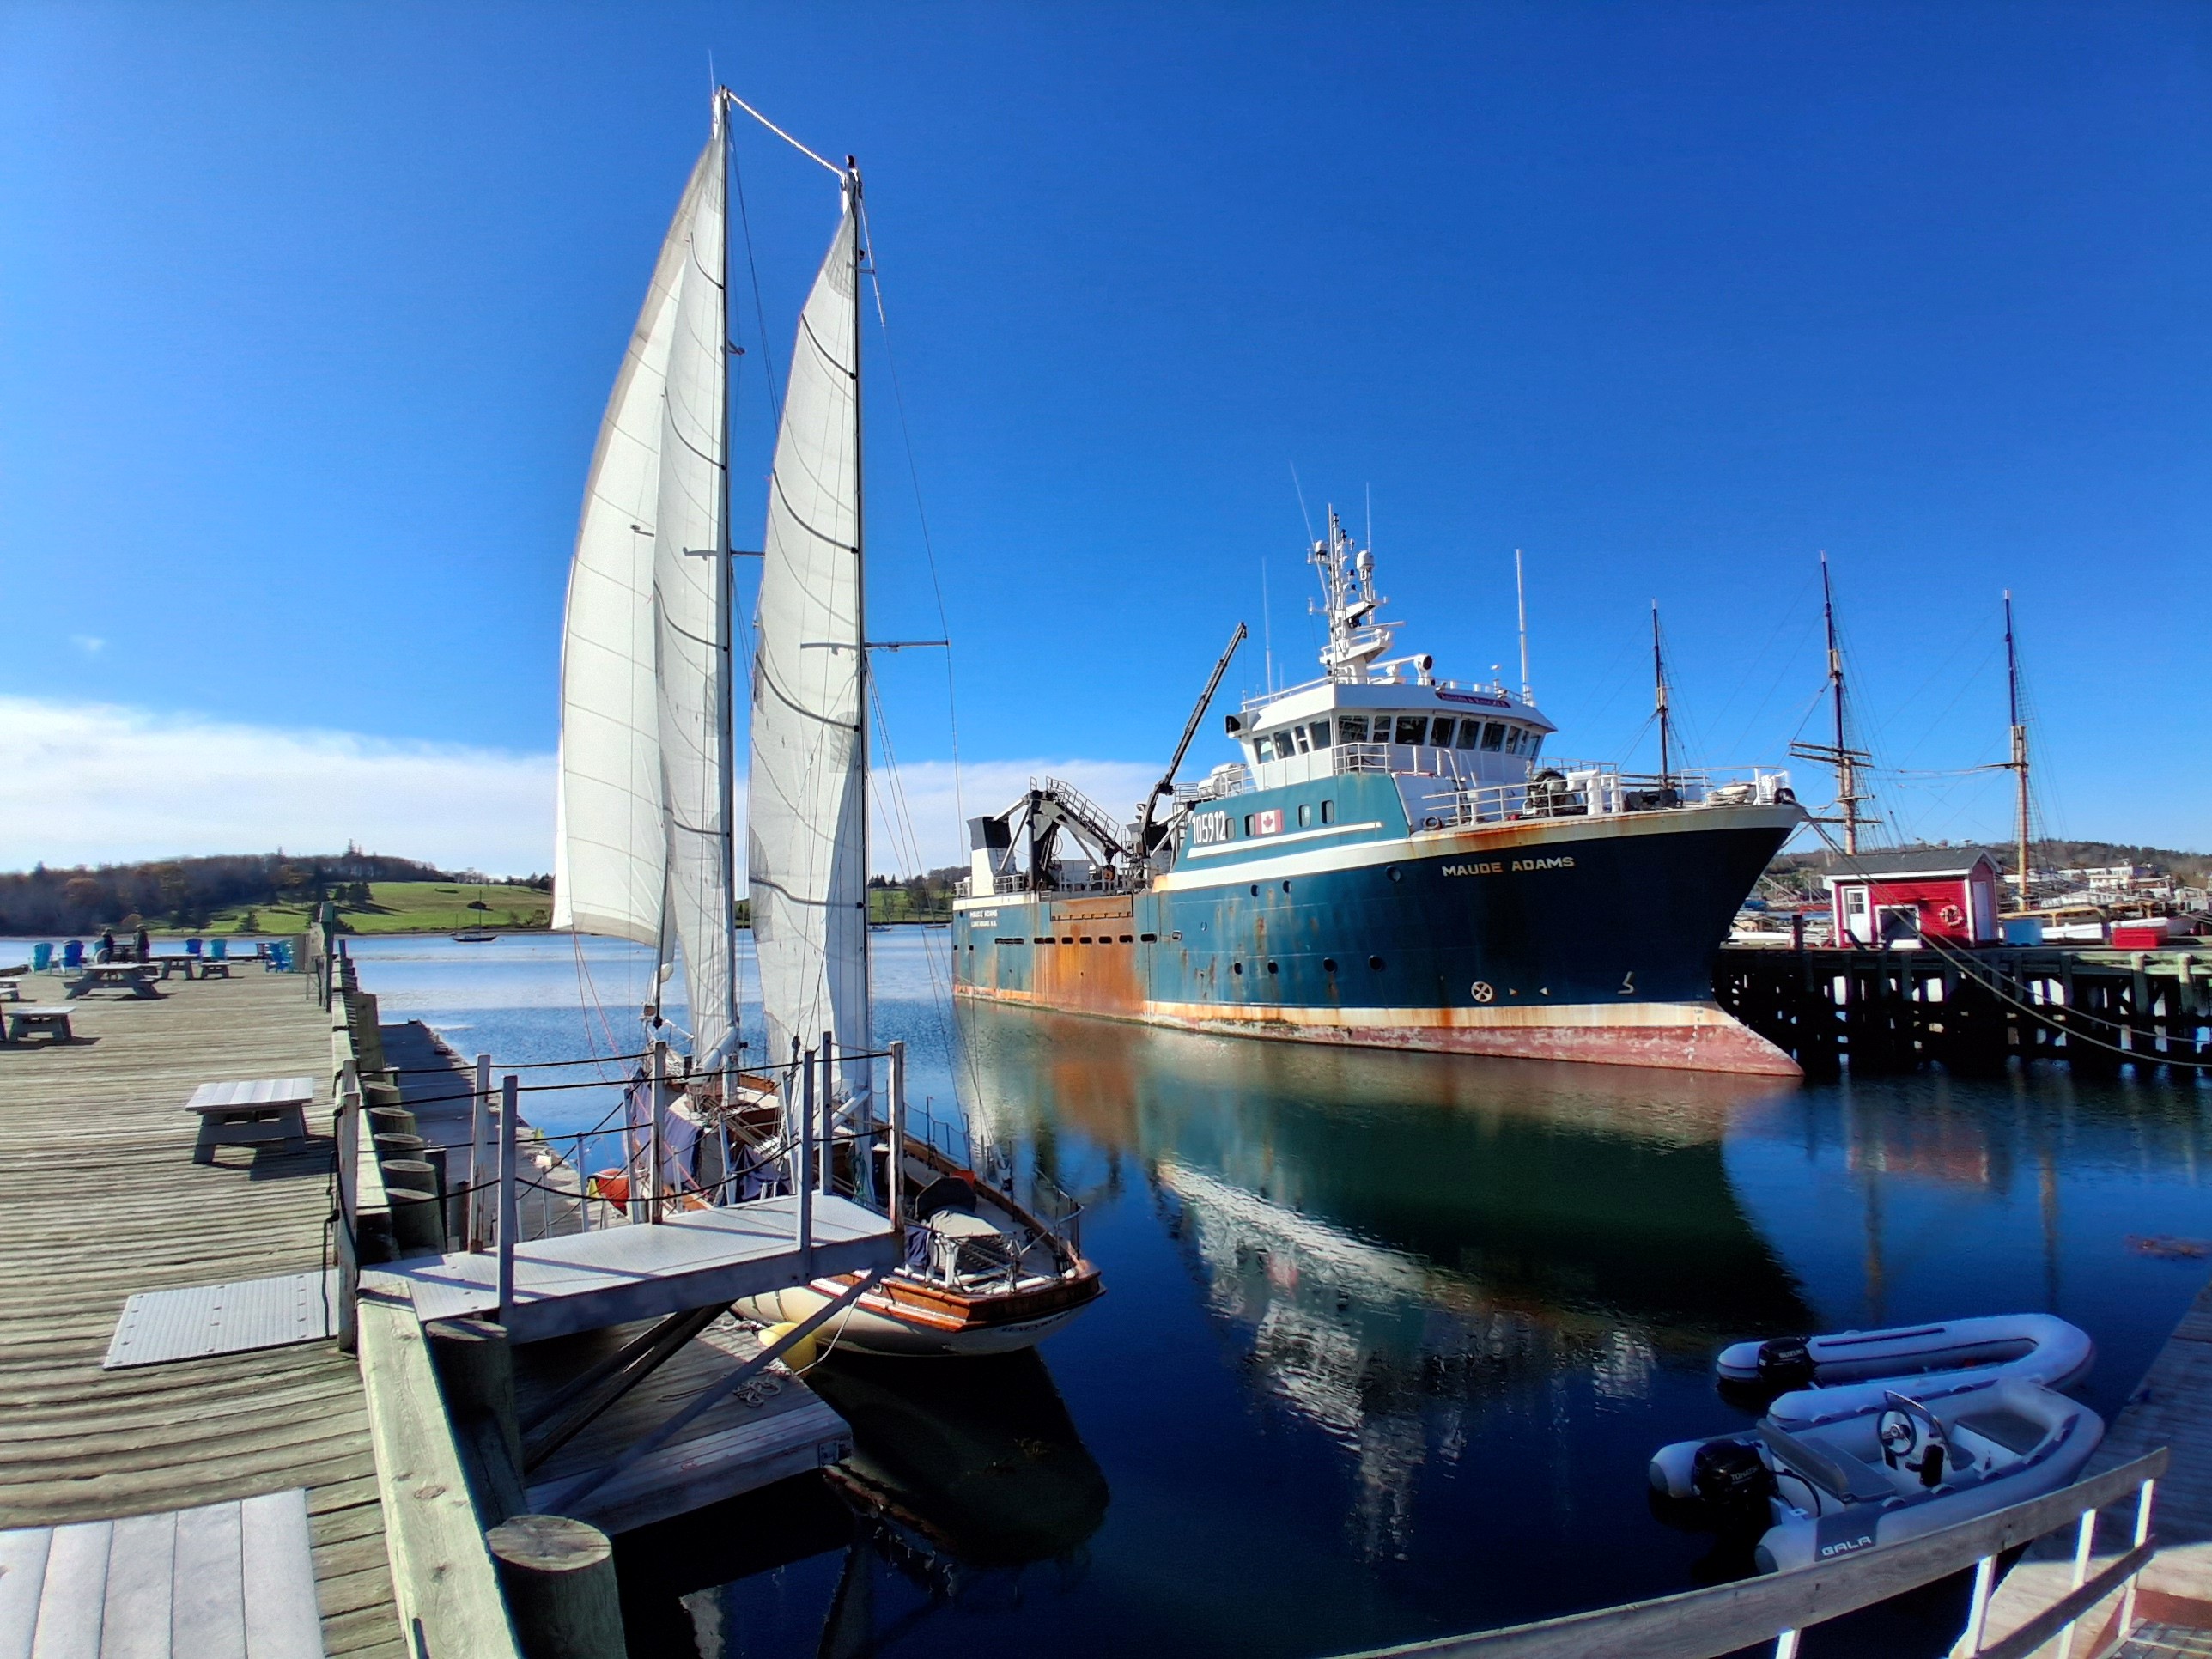
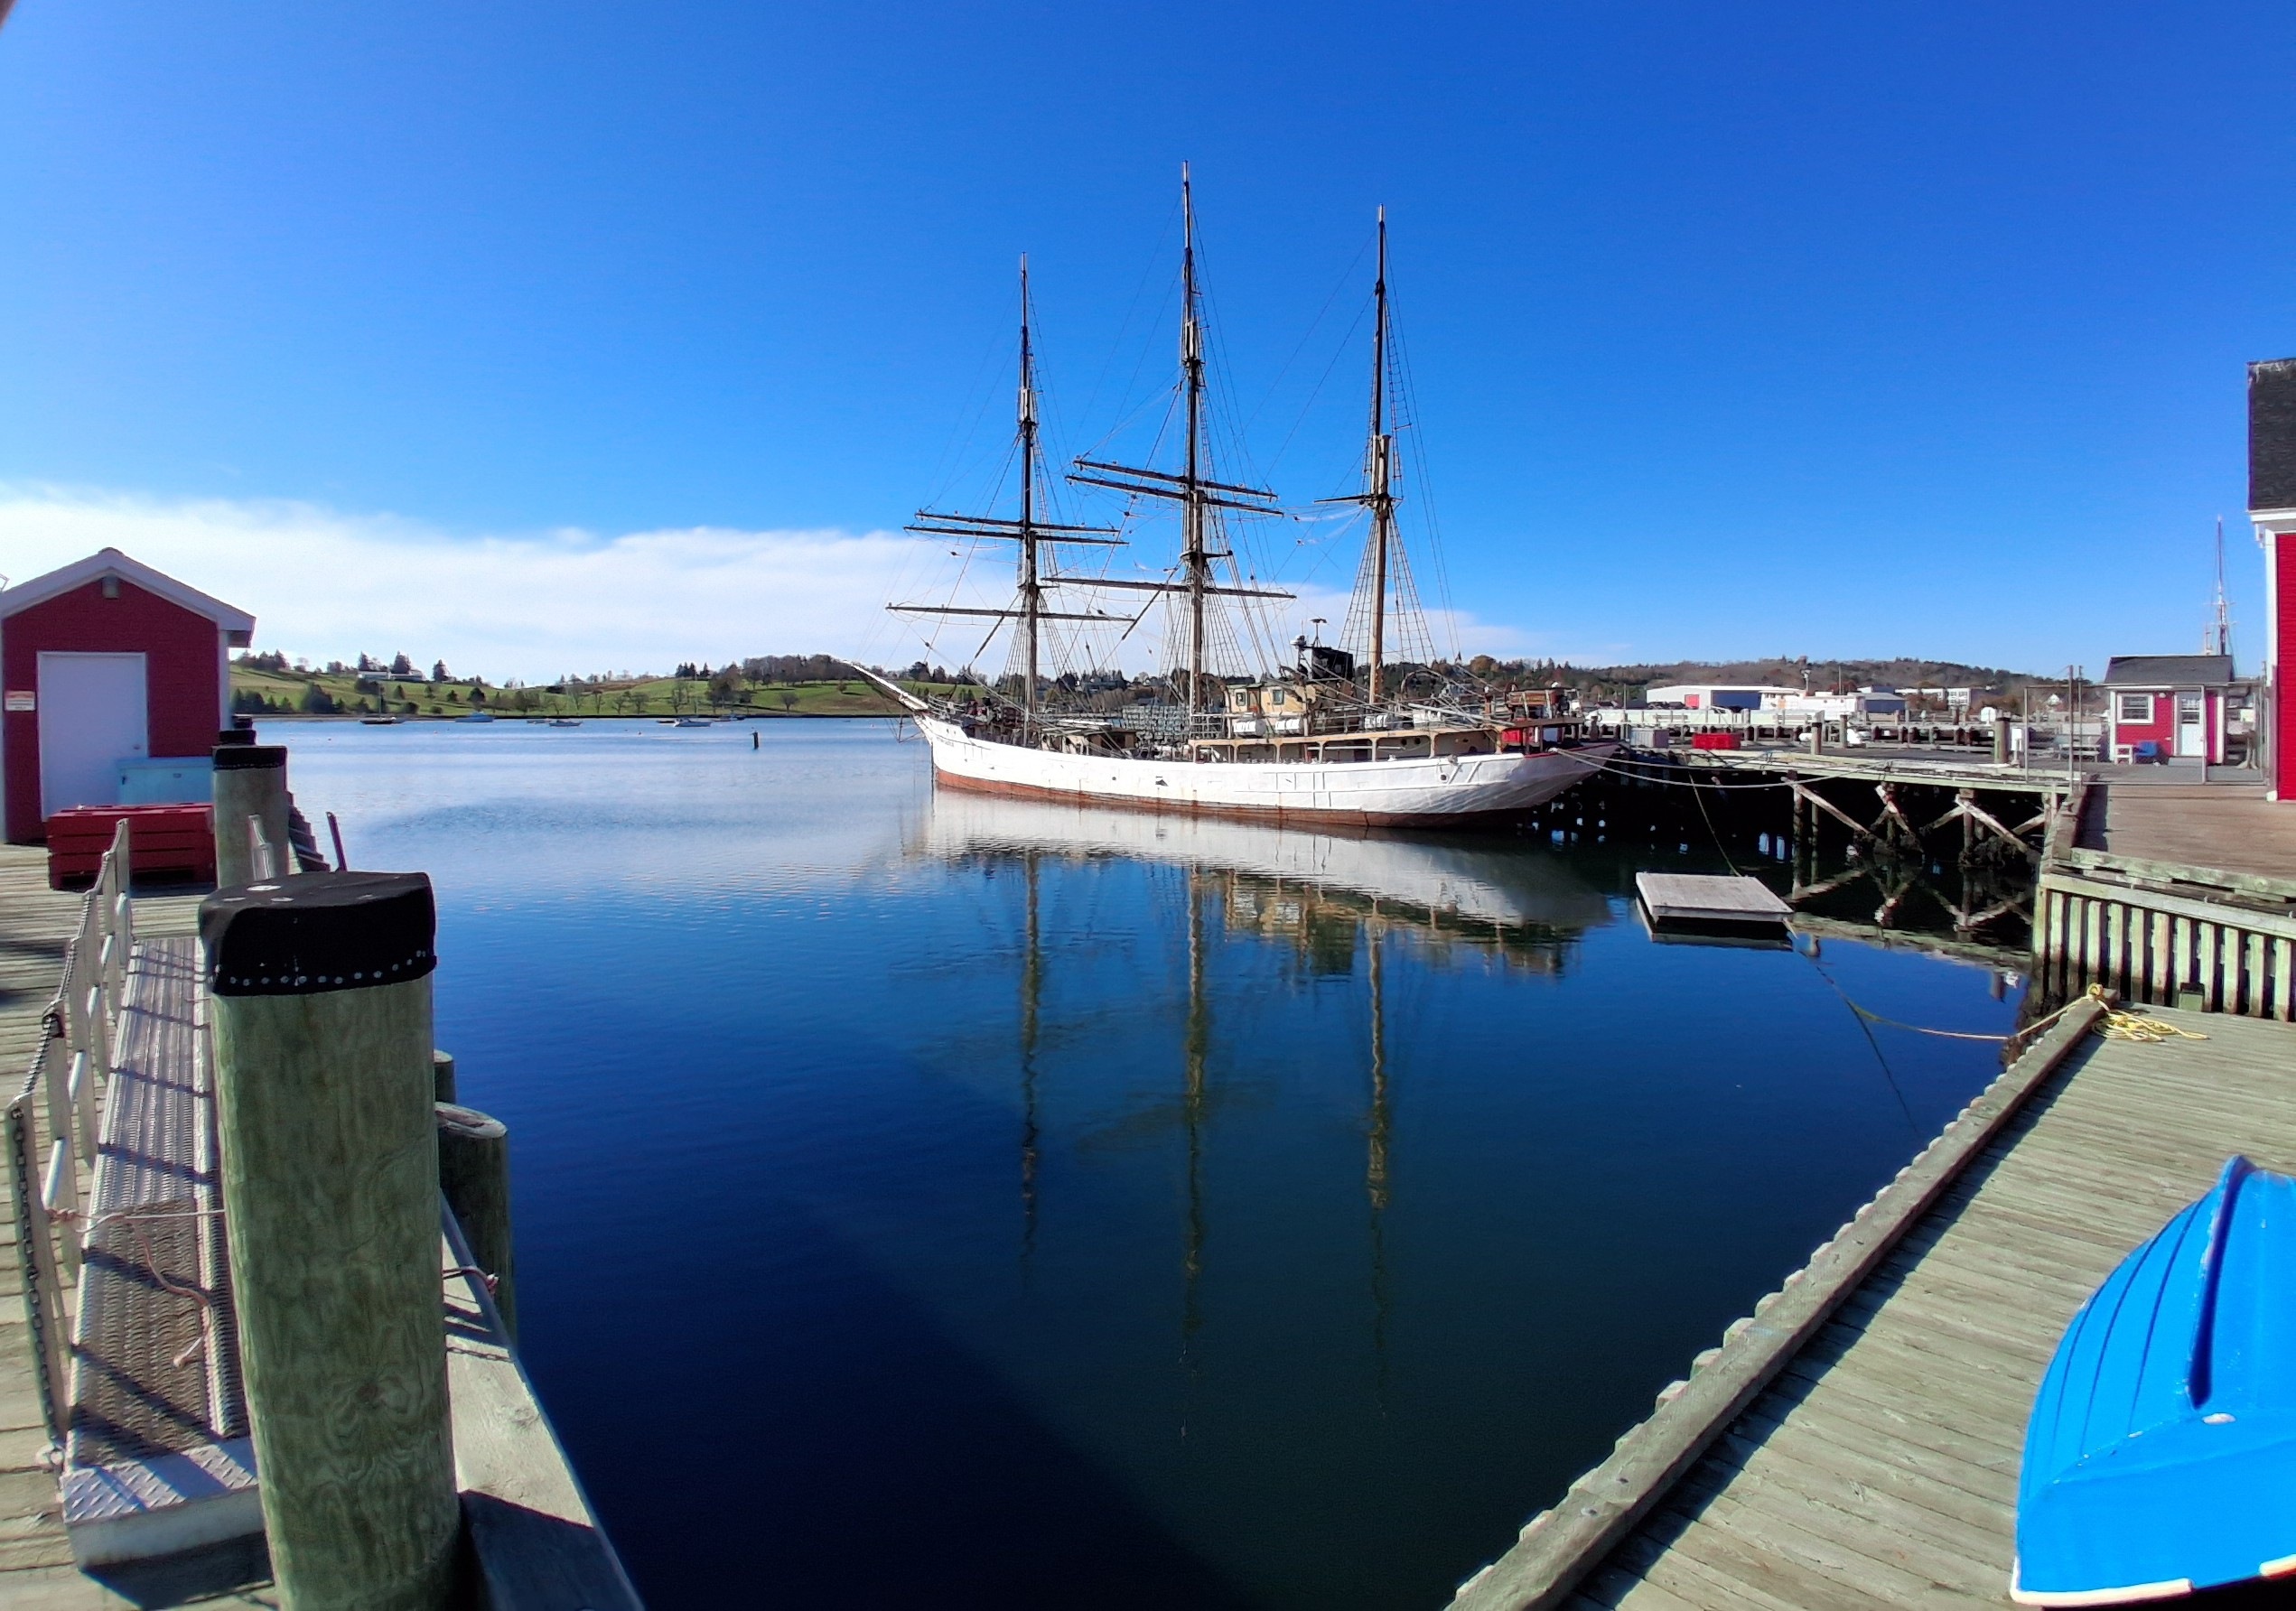
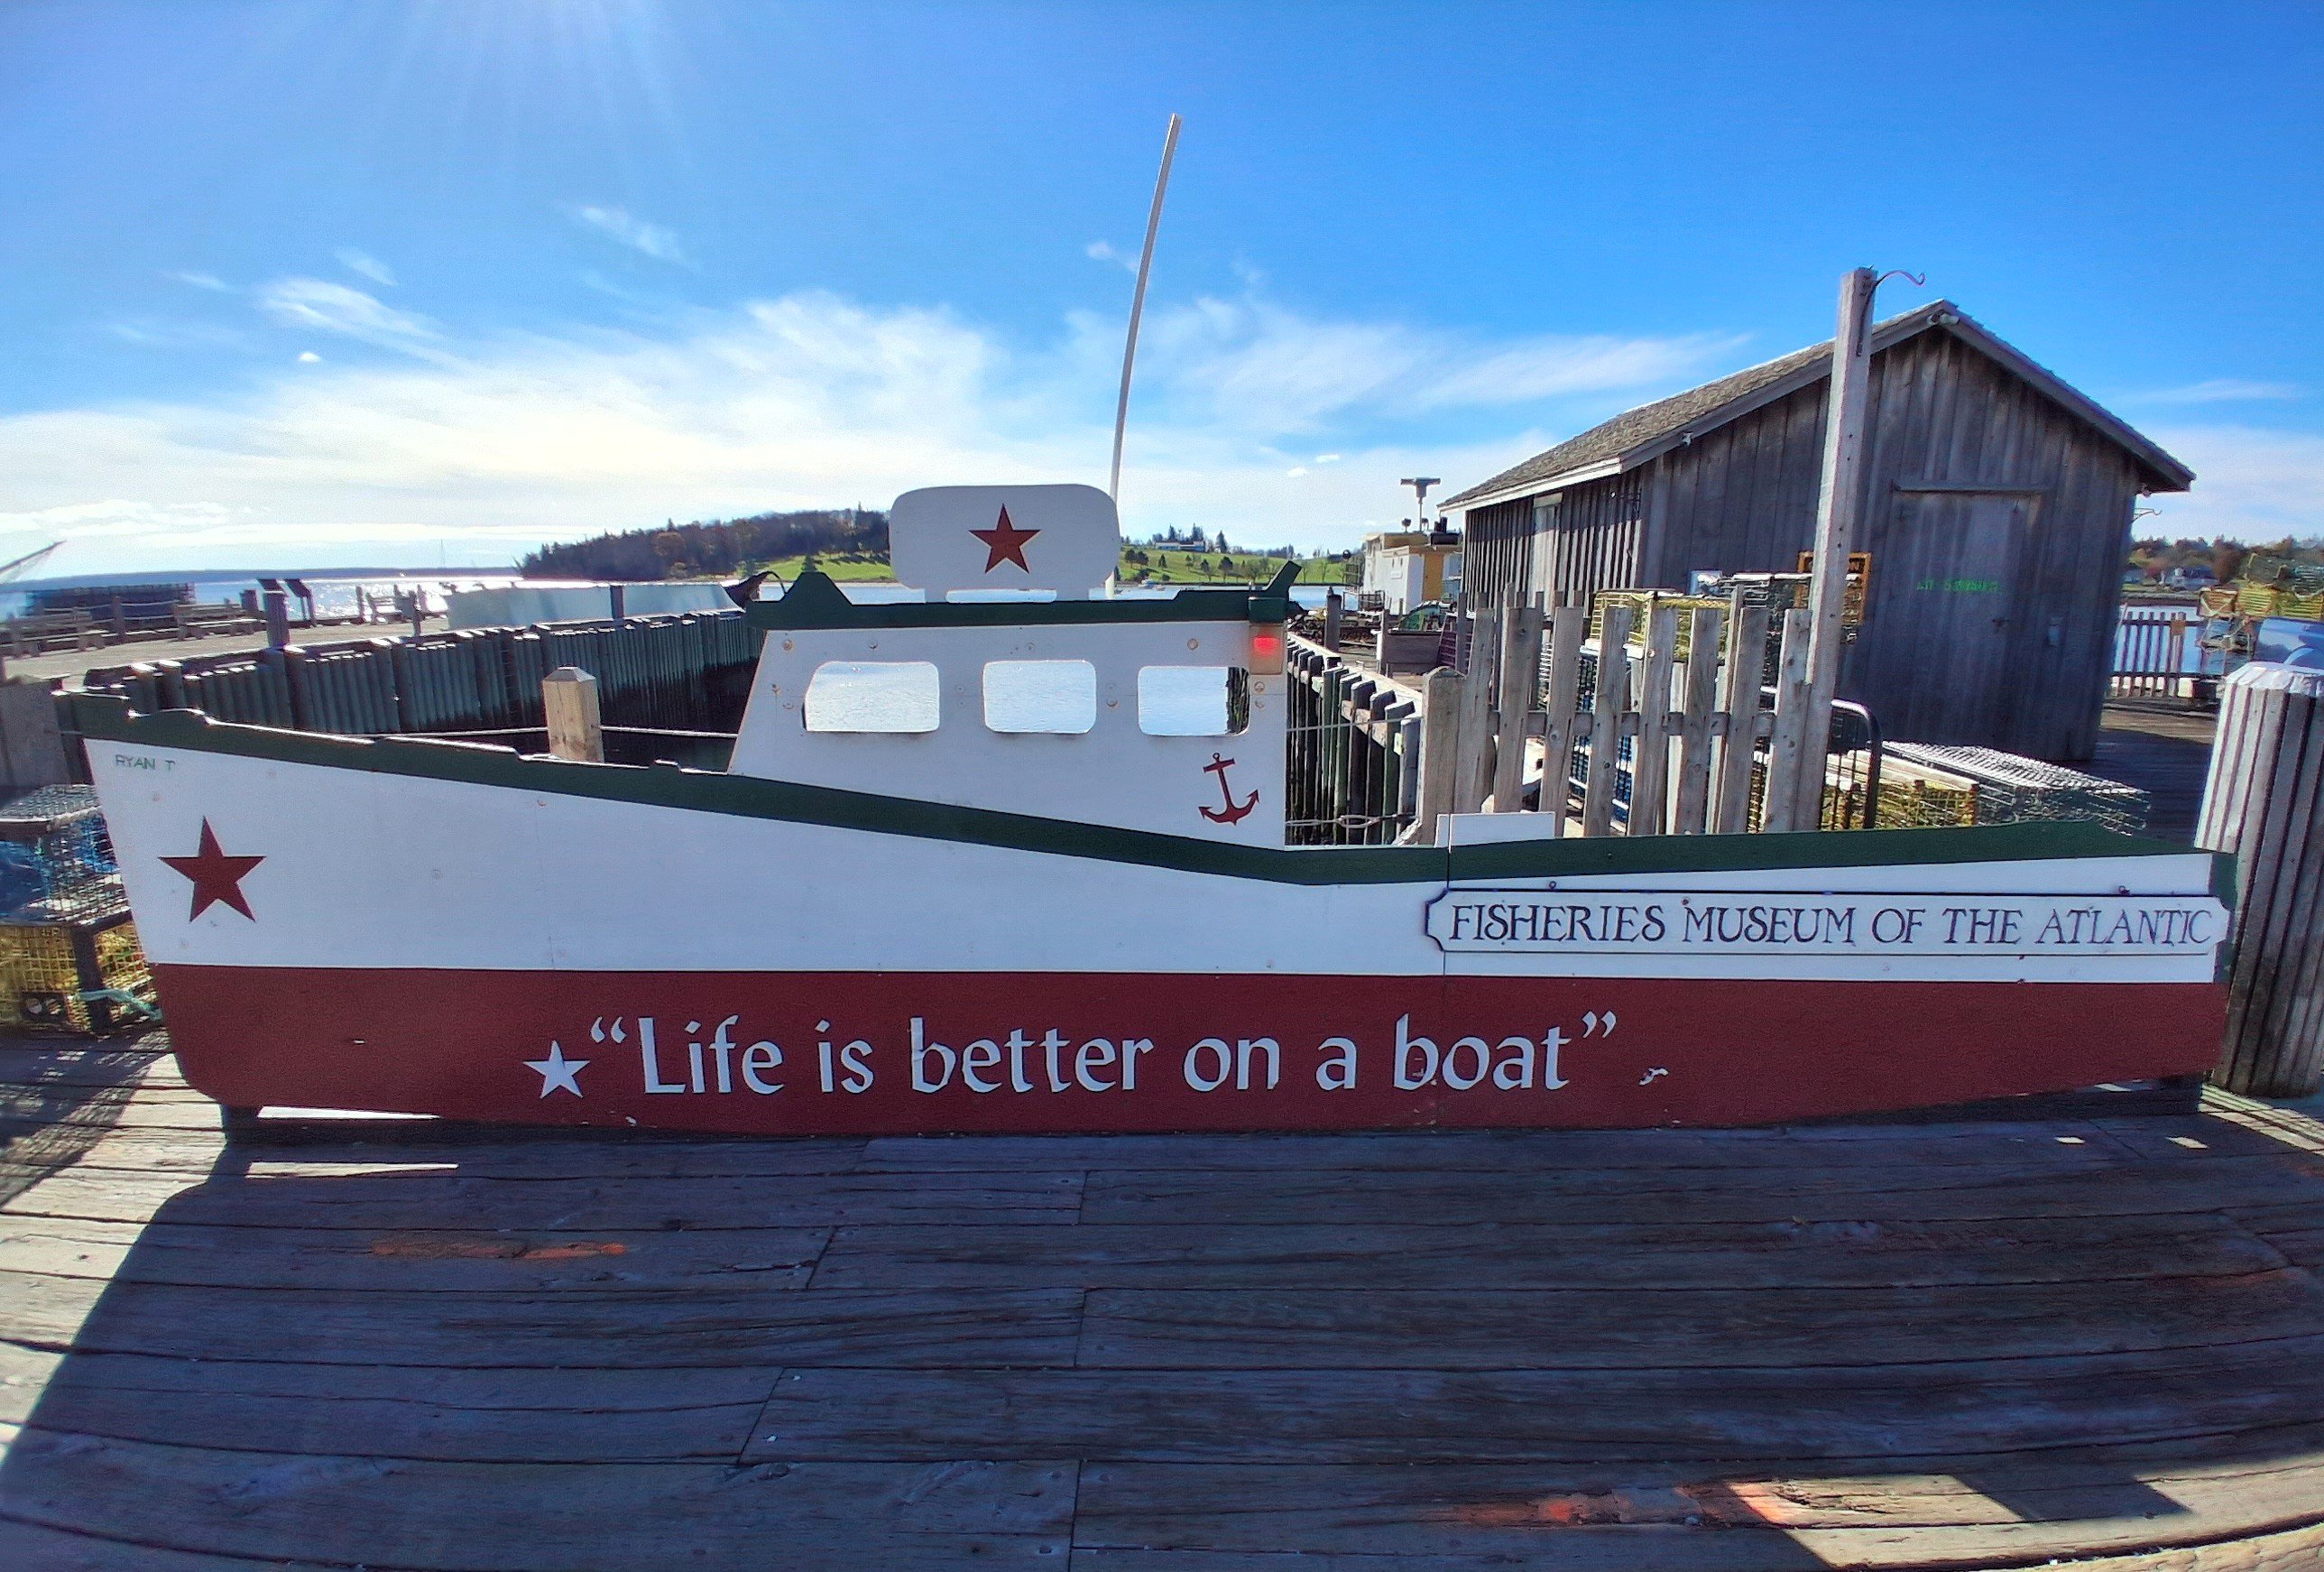
Sunrise over Lunenberg Harbor from my room at the Dockside Hotel.Fisheries Museum of the Atlantic (right) and the side trawler, Cape Sable (center), from my room.Lunenberg lodges and restaurants on the waterfront.Lunenberg waterfront.The Fisheries Museum of the Atlantic. The racing schooner, Bluenose II, moored on the left.Power and sail exist side by side in this working port.Steel hull 3-master.Lobster traps on the dock..“Life is better on a boat.” Is it?
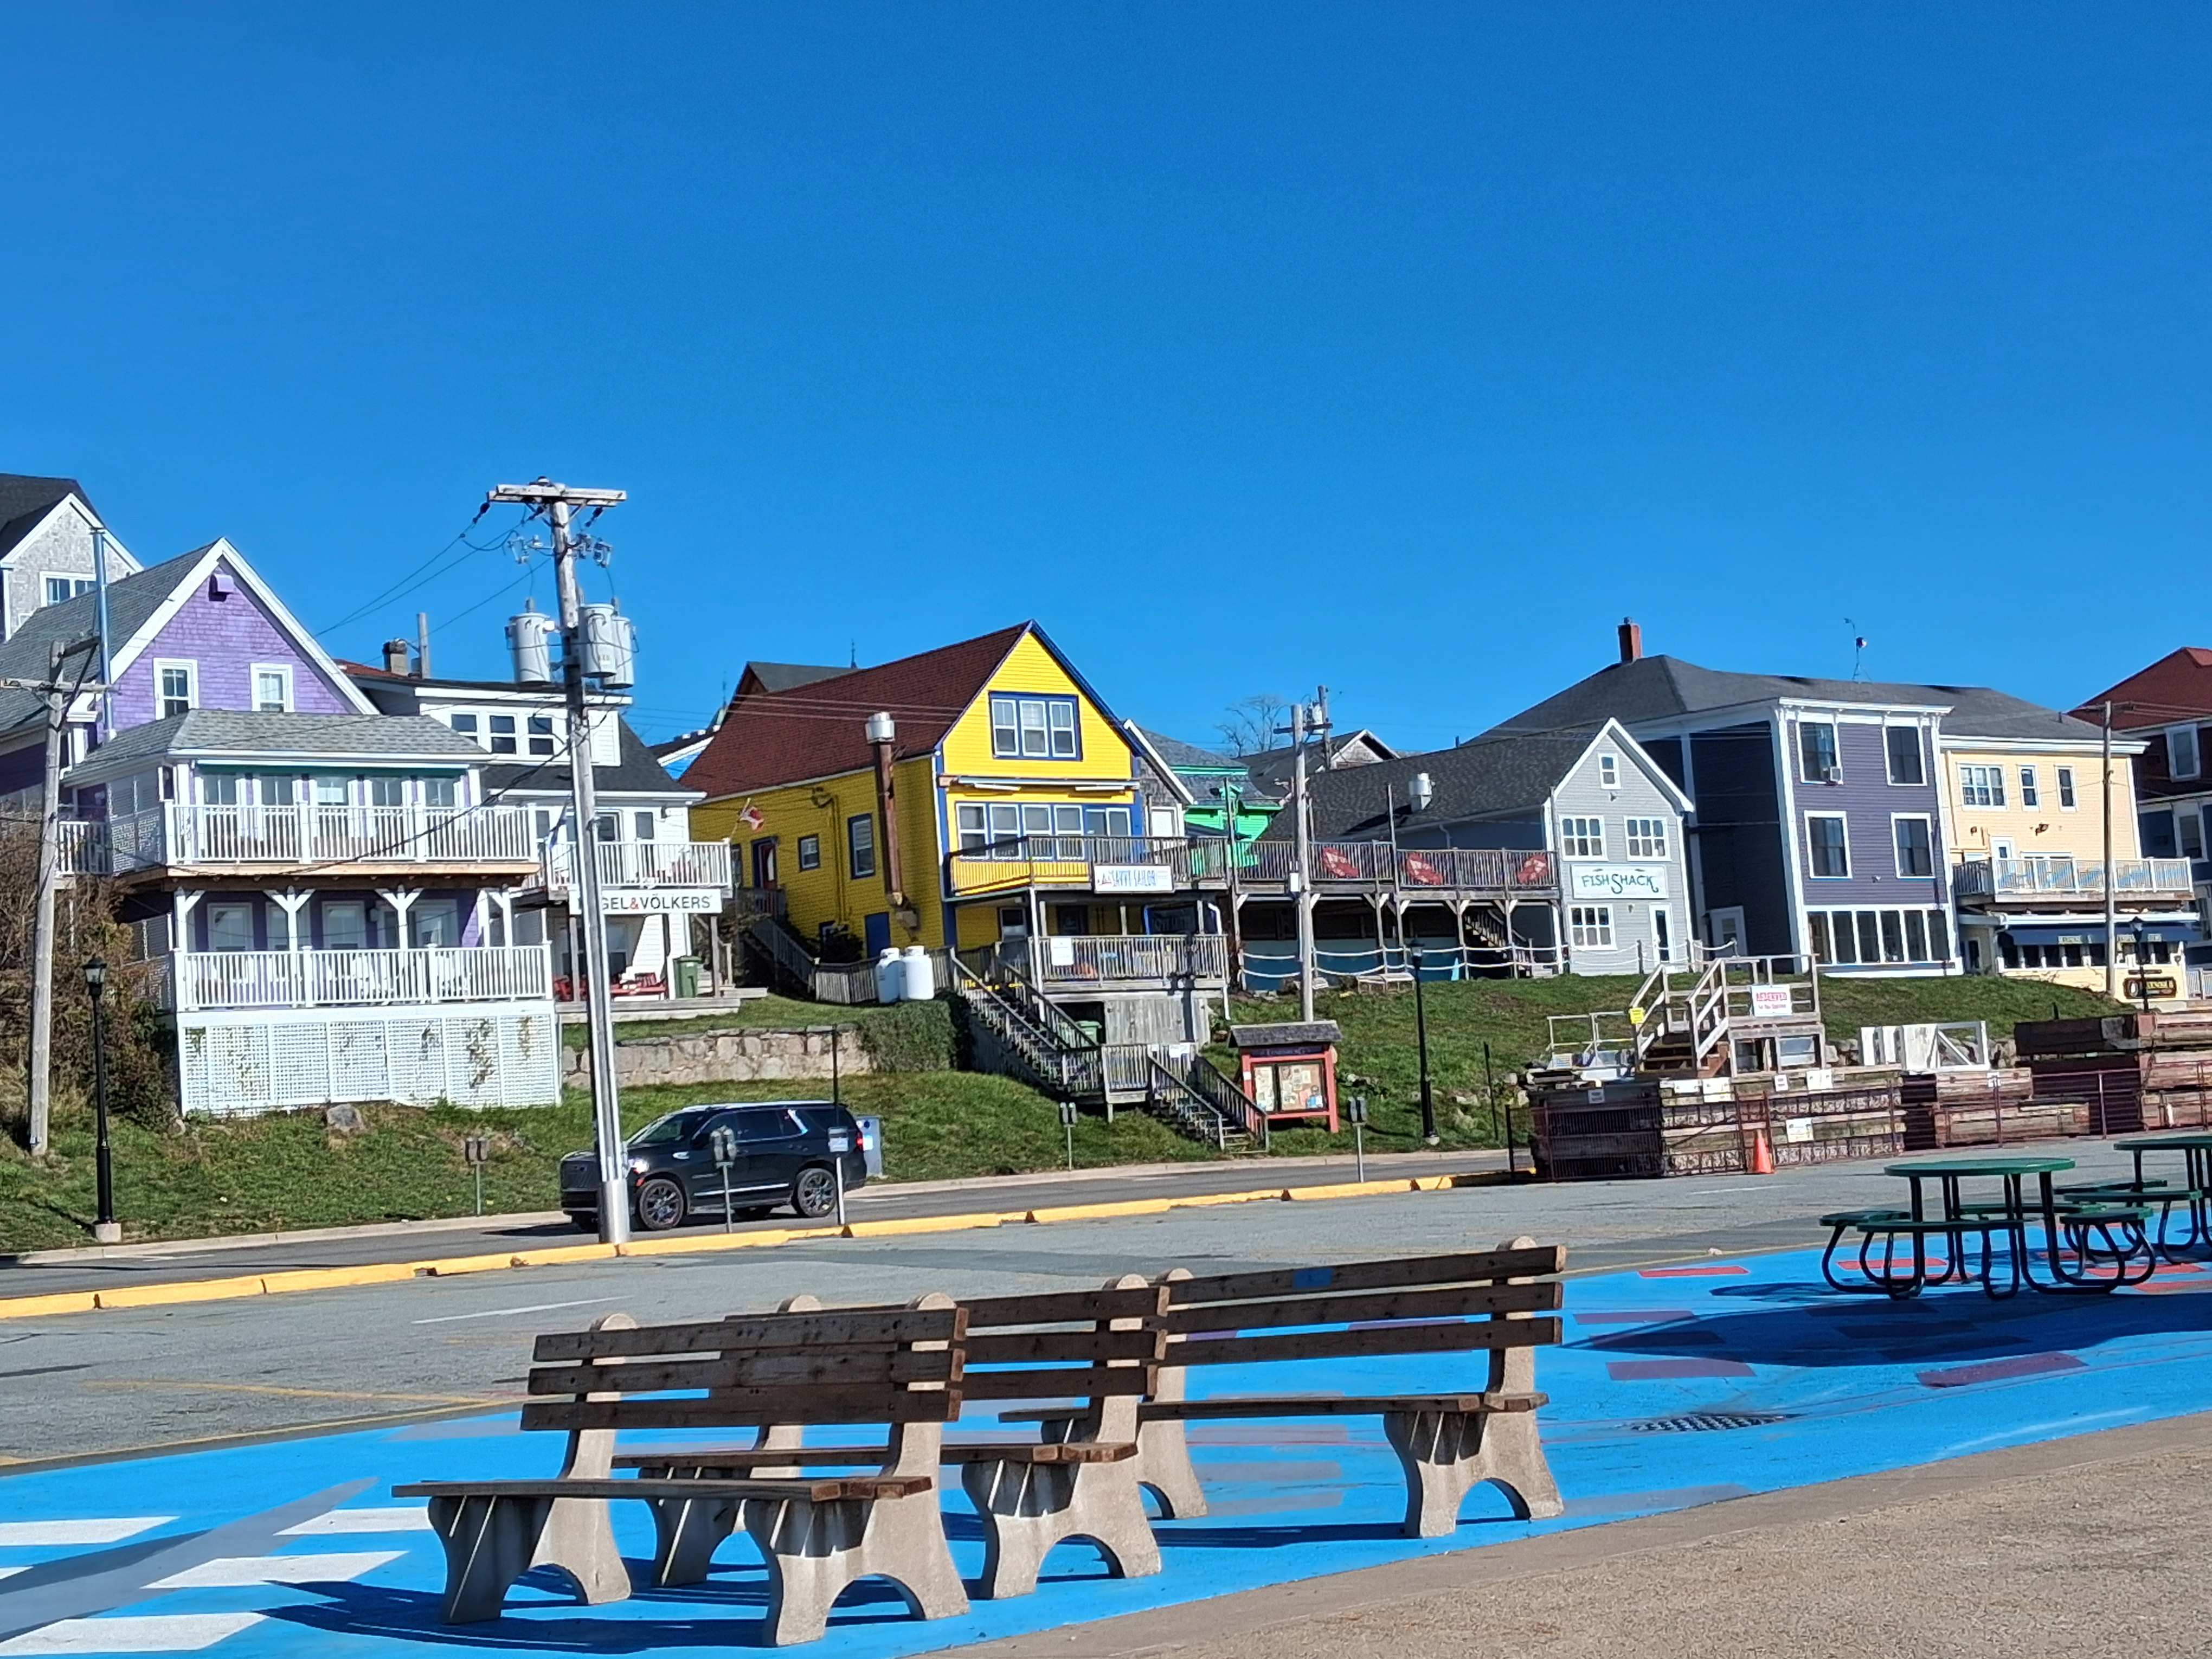
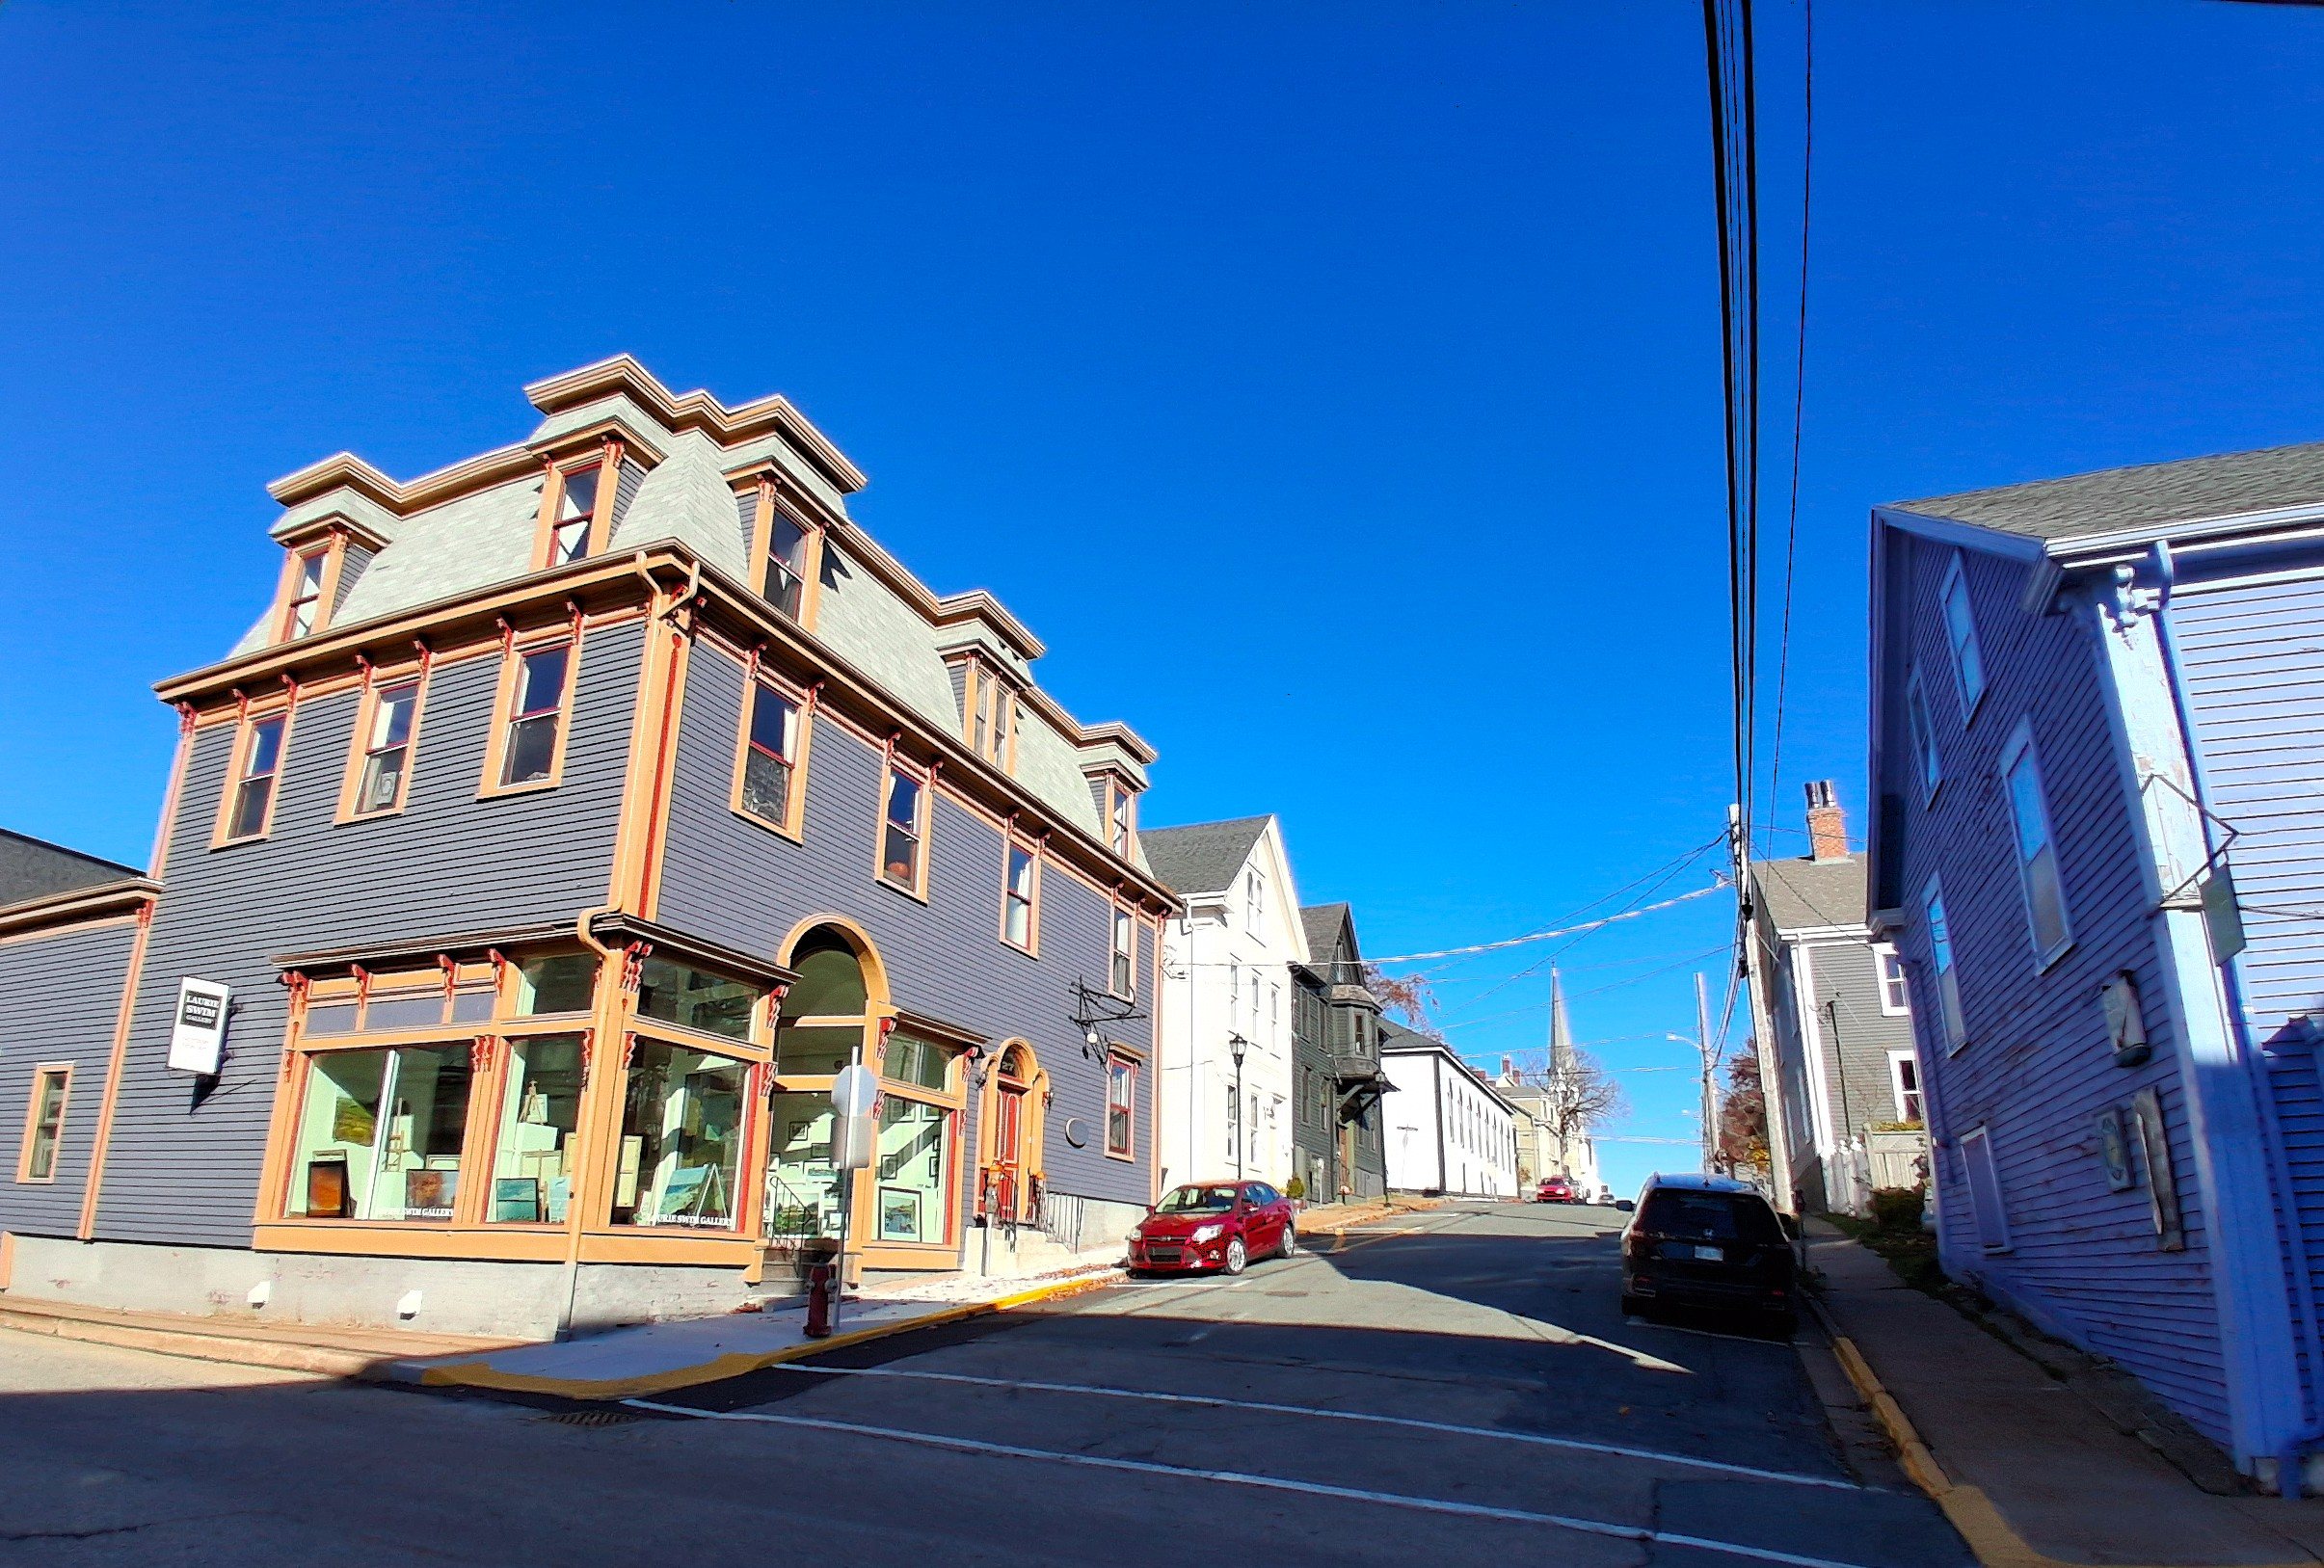
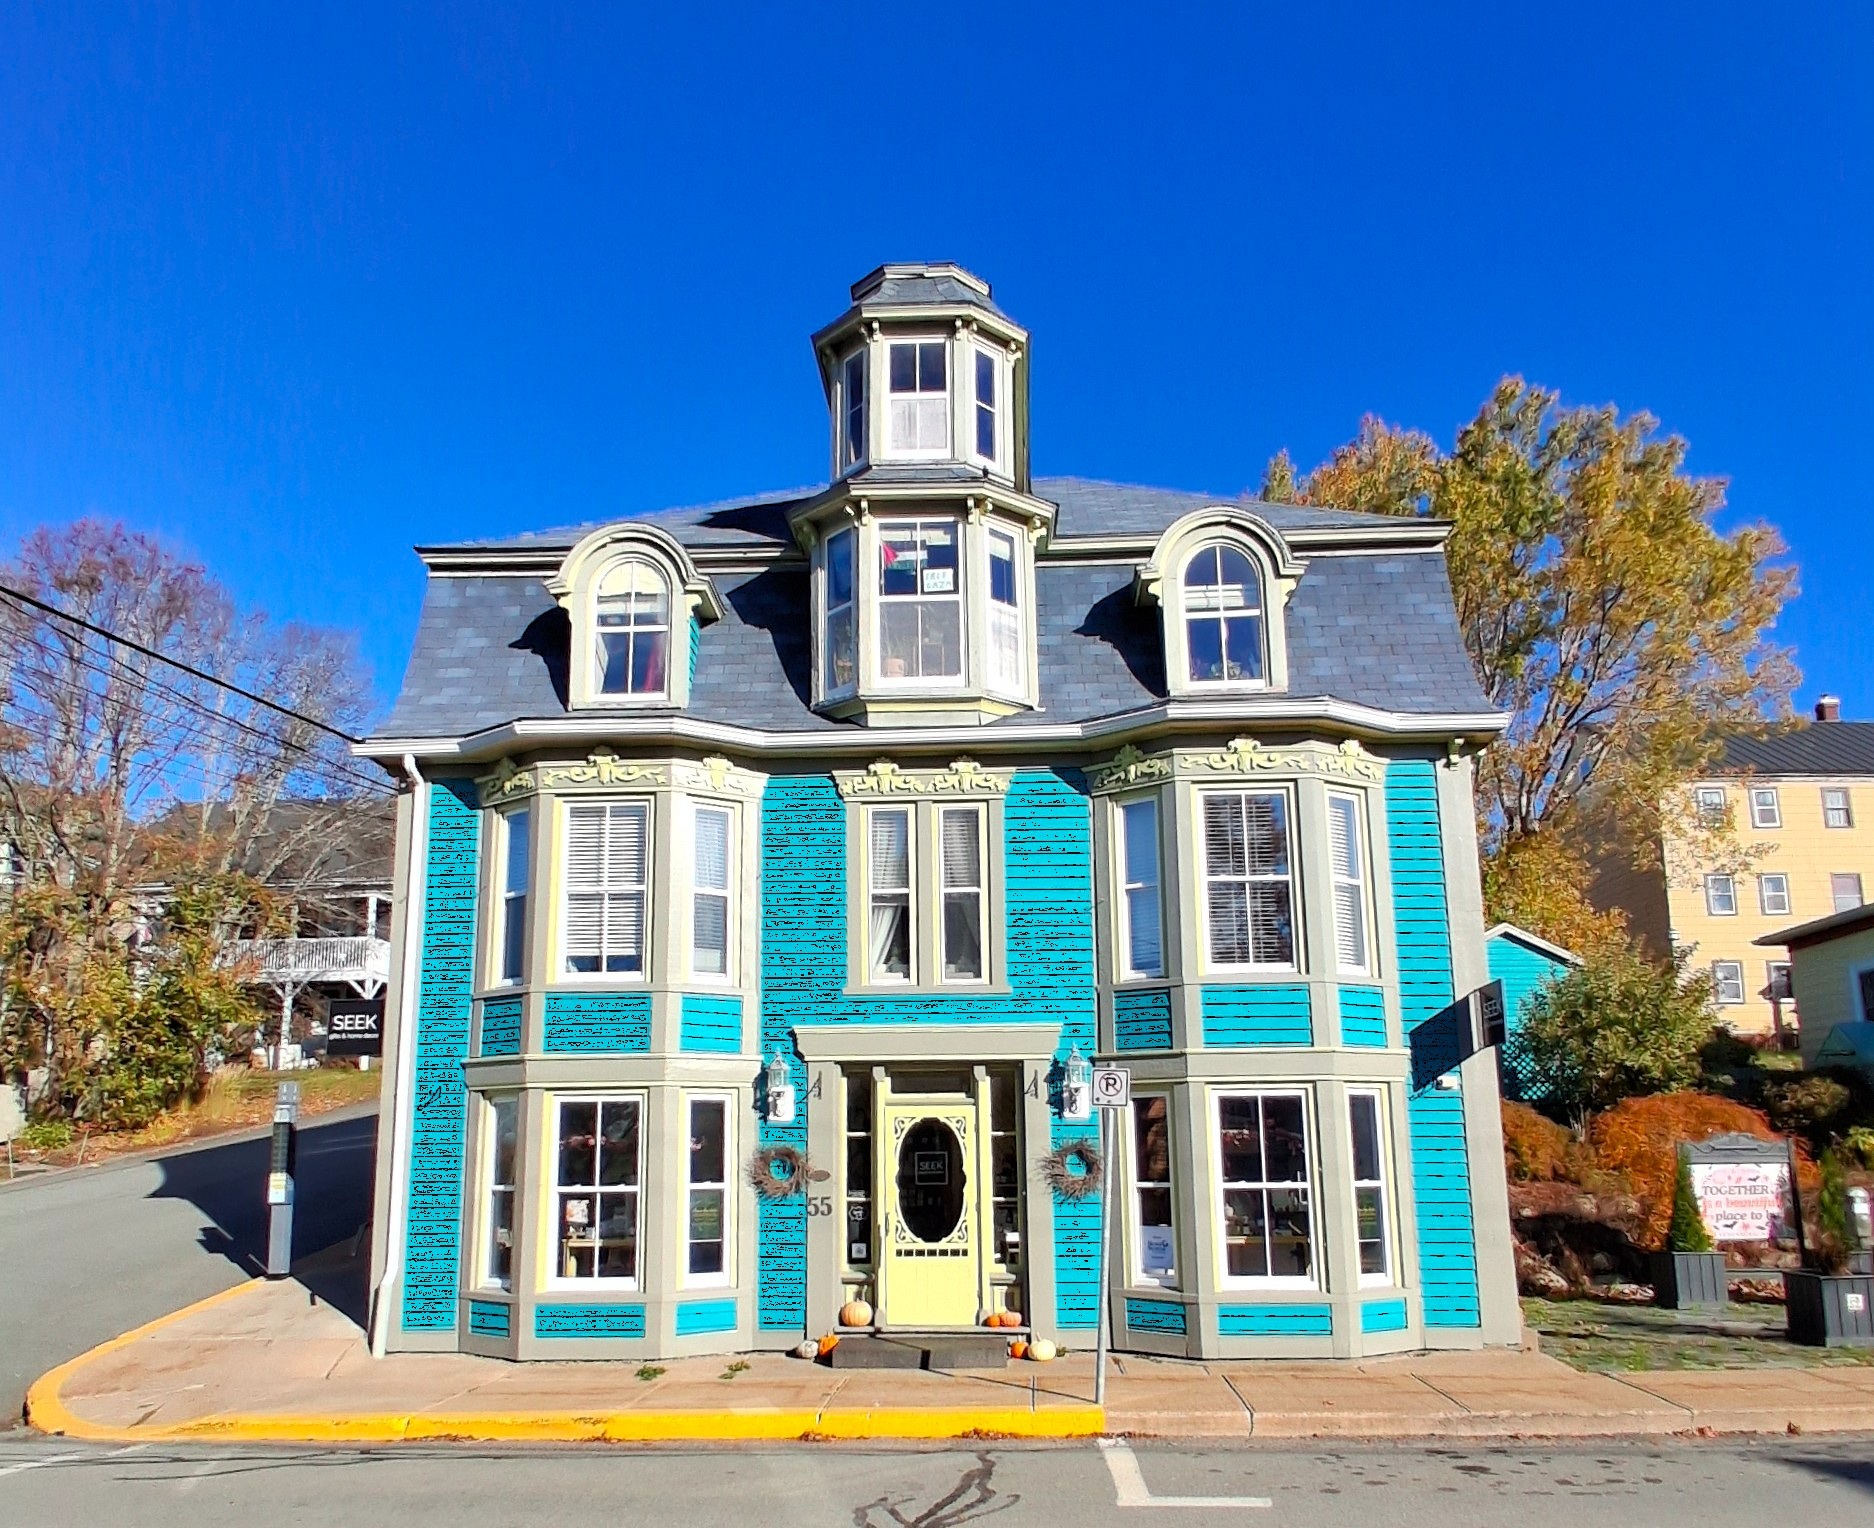
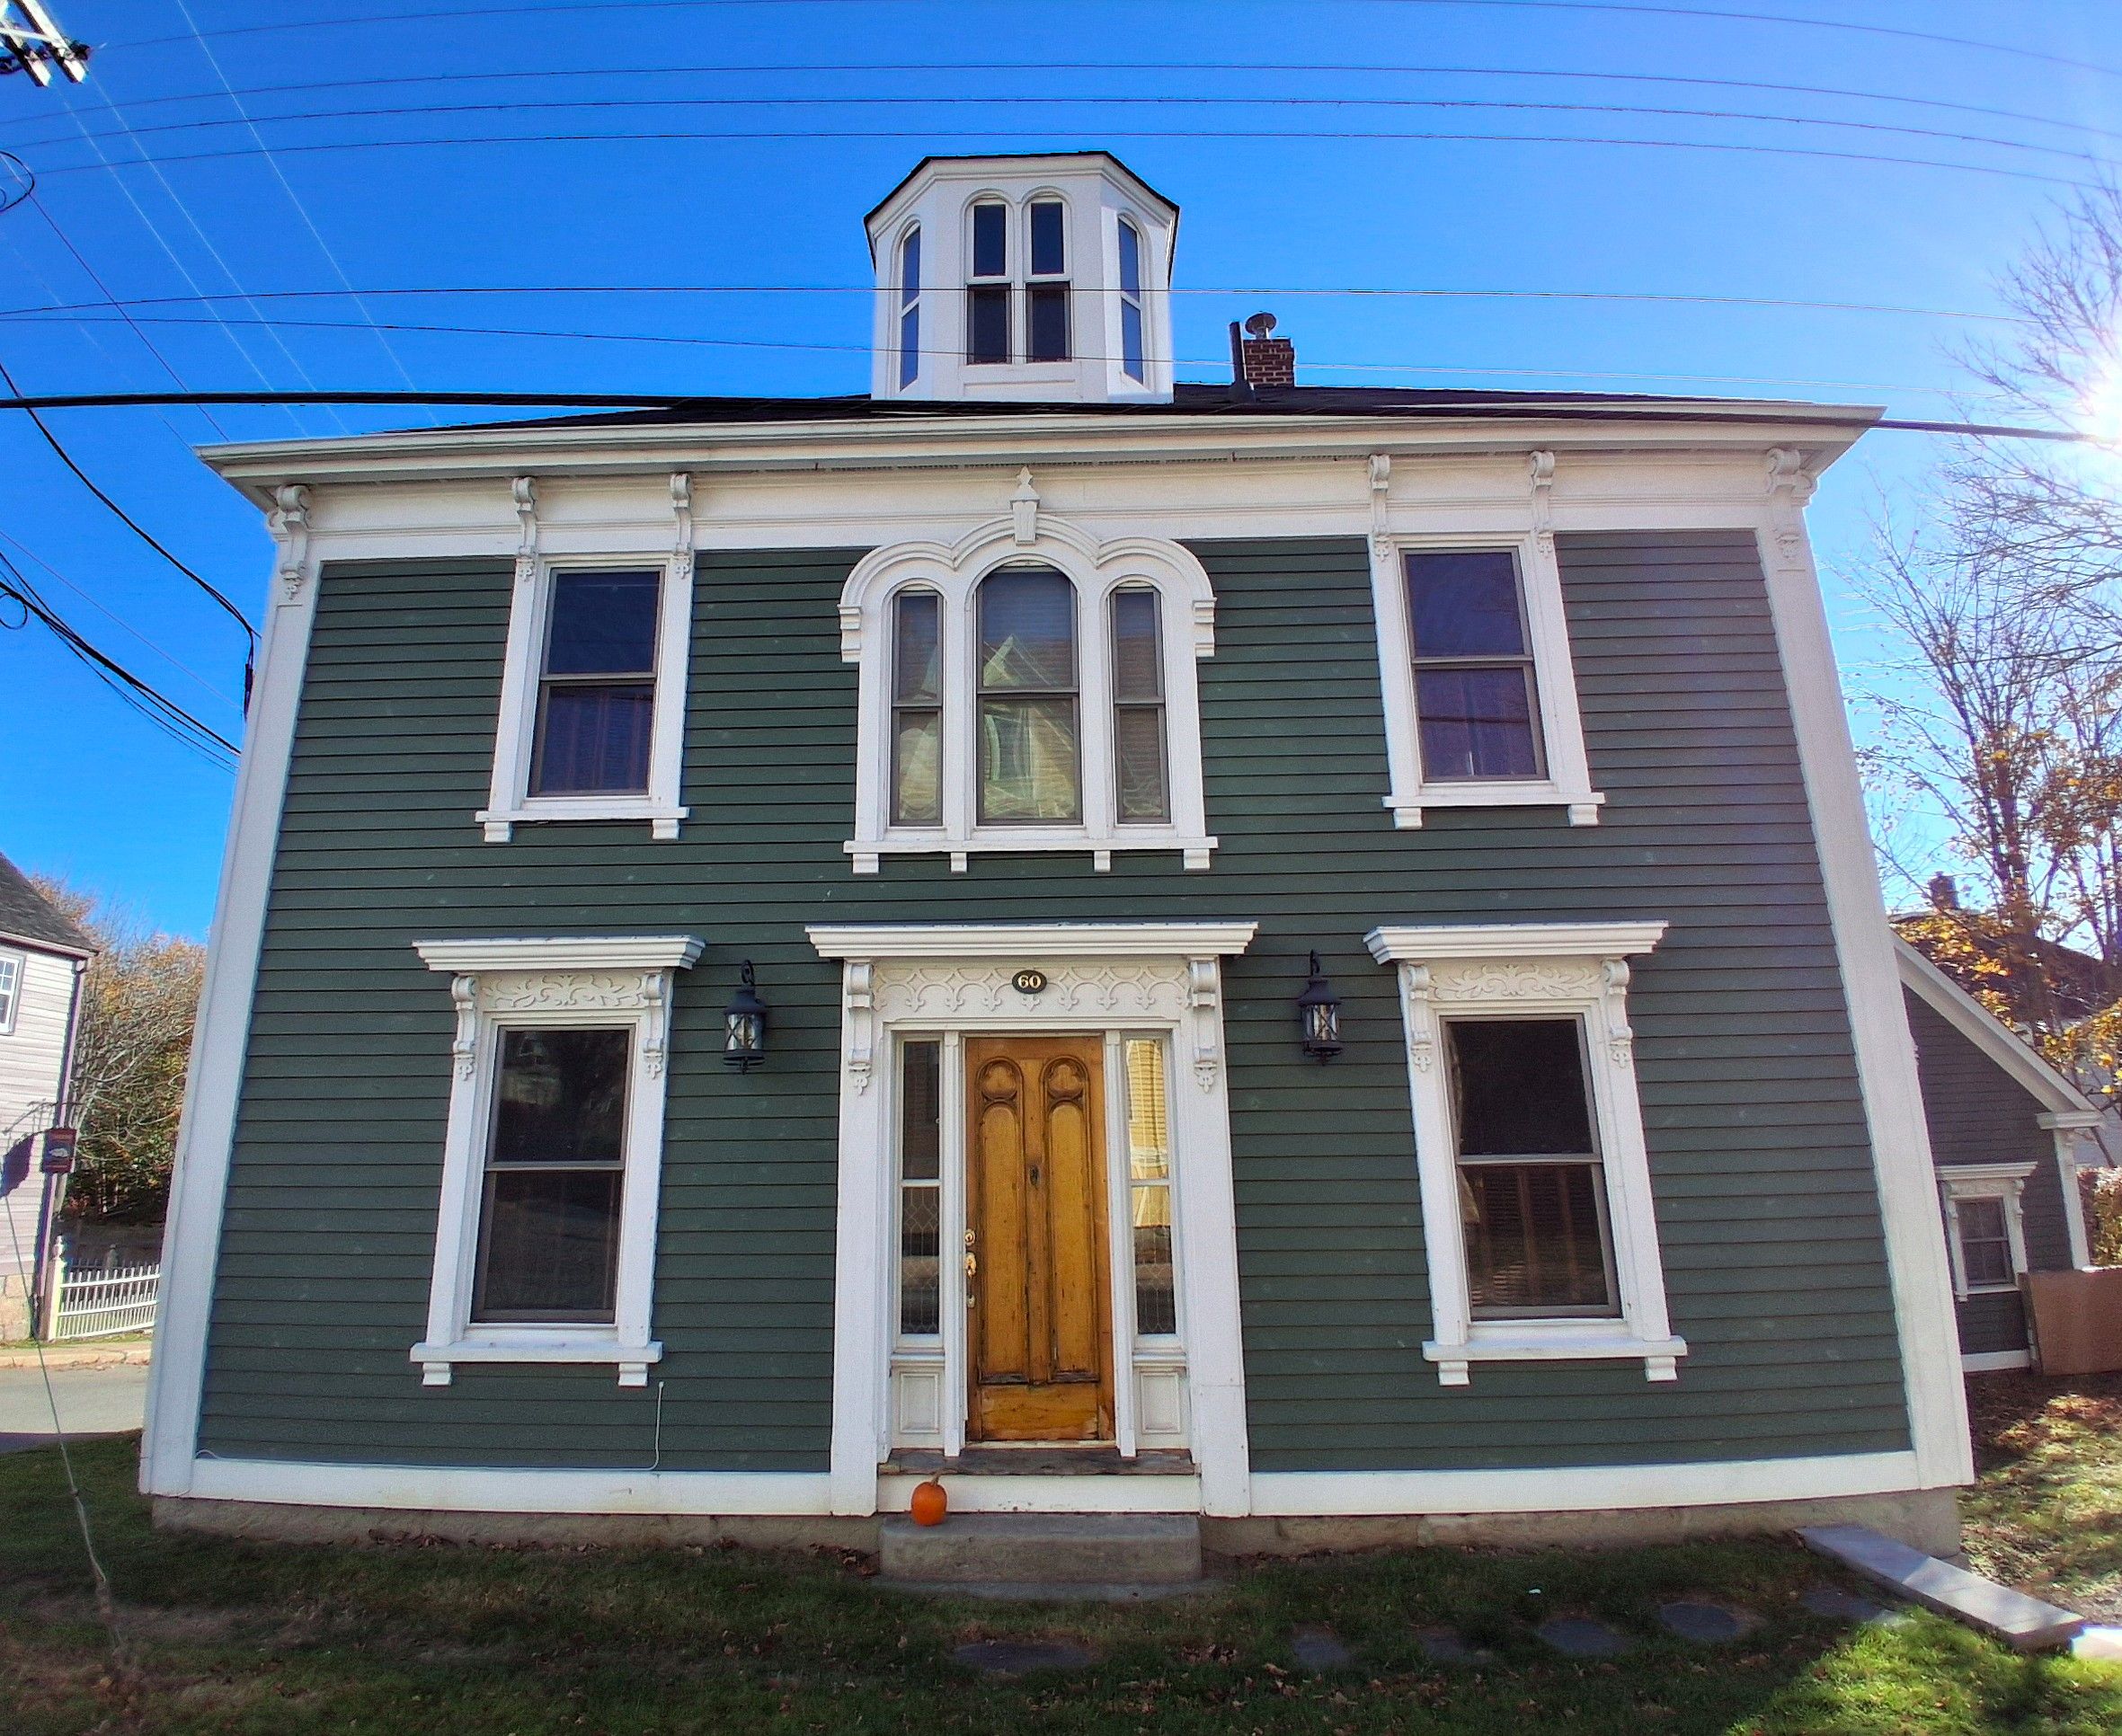
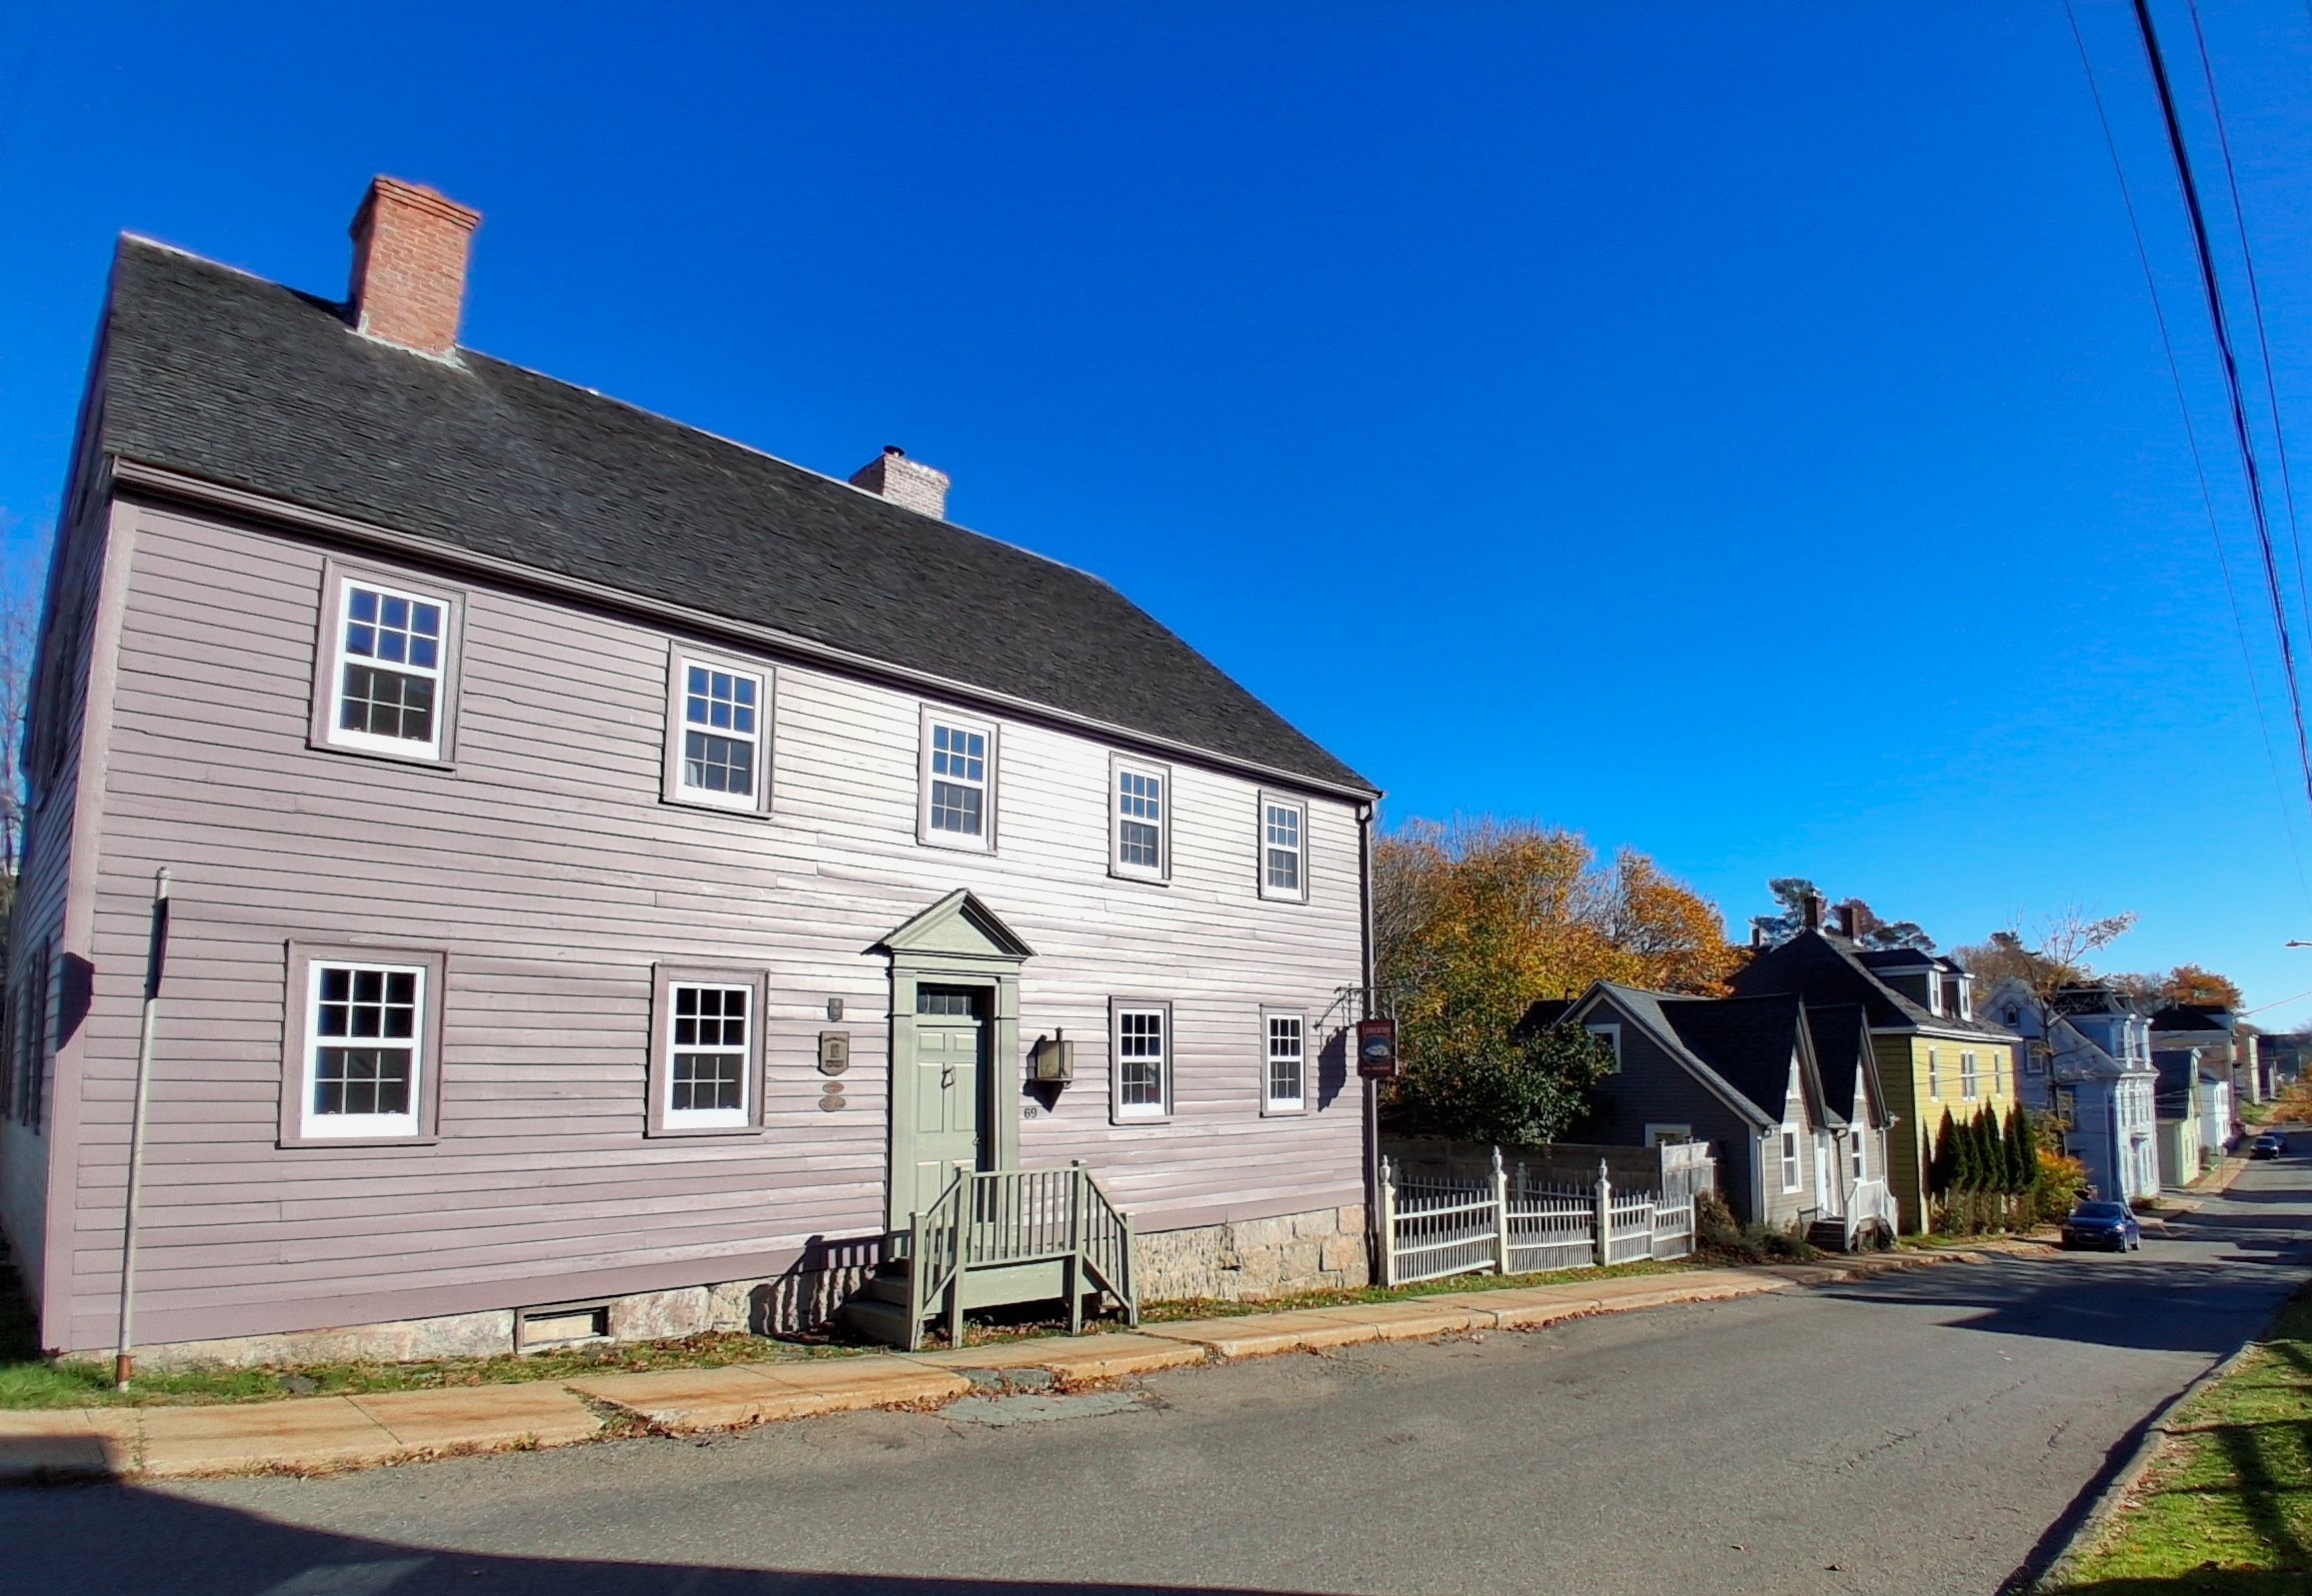
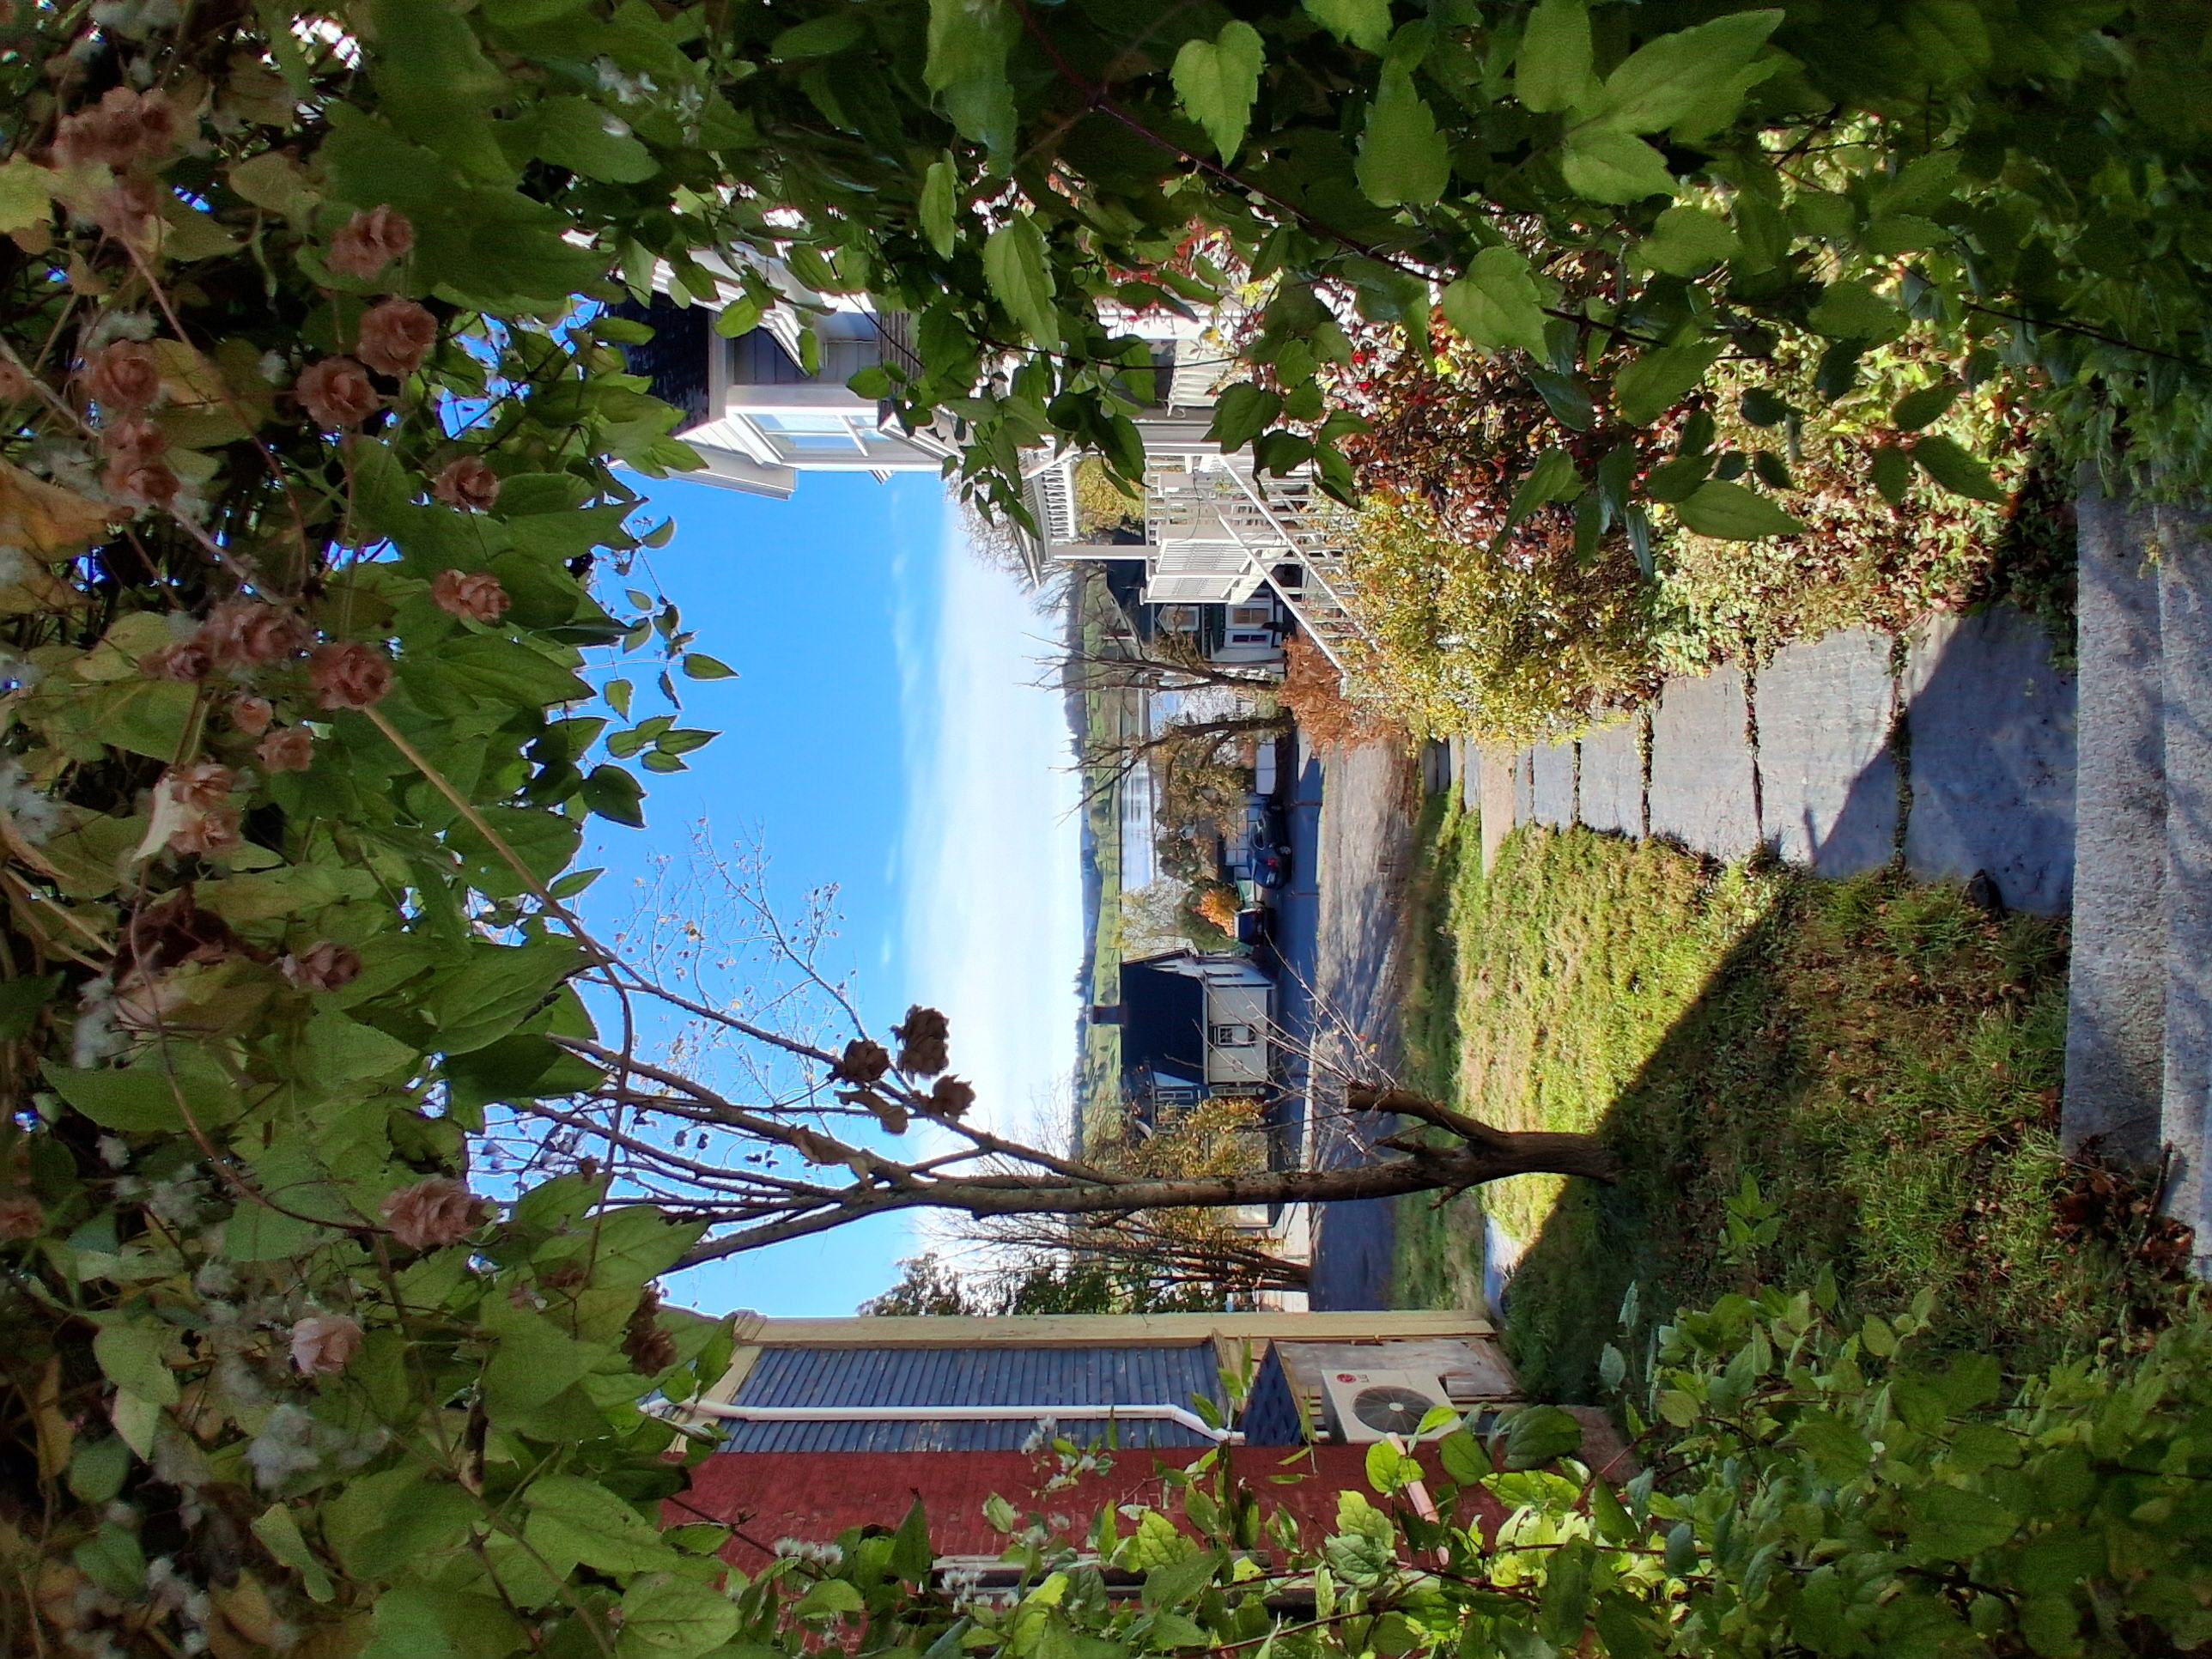
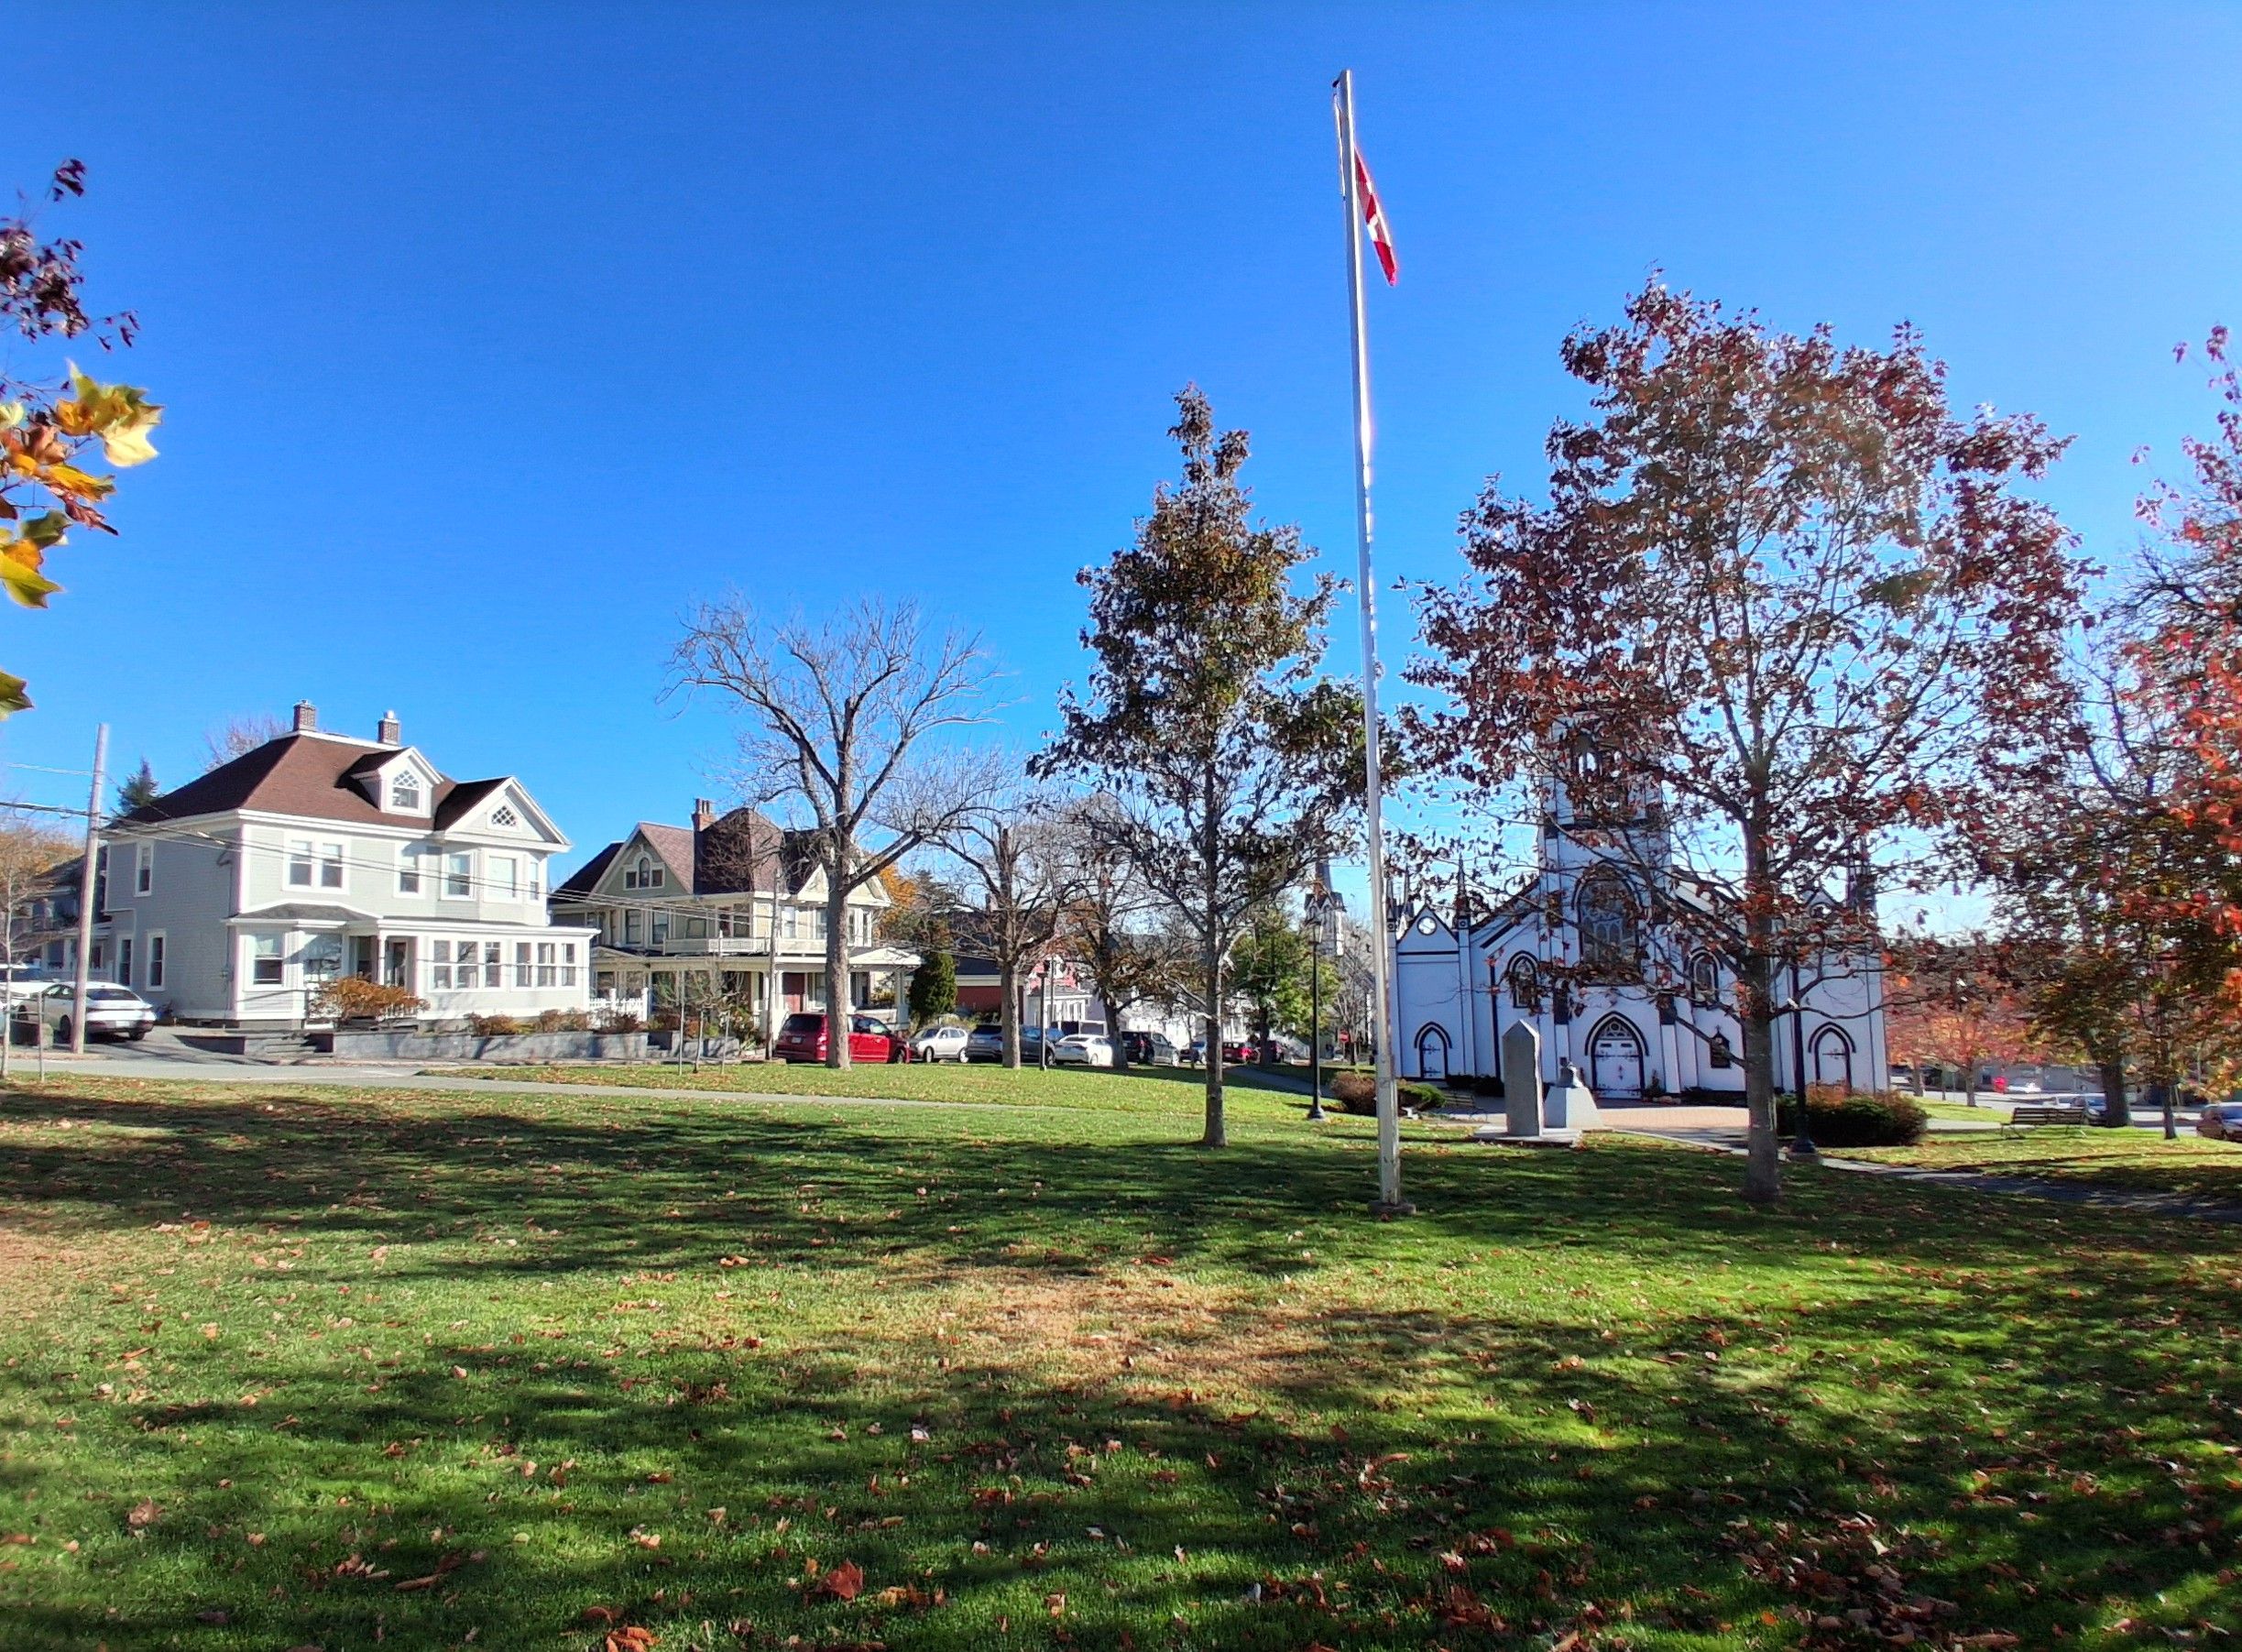
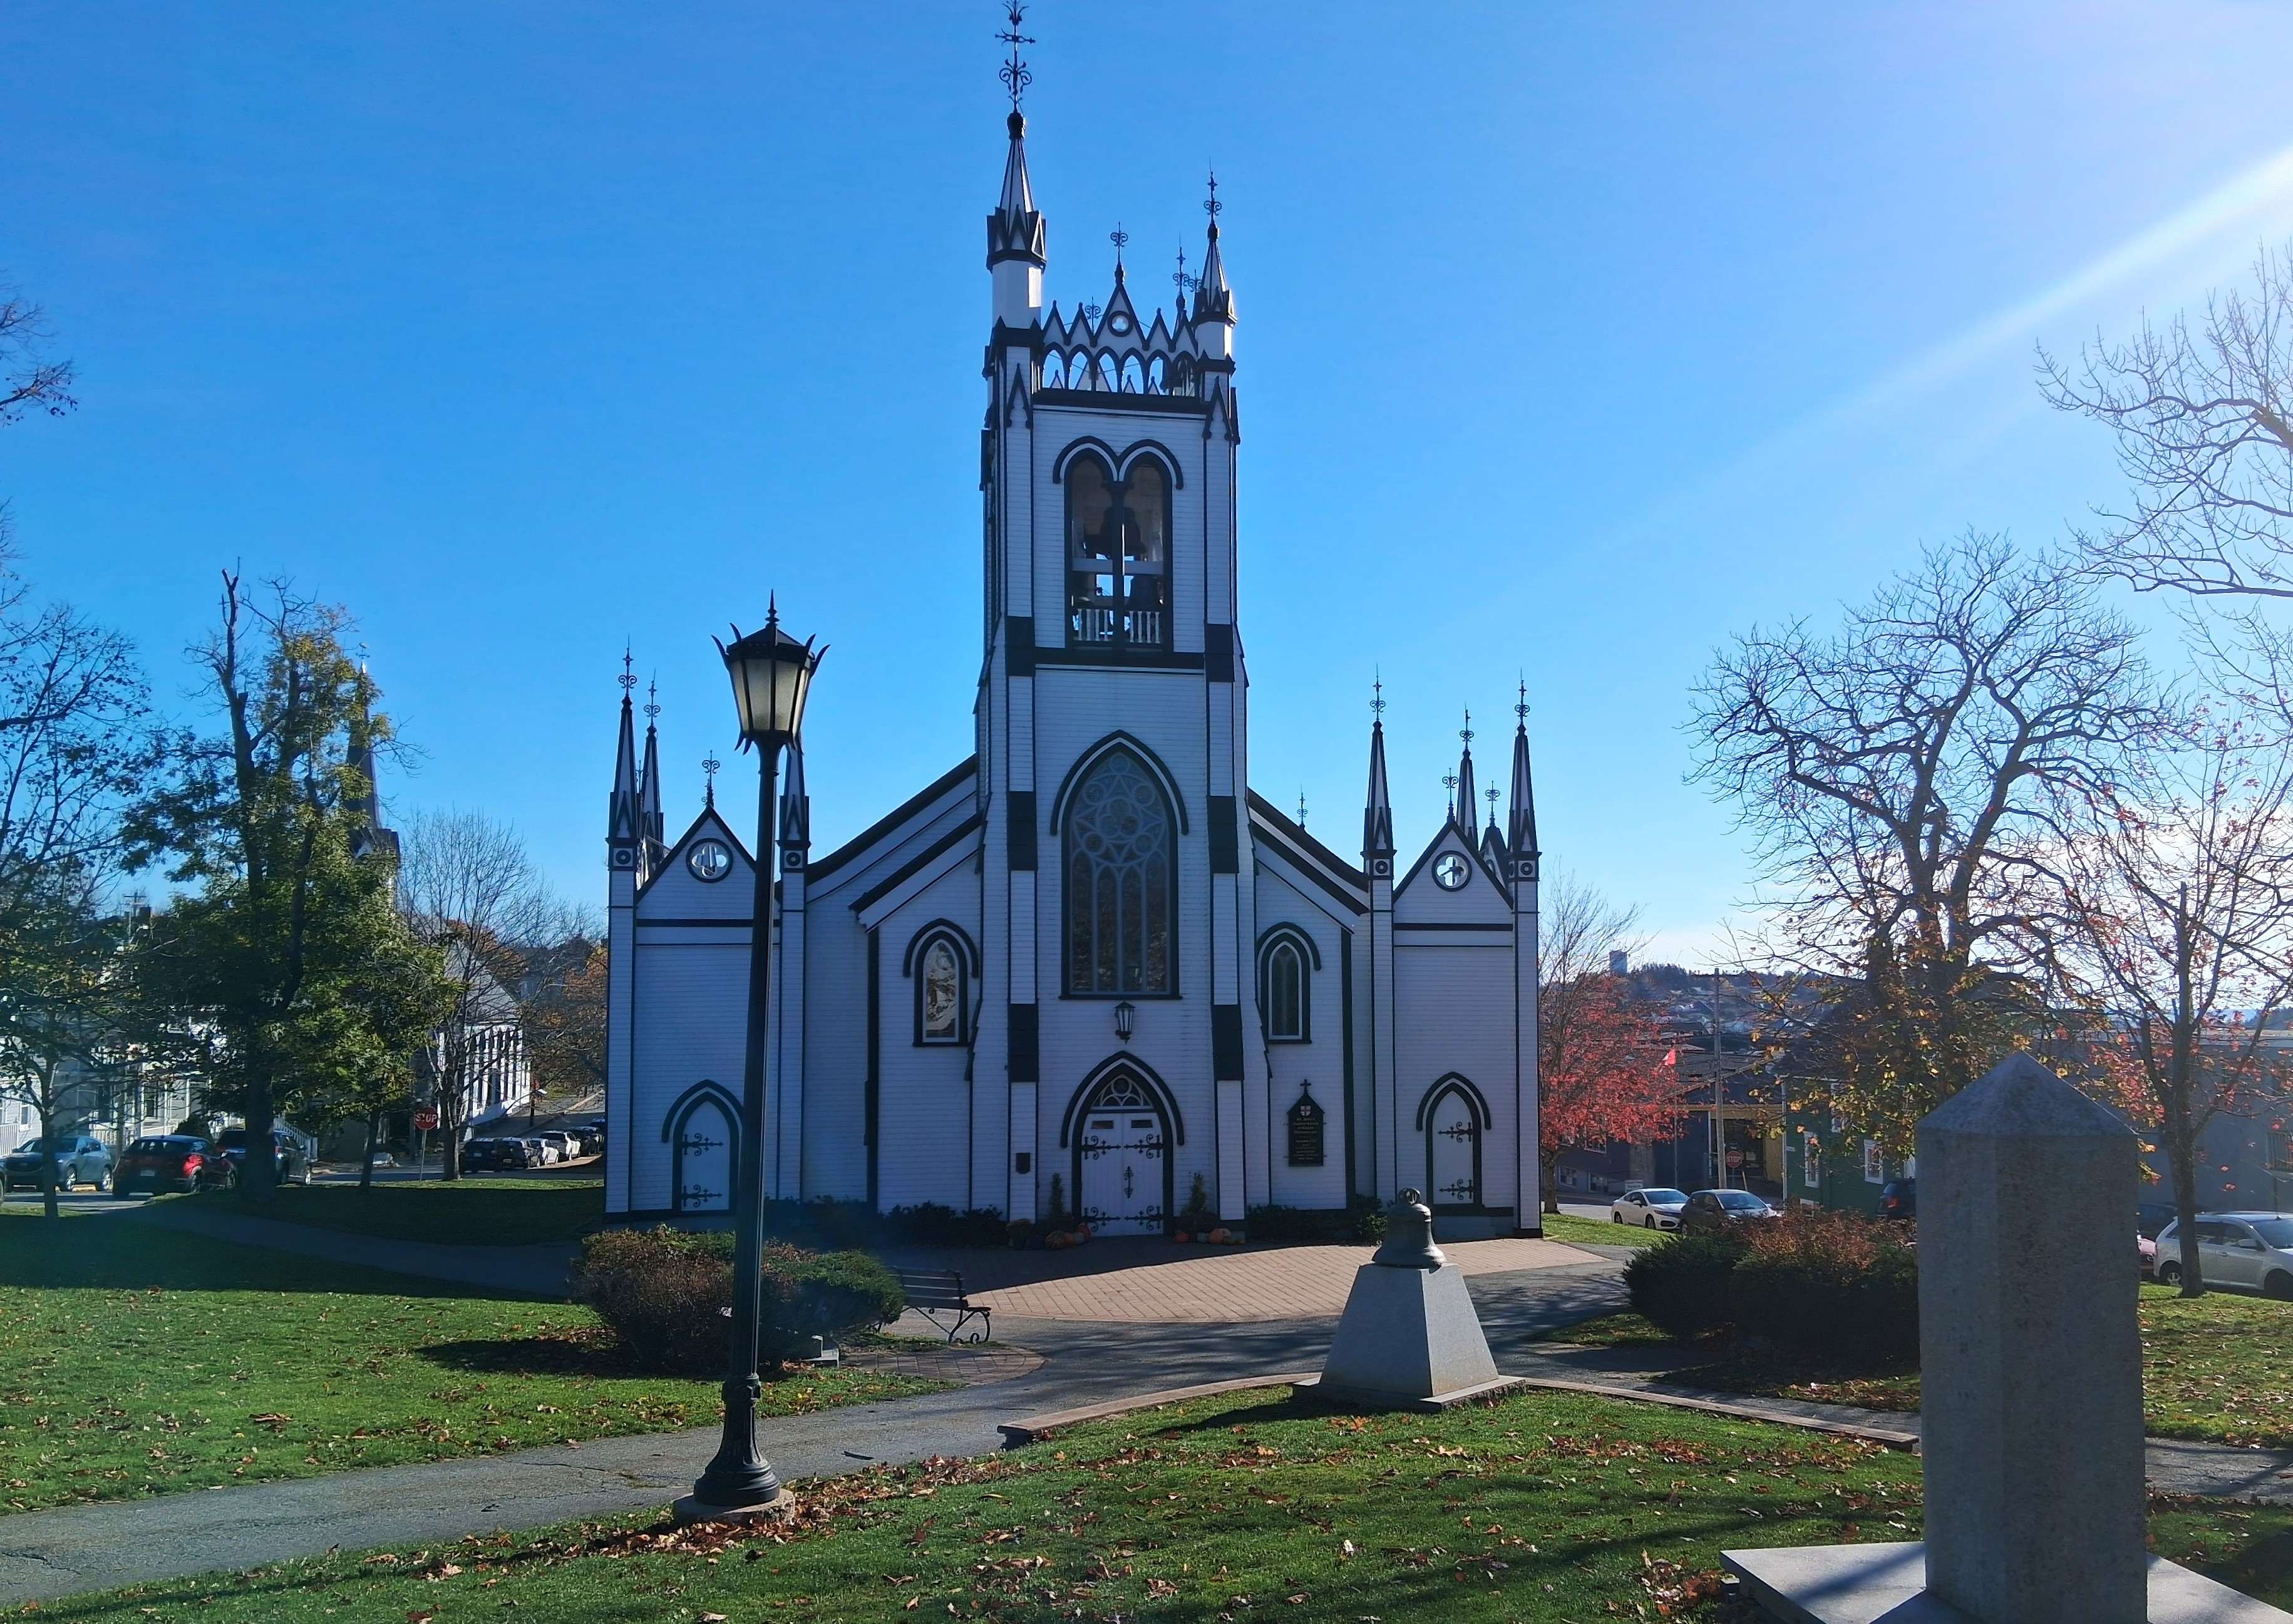
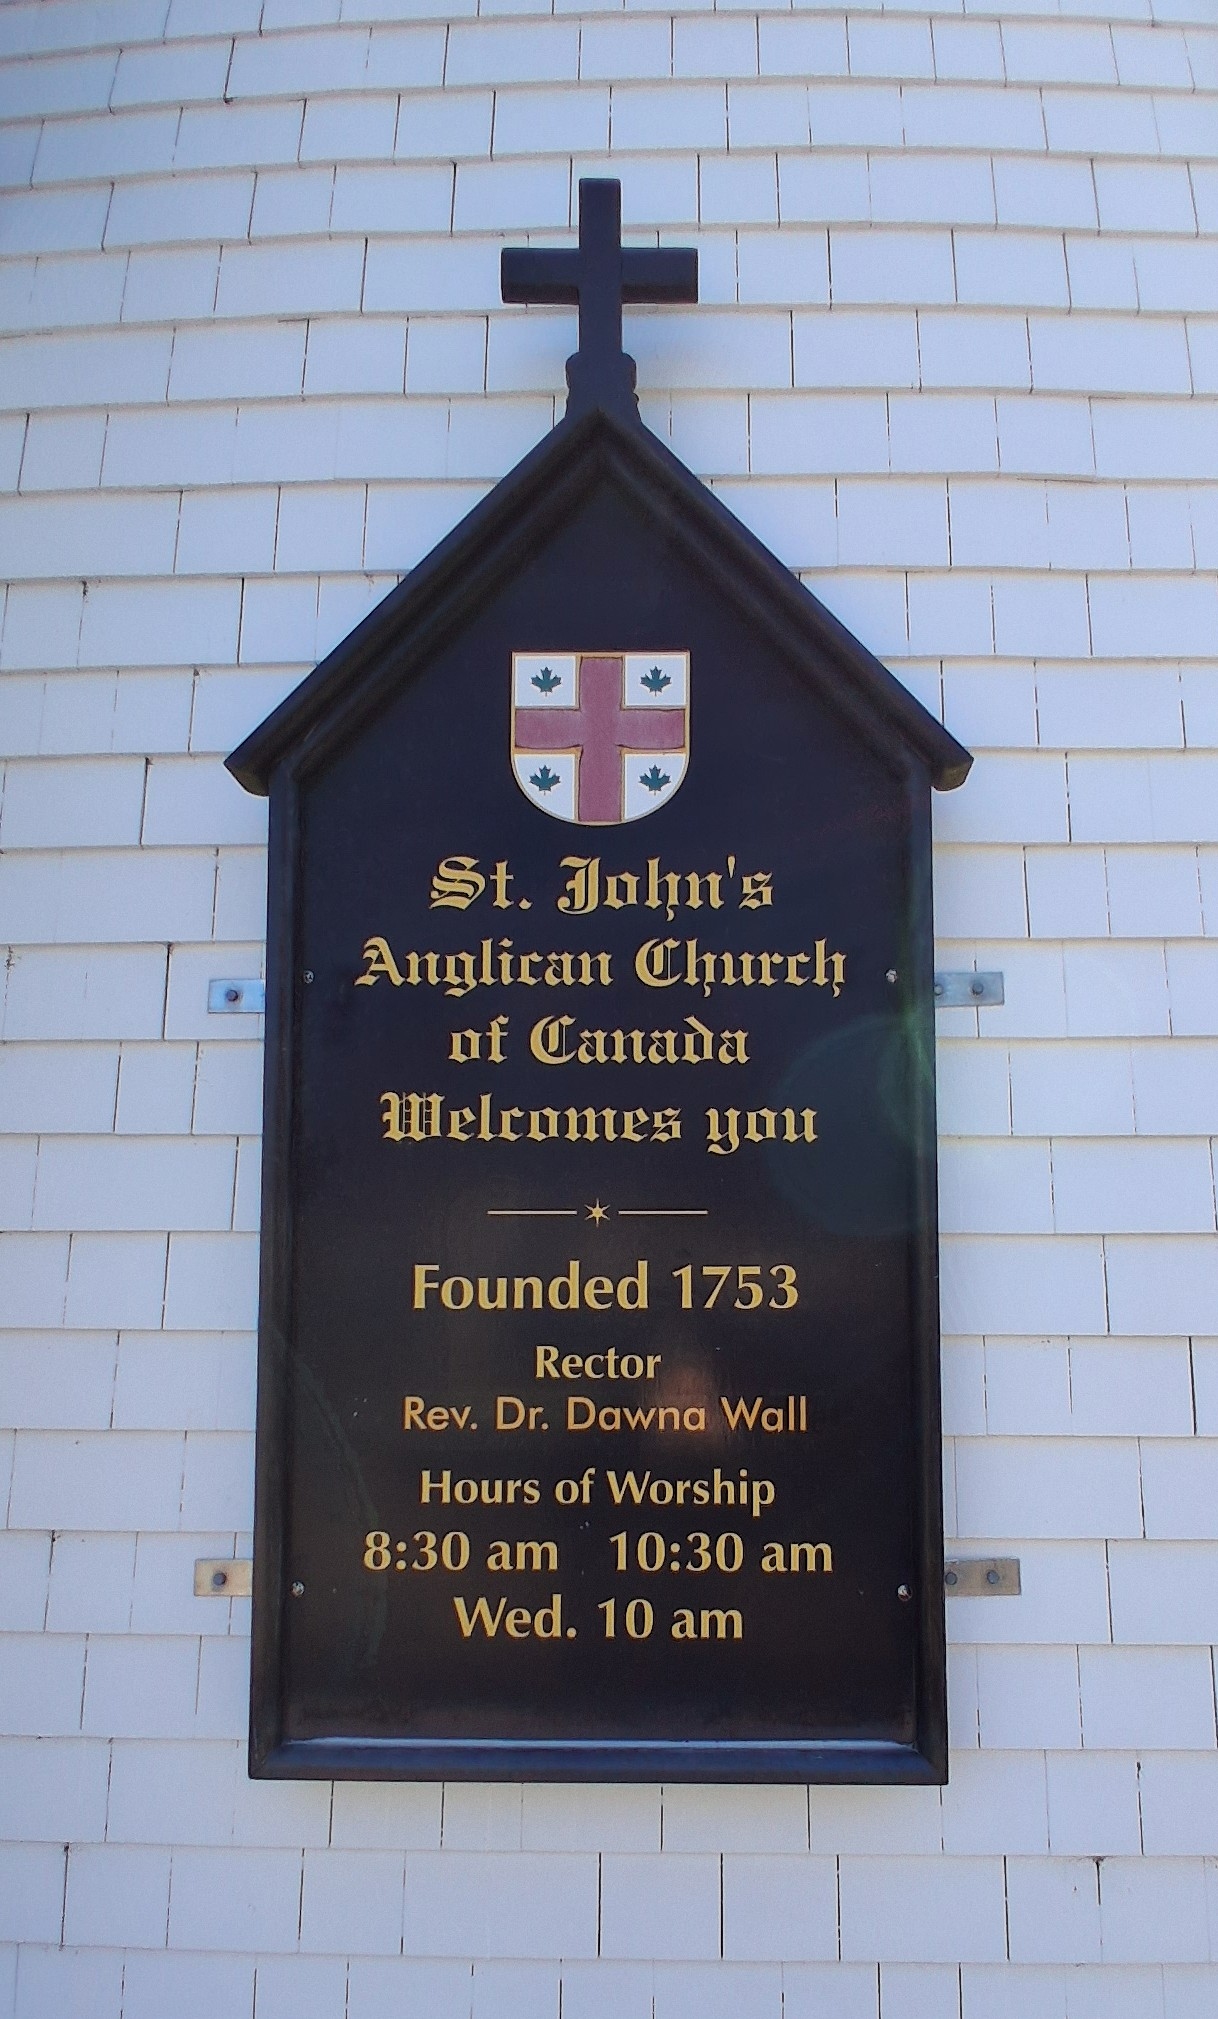
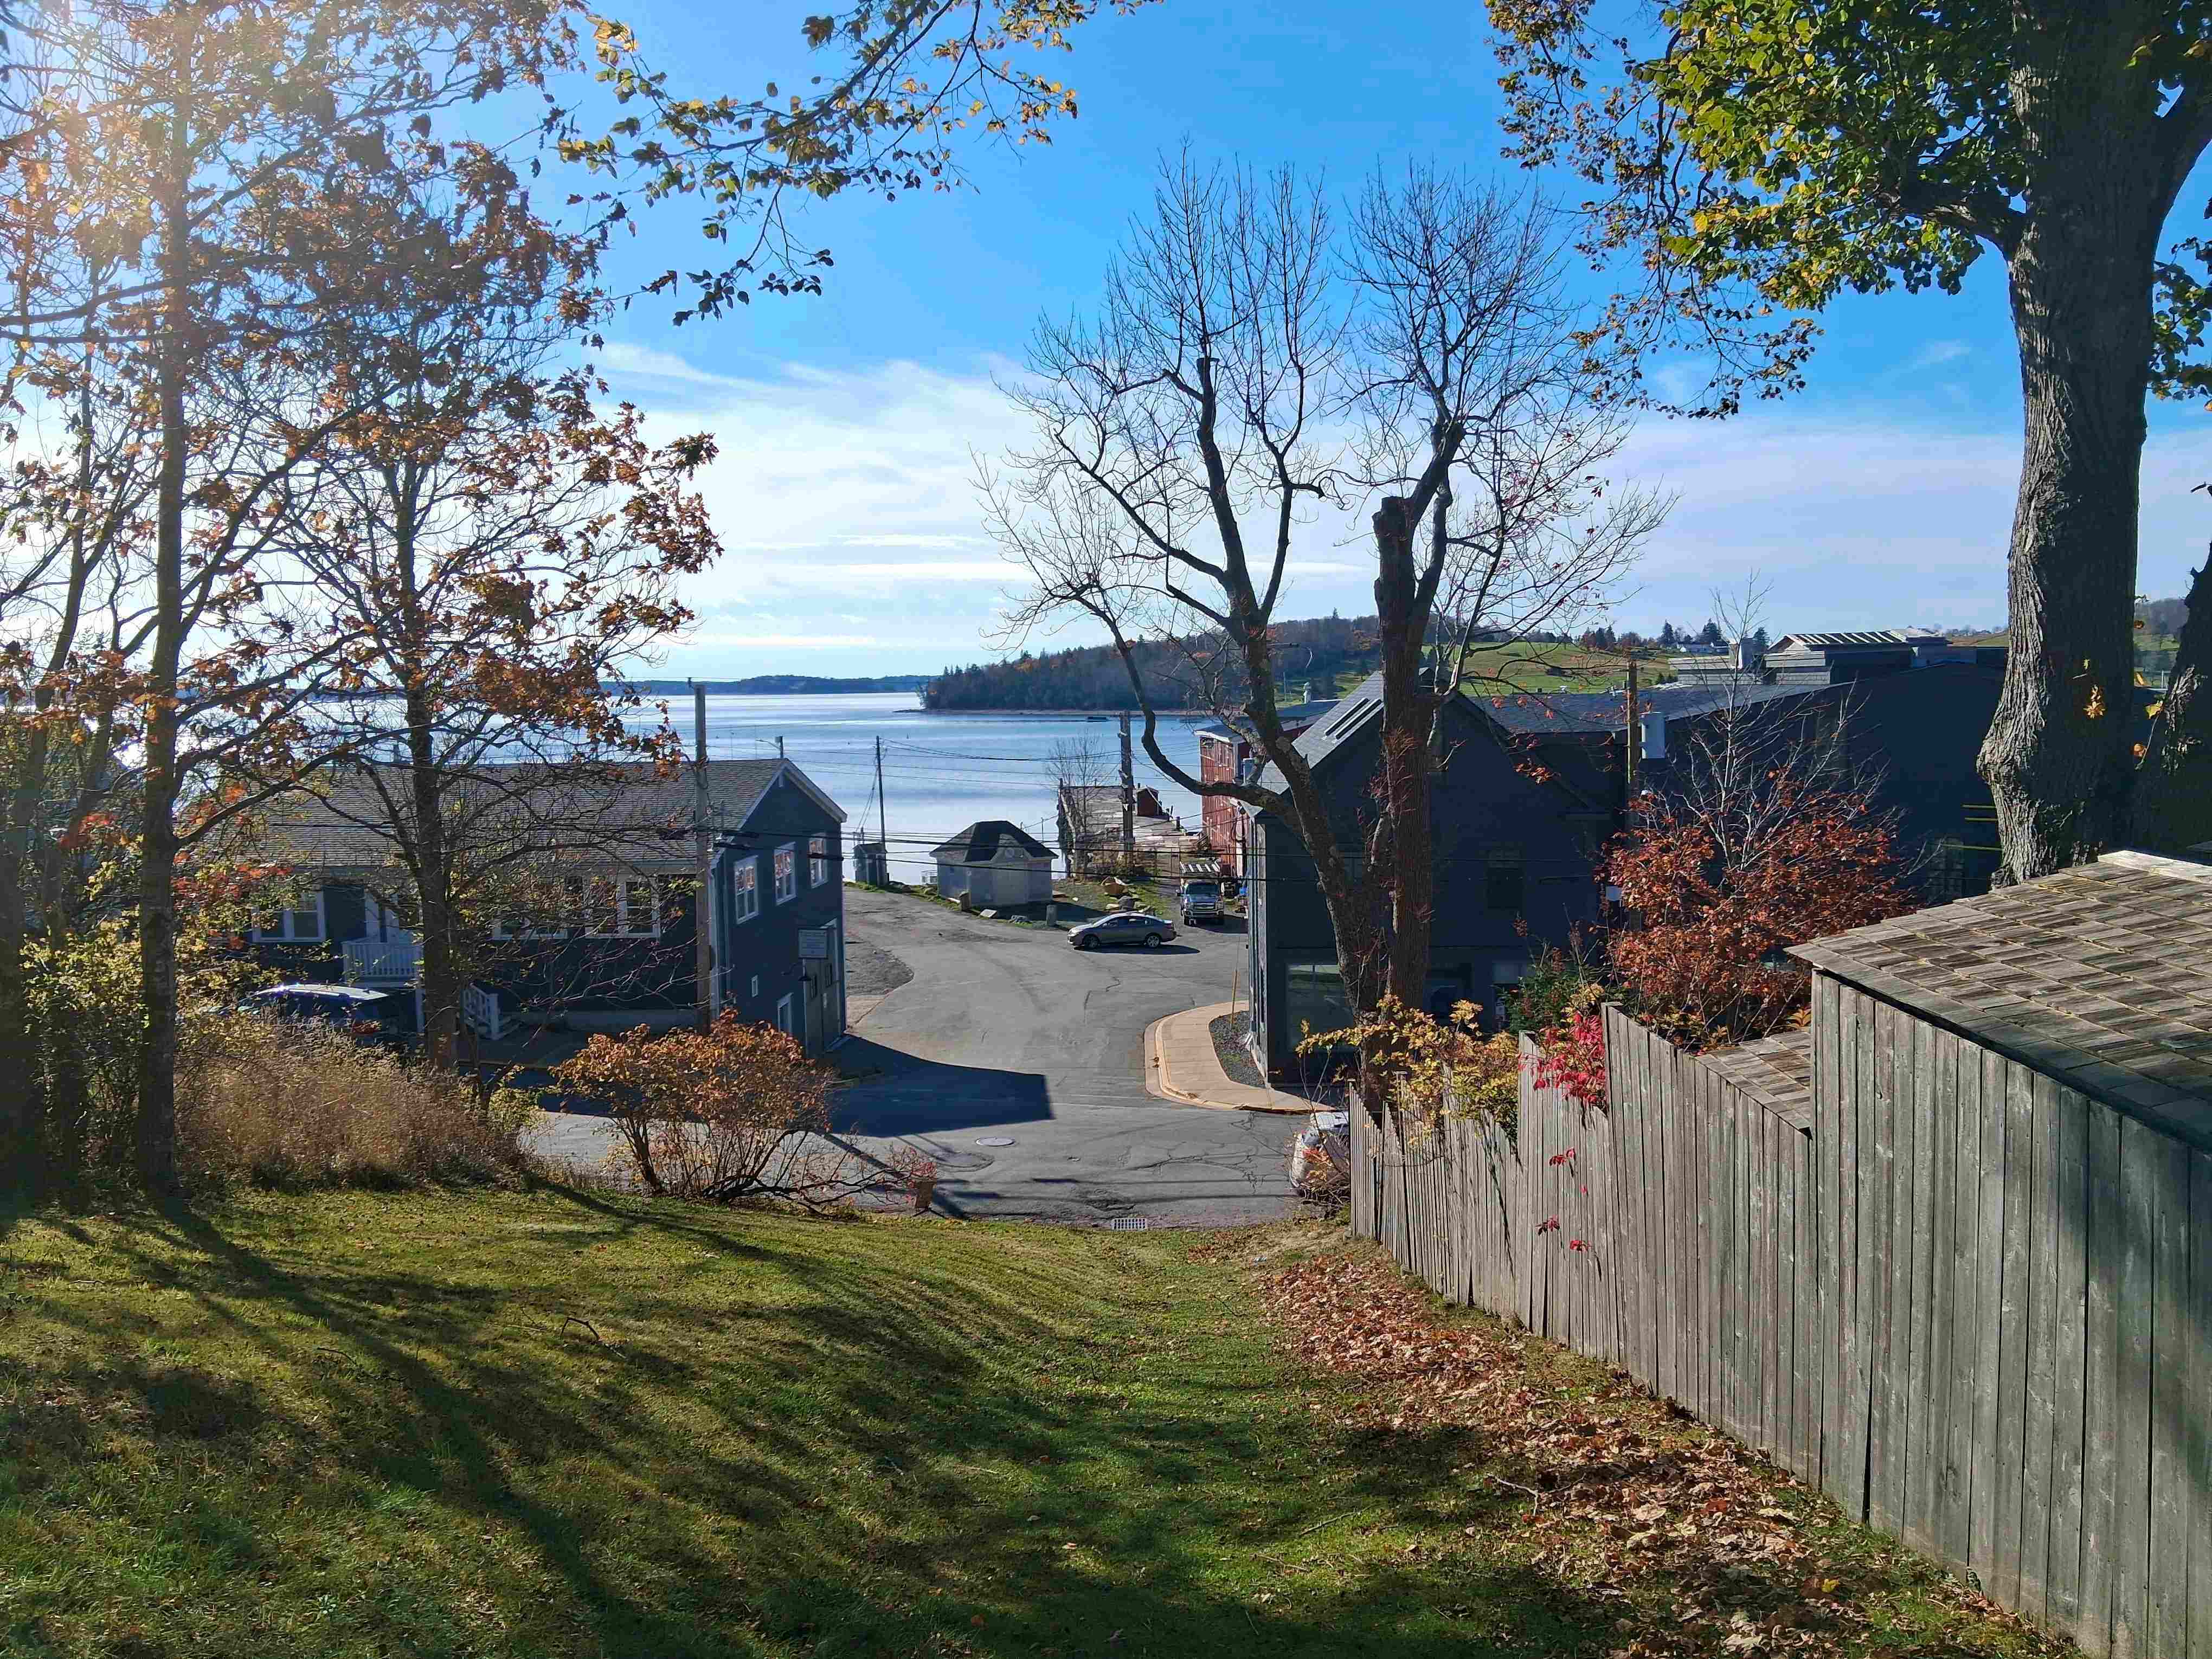
The Old Town streets rise steeply from the waterfront. Homes facing the harbor date from the 1700’s and 1800’s. There is no shortage of churches including St. John’s Anglican Church of Canada, founded along with the town in 1753, and built in the second half of the 18th century.
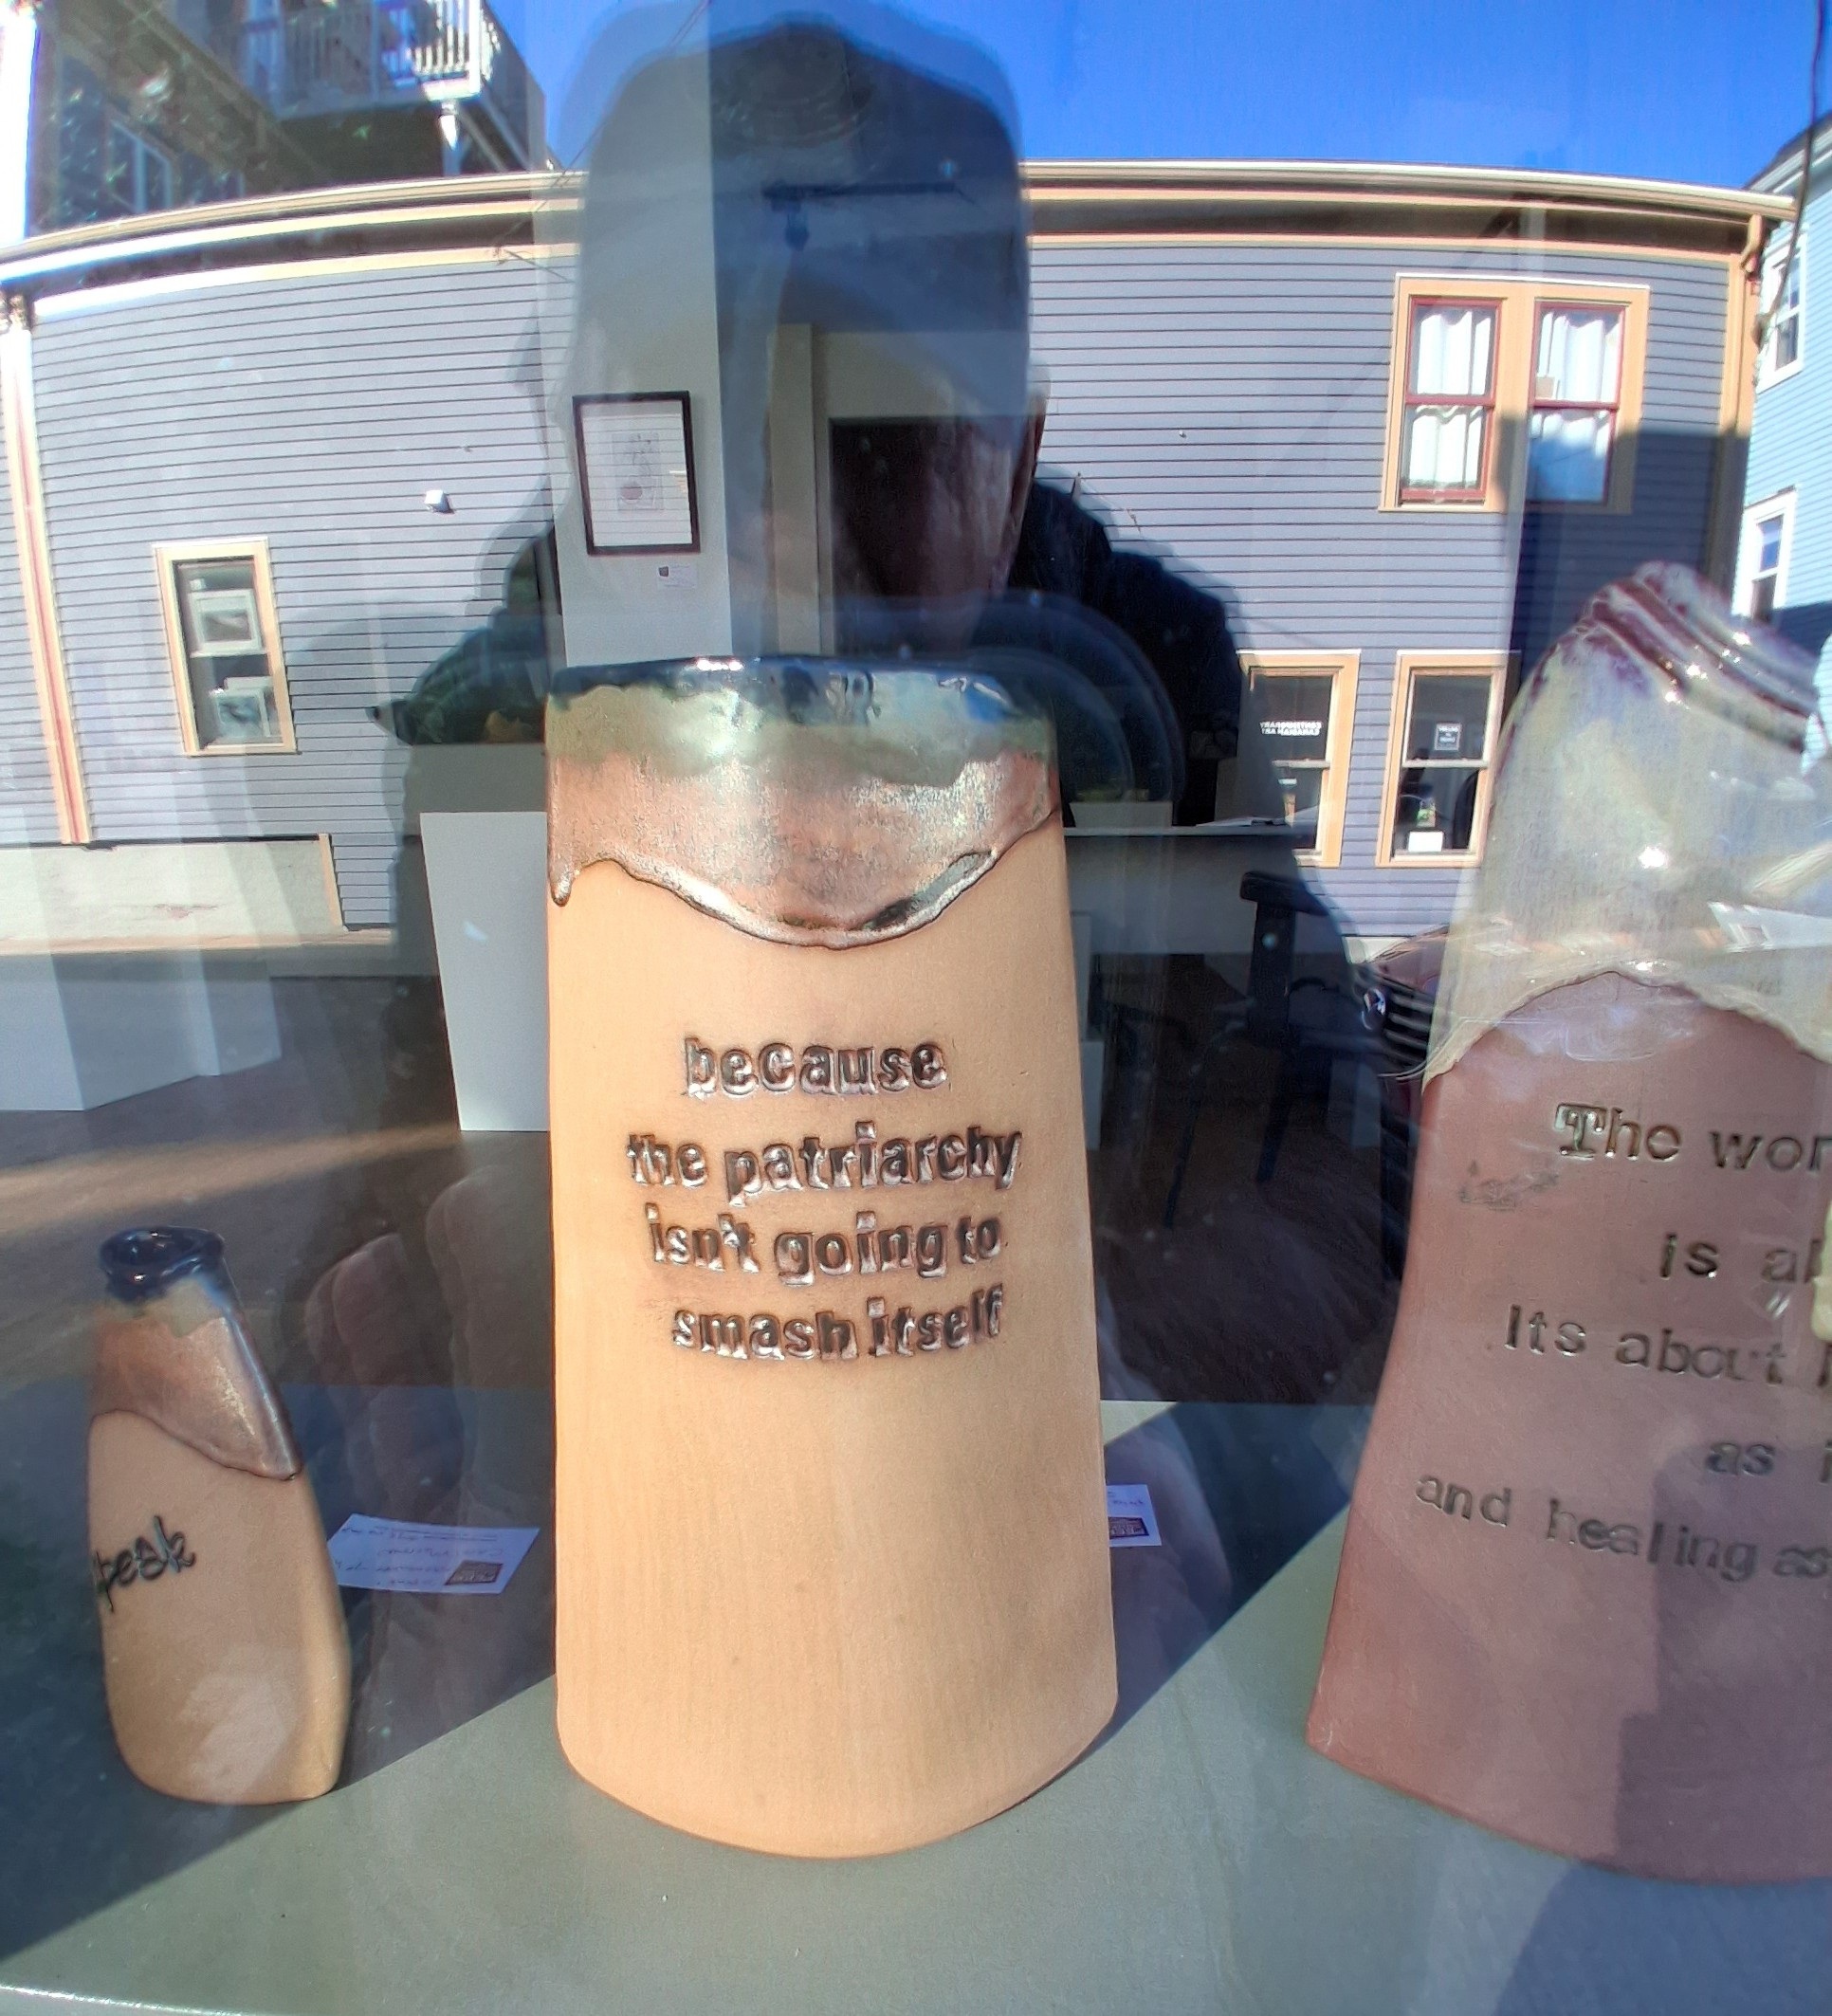
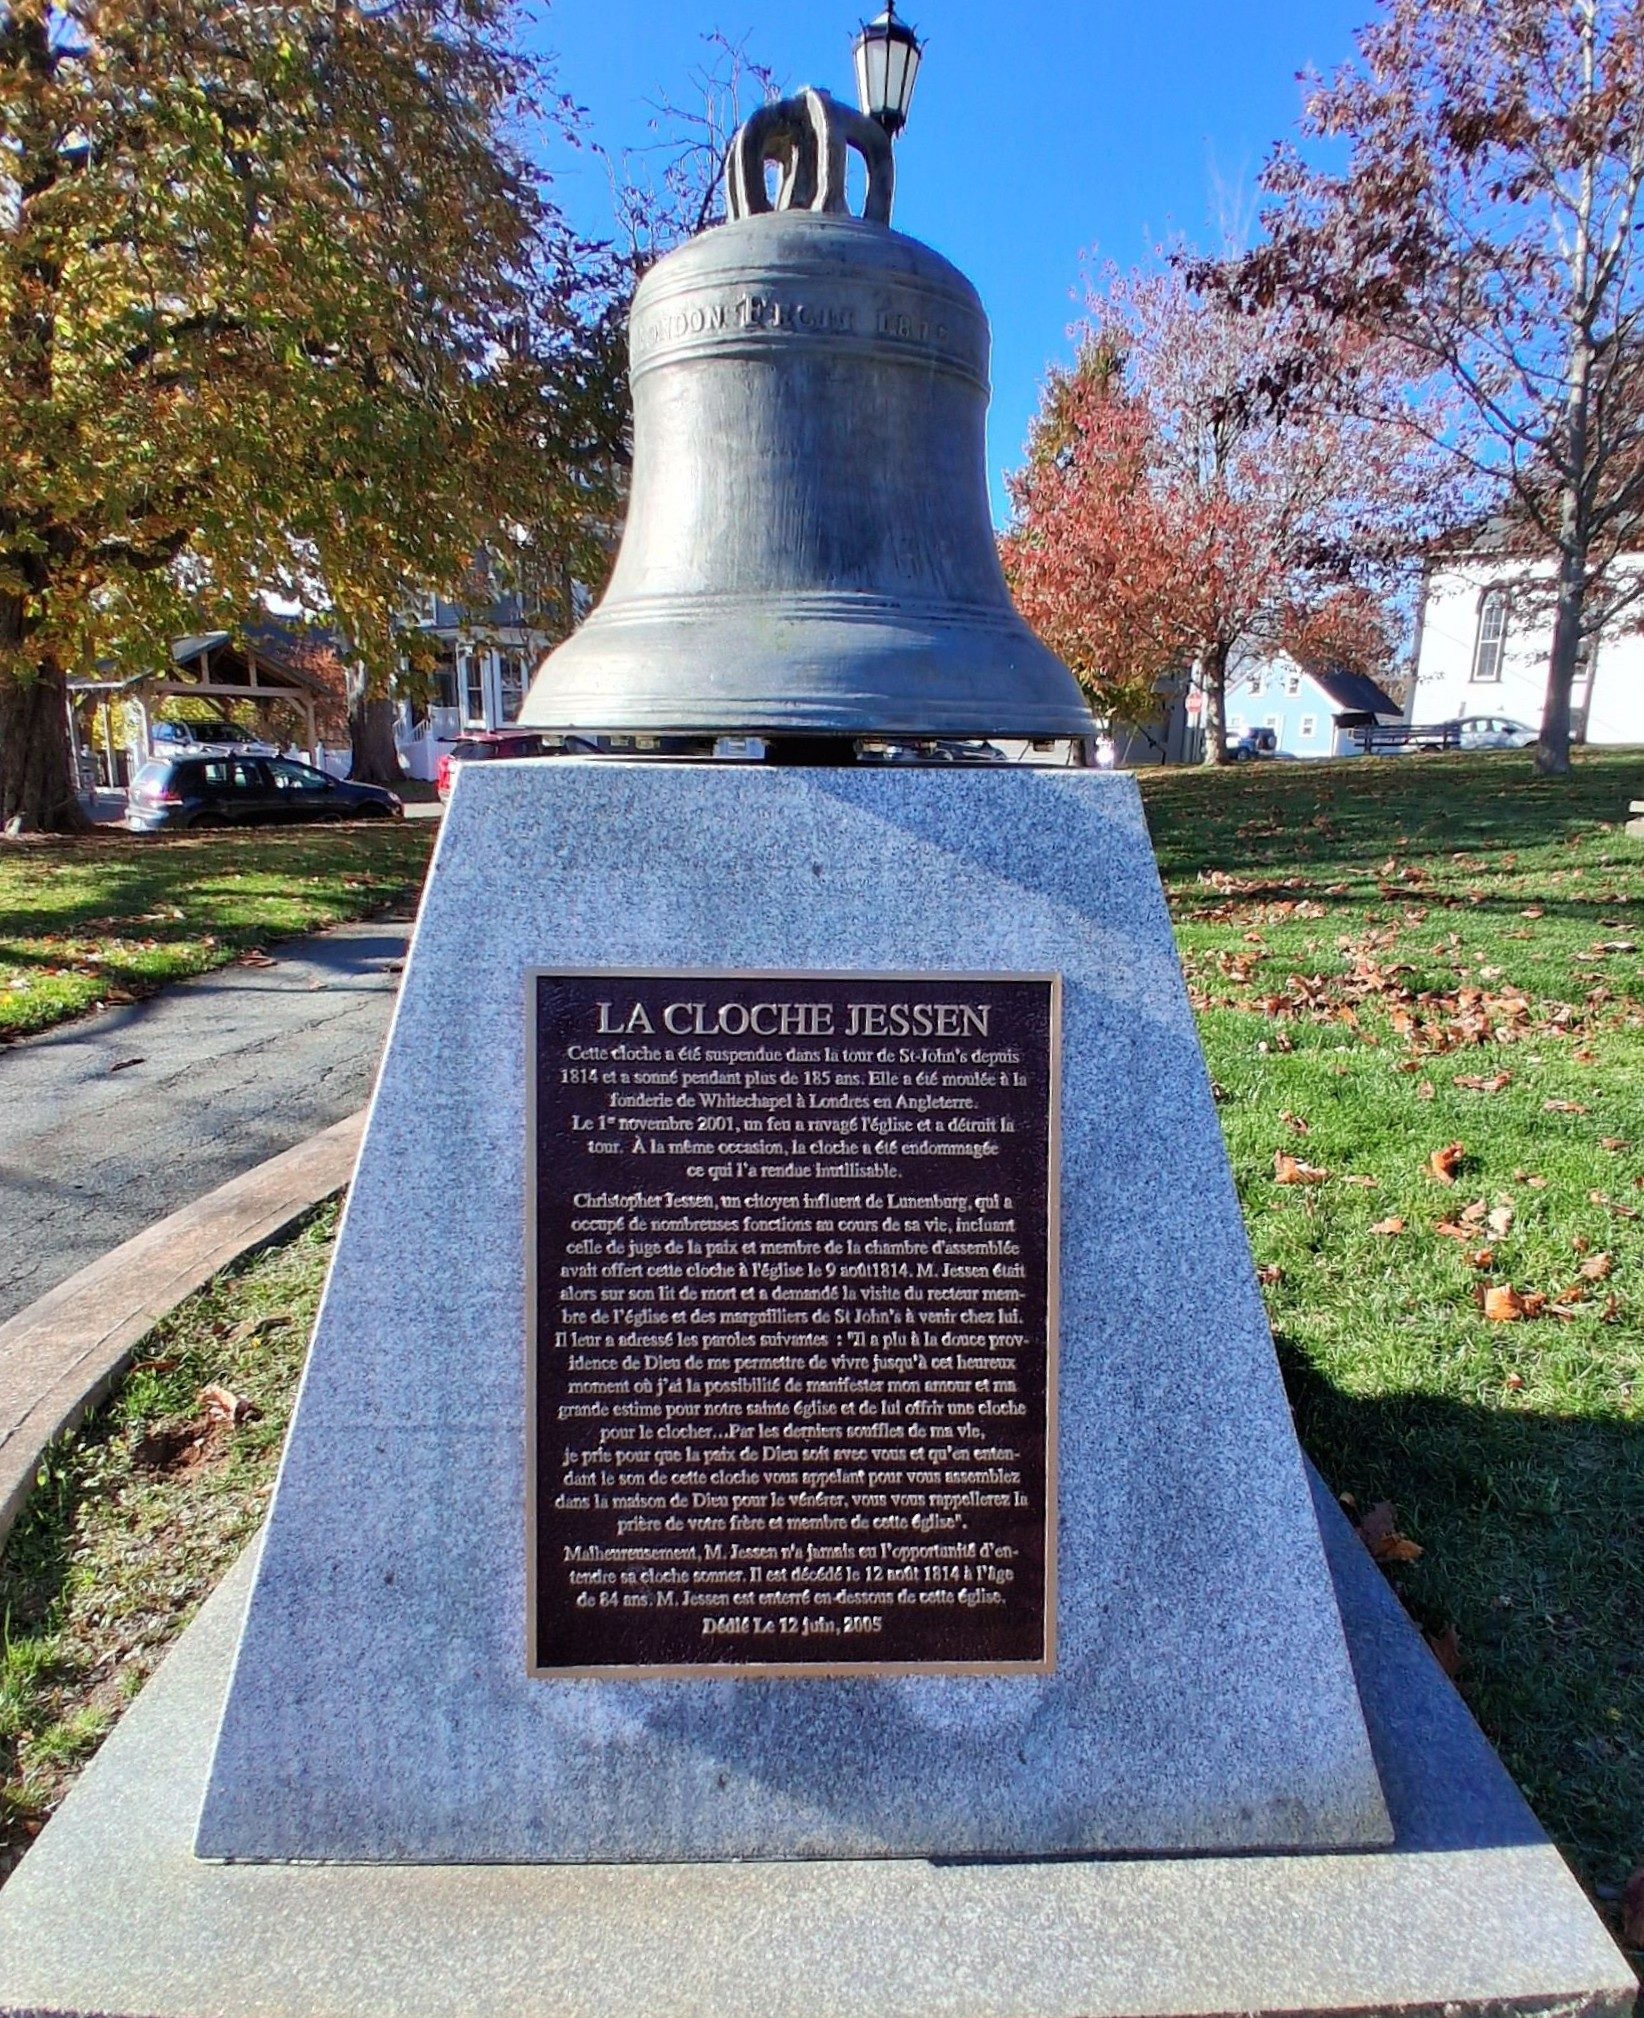
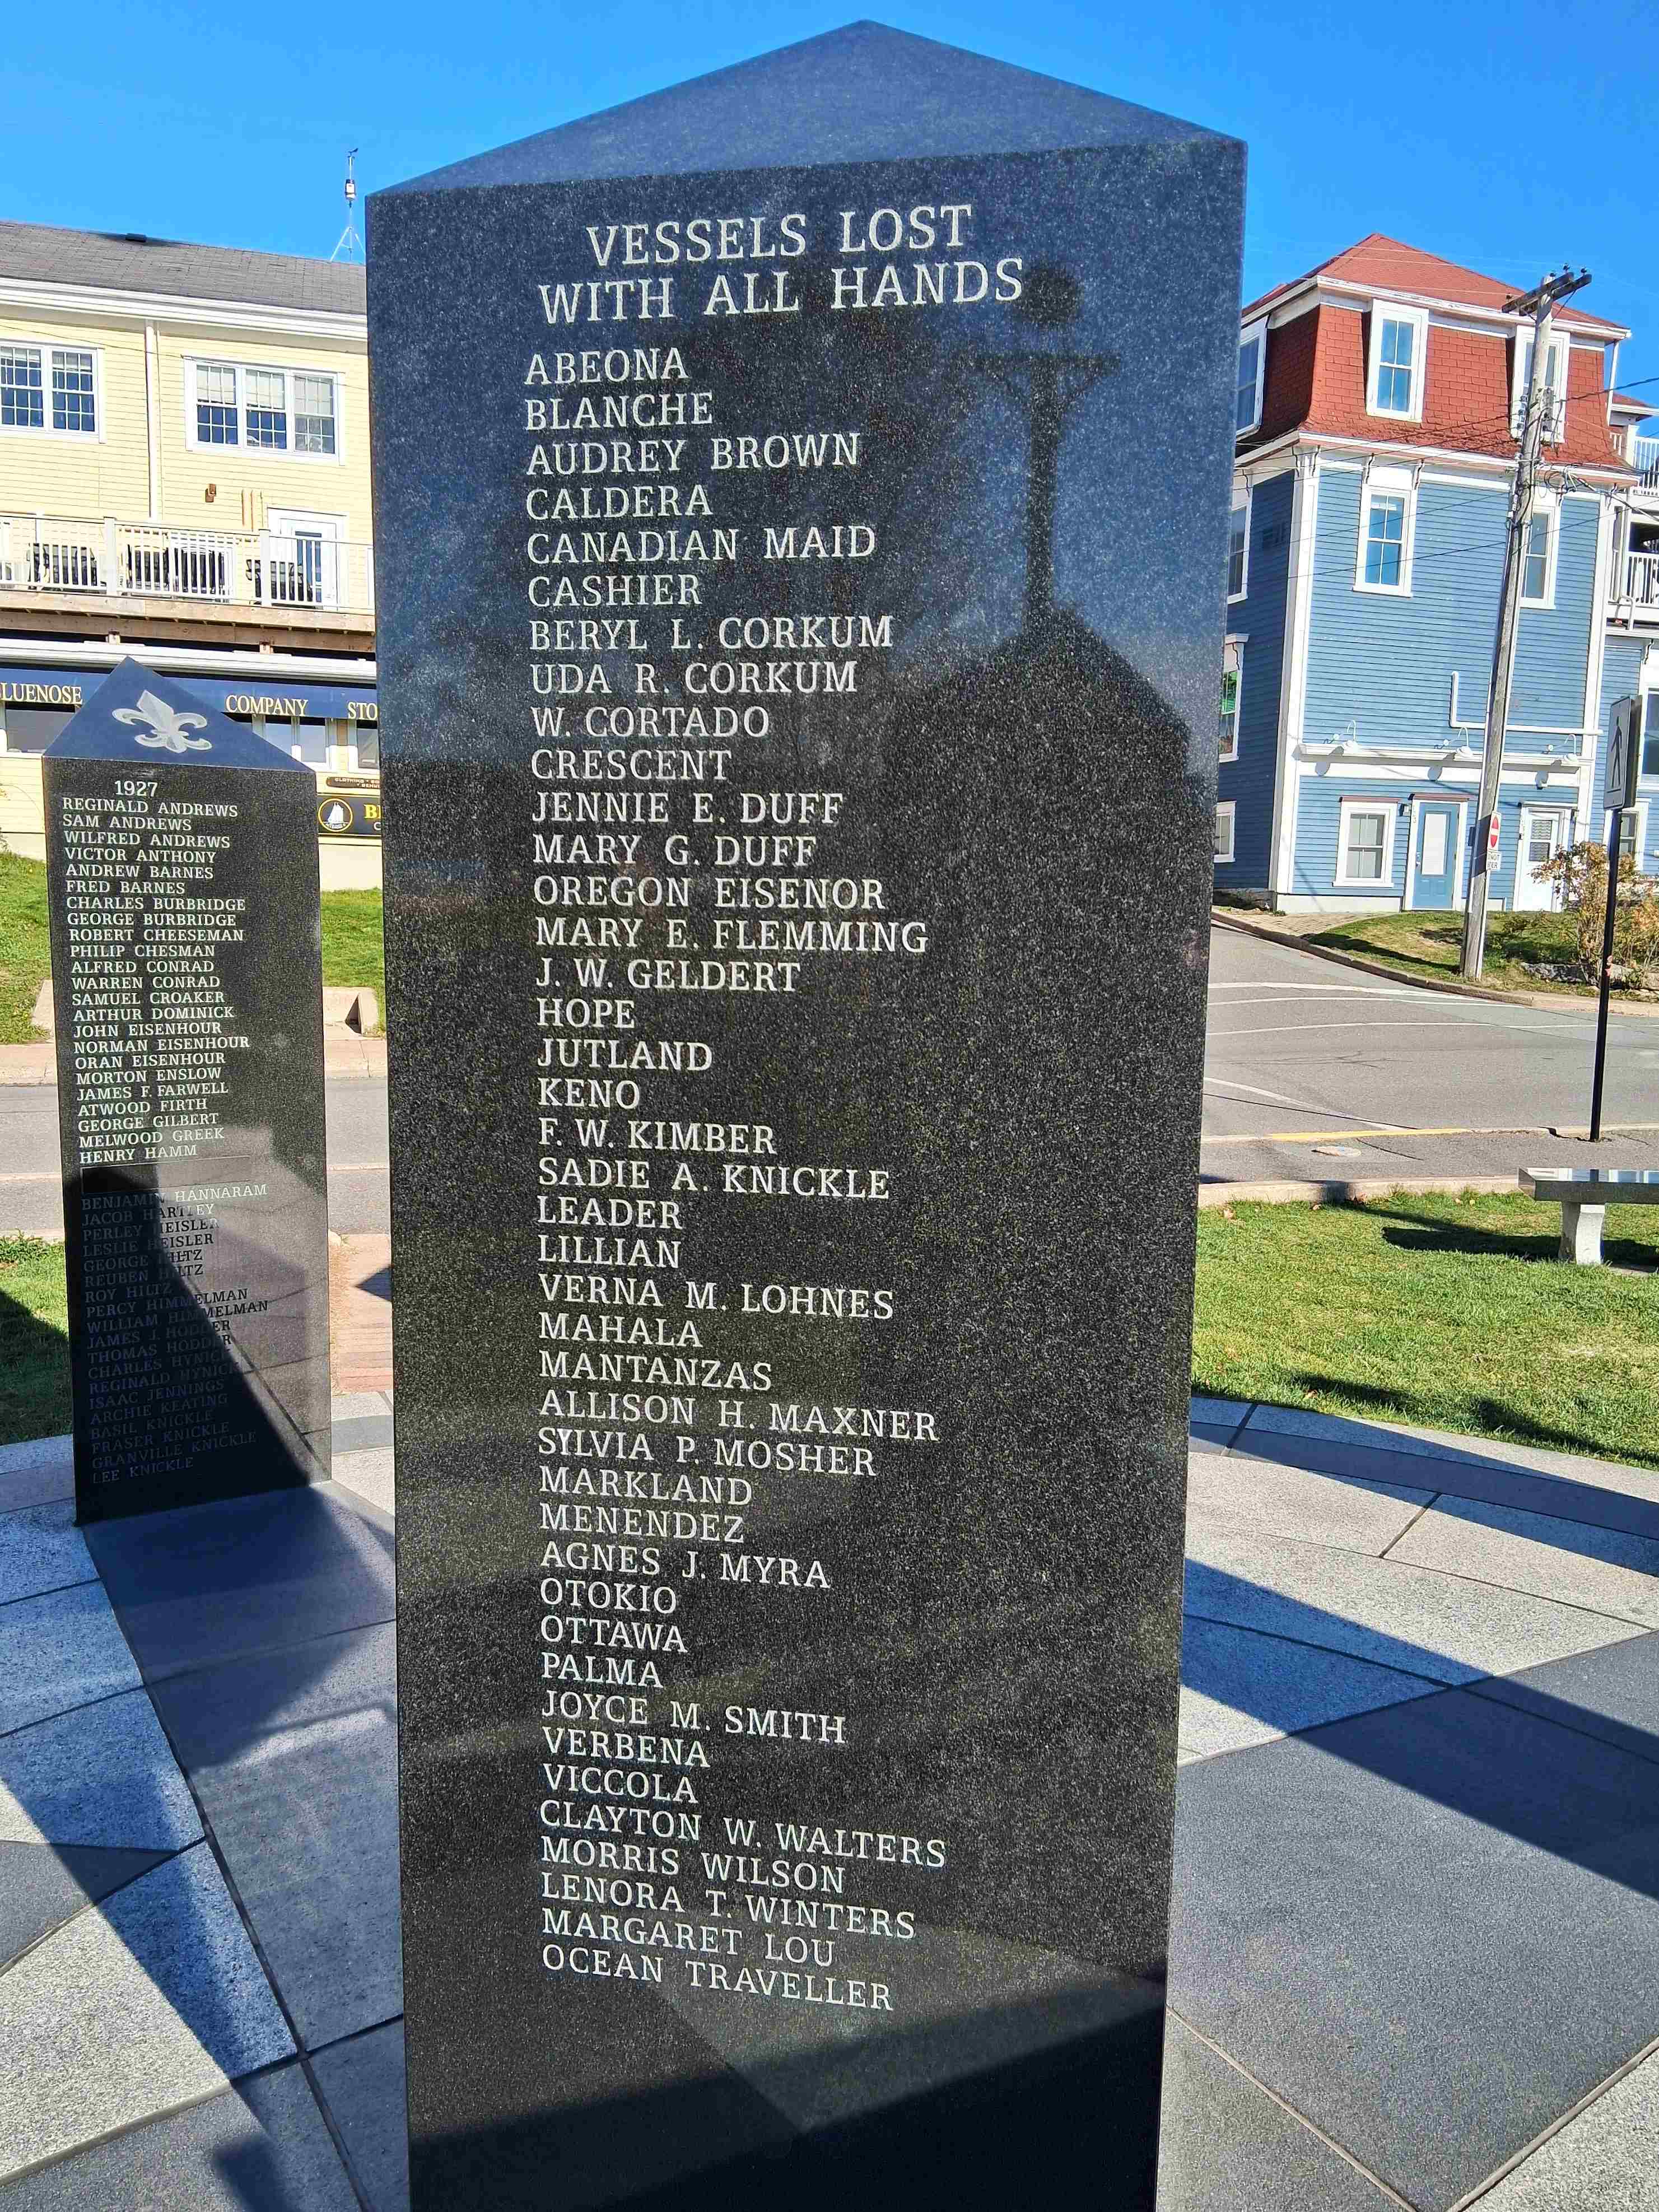
Steeper than it looks!Spotted in a gallery window.Bright colors prevail.Entry doors receive a lot of attention.Hilltop home built in the 1700’s with two interior chimneys serving four fireplaces on the 1st and 2nd floors for heat.Side entrance.Fine old homes dating from the earliest years built for ship’s captains and Lunenberg’s prosperous families.St. John’s Anglican Church of Canada.Founded in 1953, built within the first quarter century of Lunenberg’s settlement.The La Cloche Jessen bell in front of St. John’s.A reminder that shipbuilding and seafaring have been a part of Lunenberg for going on 300 years.A walking path down to the harborBlack granite pillars on the dock at the waterfront bear the names of ships and their crew members, based in Lunenberg, lost to the sea. The first name recorded is from 1898, but no doubt unknown others preceded him. The losses drop dramatically after the 1970’s with modern boats and communications. The last local crewman lost at sea was in 2016.
We lost Stan Rogers, Canadian singer songwriter, in 1983 at age 34, but not before he left us memorable songs from the Maritimes. A Stan Rogers music festival is held each year in Halifax in his honor.
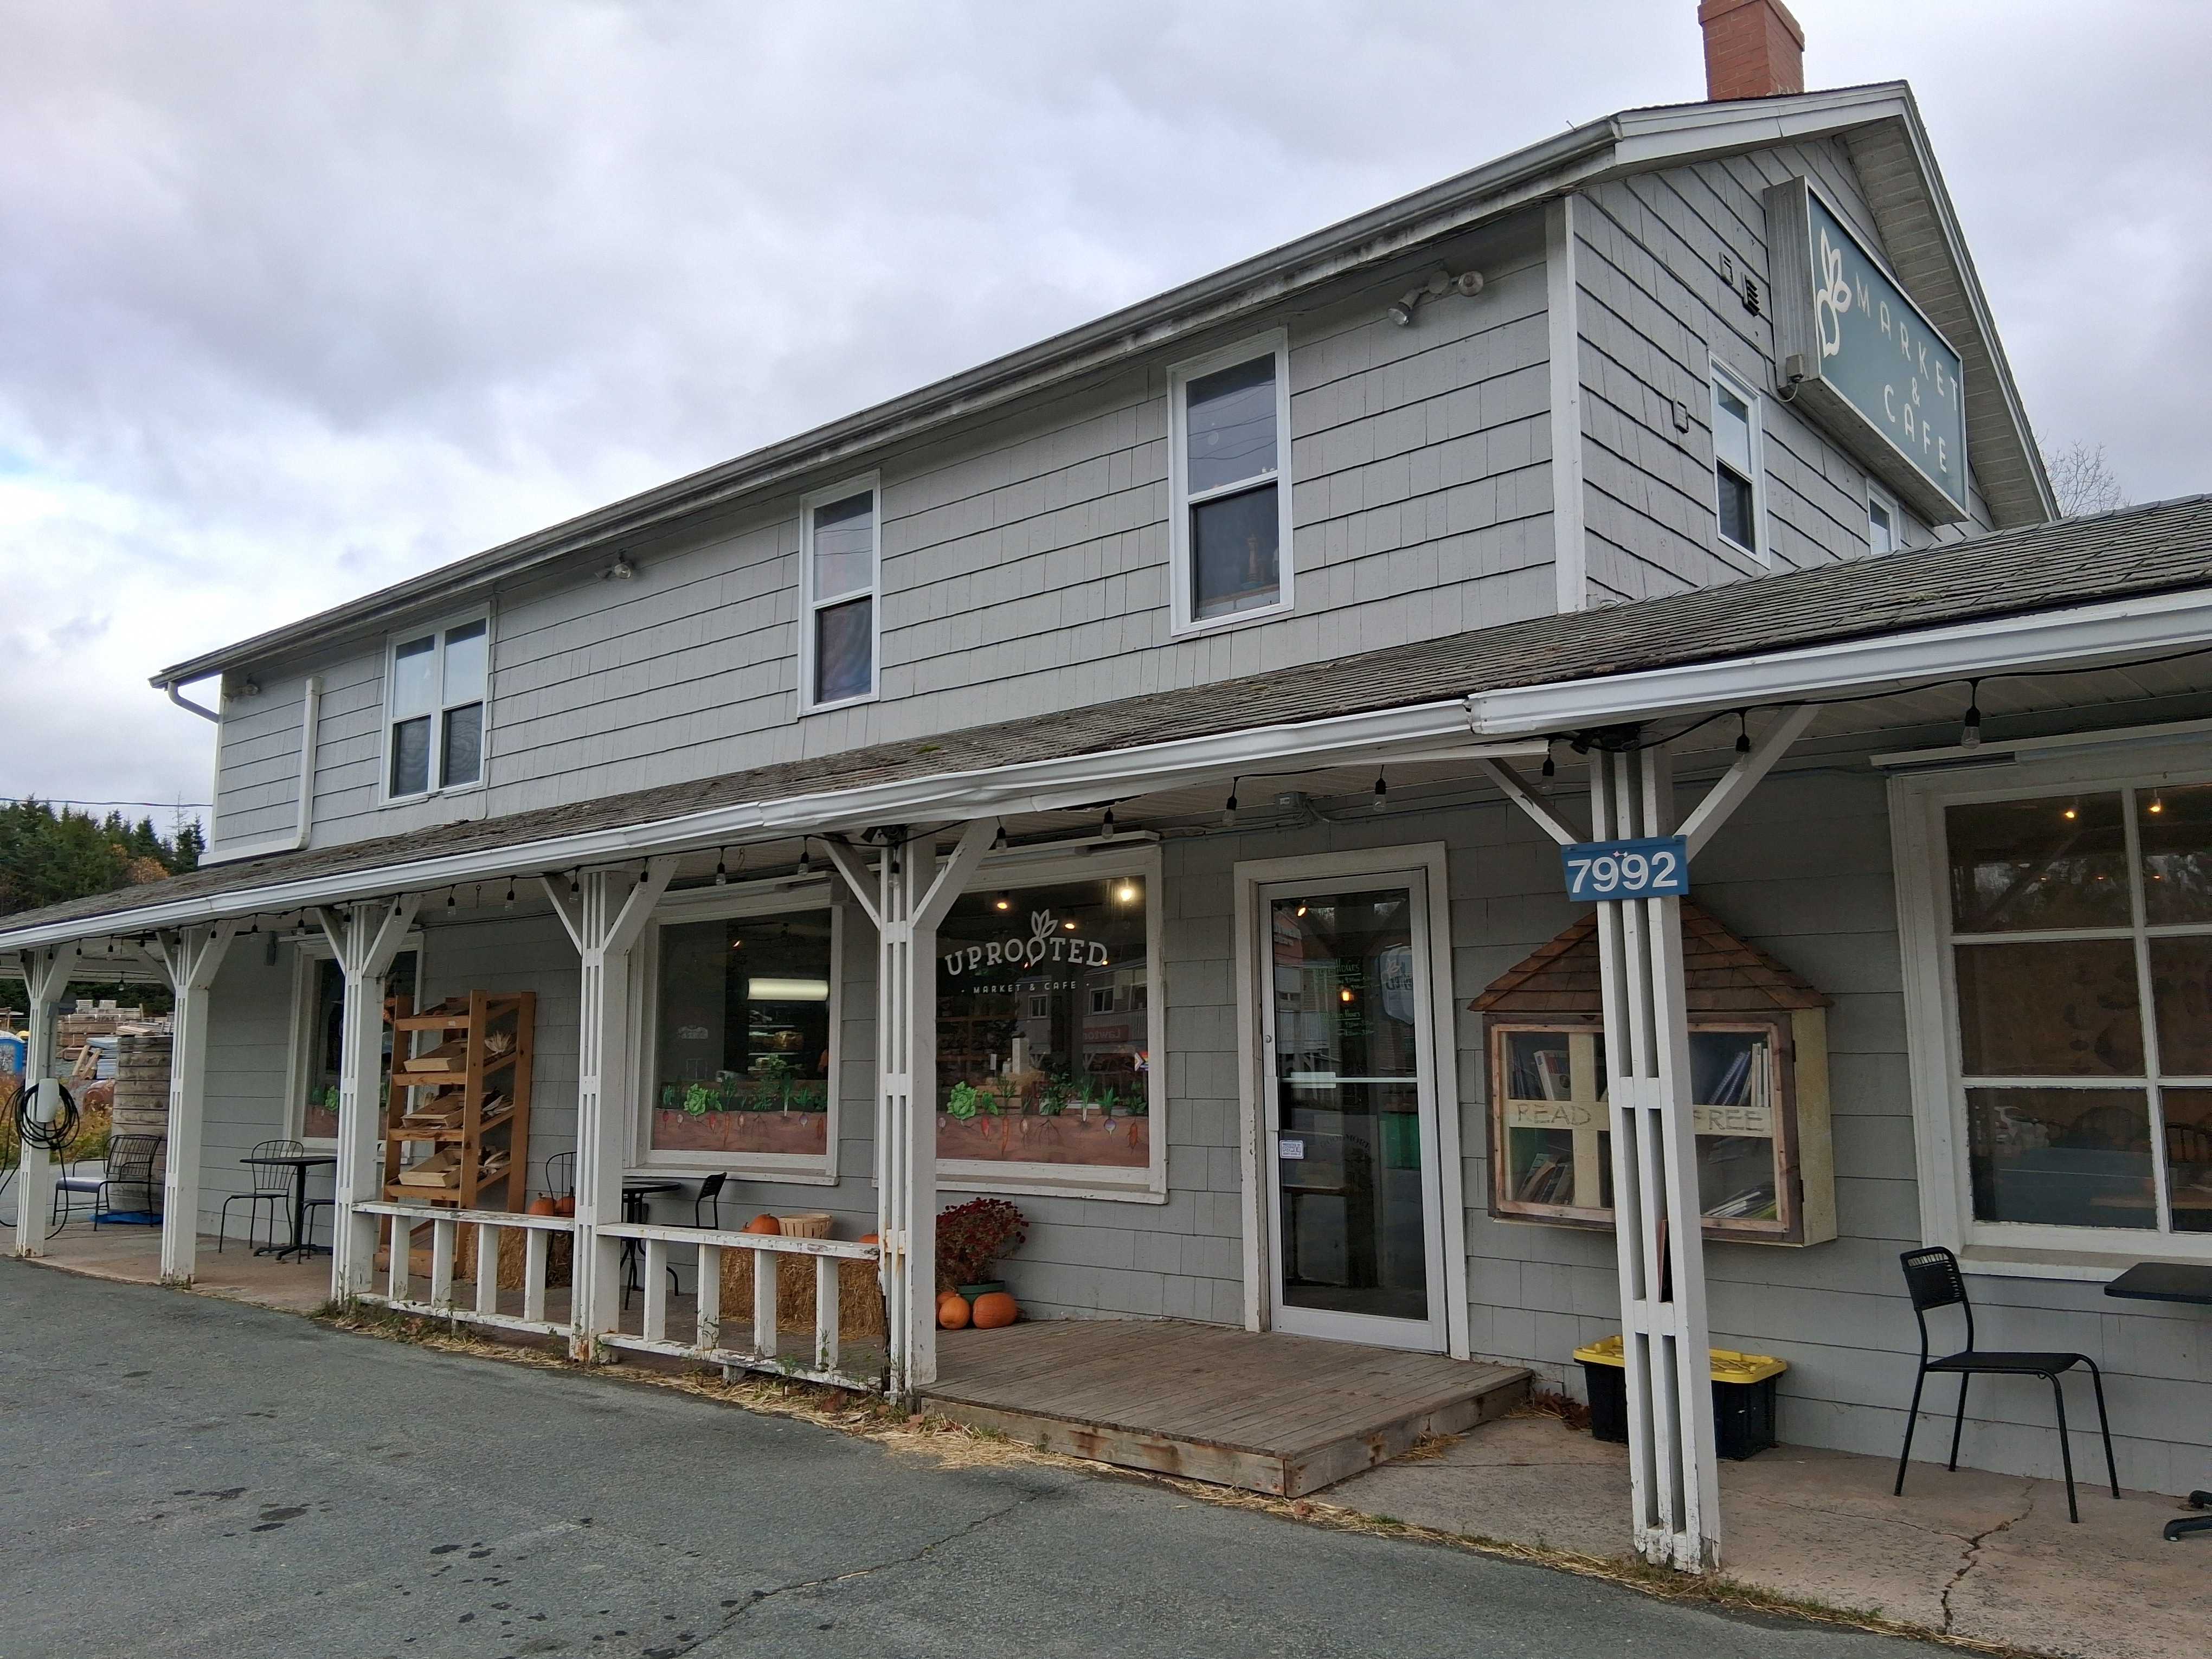
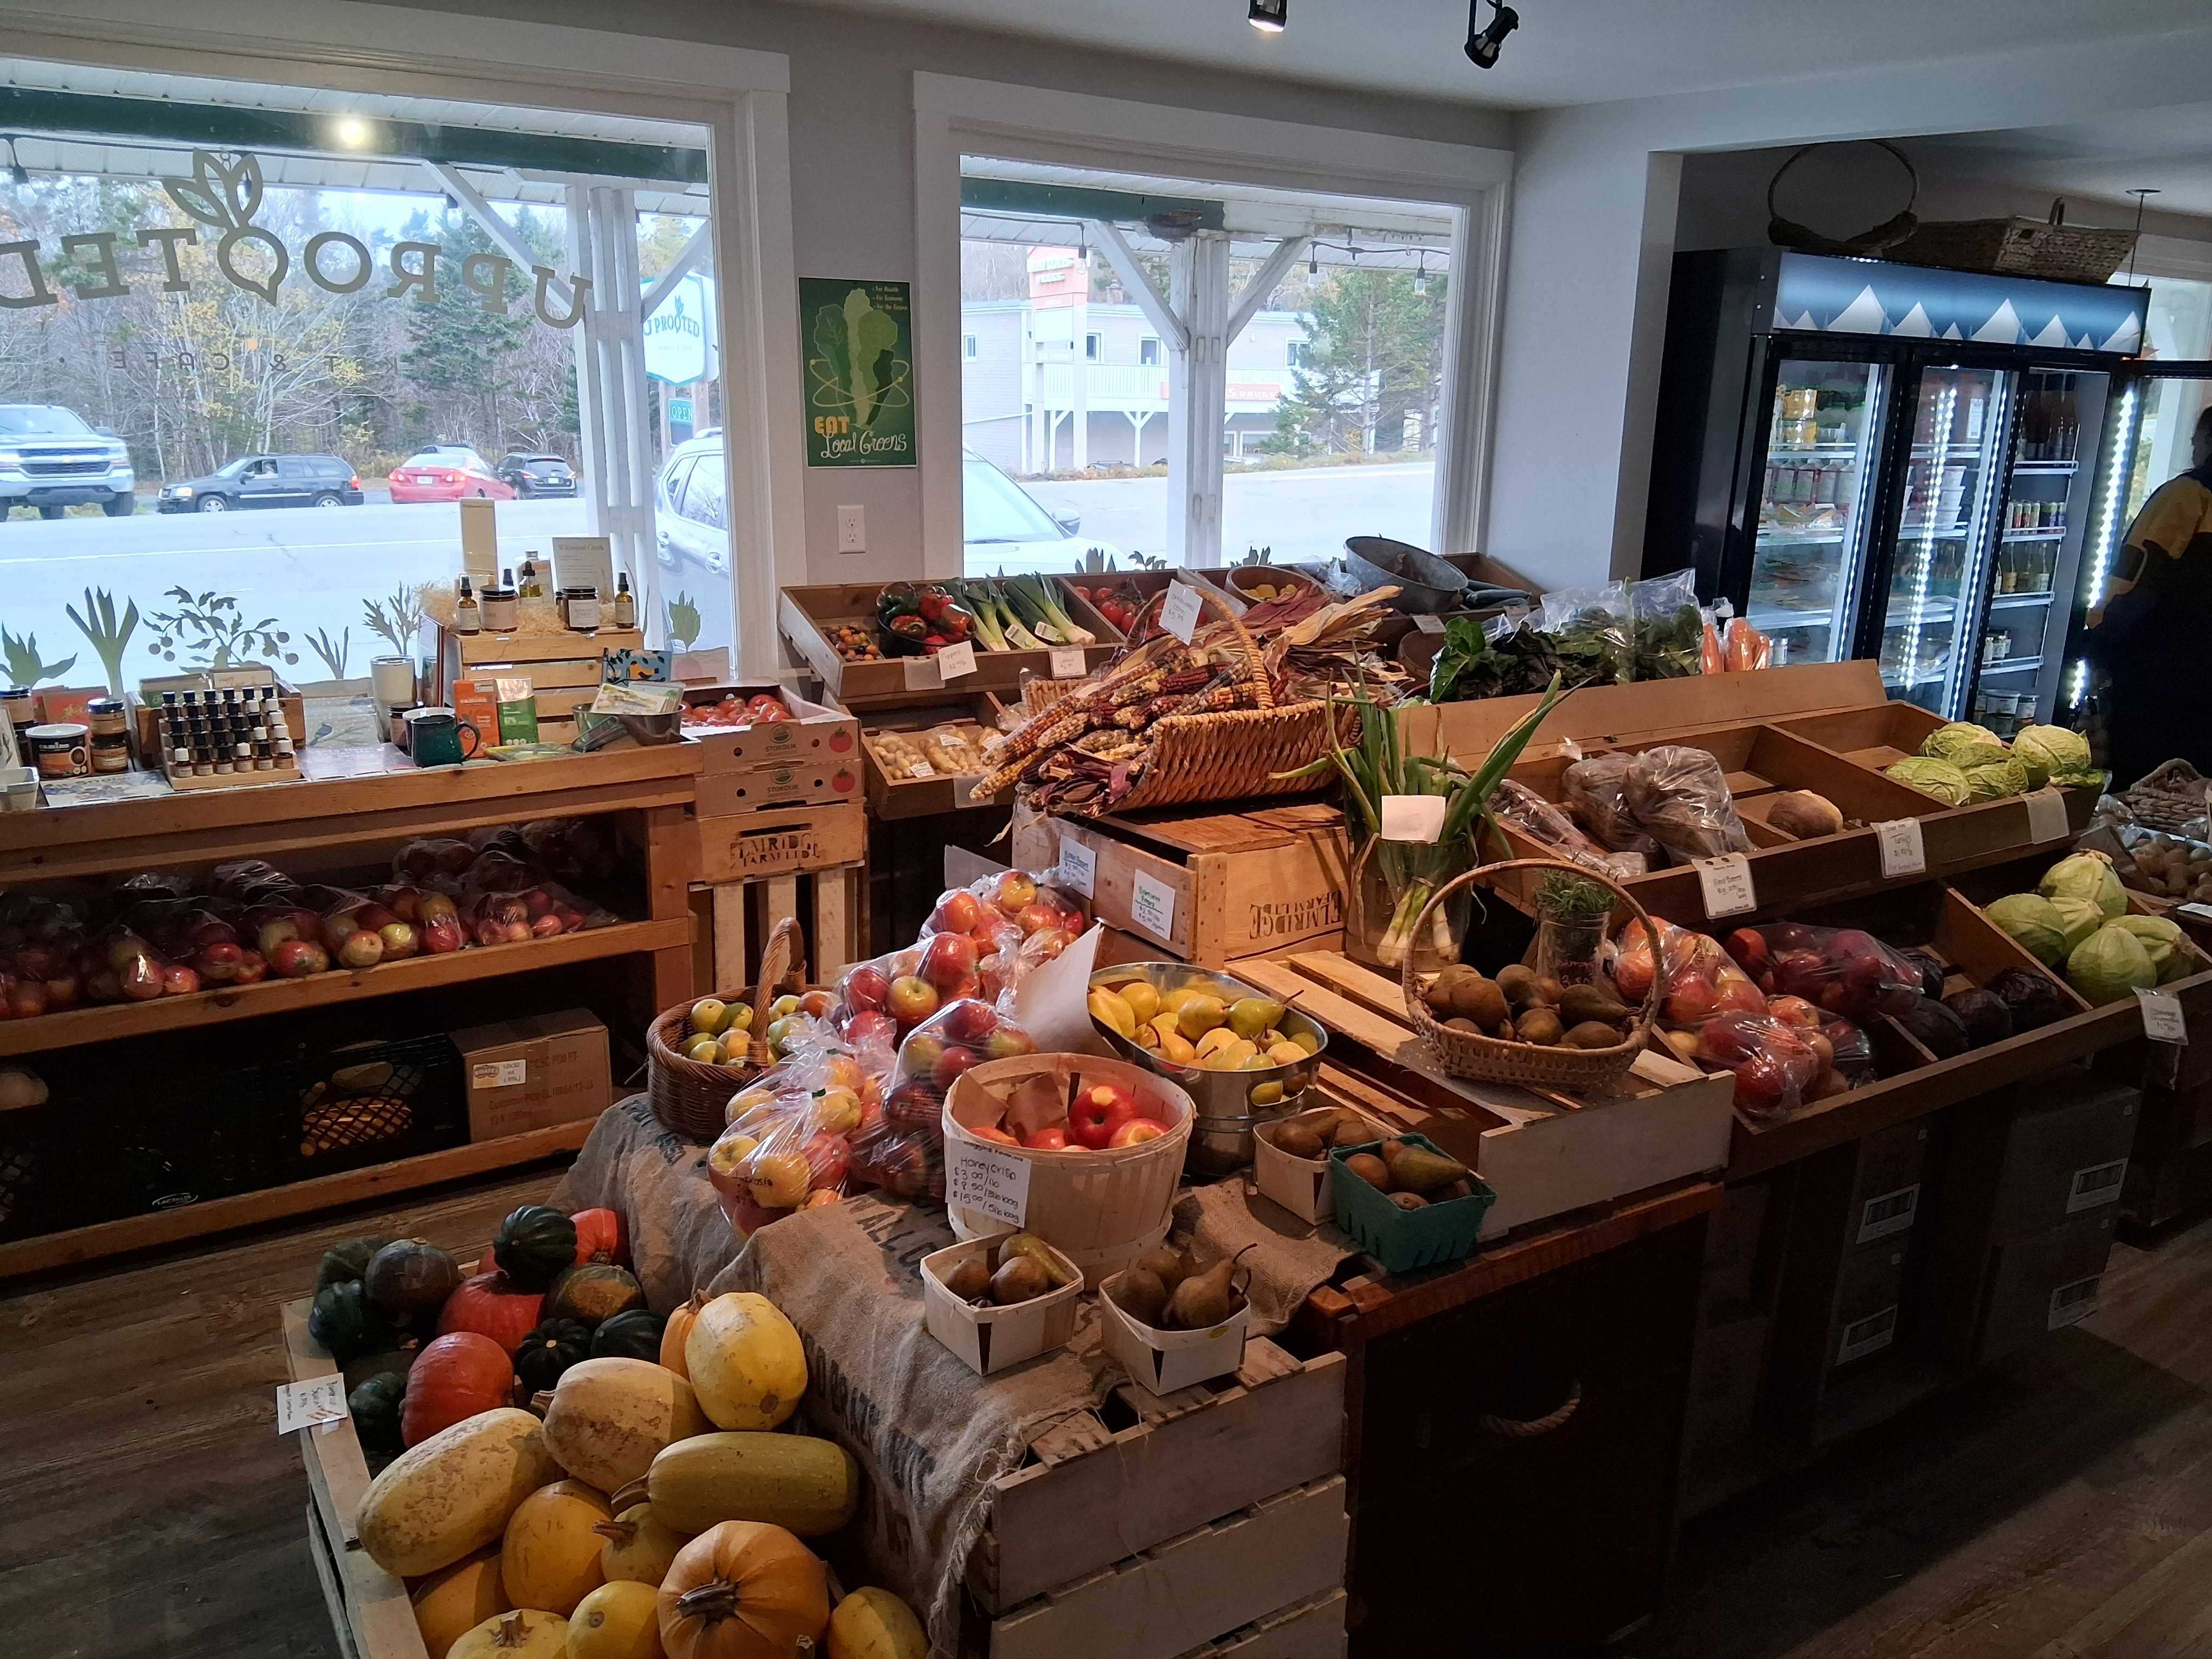
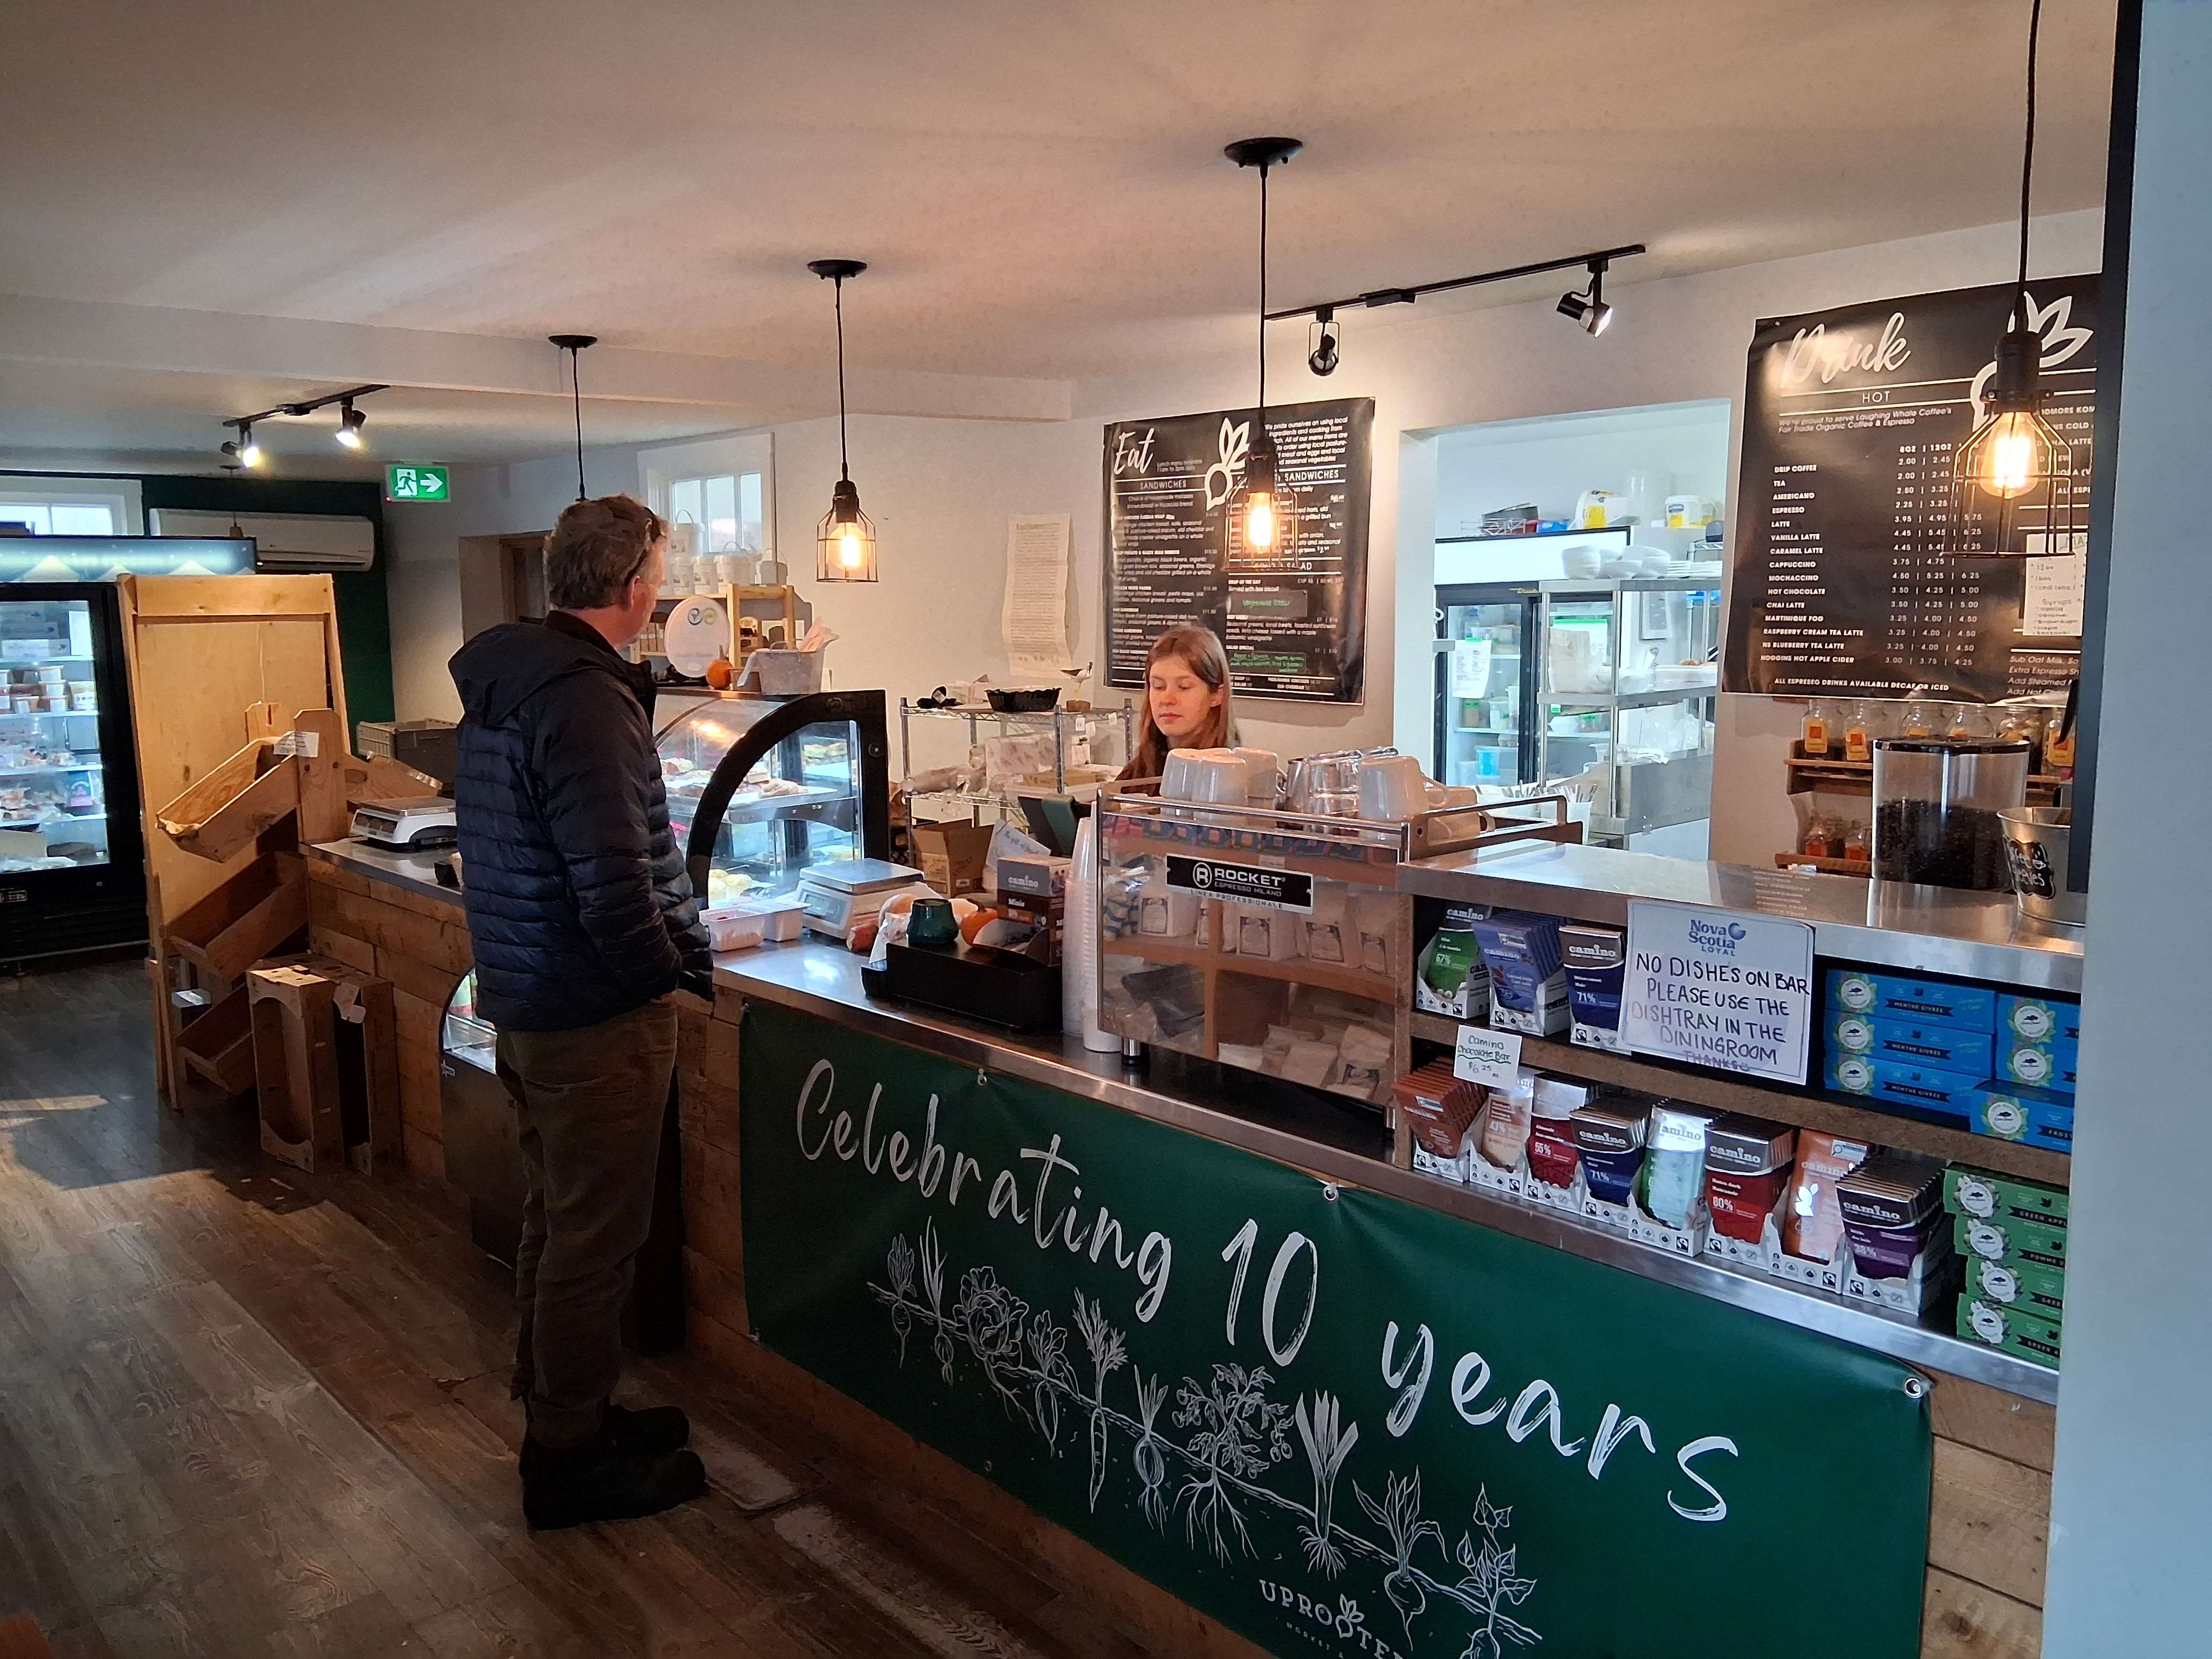
Drove over to the east shore beaches north of Dartmouth where Karl surfs. Good waves but too much wind, so we stopped at the Rose & Rooster for coffee and brownies. Went a little further to the tiny village of Musquodoboit Harbour (“Musket-dob-it”) about 45 km. from Halifax to turn around and grab some fresh, locally grown produce at Uprooted, the local grocery store. [All photos Max Vollmer, Click on any image to enlarge]
Uprooted Grocery, Musquodobit, N.S.Fresh, local produce. Lots of apple varieties to choose!Everything you really need. Veggies, fruits, meat, seafood.
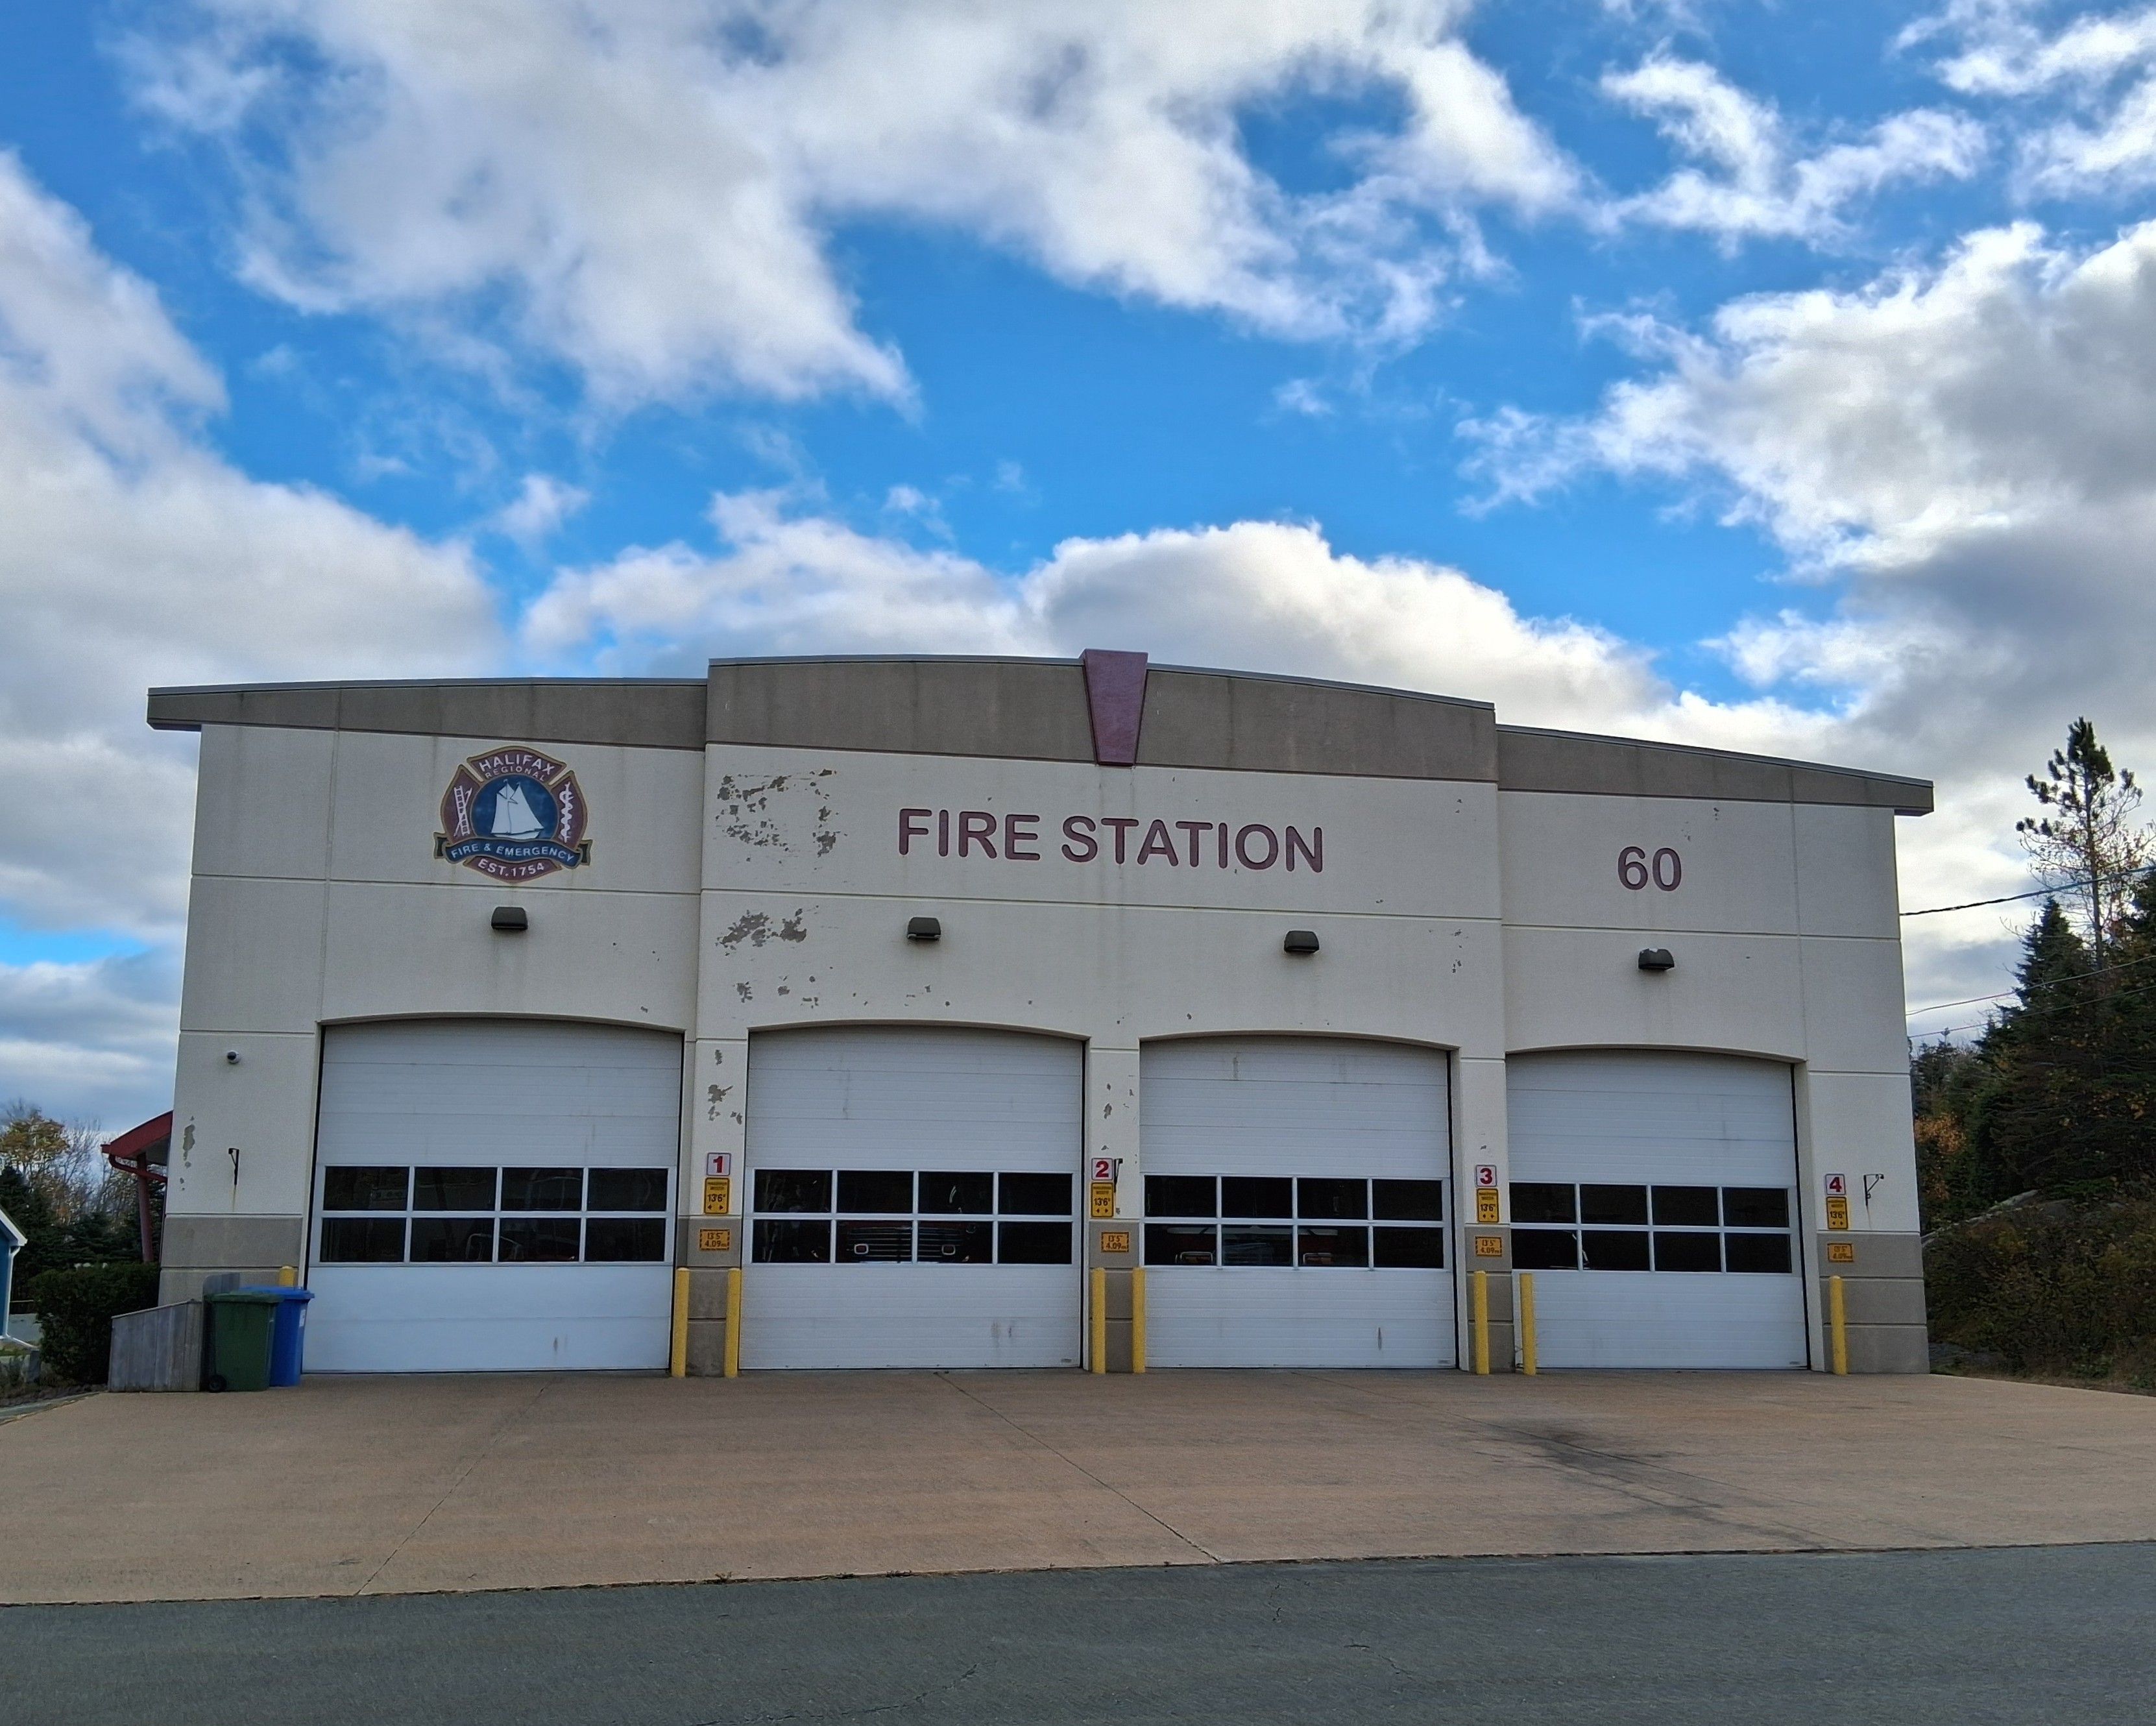
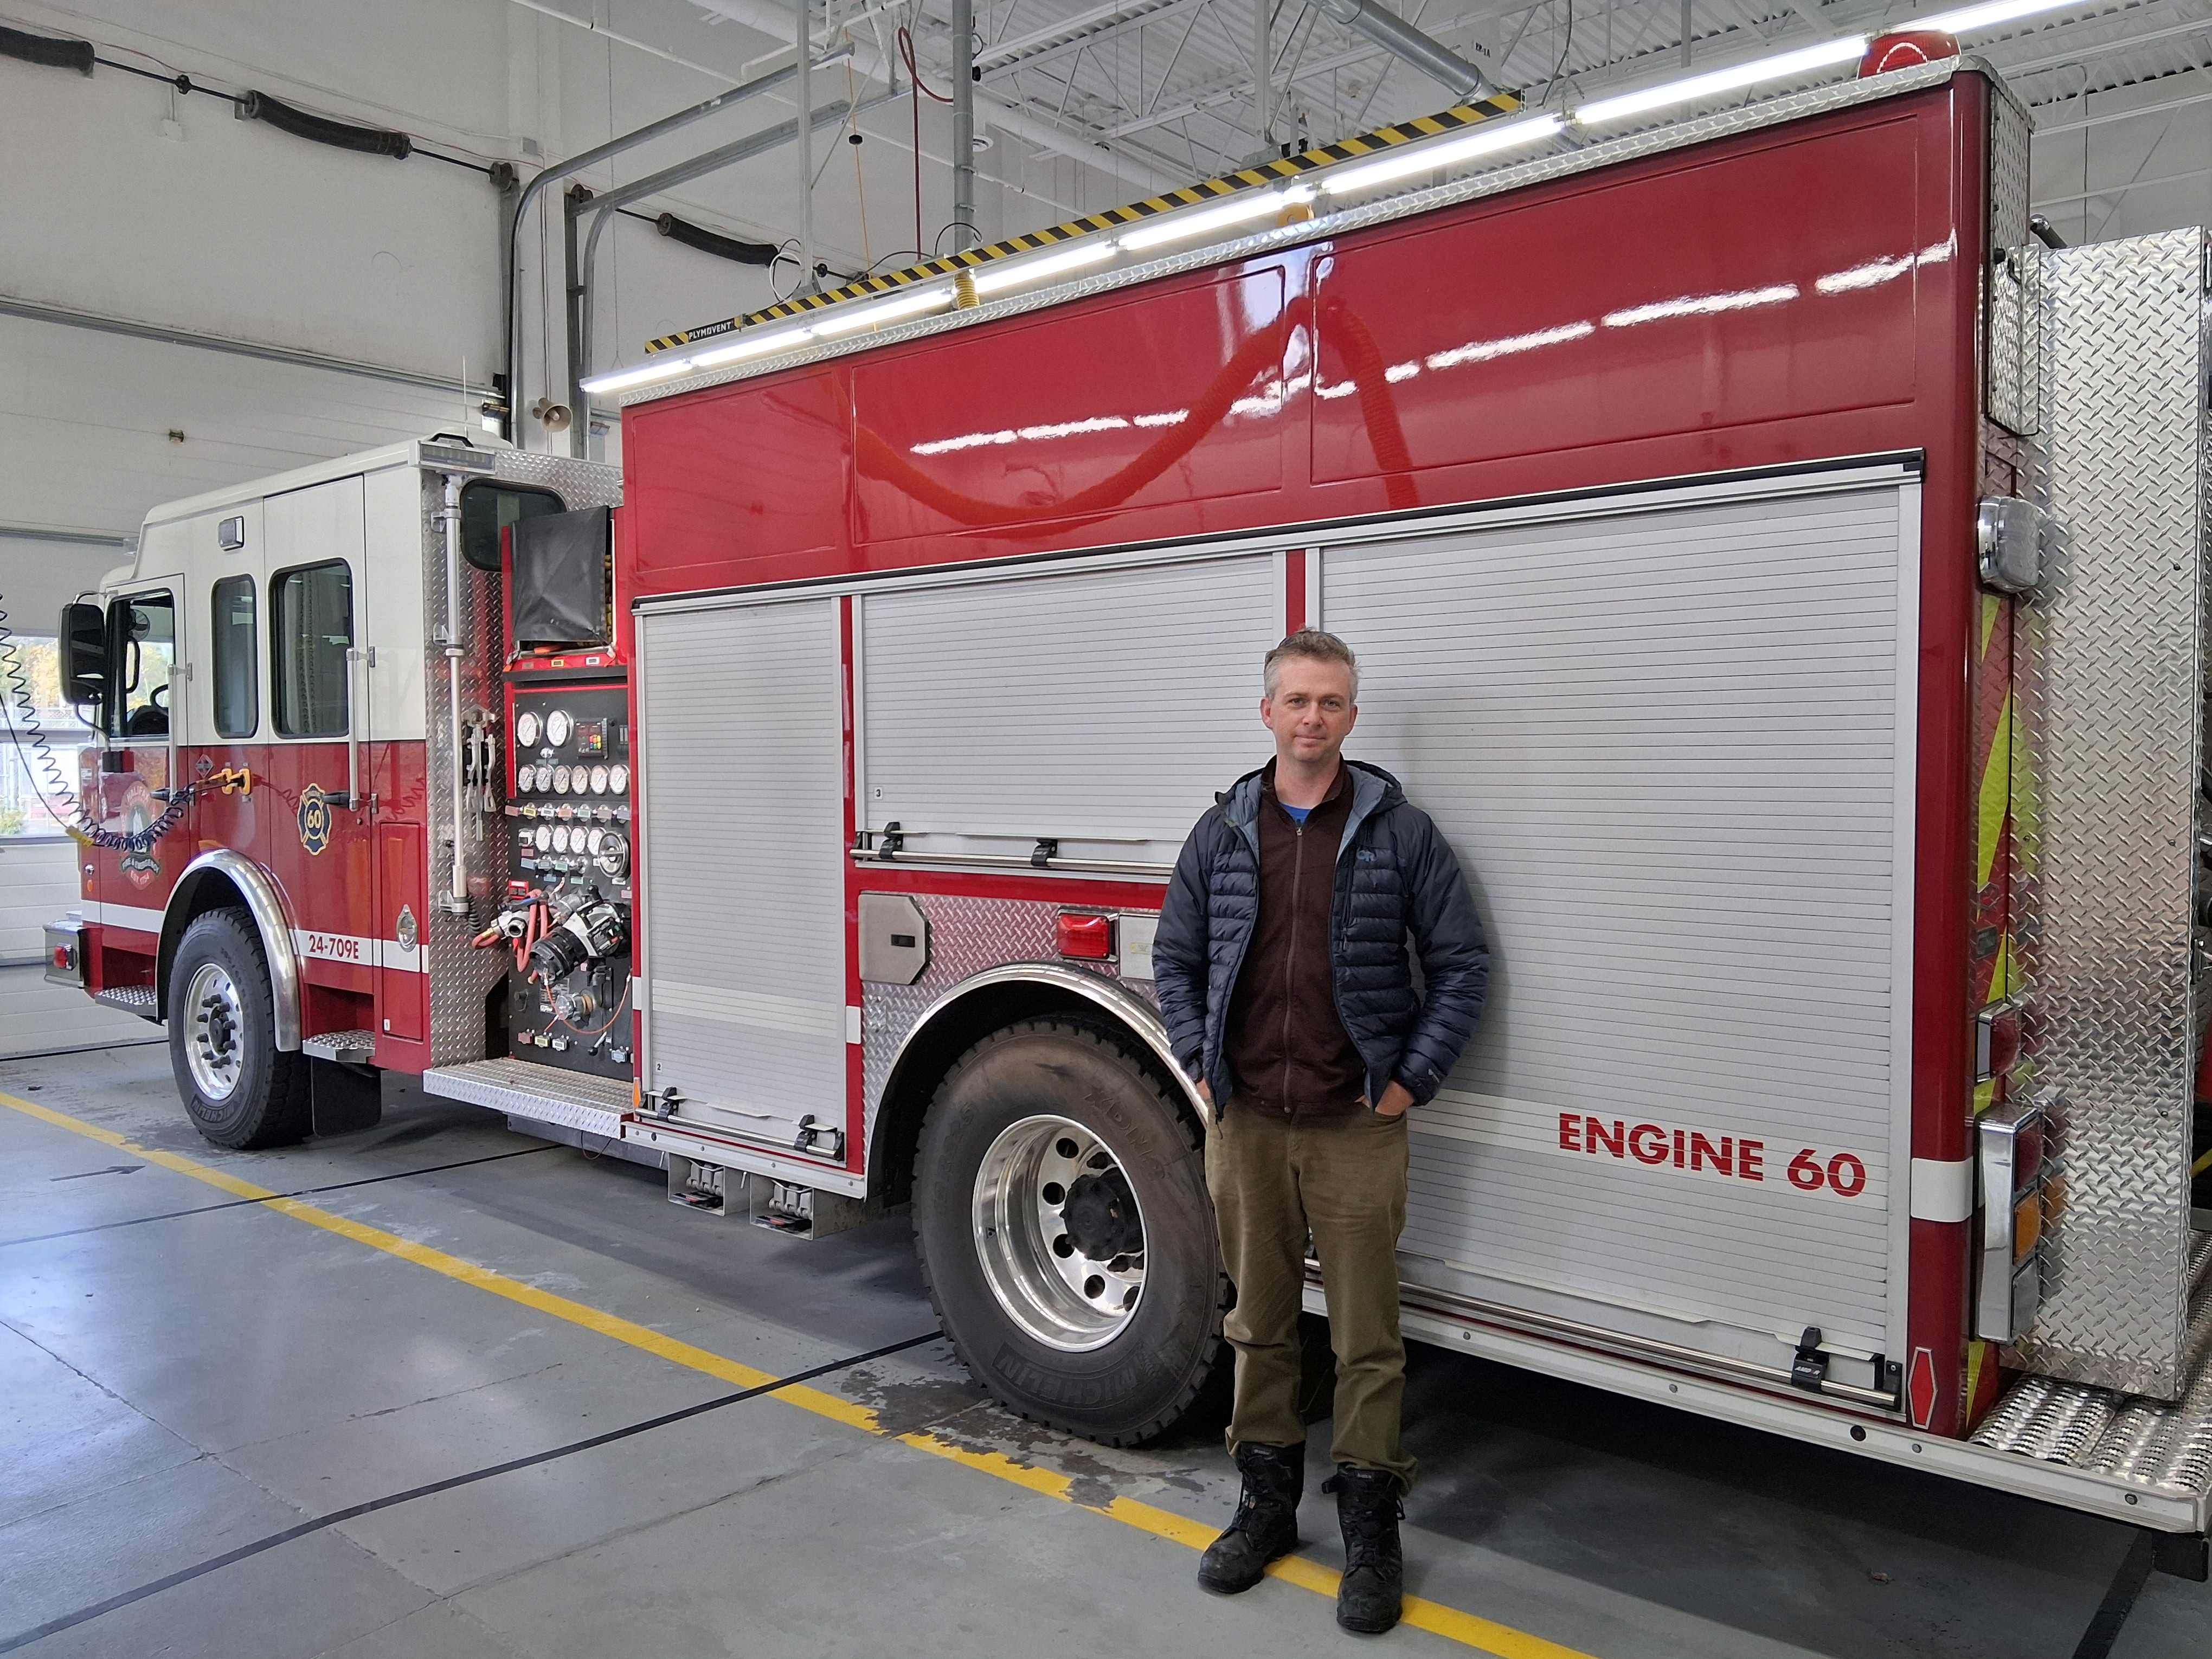
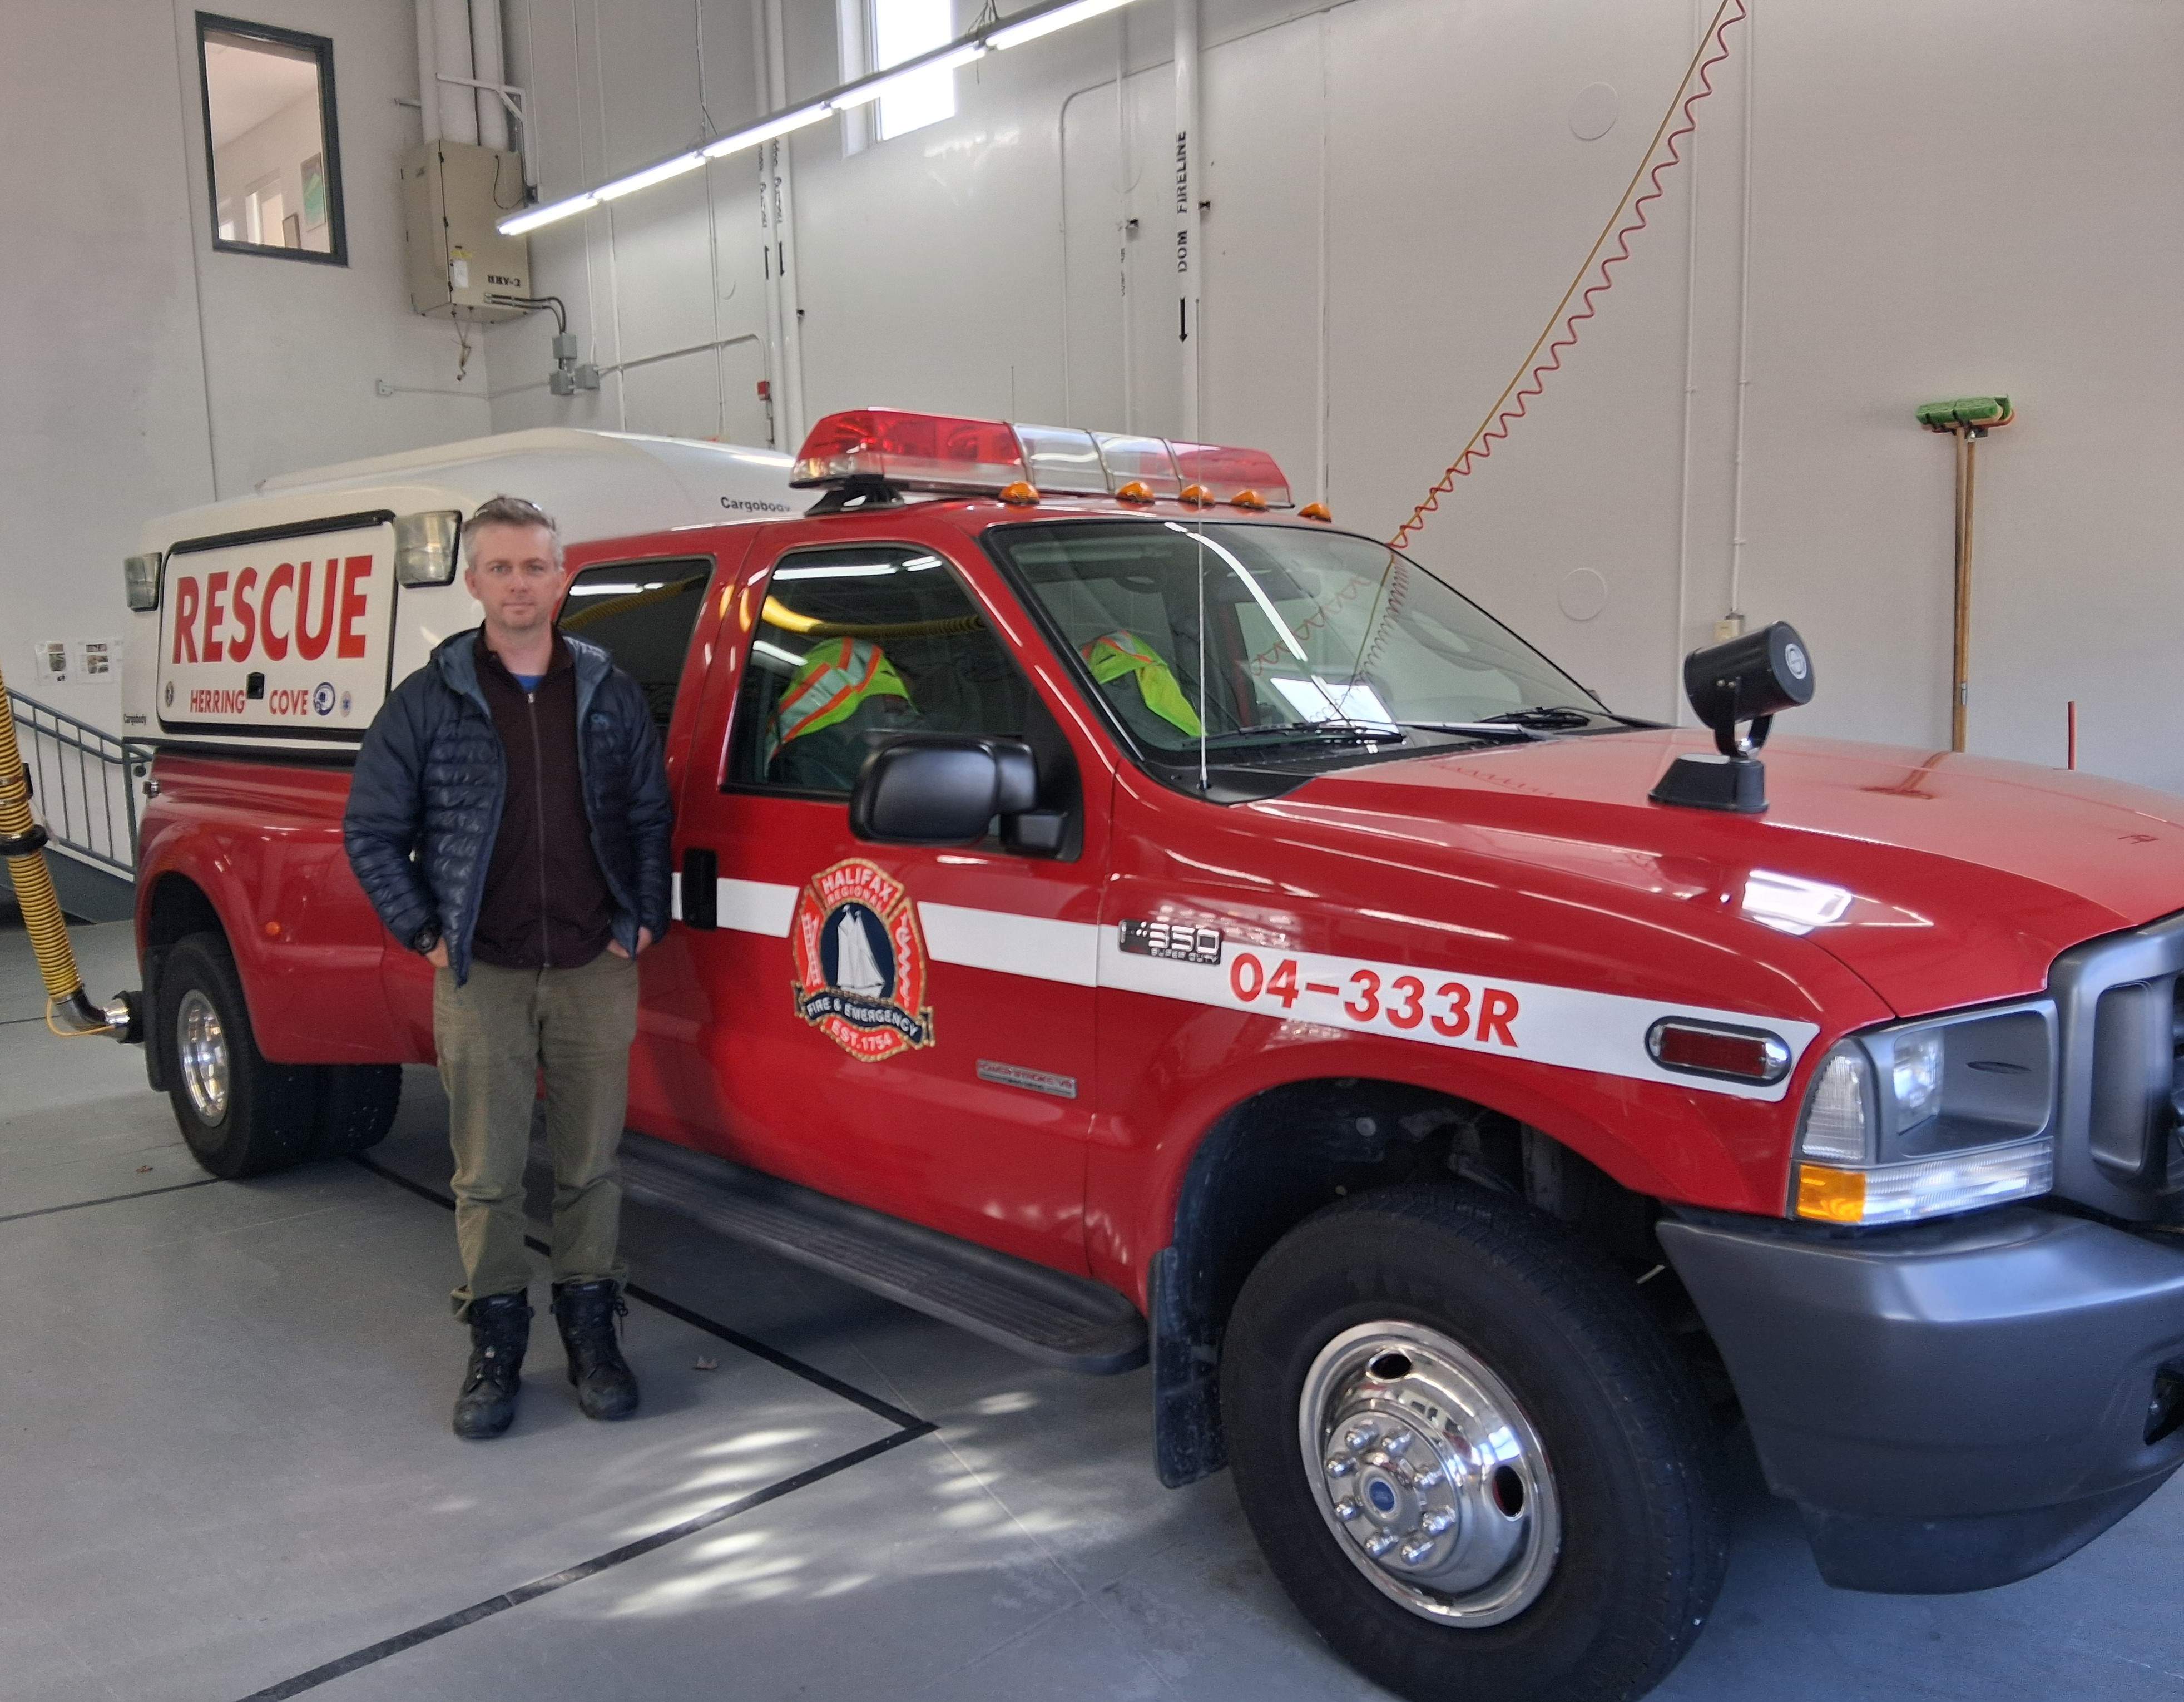
On the way back to Halifax we stopped at the Herrick Cove Volunteer Fire Station where my son Karl is the Captain. The station has five salaried career firefighters who are on call 24-7 and twenty four volunteer firefighters who respond to calls as needed.
Halifax Regional Fire & Emergency, Station 60, Herrick Cove.Karl beside the brand new Engine 60 which can carry approx. 550 gallons of water.
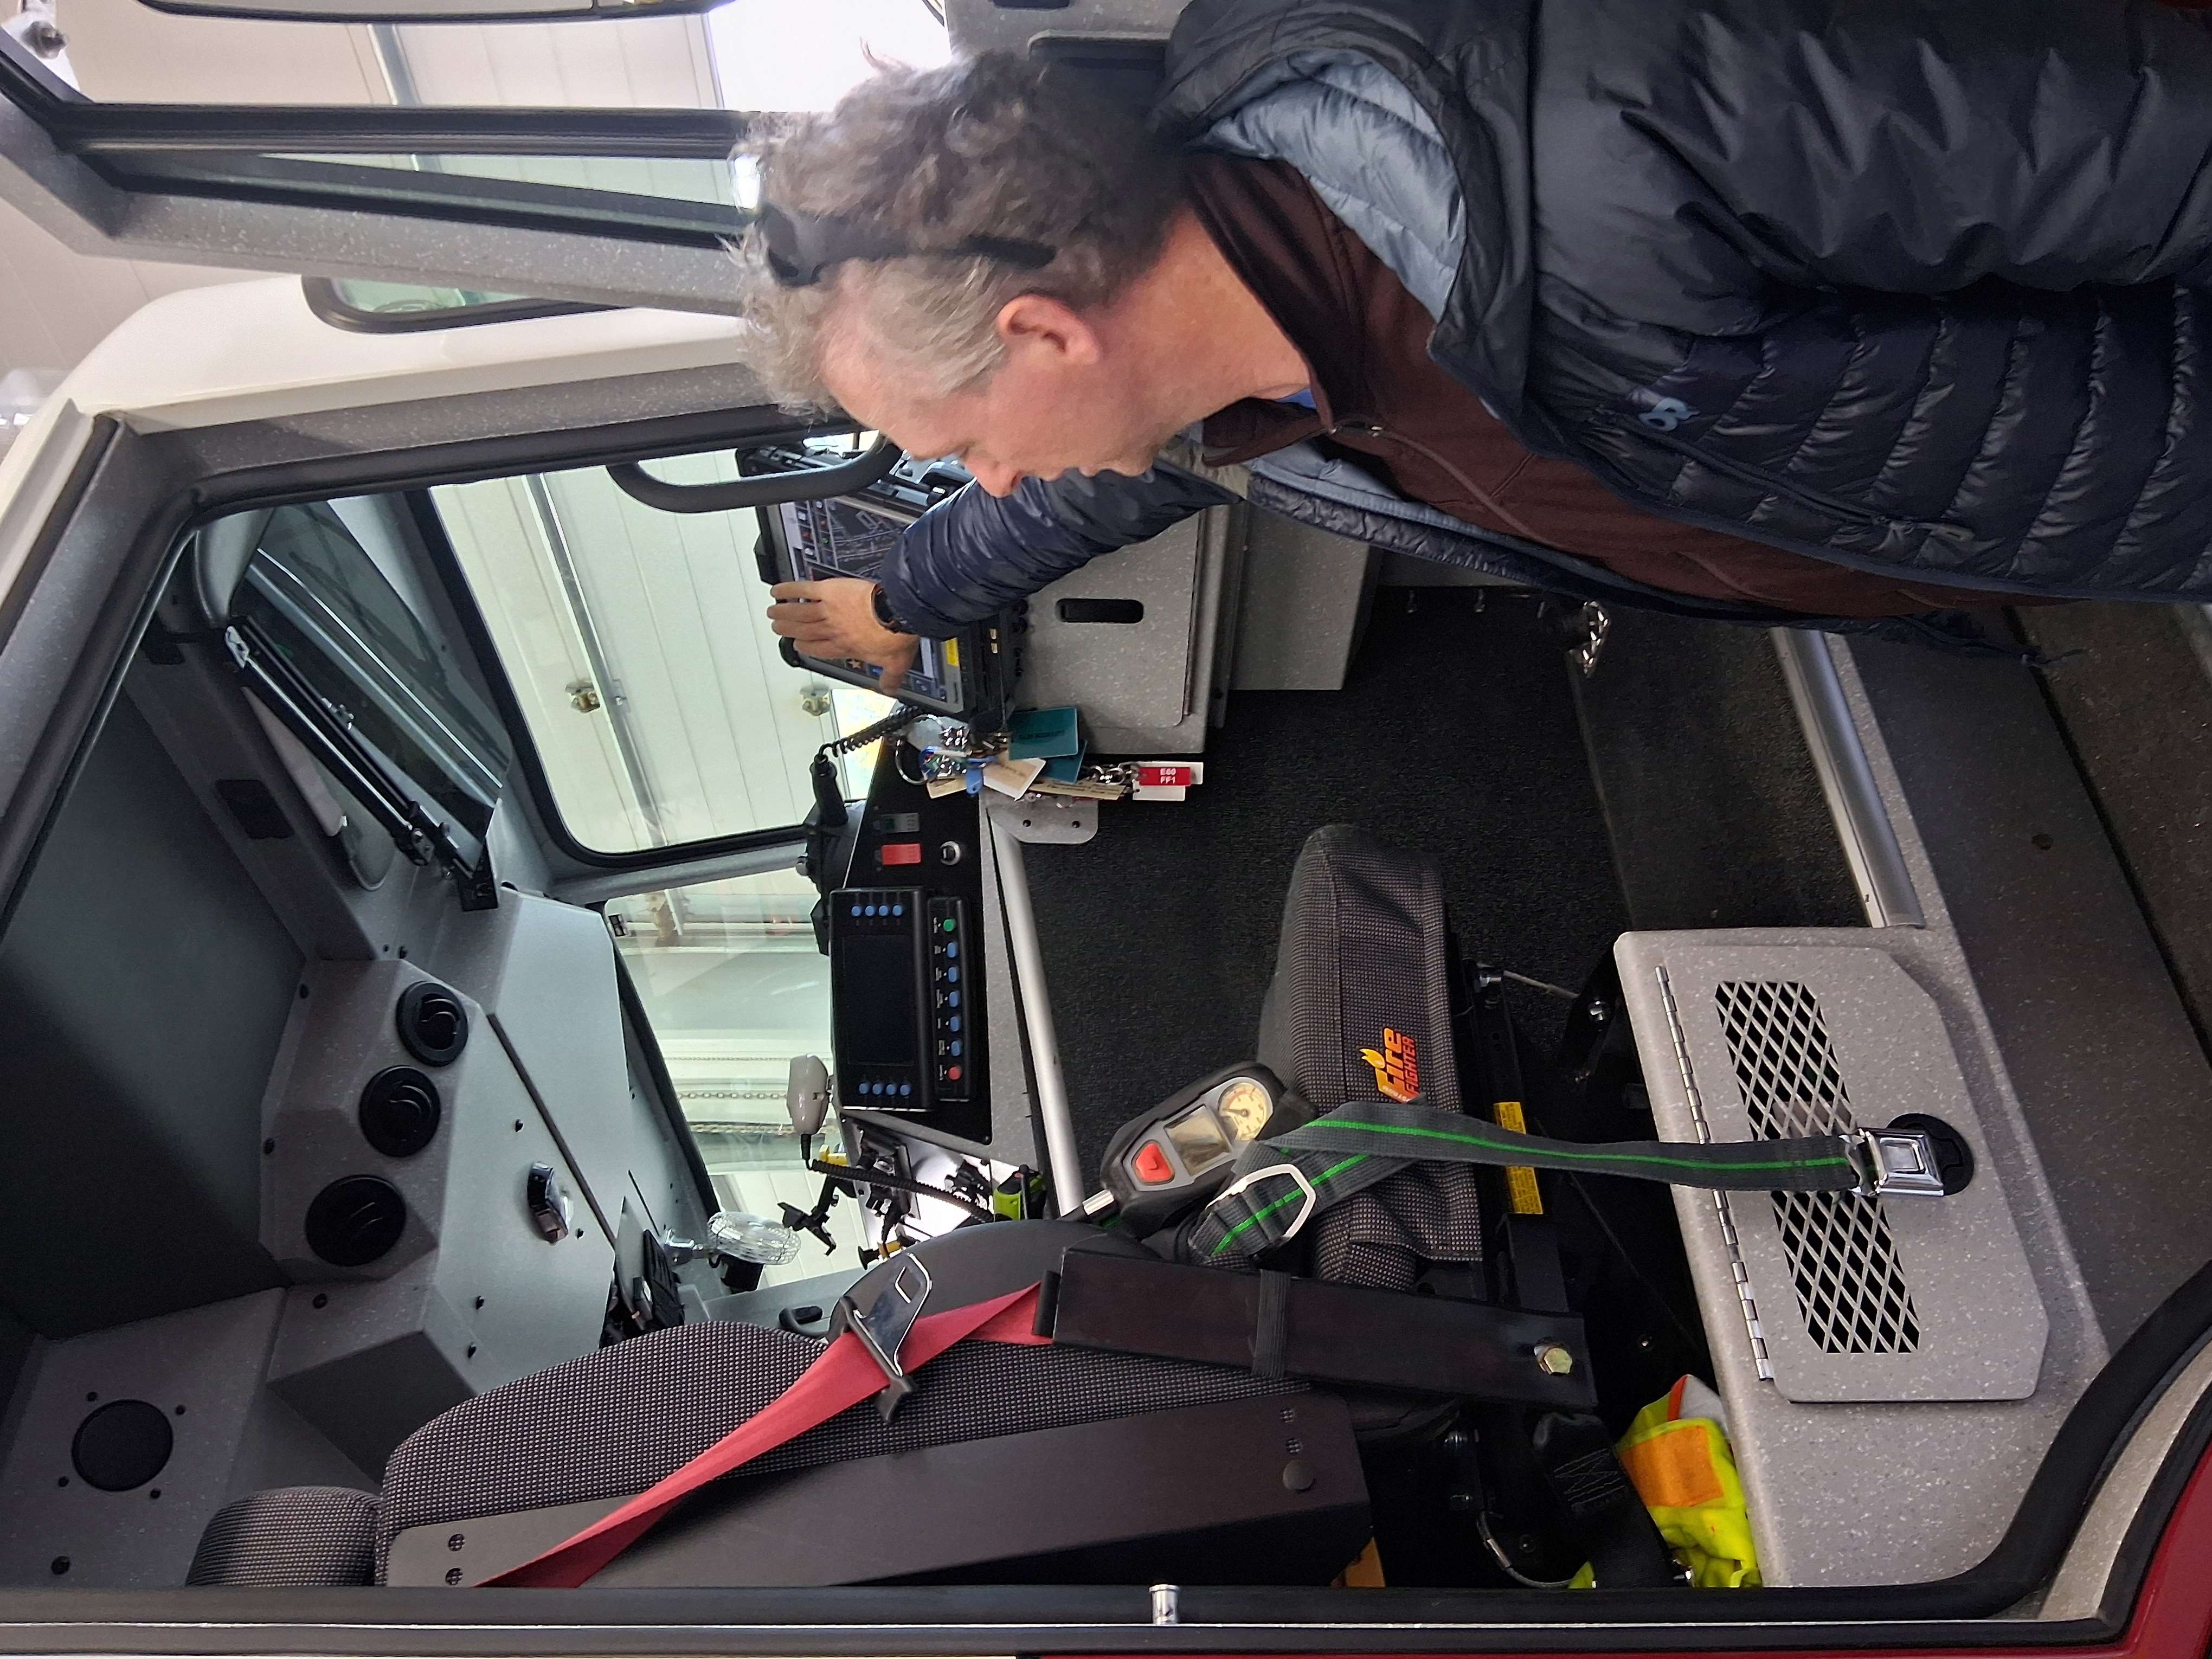
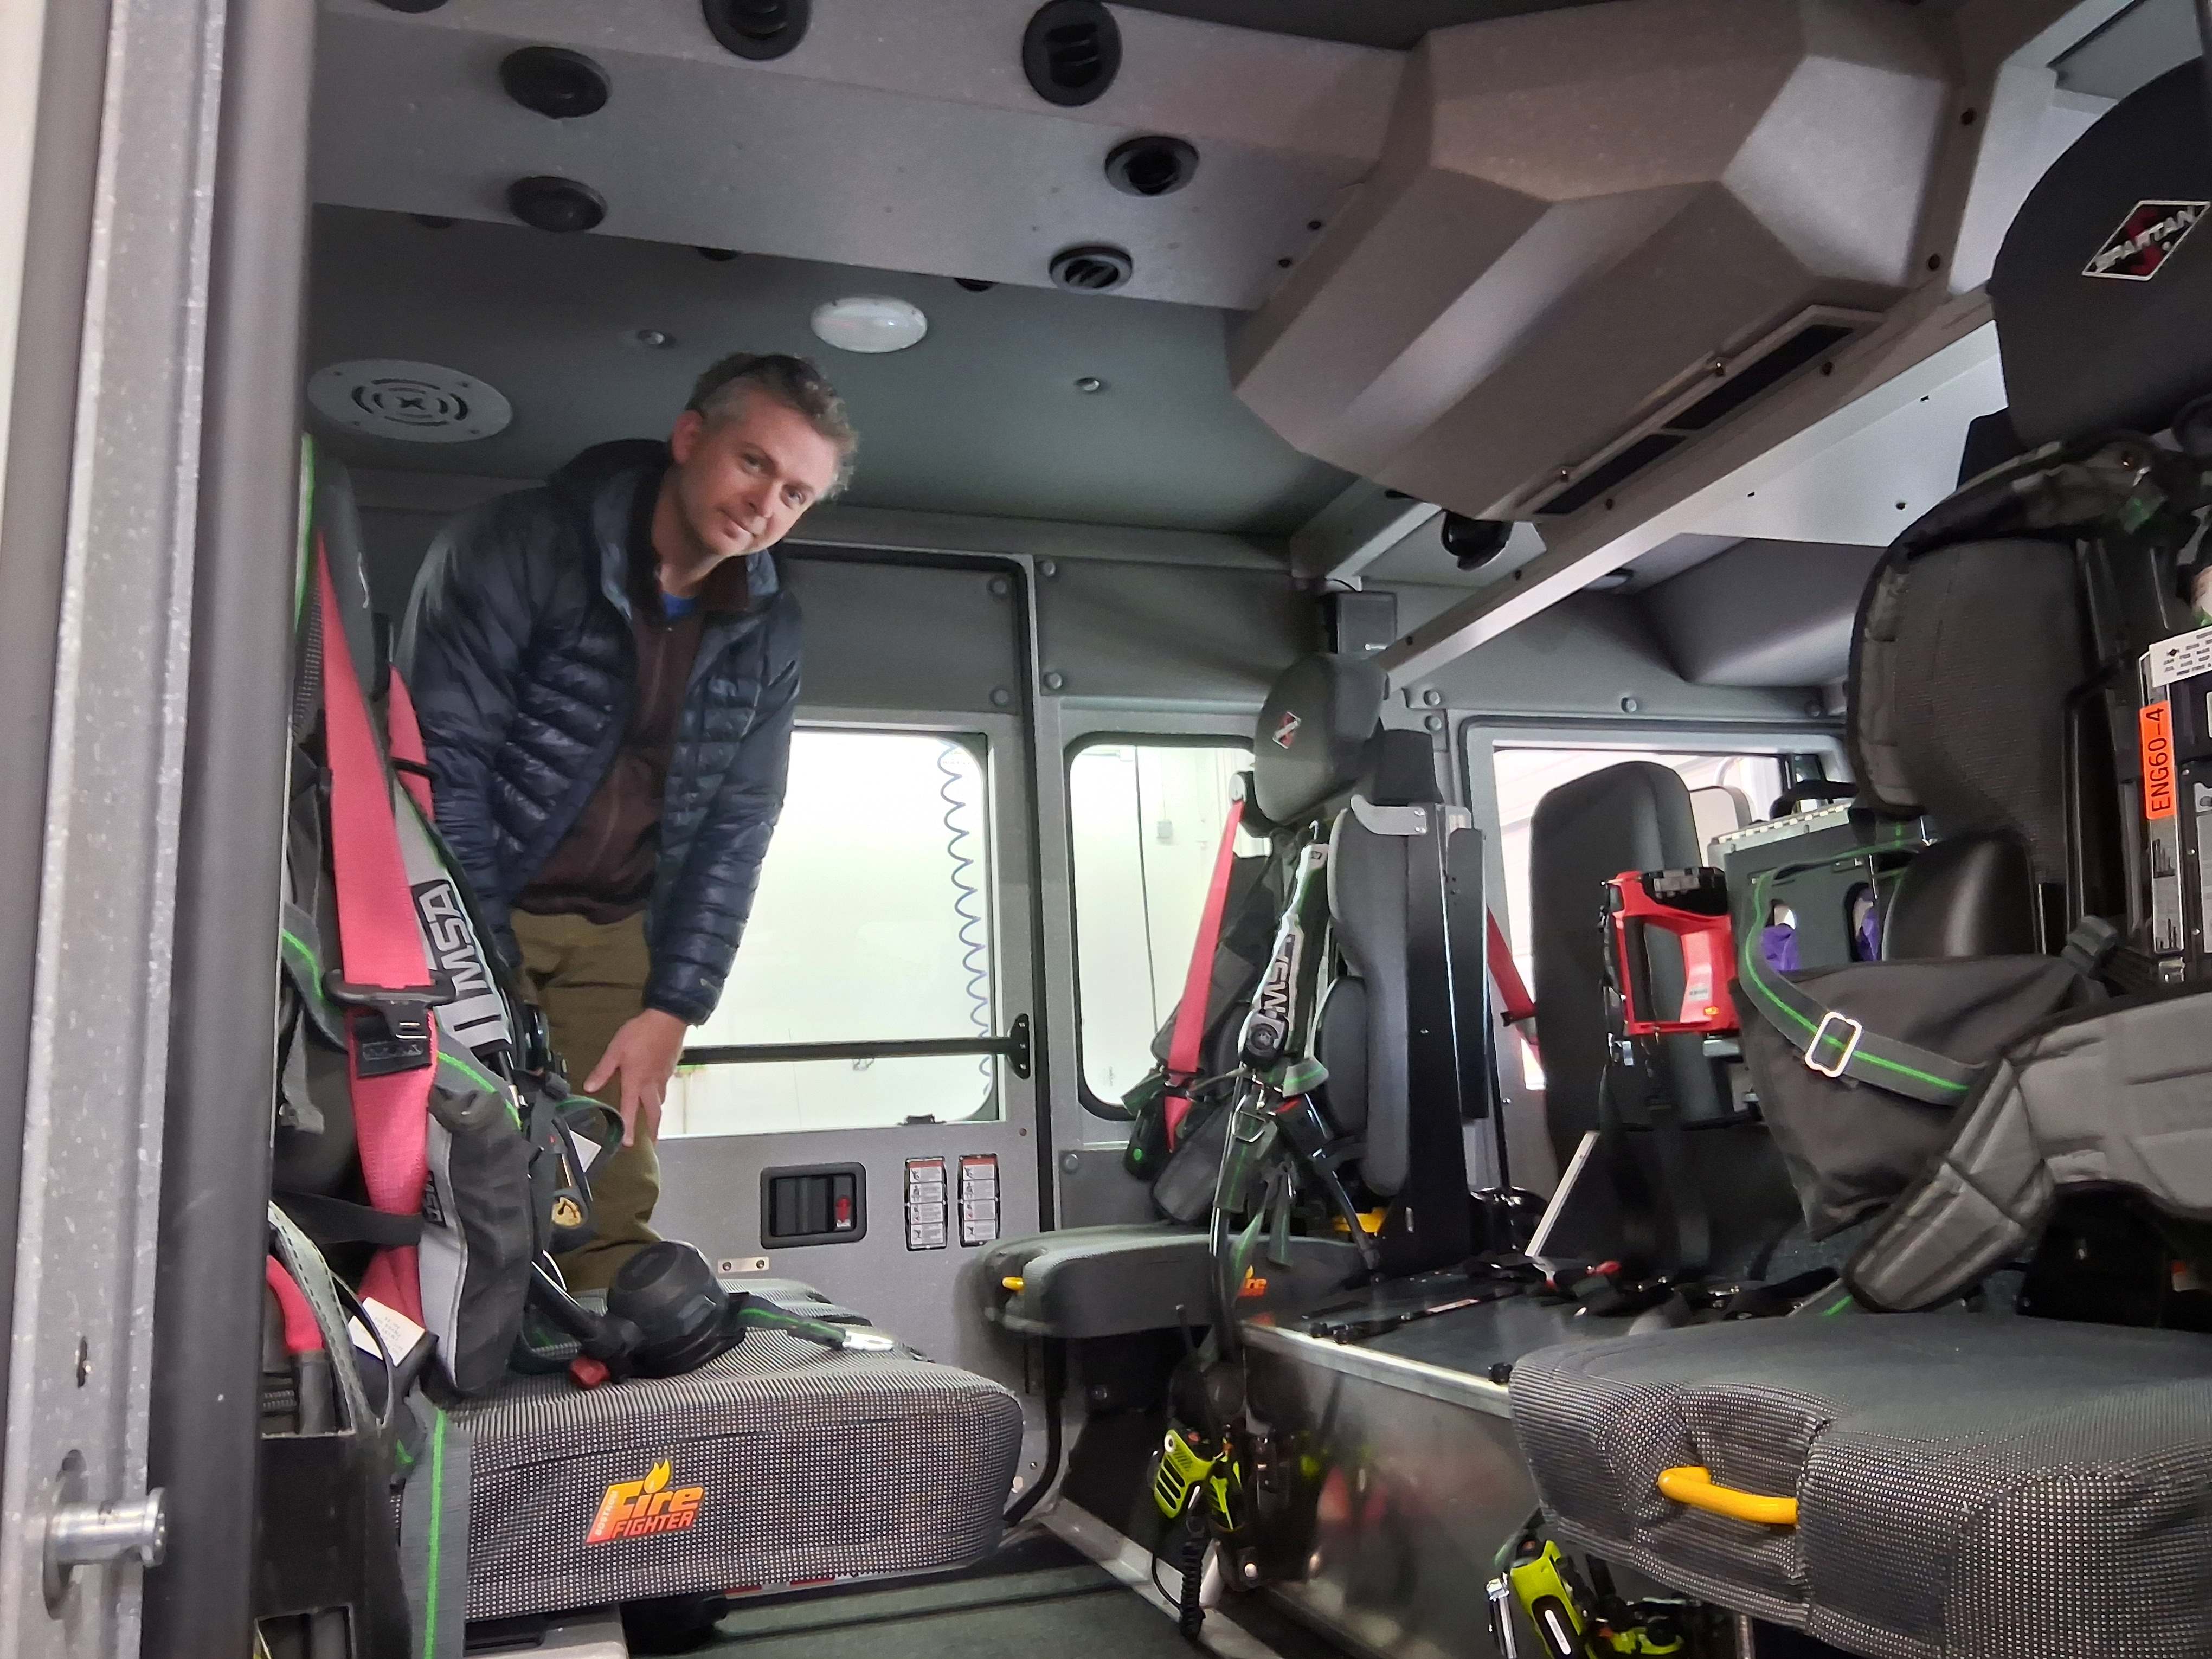
Engine 60 is only 3~4 months old, cost approx. $750,000, and is the workhorse with the pump that feeds up to four hoses. The captain rides in the right front seat with a driver who does not leave the truck. Four additional firefighters ride in the crew cab where they gear up on the way to a fire. Engine 60 carries oxygen tanks for crew, fire hose, and specialty tools like chain saws, “jaws of life,” etc.
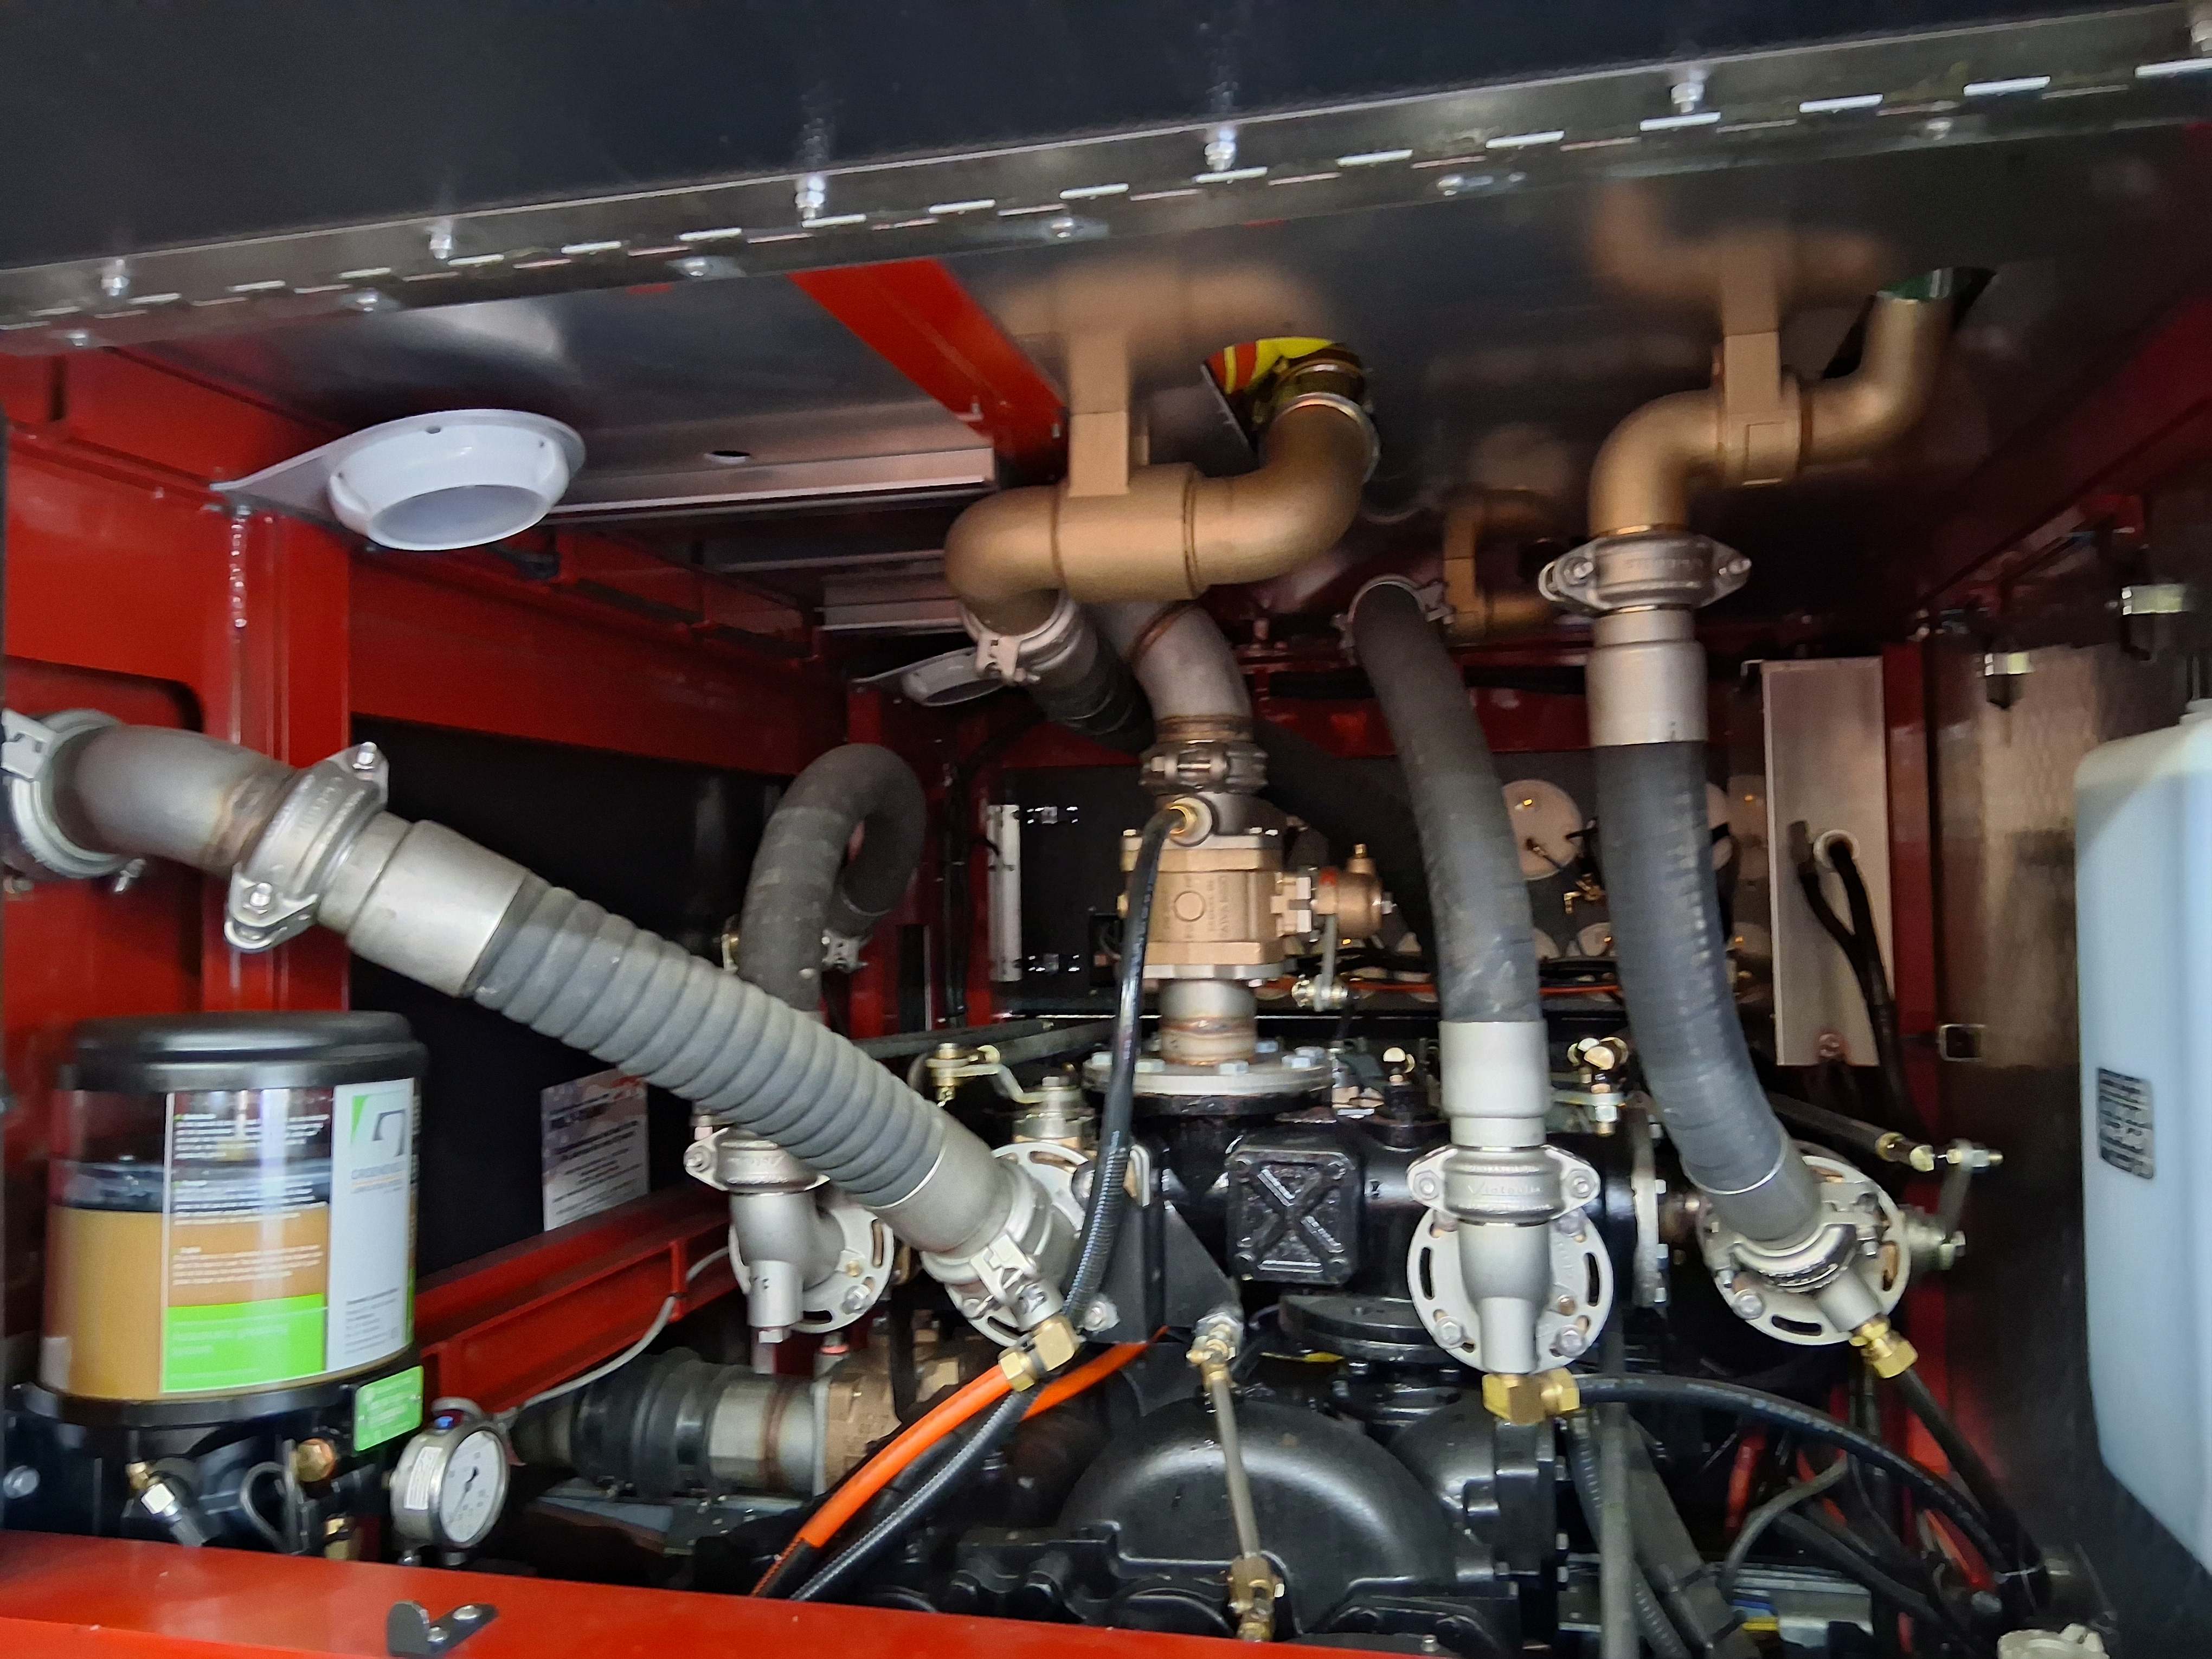
Cab with computer, communication gear, etc.Crew cab holds four on Engine 60.Pump, the heart of Engine 60.
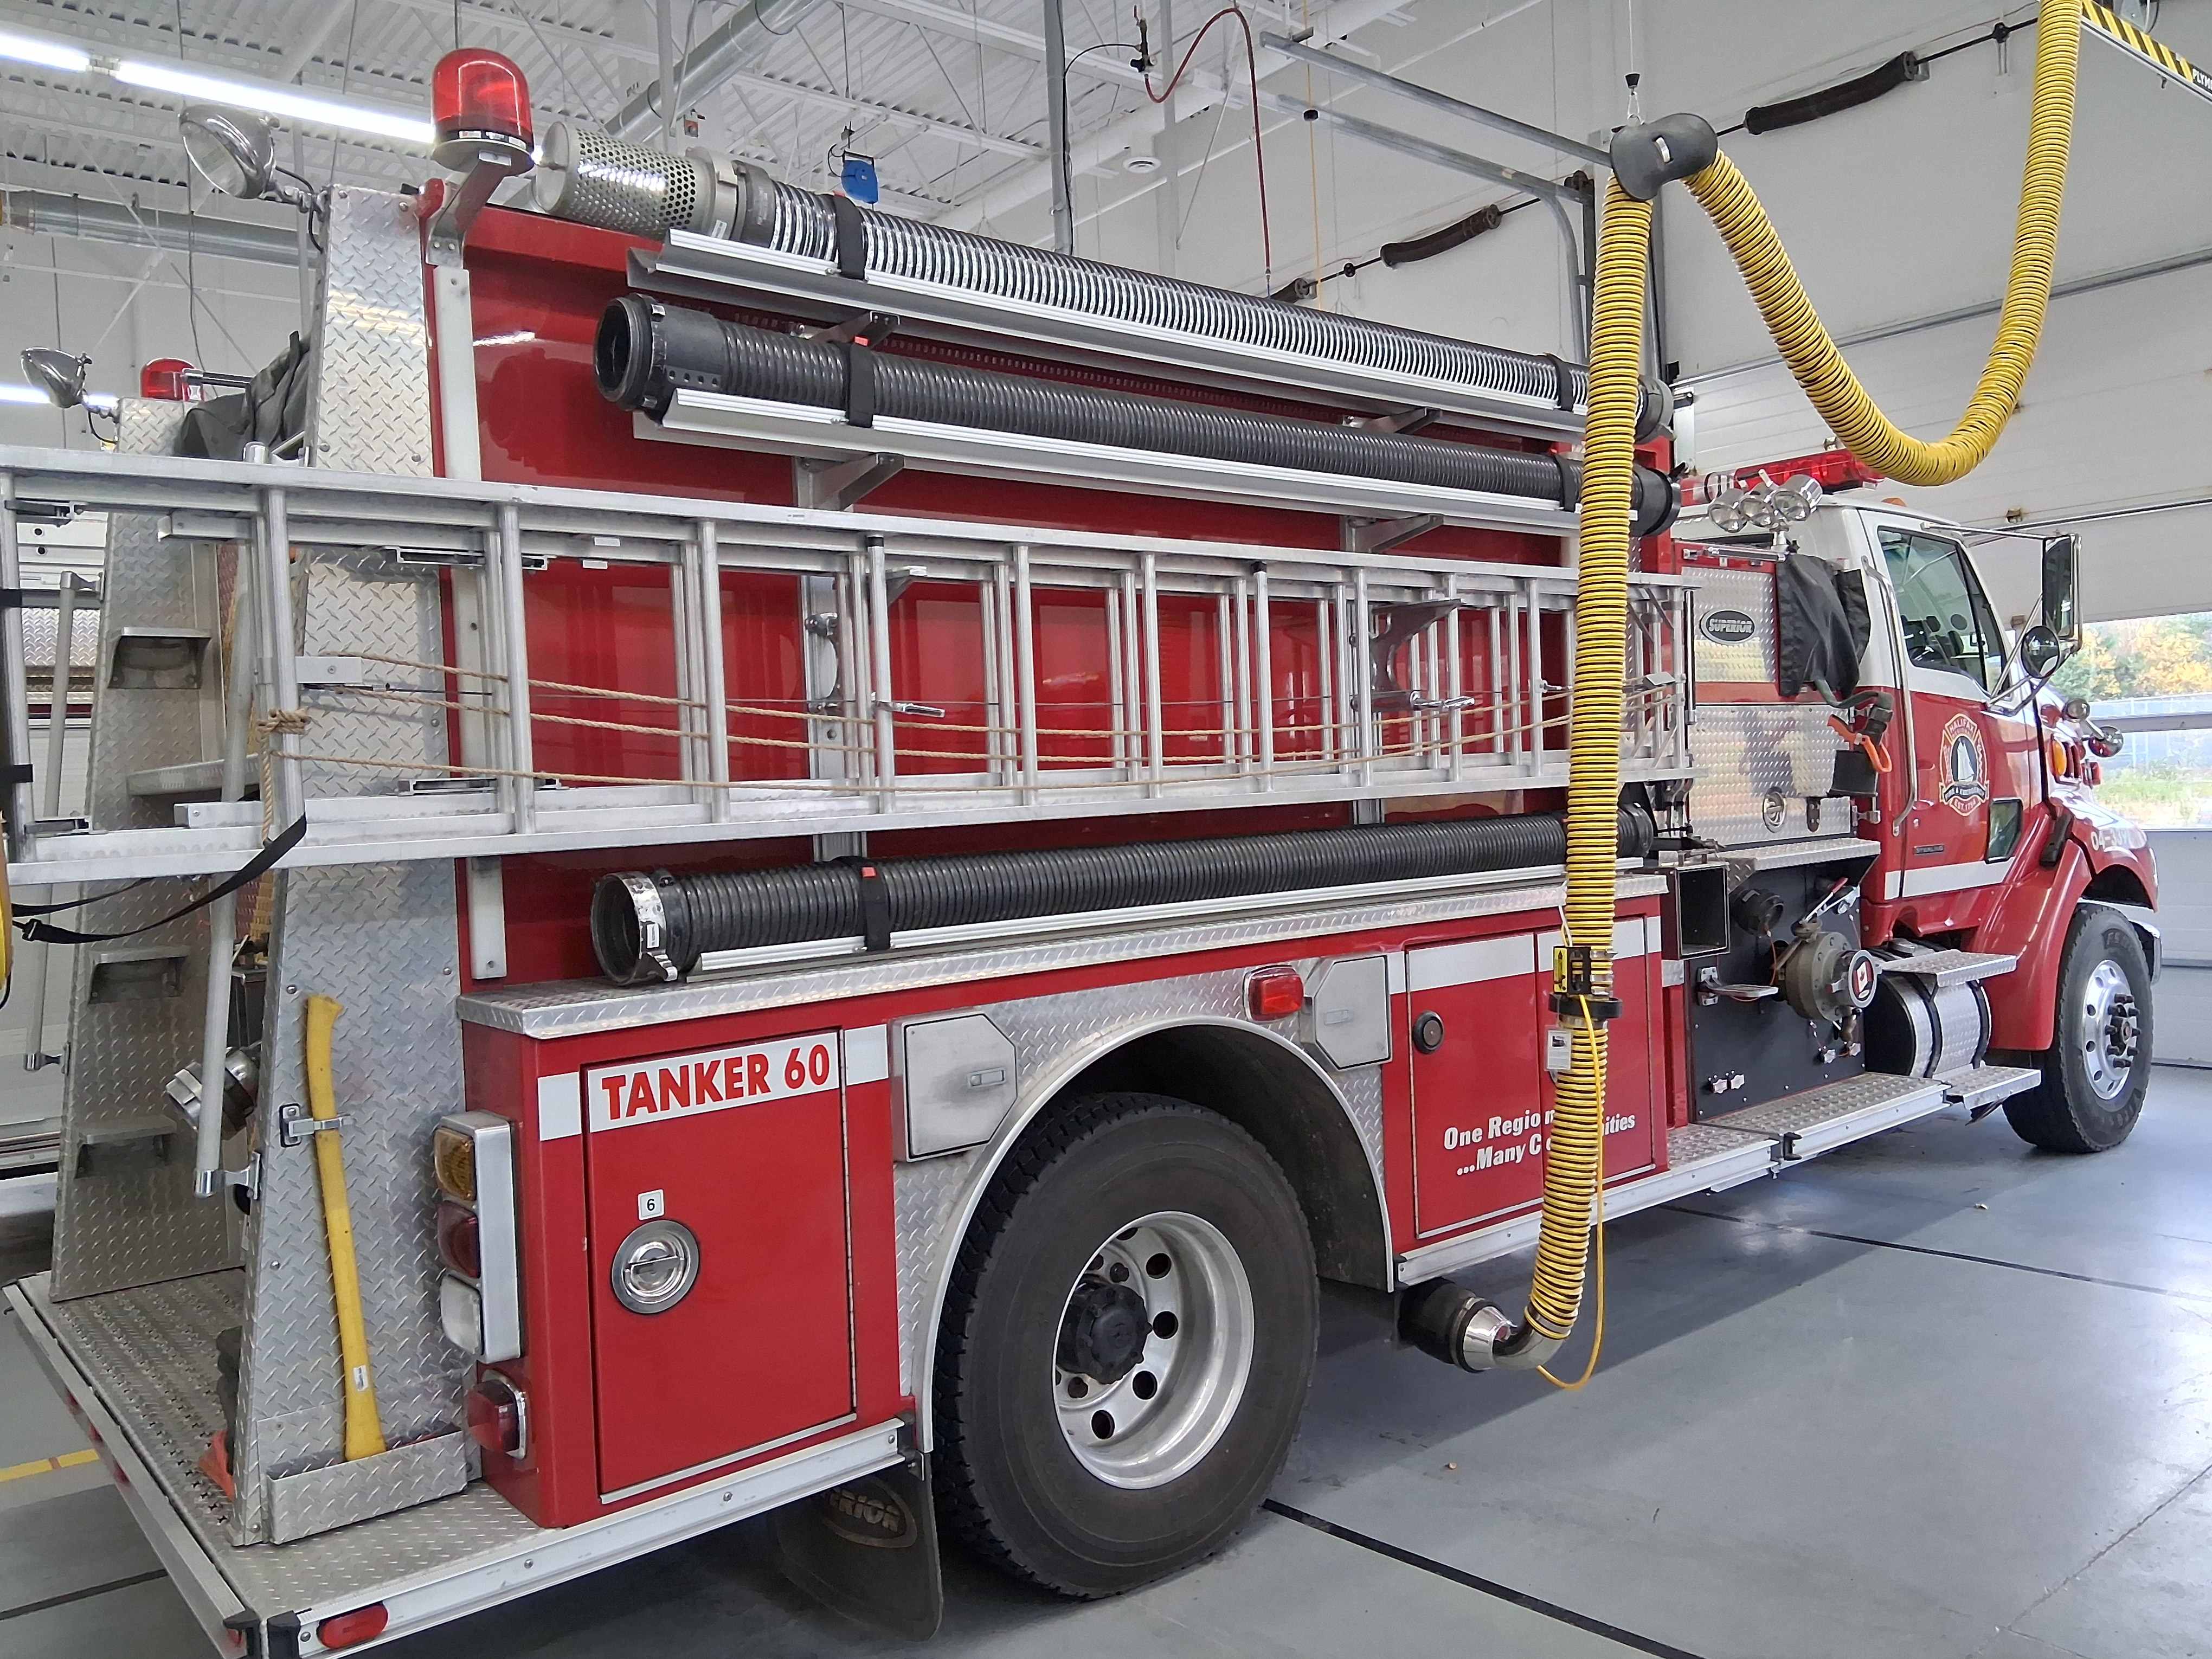
Tanker 60 carries approx. 1200 gal. of water, 1.5 km. of fire hose, and a two ladders, one of which is a 2-flight ladder that will support a fireman in full gear carrying a second person in the case of rescues from upper stories.
Pumper 60 carries approx. 1200 gallons of water, ladders, and other gear.Truck for non-fire emergency calls.
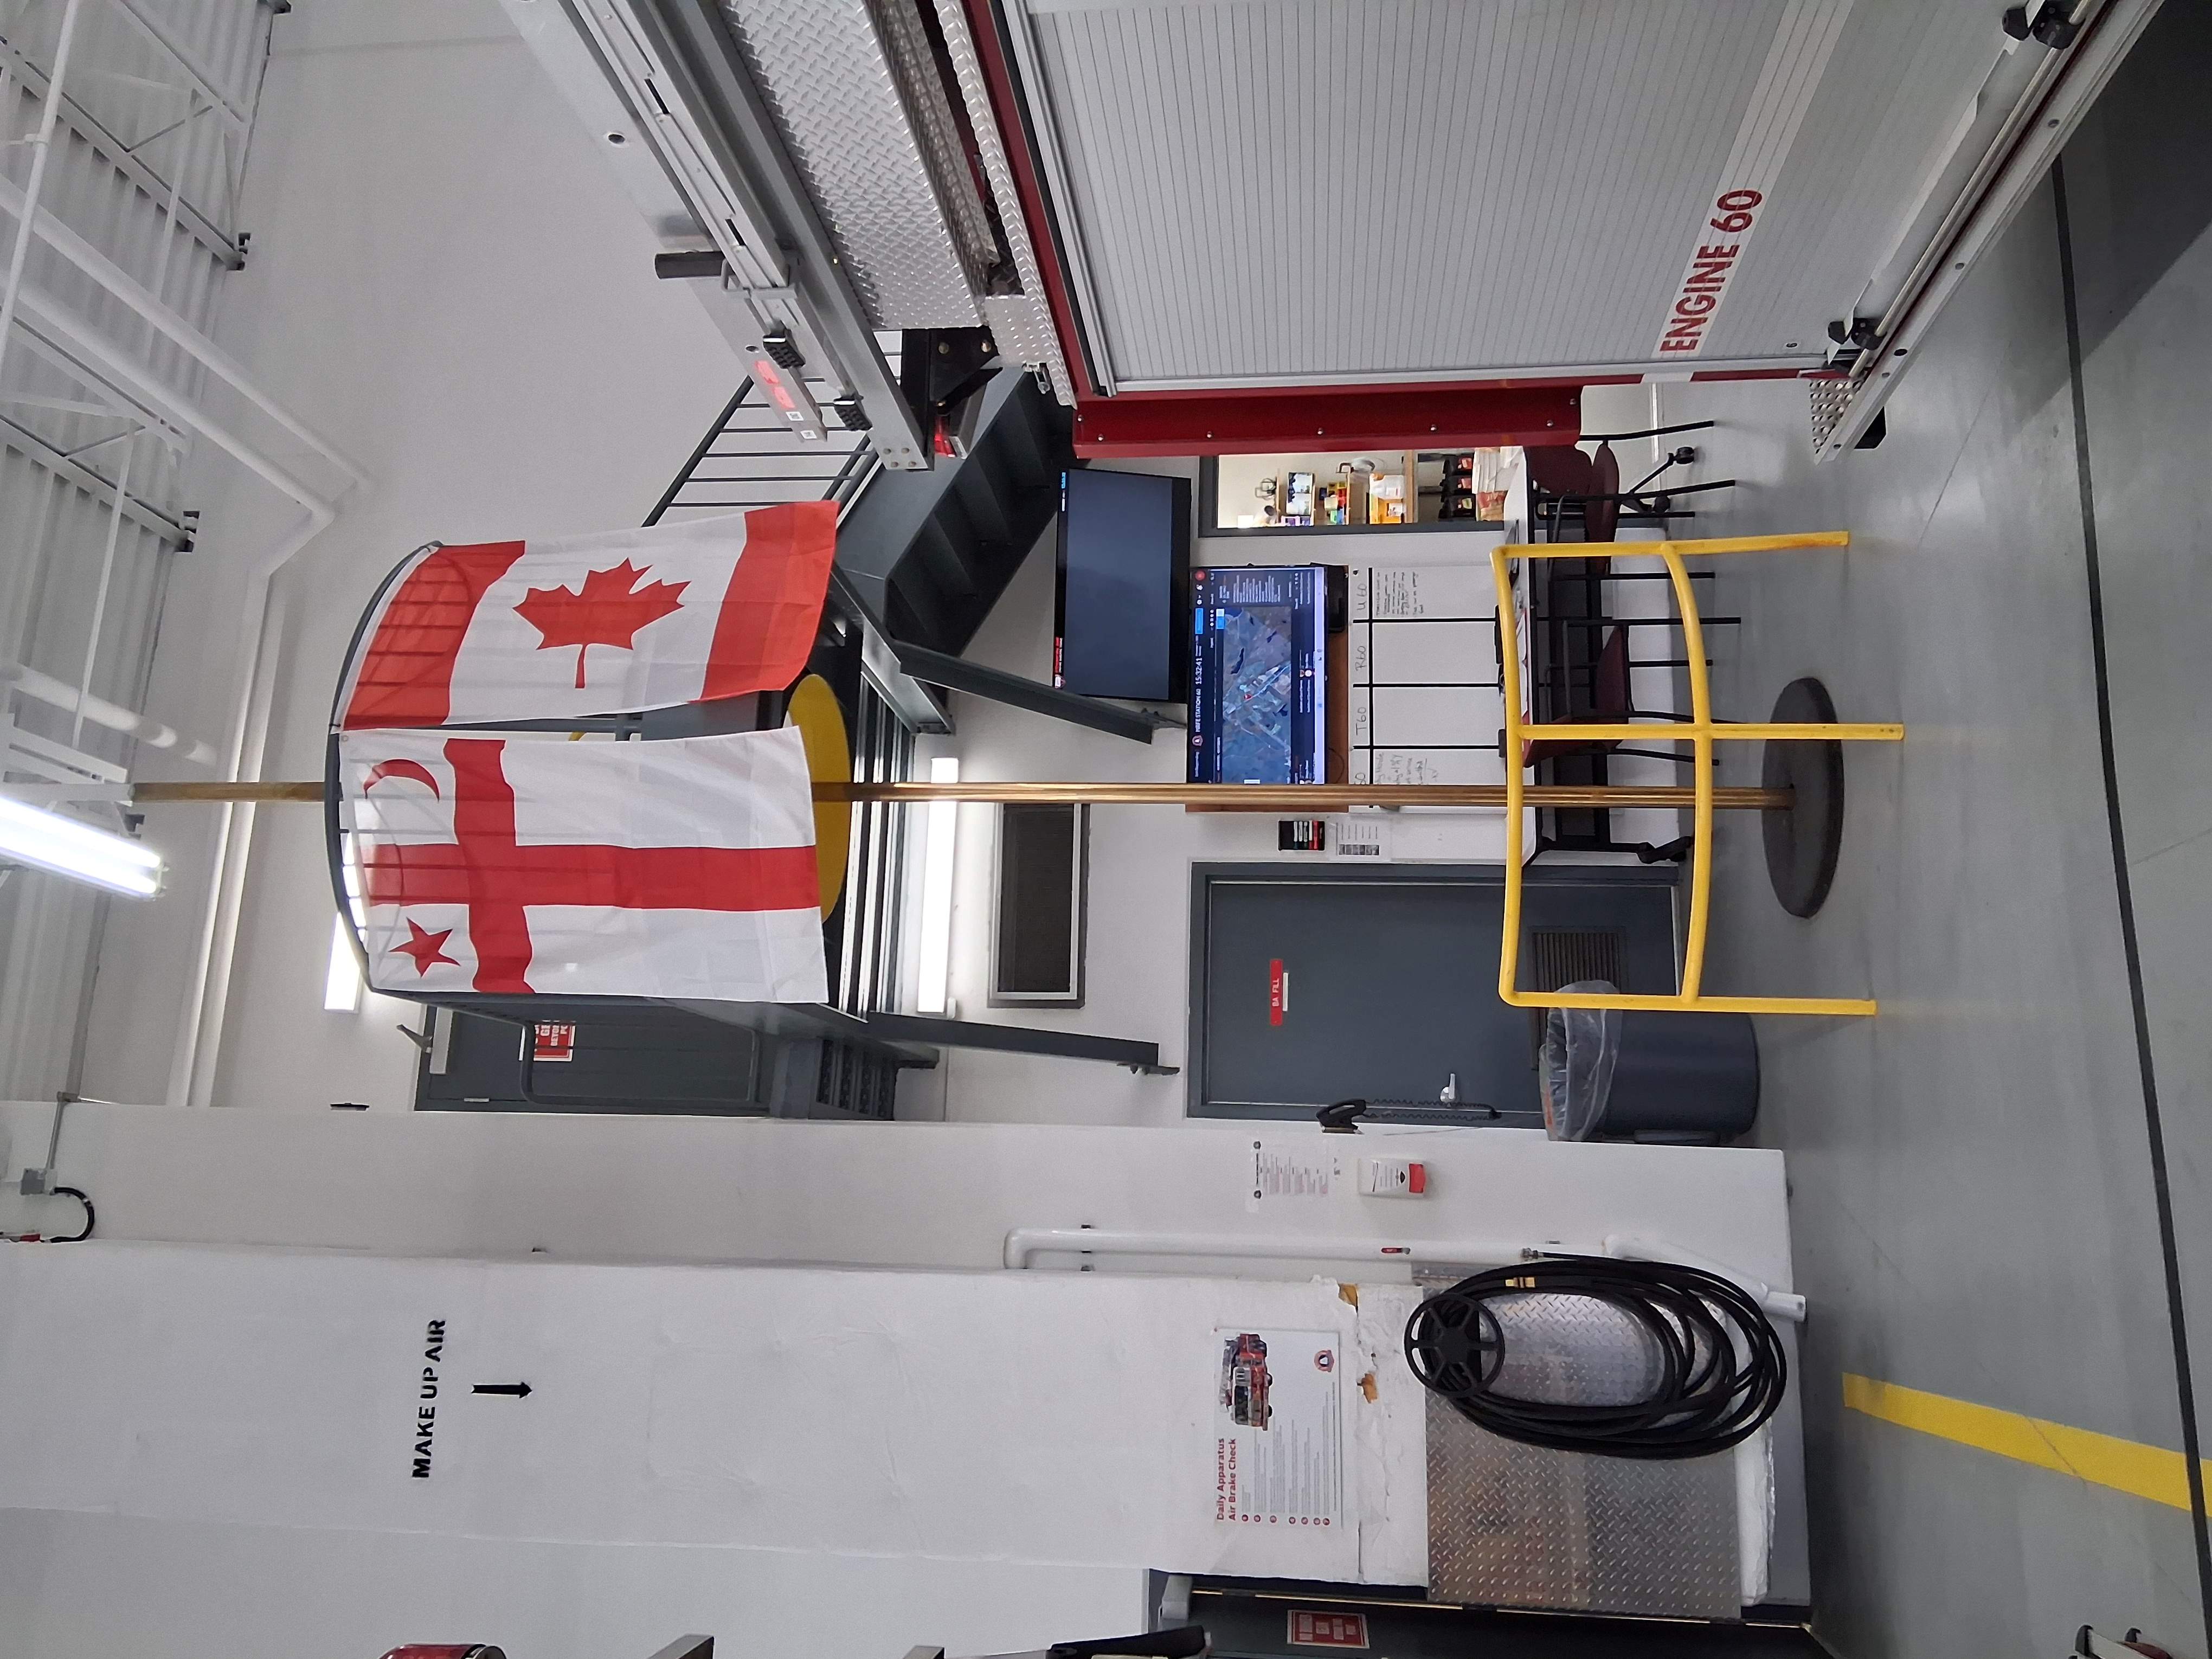
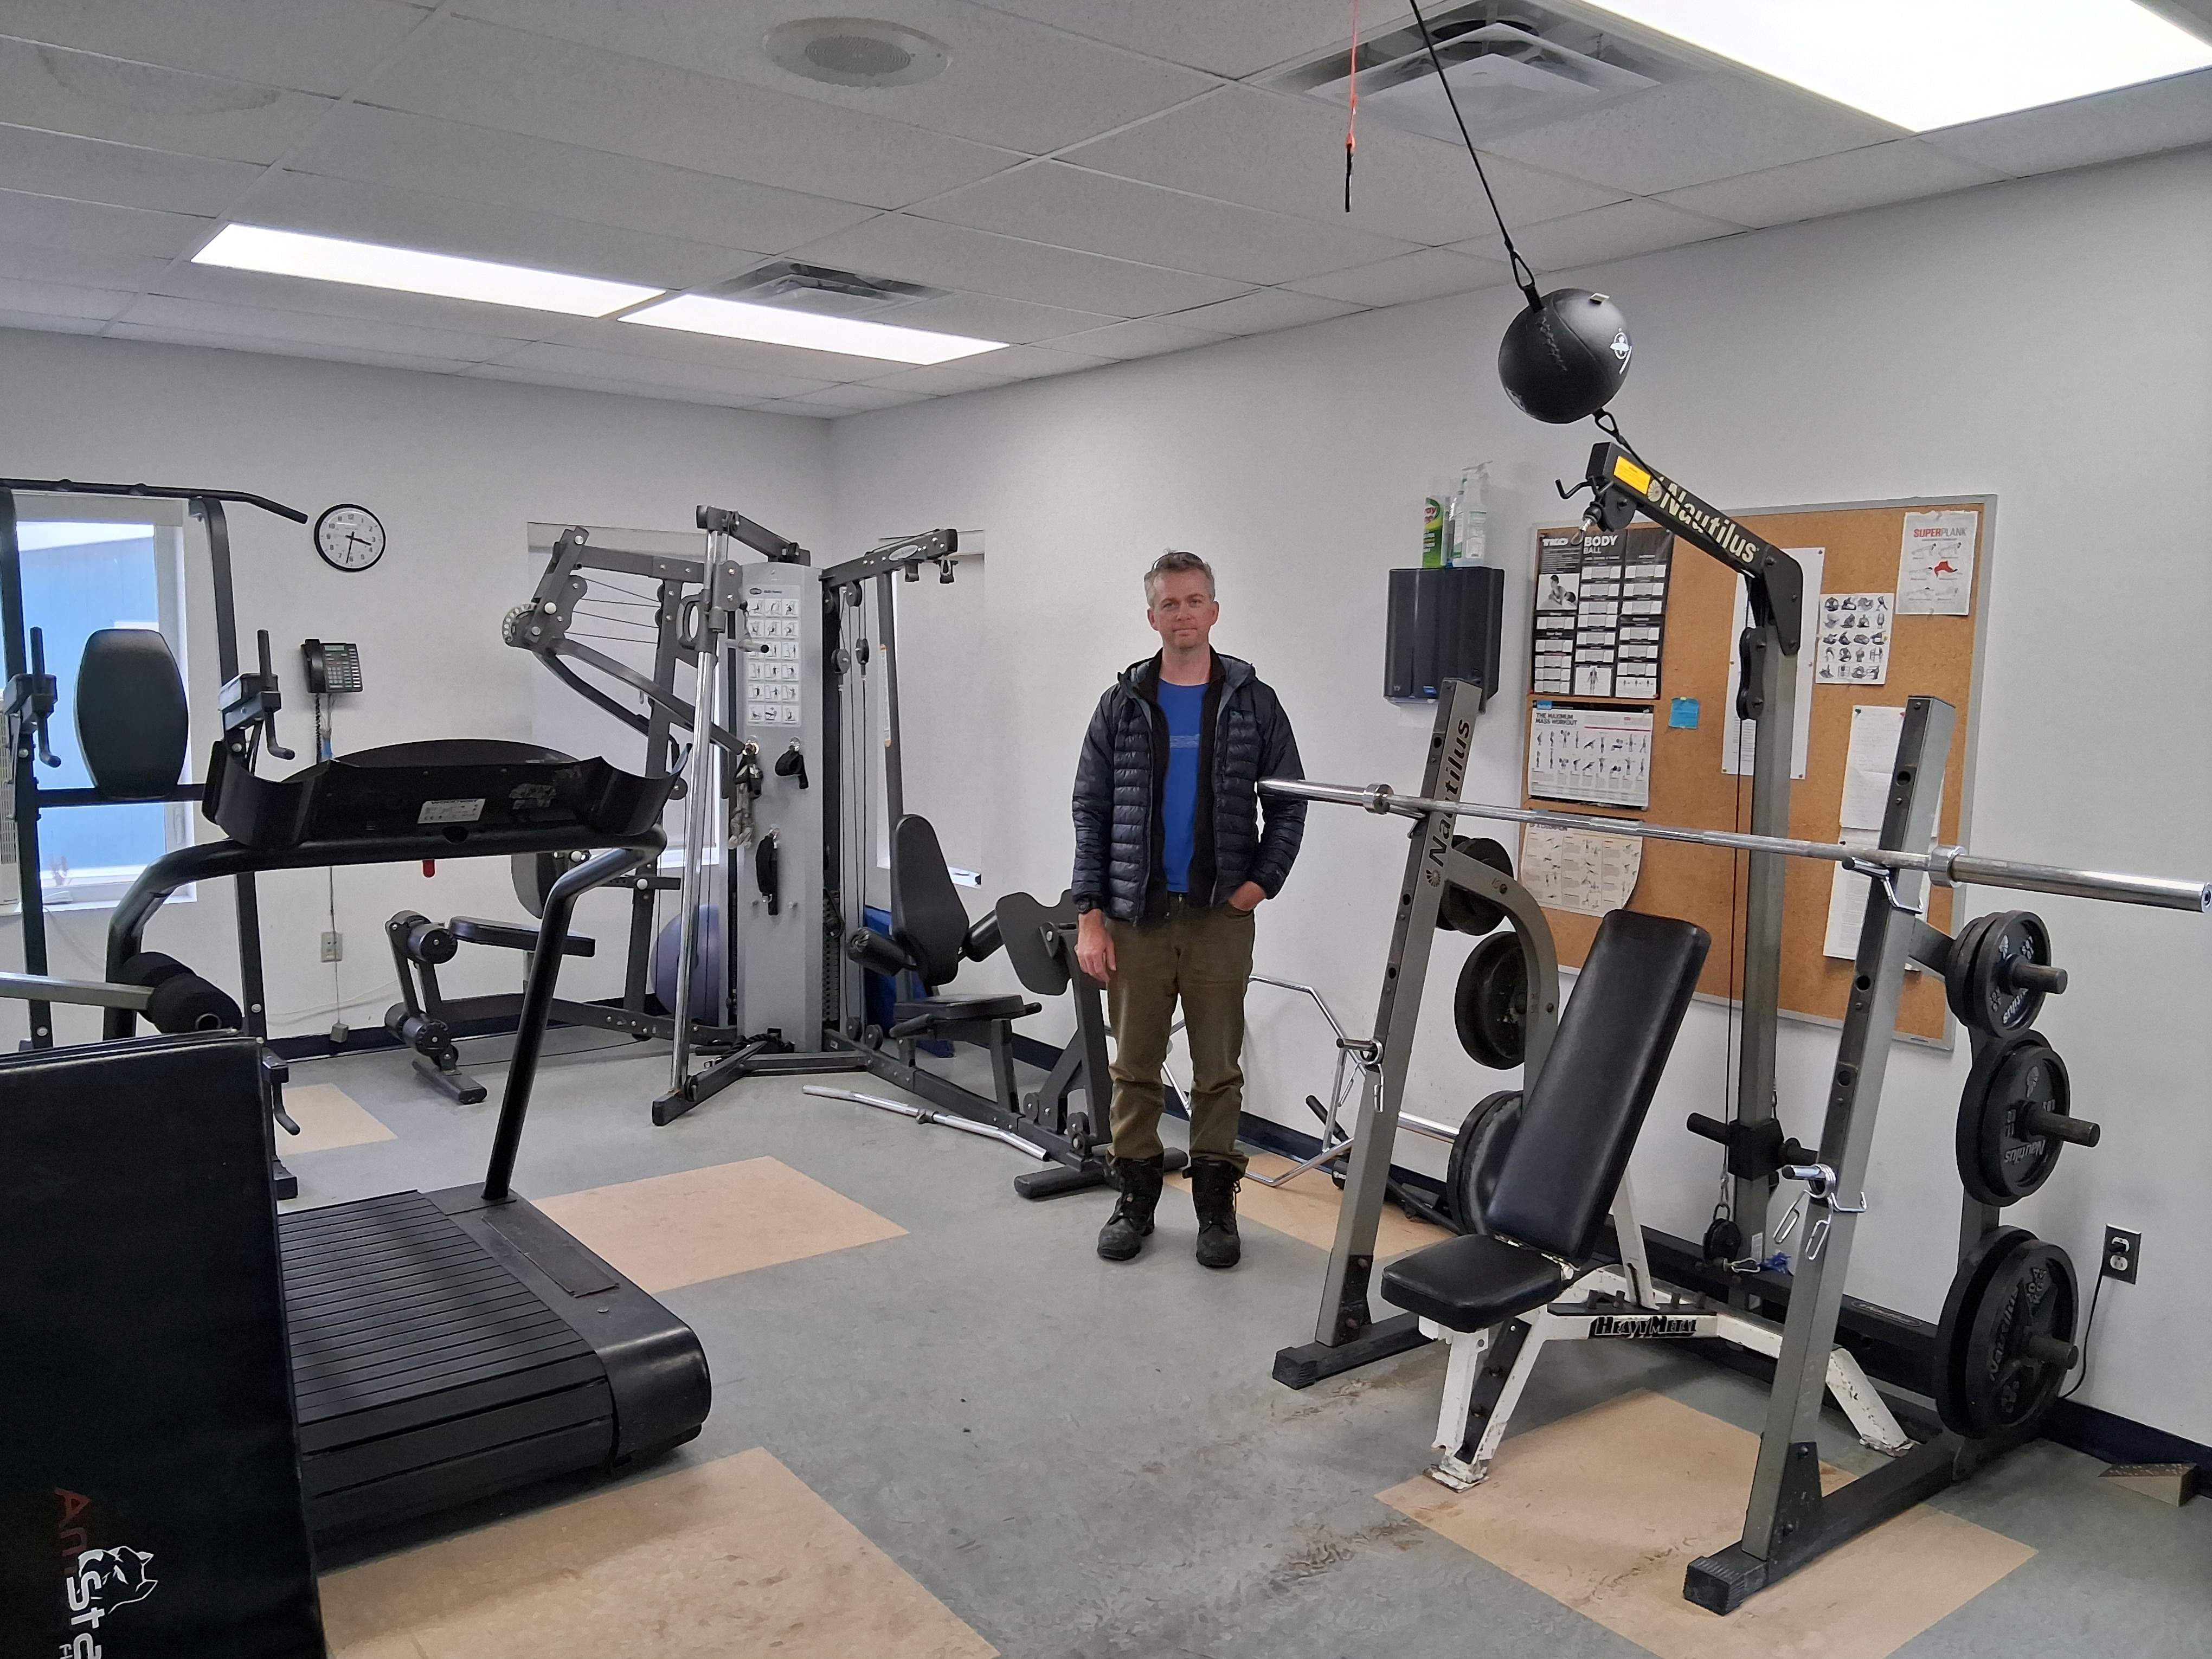
Bunks, bathrooms, kitchen, break room, gym, and Karl’s office are on the 2nd floor. There is a traditional fire pole for firefighters to descend quickly from the 2nd floor. You see the Canadian flag along with one with the star, crescent, and red cross that is the Mi’kmaq flag of the indigenous people. Here’s a good place to mention that the Acadians have their own flag which is the French Tricolor with a yellow star in the upper left corner. I see it flown on homes of those who identify as Acadians.
Traditional fire pole for crew to quickly descend from the 2nd floor crew quarters.Gym.Acadian flag.
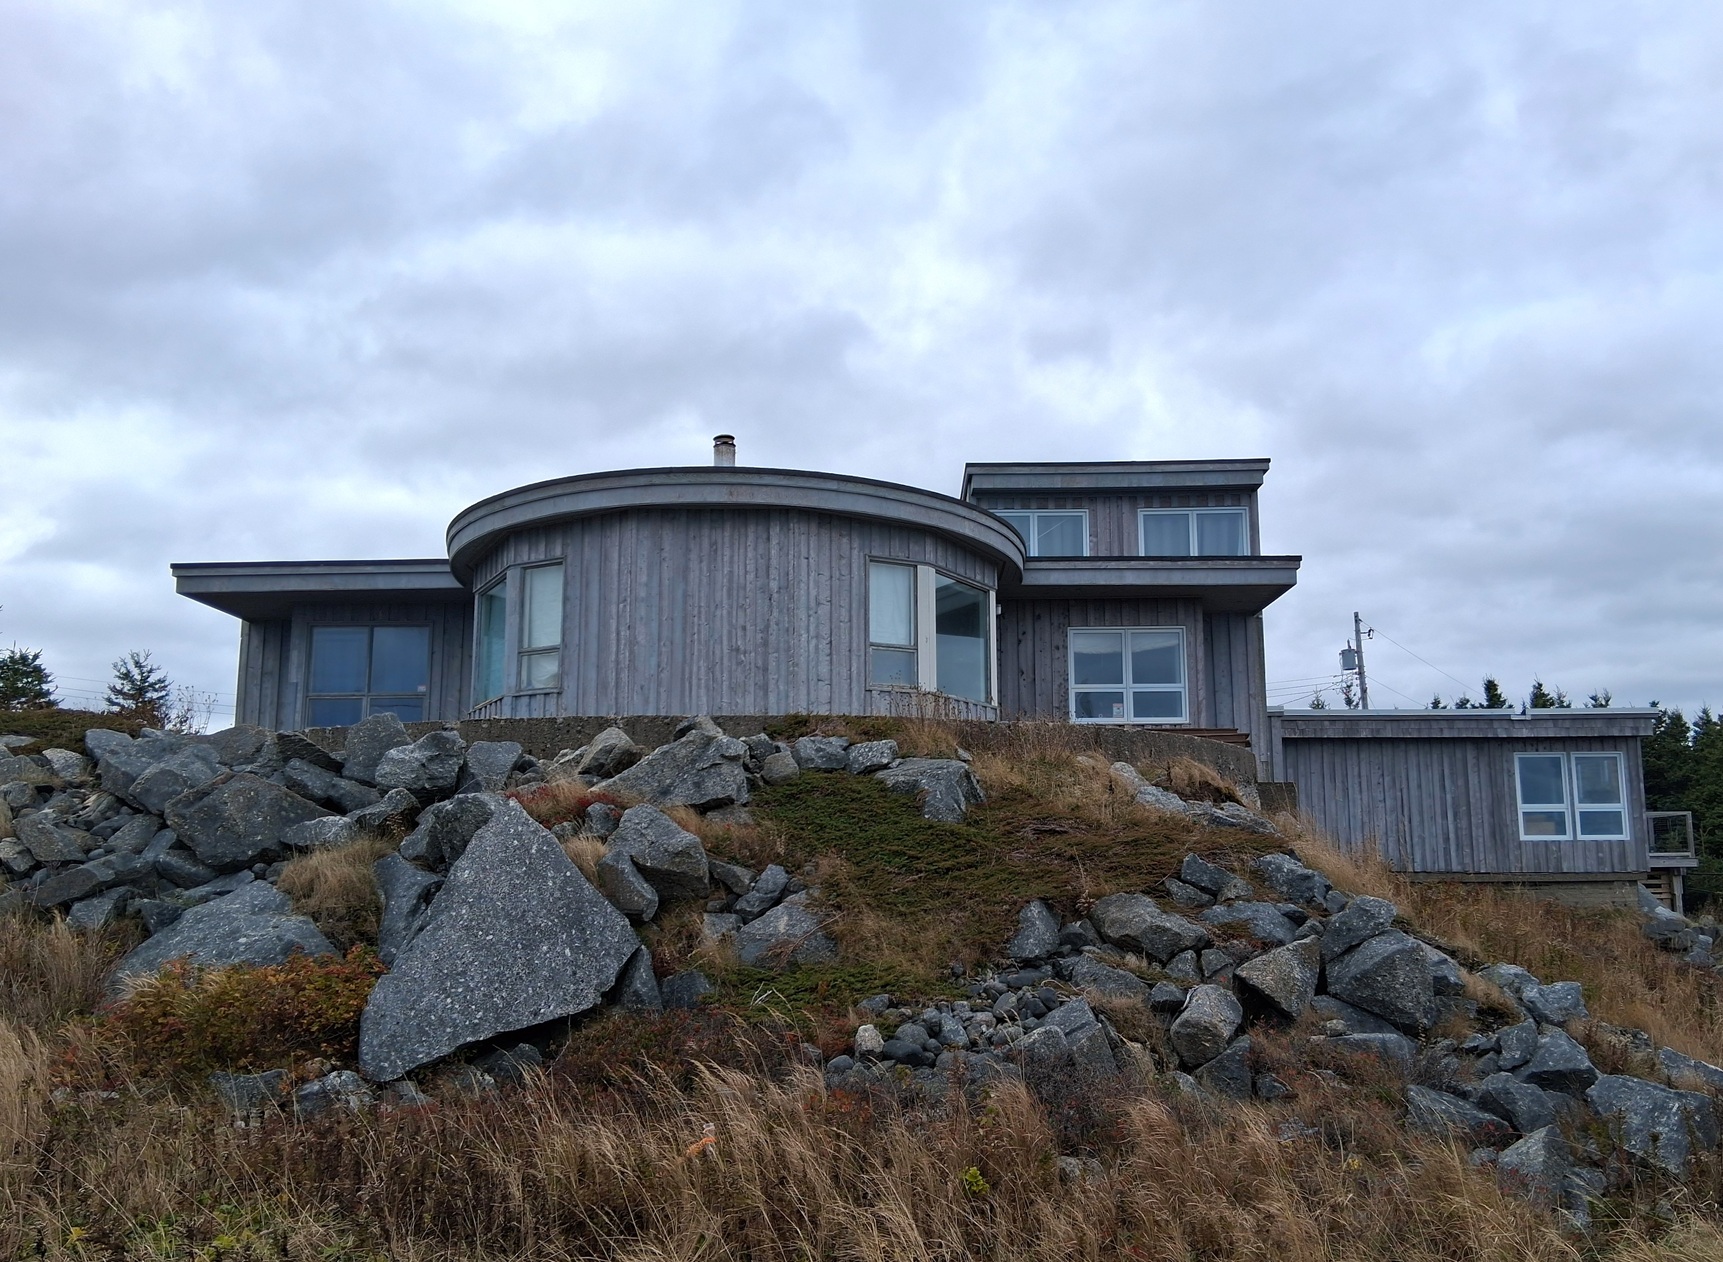
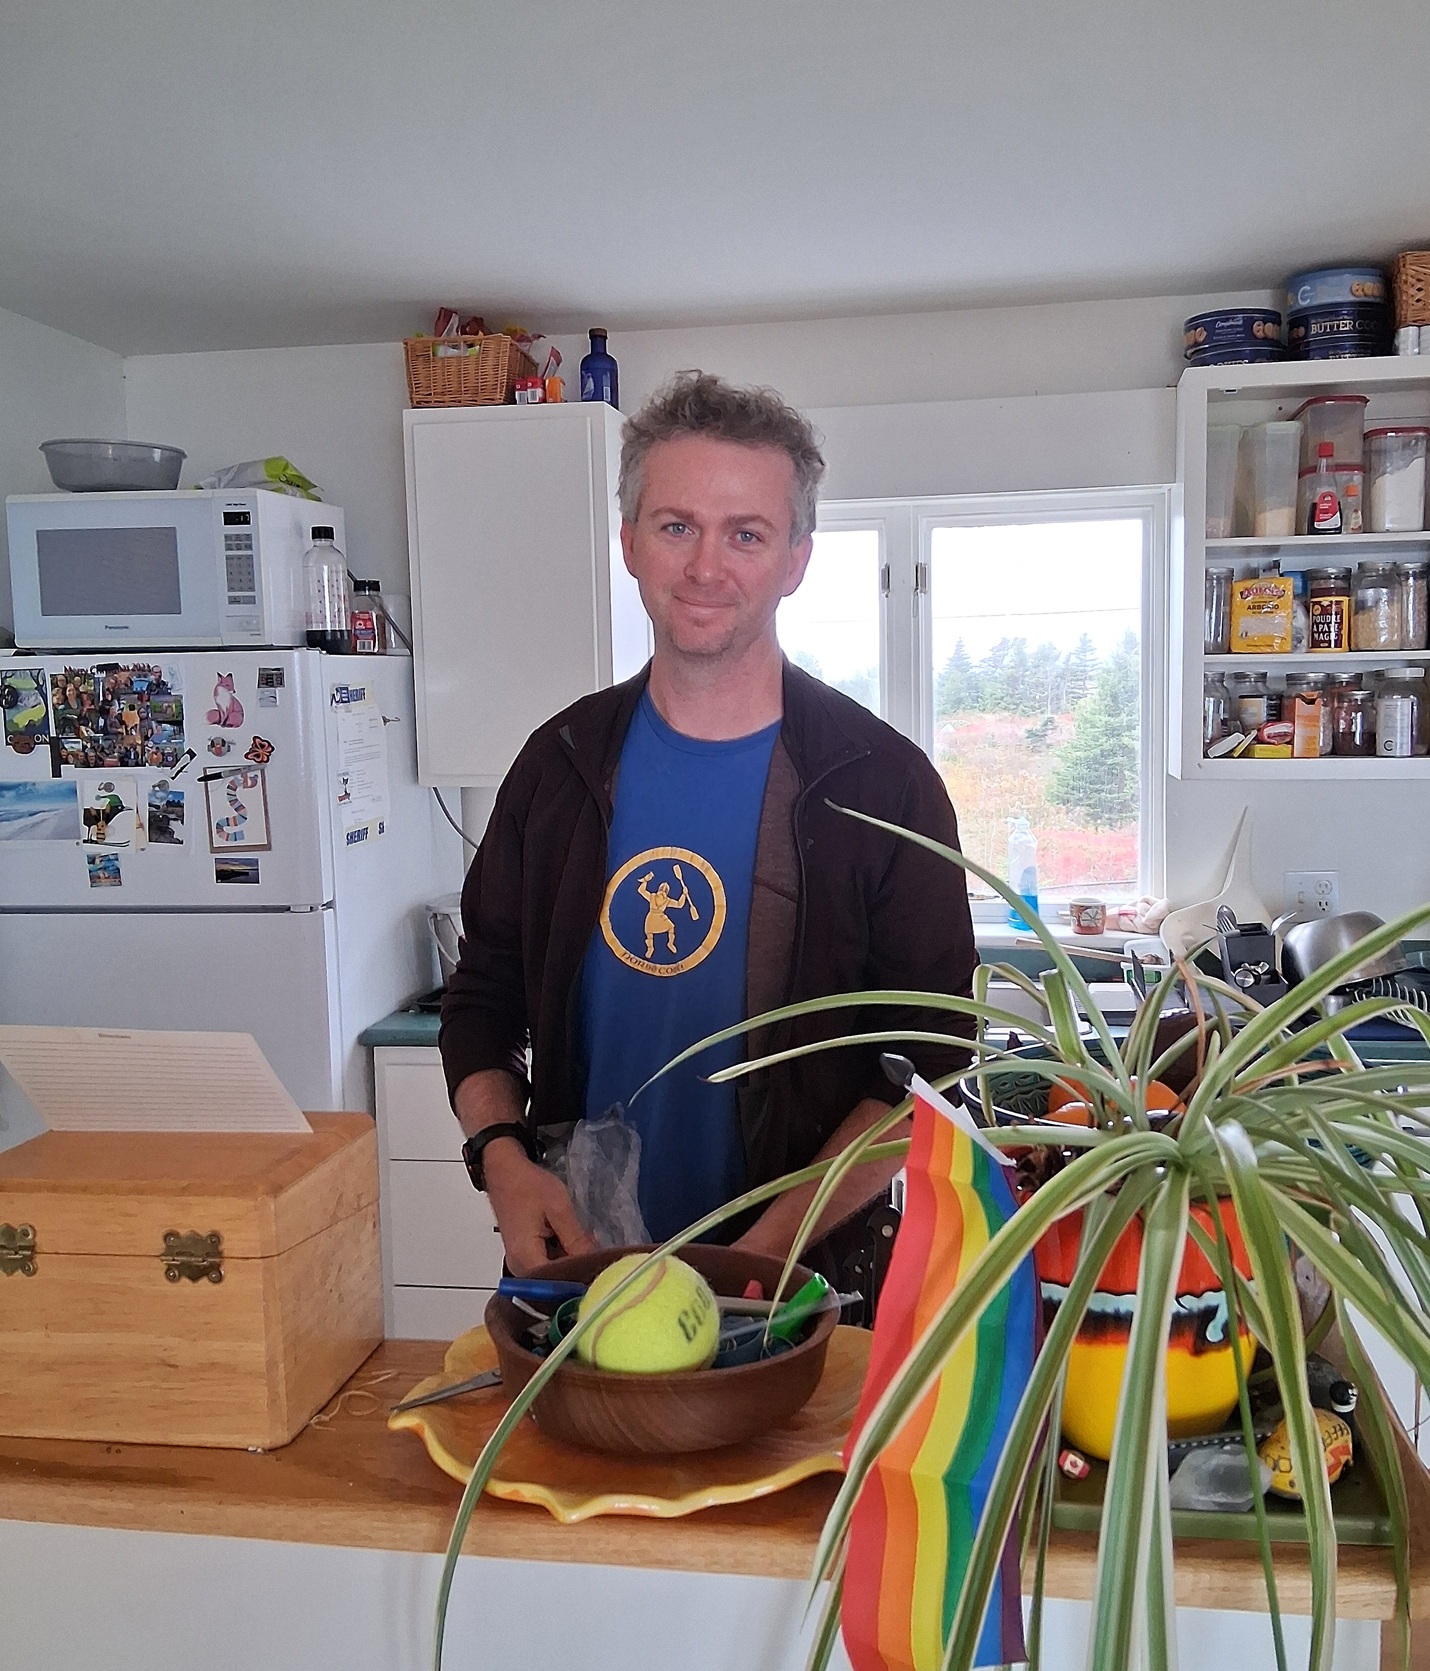
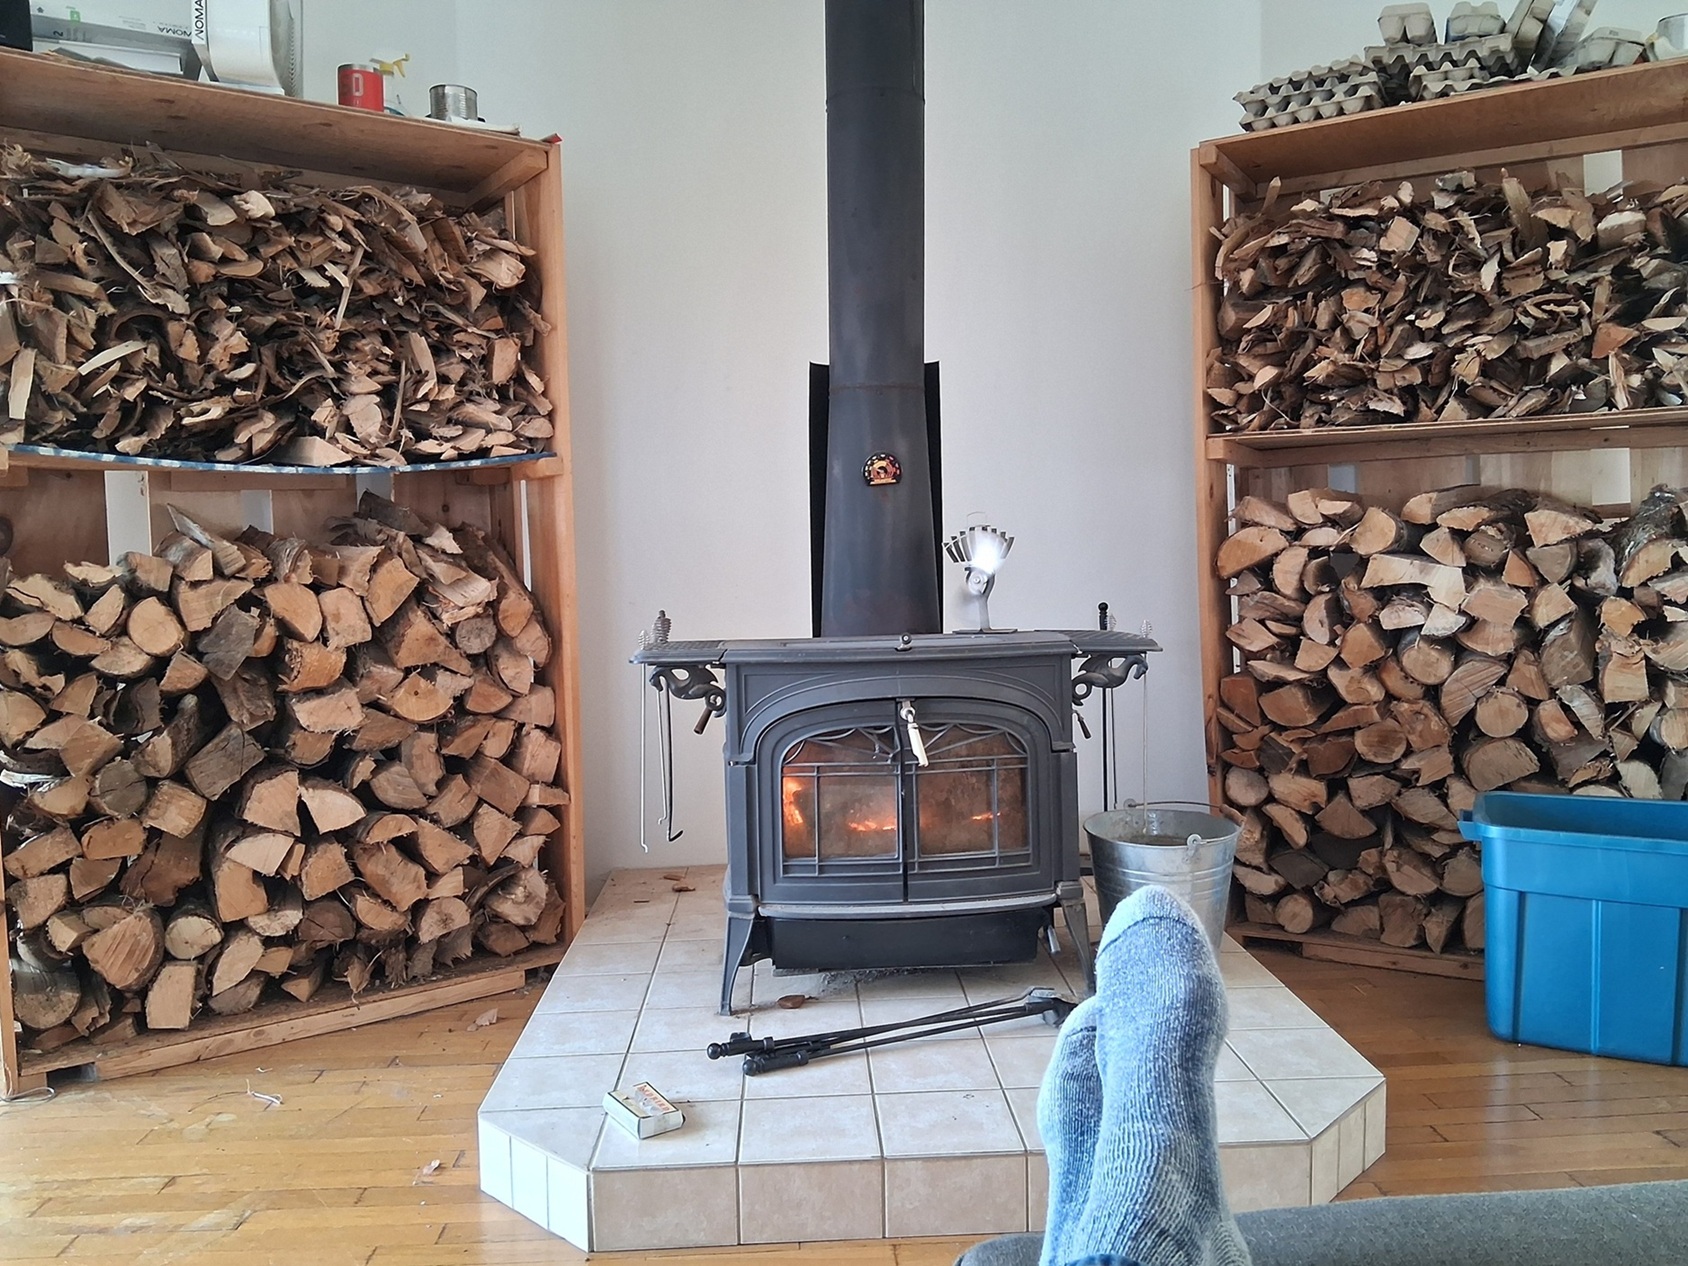
Karl’s house in Duncans Cove is about 20 minutes from Halifax and adjoins a Provincial Nature Reserve. Fox, bobcat, lynx, mink, weasel, and deer are all native to the area and will occasionally cross the lawn. In the winter months he has the wood stove to supplement electric heat, which makes for a cozy living room. [All photos Max Vollmer, Click on any image to enlarge]
The house faces east.Karl in the kitchen.Warming my feet in the living room.
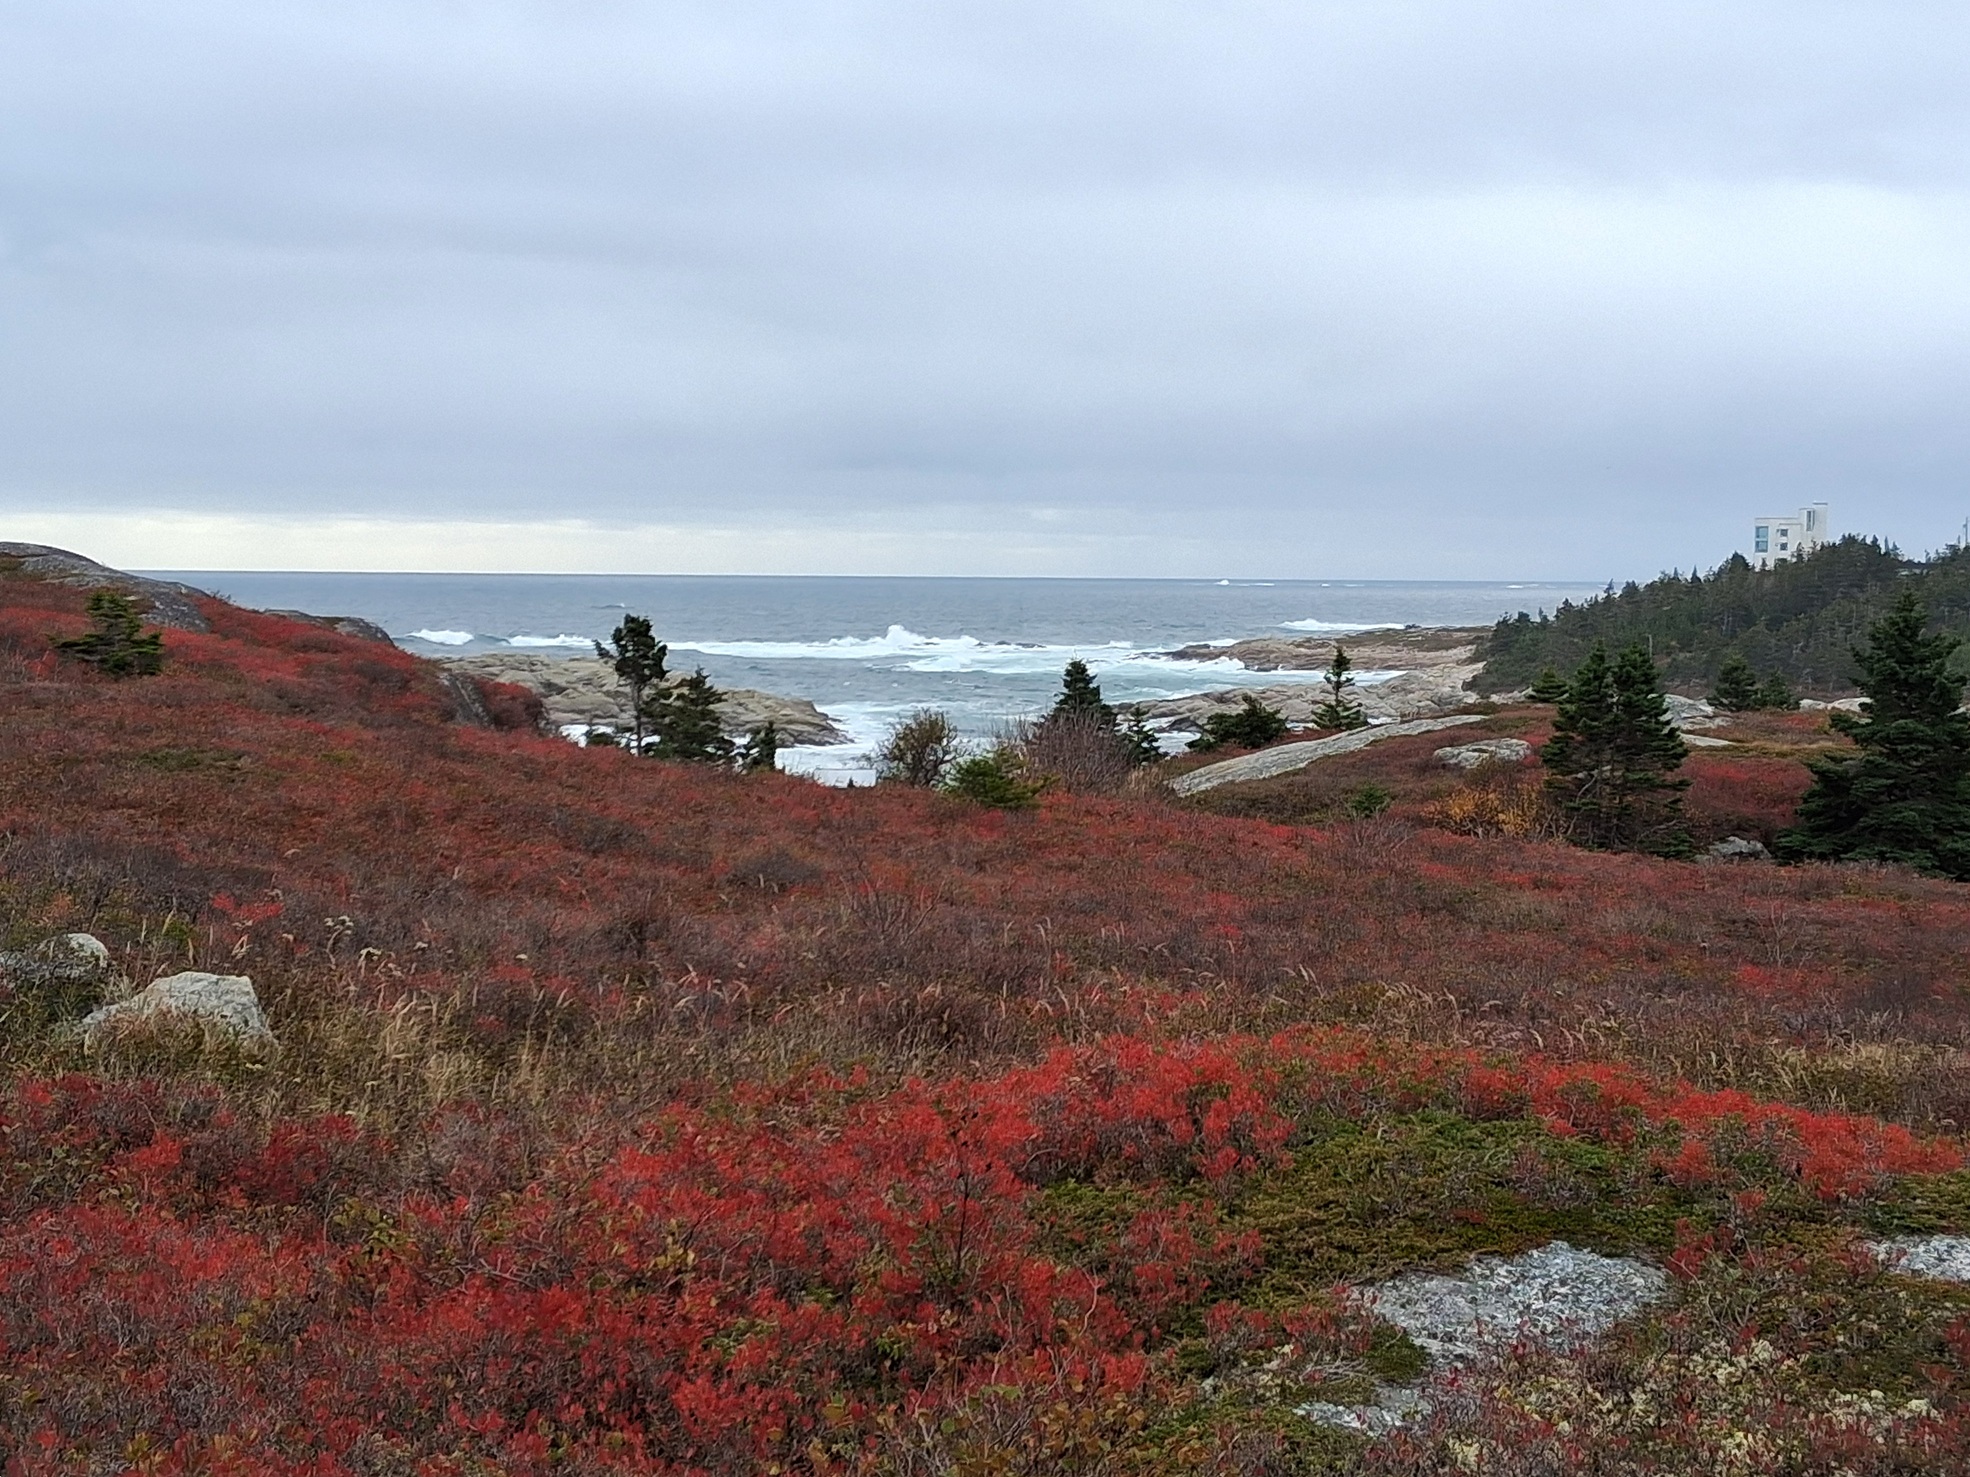
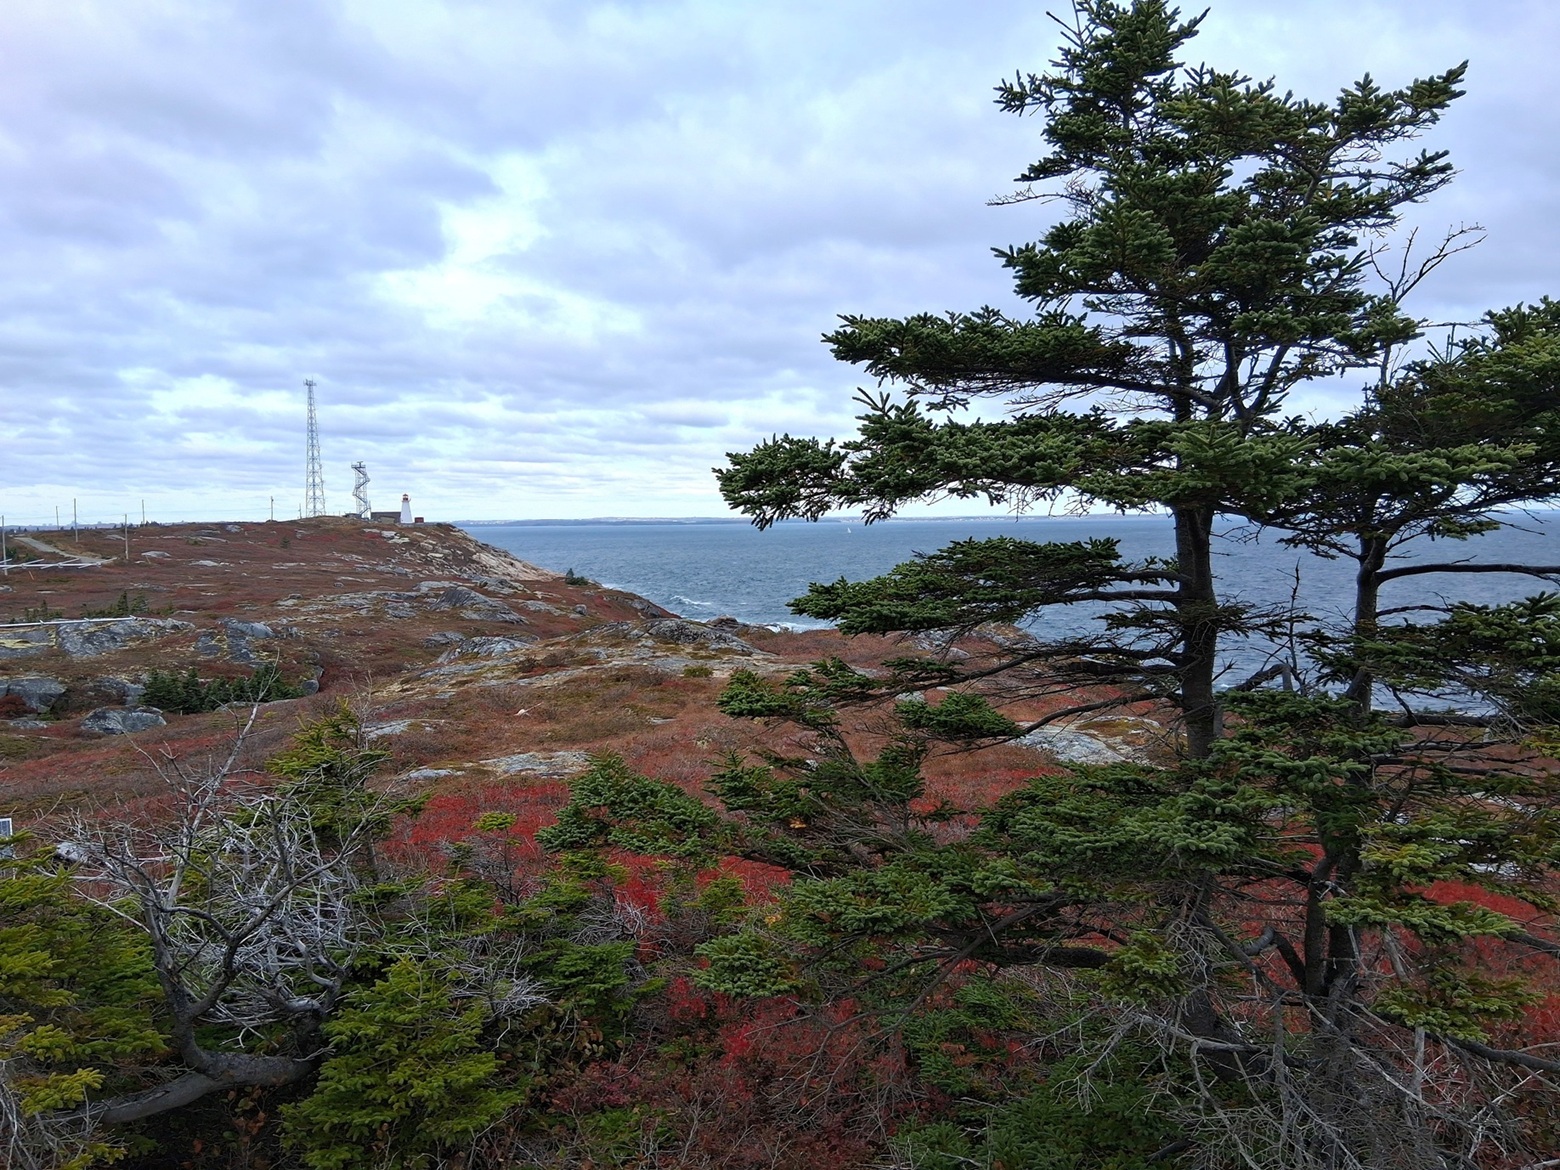
Spruce trees are sparse on the thin soil and the vegetation is buffeted by strong winds most days of the year.
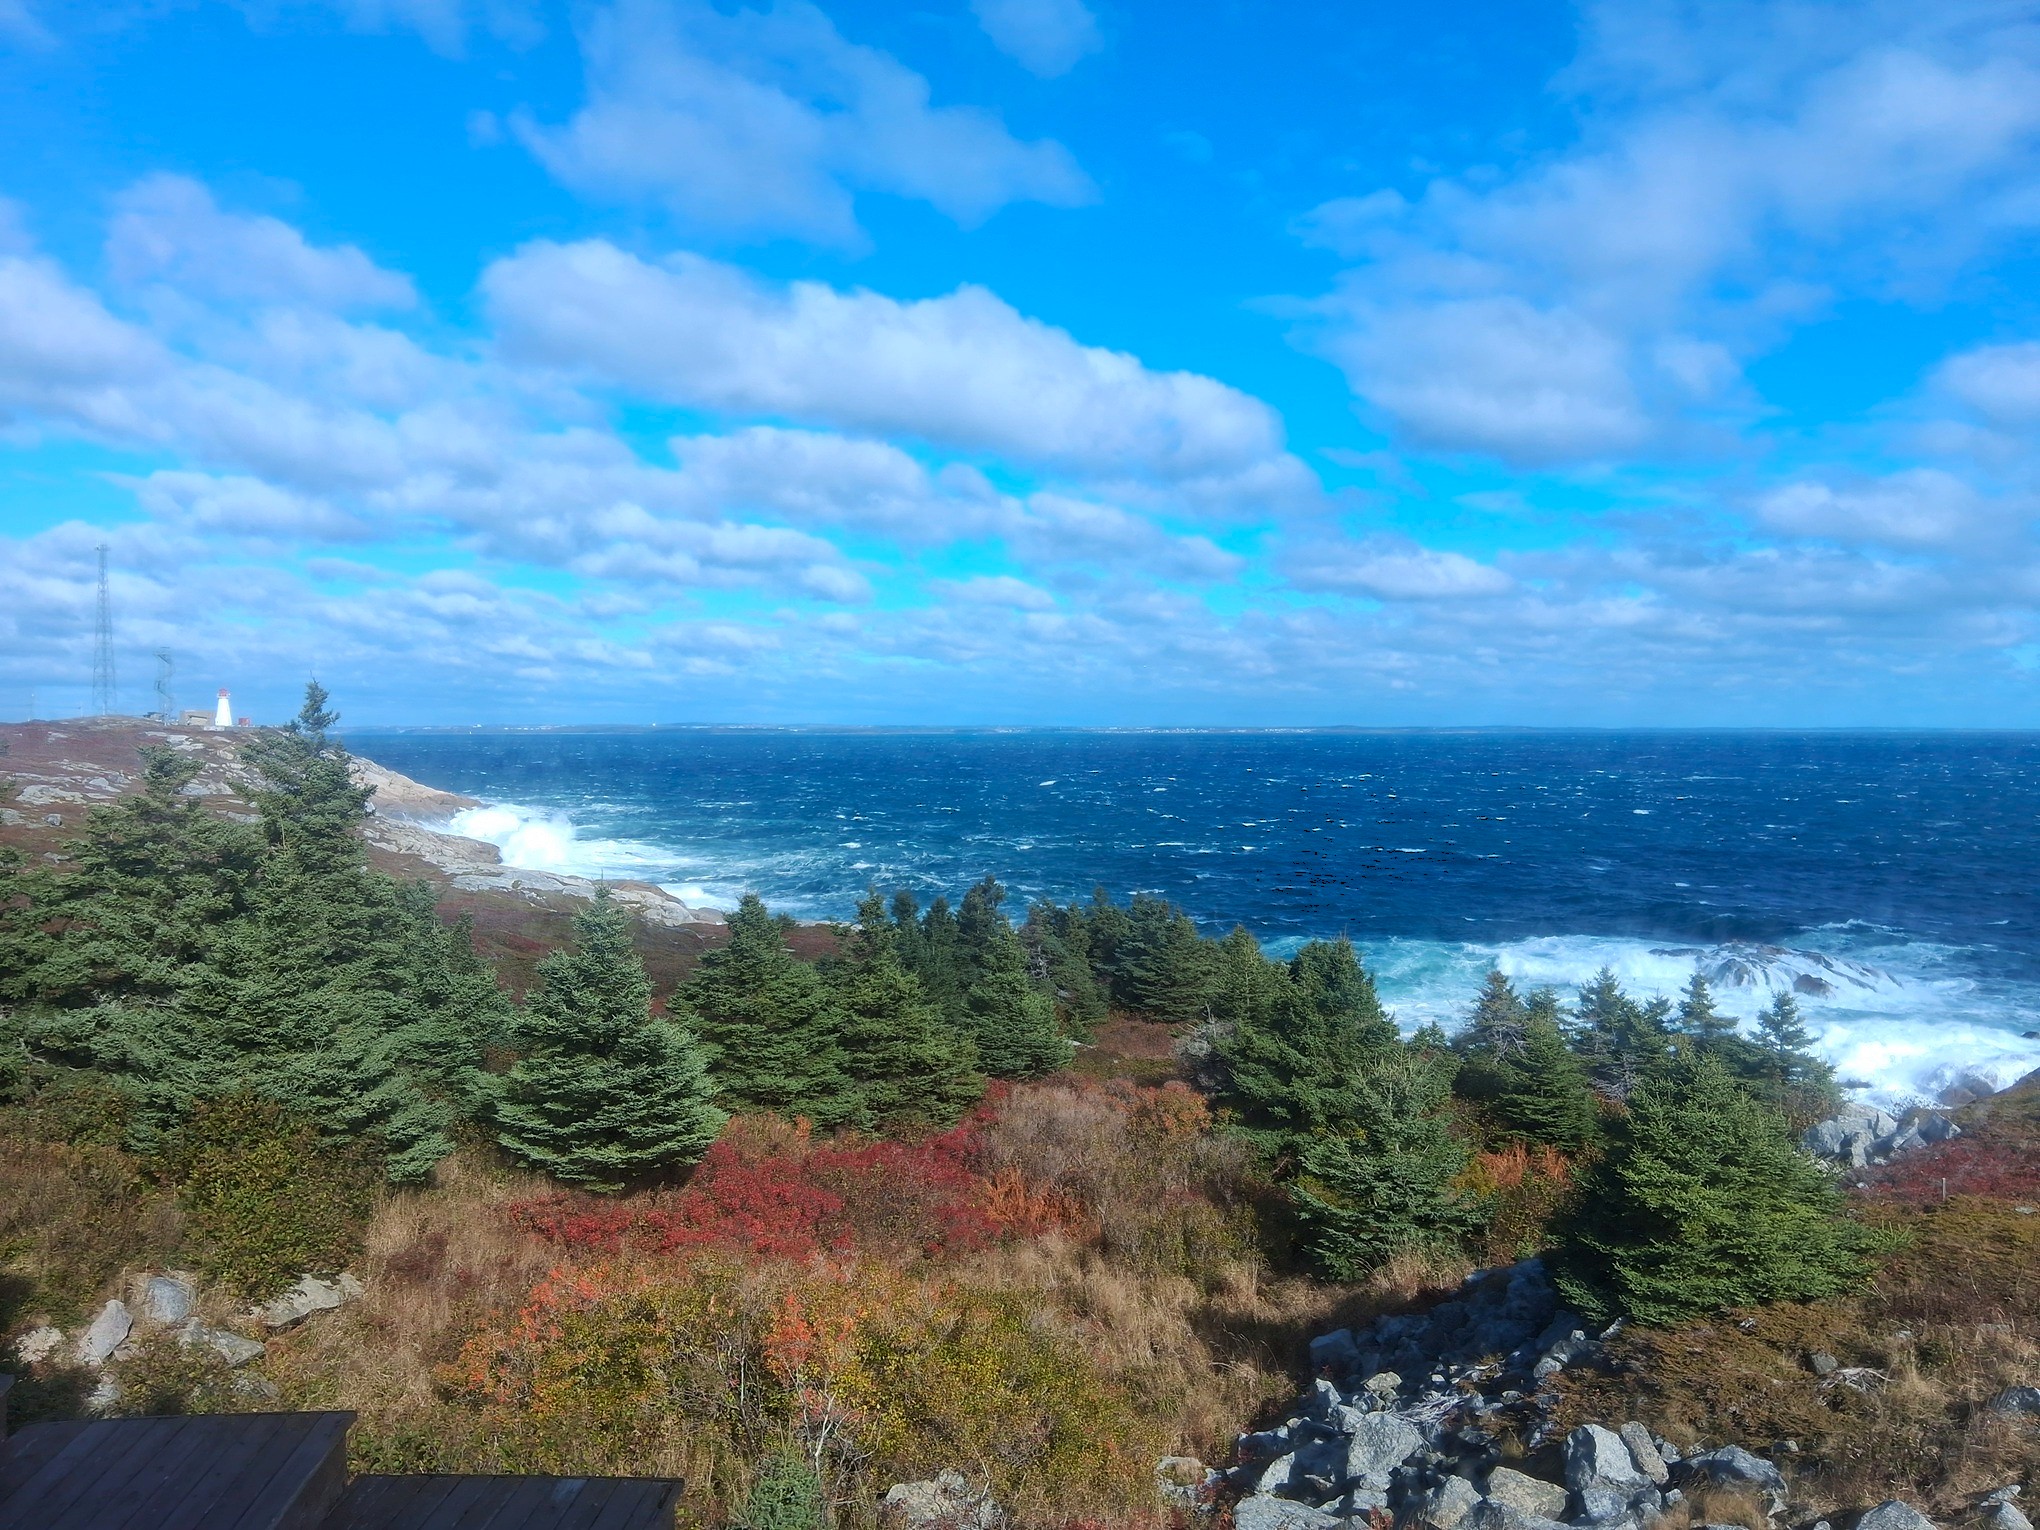
Looking to the south.Looking to the north and the lighthouse. Halifax on the distant horizon.
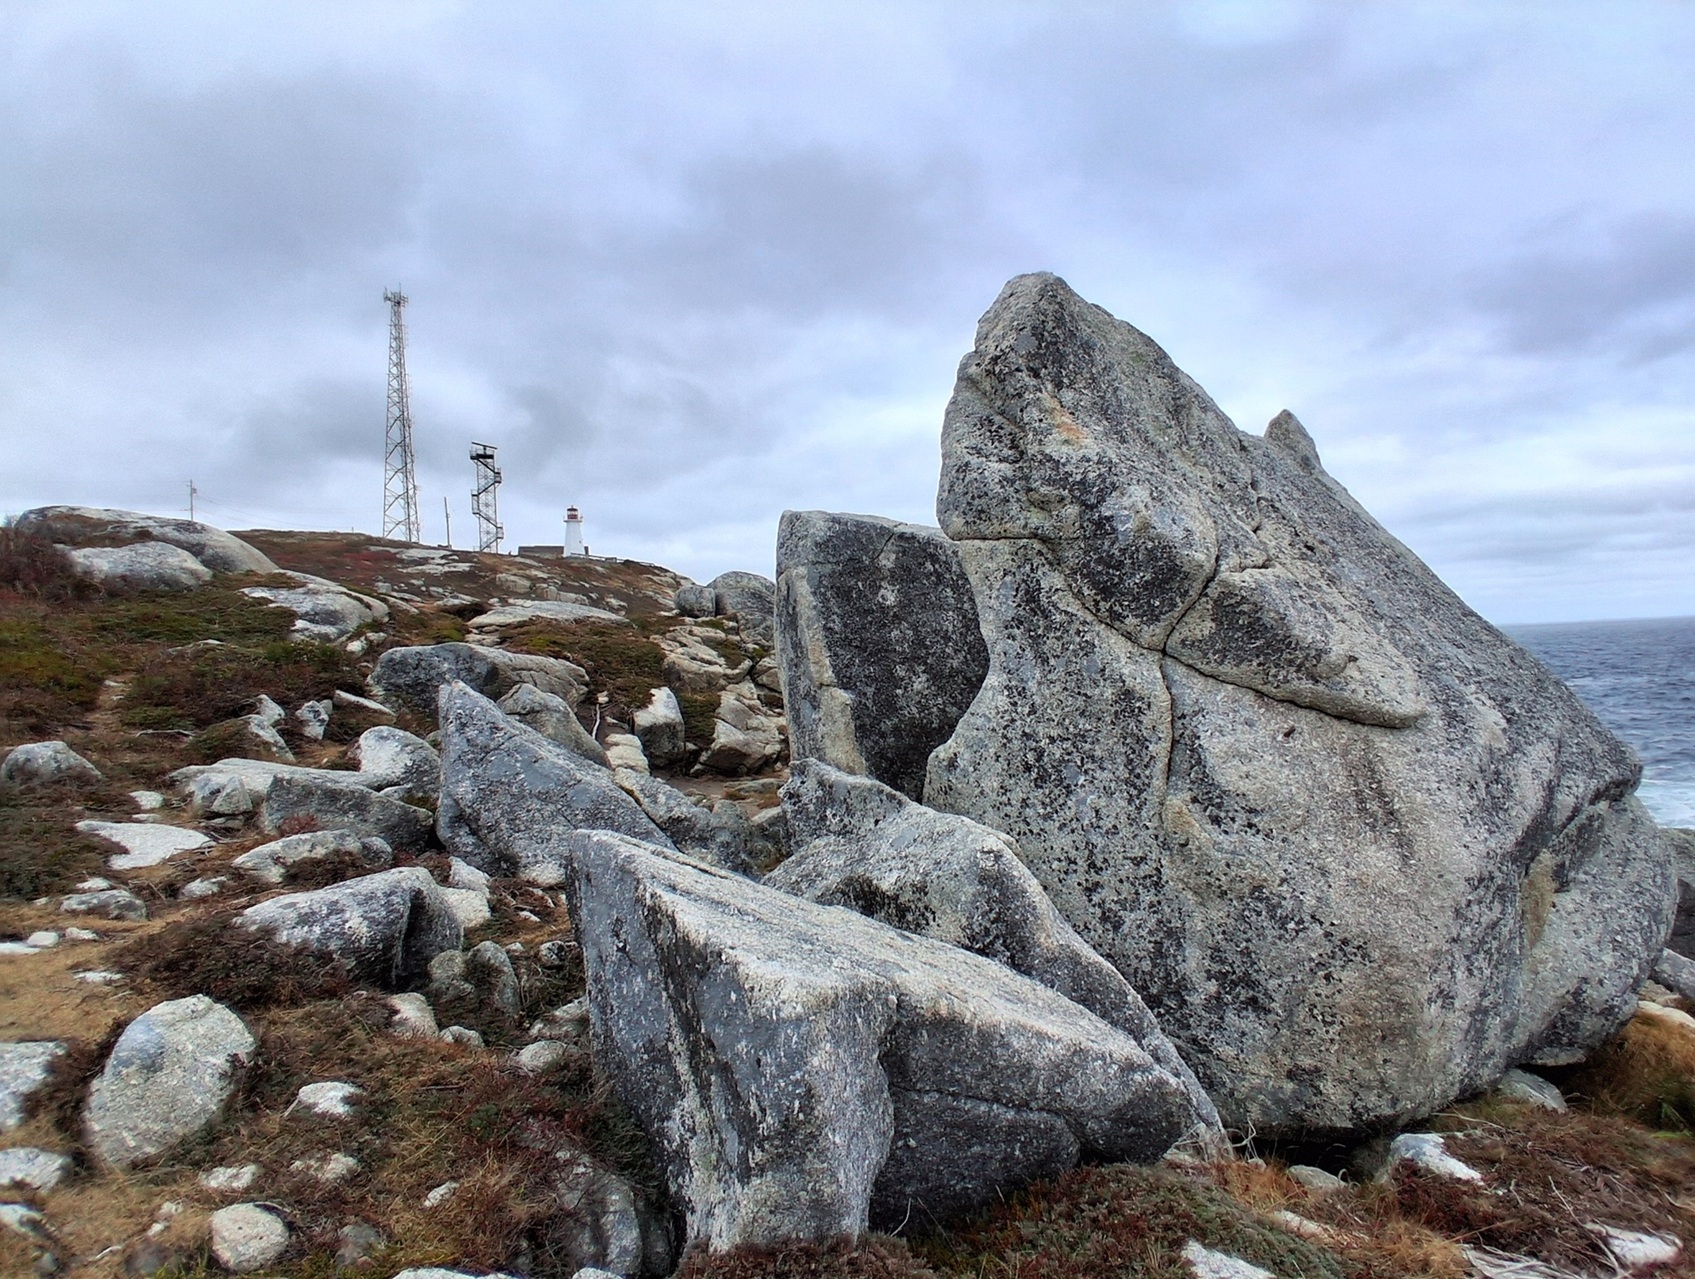
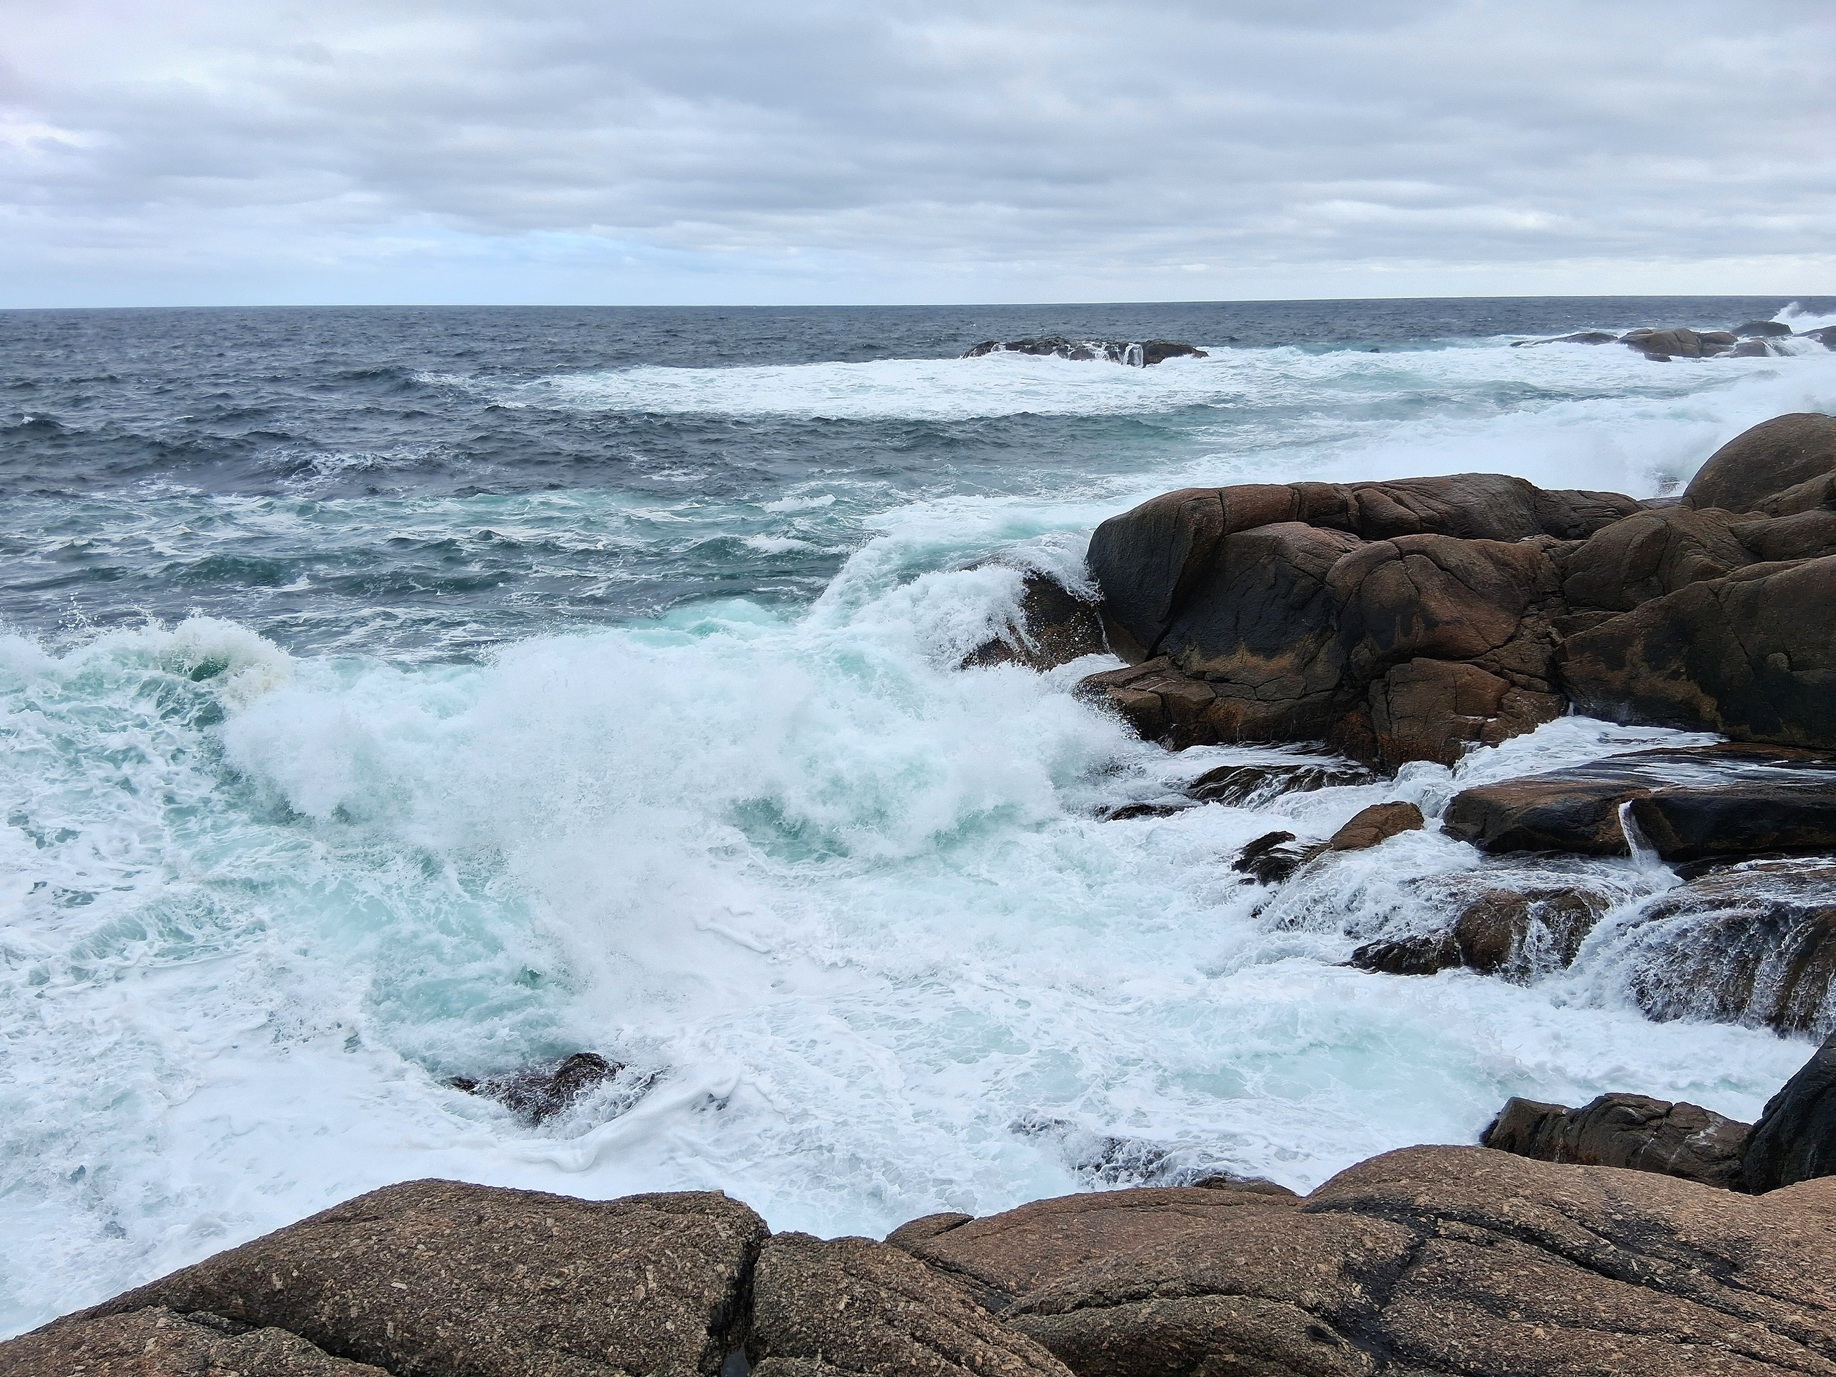
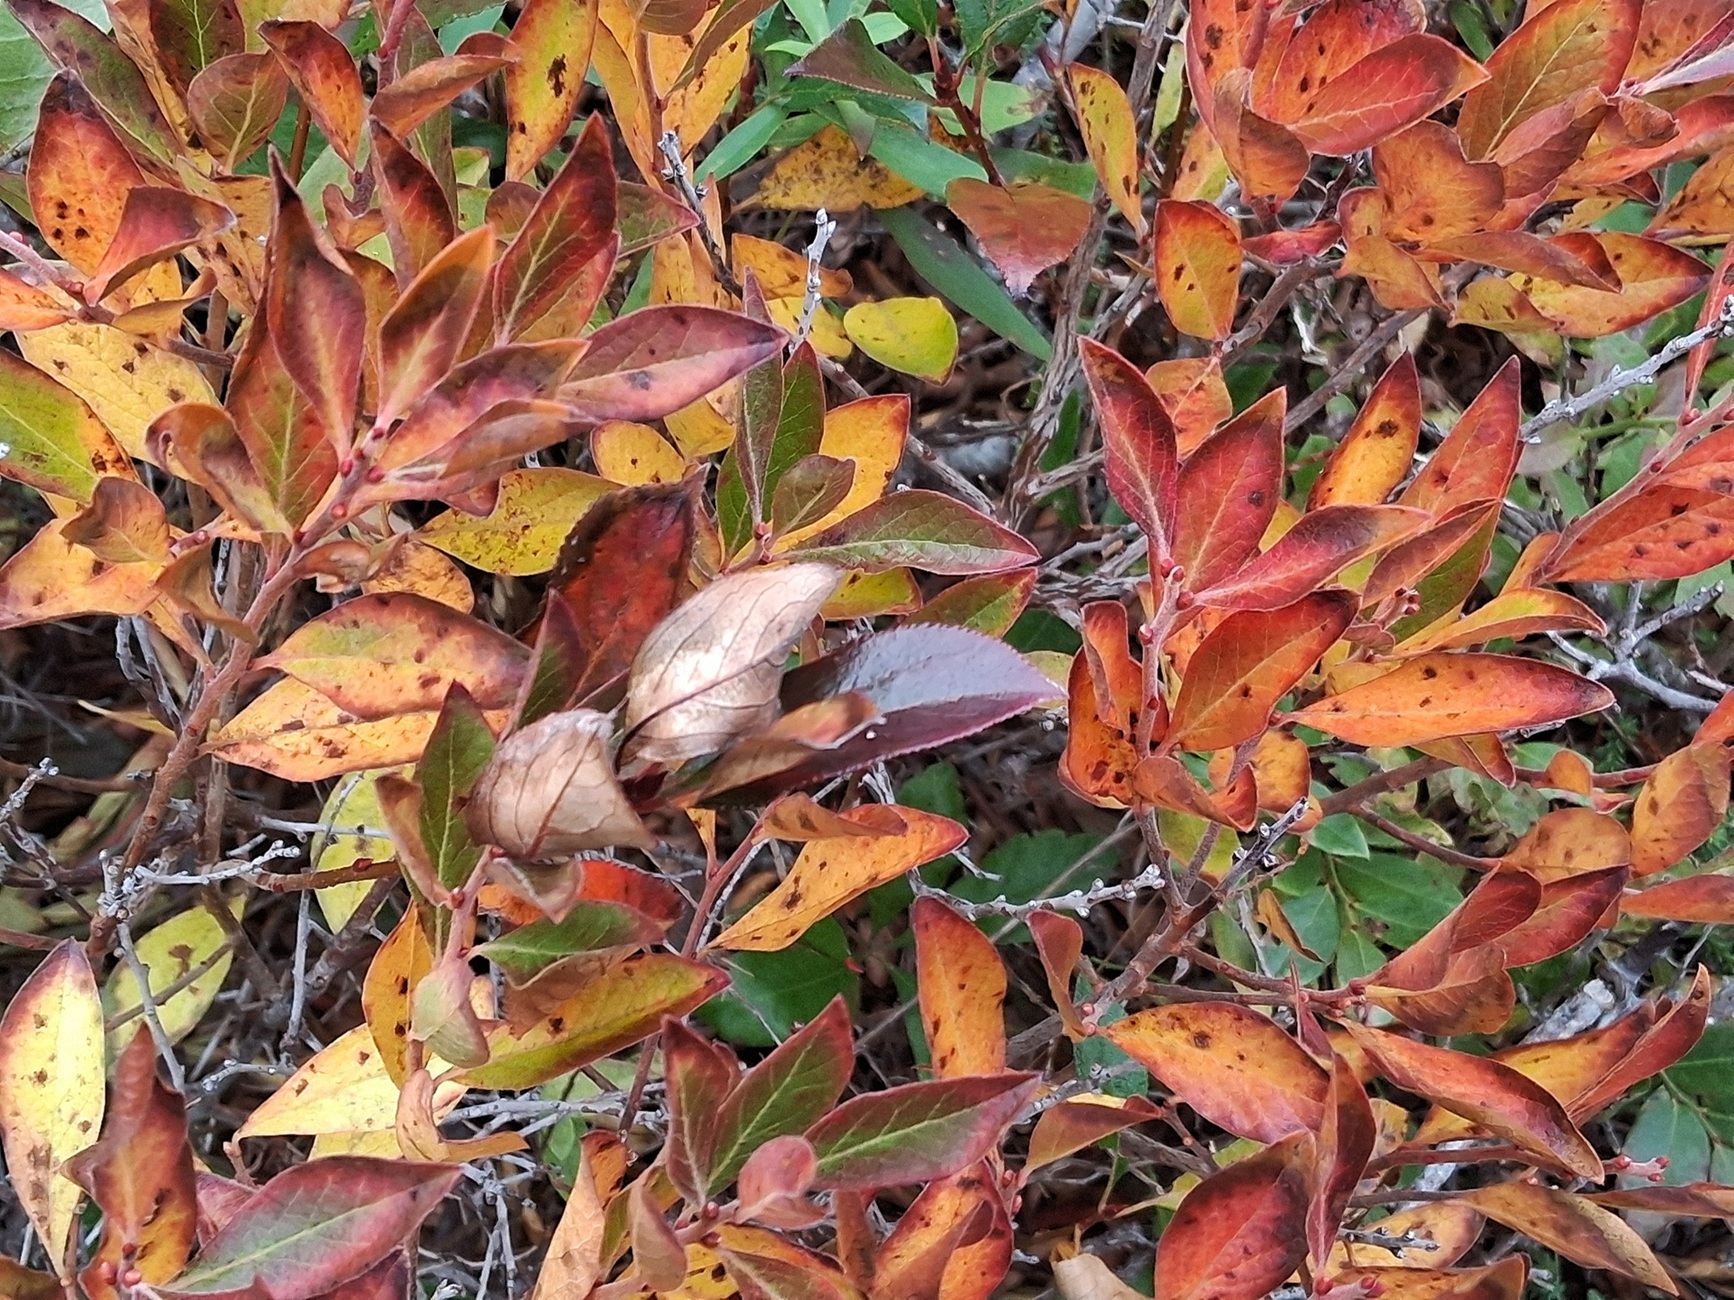
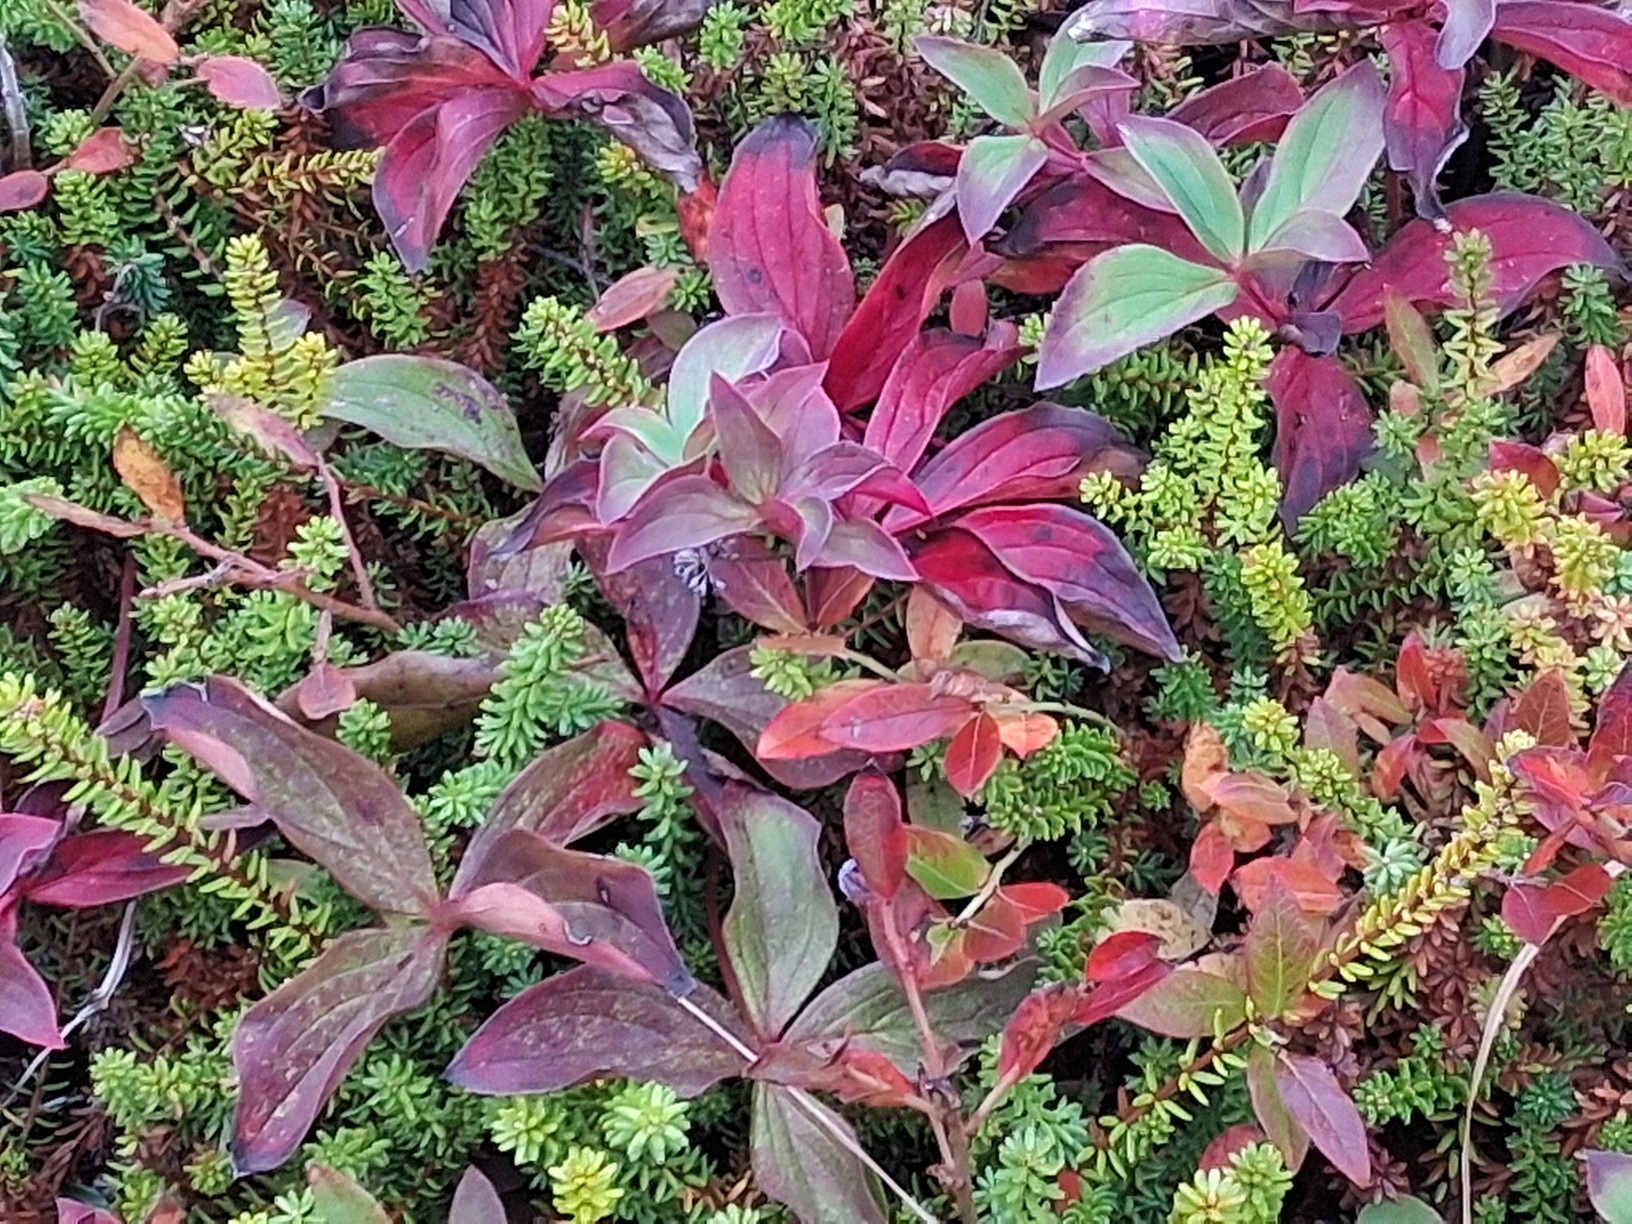
I hiked across the reserve to the lighthouse in 50 degree weather and then followed the rocks along the shoreline back to the house. Waves were modest today, October 30, but the effects of hurricane Melissa will bring heavy rain, strong winds, and high surf over the next two days, with the peak of the storm expected on Friday.
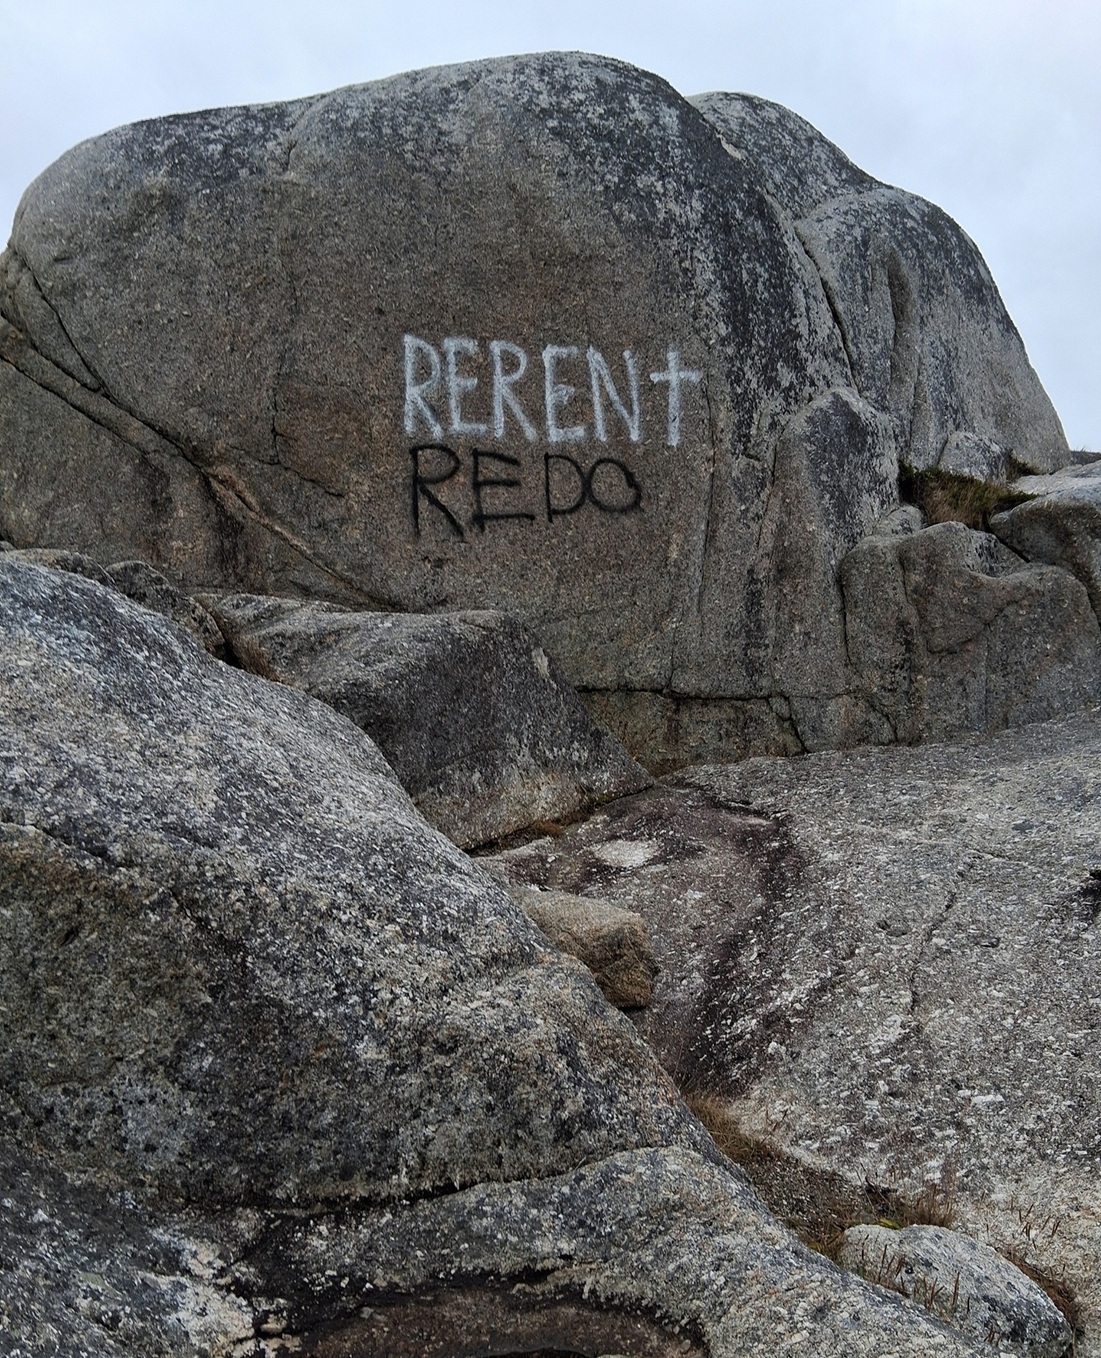
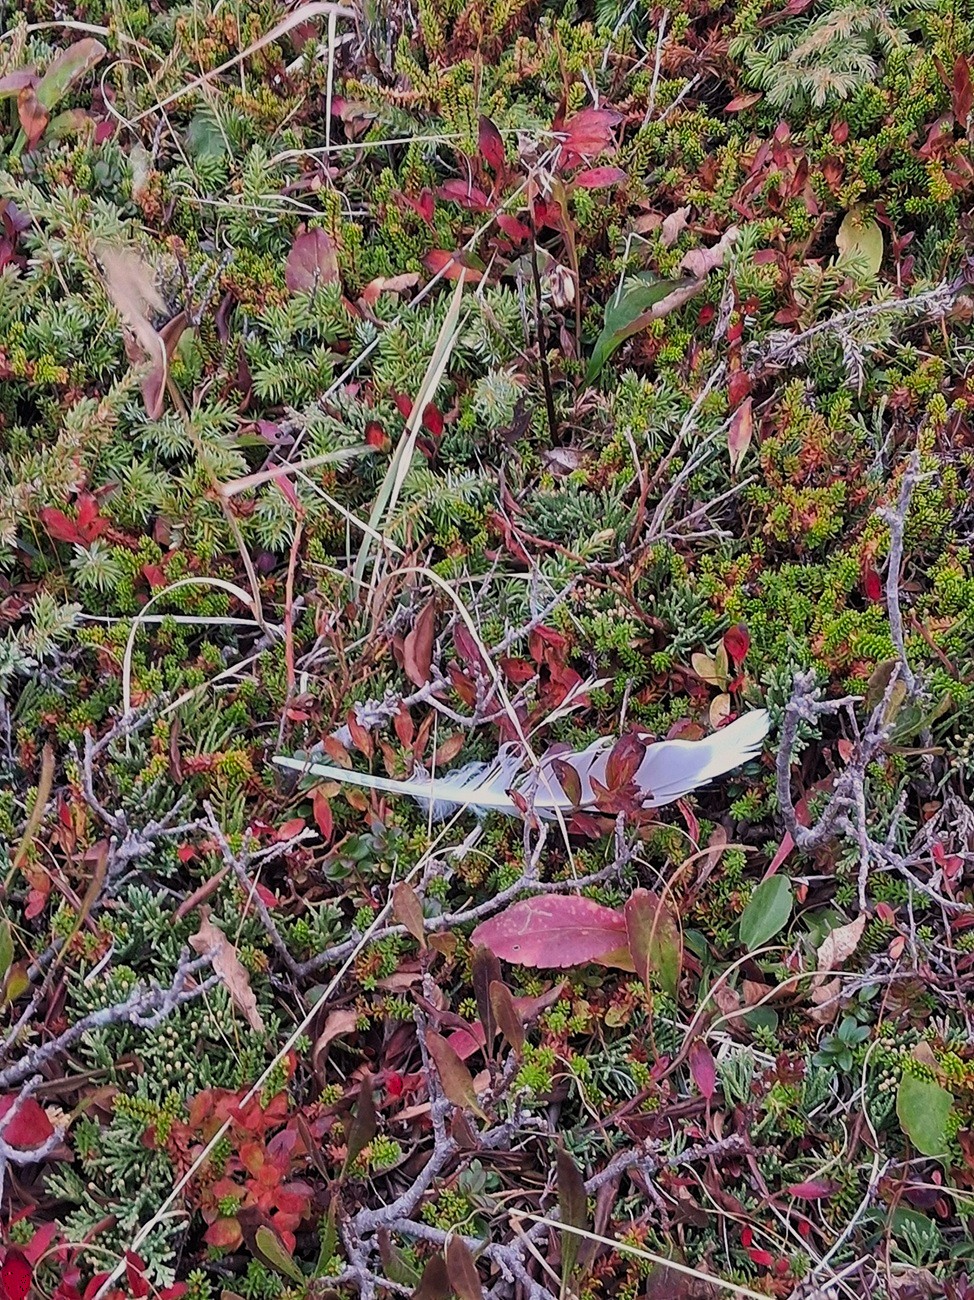
Granite boulders.Breaking waves down below the house. This is where the harbor meets the Atlantic Ocean.The message? Your guess is as good as mine.Low to the ground Fall color.Subtle leaf colors at shoe top level.Gull feather.
YESTERDAY, WEDNESDAY, OCTOBER 29
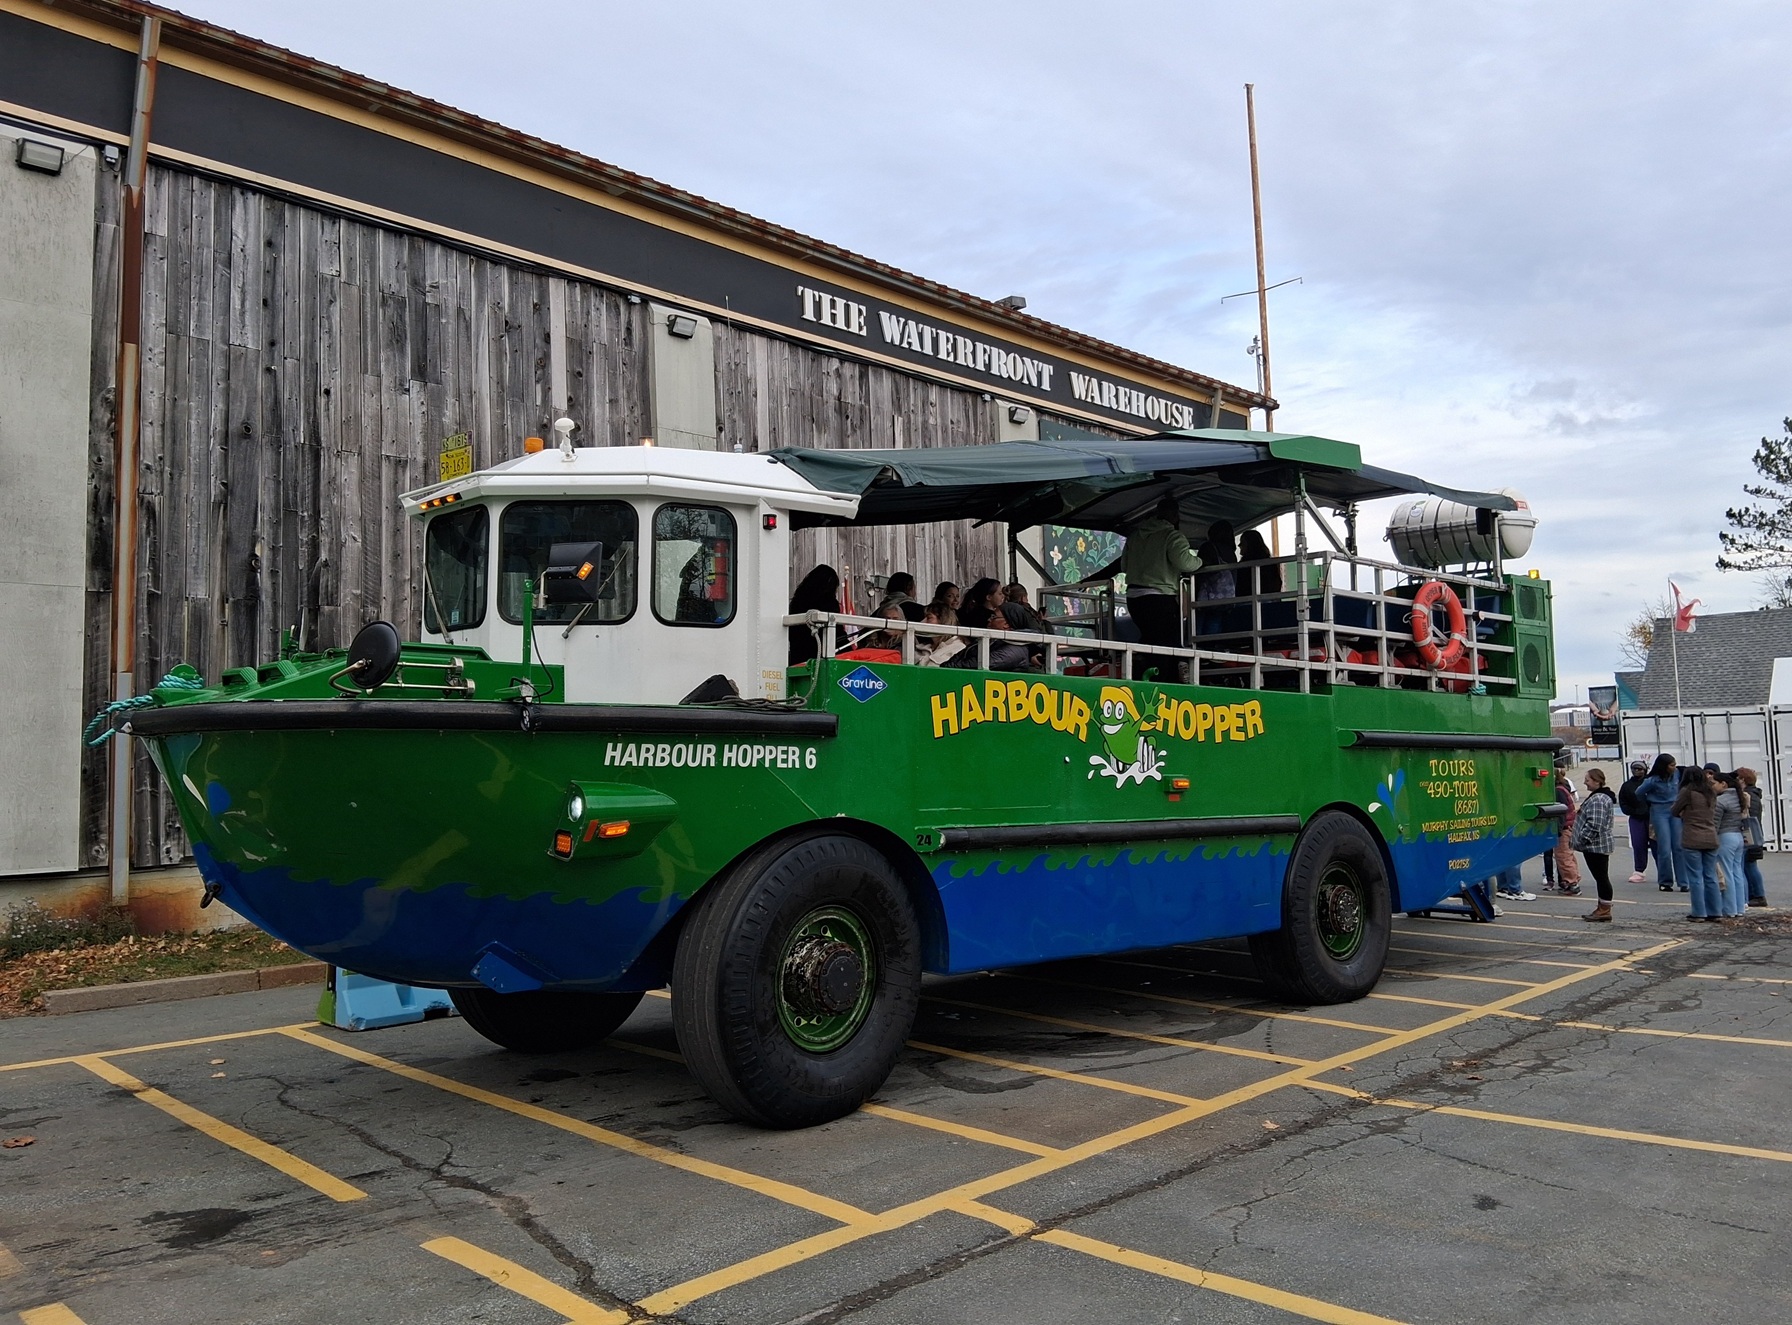
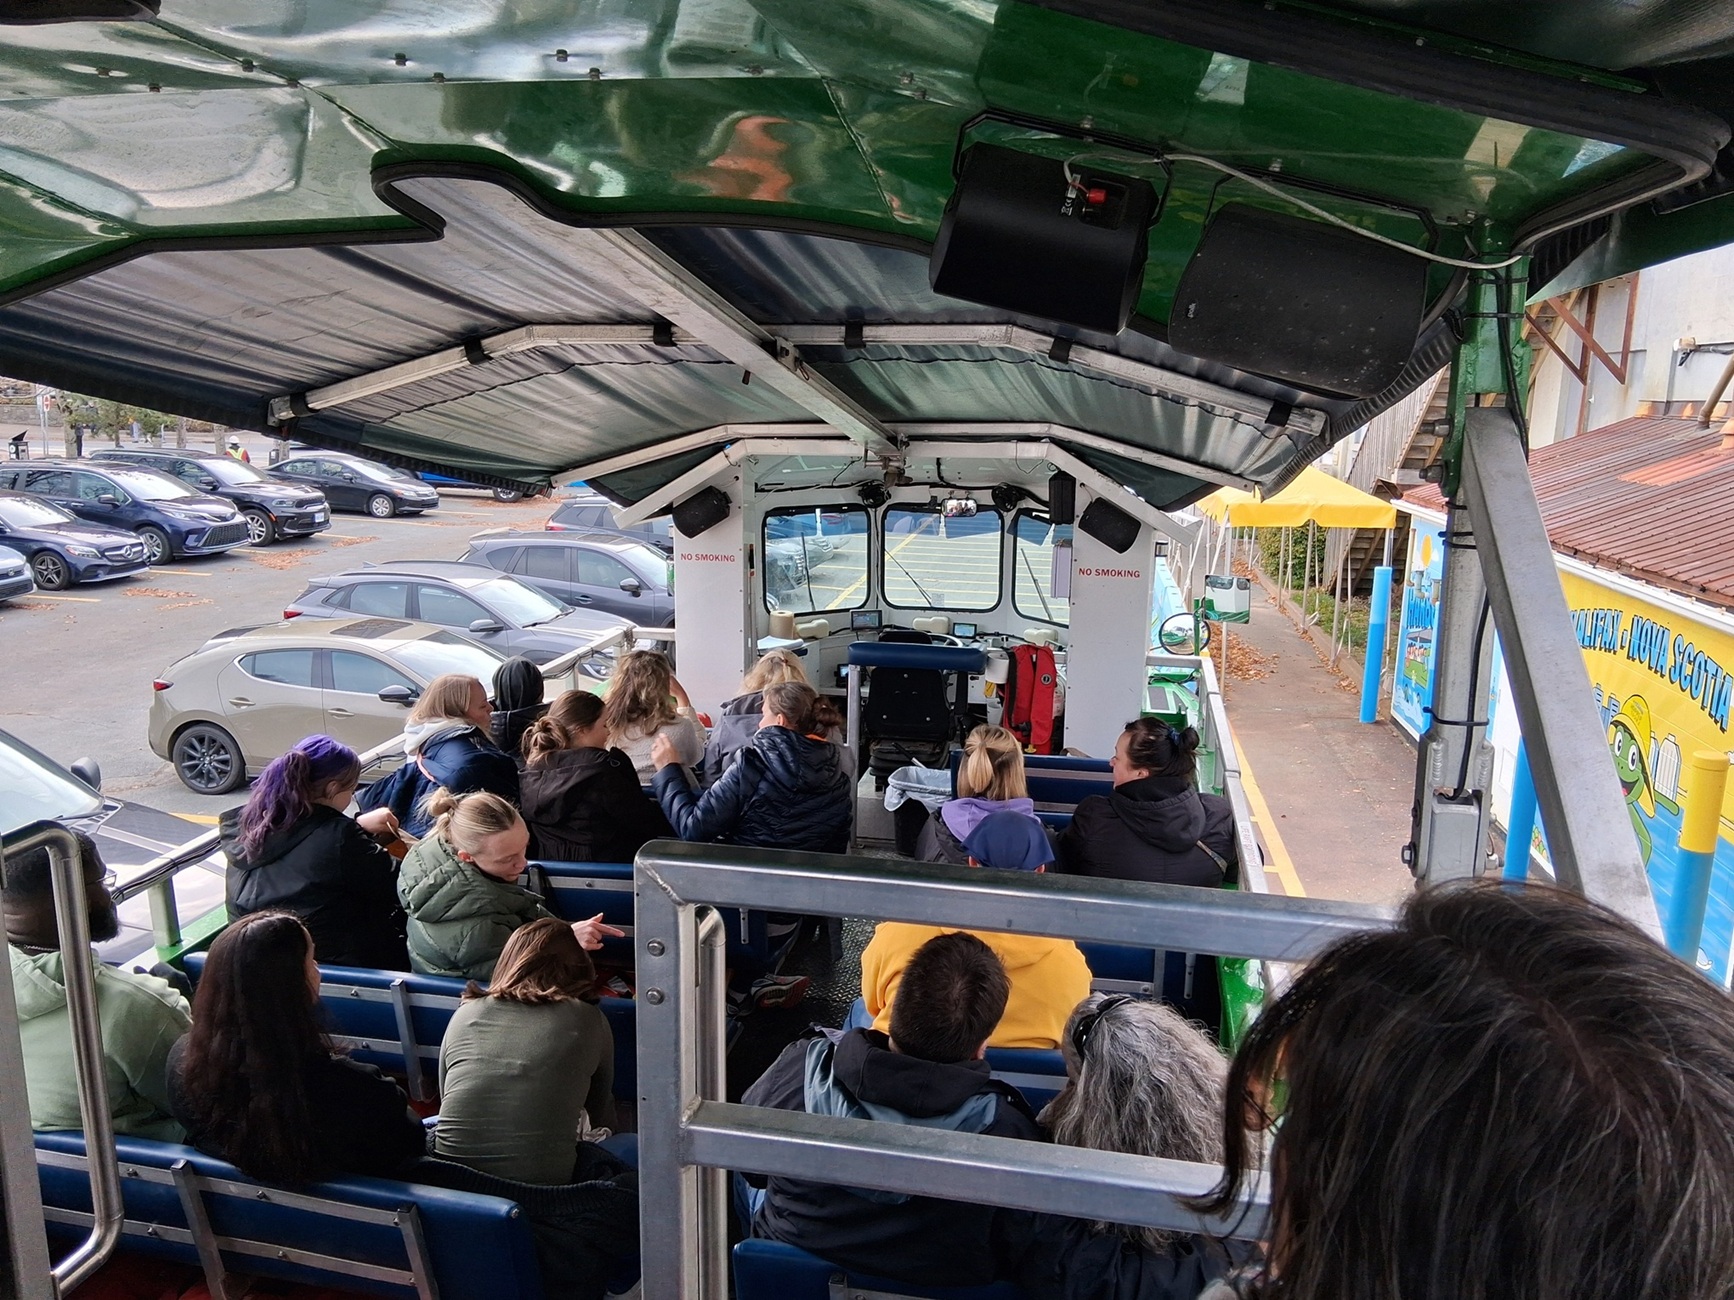
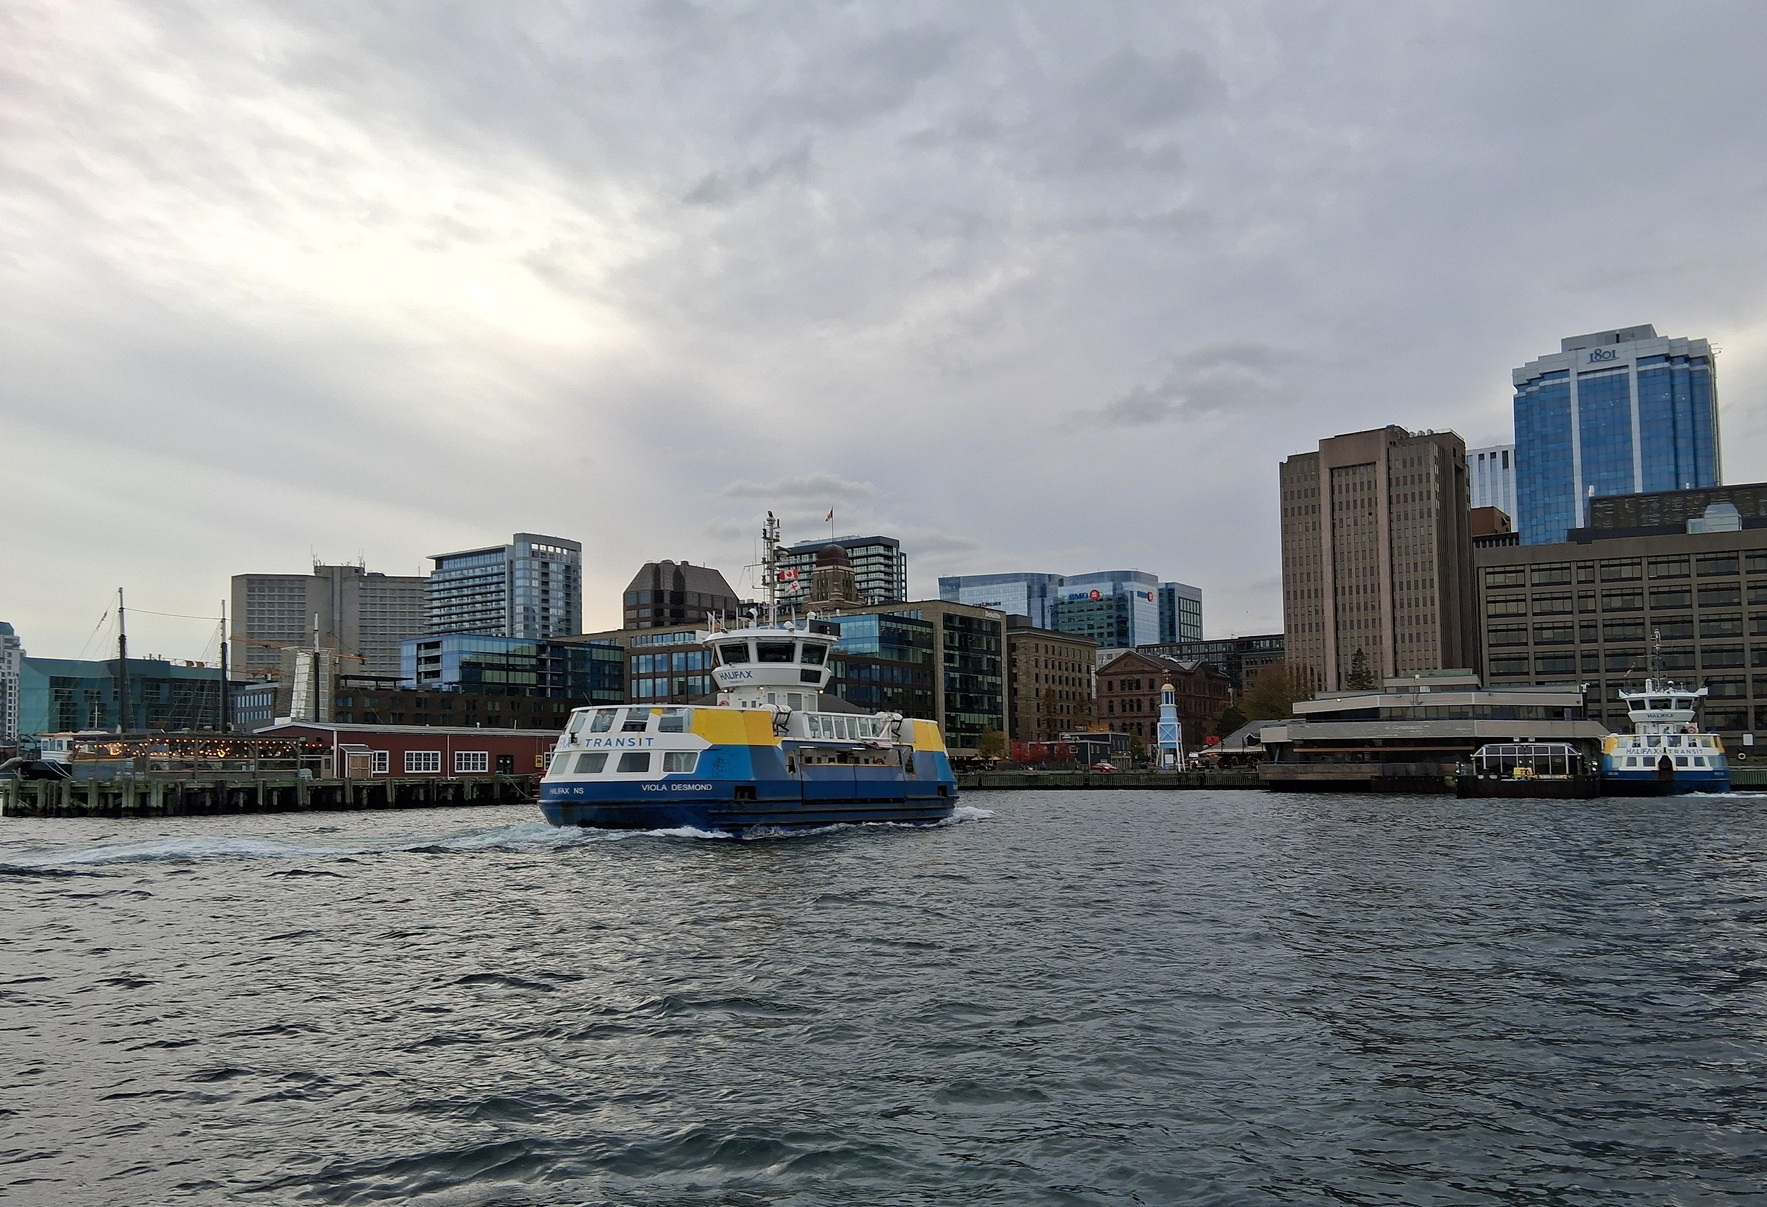
Karl and I rode the “Harbor Hopper,” a converted WW II amphibious vehicle that took us sightseeing around downtown Halifax and then, being amphibious, drove into the harbor so we could see the city from the water.
Harbor HopperSold out!Halifax waterfront and the Dartmouth ferry from the water.
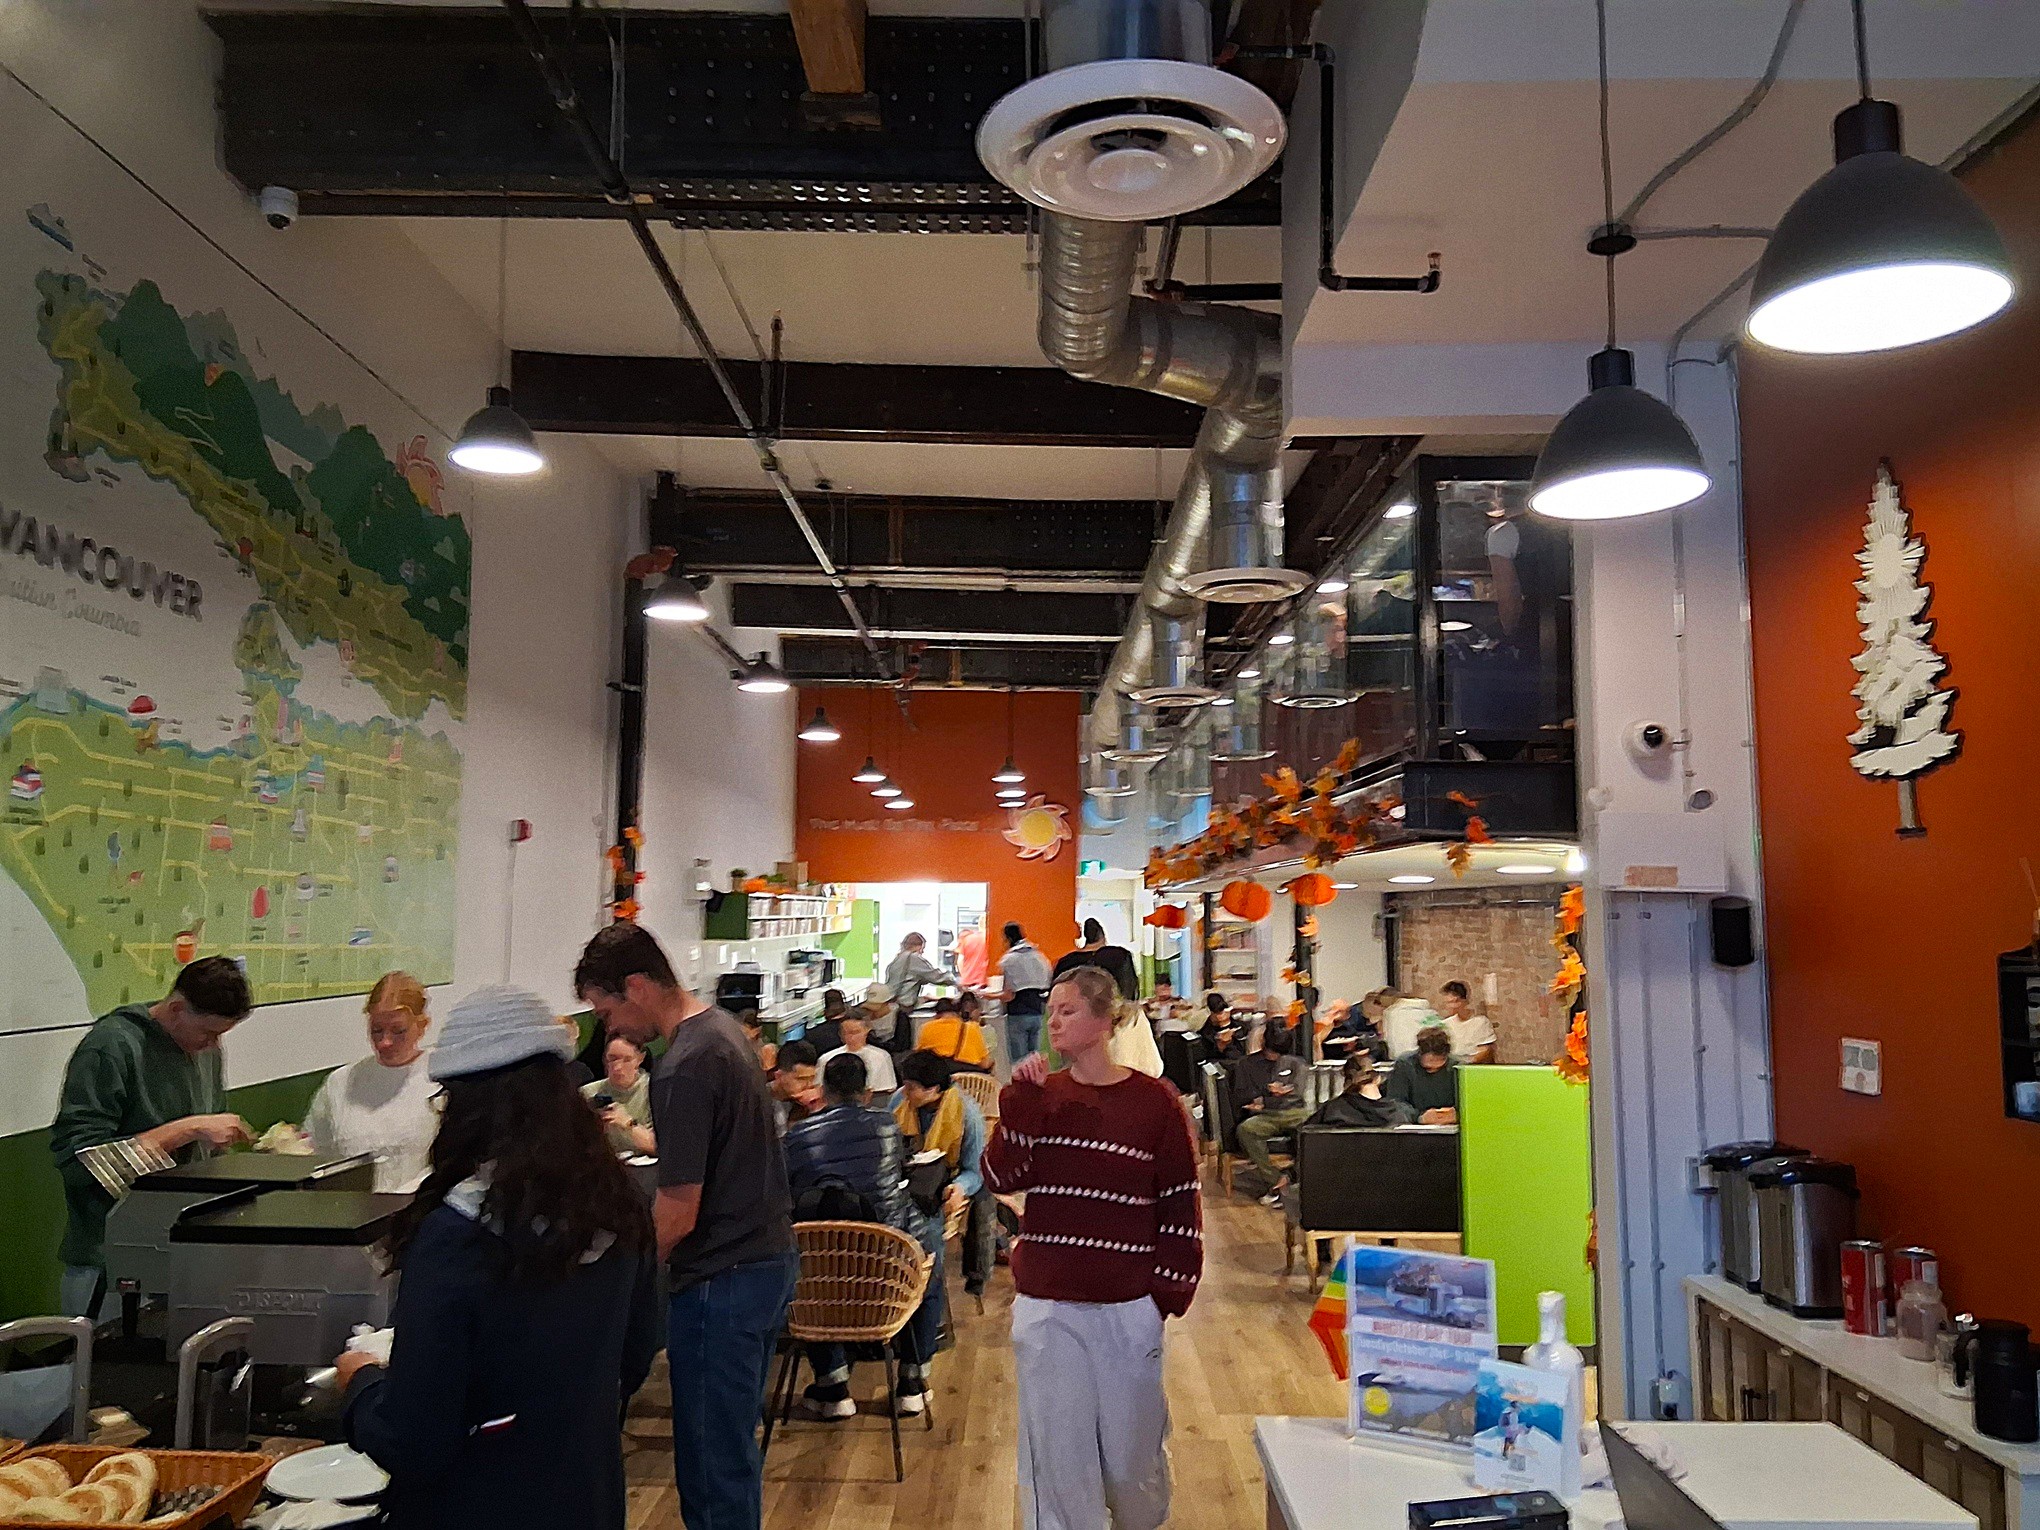
I made this trip by train on VIA Rail from Vancouver, BC, to Halifax, NS, to visit my son Karl. For the first two nights, I stayed in the Samsun Hostel in downtown Vancouver. It was affordable, efficiently laid out with individual rooms ( 4 or 8 beds), plus shower rooms and bathrooms on all four floors. Everything was kept very clean by staff and guests. Free, all-you-can-eat breakfast was a healthy mix of fresh fruits, cereals, and bagels with butter and jam. Staff provided the food, but guests bussed and washed all their own plates, bowls, cups, etc. in the kitchen area at the back of the main floor. [All photos Max Vollmer, Click on any image to enlarge]
Breakfast at Samsun Hostel
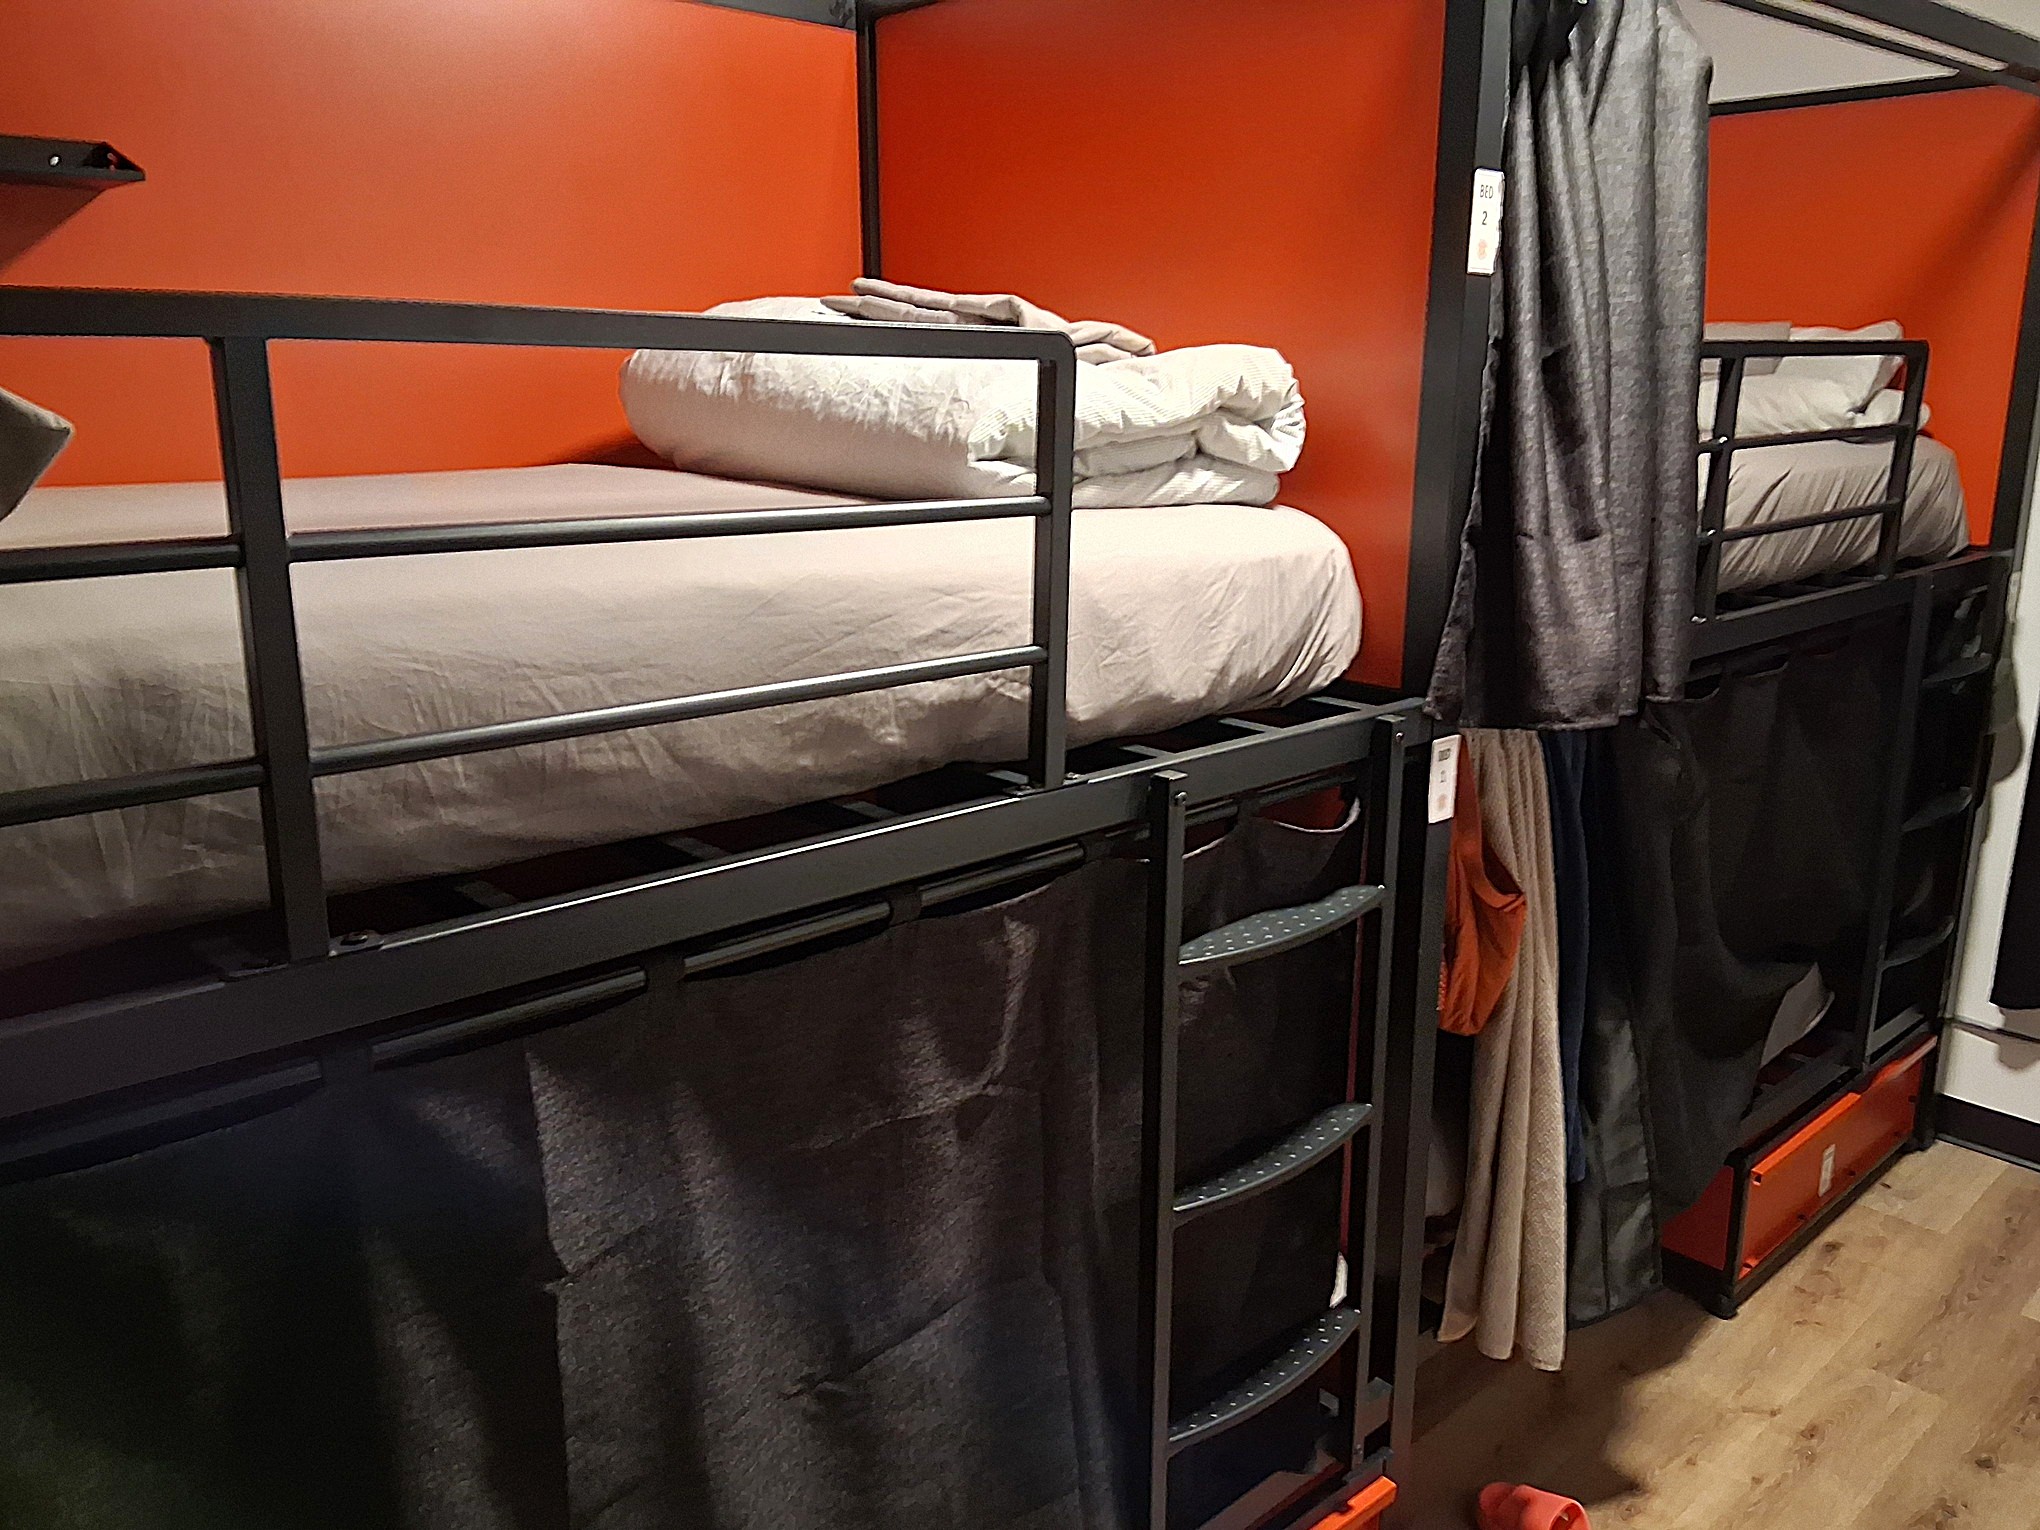
I stayed in a 4-bed room and got a good night’s sleep both nights. Four metal lockers on rollers for personal belongings slid under the bottom bunks. Each bed also had a lamp and an outlet against its back wall to charge a phone, and a privacy curtain. While it was not supposed to happen, I ended up with a young woman for a roommate. Fortunately she wasn’t bothered.
My room.
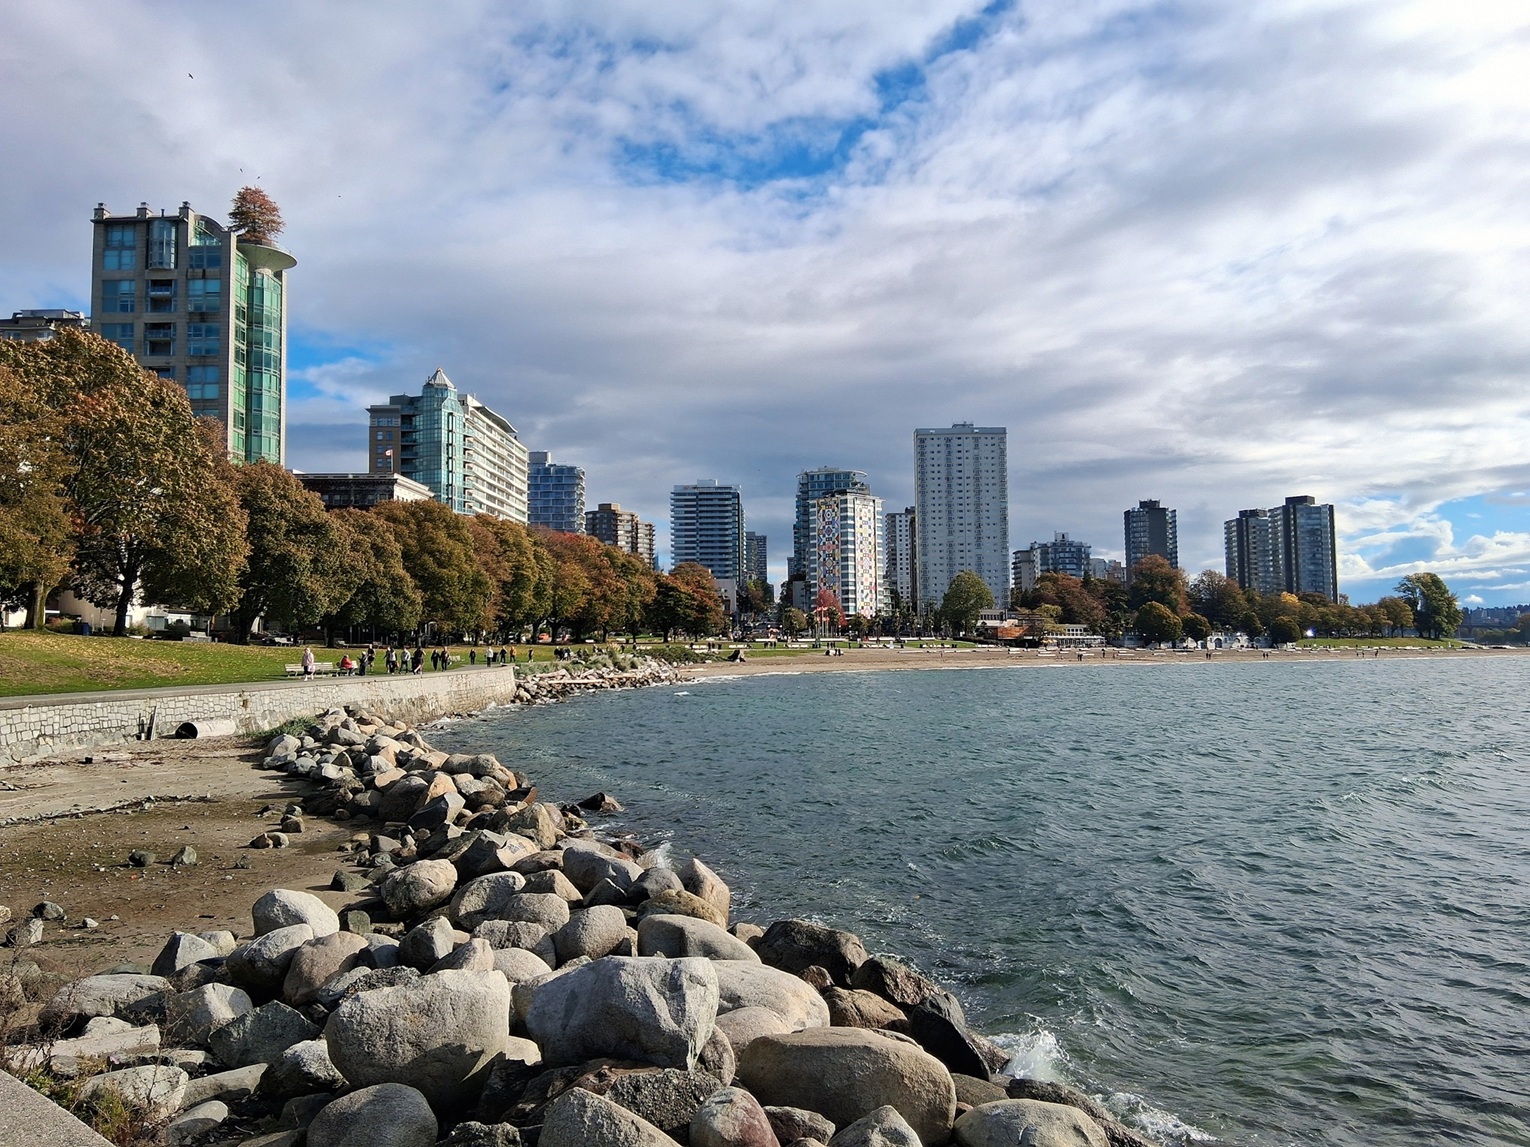
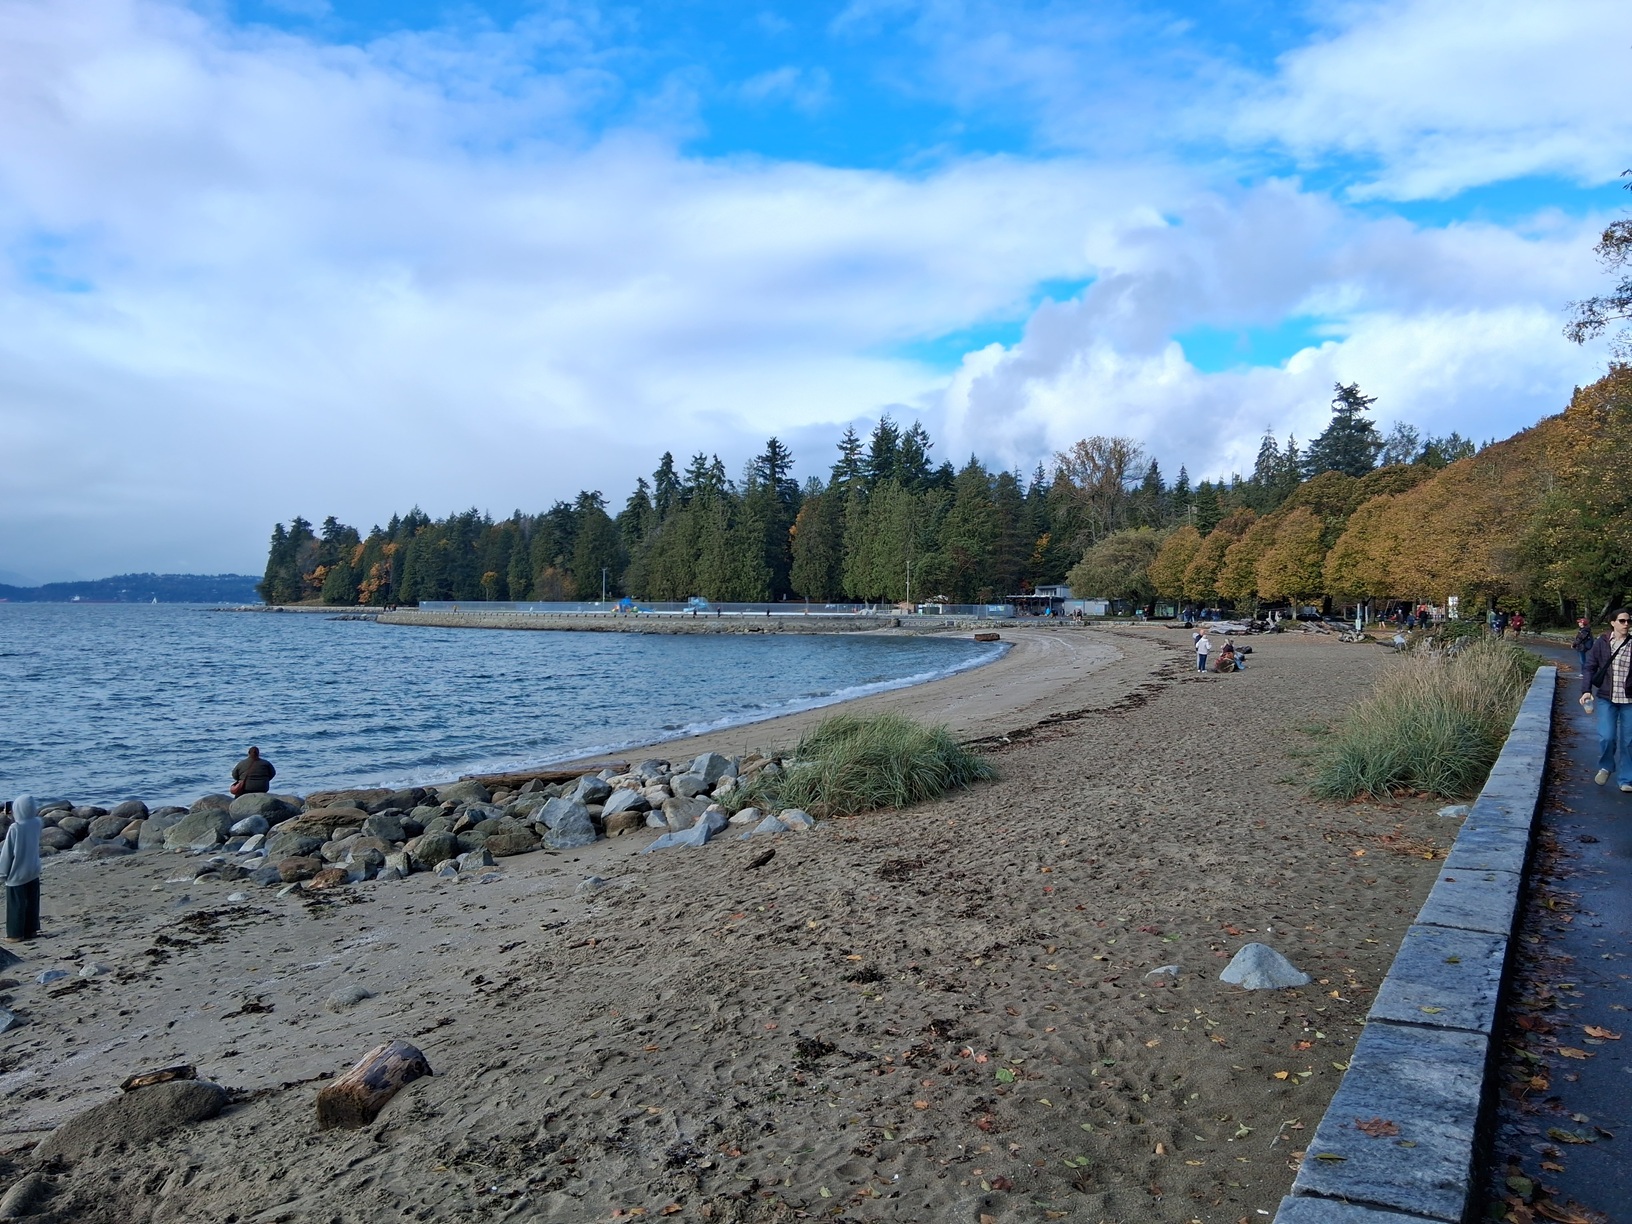
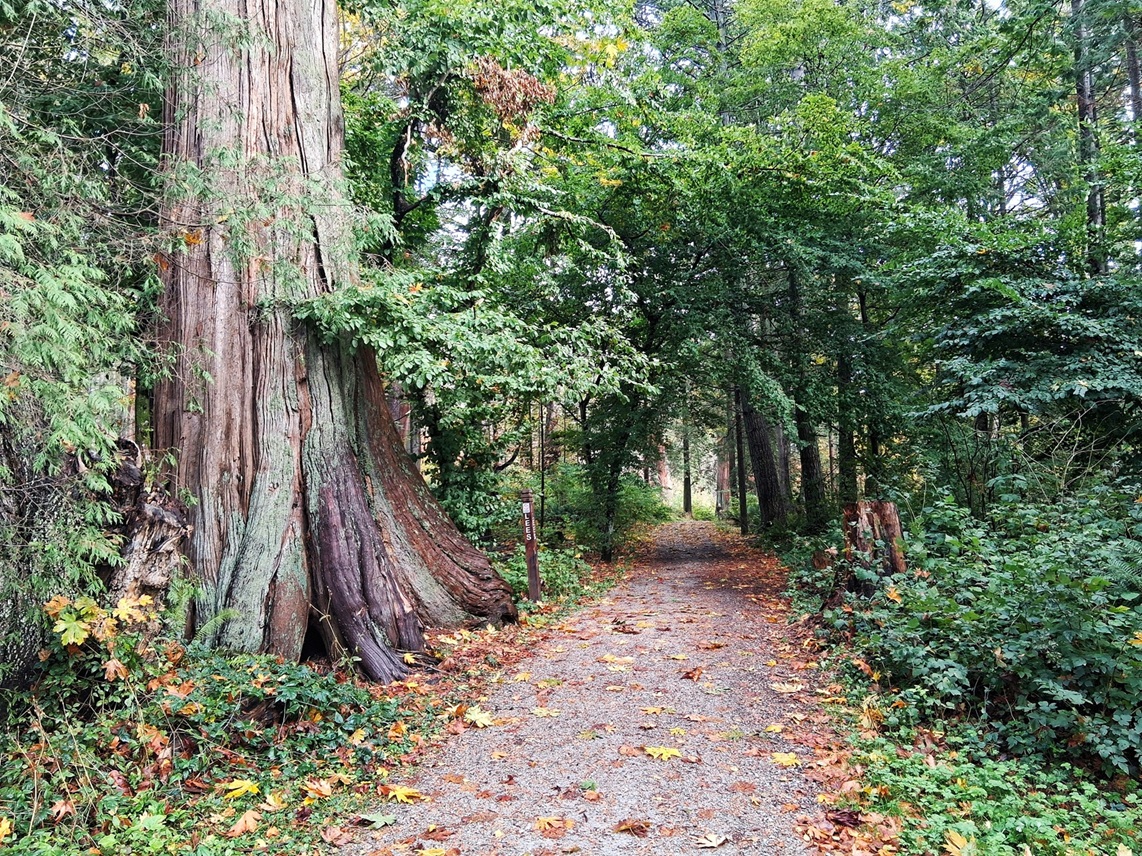
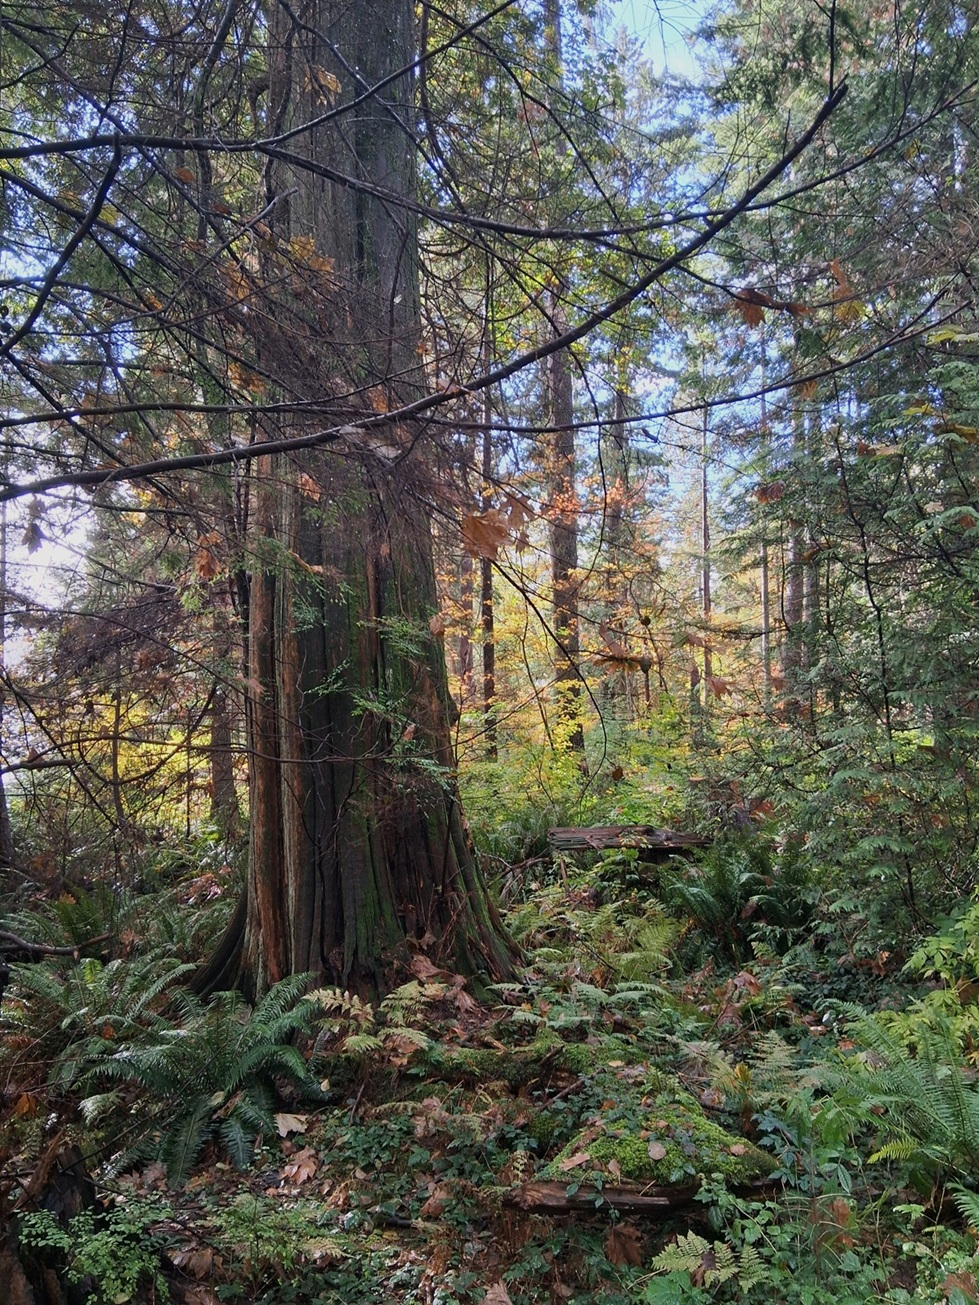
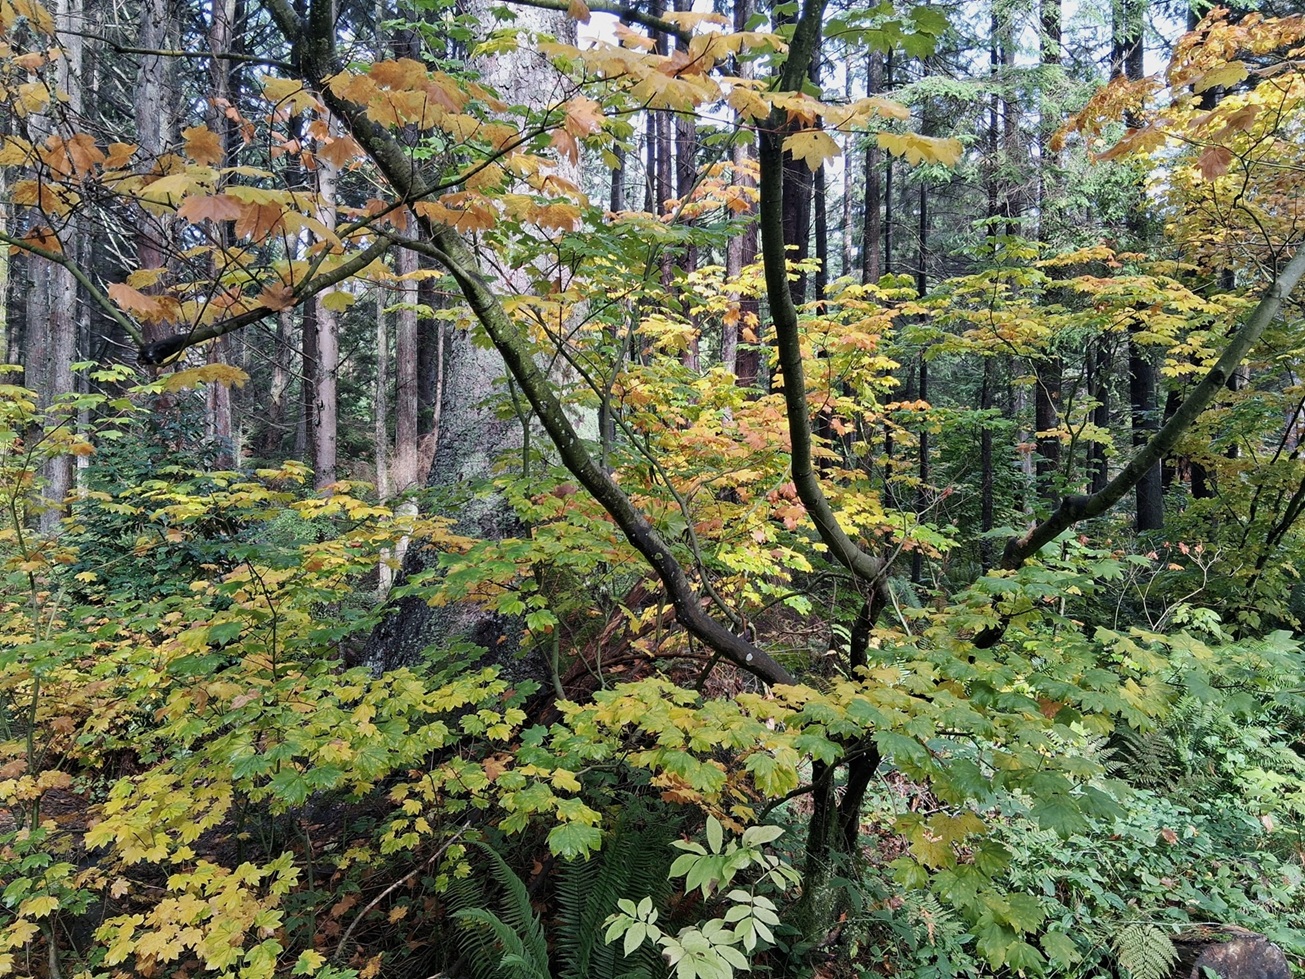
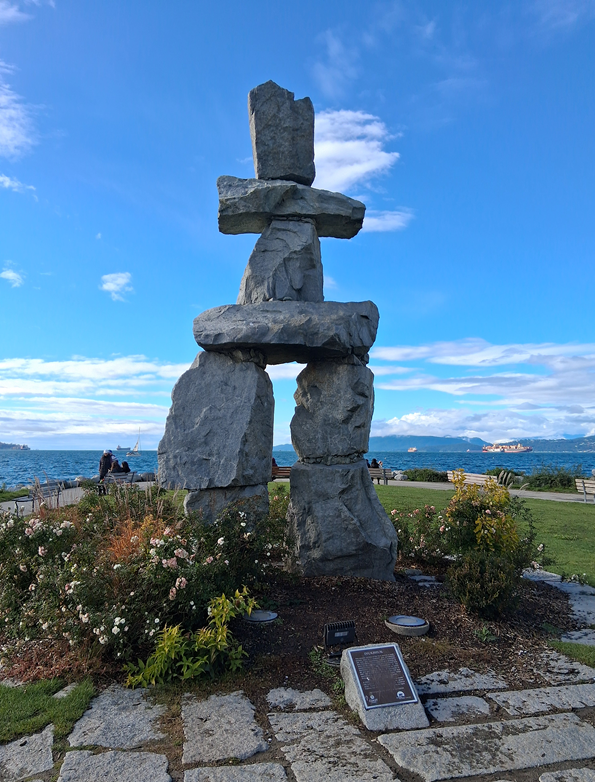
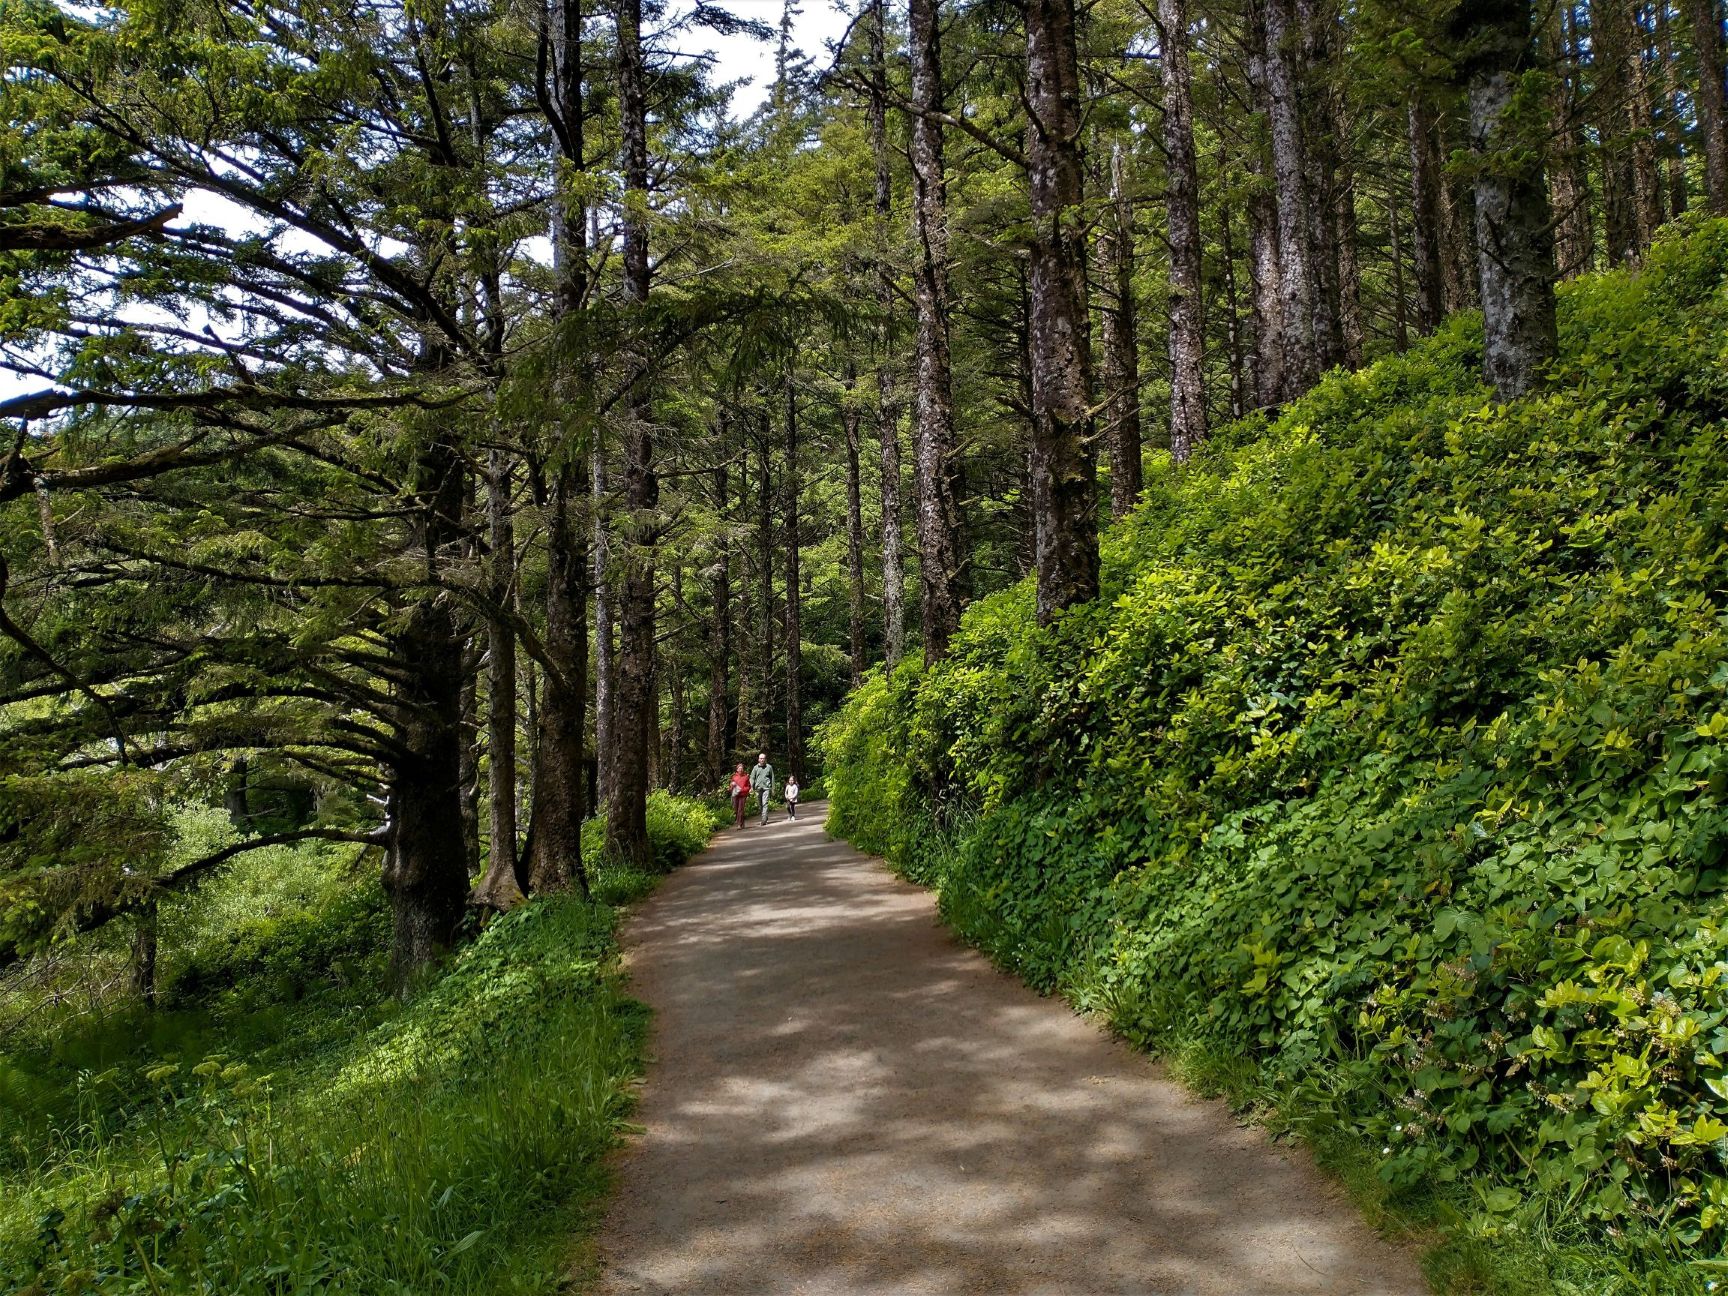
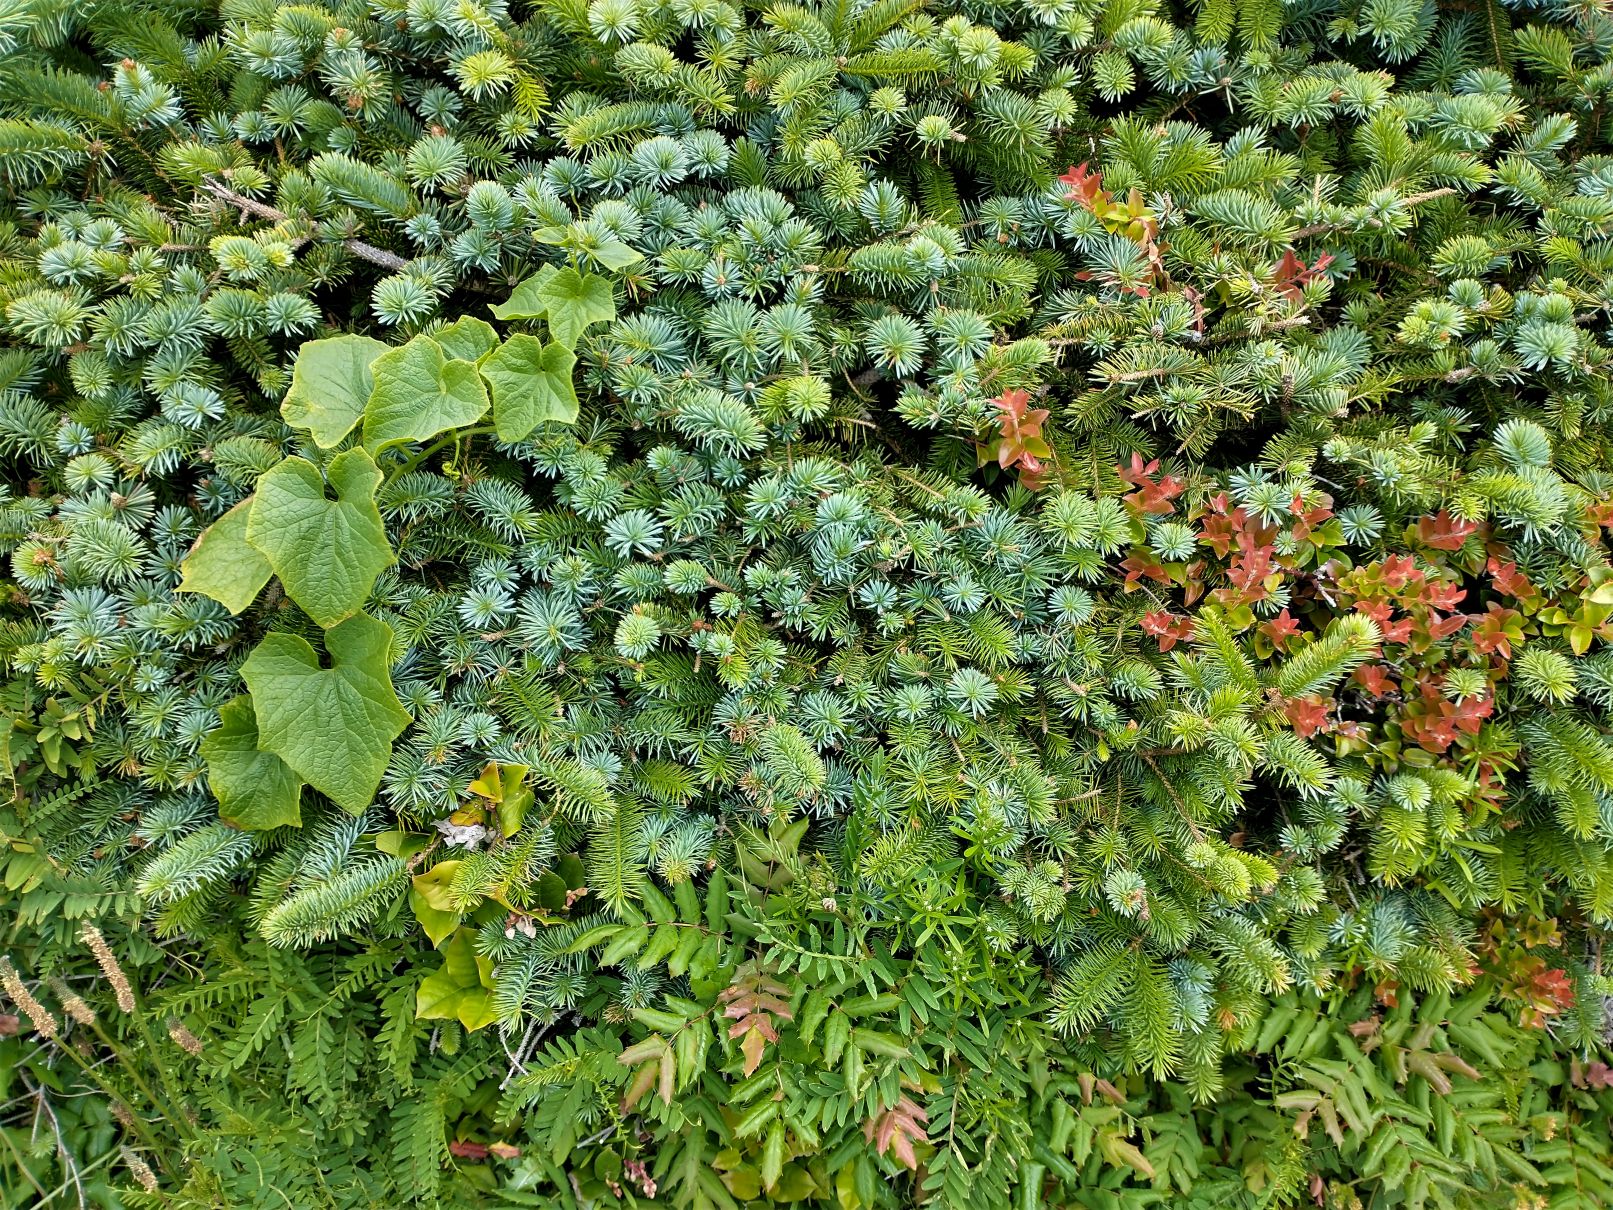
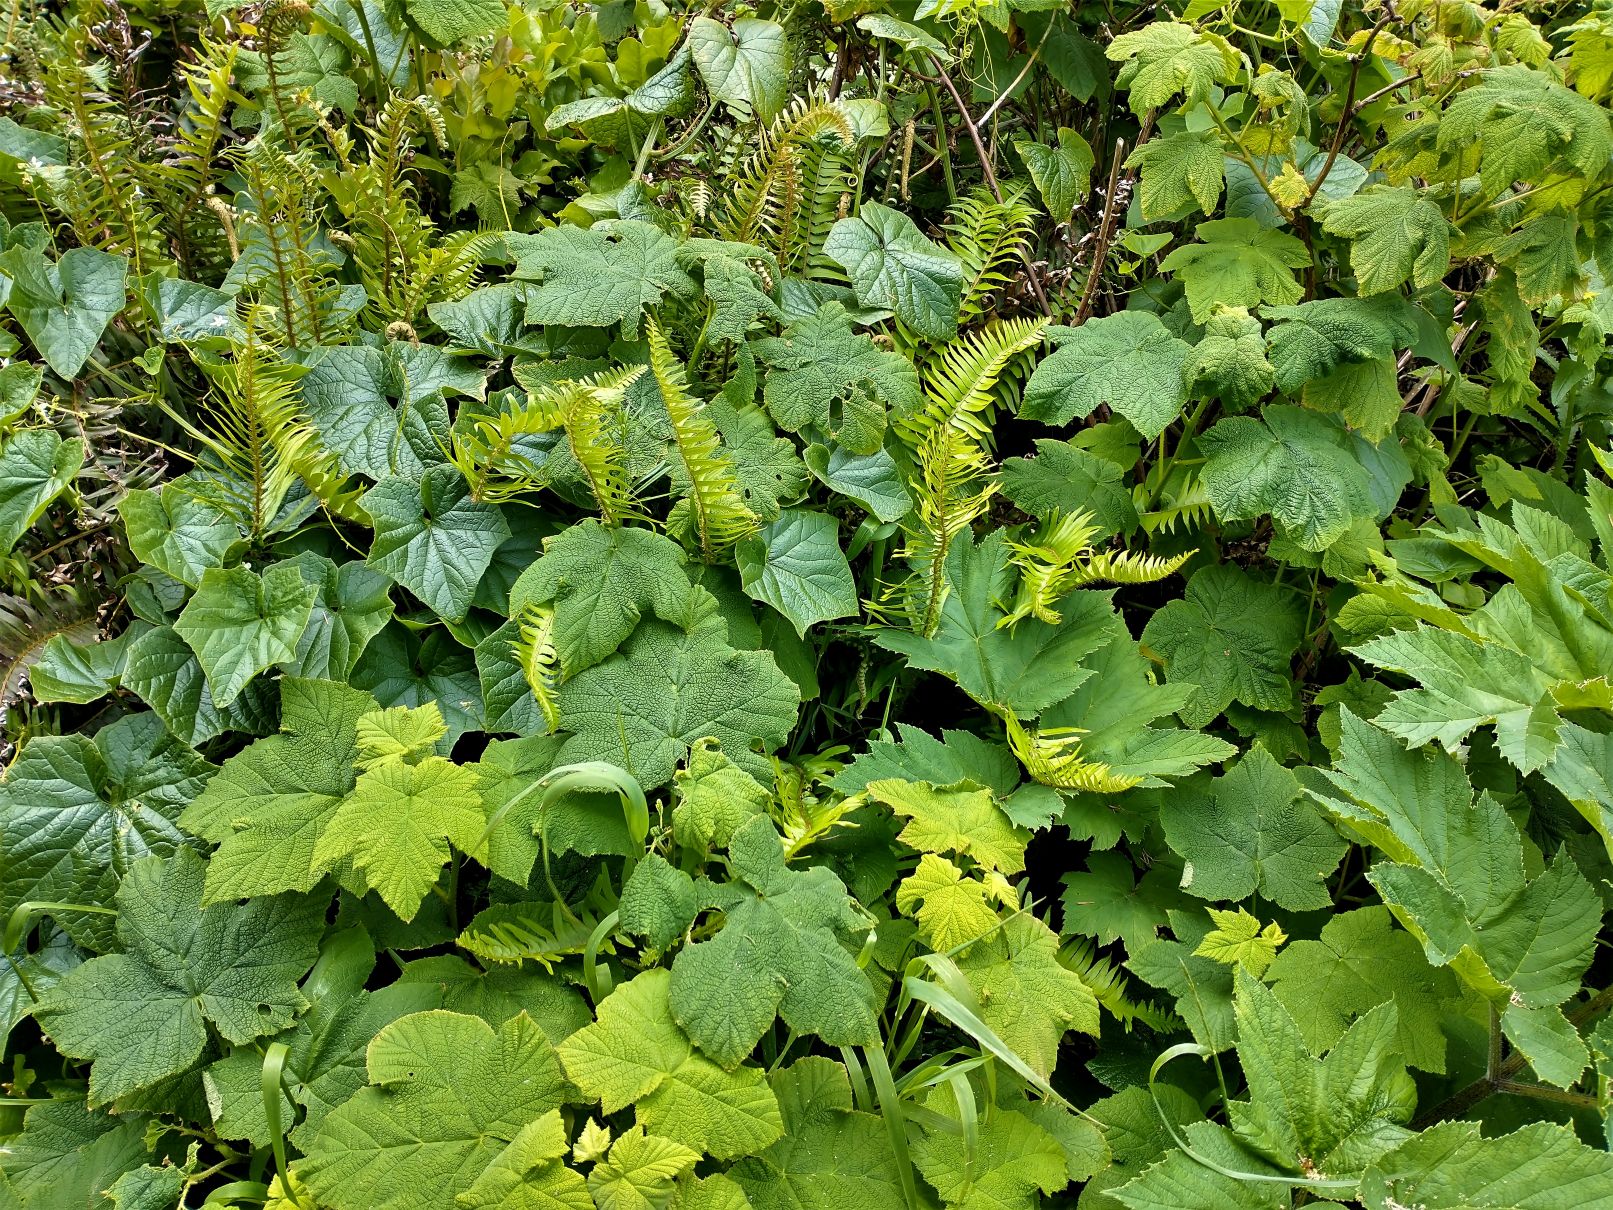
I had a full day to explore a little of the downtown and to walk along the seawall to Stanley Park, a preserve with an old growth forest of cedars, firs and maples on a promontory west of the city center.
Downtown Vancouver high rise apartment buildings, with the seawall to the left.Seawall and walking/cycling path out to Stanley Park.Path by giant Western red cedar.Cedar, firs, ferns.Vine maple.The Inukshuk, traditional welcoming sign of the Inuit people along the coast, created by native artist Alvin Kanak out of grey granite. The Inukshuk stands along the seawall facing the open sea.
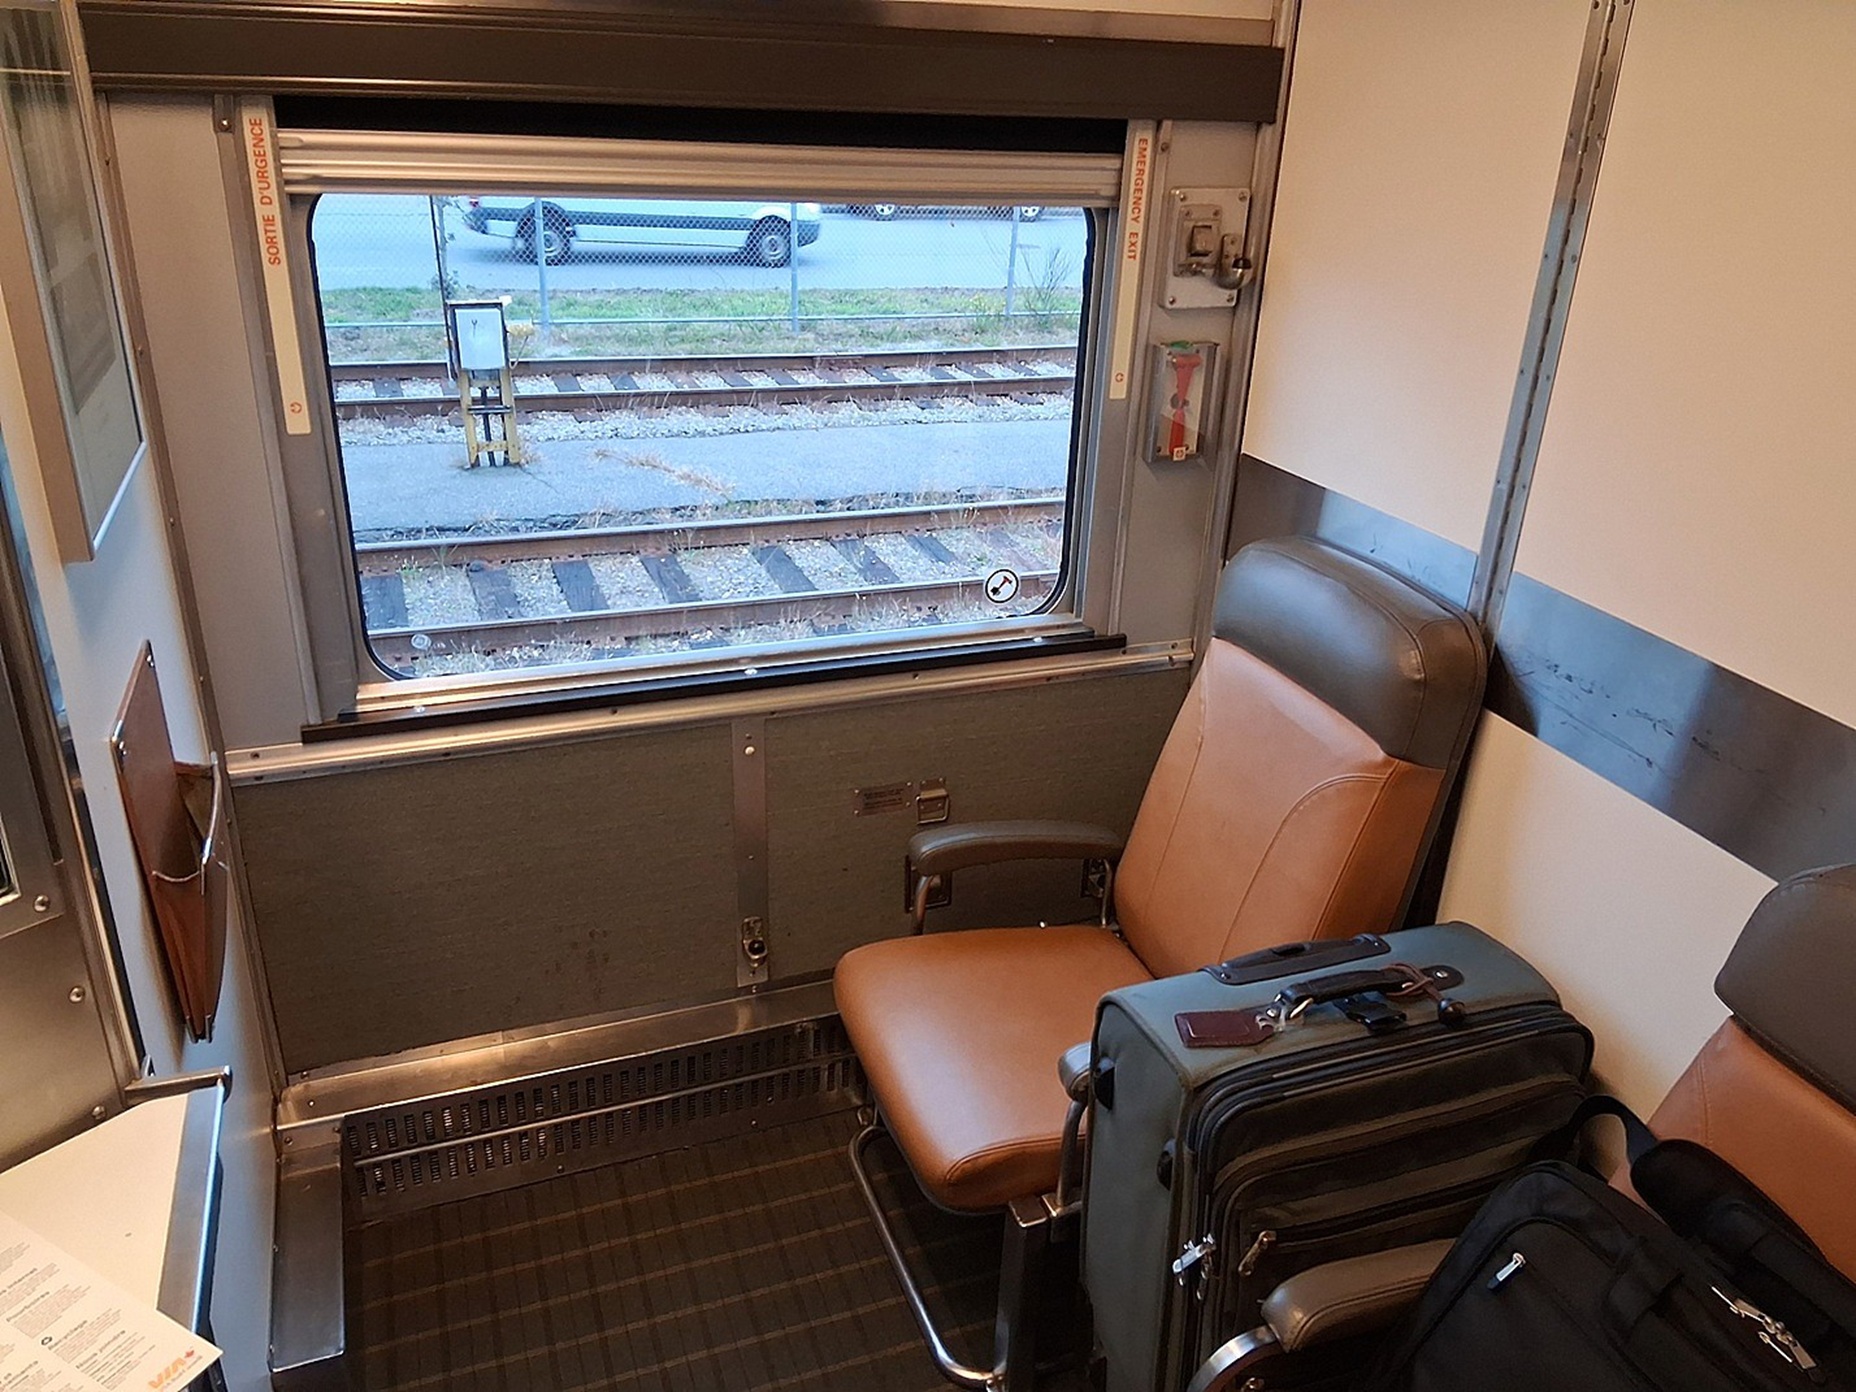
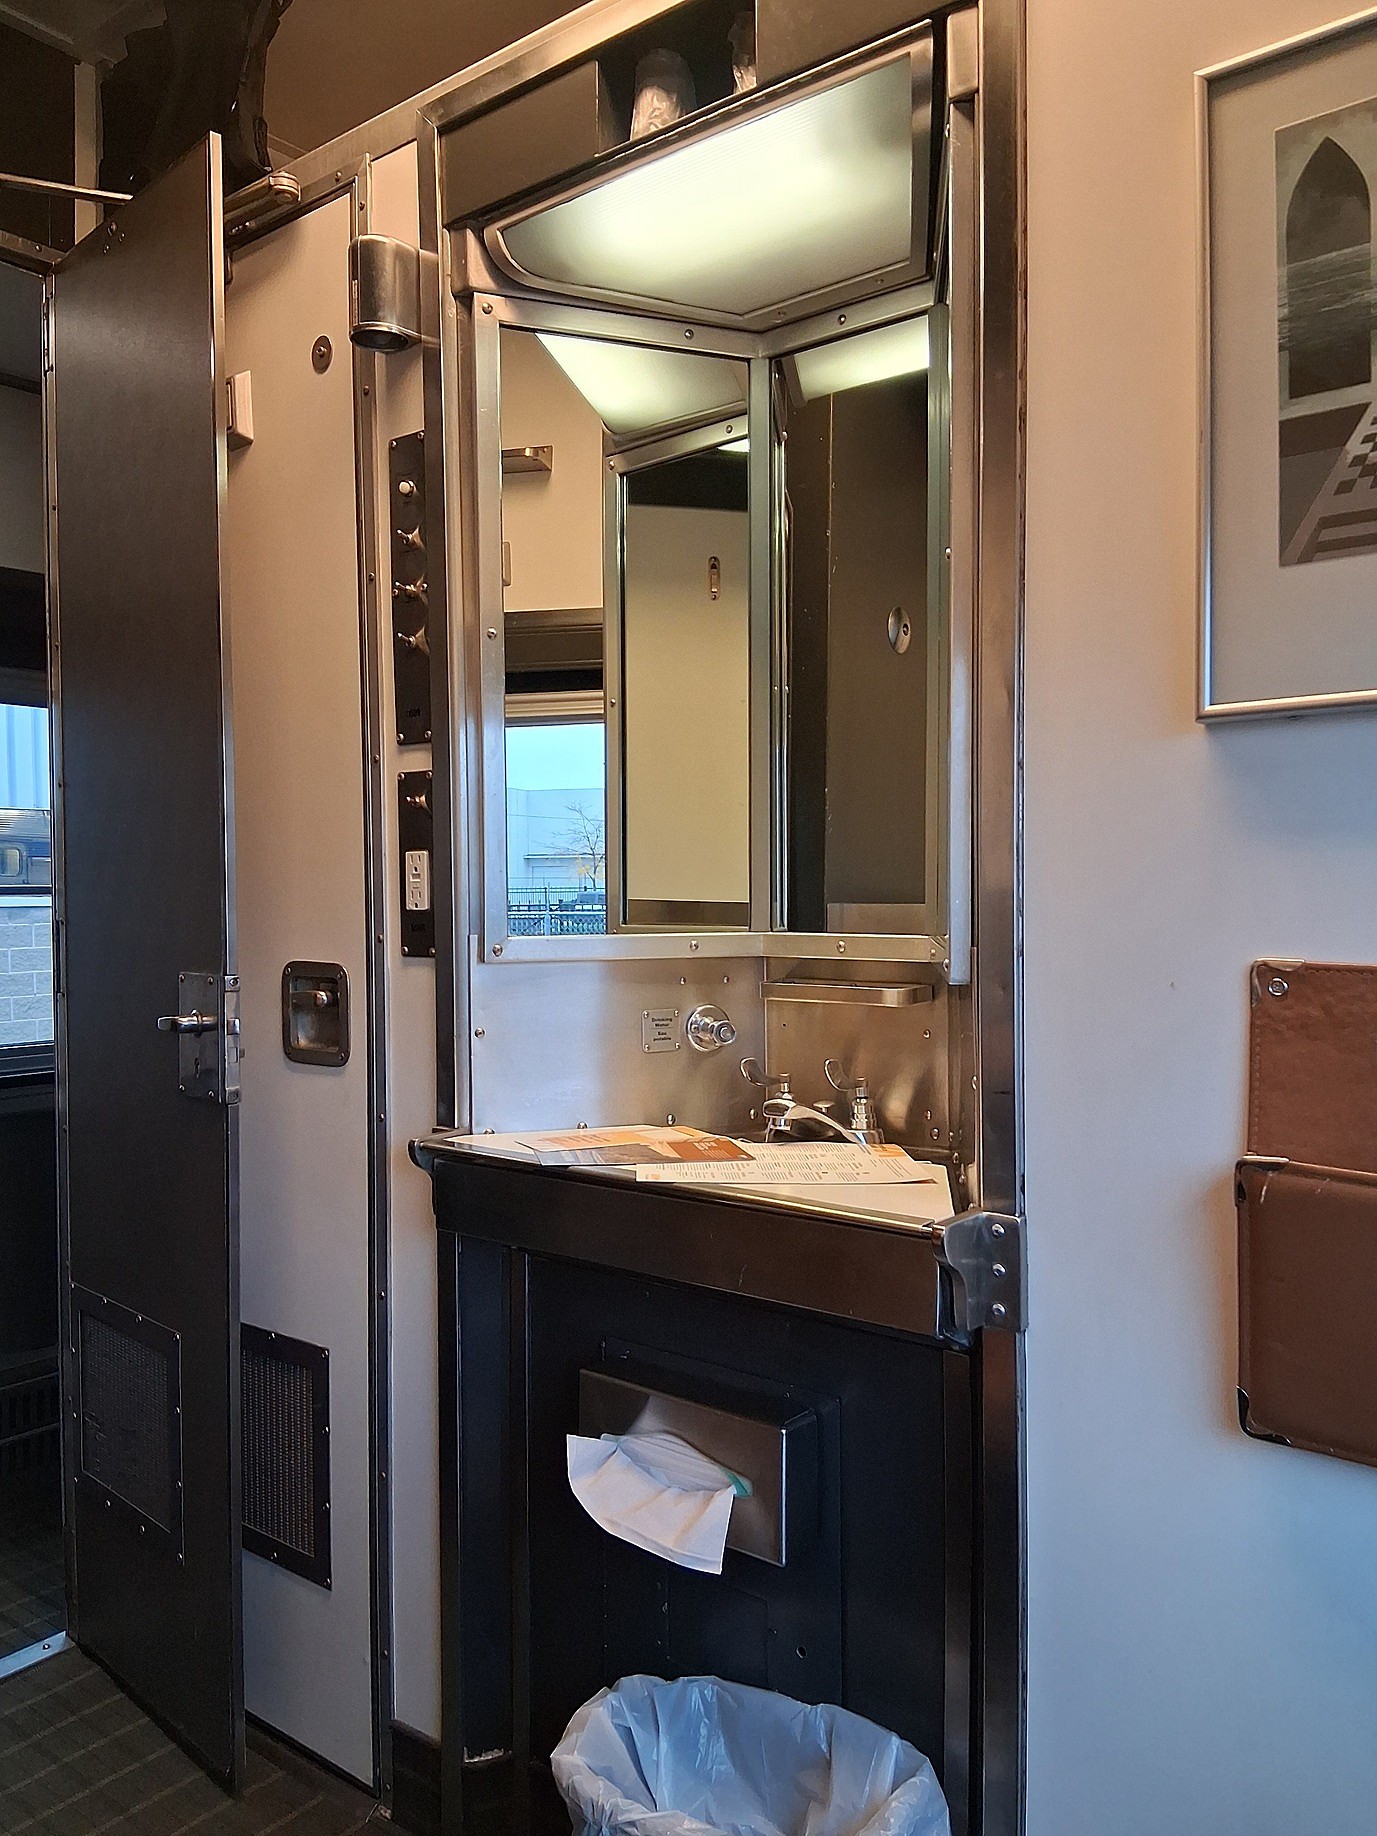
I boarded the Canadian, VIA Rail’s premier scenic run from Vancouver, BC, to Toronto, Ontario, on Sunday afternoon, 10/20. The entire train including my sleeper is vintage 1955, venerable but well maintained, with lots of solid stainless steel and aluminum trim and a few genuine leather details. I had my cabin, meant for two, to myself and appreciated the quiet comfort.
My room.My room with private bathroom.
Meals are included in the sleeper fare and are served in the dining car by reservation. Tables for four meant that I met people from Germany, France, and Japan. The real surprise was how many of my fellow passengers, couples and singles, young and old, were Canadians (the majority) and many of them French speaking. Few were from the U.S. which was fine with me. Dinners included rack of lamb, beef tenderloin, and salmon, all excellent.
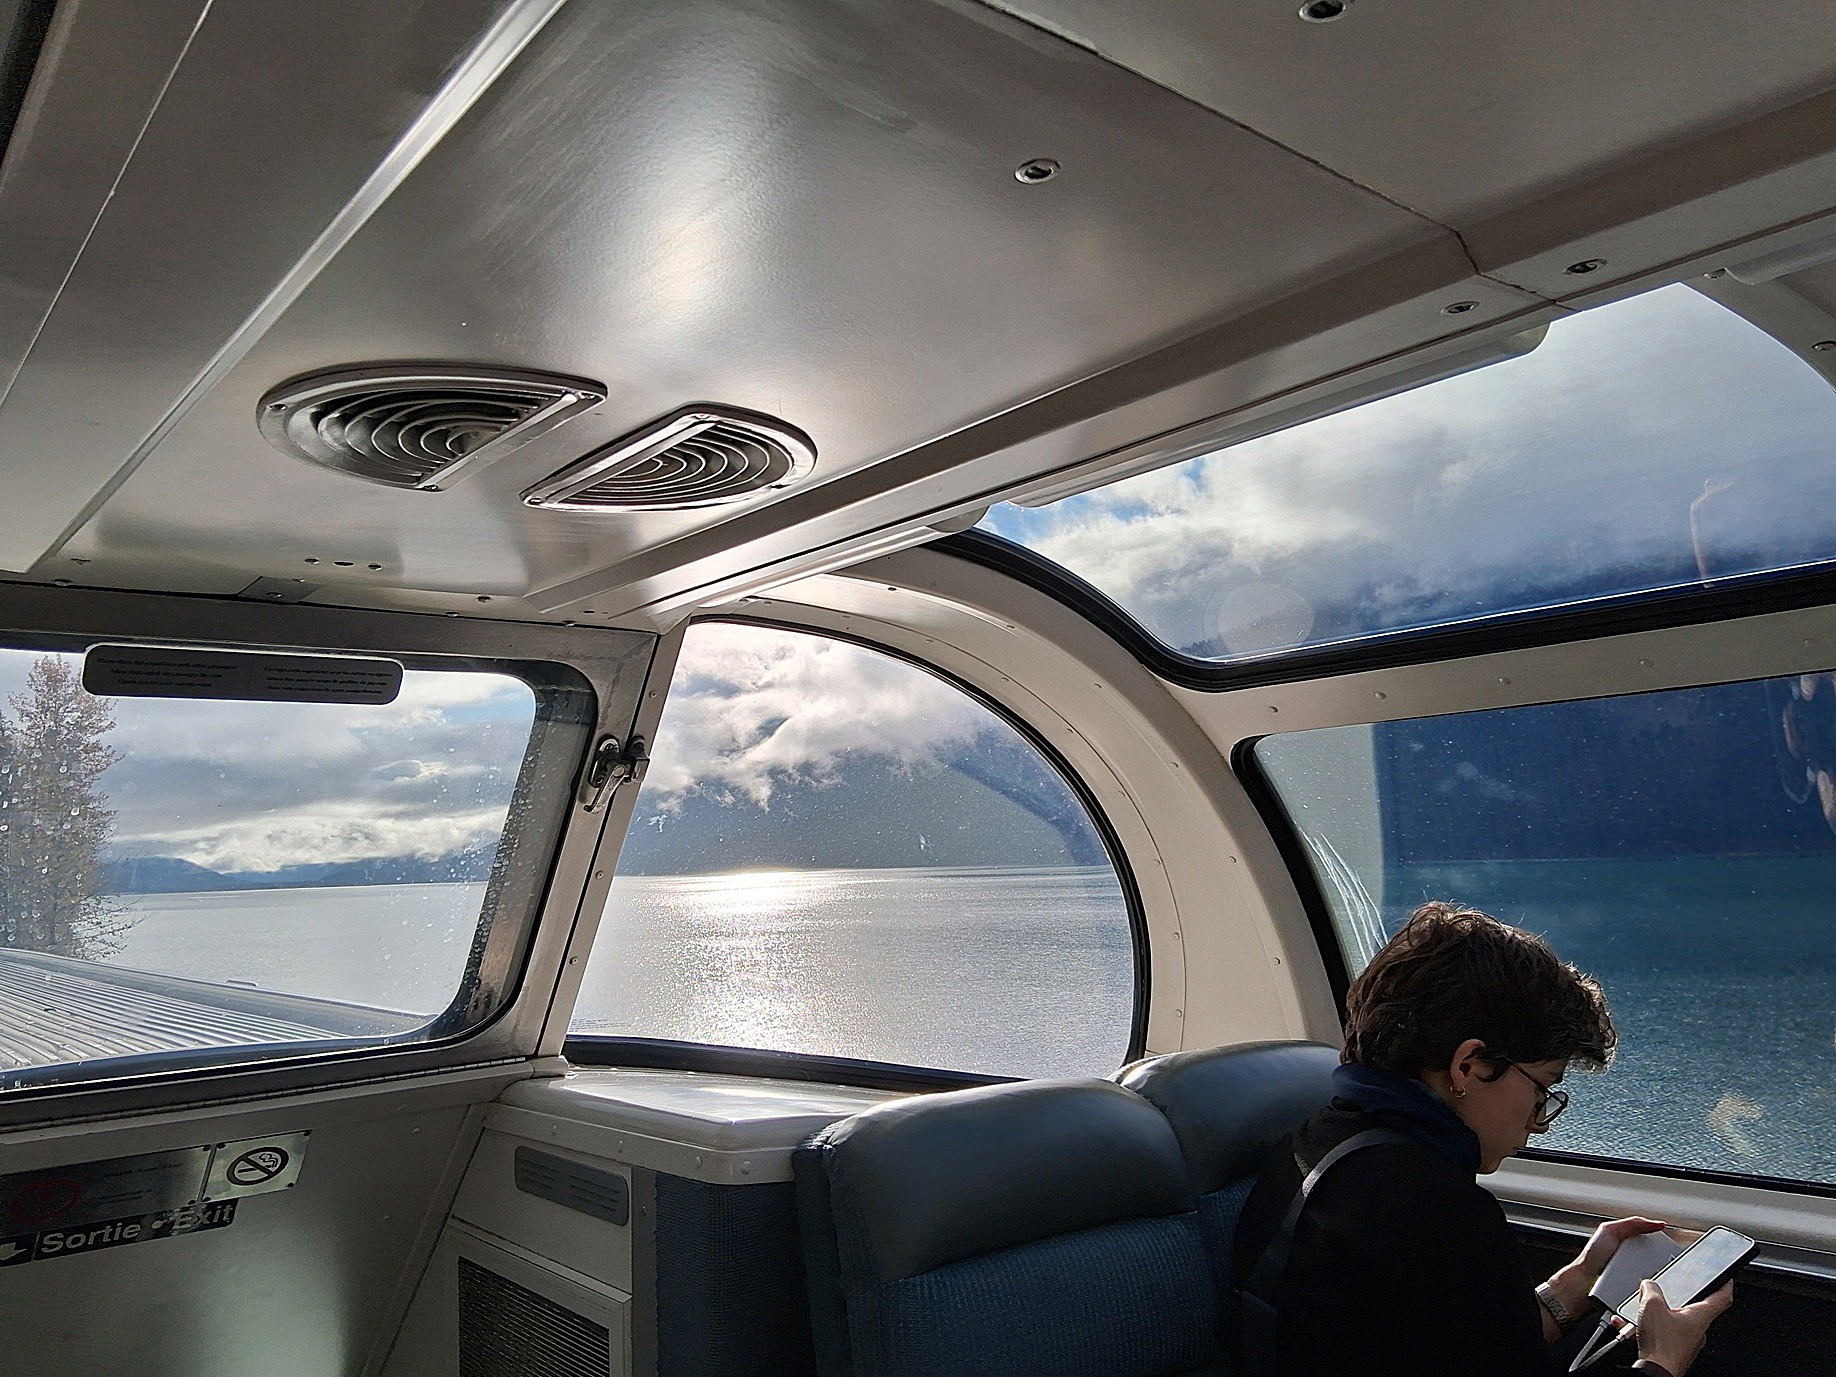
I took advantage of the surprisingly roomy shower room at one end of the sleeping car each morning at around 6:00 a.m. and then took a seat in the dome car to watch the day begin before breakfast.
First morning. Cloe, French graduate student, on the right.The train follows the Fraser River to its source in the Canadian Rockies.
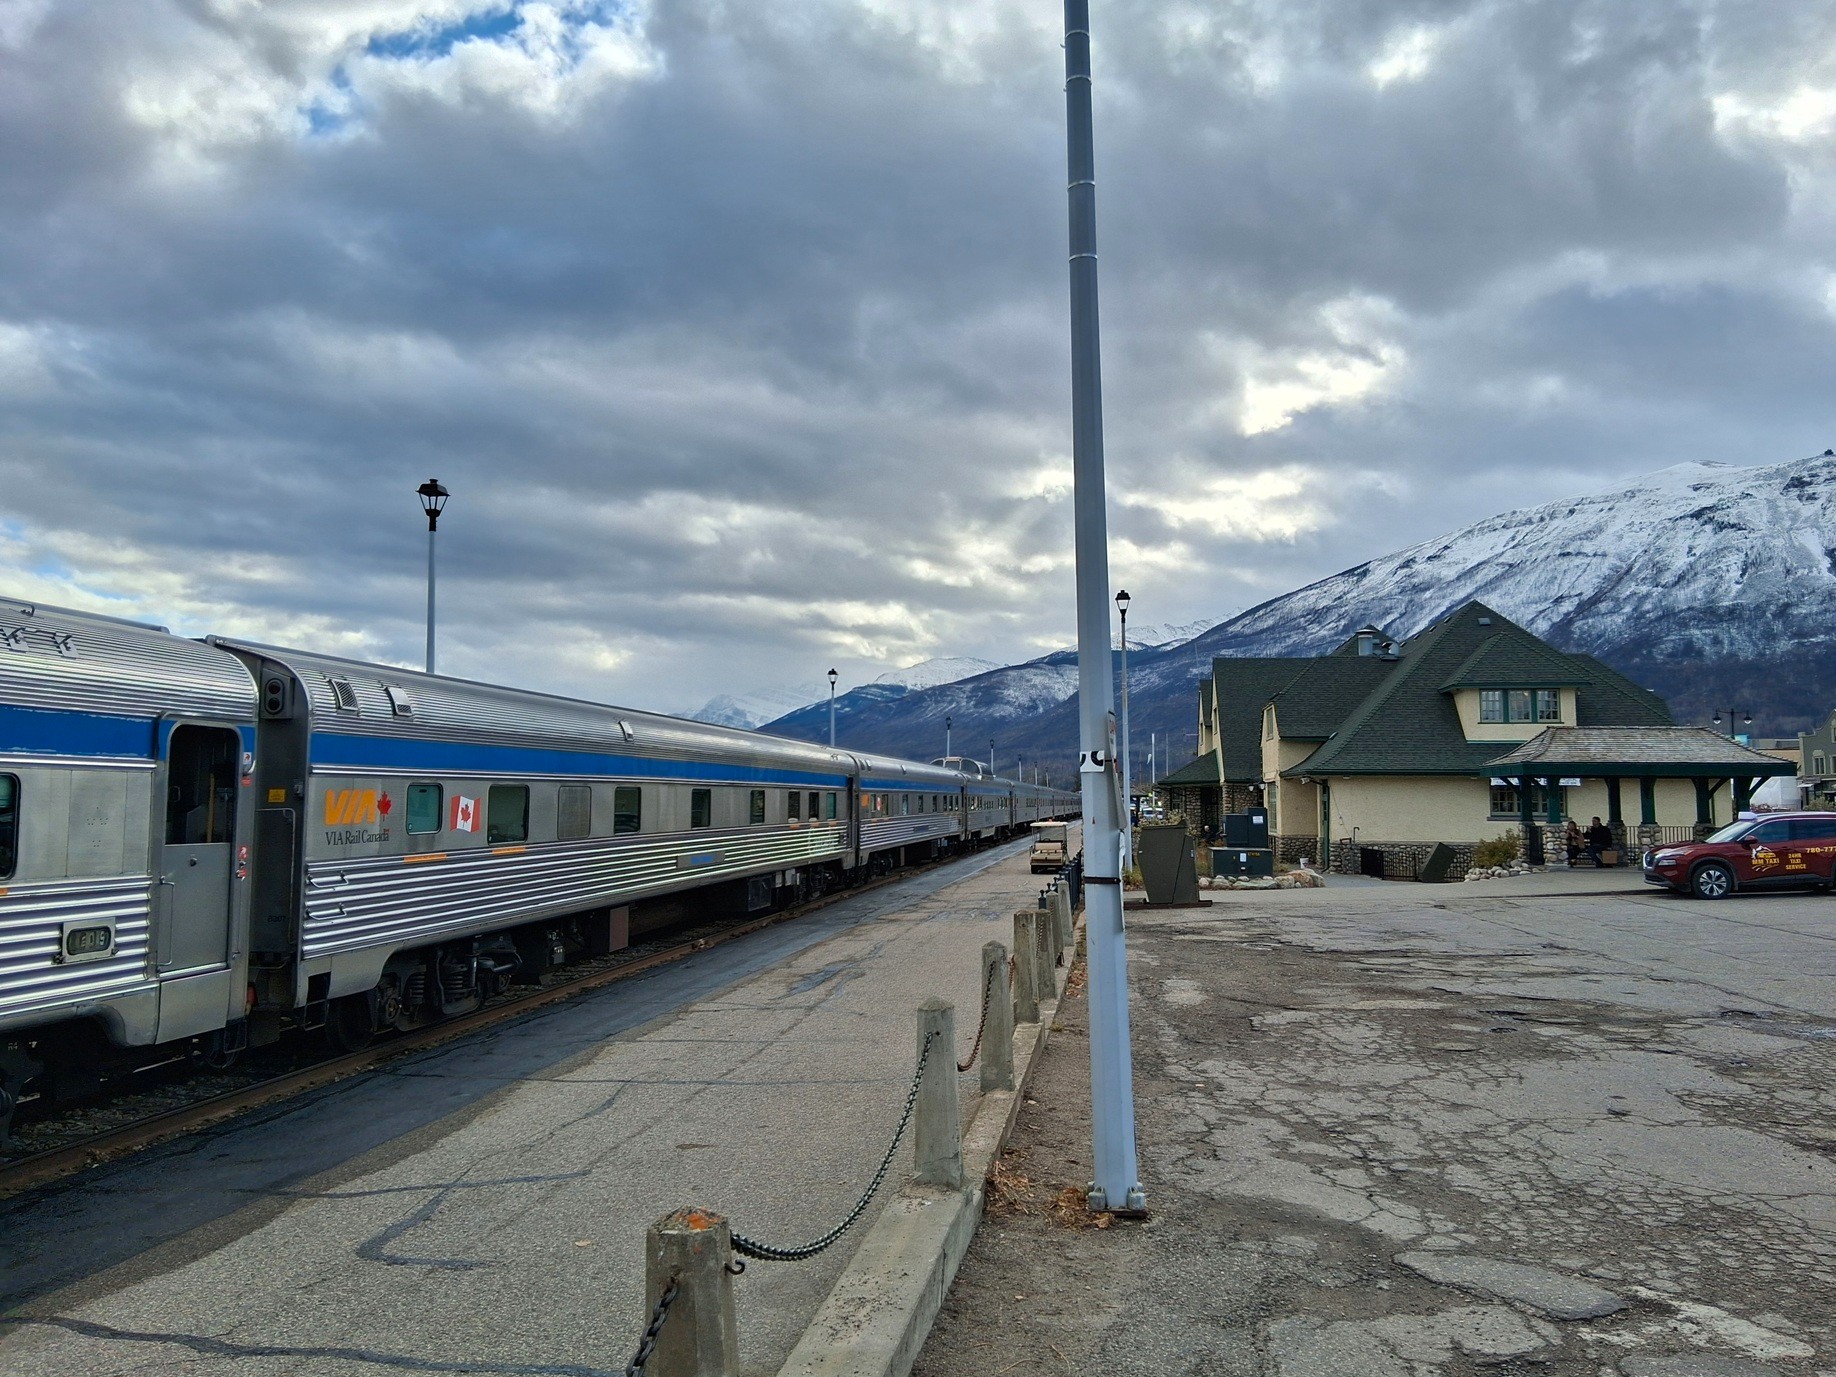
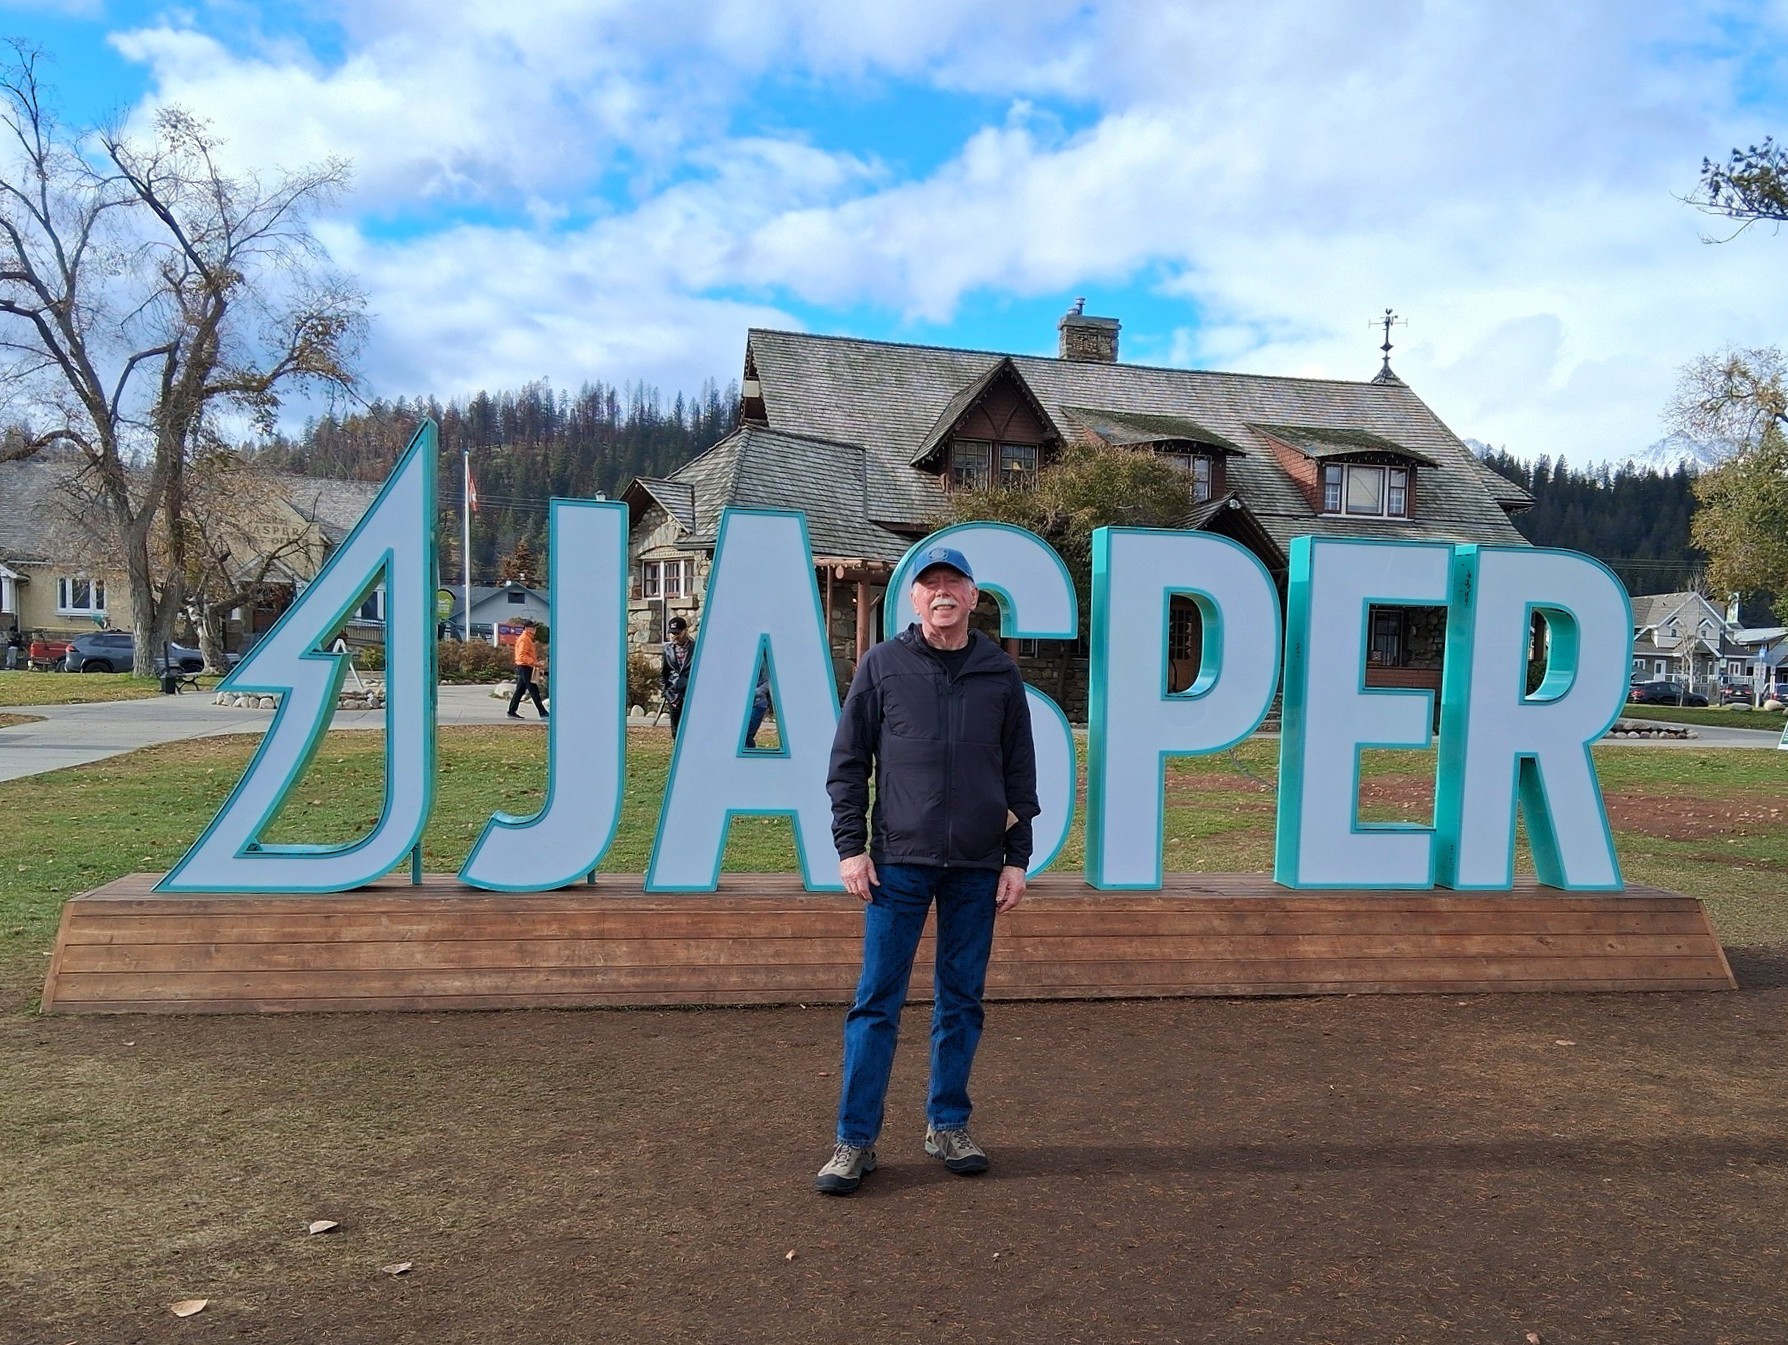
Our longest stop on day two was in Jasper, BC, a jumping off place for Jasper National Park.
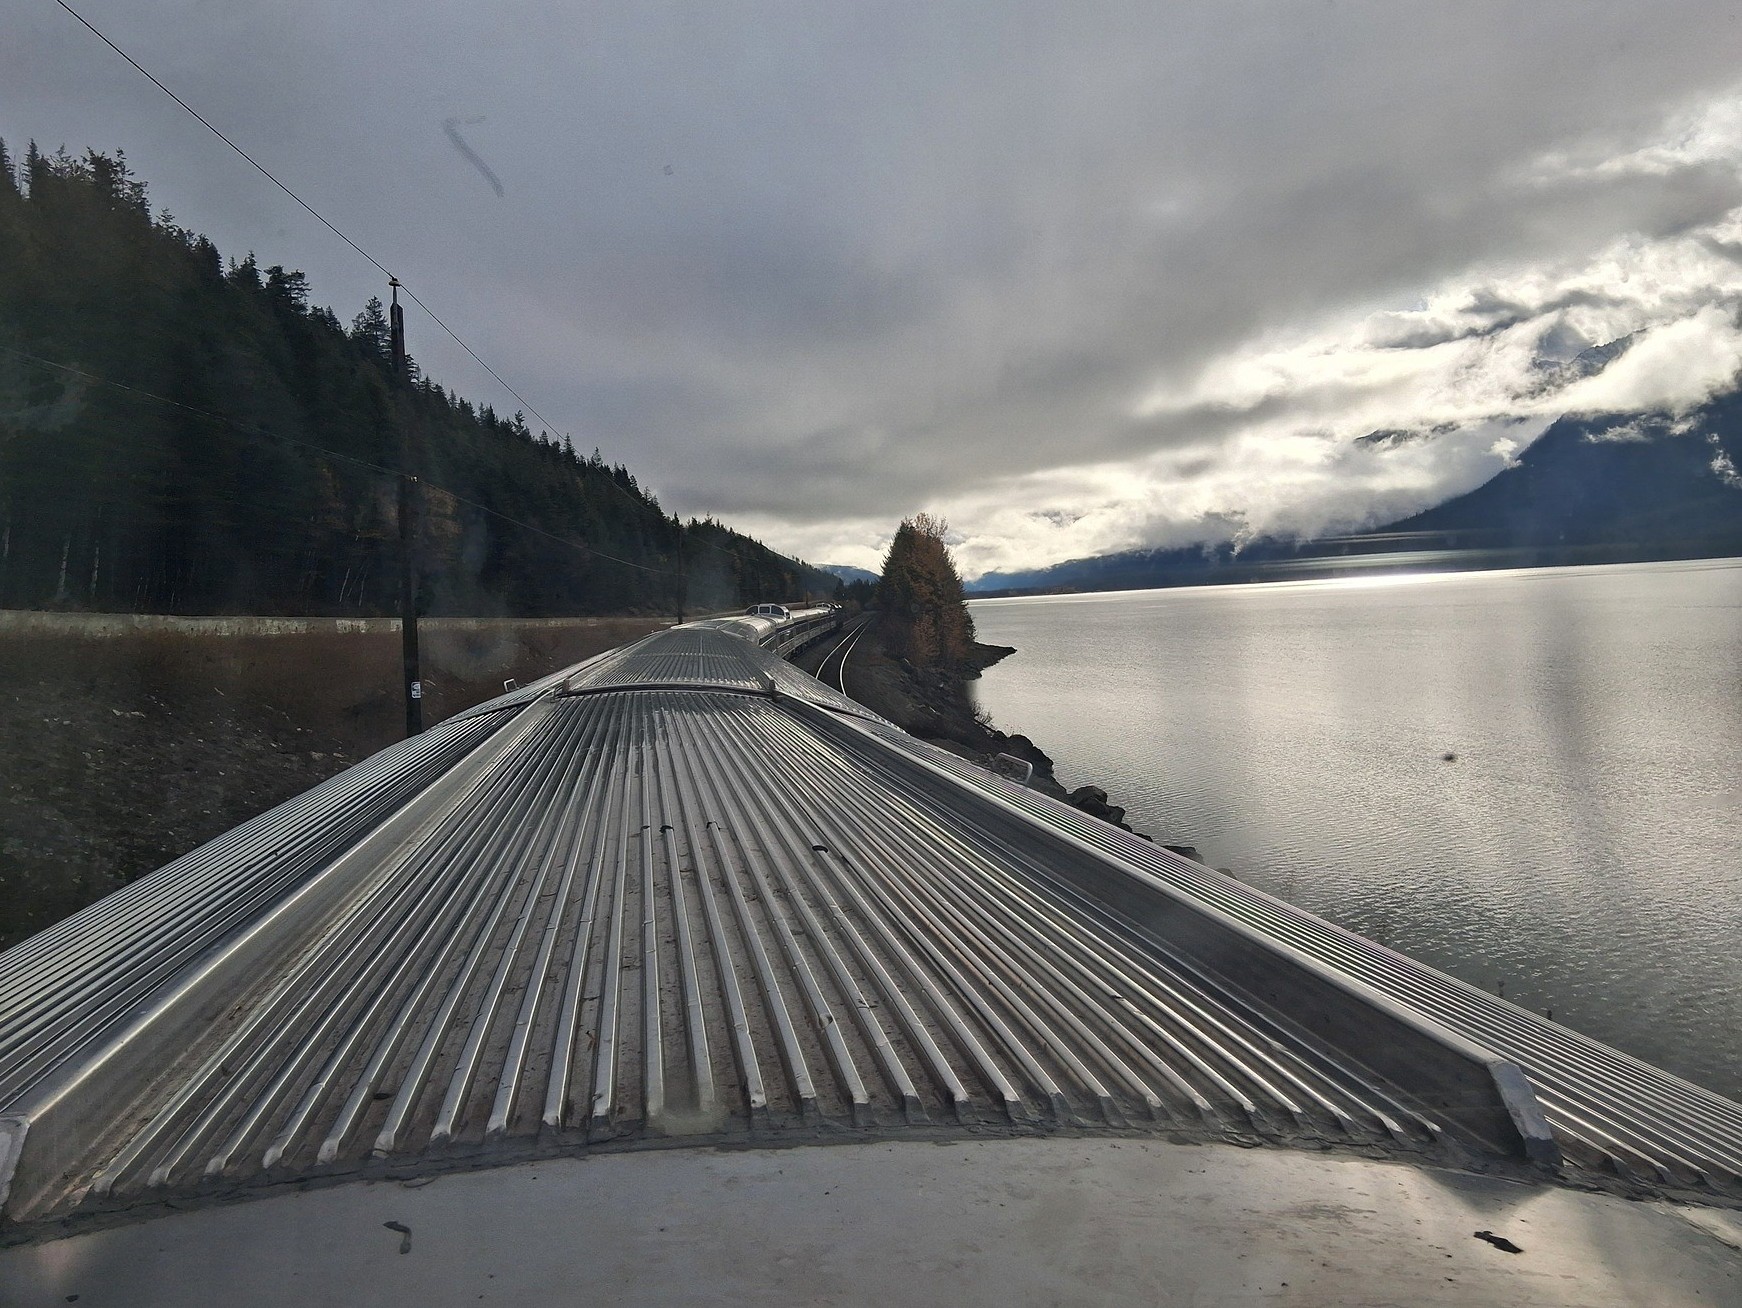
Stopped in Jasper, BC. There were over a dozen cars, at least four of which were dome cars.Happy traveler.
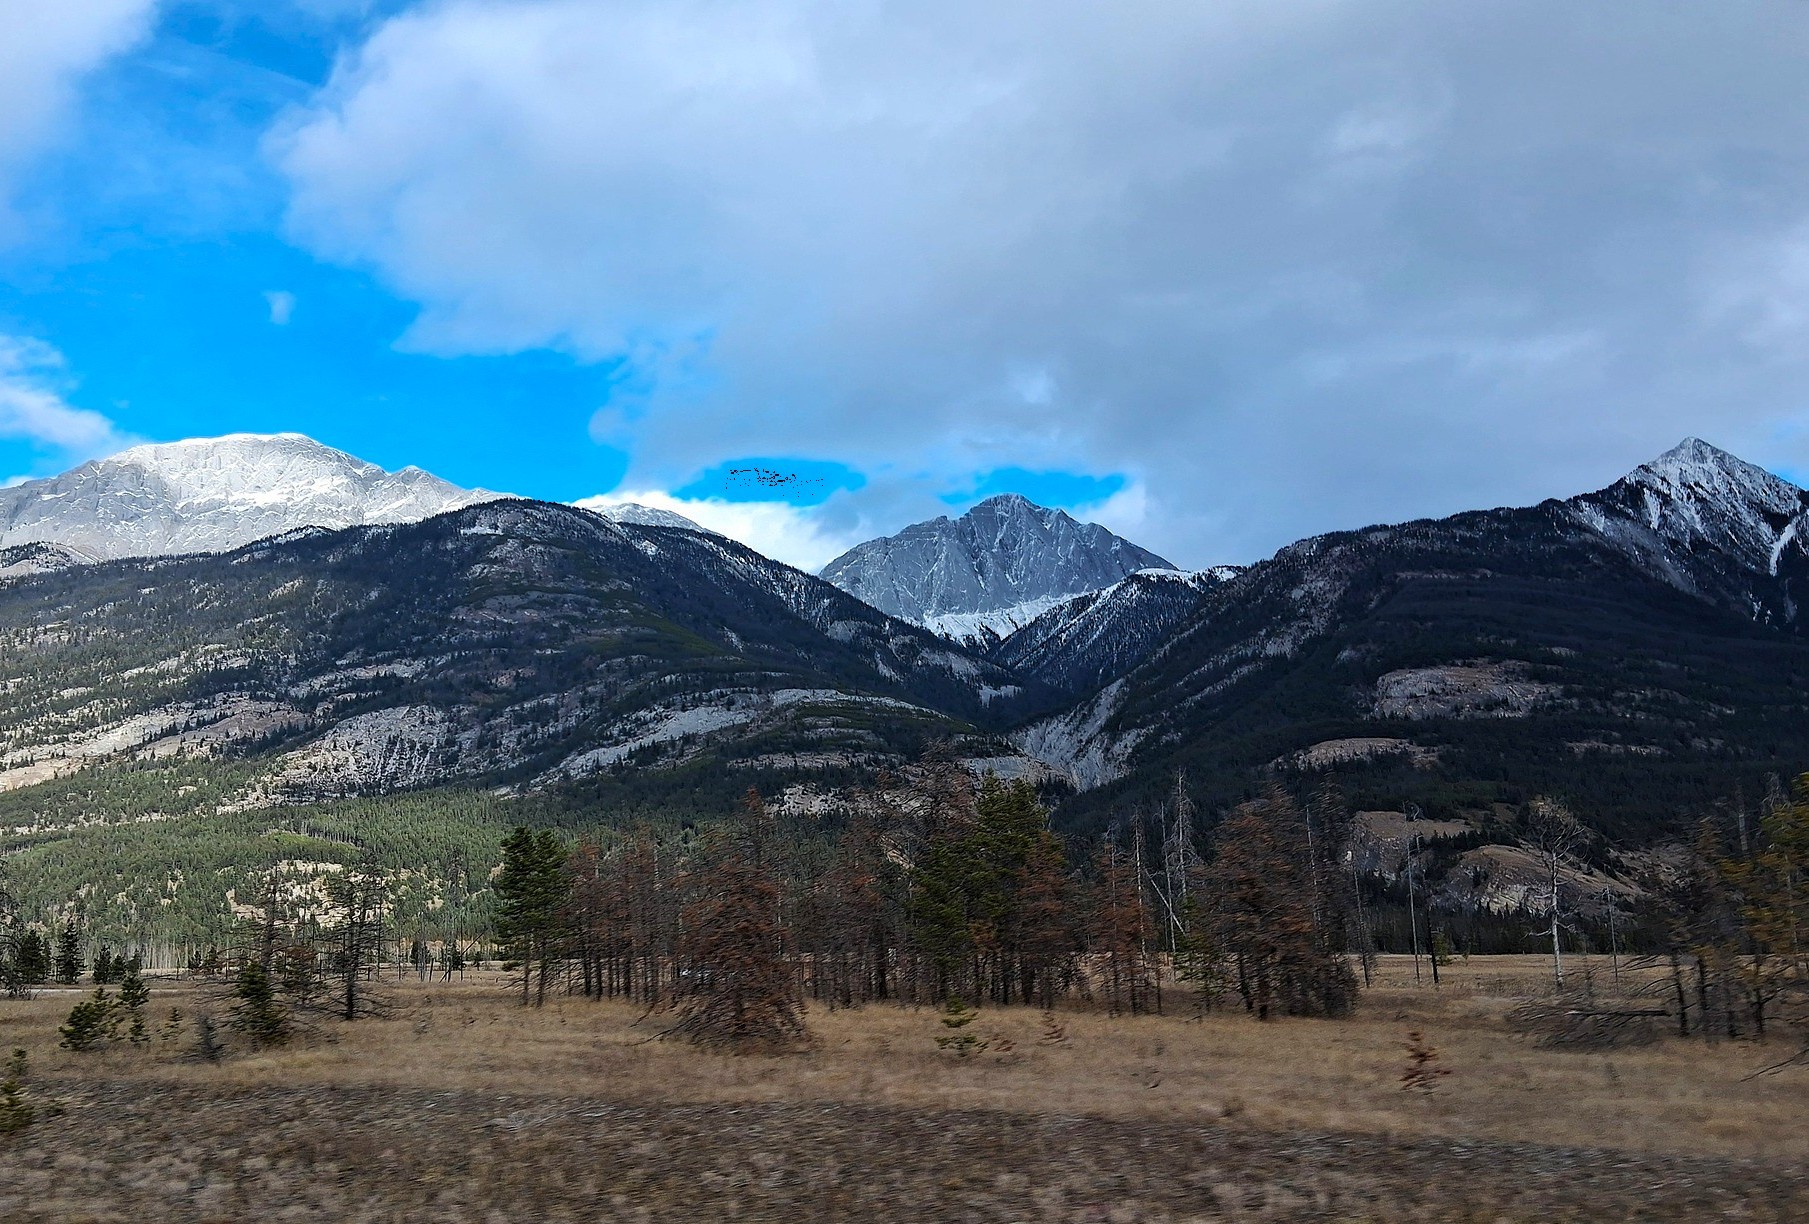
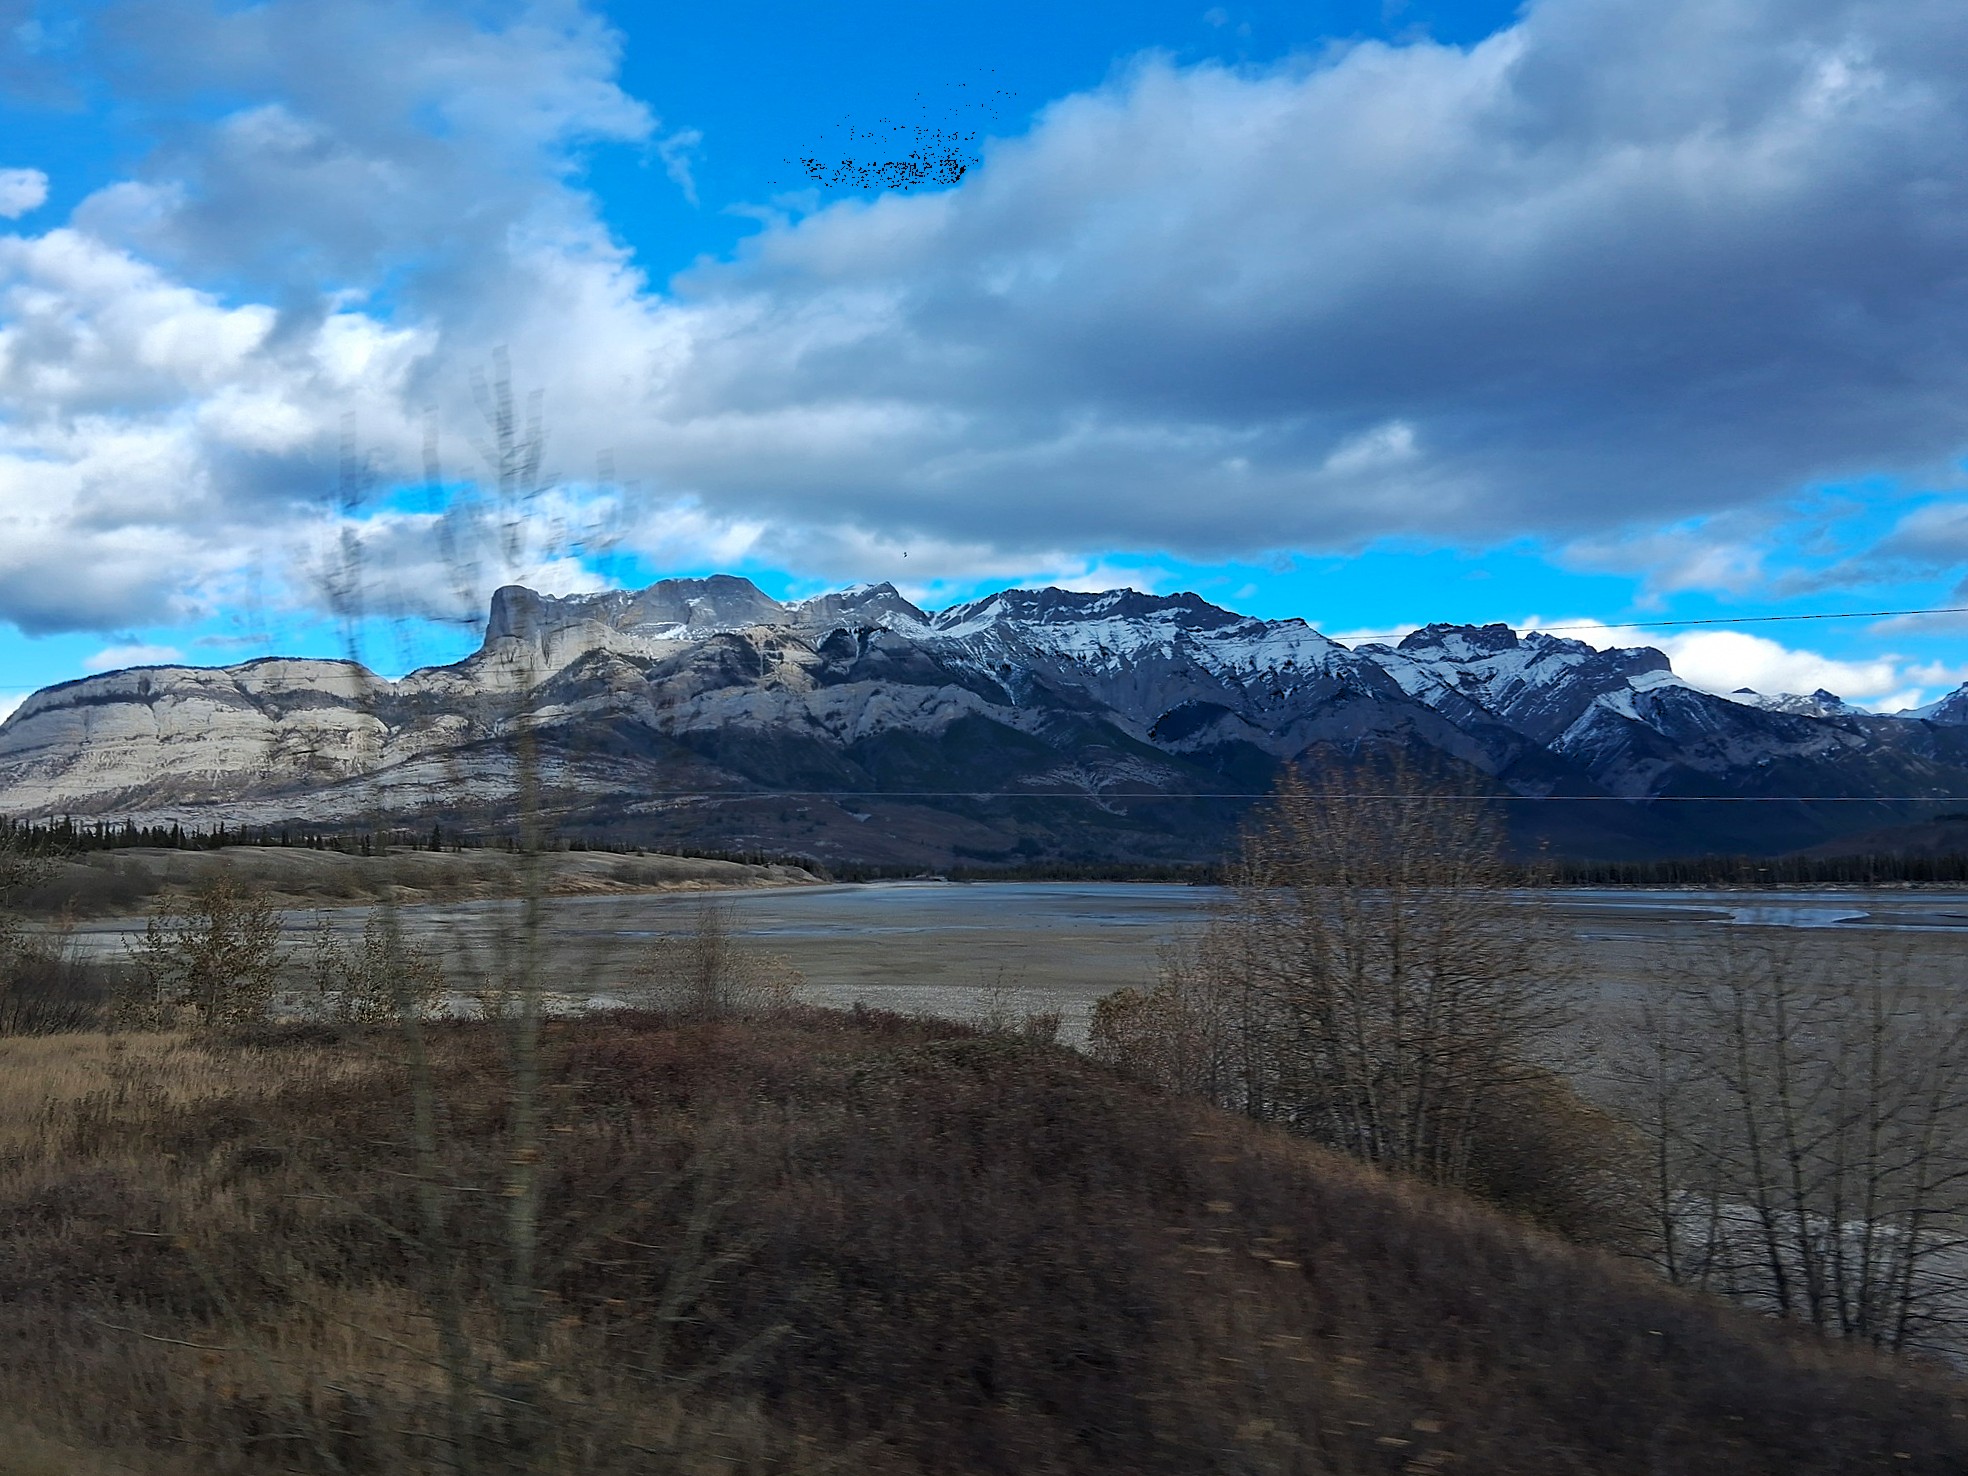
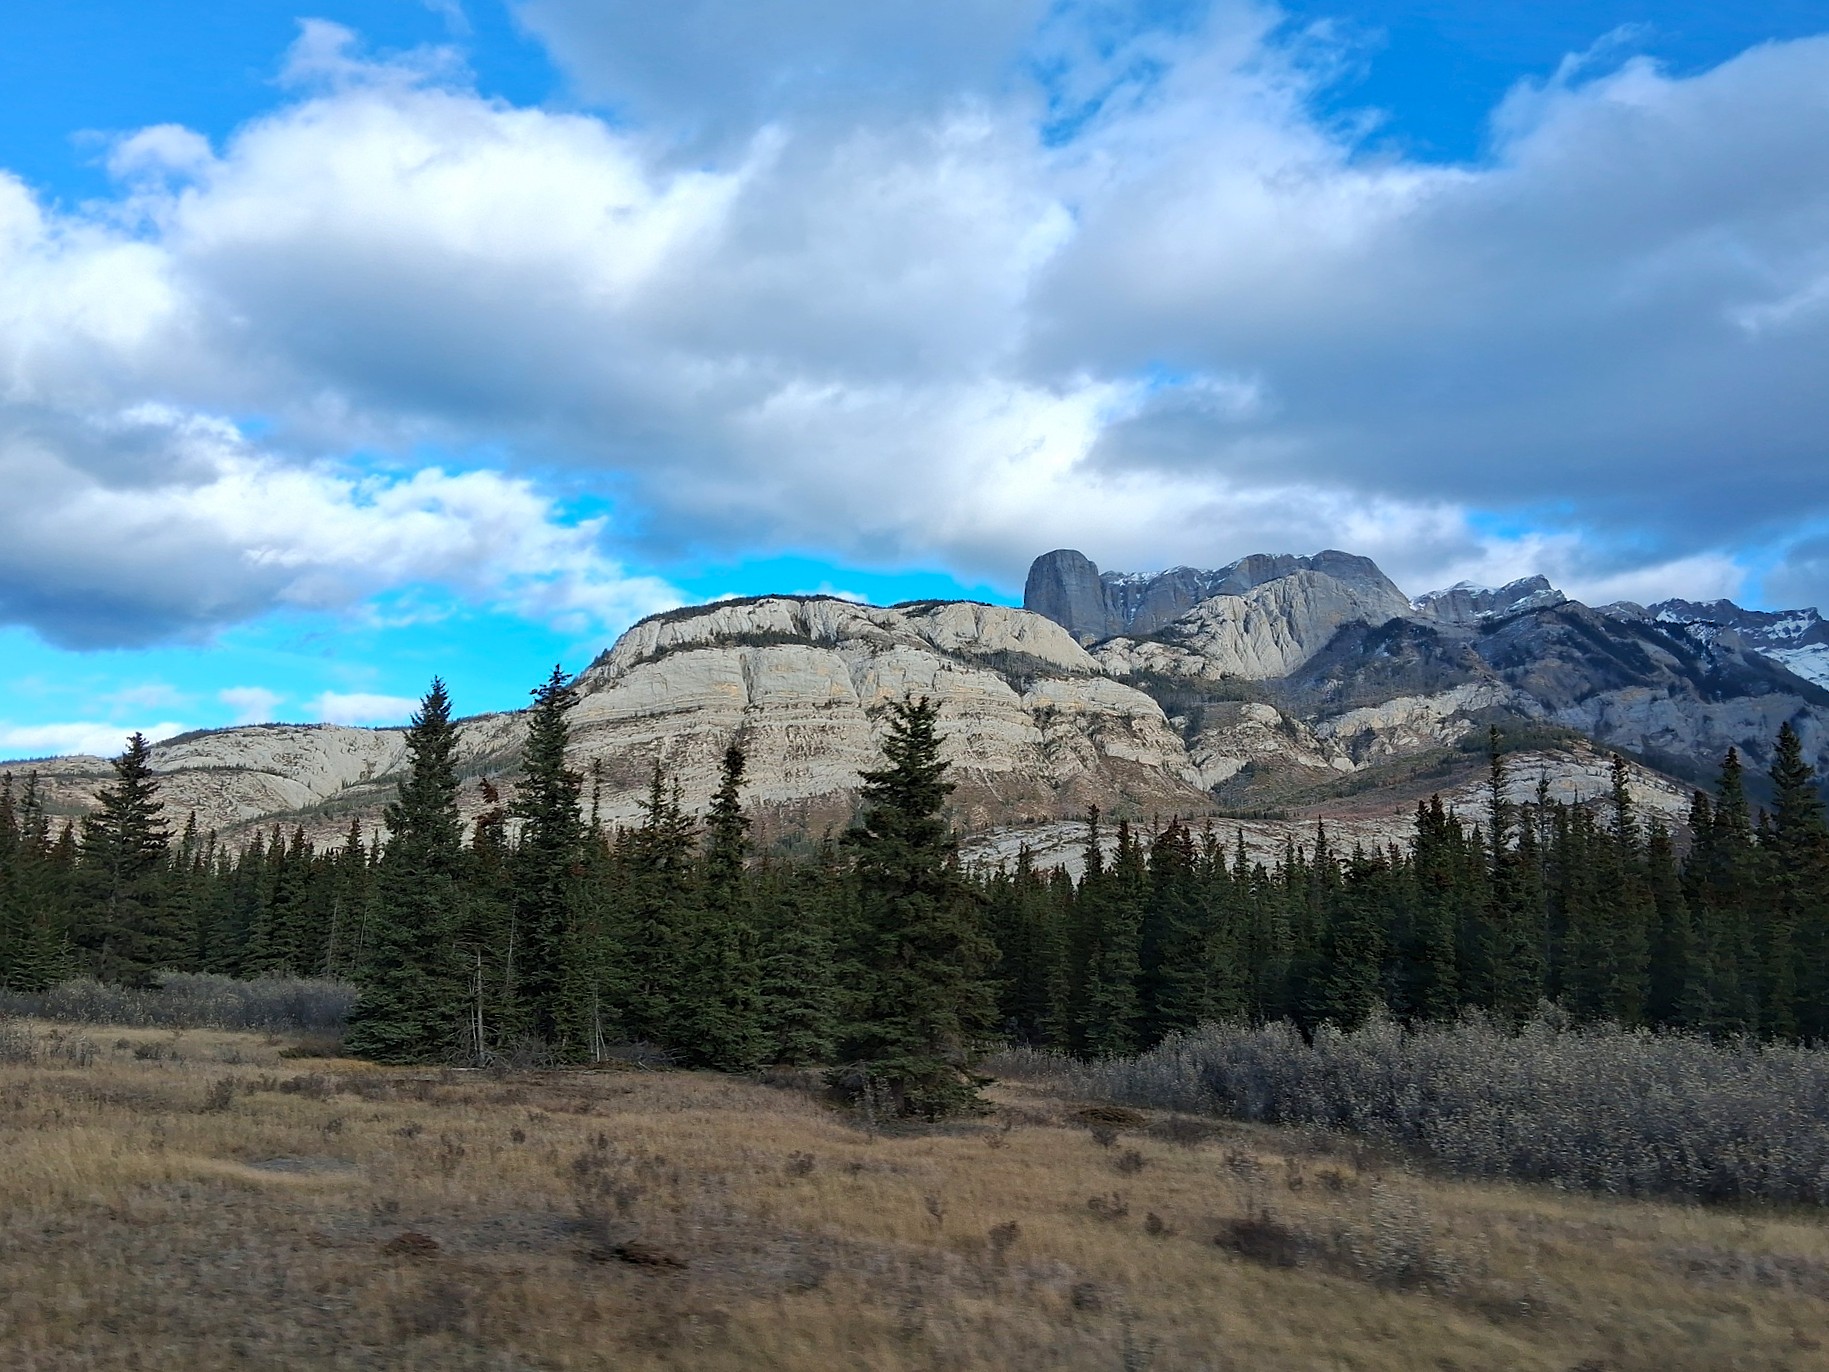
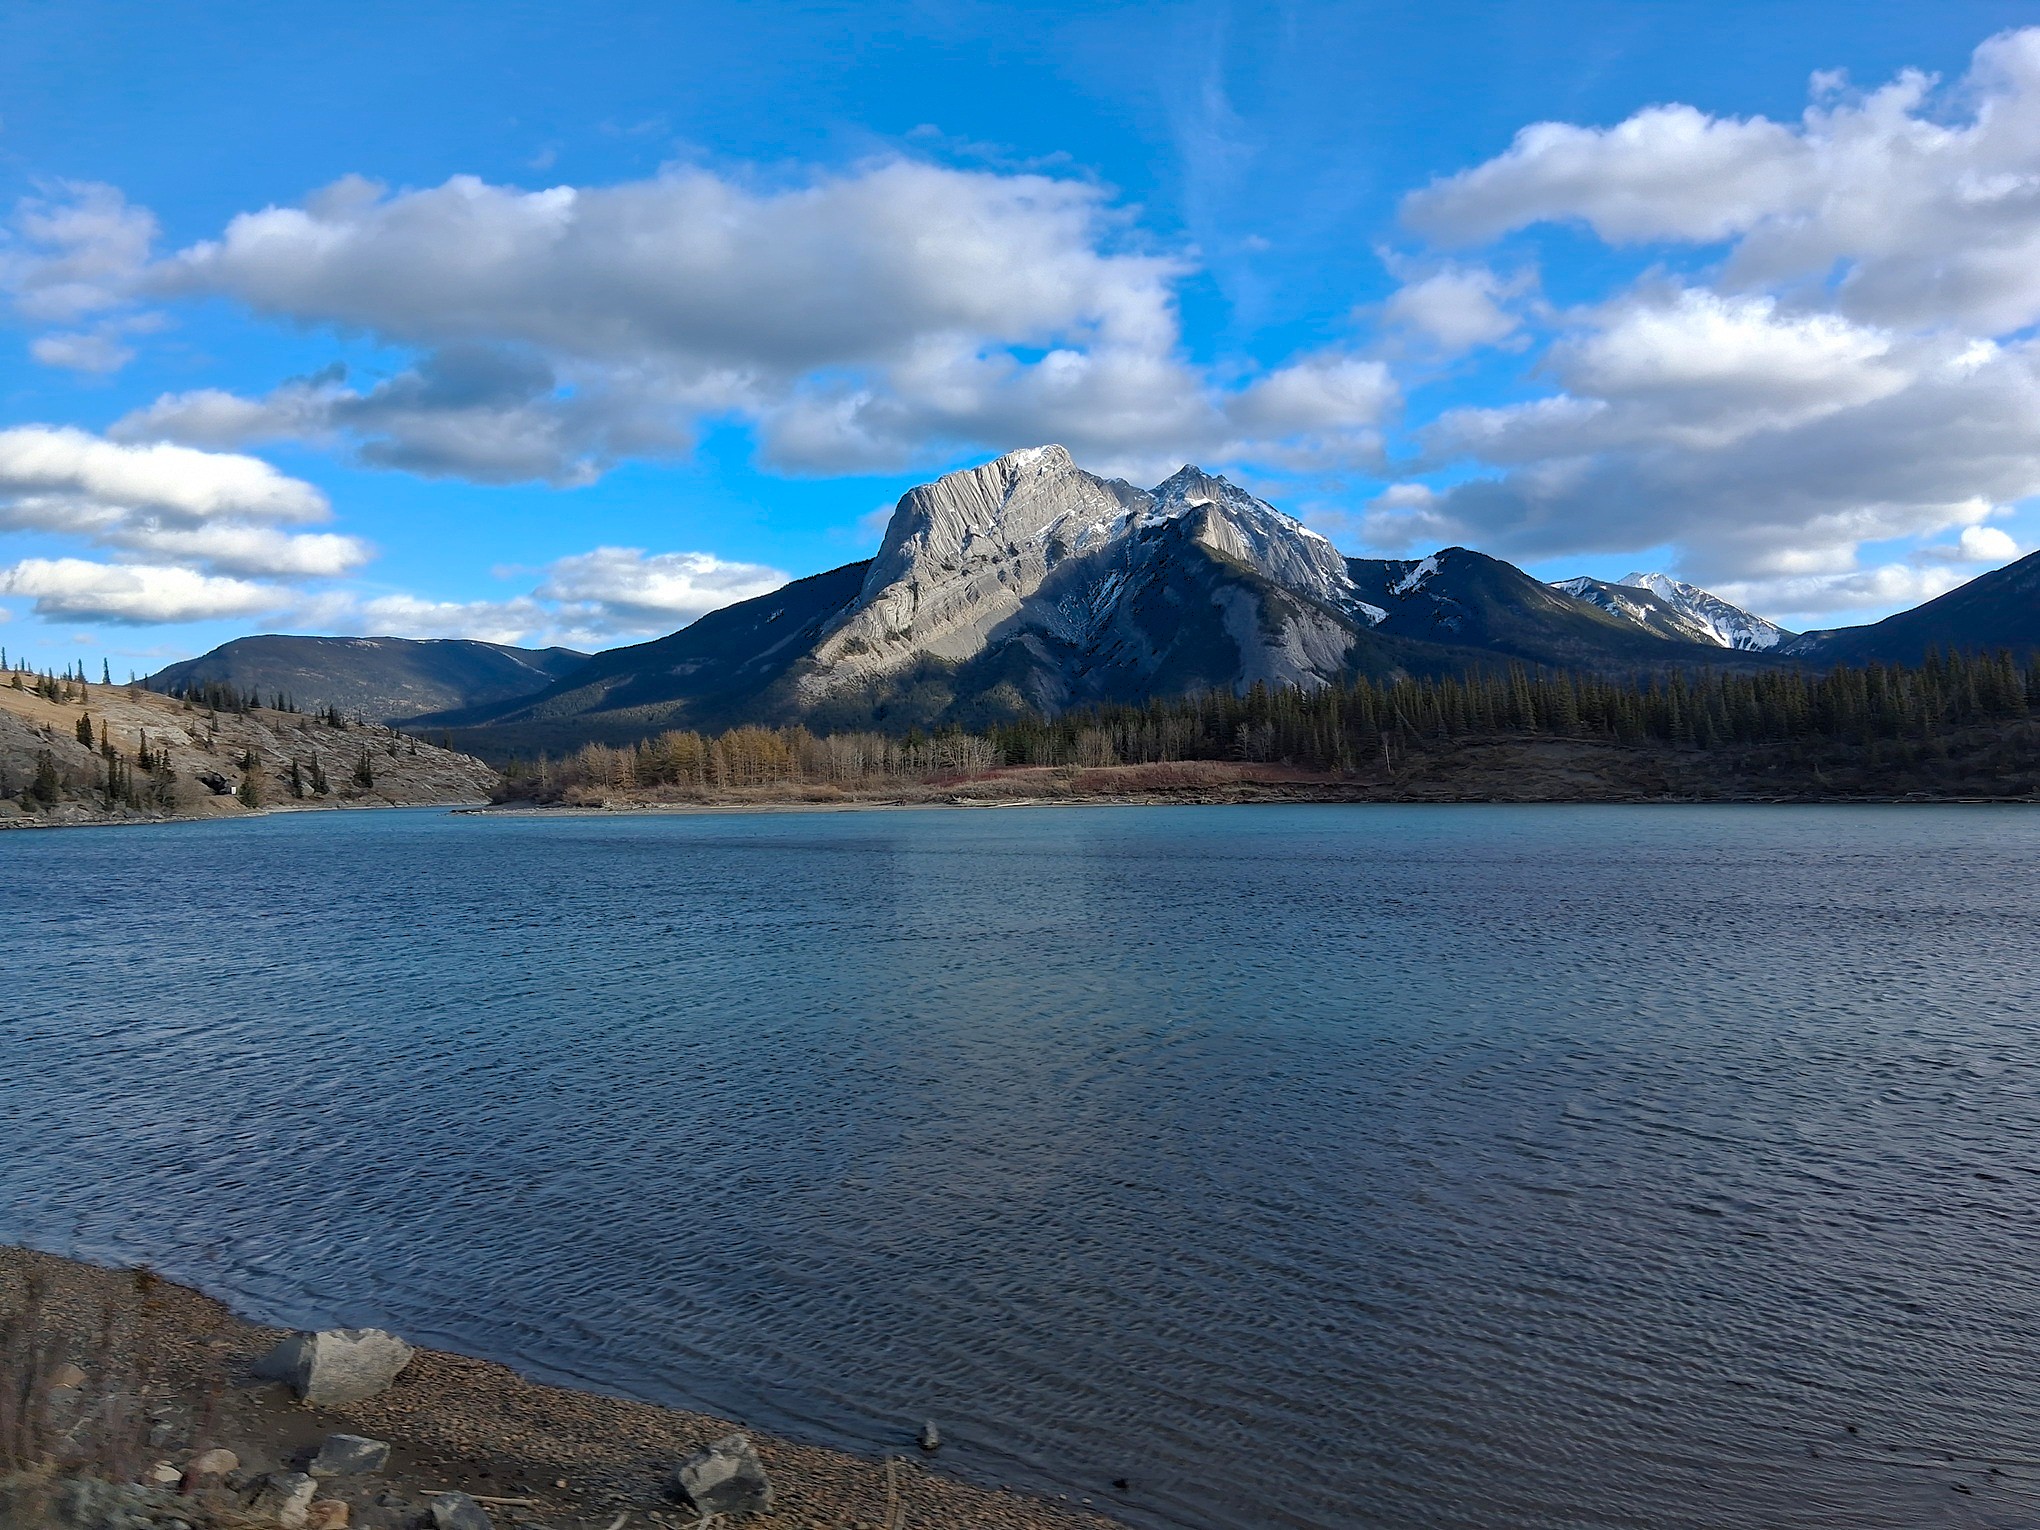
Jasper National Park does not disappoint and is the reason many people ride the Canadian.
East of Jasper. Jasper N.P.Early snow. Jasper N.P.Canadian Rockies. Jasper N.P.Late afternoon, day 2. Jasper N.P.
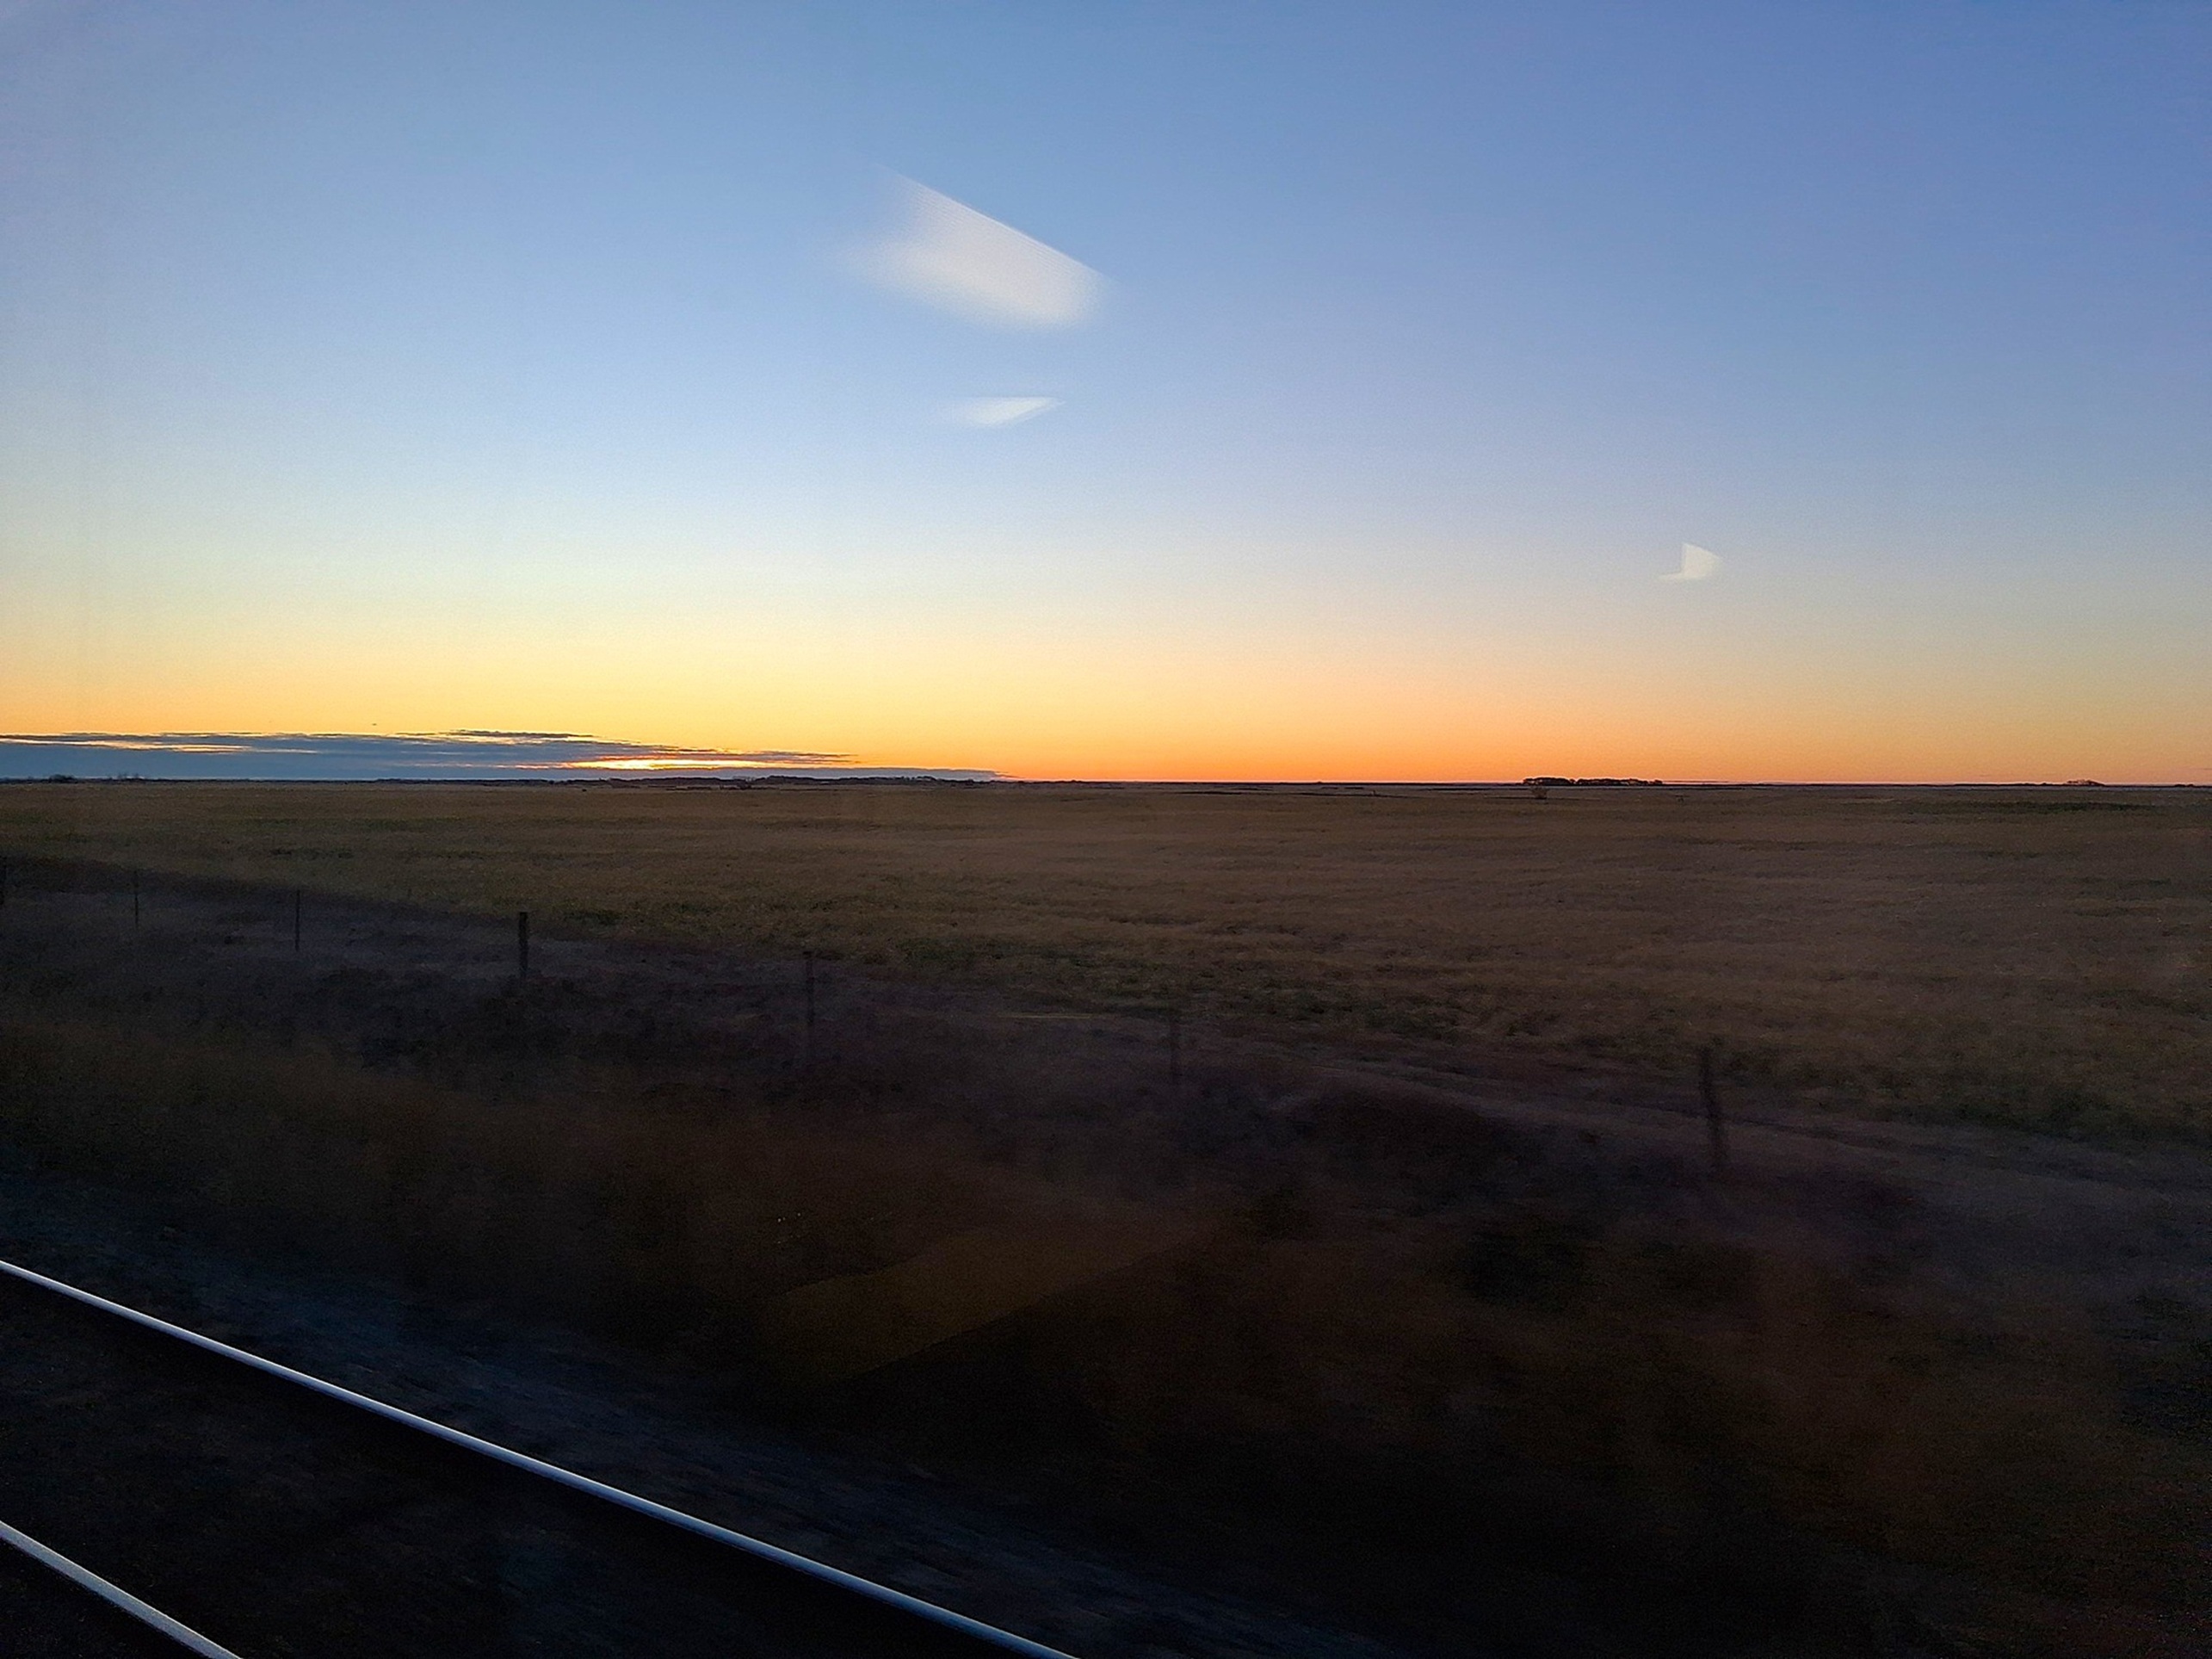
The next morning dawned over the plains of Alberta and, yes, it is very flat. Saskatchewan is pretty much the same, perfect for growing wheat, barley, and oats for export.
Dawn over Alberta.
By late afternoon on the third day, we were crossing the what’s know as the Canadian Shield, a region north of Lake Superior with the oldest exposed bedrock in the world. Something like 50 million years old. The climate is moderately wet and there were small bodies of water, like potholes, across the terrain all the way to Toronto, Ontario. From Toronto, I took a separate train to Montreal, Quebec, where I spent a day and two nights before boarding the VIA Rail Ocean to Halifax, NS.
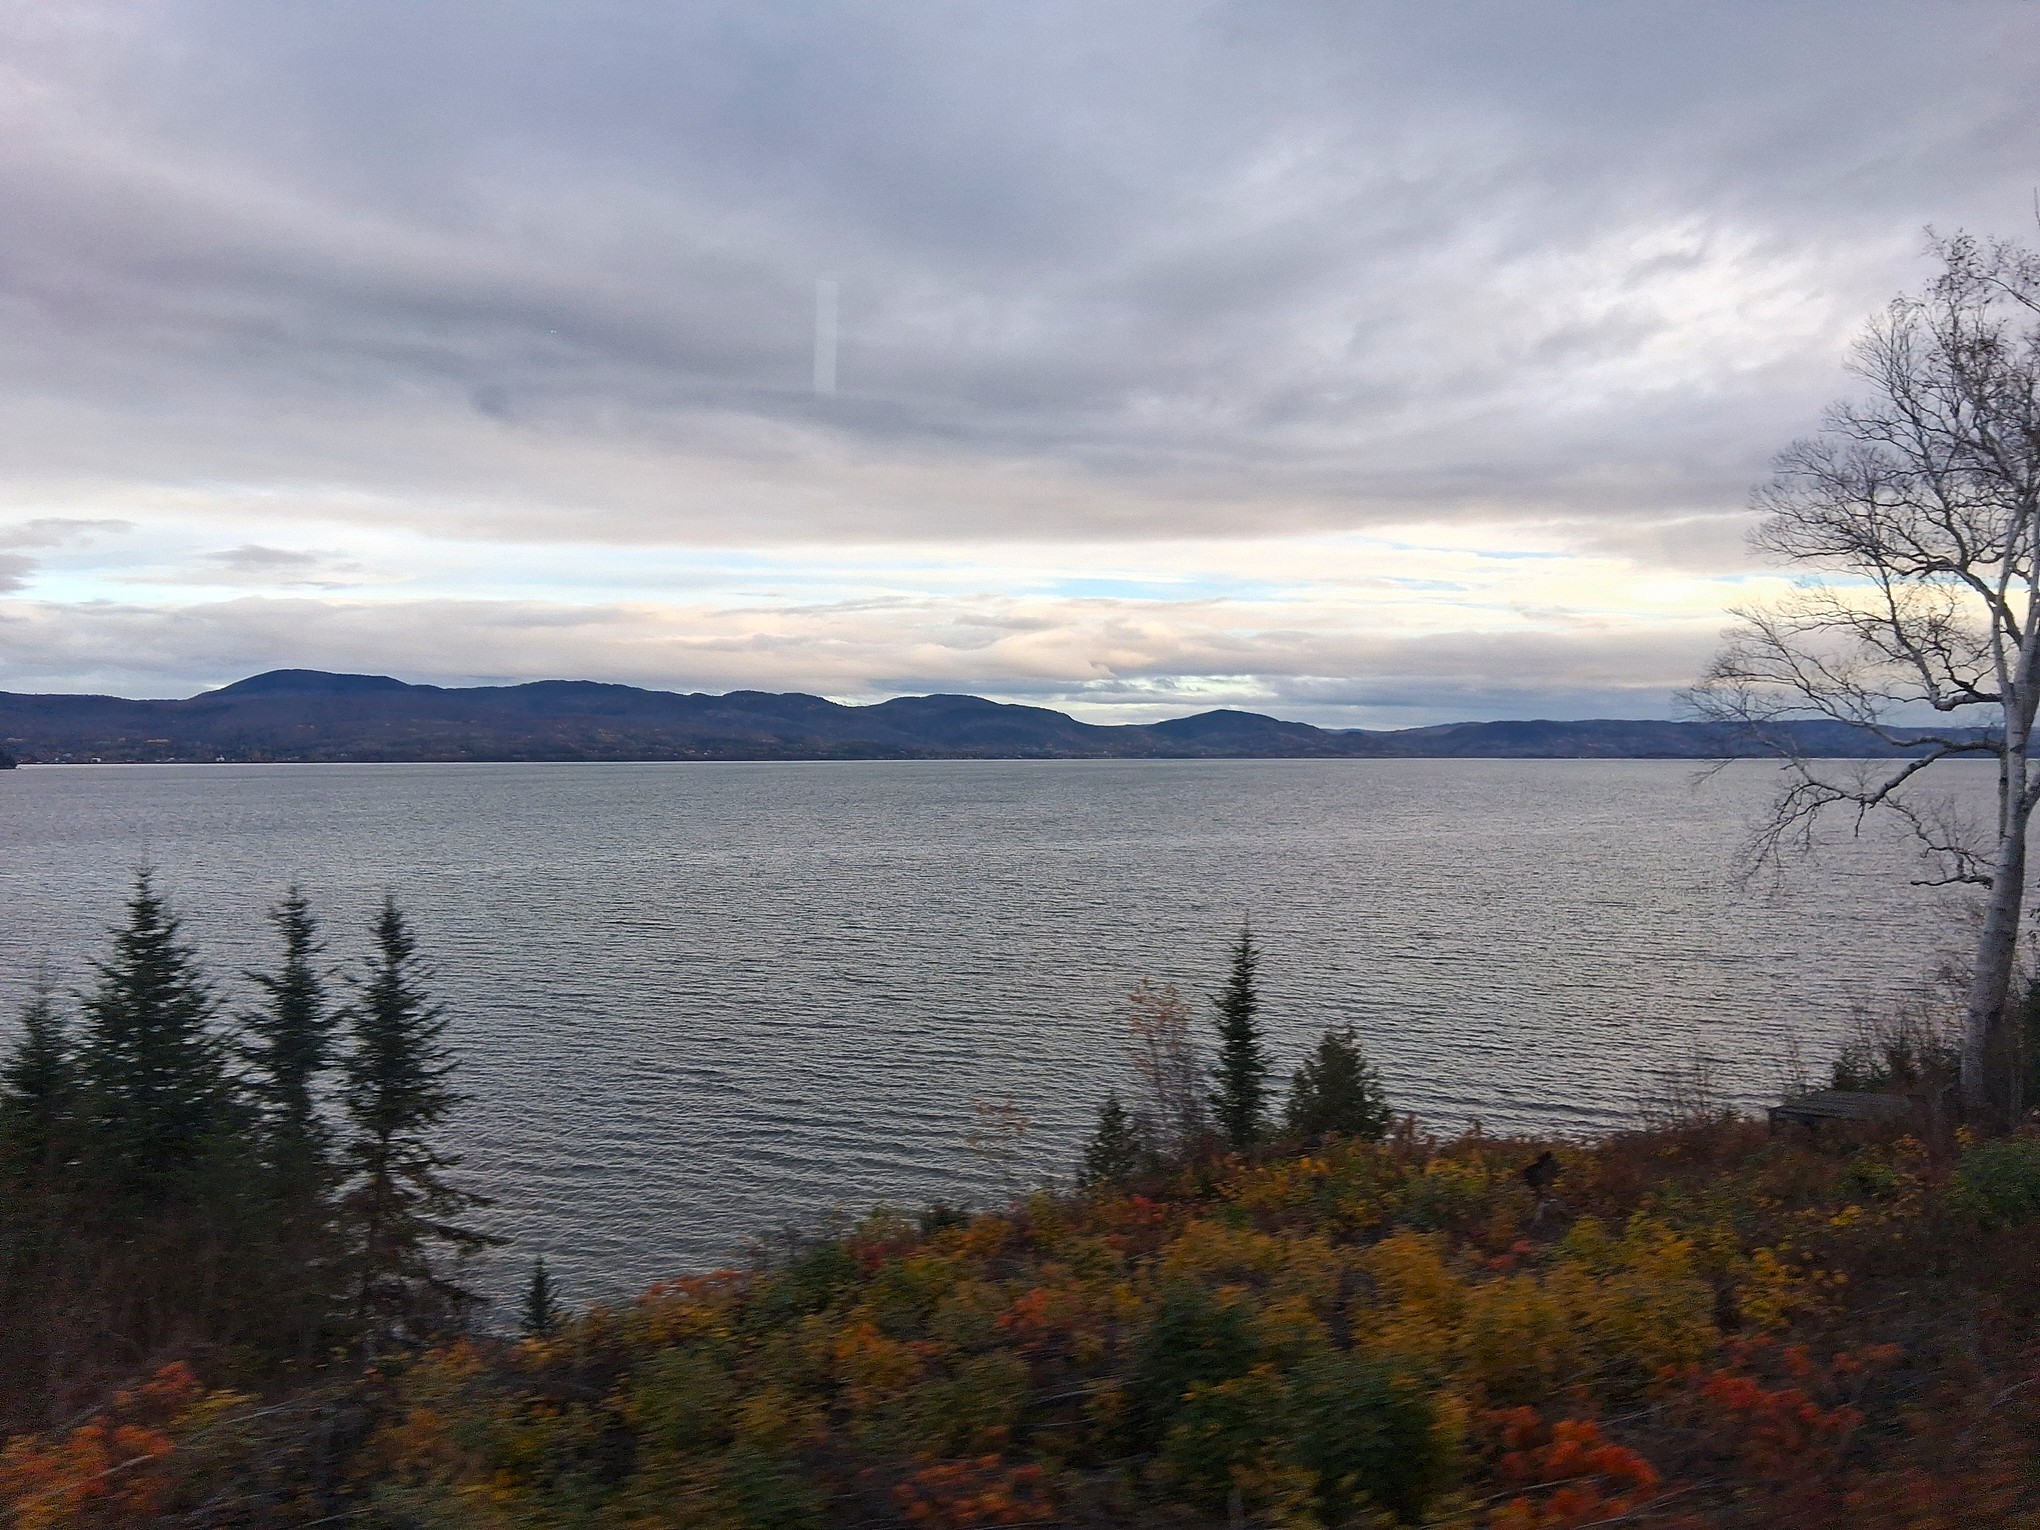
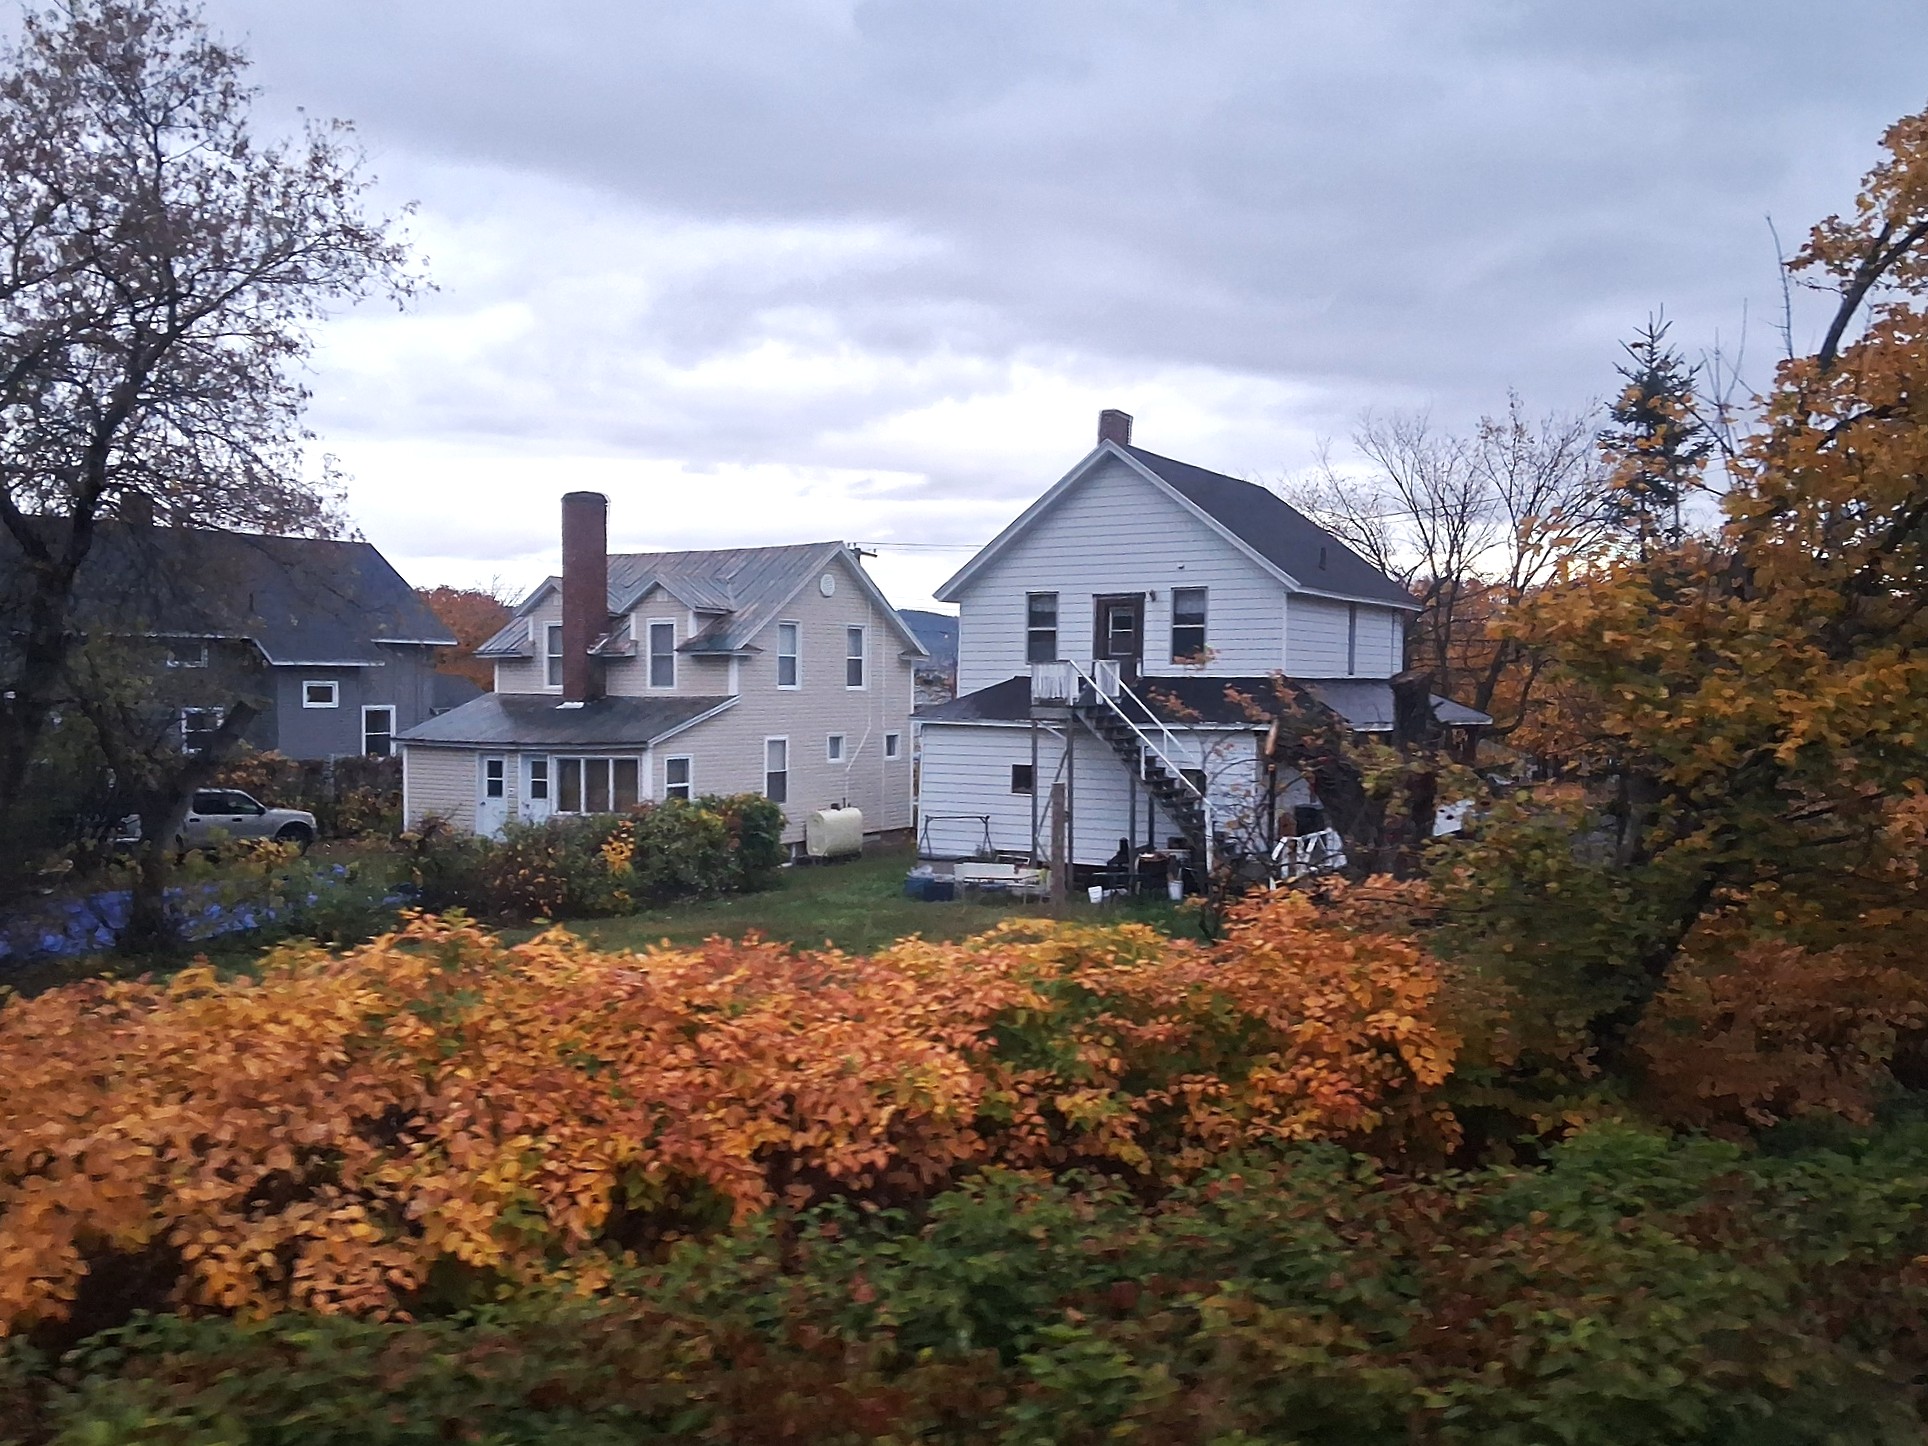
The Ocean follows the St. Lawrence River through Quebec until it turns south into New Brunswick, the land of the Acadians. The story of Acadia and the 1755 Expulsion has not been forgotten locally. French and Acadian culture is still a big part of local life. Homes in small communities along the river were uniformly well maintained and small by U.S. standards.
Along the St. Lawrence River.Along the St. Lawrence River.
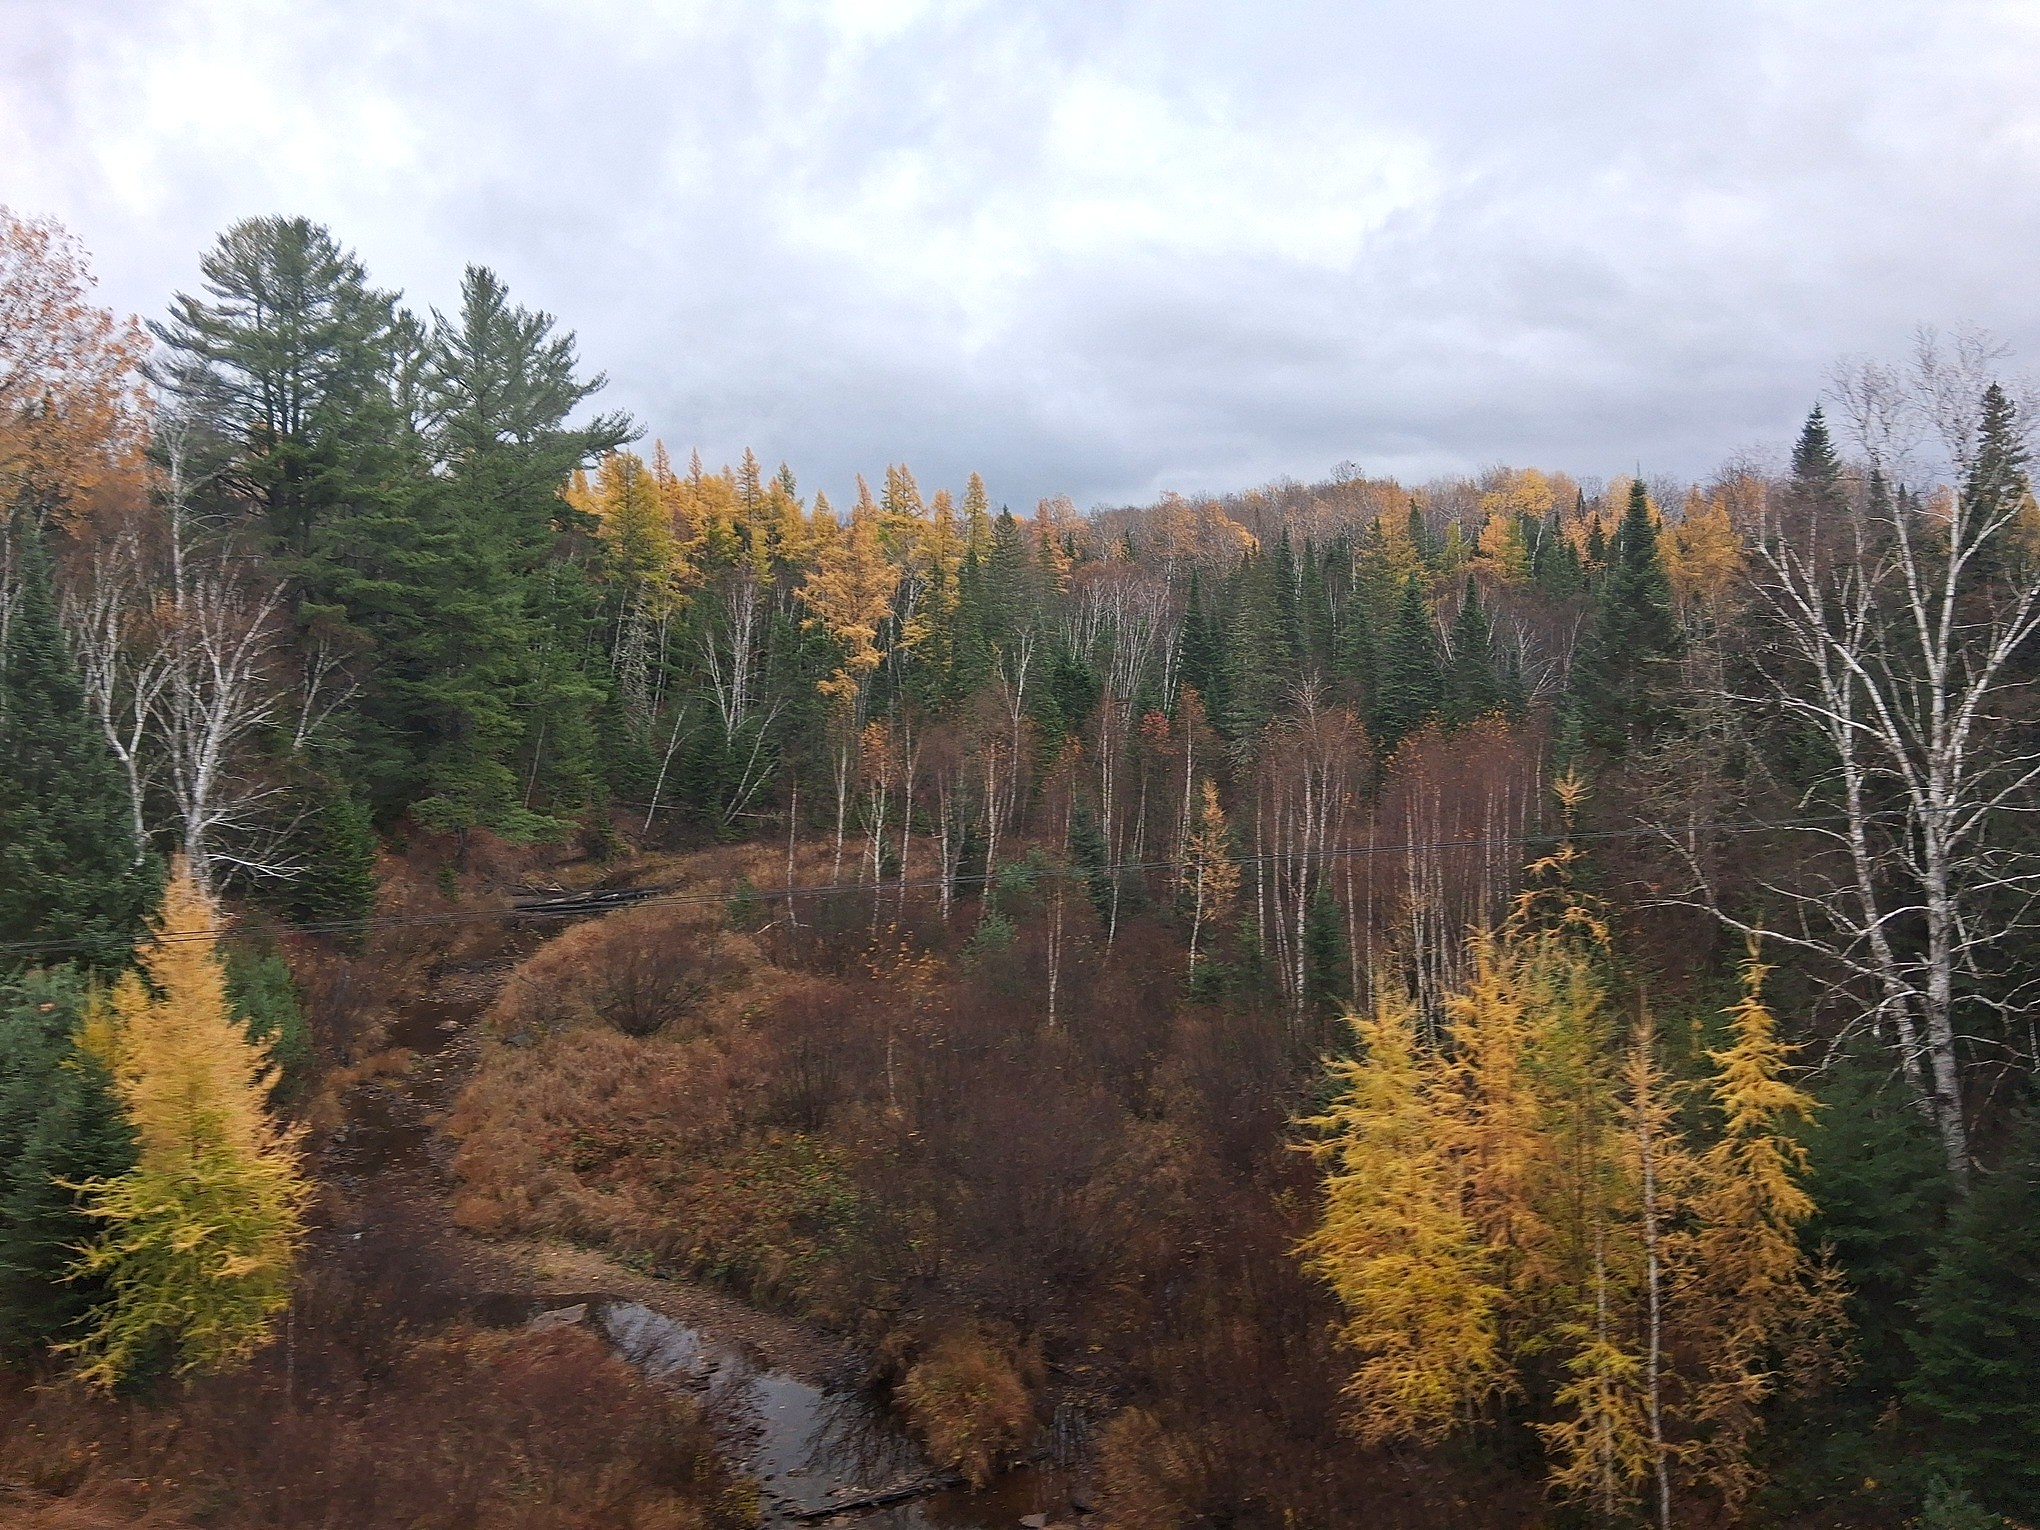
When we turned south toward Halifax , we entered Mount Carleton Provincial Park and the forest was a mix of birch, eastern larch (bright yellow), spruce, pine, and fir.
Mount Carleton Provincial Park.
My train ride ended in Halifax, three hours late which is typical of VIA Rail, where Karl picked me up. After eleven days traveling, I was more than ready for a hot shower and a long night’s sleep, a full four time zones away from Oregon. Karl’s house in Duncans Cove sits atop a rock face overlooking Halifax Harbor and is built on concrete footings set deep in solid granite and once held a shore battery to protect the harbor during WW I. Halifax and Dartmouth, NS, are on the horizon to the north.
View from Karl’s living room overlooking the entrance to Halifax Harbor. Lighthouse on the left.
Truly engaging in reality, however it presents itself, is far more interesting than any fantasy which smooths out the wrinkles. Embrace the moment that will never return, and experience life’s mysteies. [Click on the image to enlarge]
Sidney Barnsley (b.1865-d.1926), was an important and influential Arts and Crafts designer-maker who hand crafted furniture for his family and for clients. He had previously trained as an architect and worked in London before moving to the rural Cotswolds region of England, Pinbury Park and Sapperton in Gloucestershire.
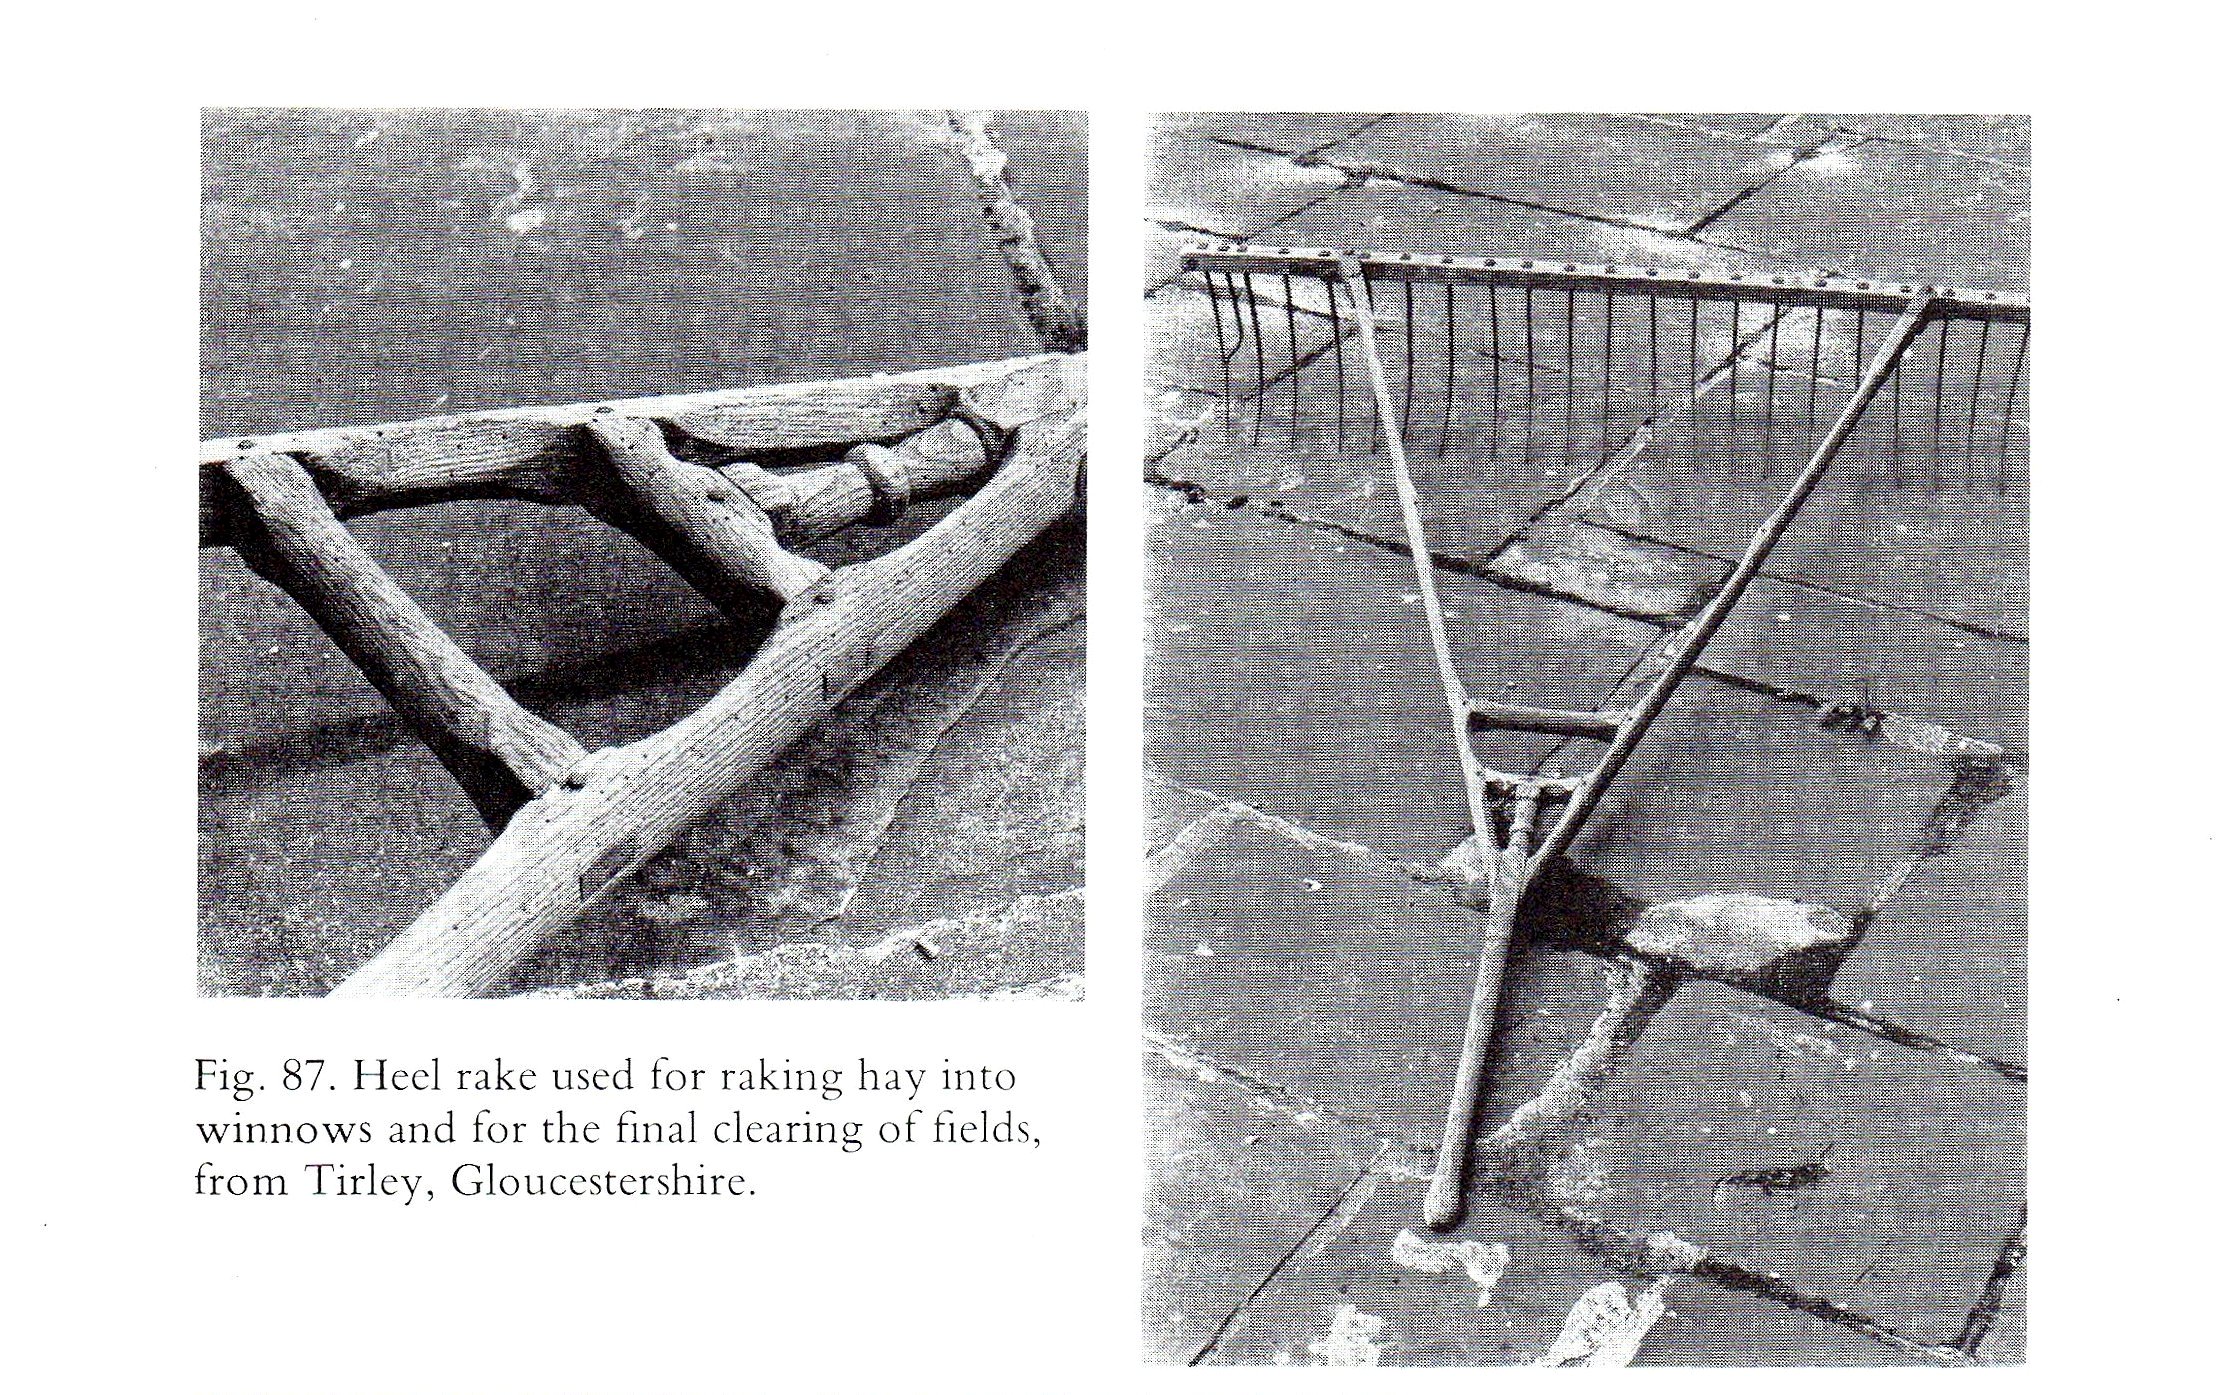
In early 2019, I decided to build an oak dinner table for myself with a leg set that incorporated a “hay rake” or “heel rake” stretcher, a feature that Barnsley had adapted for one of his tables from a traditional wooden rake used by farmers to rake hay in their fields into windrows. Below is a photo of one of these 18th~19th century rakes showing the joinery used to create the handle. It is a marvel of traditional, rural woodworking that is very strong but lightweight . . . a perfect example of form following function. [Click on any image to enlarge.]
Barnsley used the essentials of the rake joinery to create the stretcher (see below) for his table, circa 1900. All three b&w photos are taken from Gimson and the Barnsleys by Mary Comino (Van Nostrand Reinhold Co., 1980).
Sidney Barnsley: hay rake tableSidney Barnsley: hay rake joinery
With no original drawings to go by, I made my own full size, scaled plans and set to work on the “Y” shaped joint only to find that my first effort was not going to be satisfactory. It ended up going in my wood stove. I revised the plans based on my experience and started over. [Click on any image to enlarge. All following photos Max Vollmer]
Revised plans.
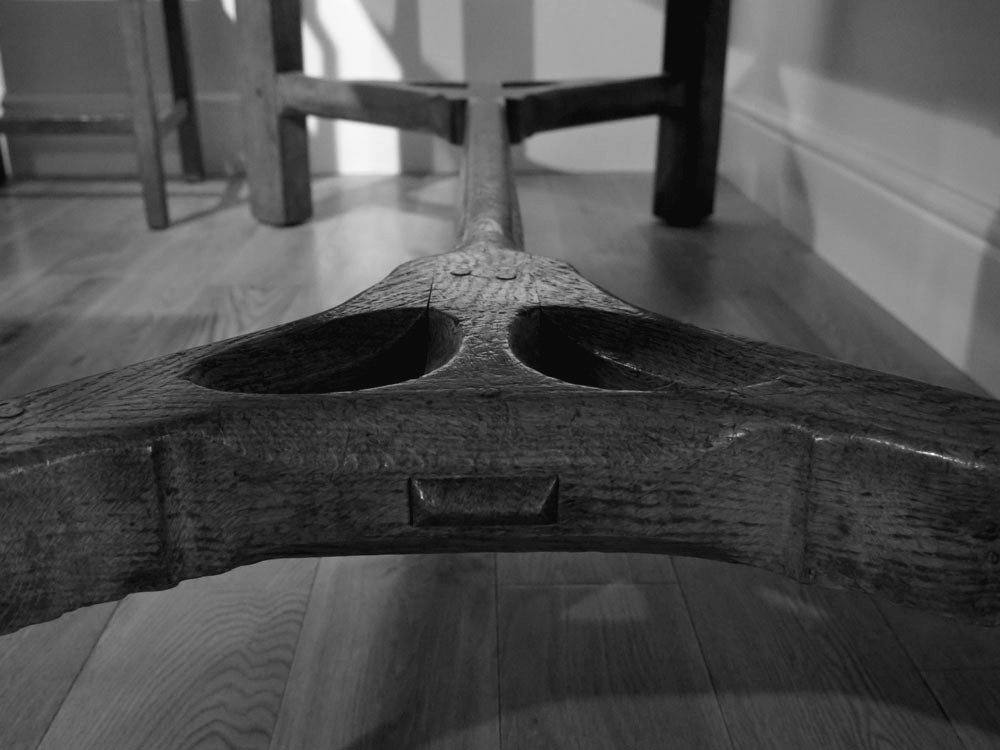
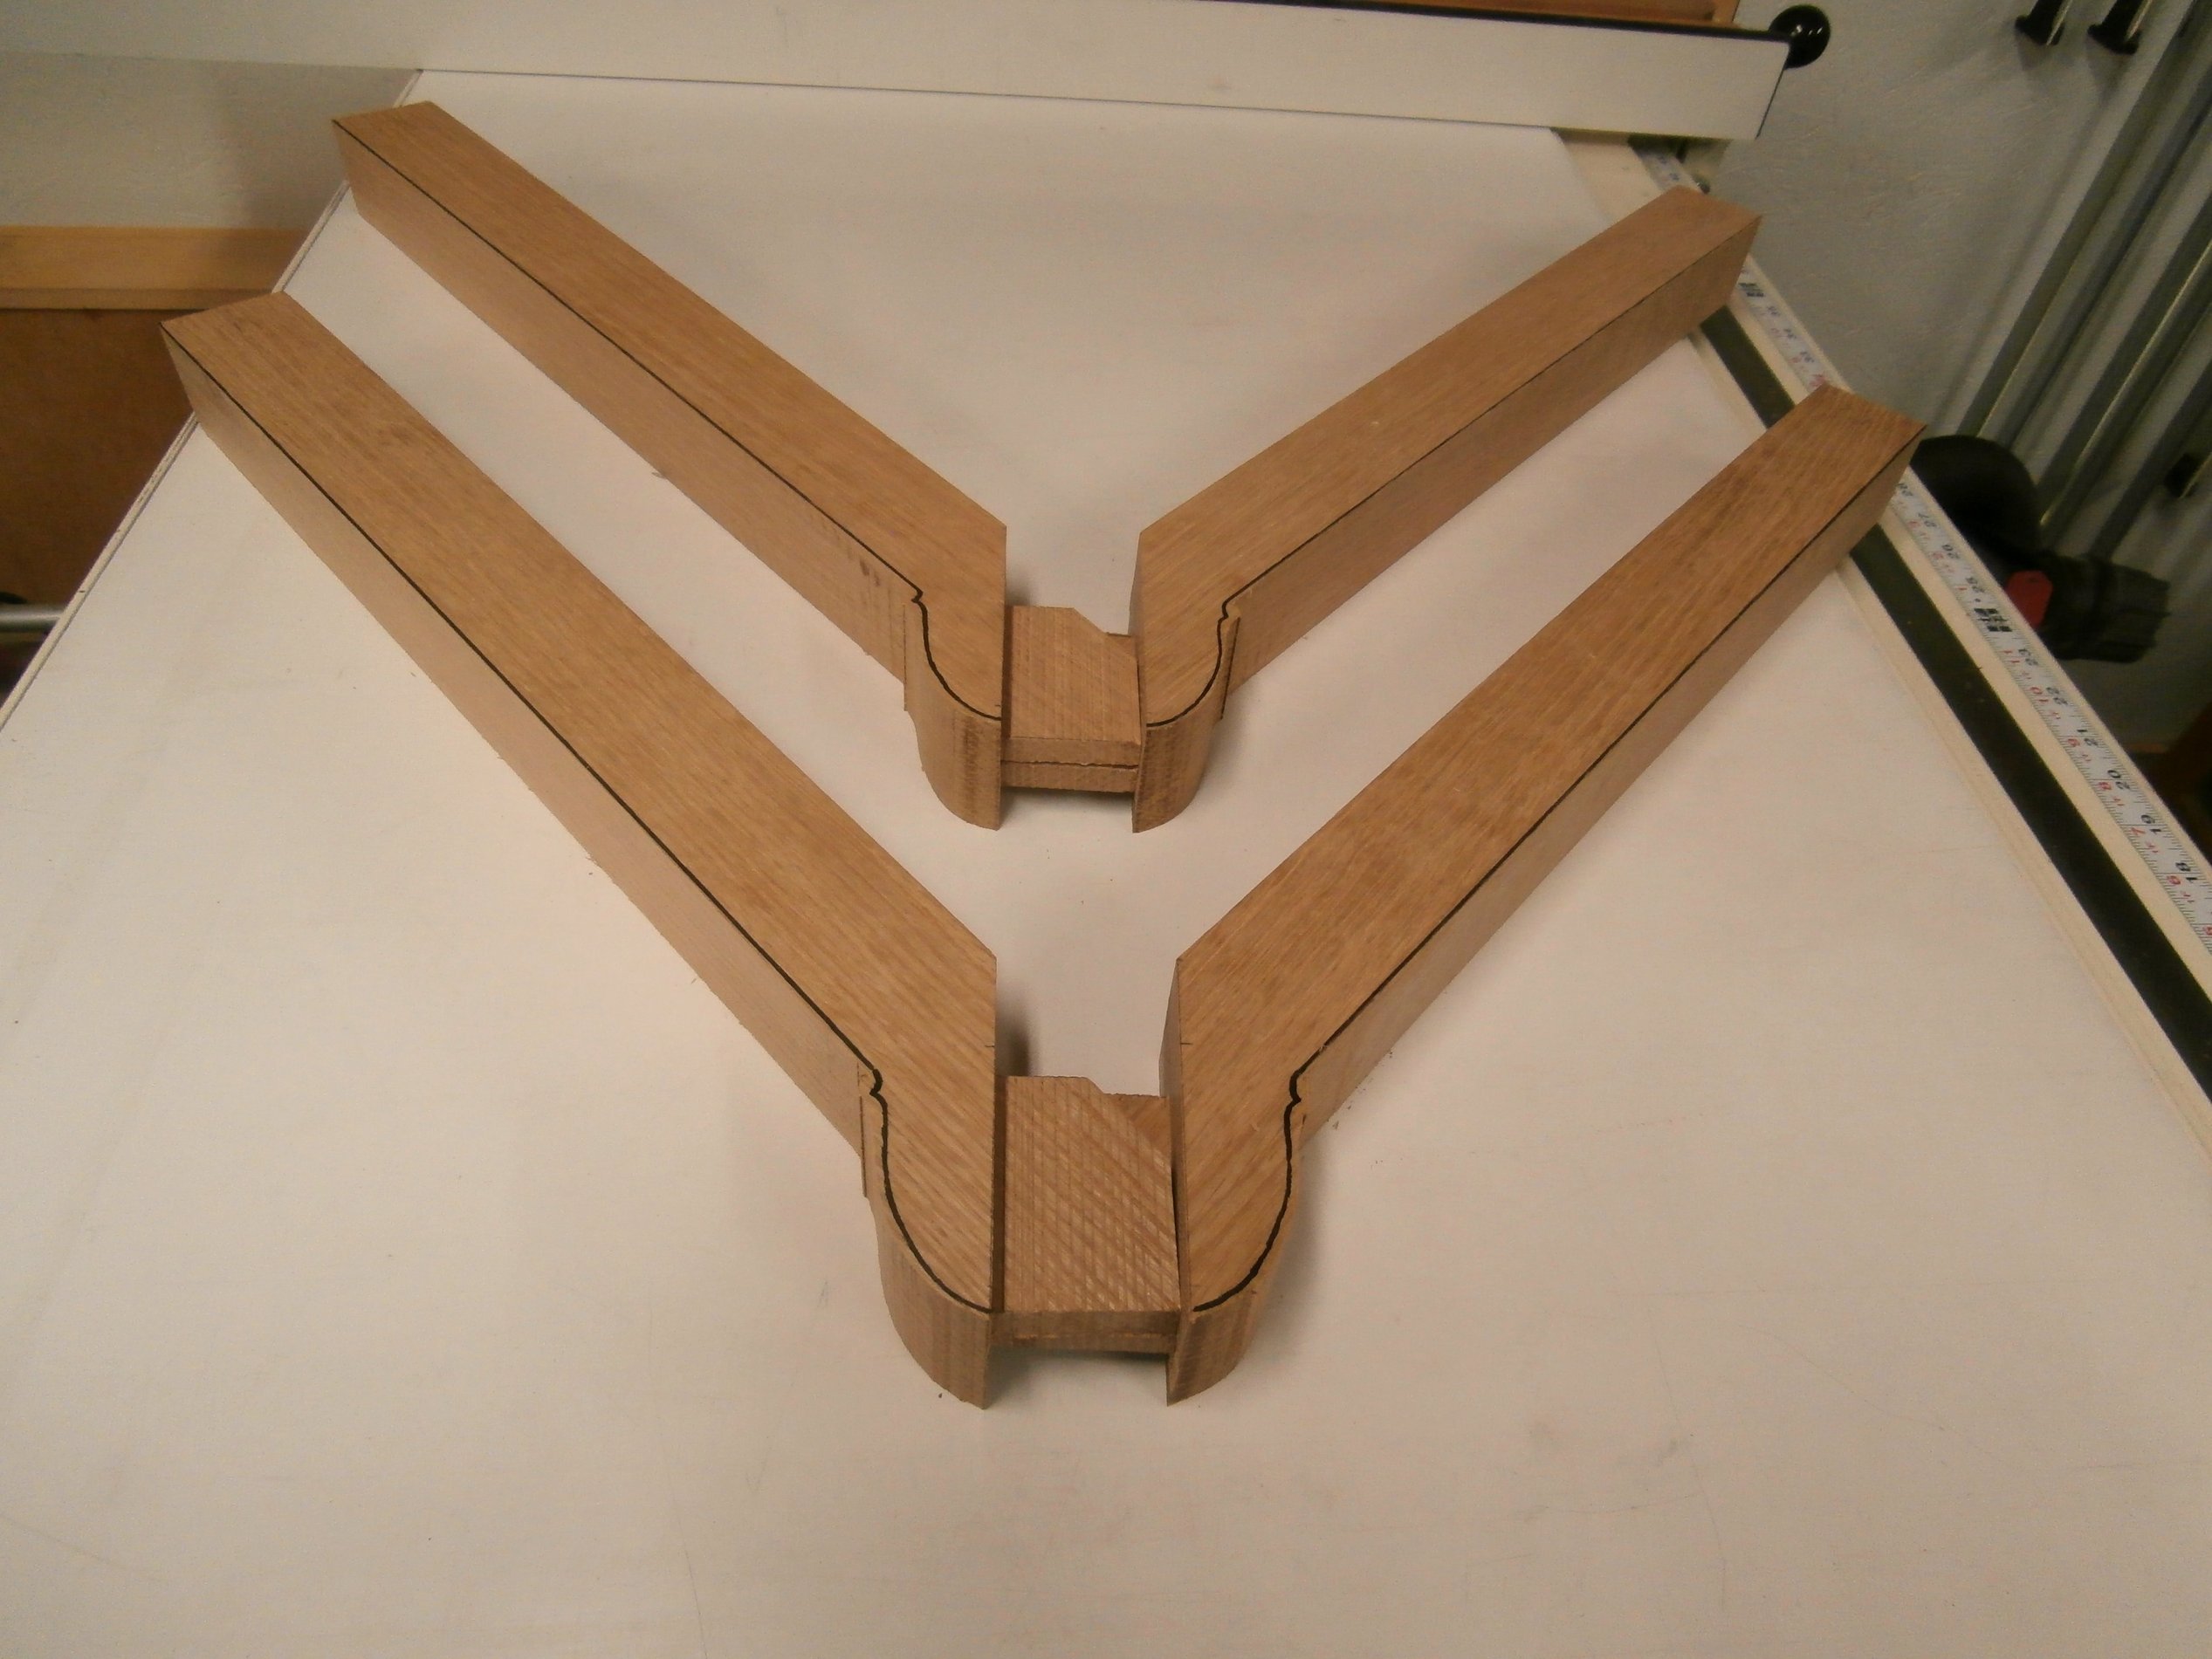
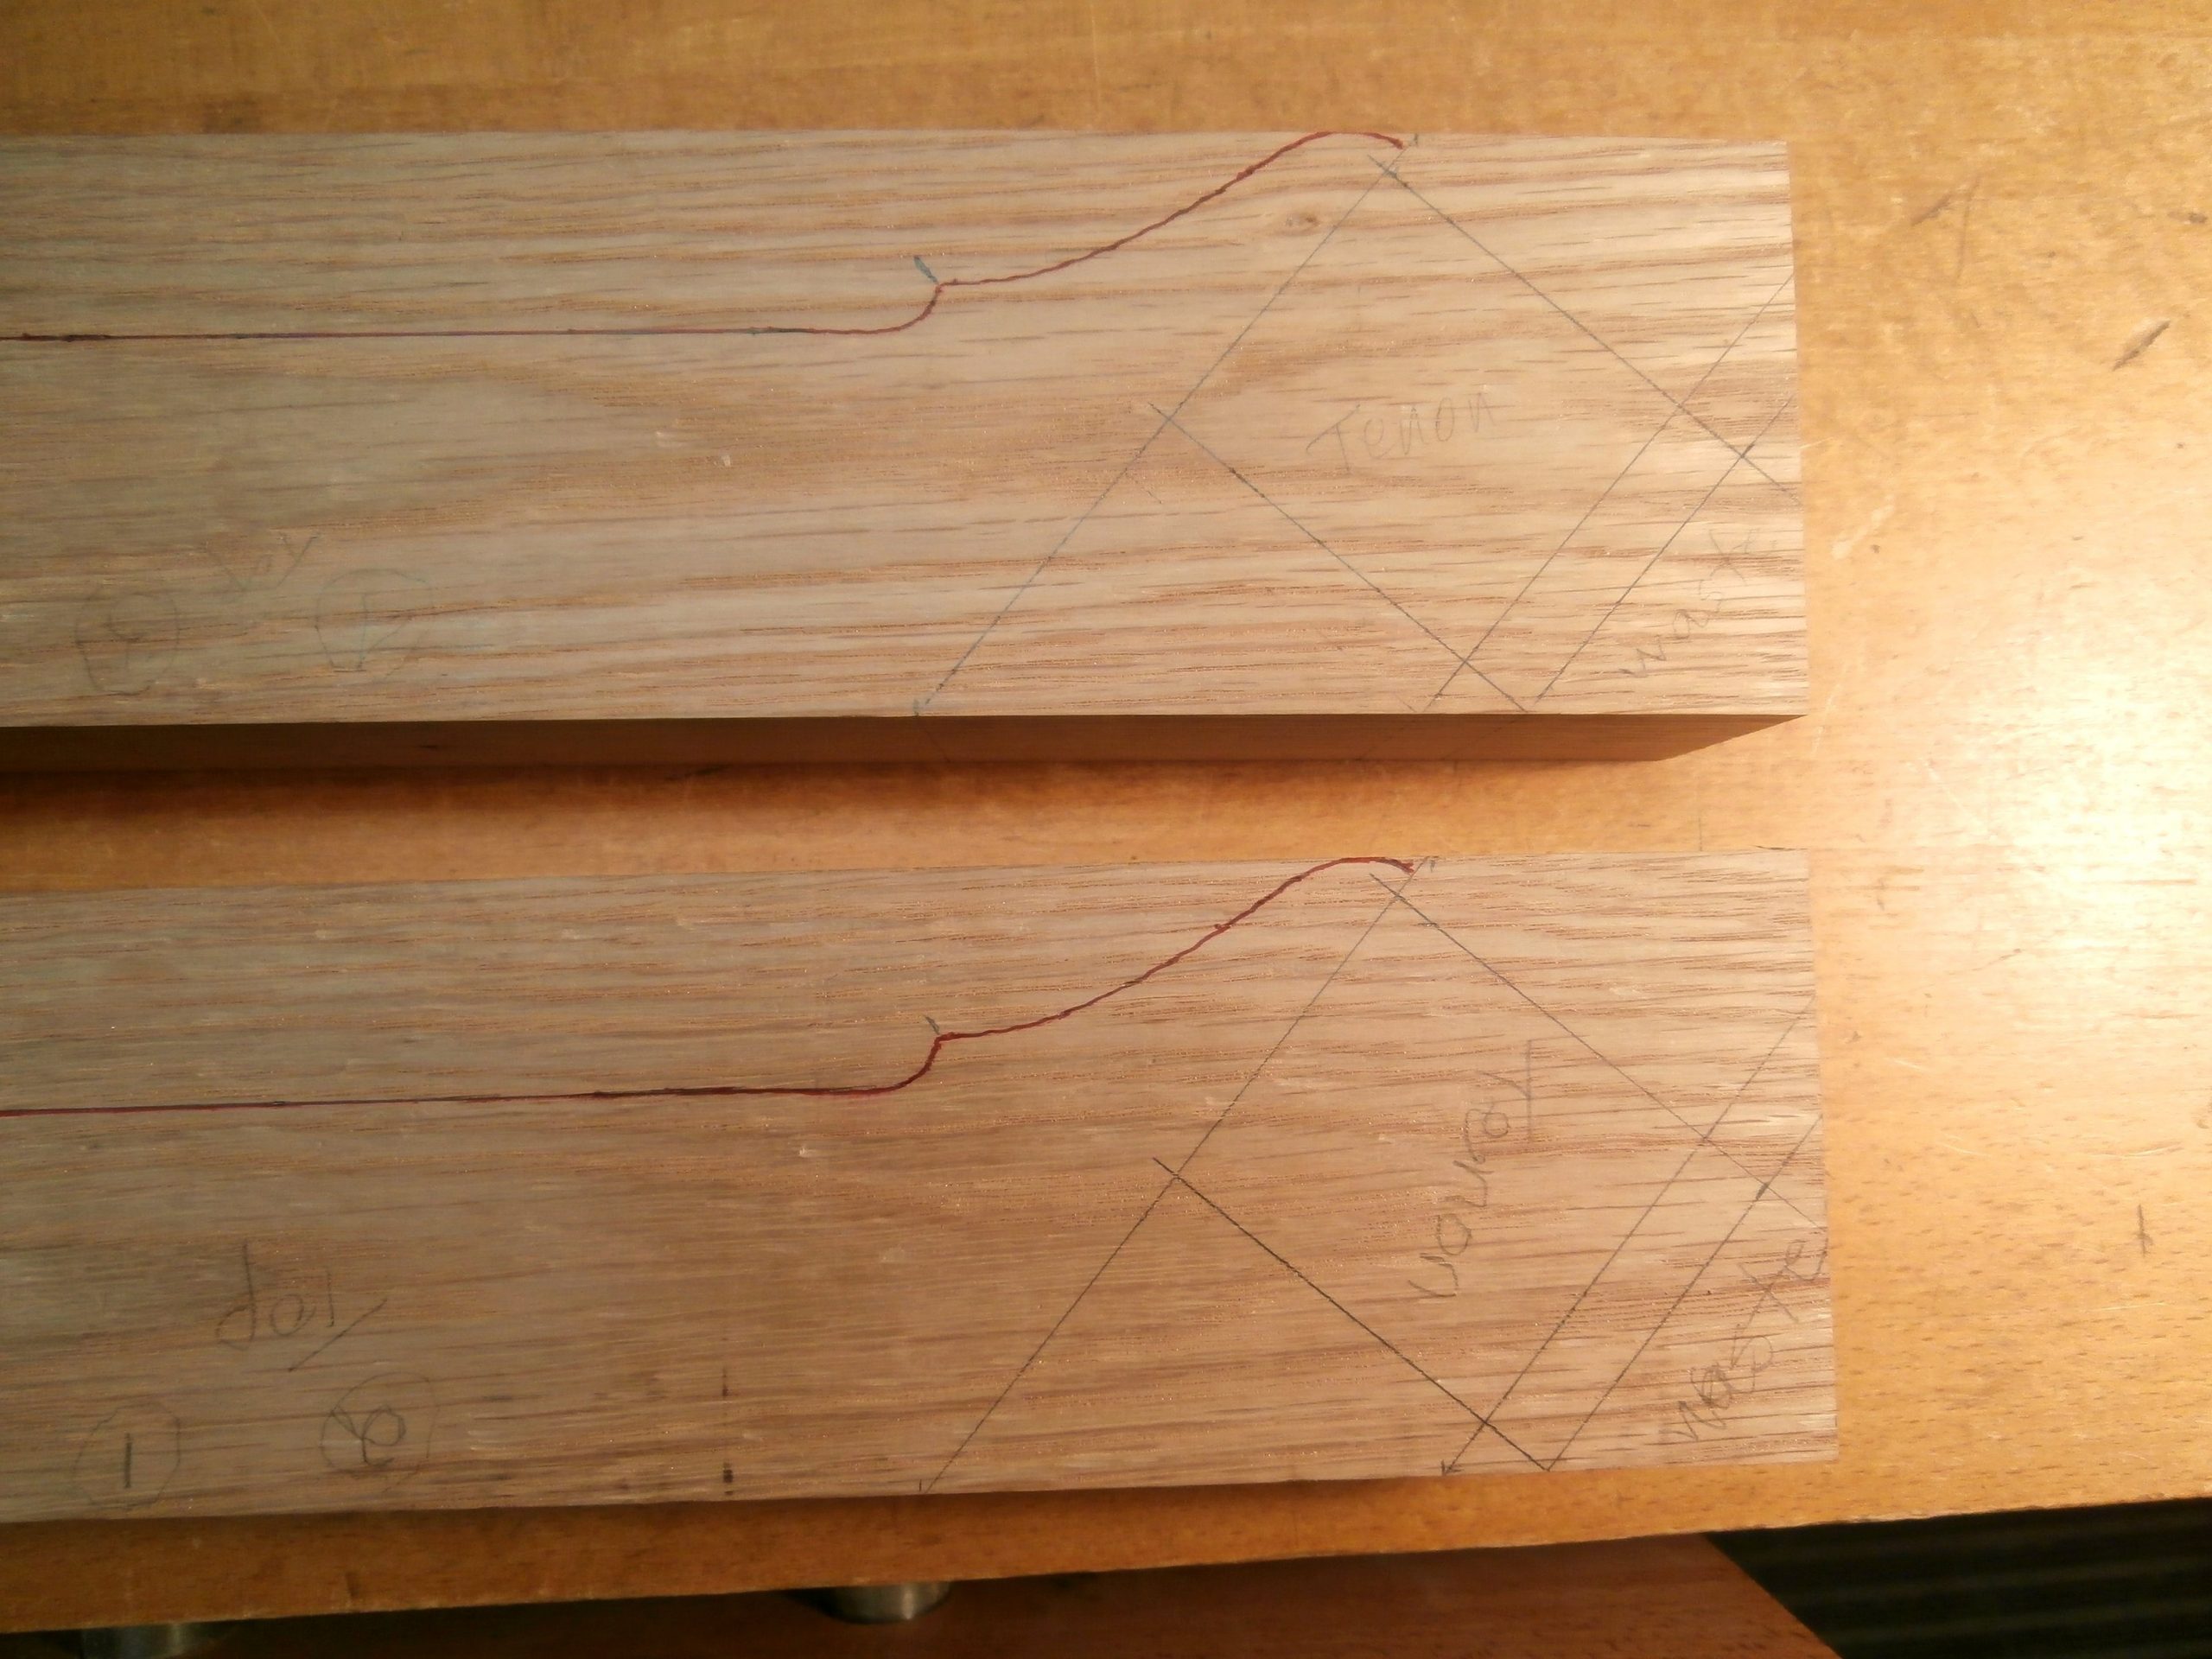
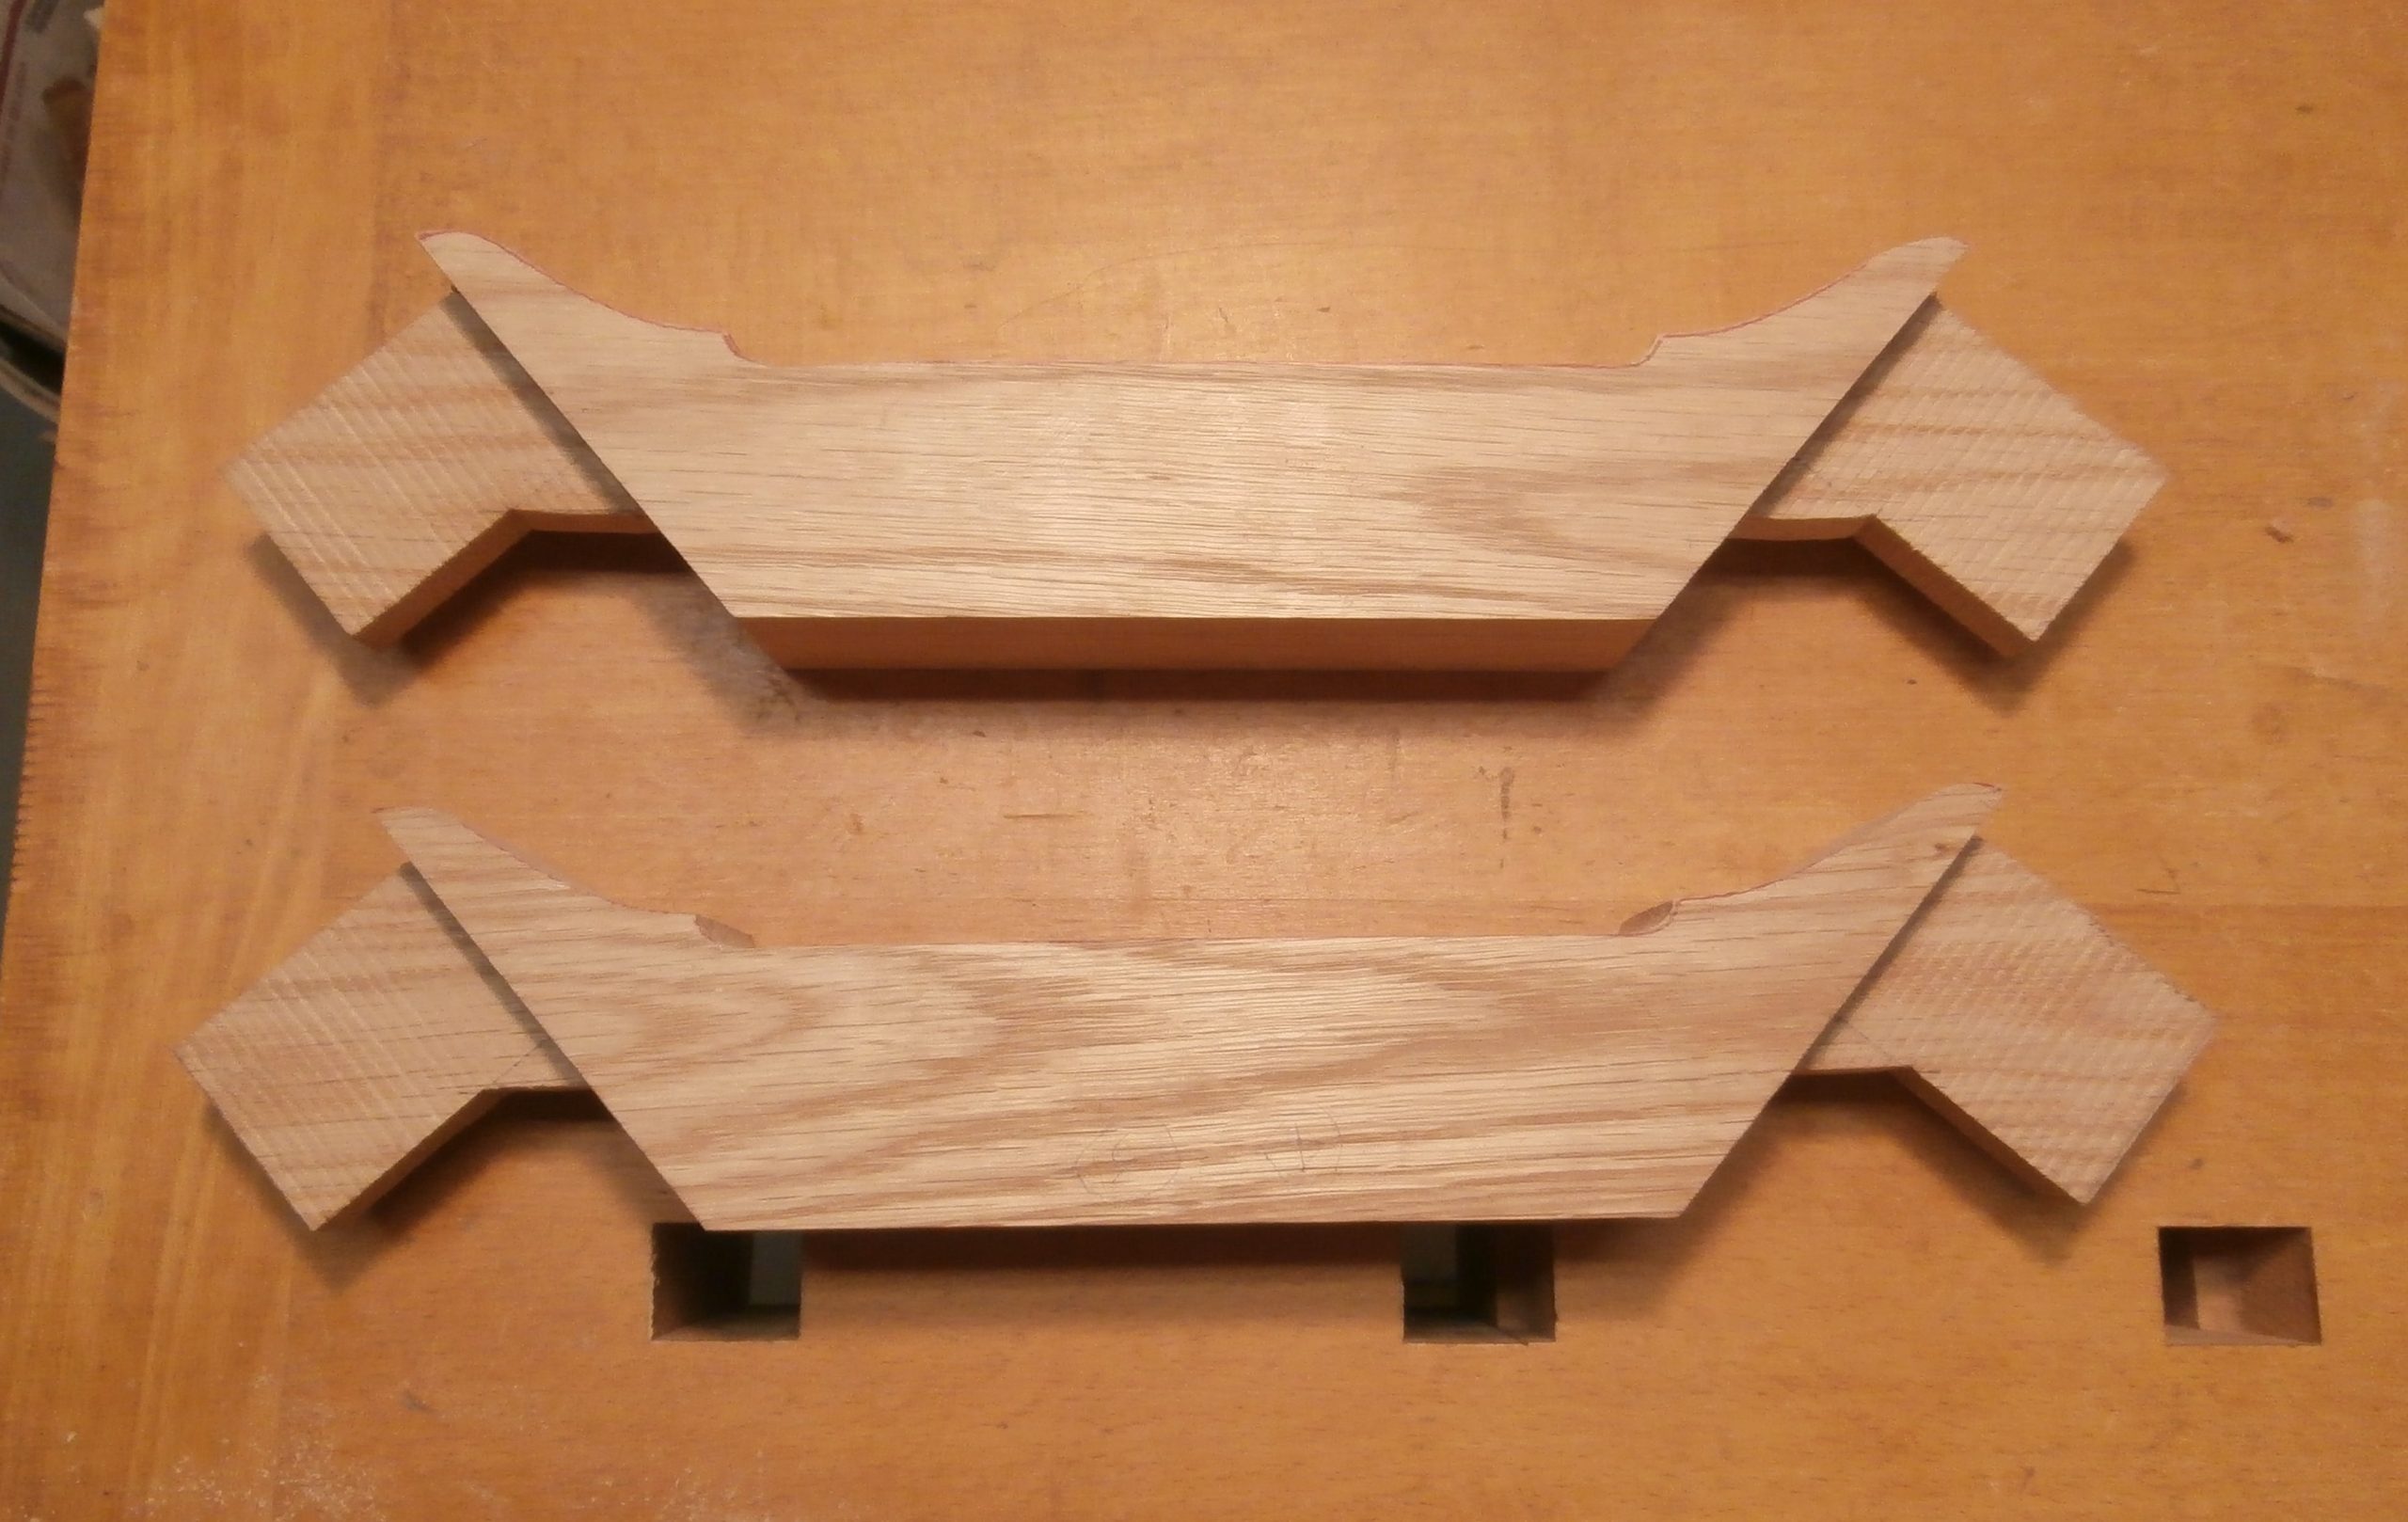
For aesthetic reasons I reduced the acute angle between the arms of the “Y” and the main, longitudinal stretcher from 45 degrees to 40 degrees. I used overlapping tenons on the arms where they intersect and join the main stretcher.
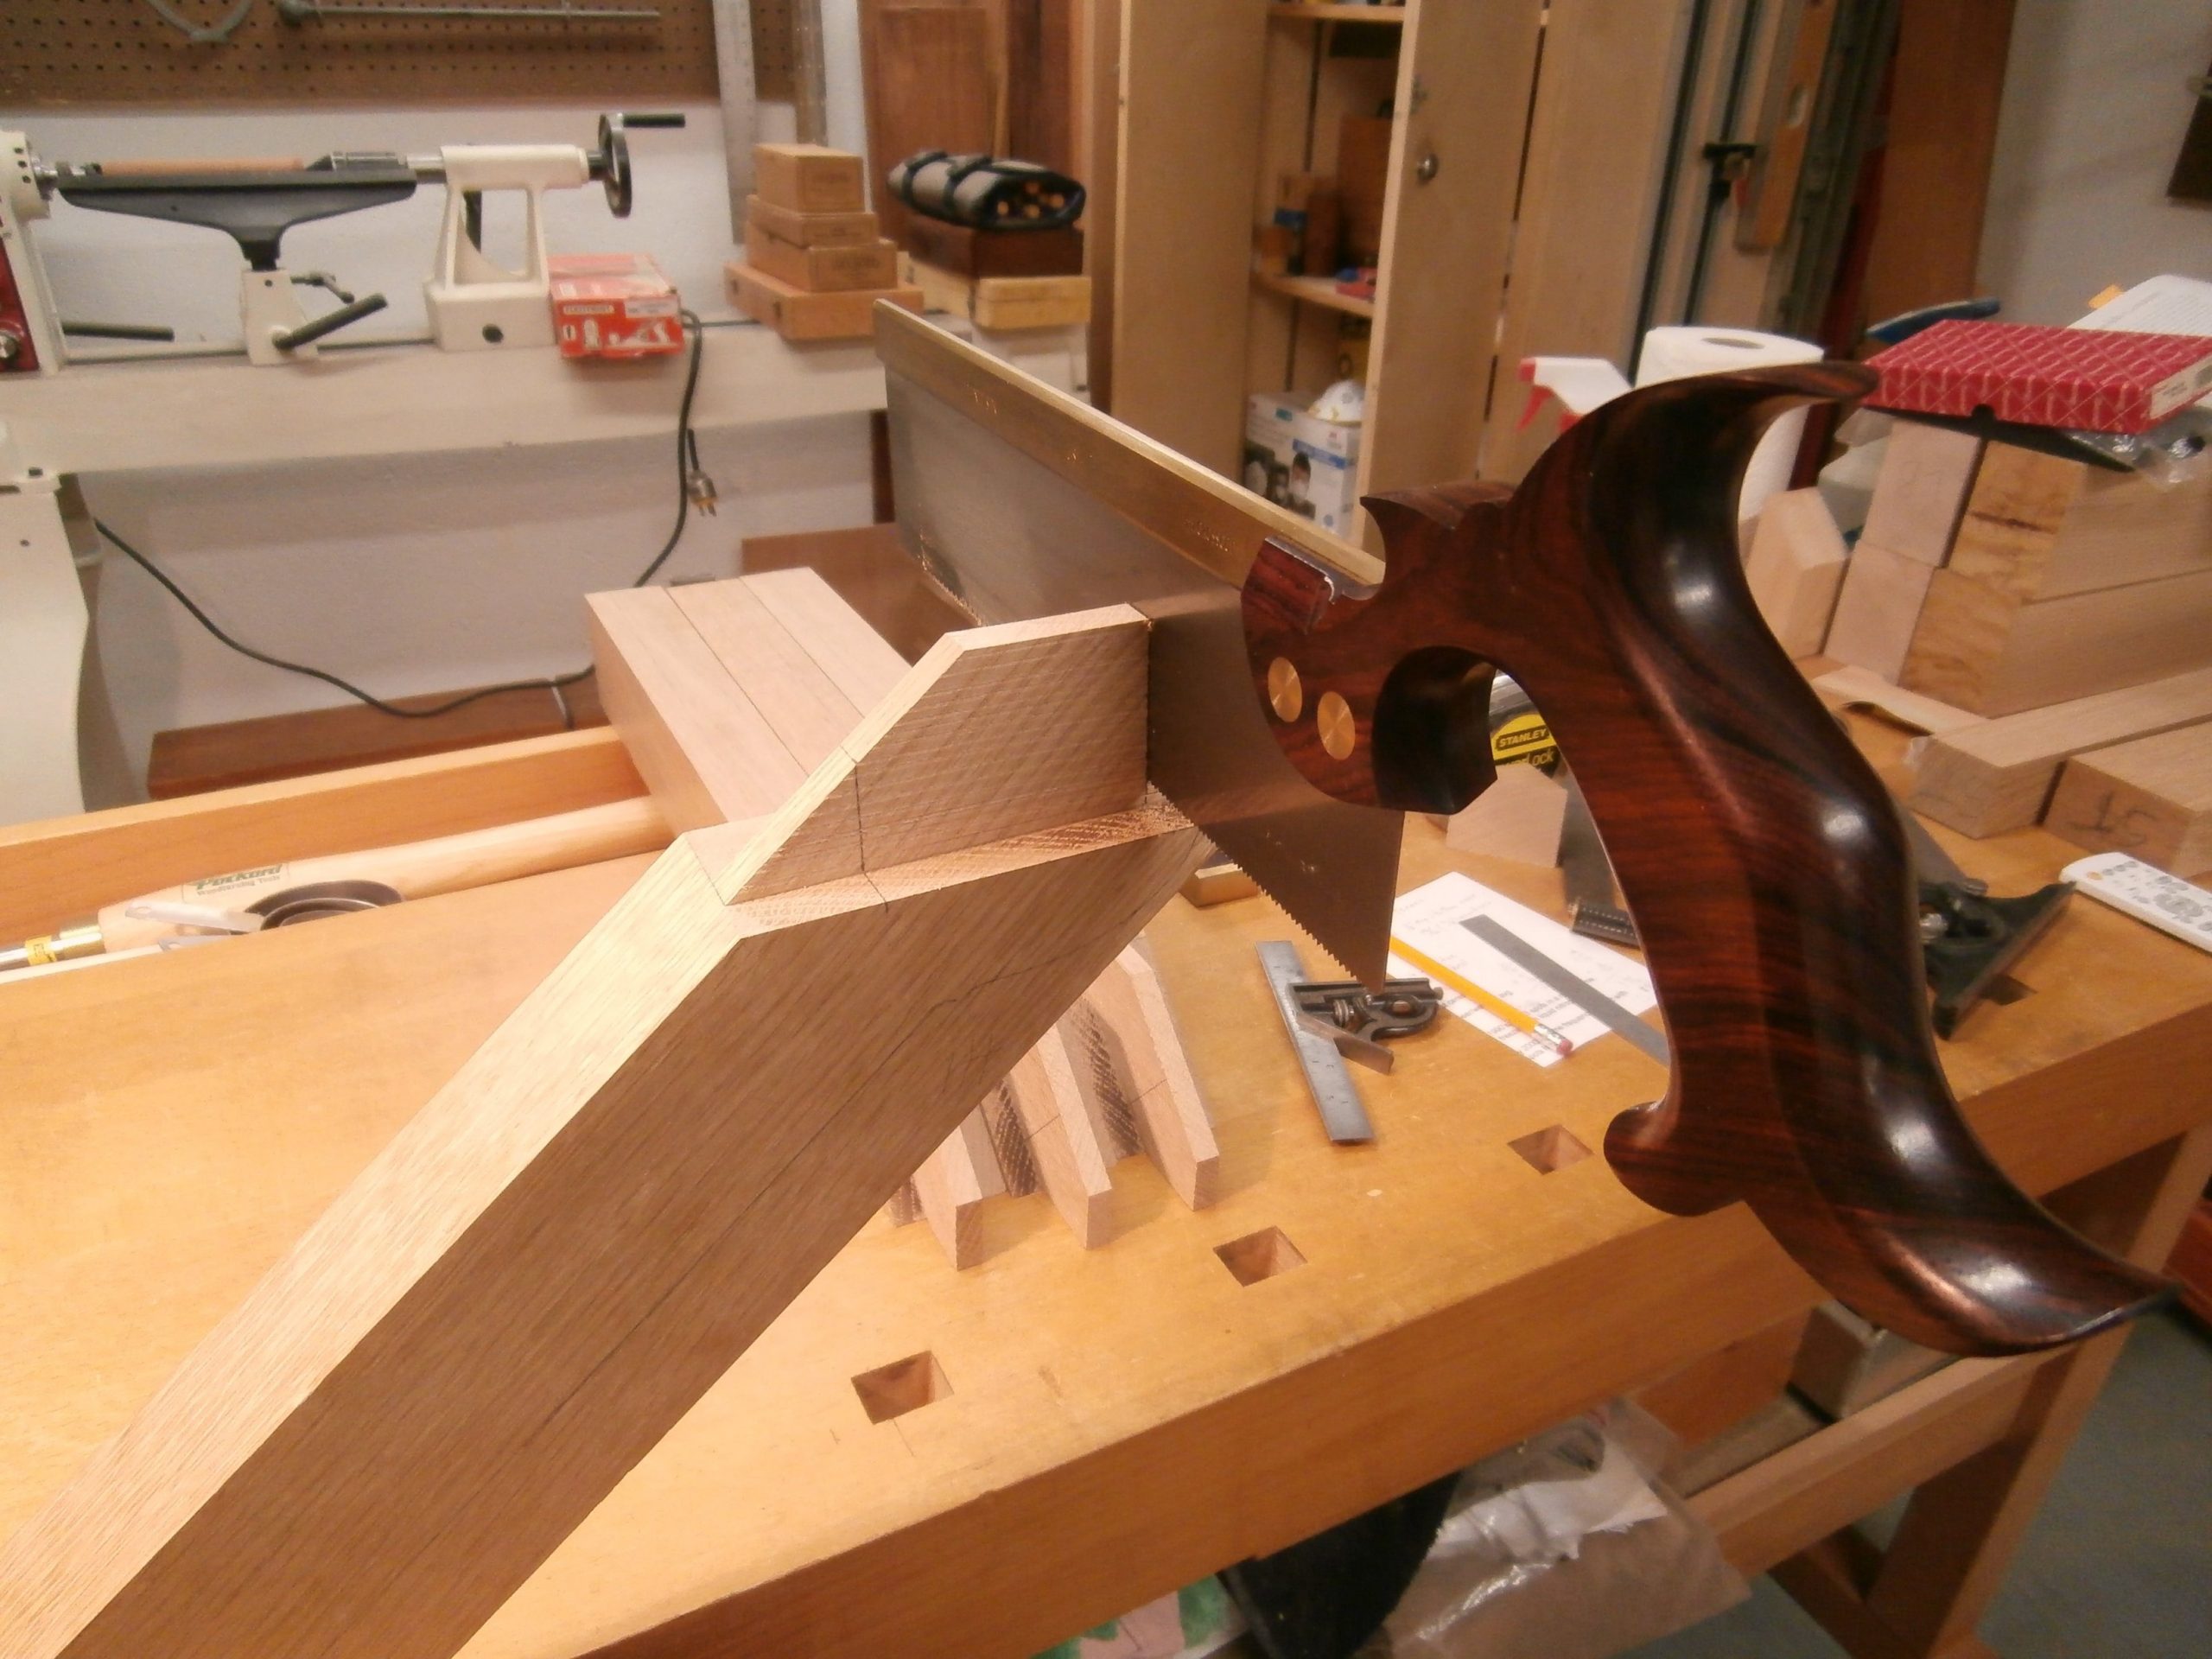
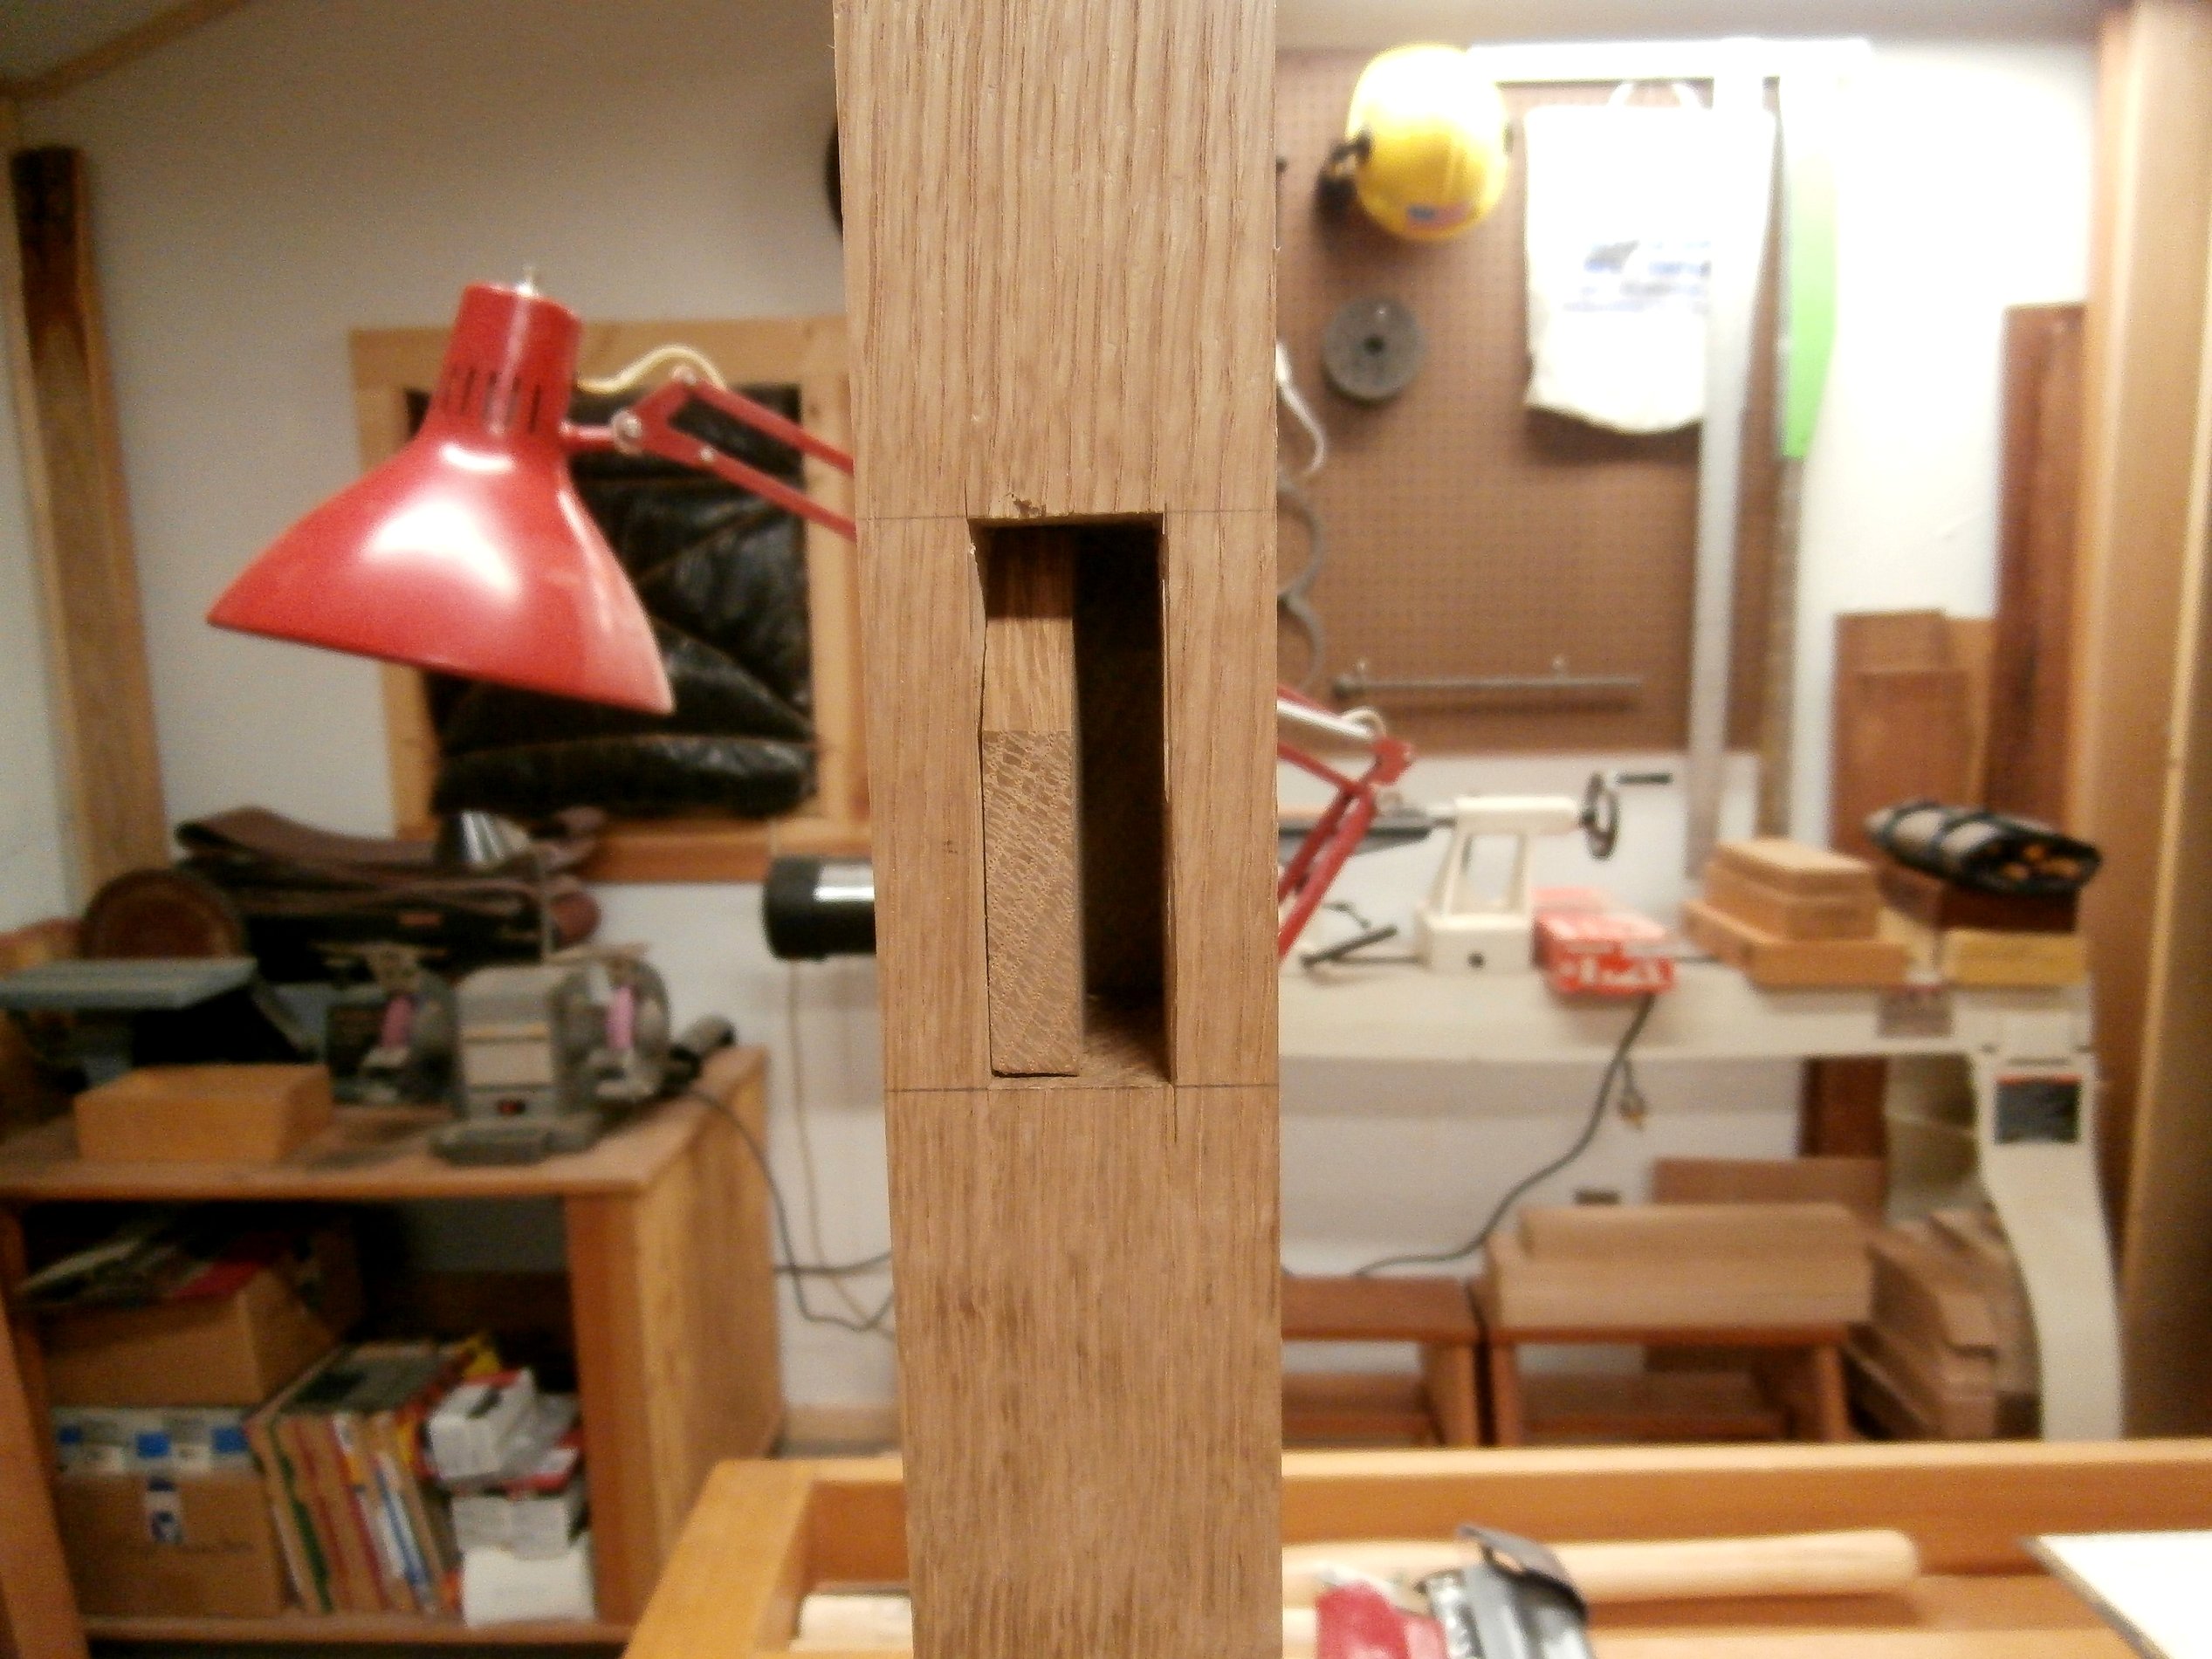
And, based on my first failed effort, I also redesigned the tenons on the “spanner” or brace that connects the two arms of the “Y.” This allowed me to cut “through” mortises in the arms that were perpendicular to the axis of the arms rather than mortises cut at a 40 degree angle. This way I could use straight tenons on the spanner. Not only was this redesign equally strong, it was much easier to cut the mortises. The following series of photos illustrate my approach. [Click on any image to enlarge, All photos Max Vollmer]
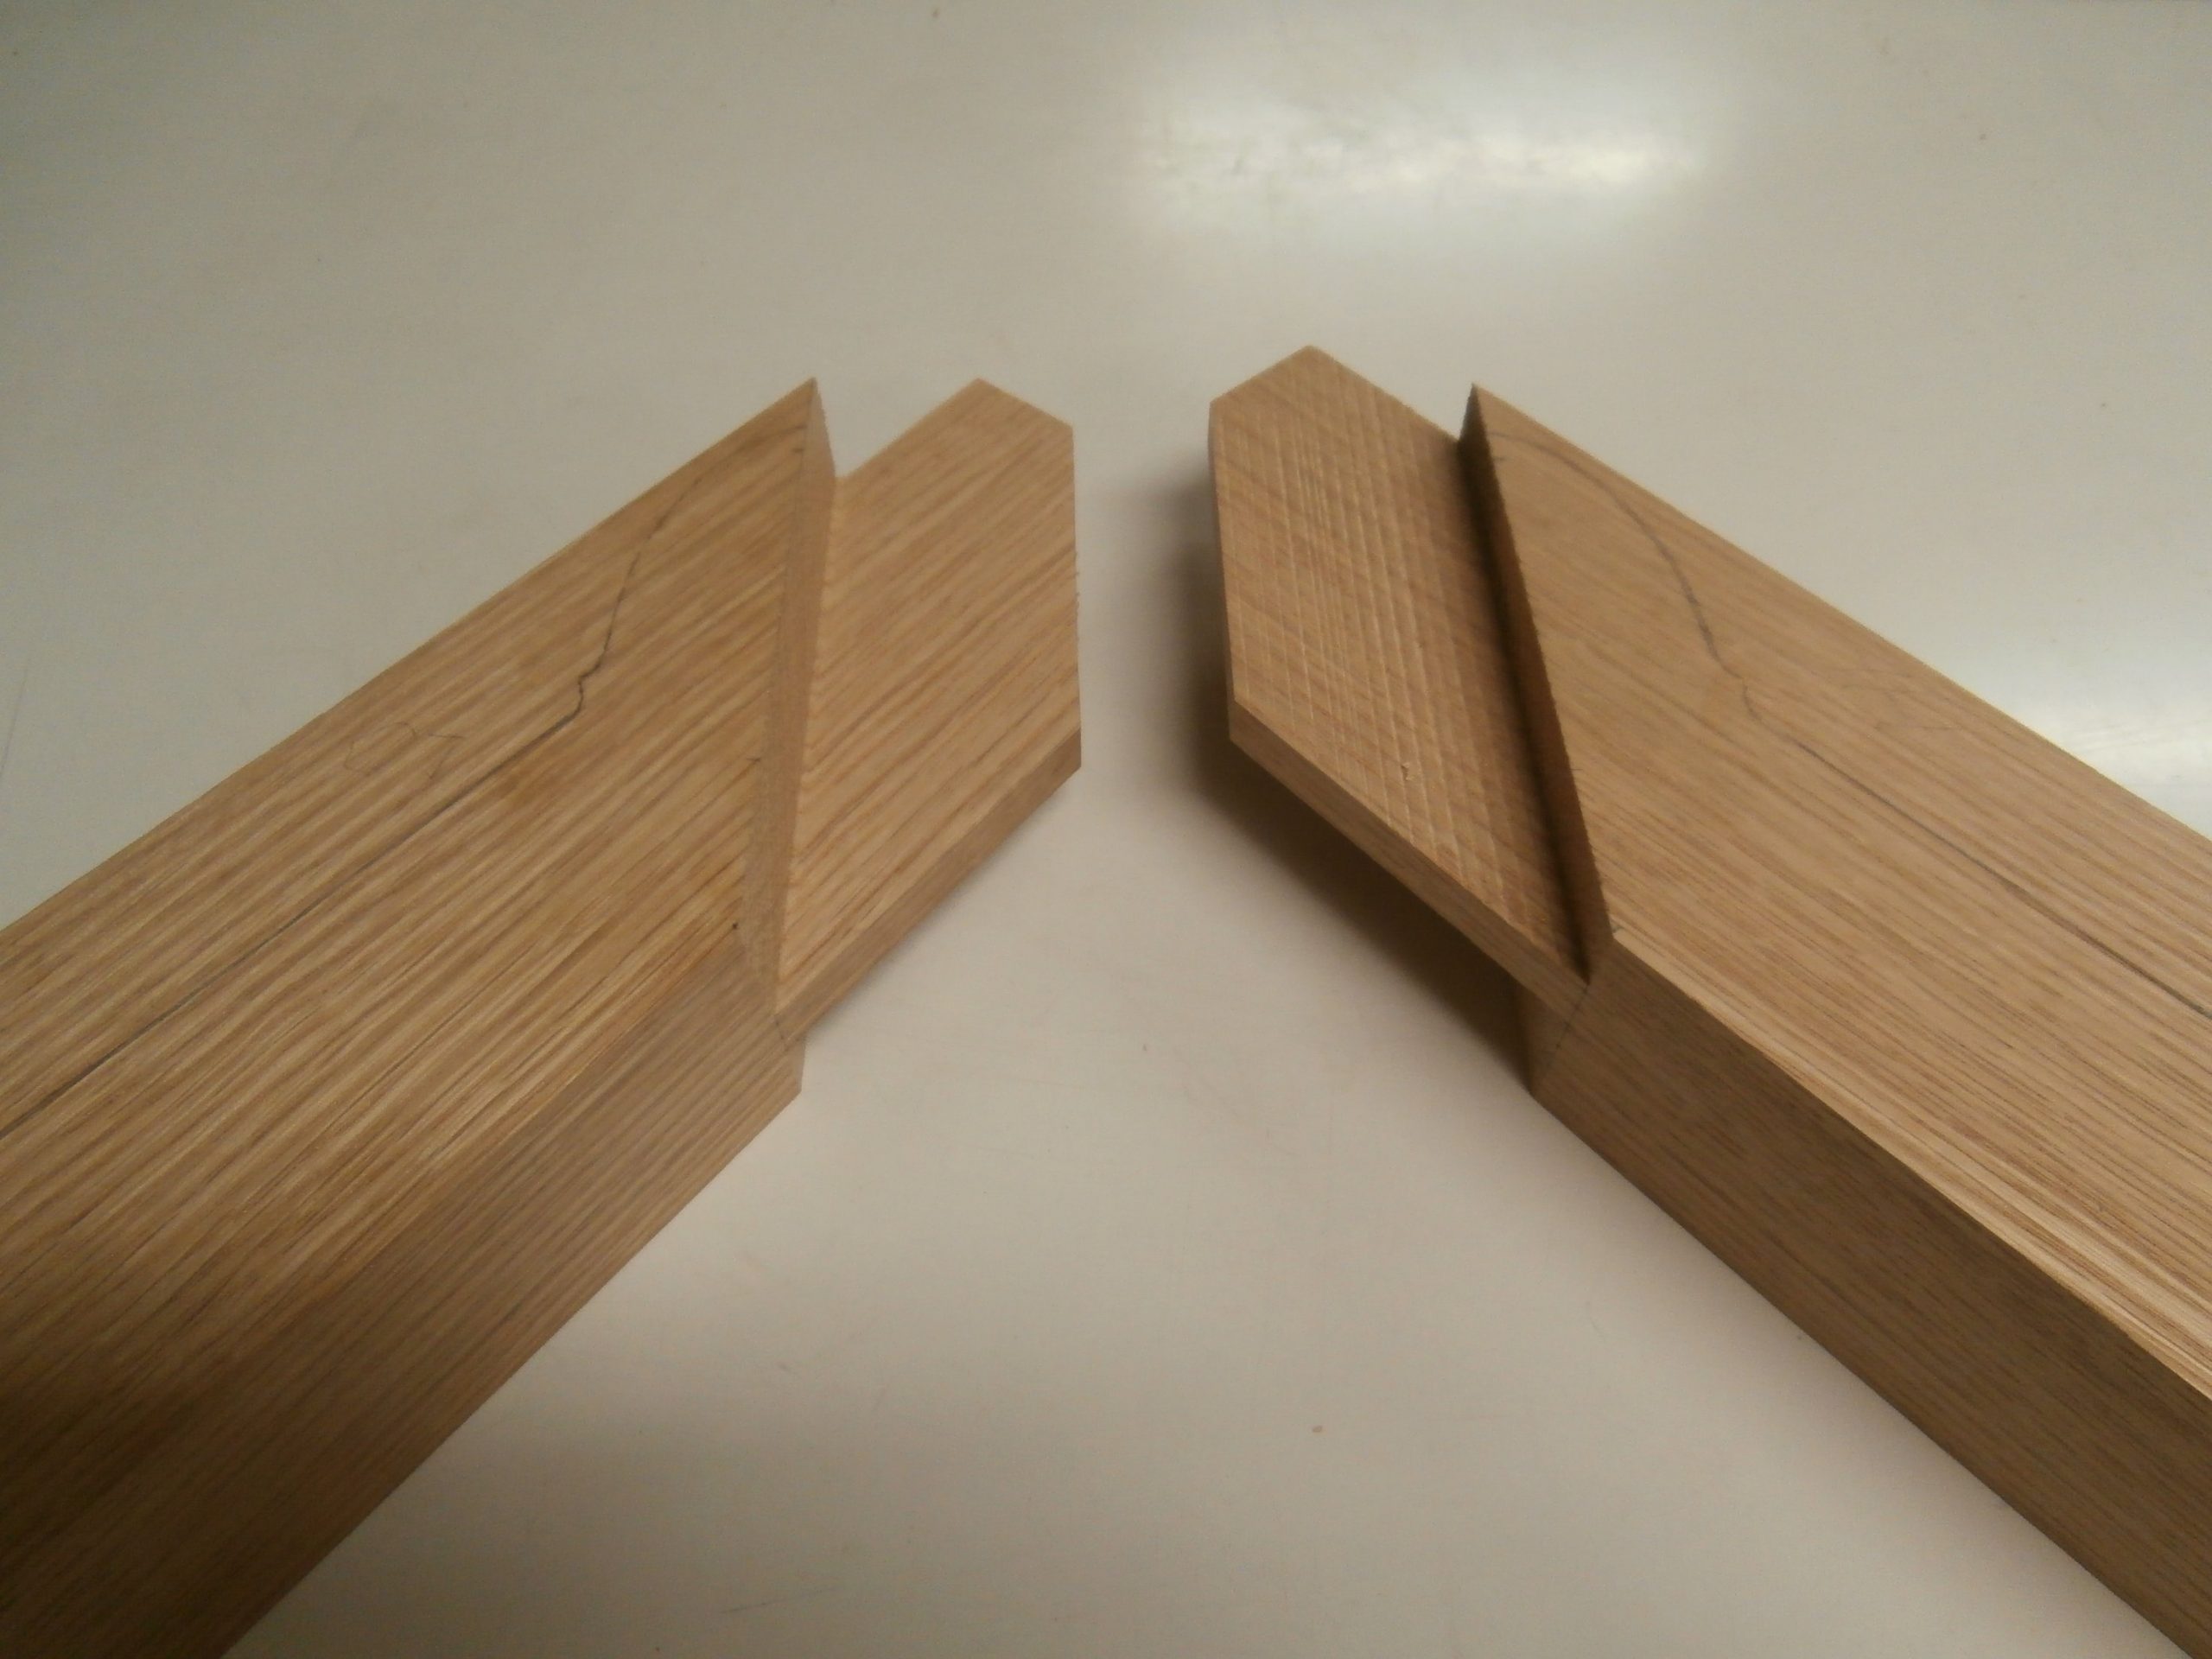
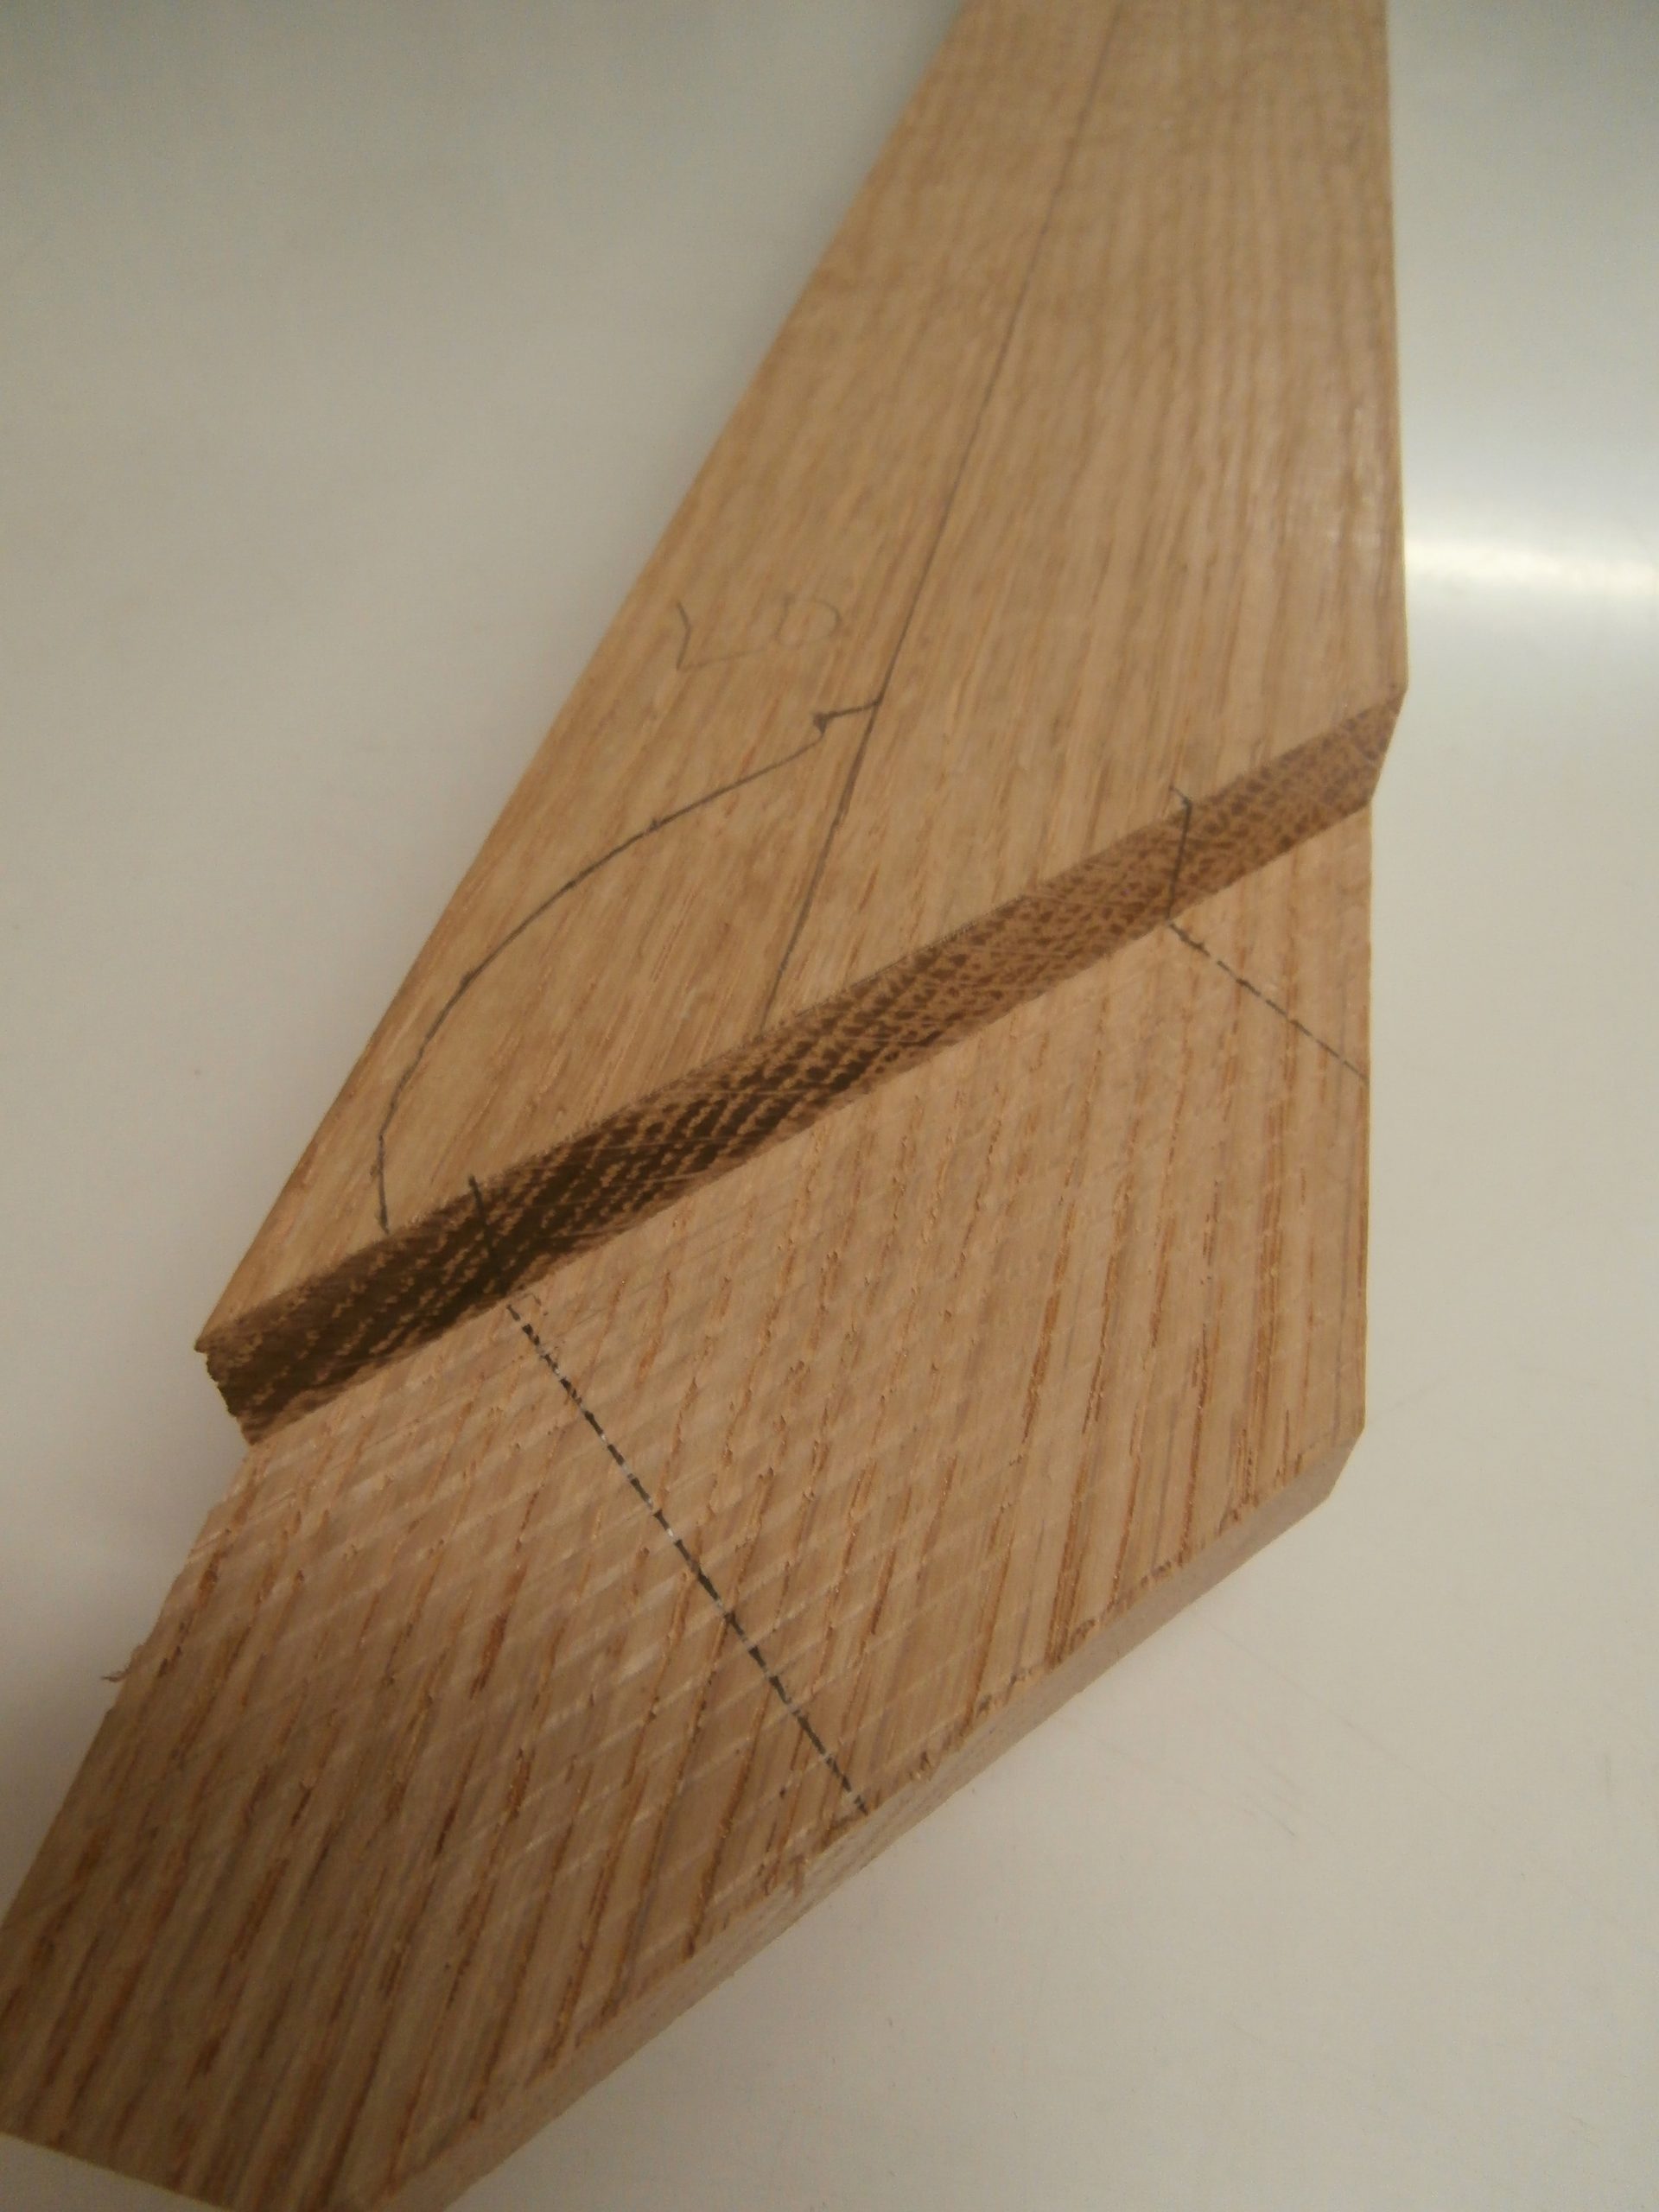
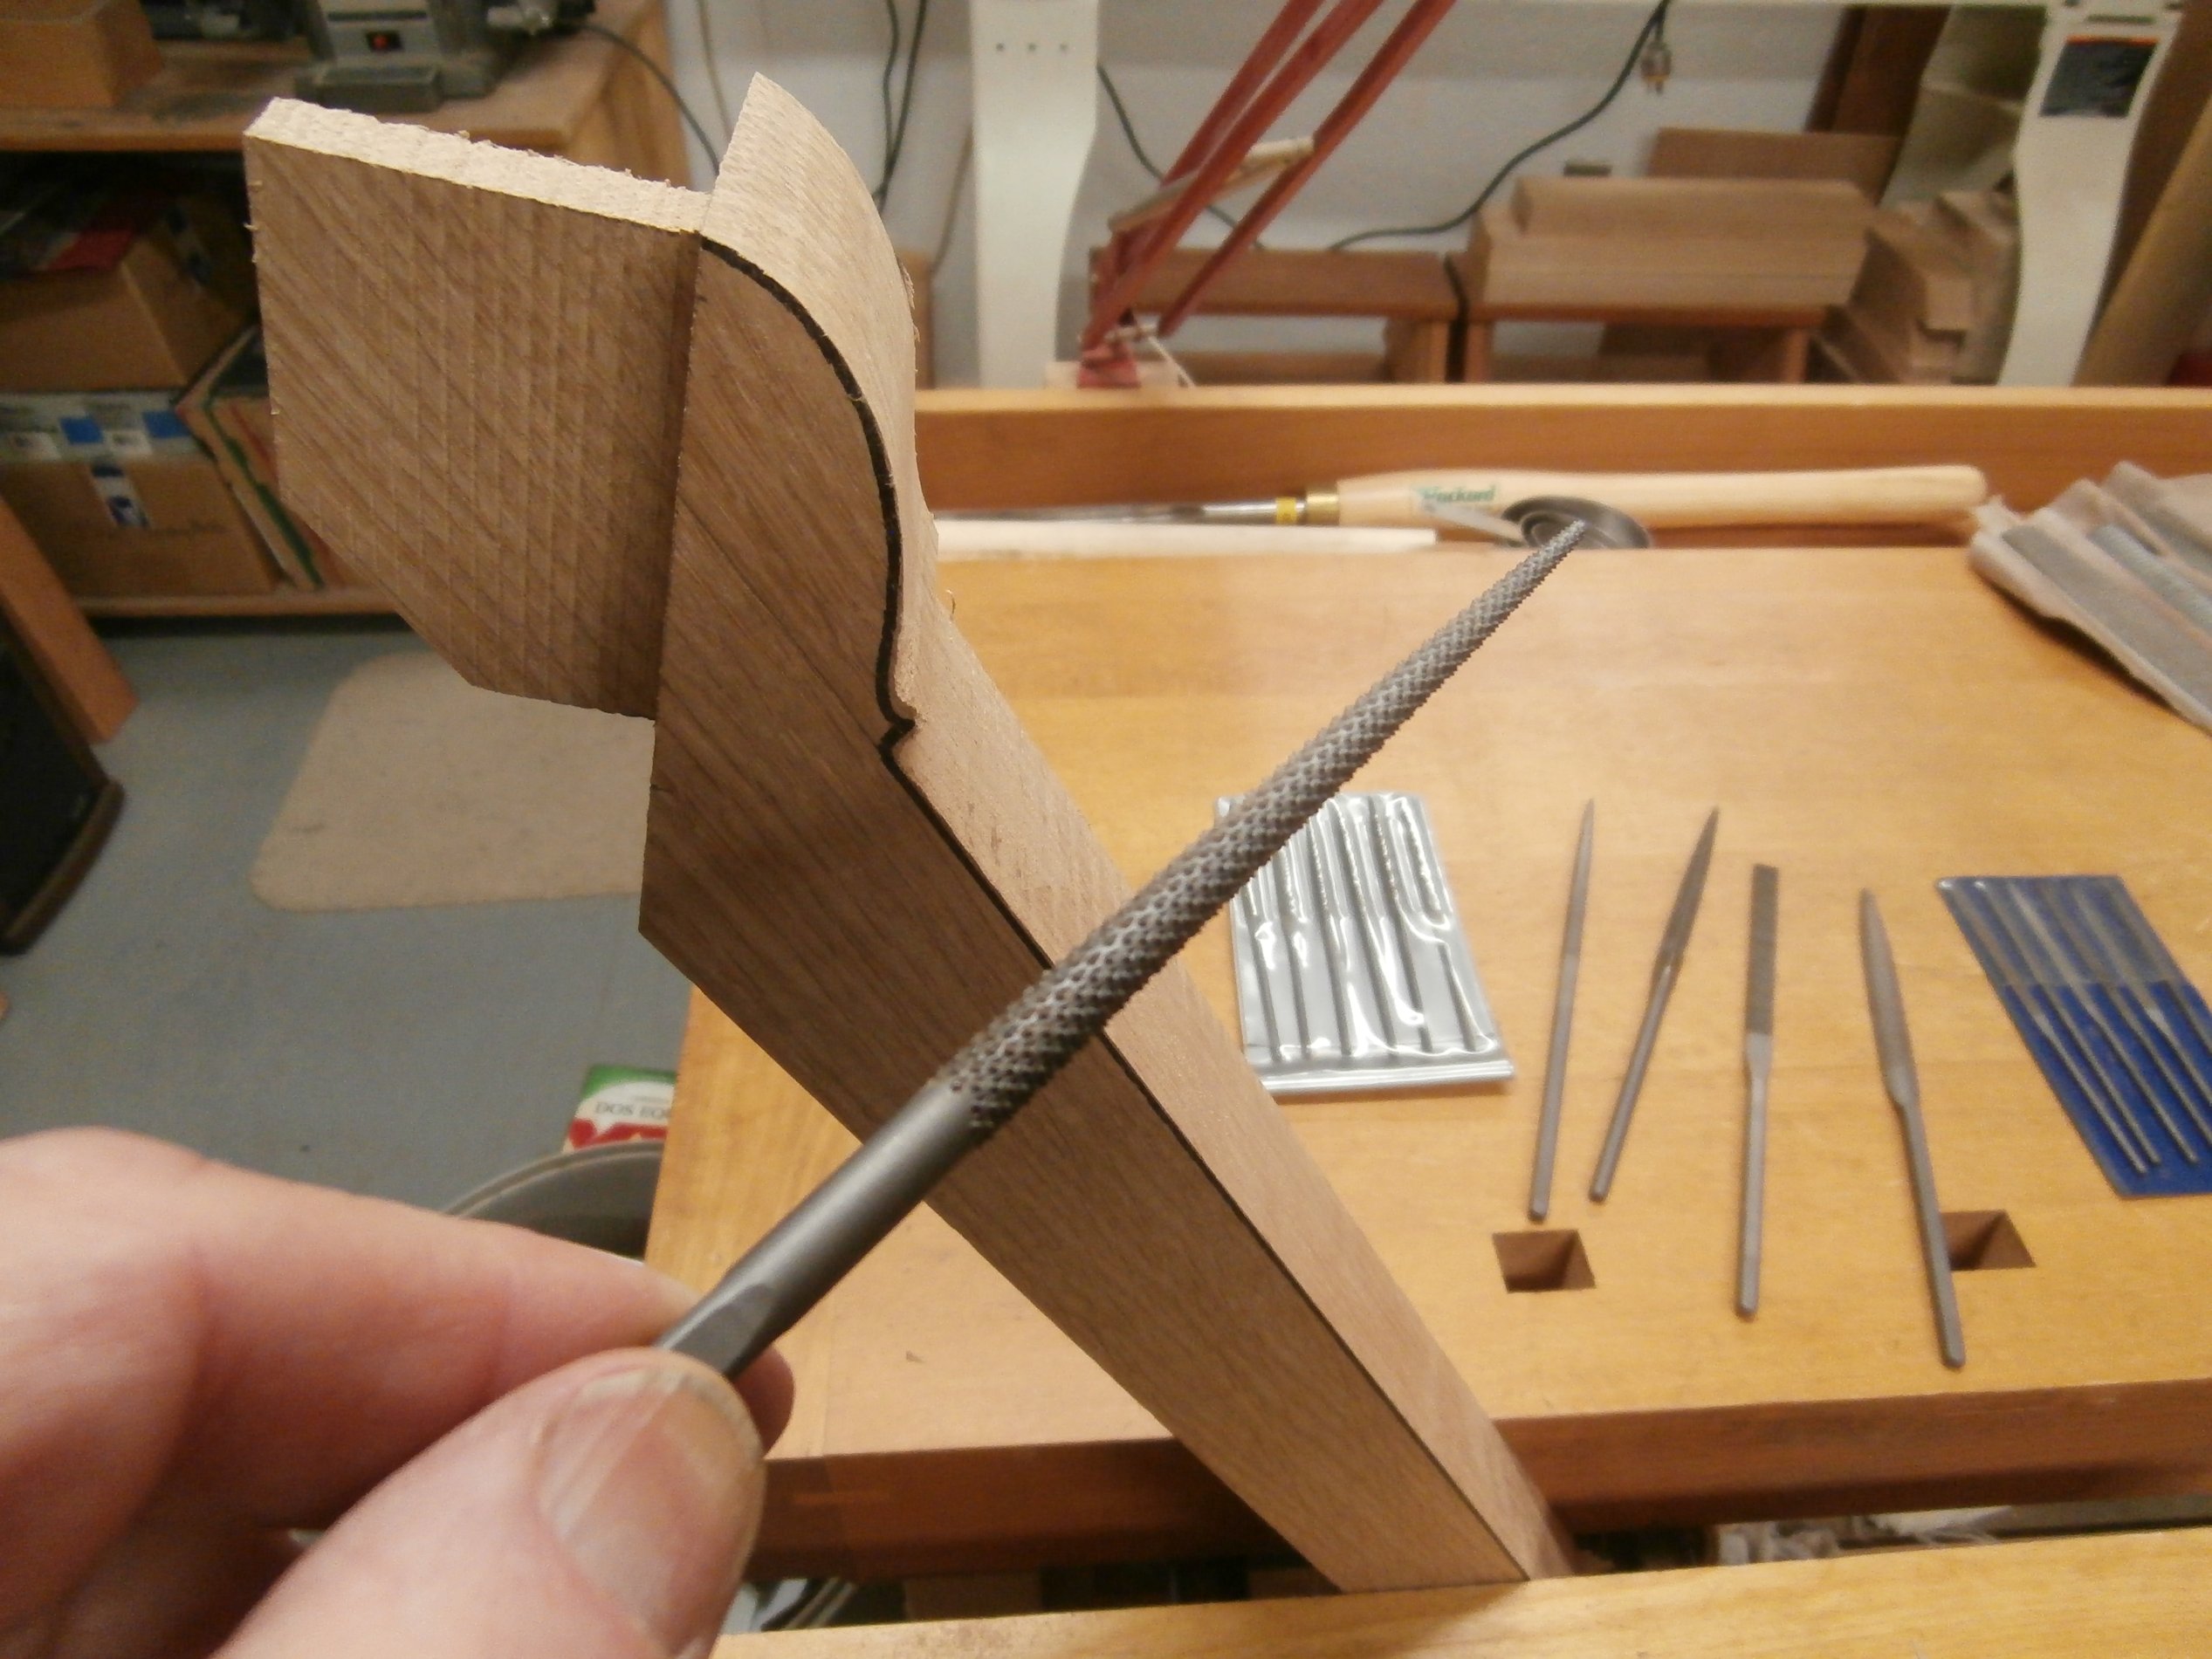
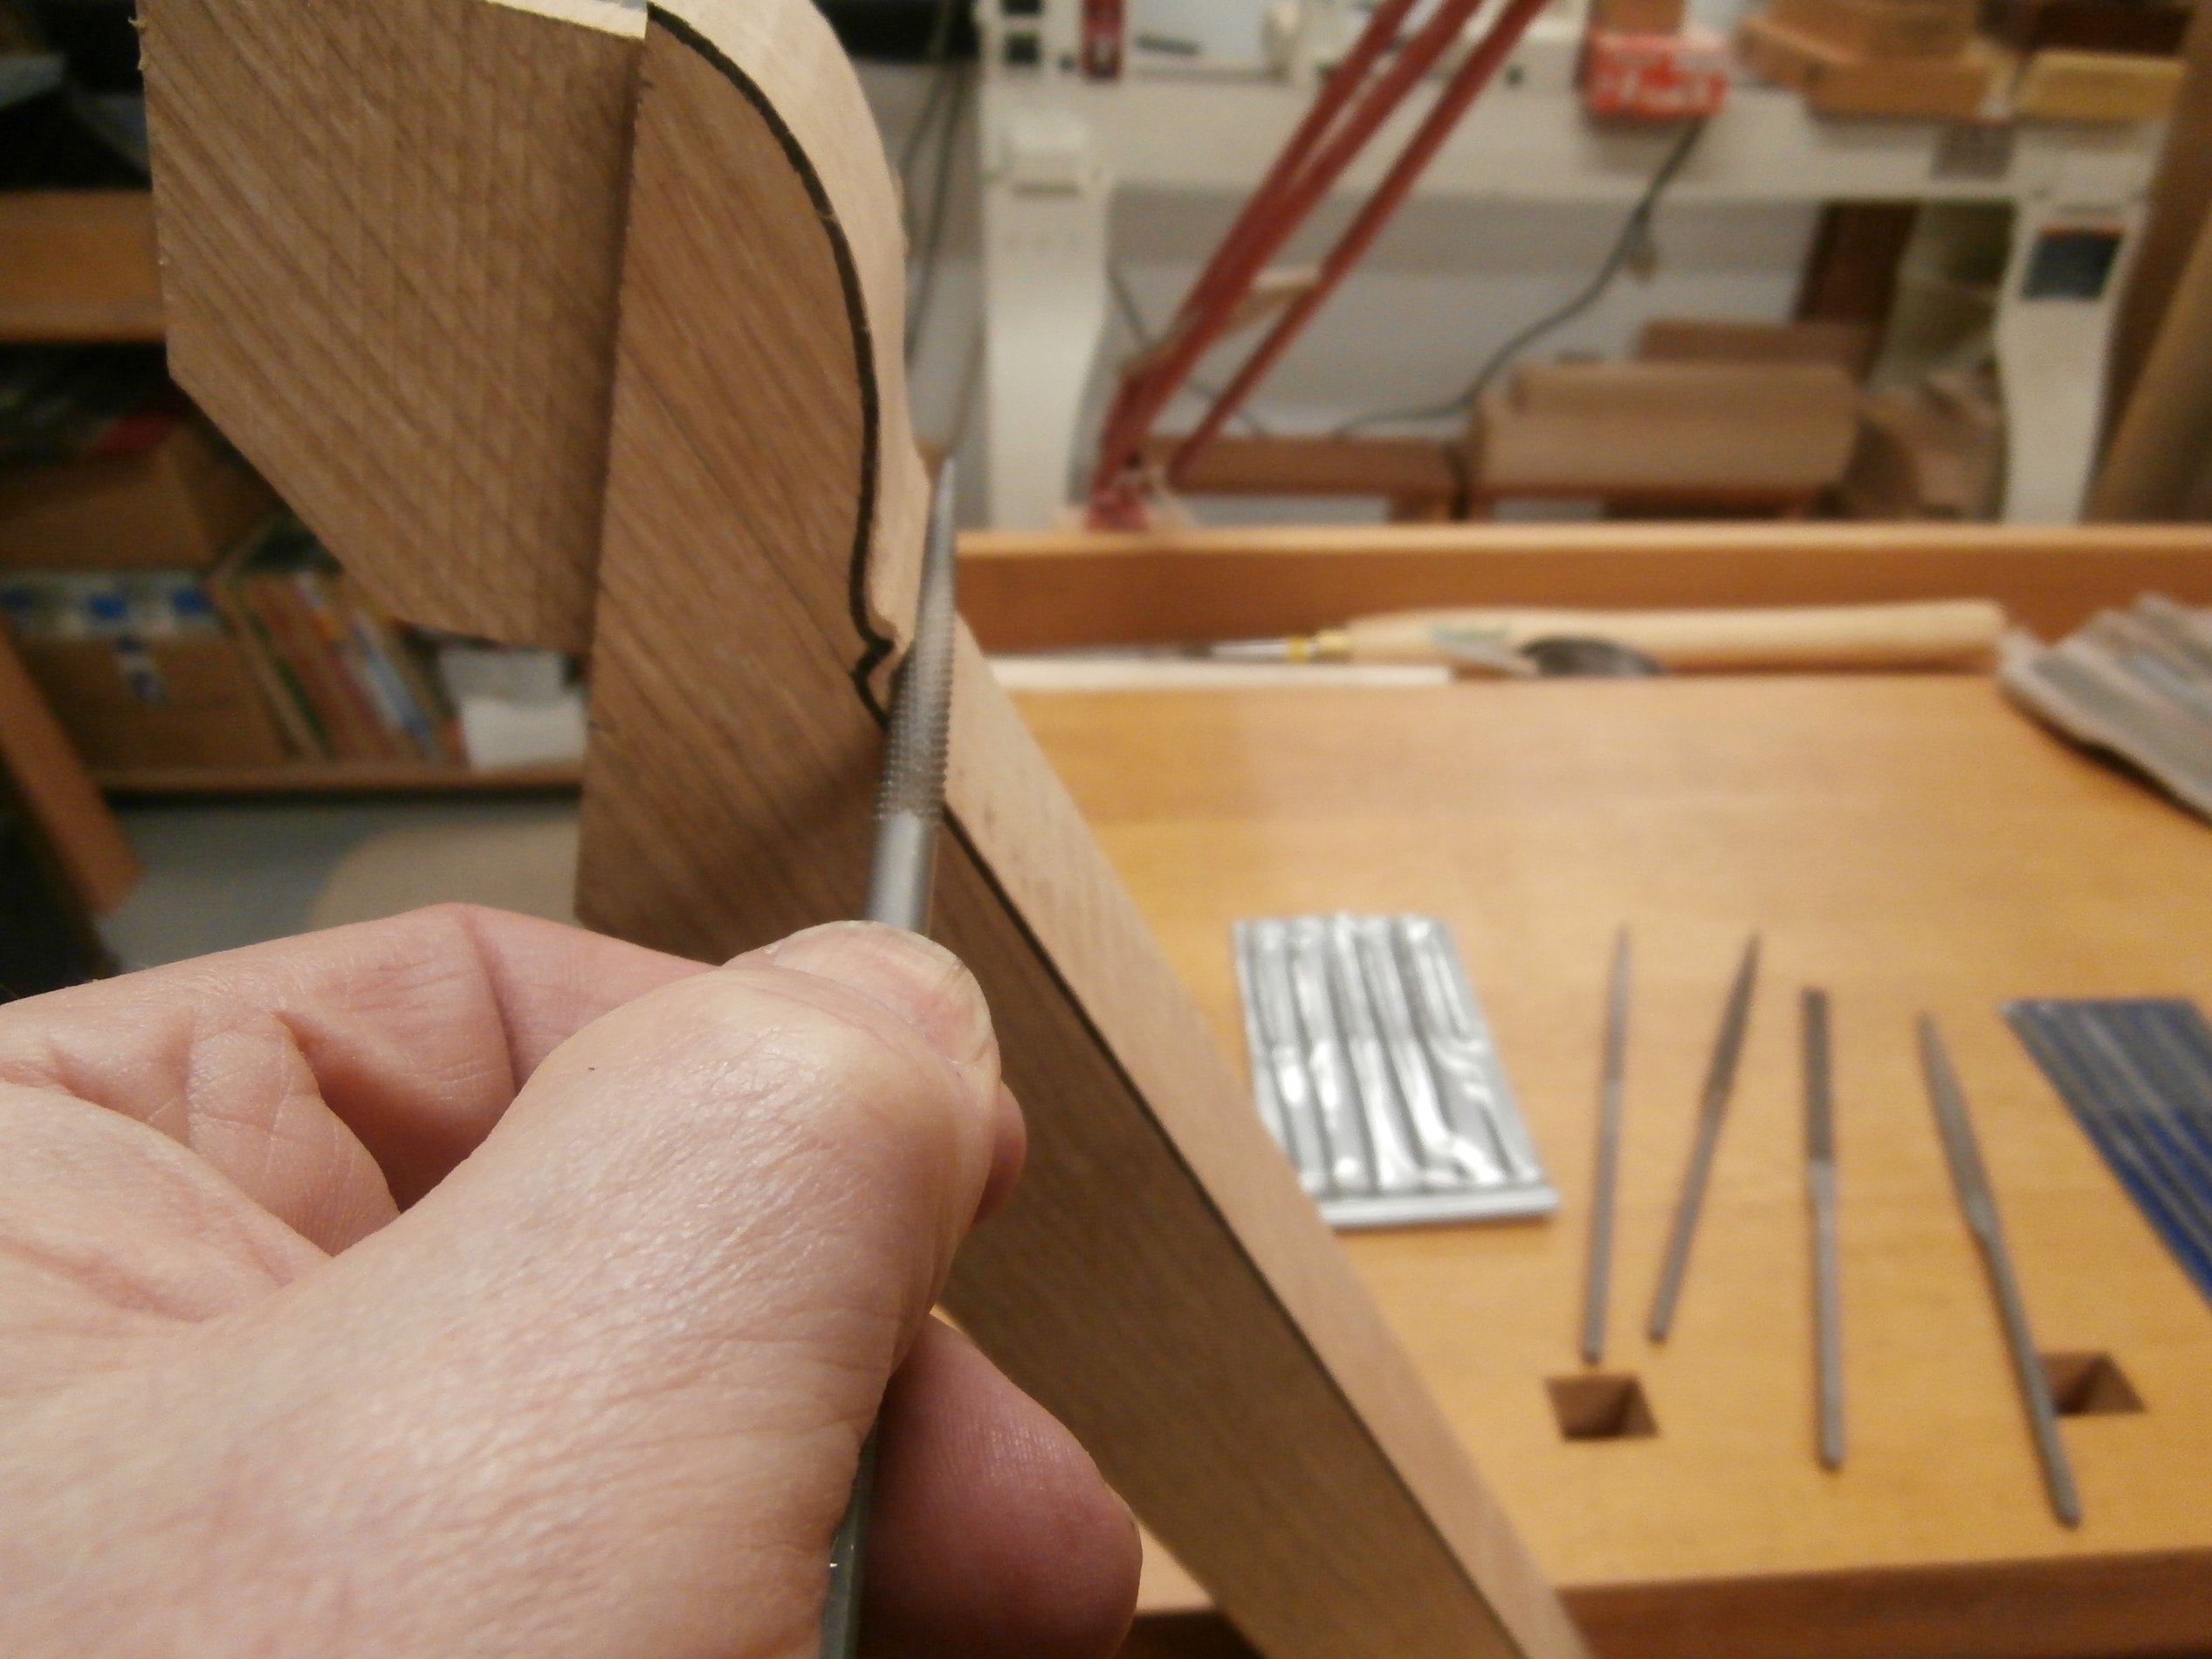
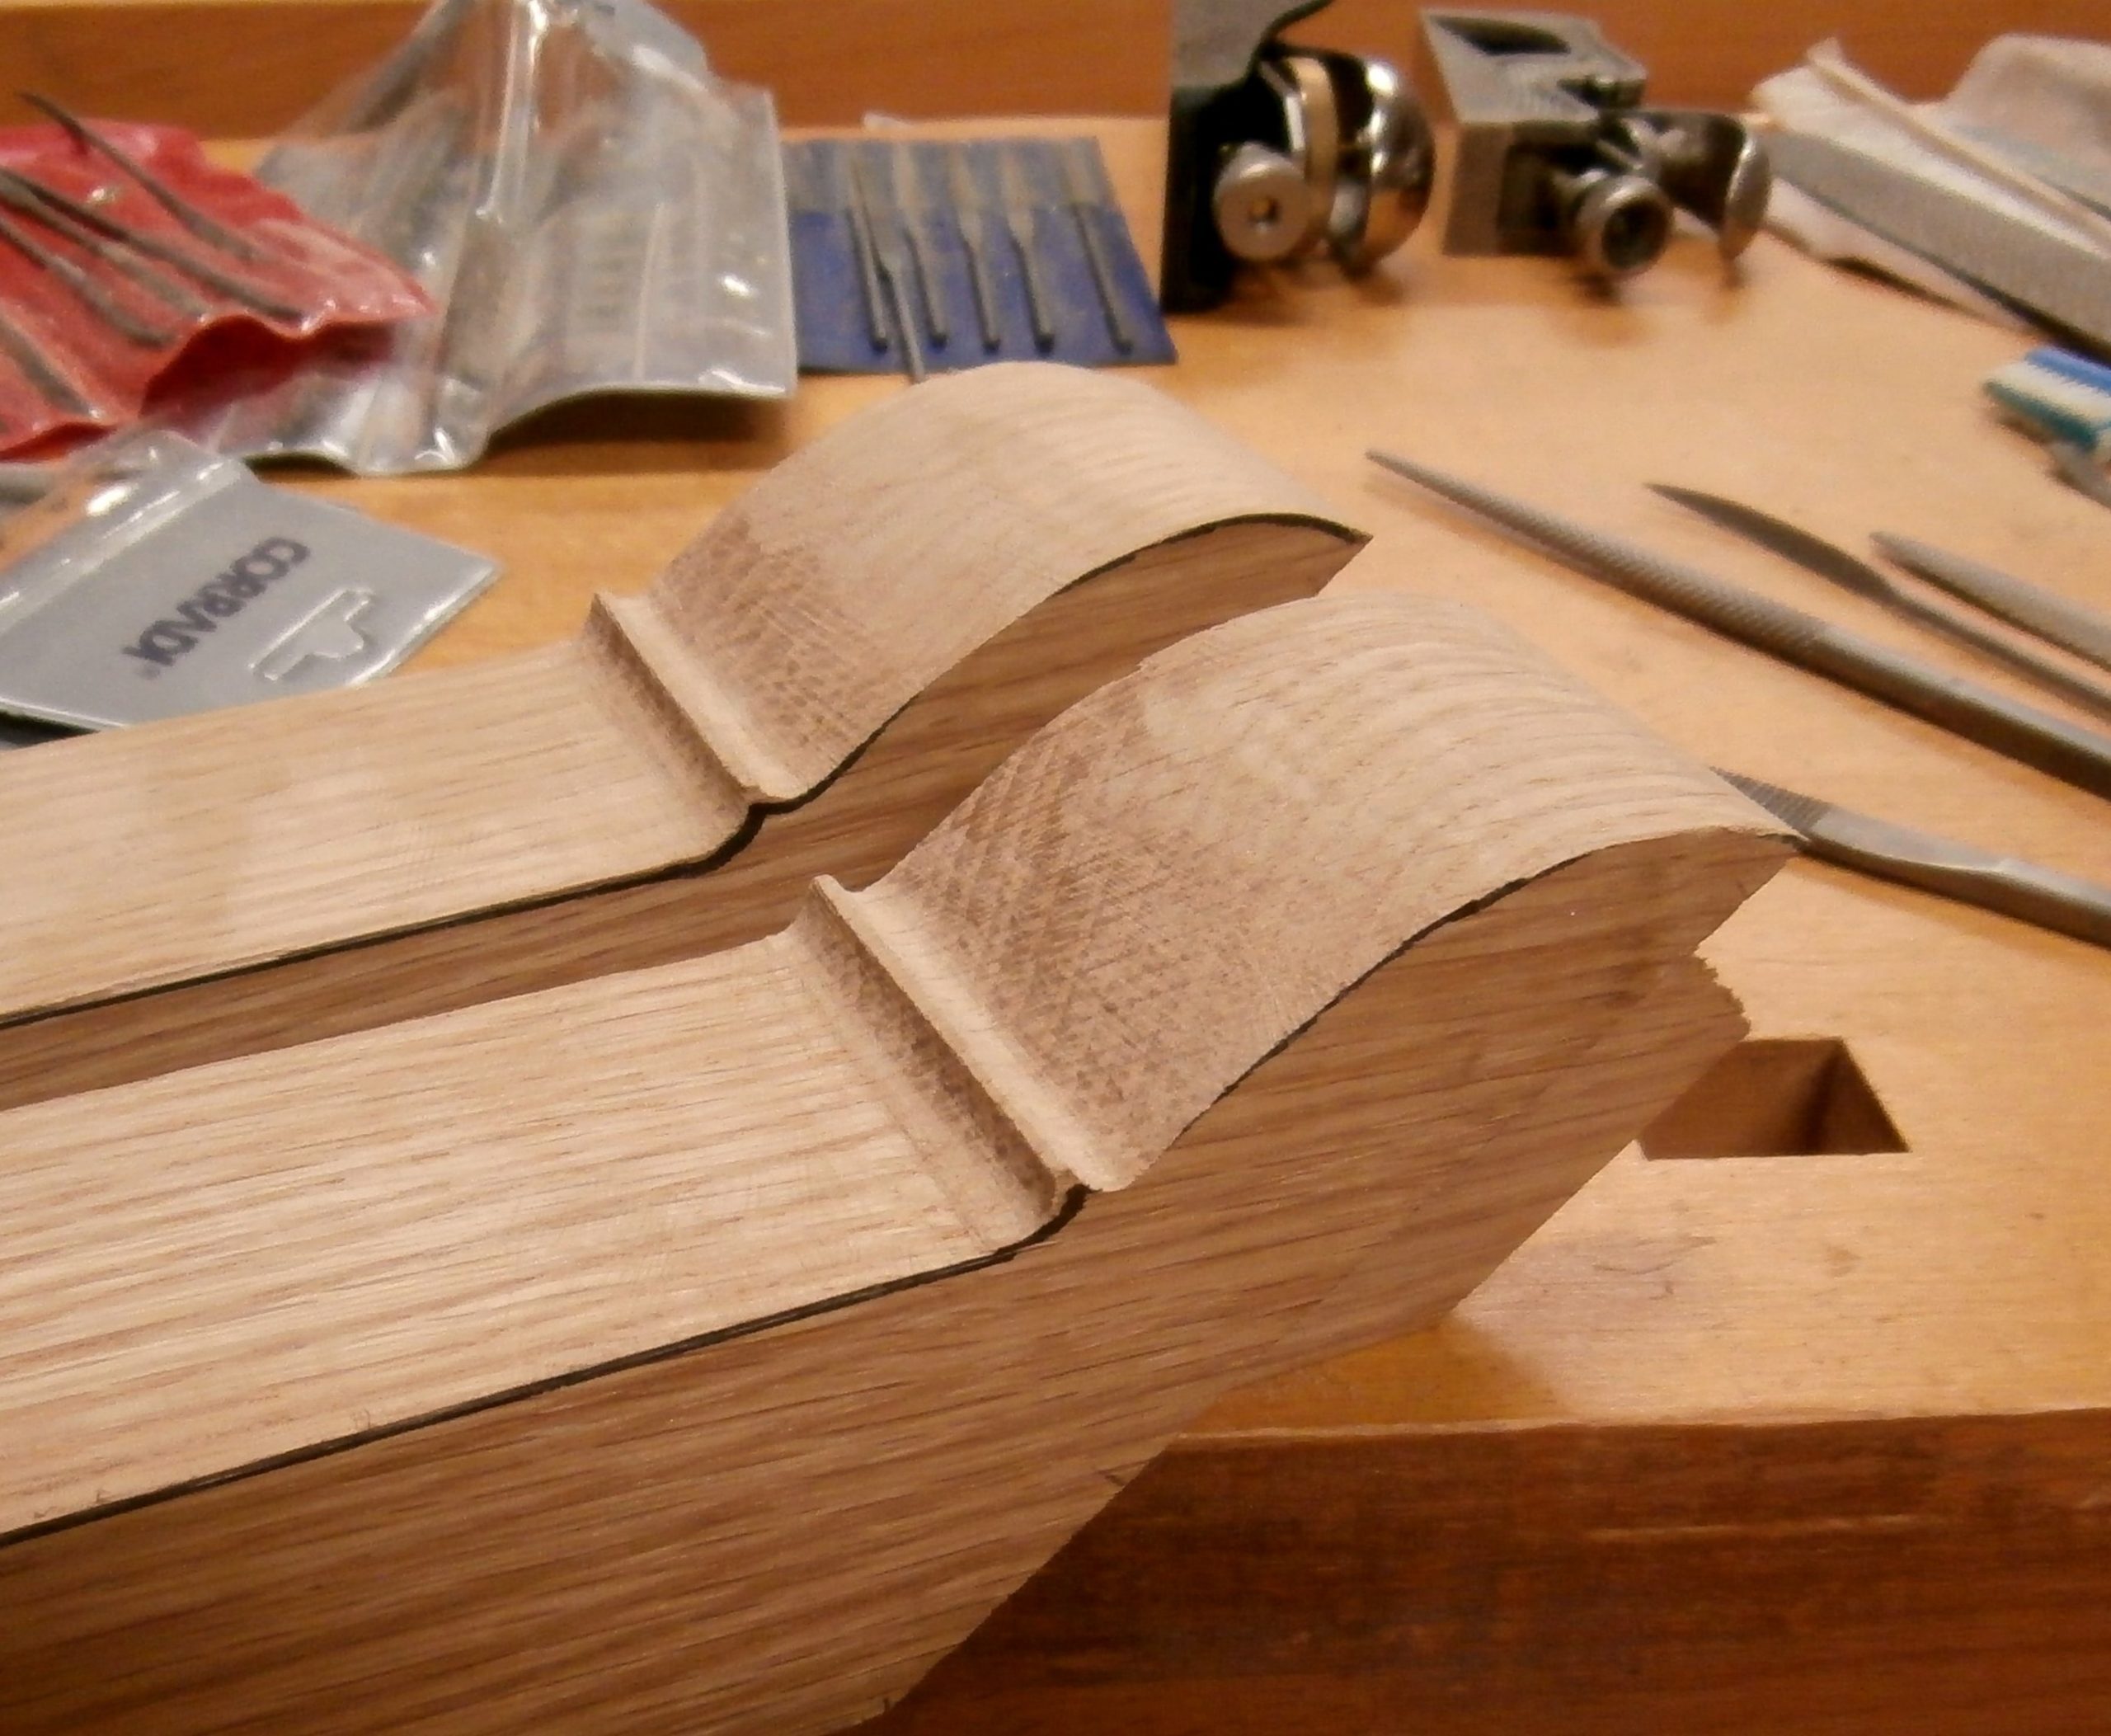
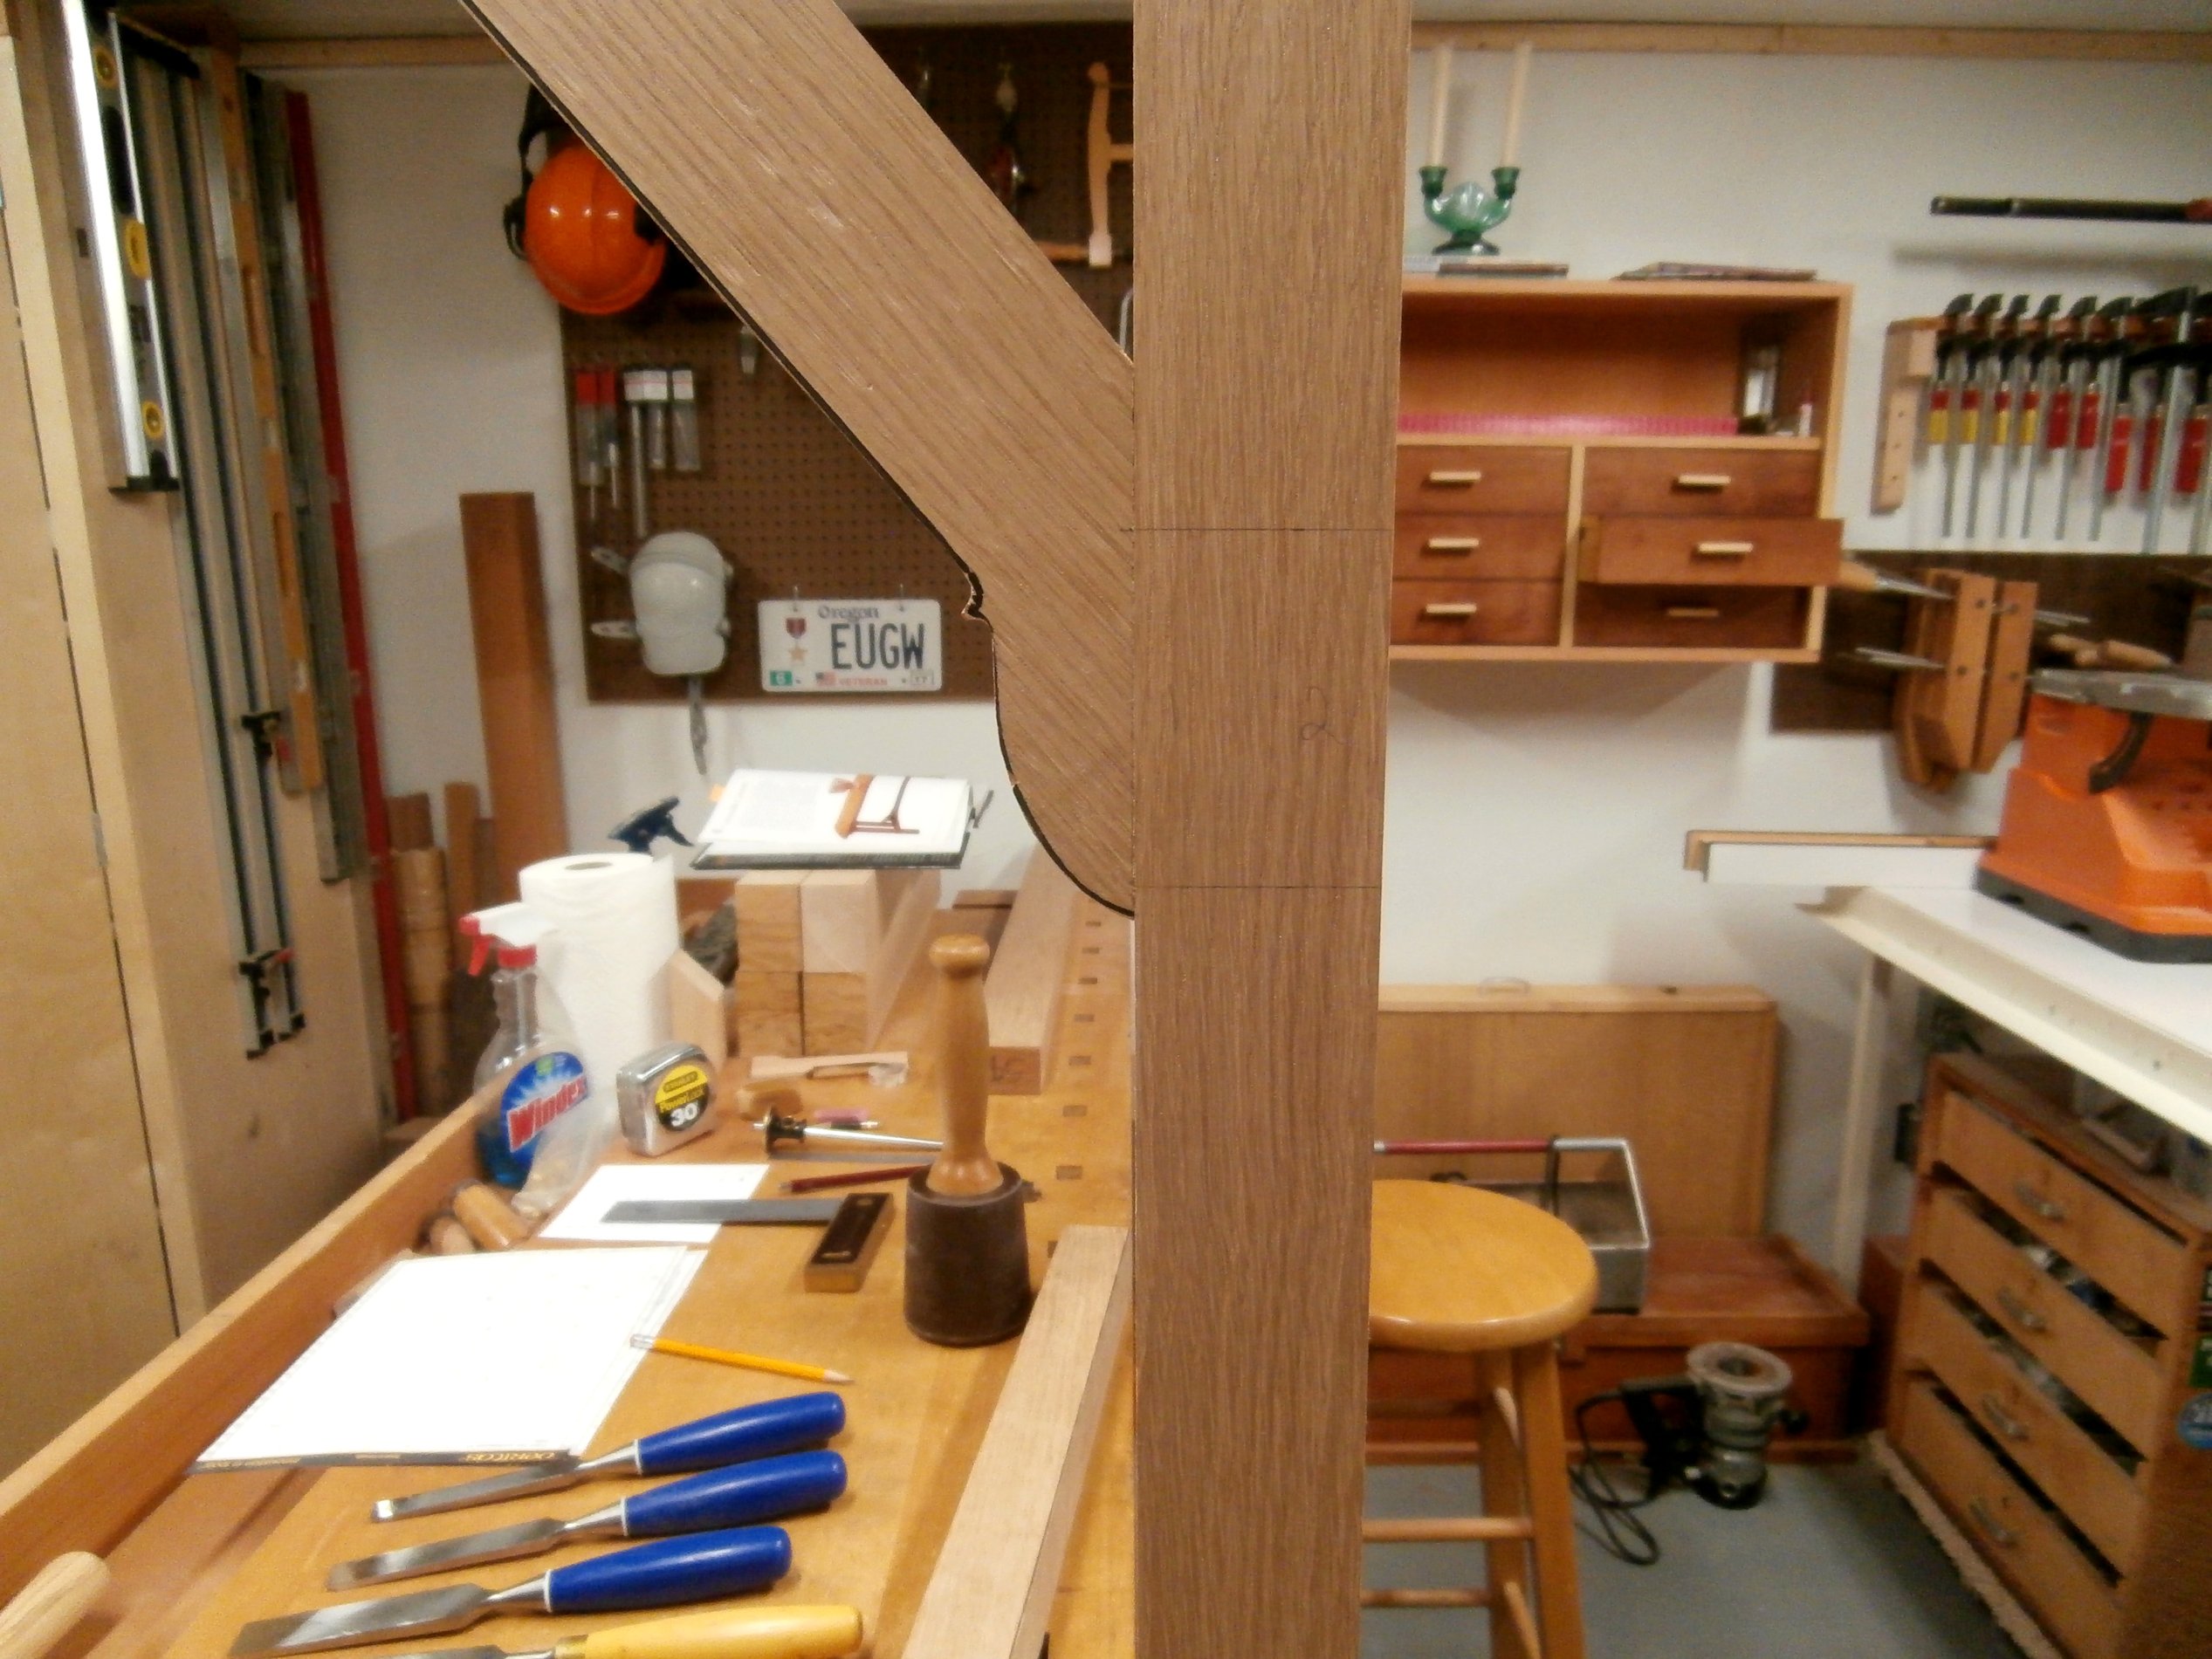
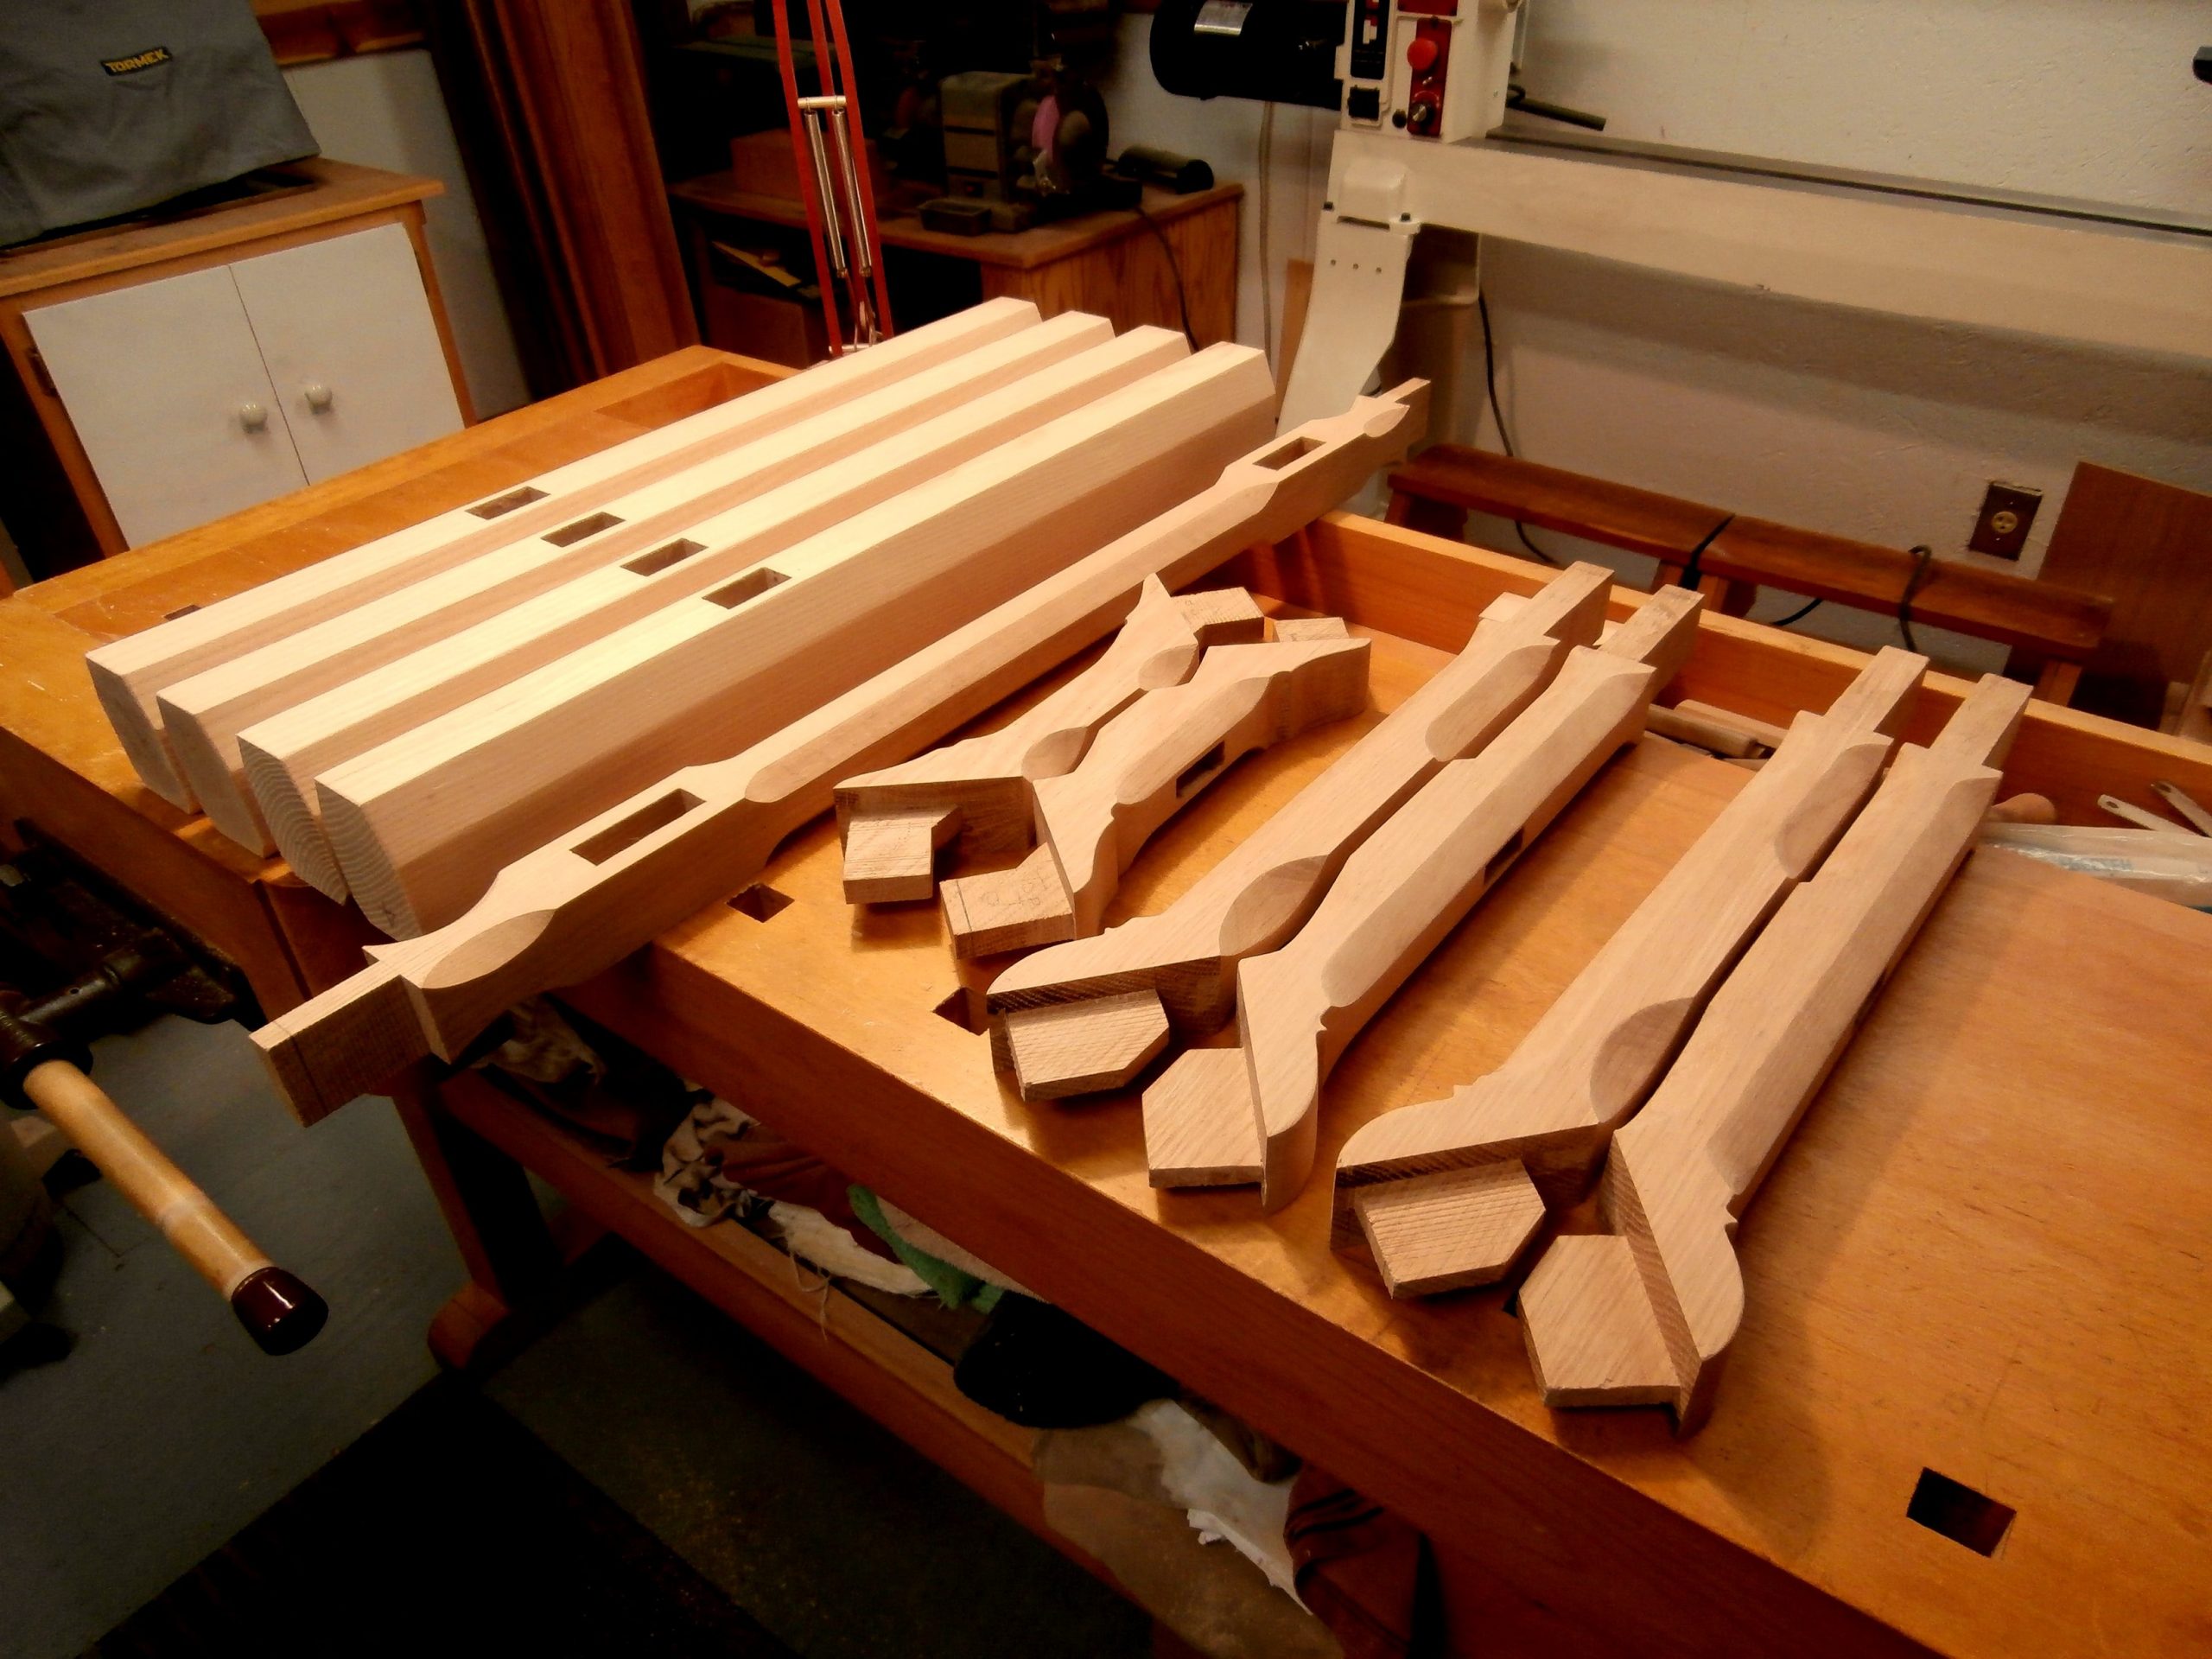
In the next stage, I used a felt tip pen to outline the reduced size of the arms with their curved detailing where the arms meet the long, center stretcher and then used the bandsaw to rough out the shapes. Following that I used an assortment of rasps, files, planes and sandpaper to refine the curved details. The following sequence takes you through the steps. This was a very time consuming process, and one that cannot be duplicated with finesse by any other means. This is what hand work is all about.
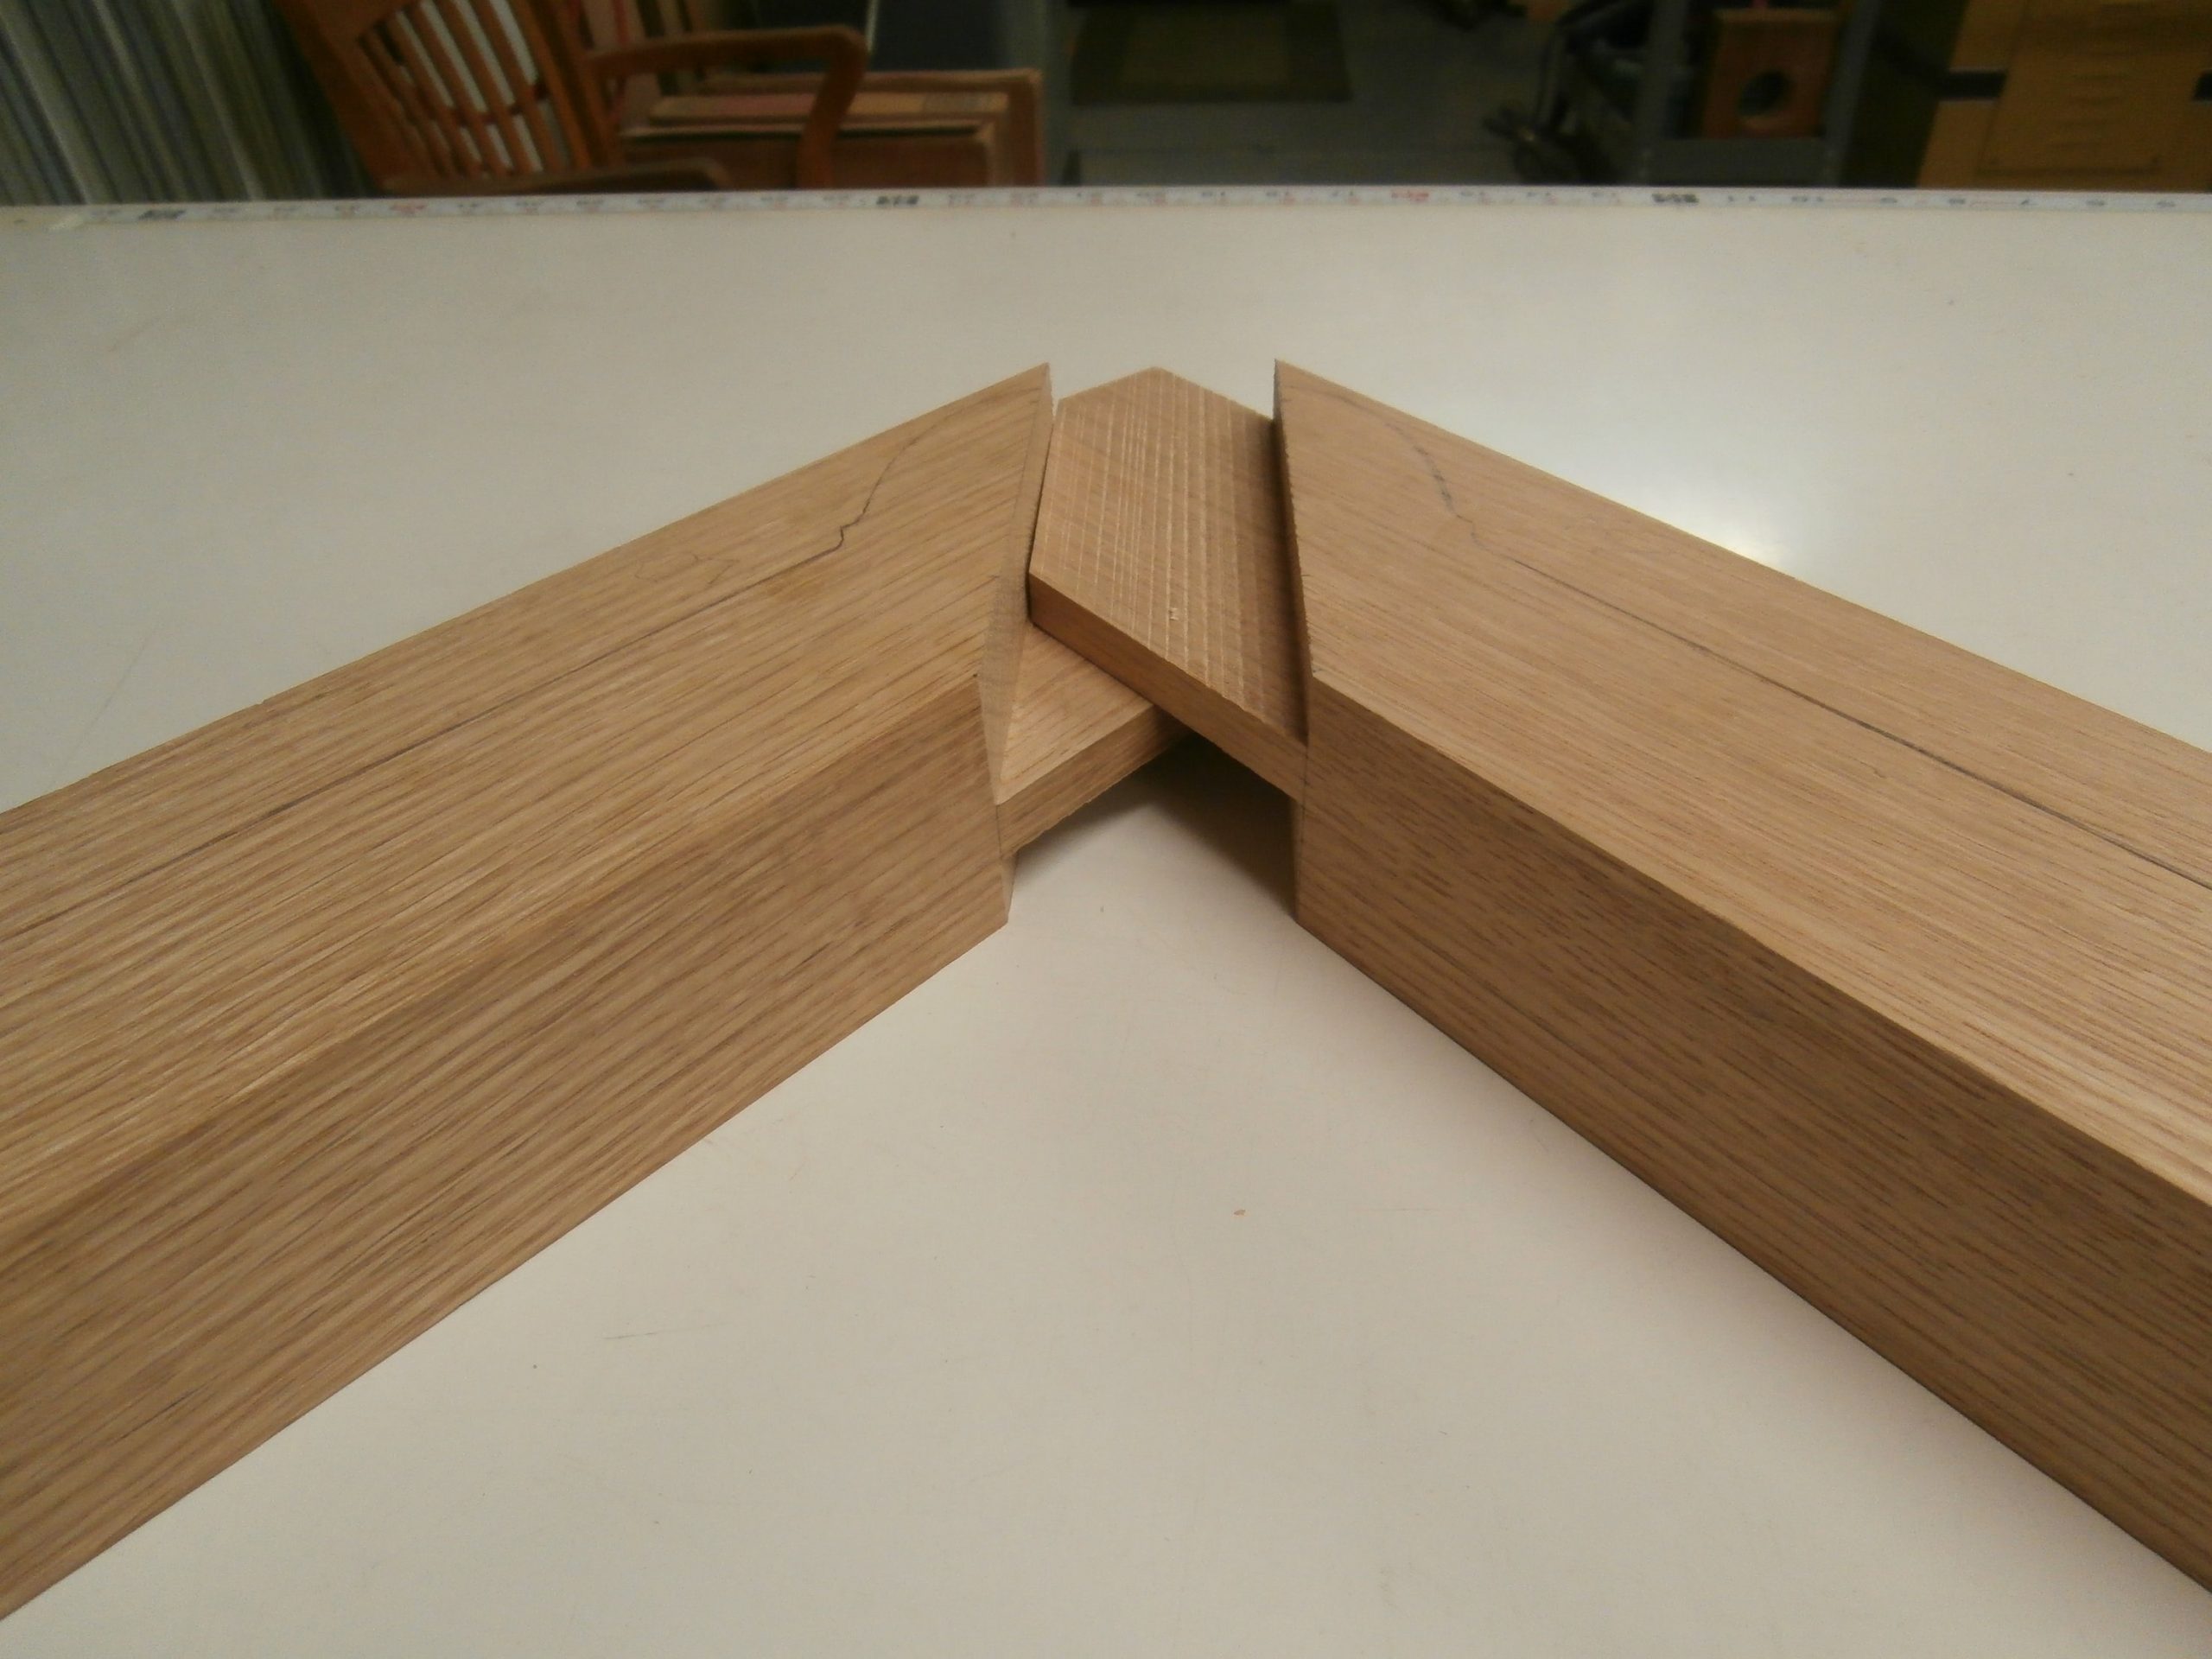
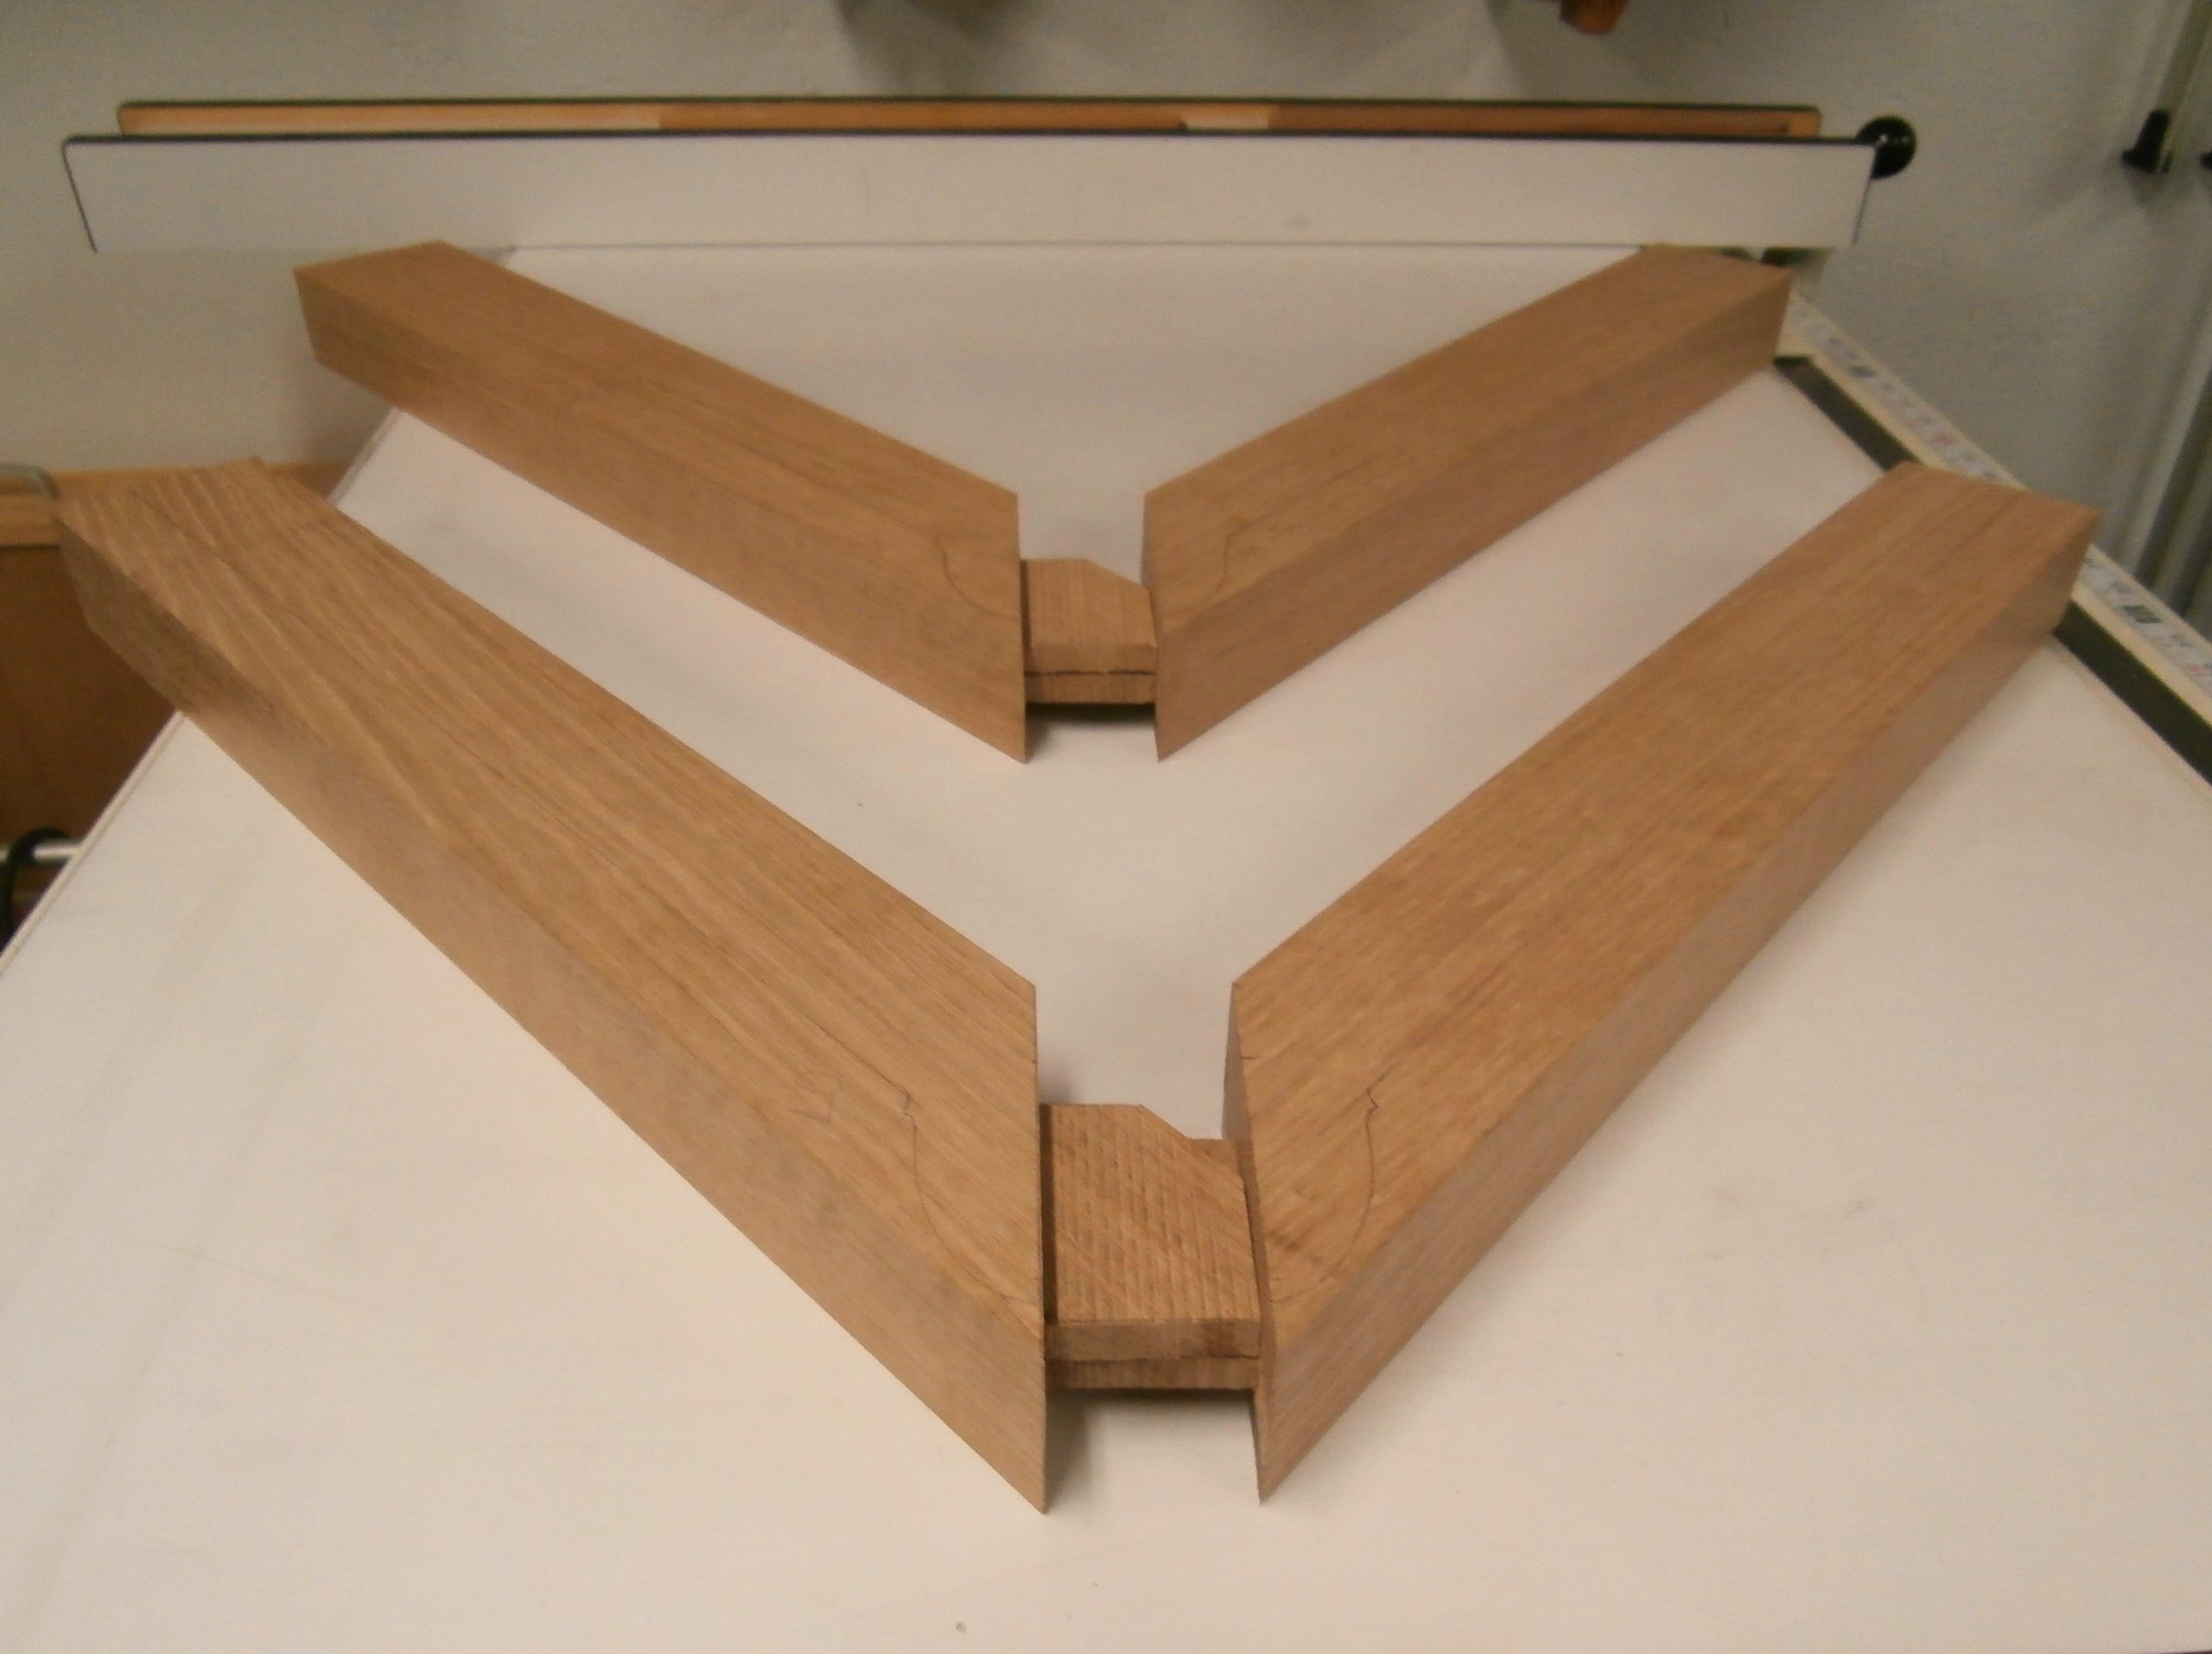
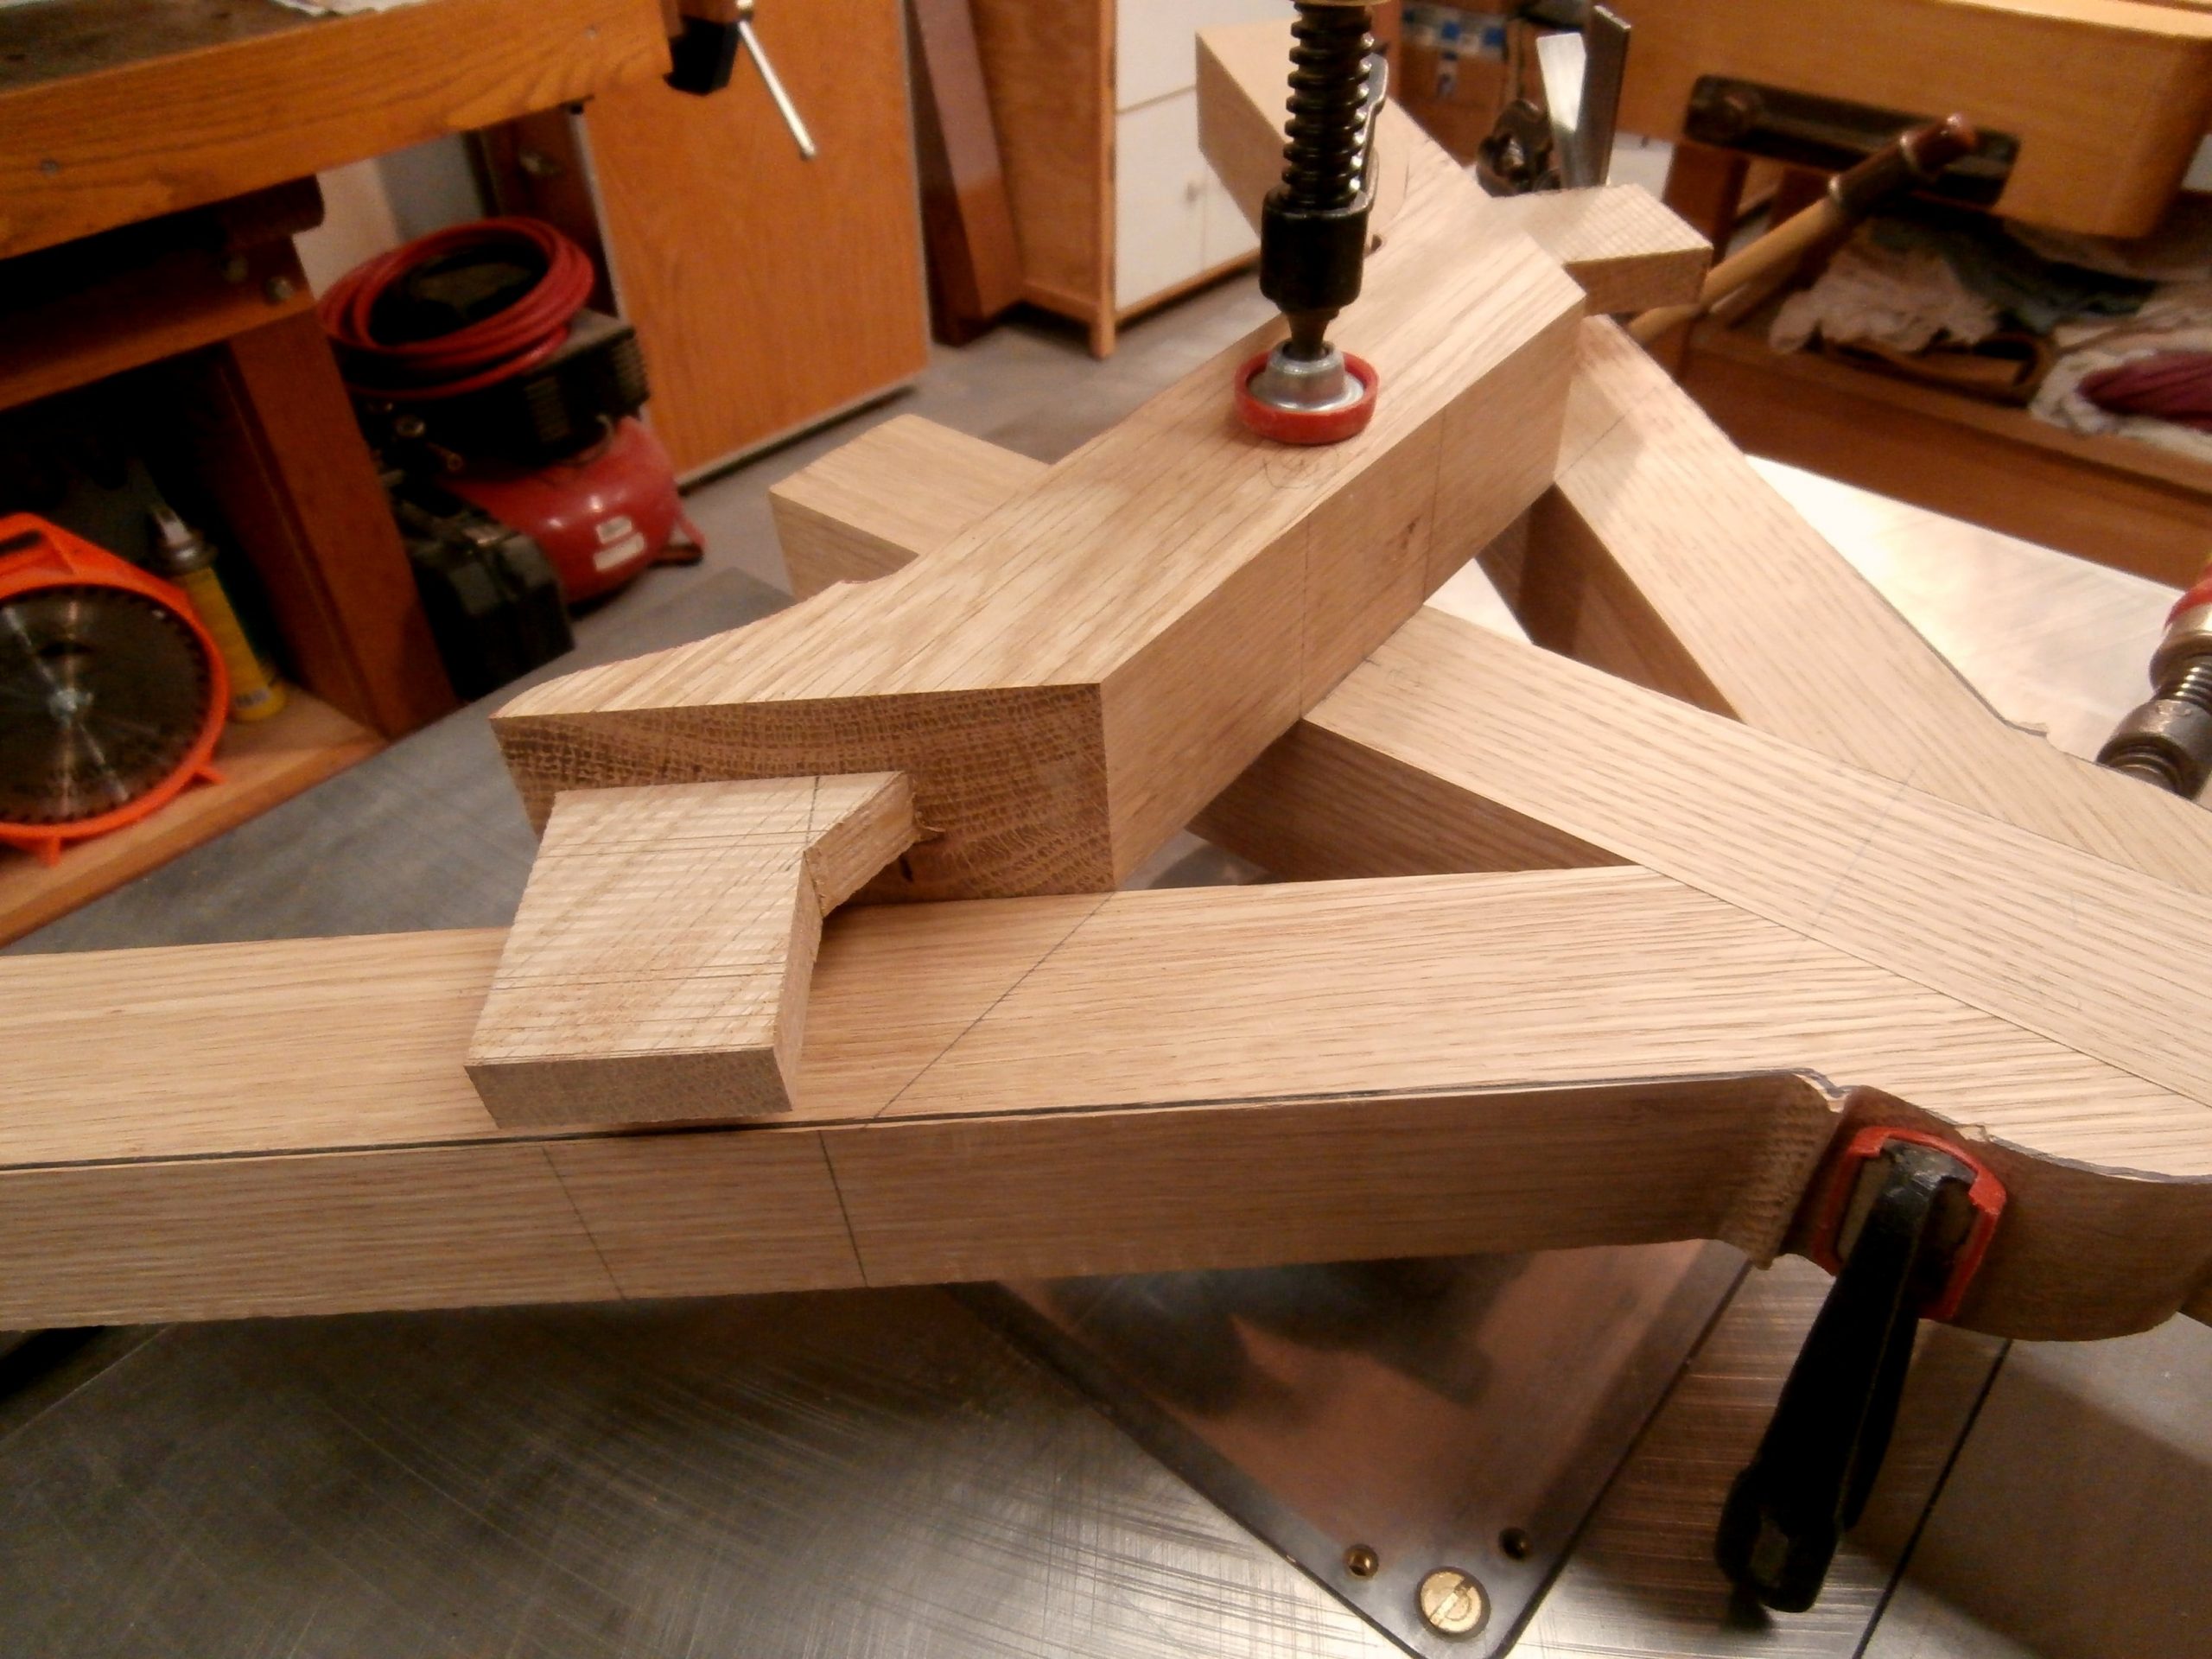
Next I dry fit the arms to the center stretcher to check my clearances. See below.
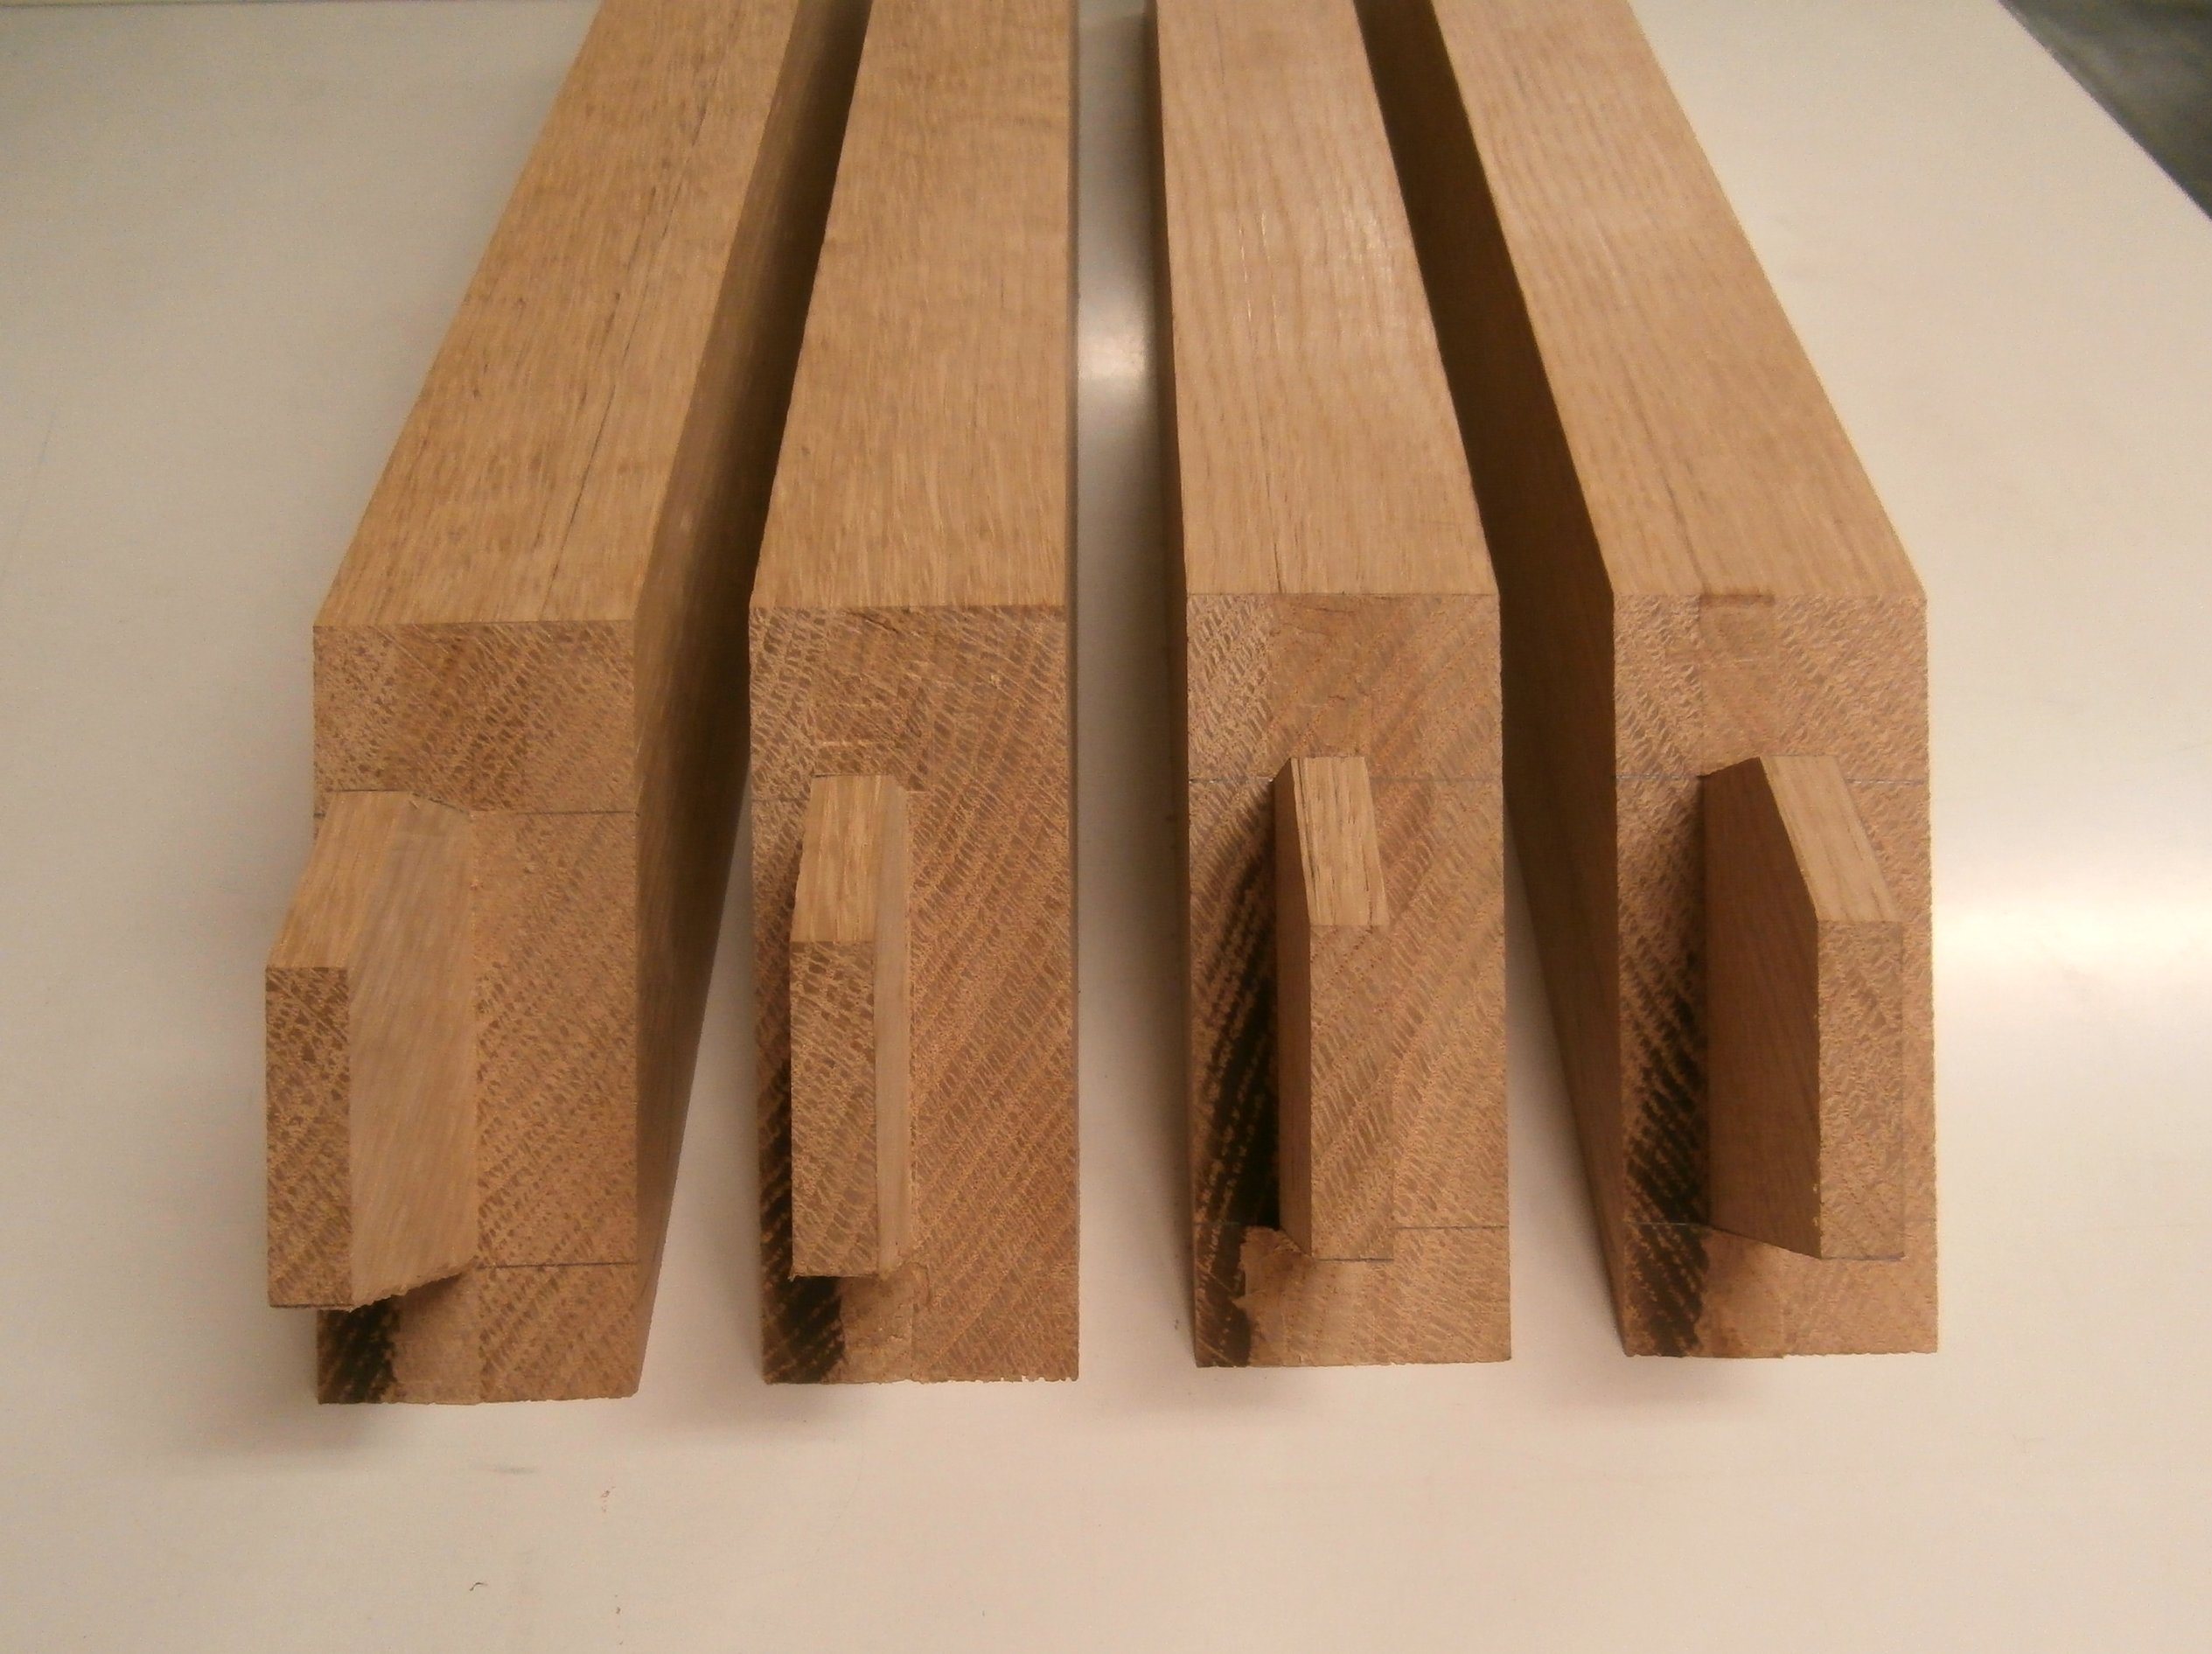
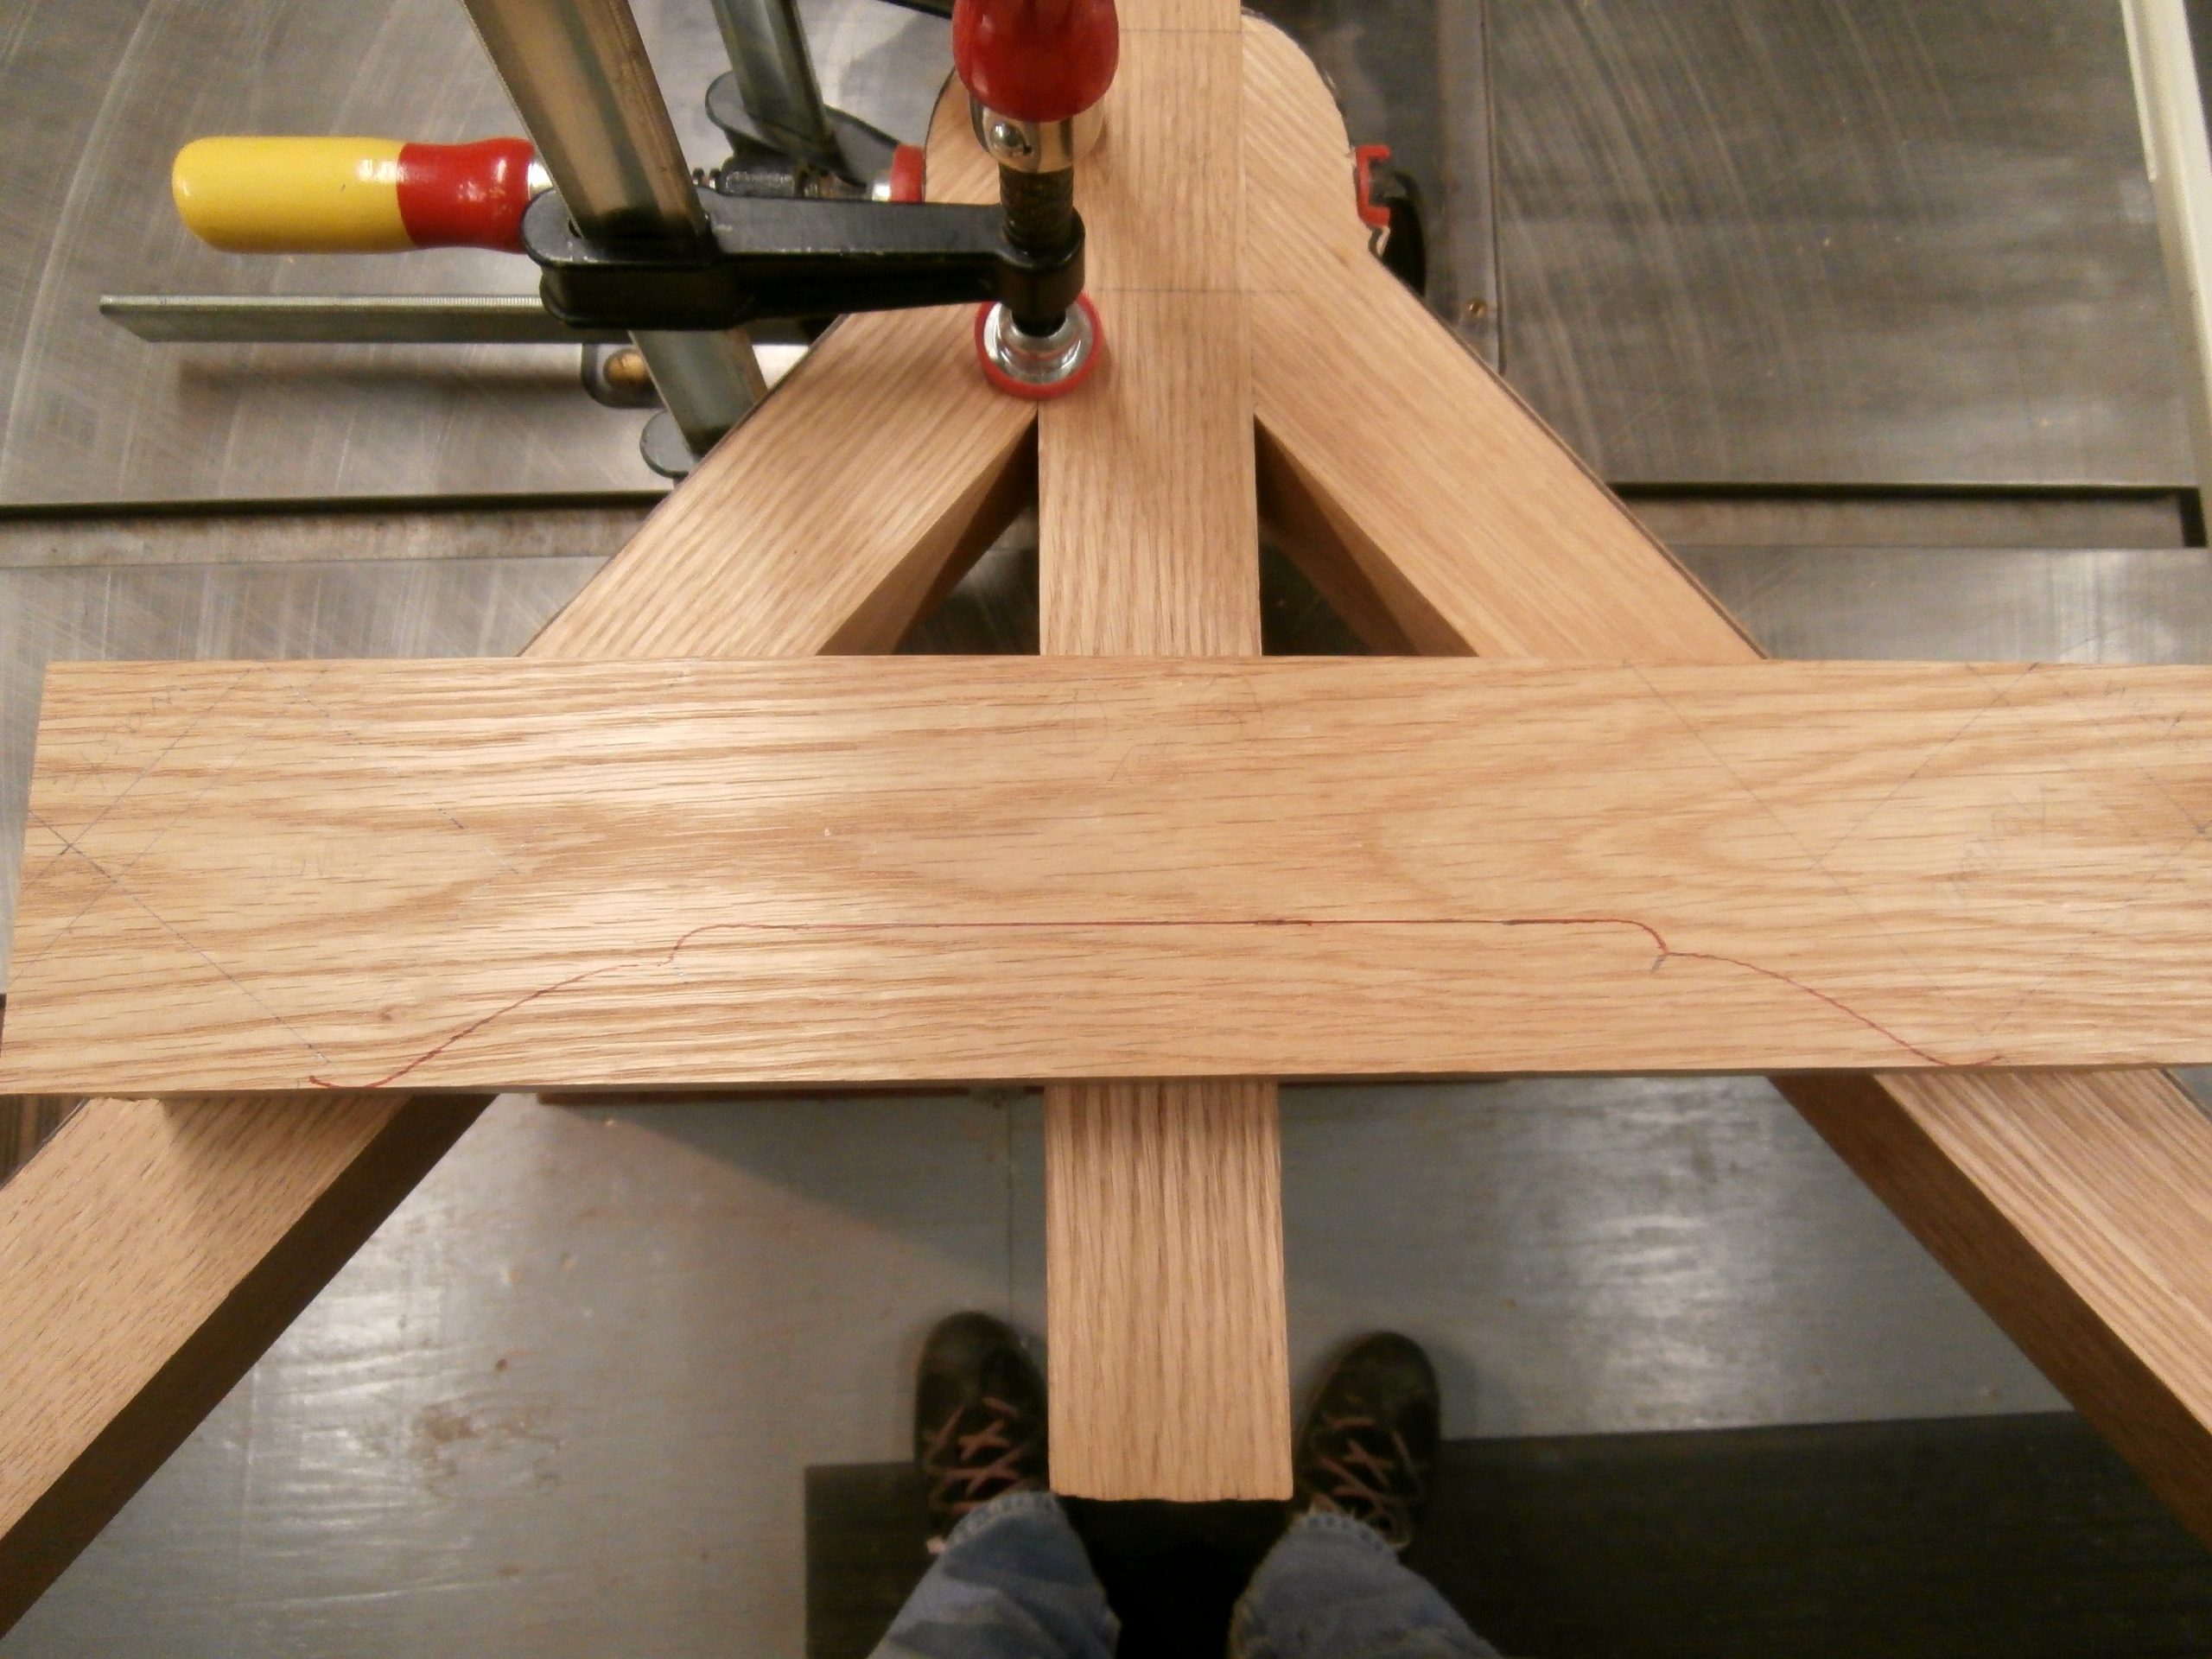
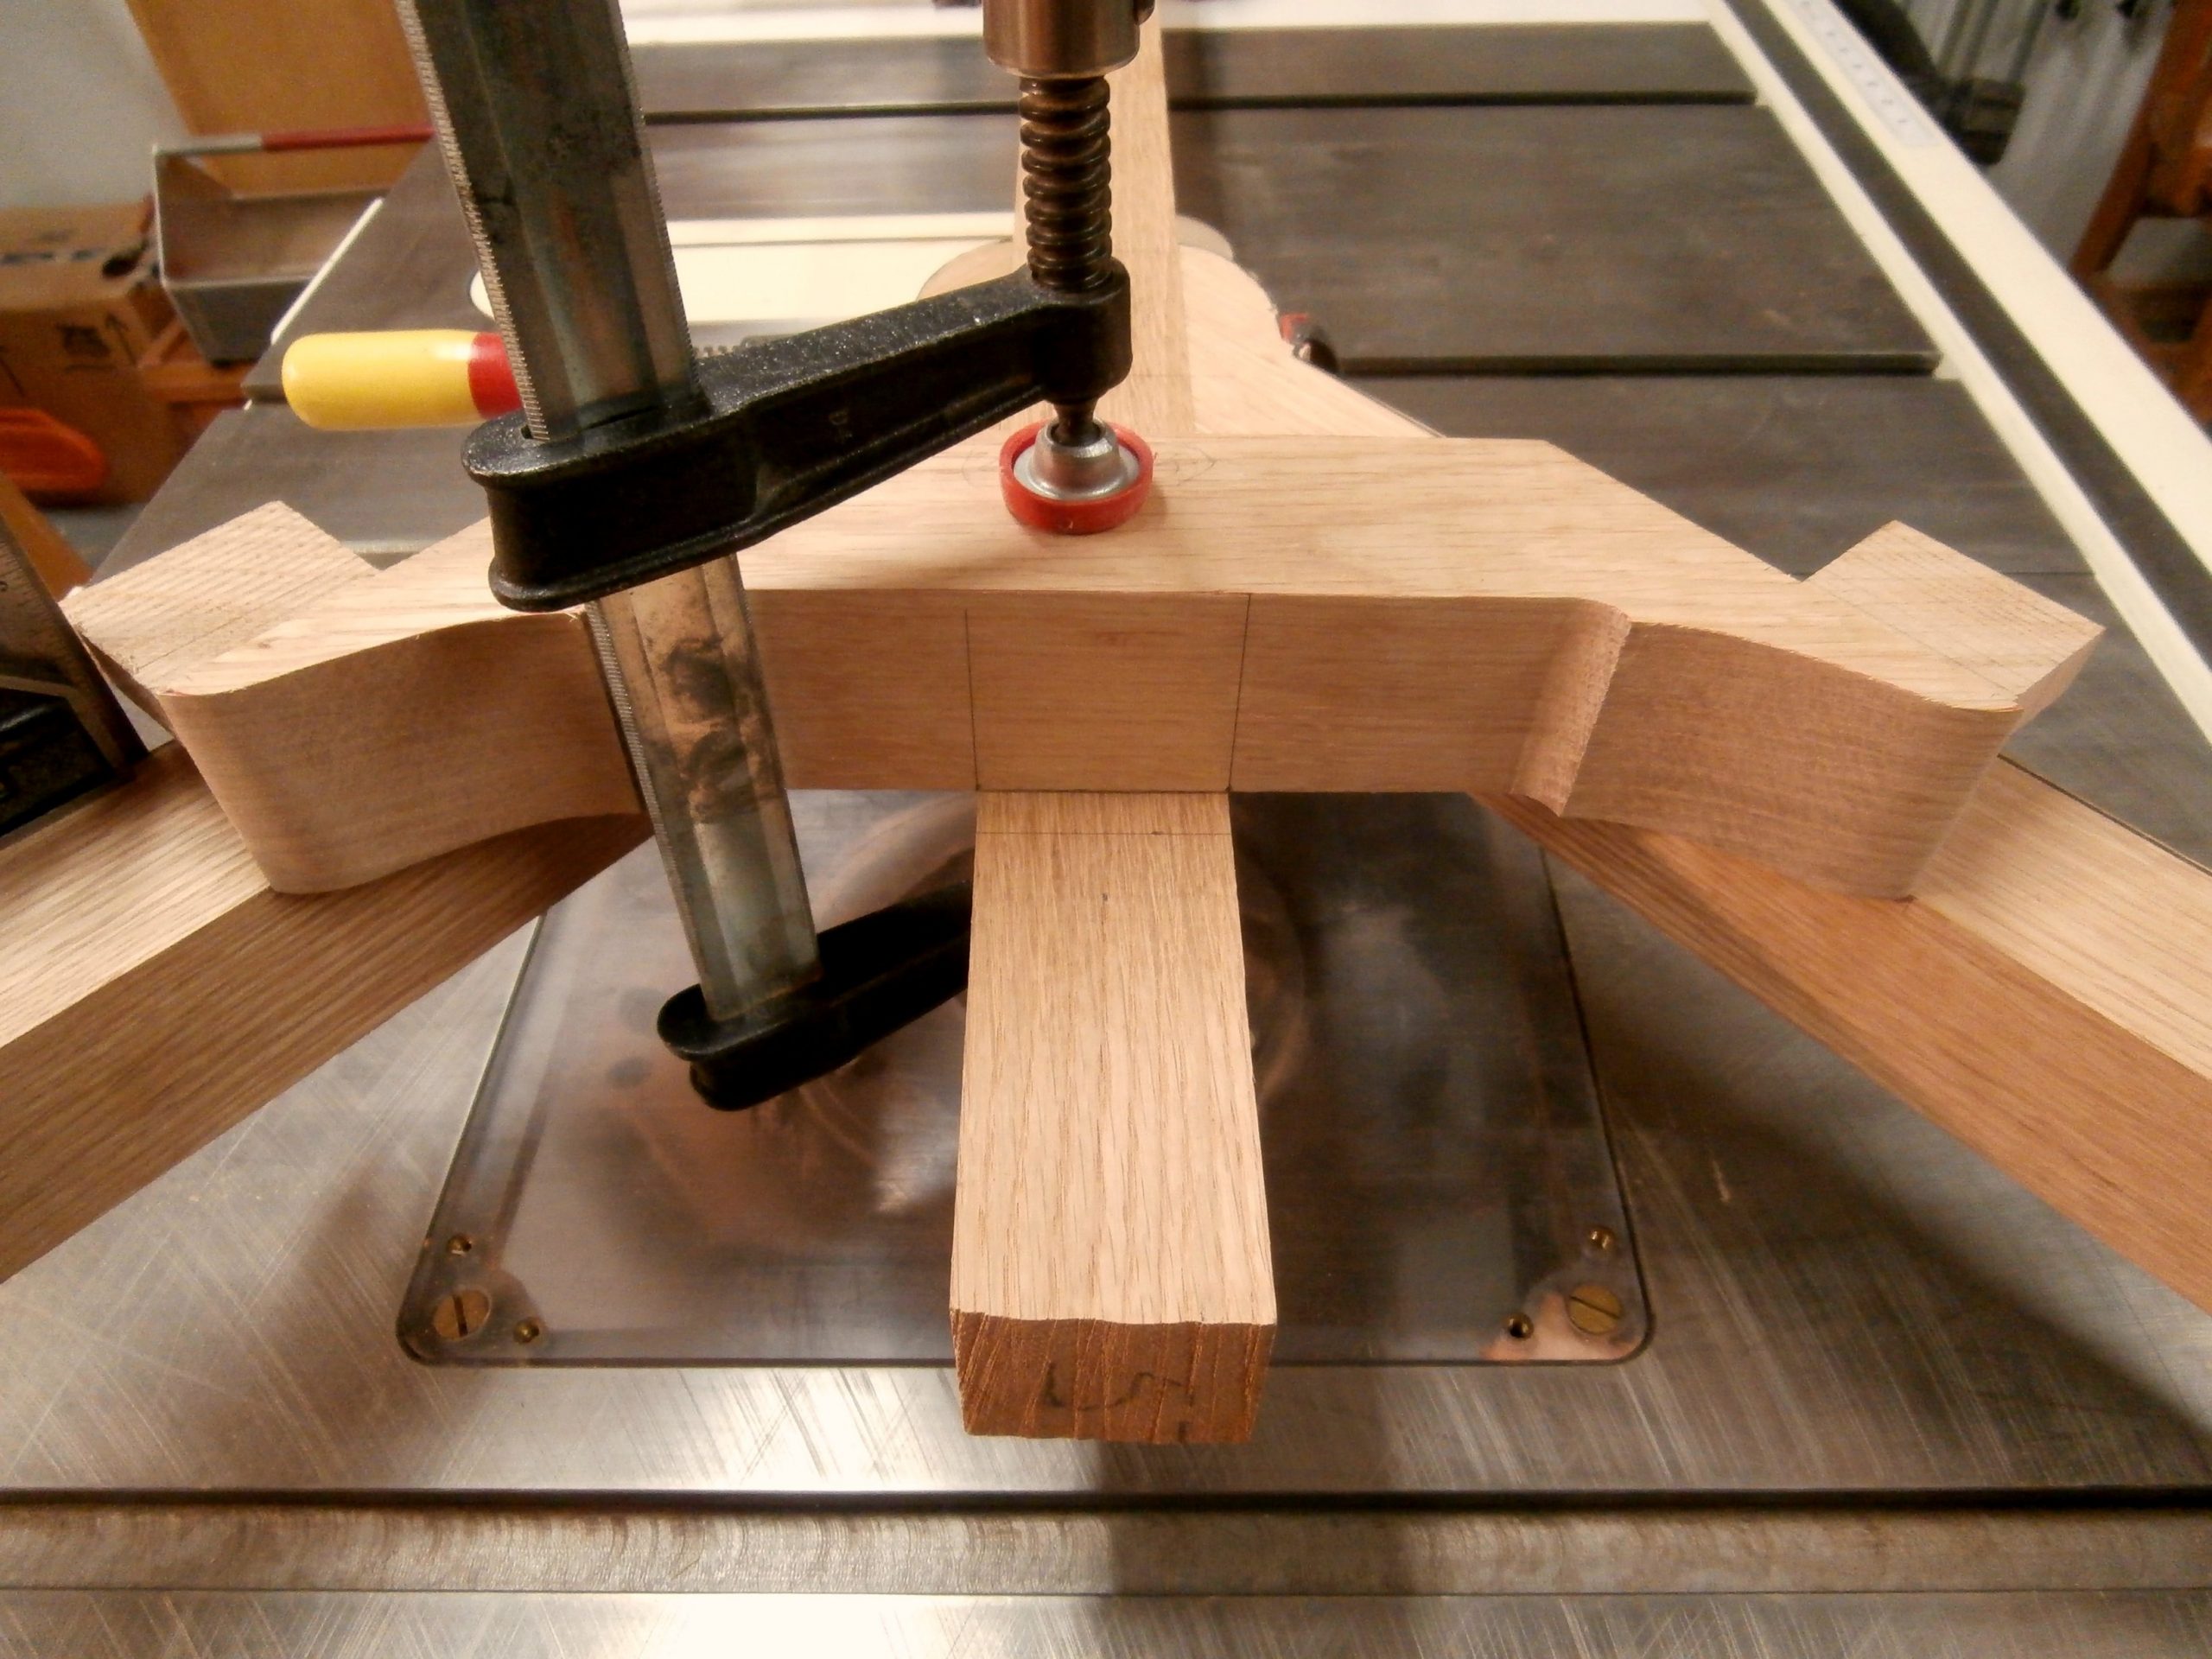
From there I consulted my full size, scaled plans for the spanner that connects the two arms and interlocks with the center stretcher. All measurements, markings, and cuts on the spanner must be extremely precise in order for all four pieces to fit together with tight joints. It is an added challenge to have all the through tenons emerge flawlessly where they are visible on the outside faces. Here is the sequence.
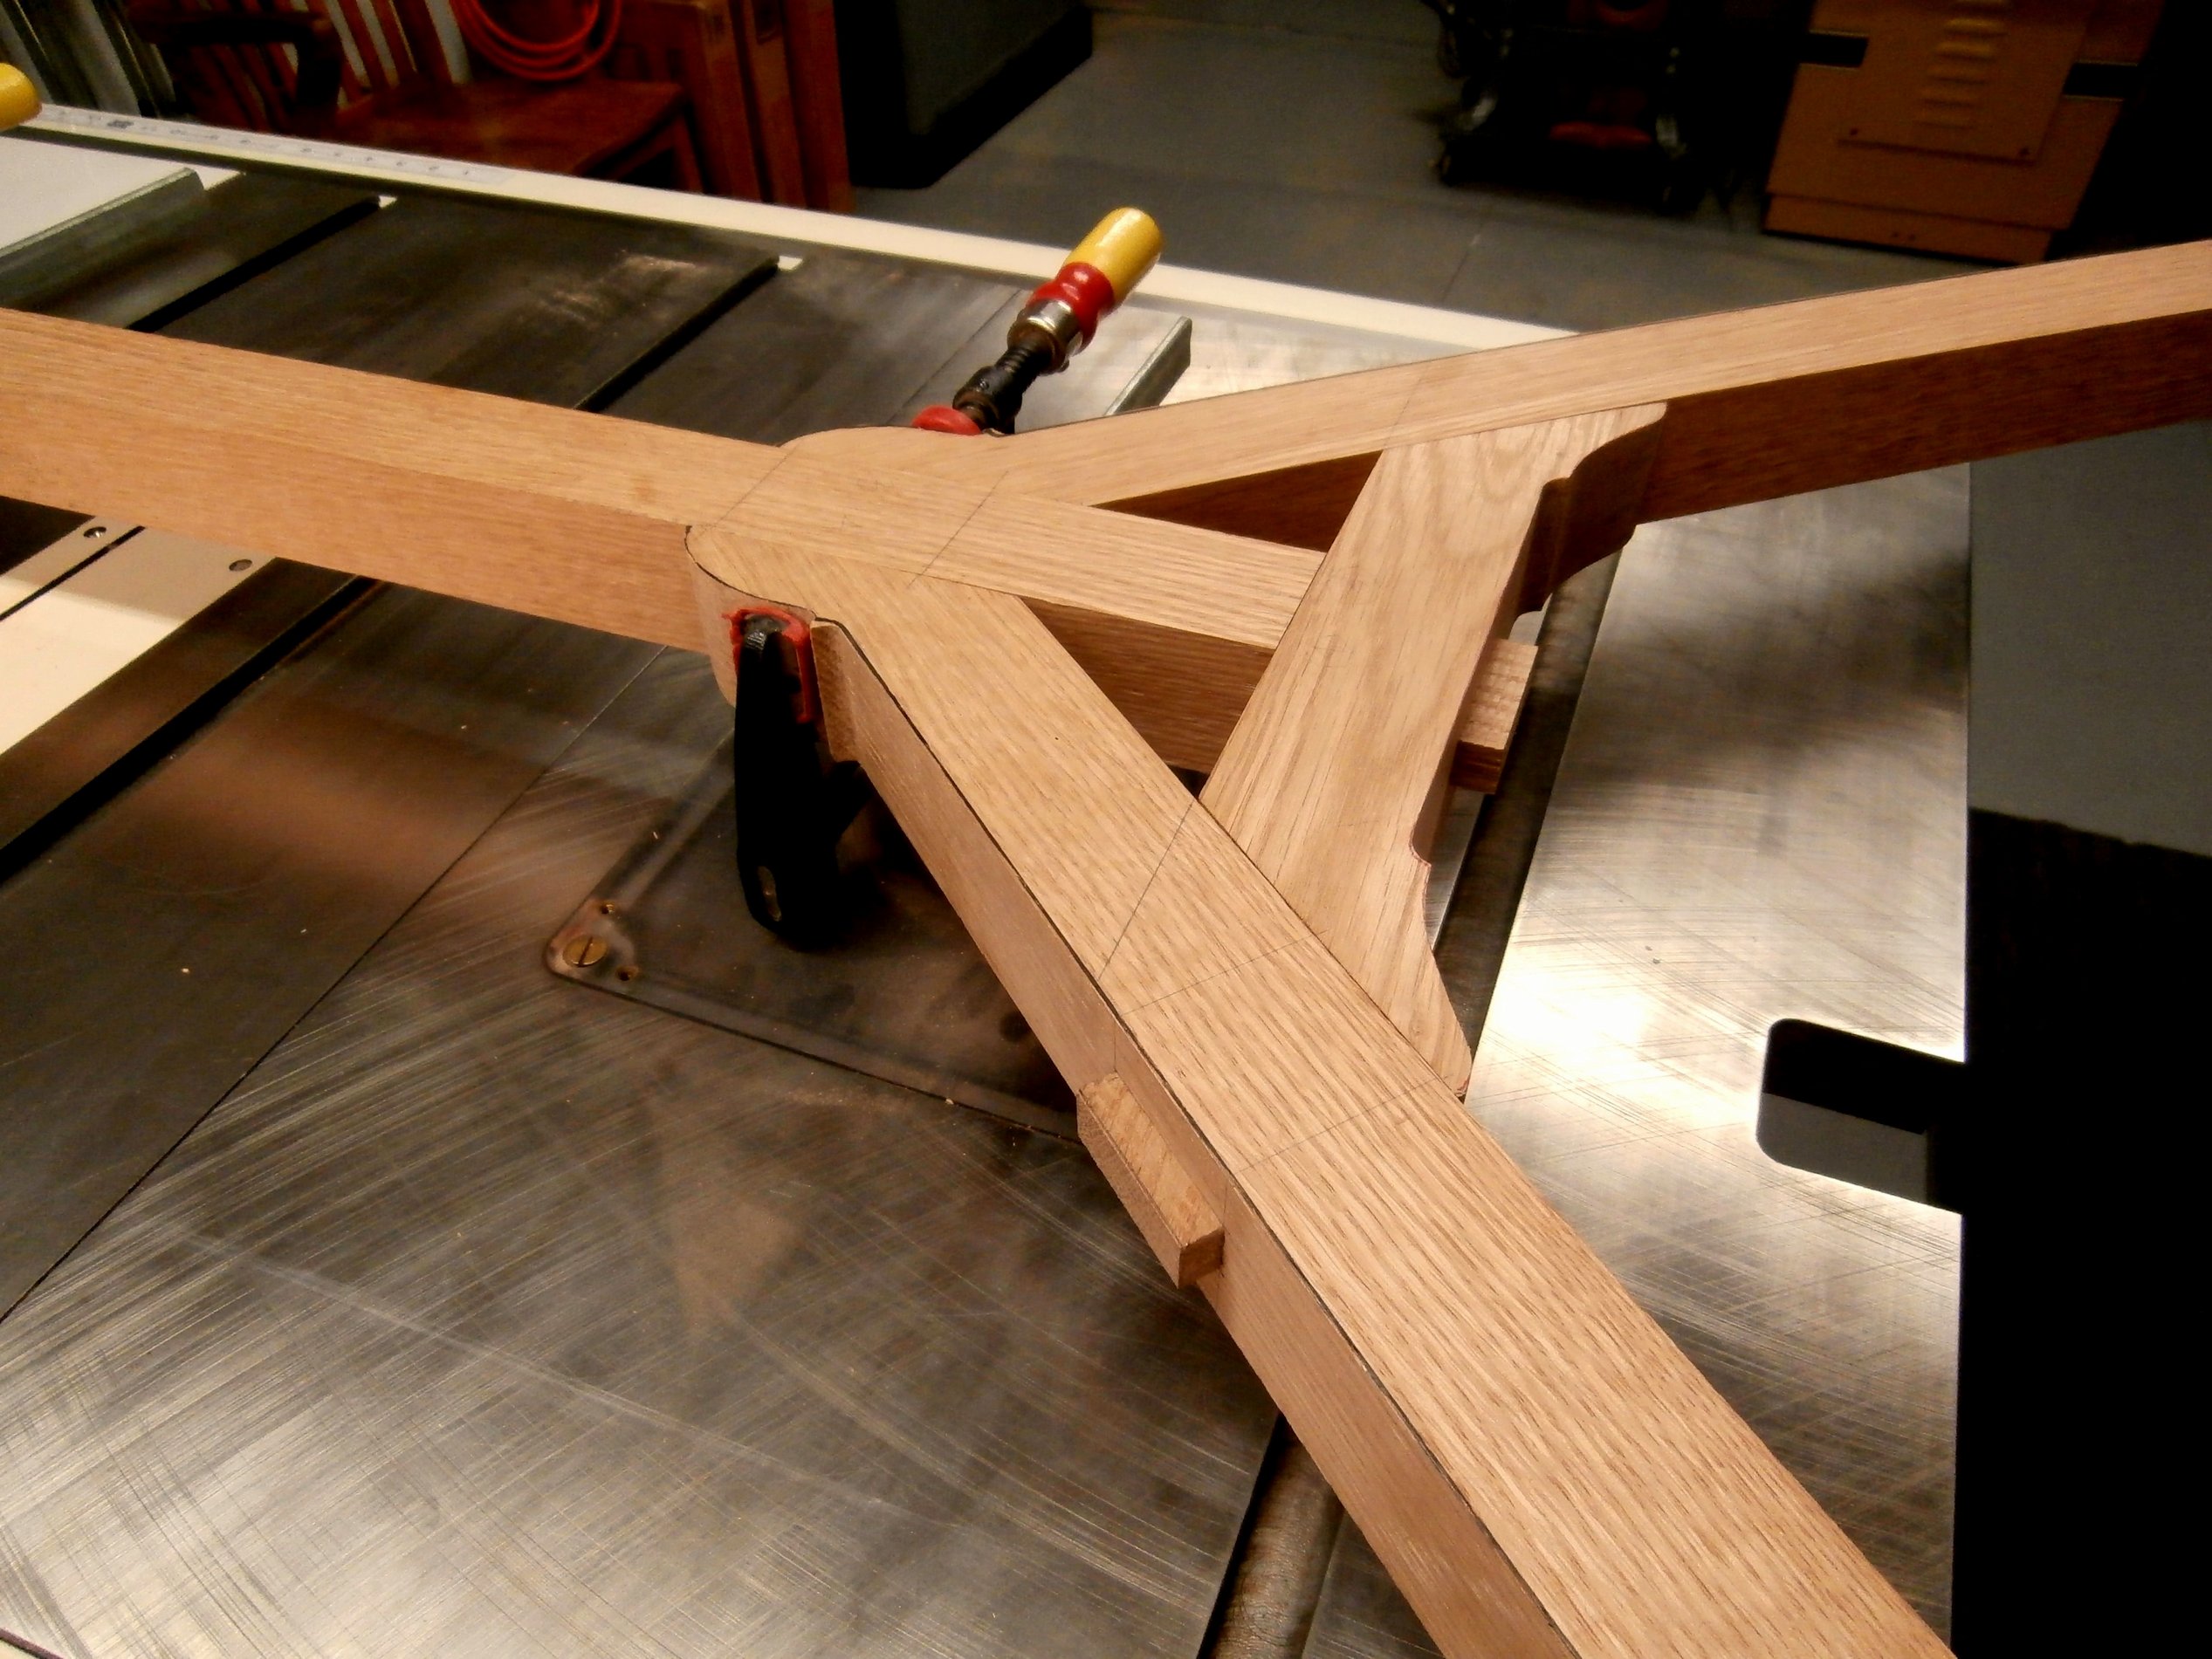
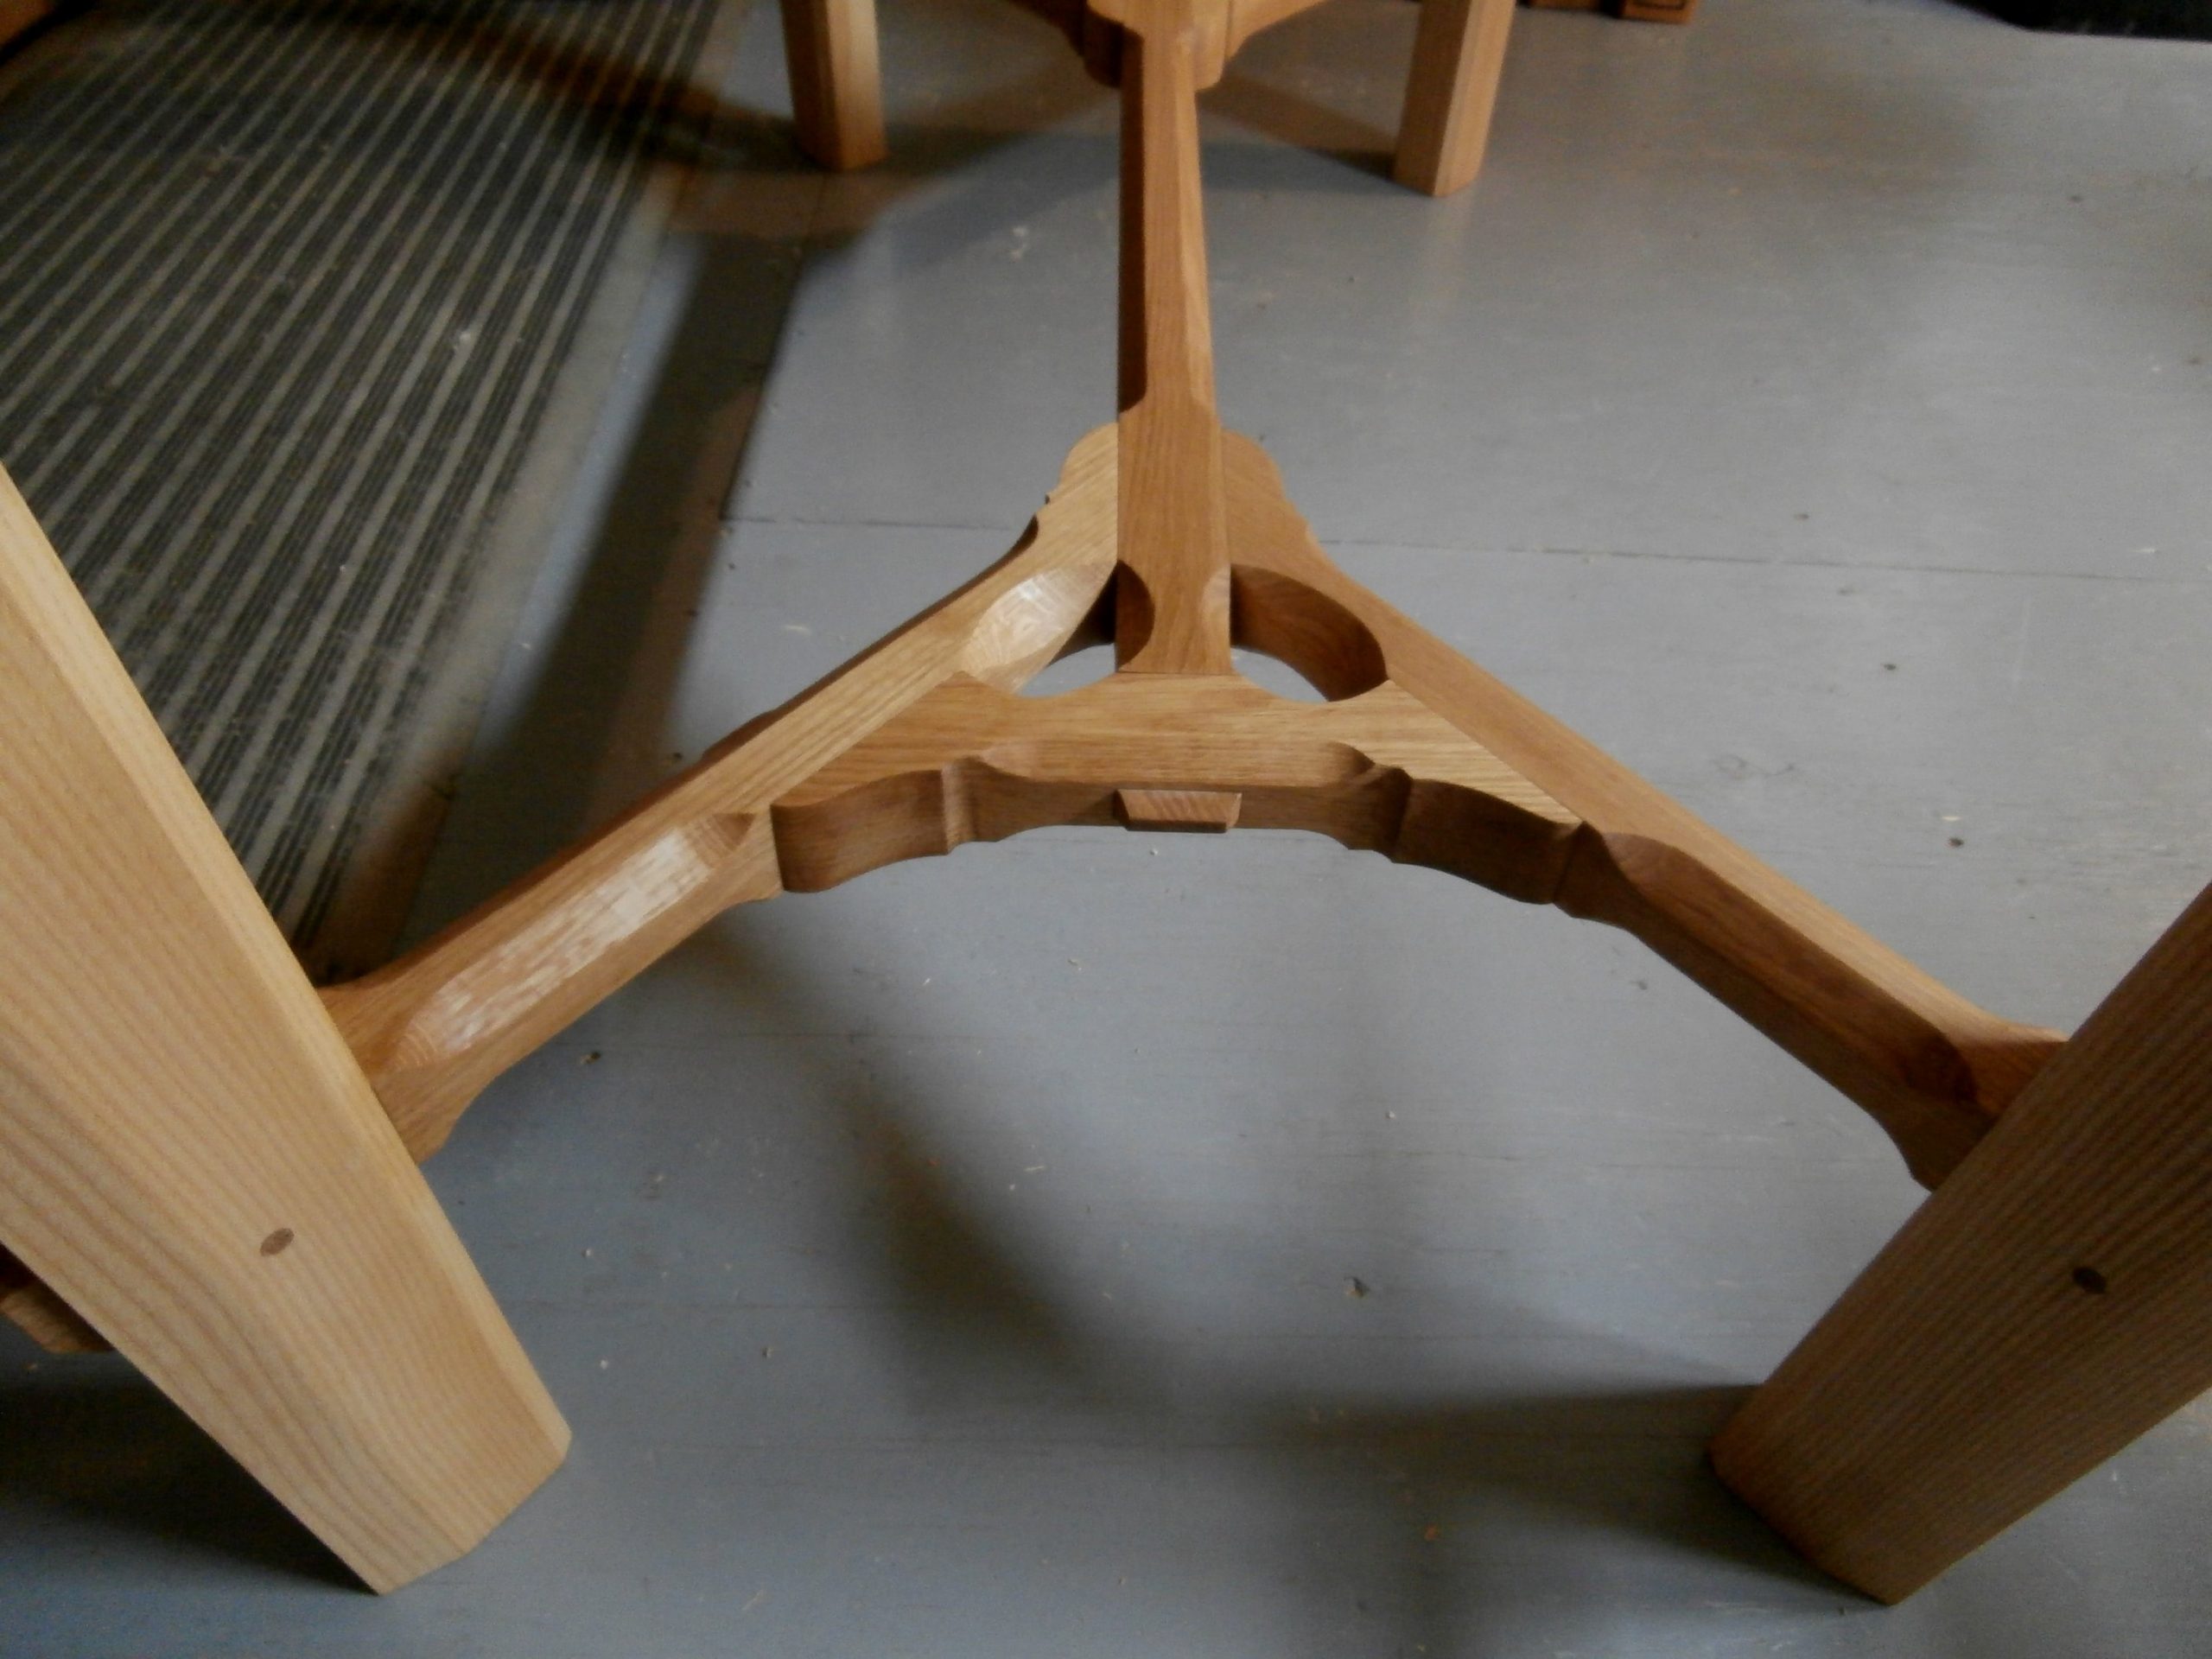
Assembled it looks like this.
The dry fit stretcher assembly is then marked with the location of all chamfers. The chamfers in the original hay rake do not compromise the strength of the rake, but they decrease the weight the farmer has to lift and pull for hours on end. In the table, weight is not a concern but the chamfers add immeasurably to the aesthetic appeal of the stretcher.
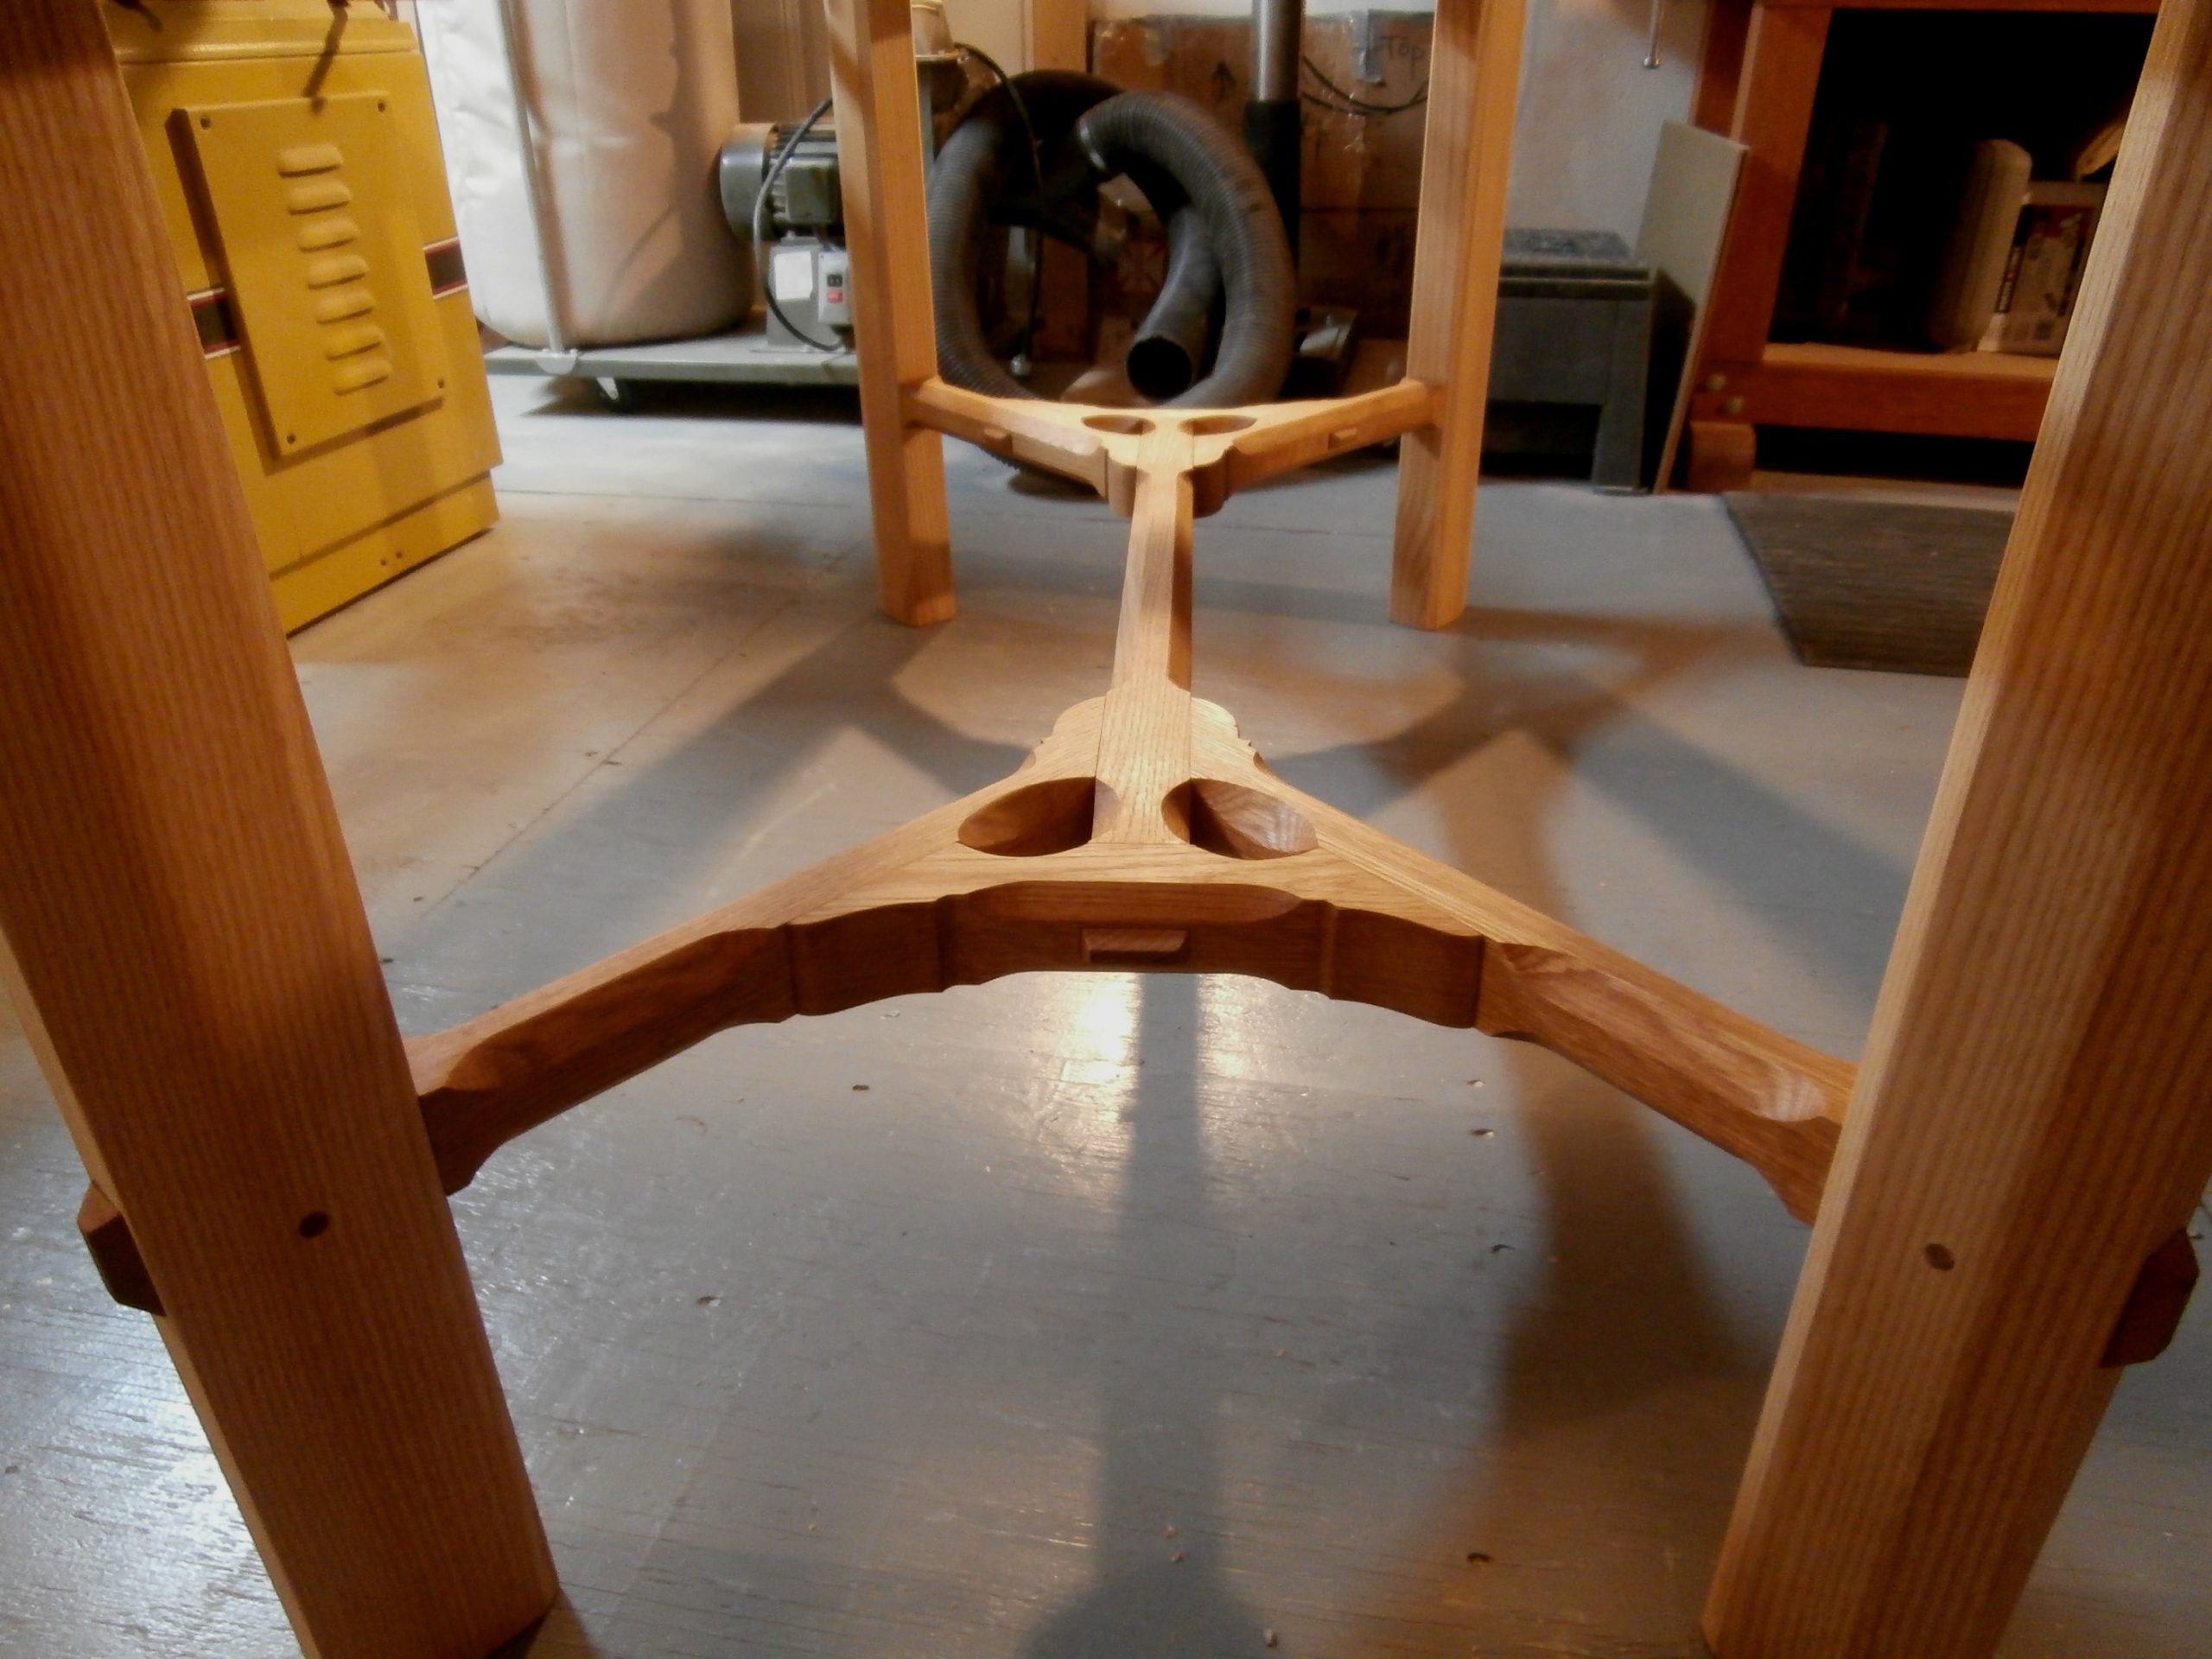
See below the full stretcher and leg set ready to go and then assembled. Barnsley chose to have the pegs that lock the tenons in their respective mortises visible from above. I put the pegs in from below so they do not show and therefore do not distract from the flow of the joinery.
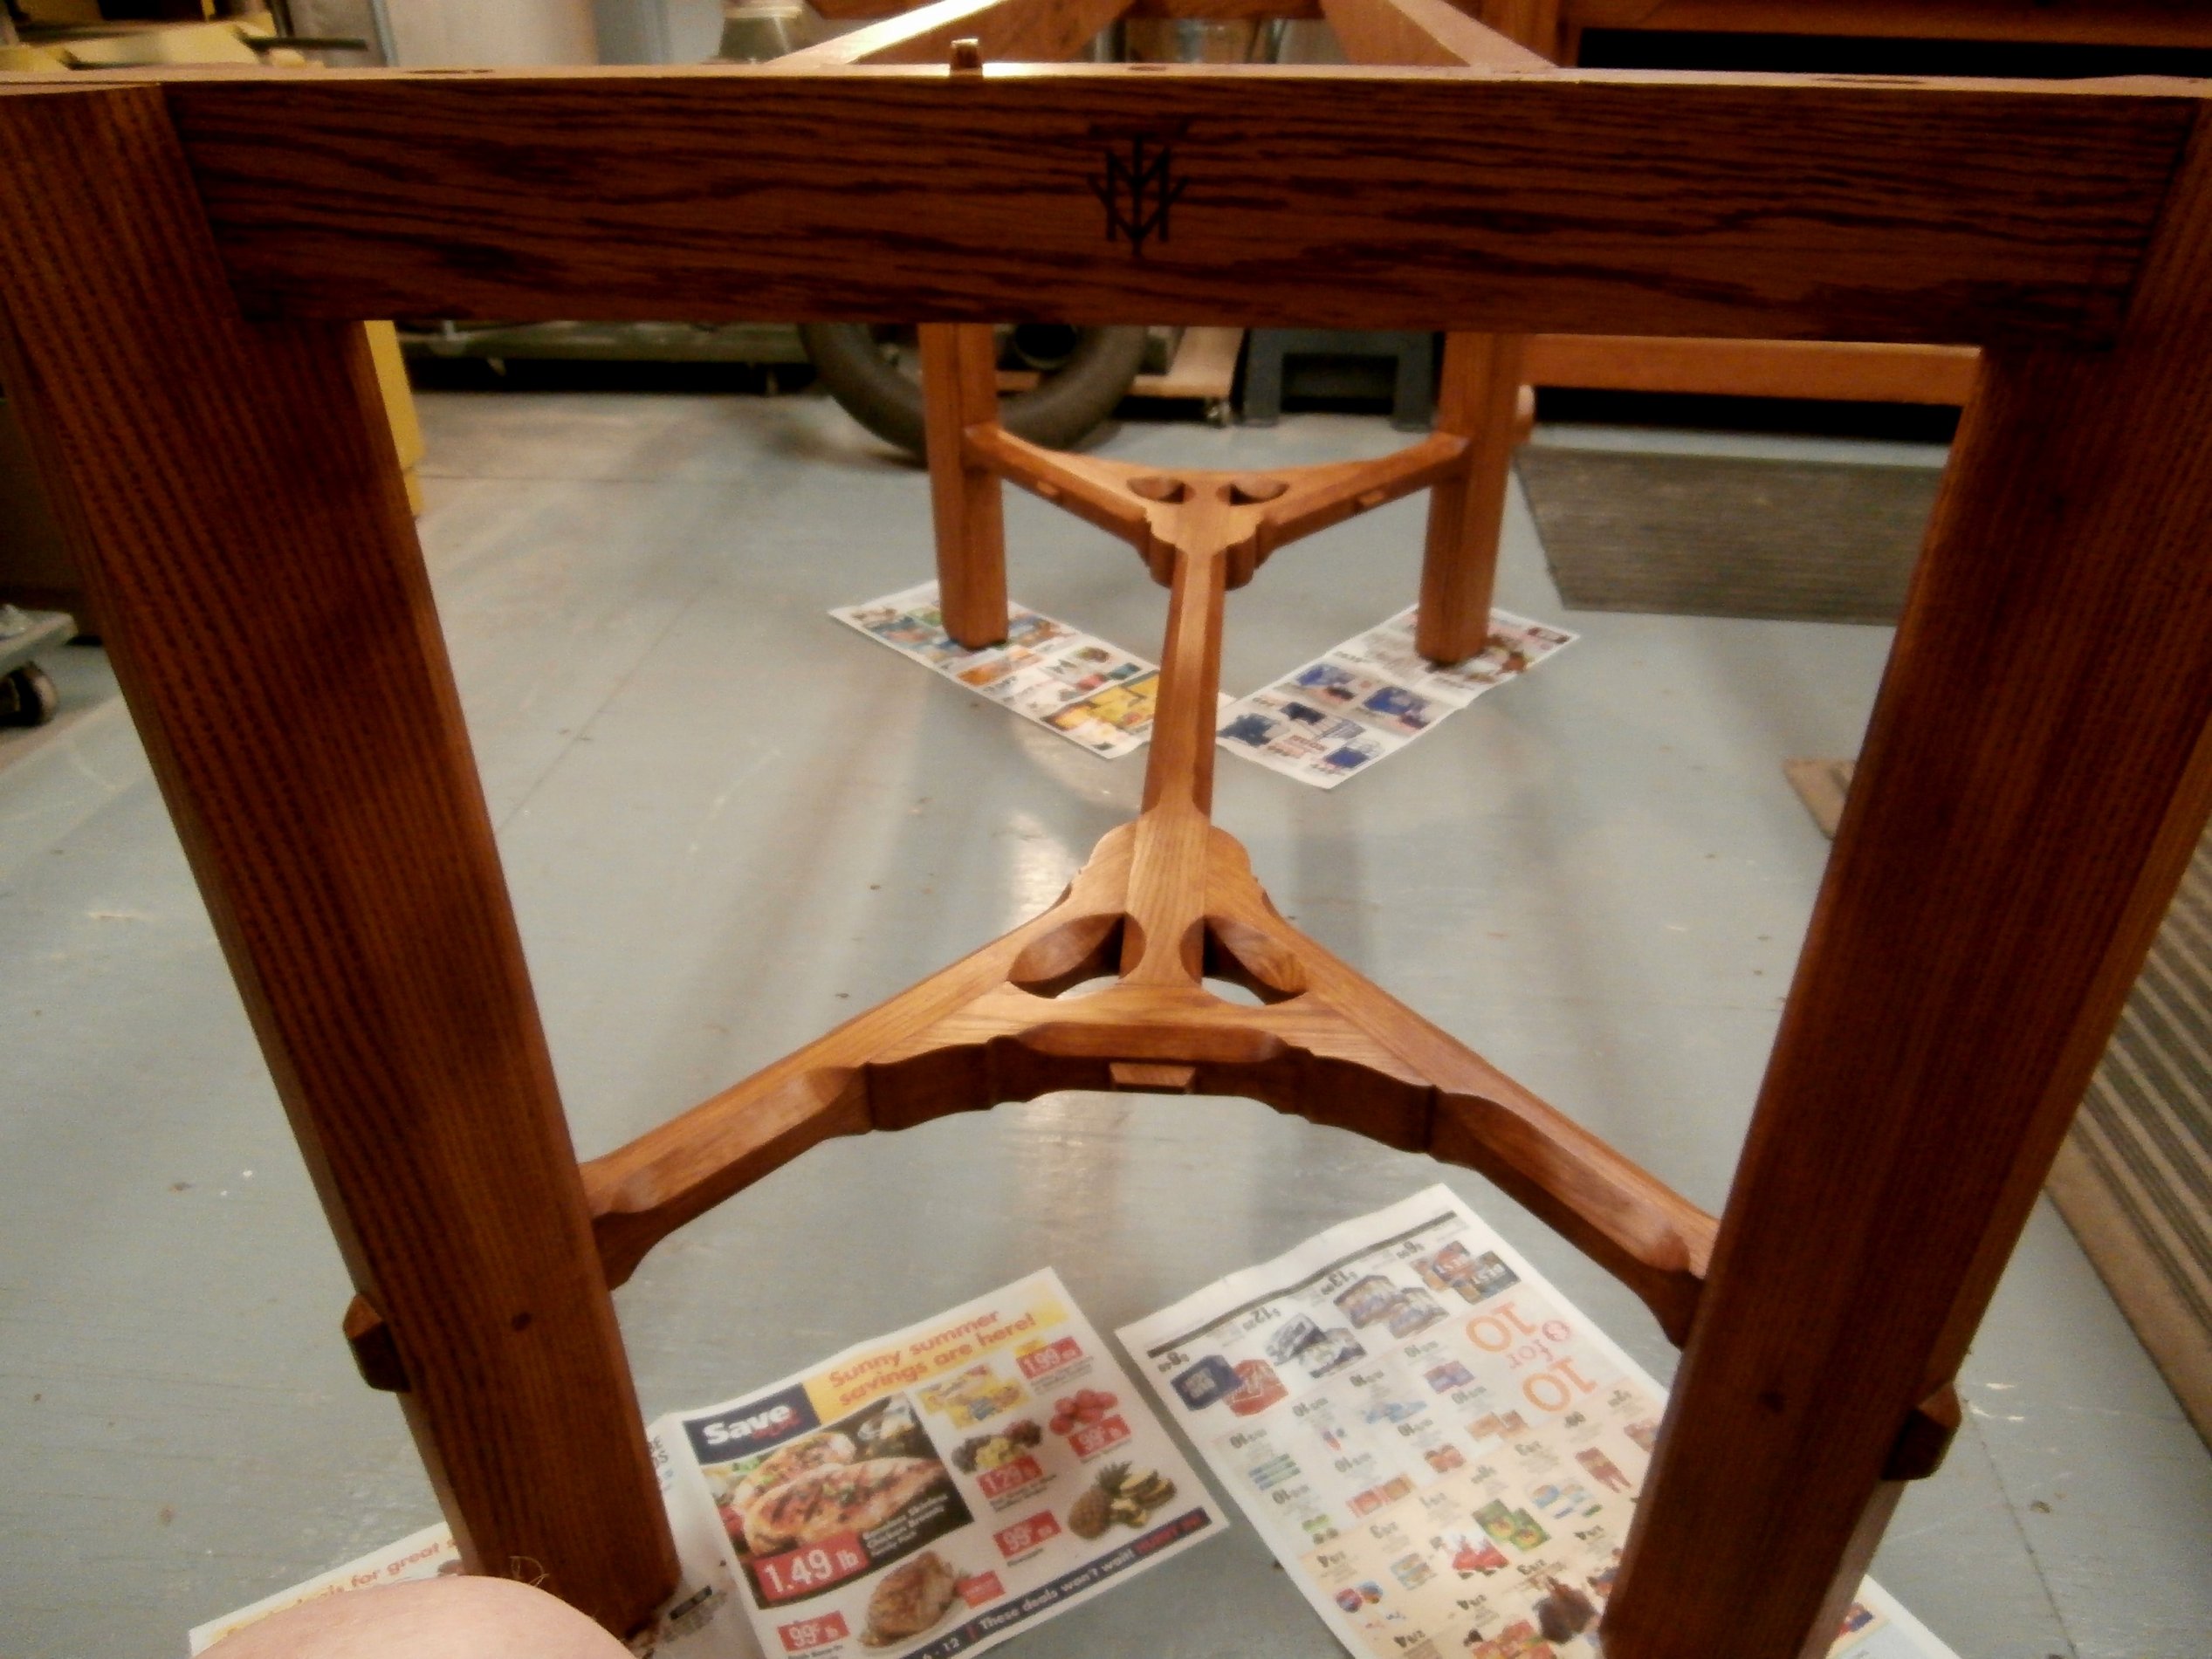
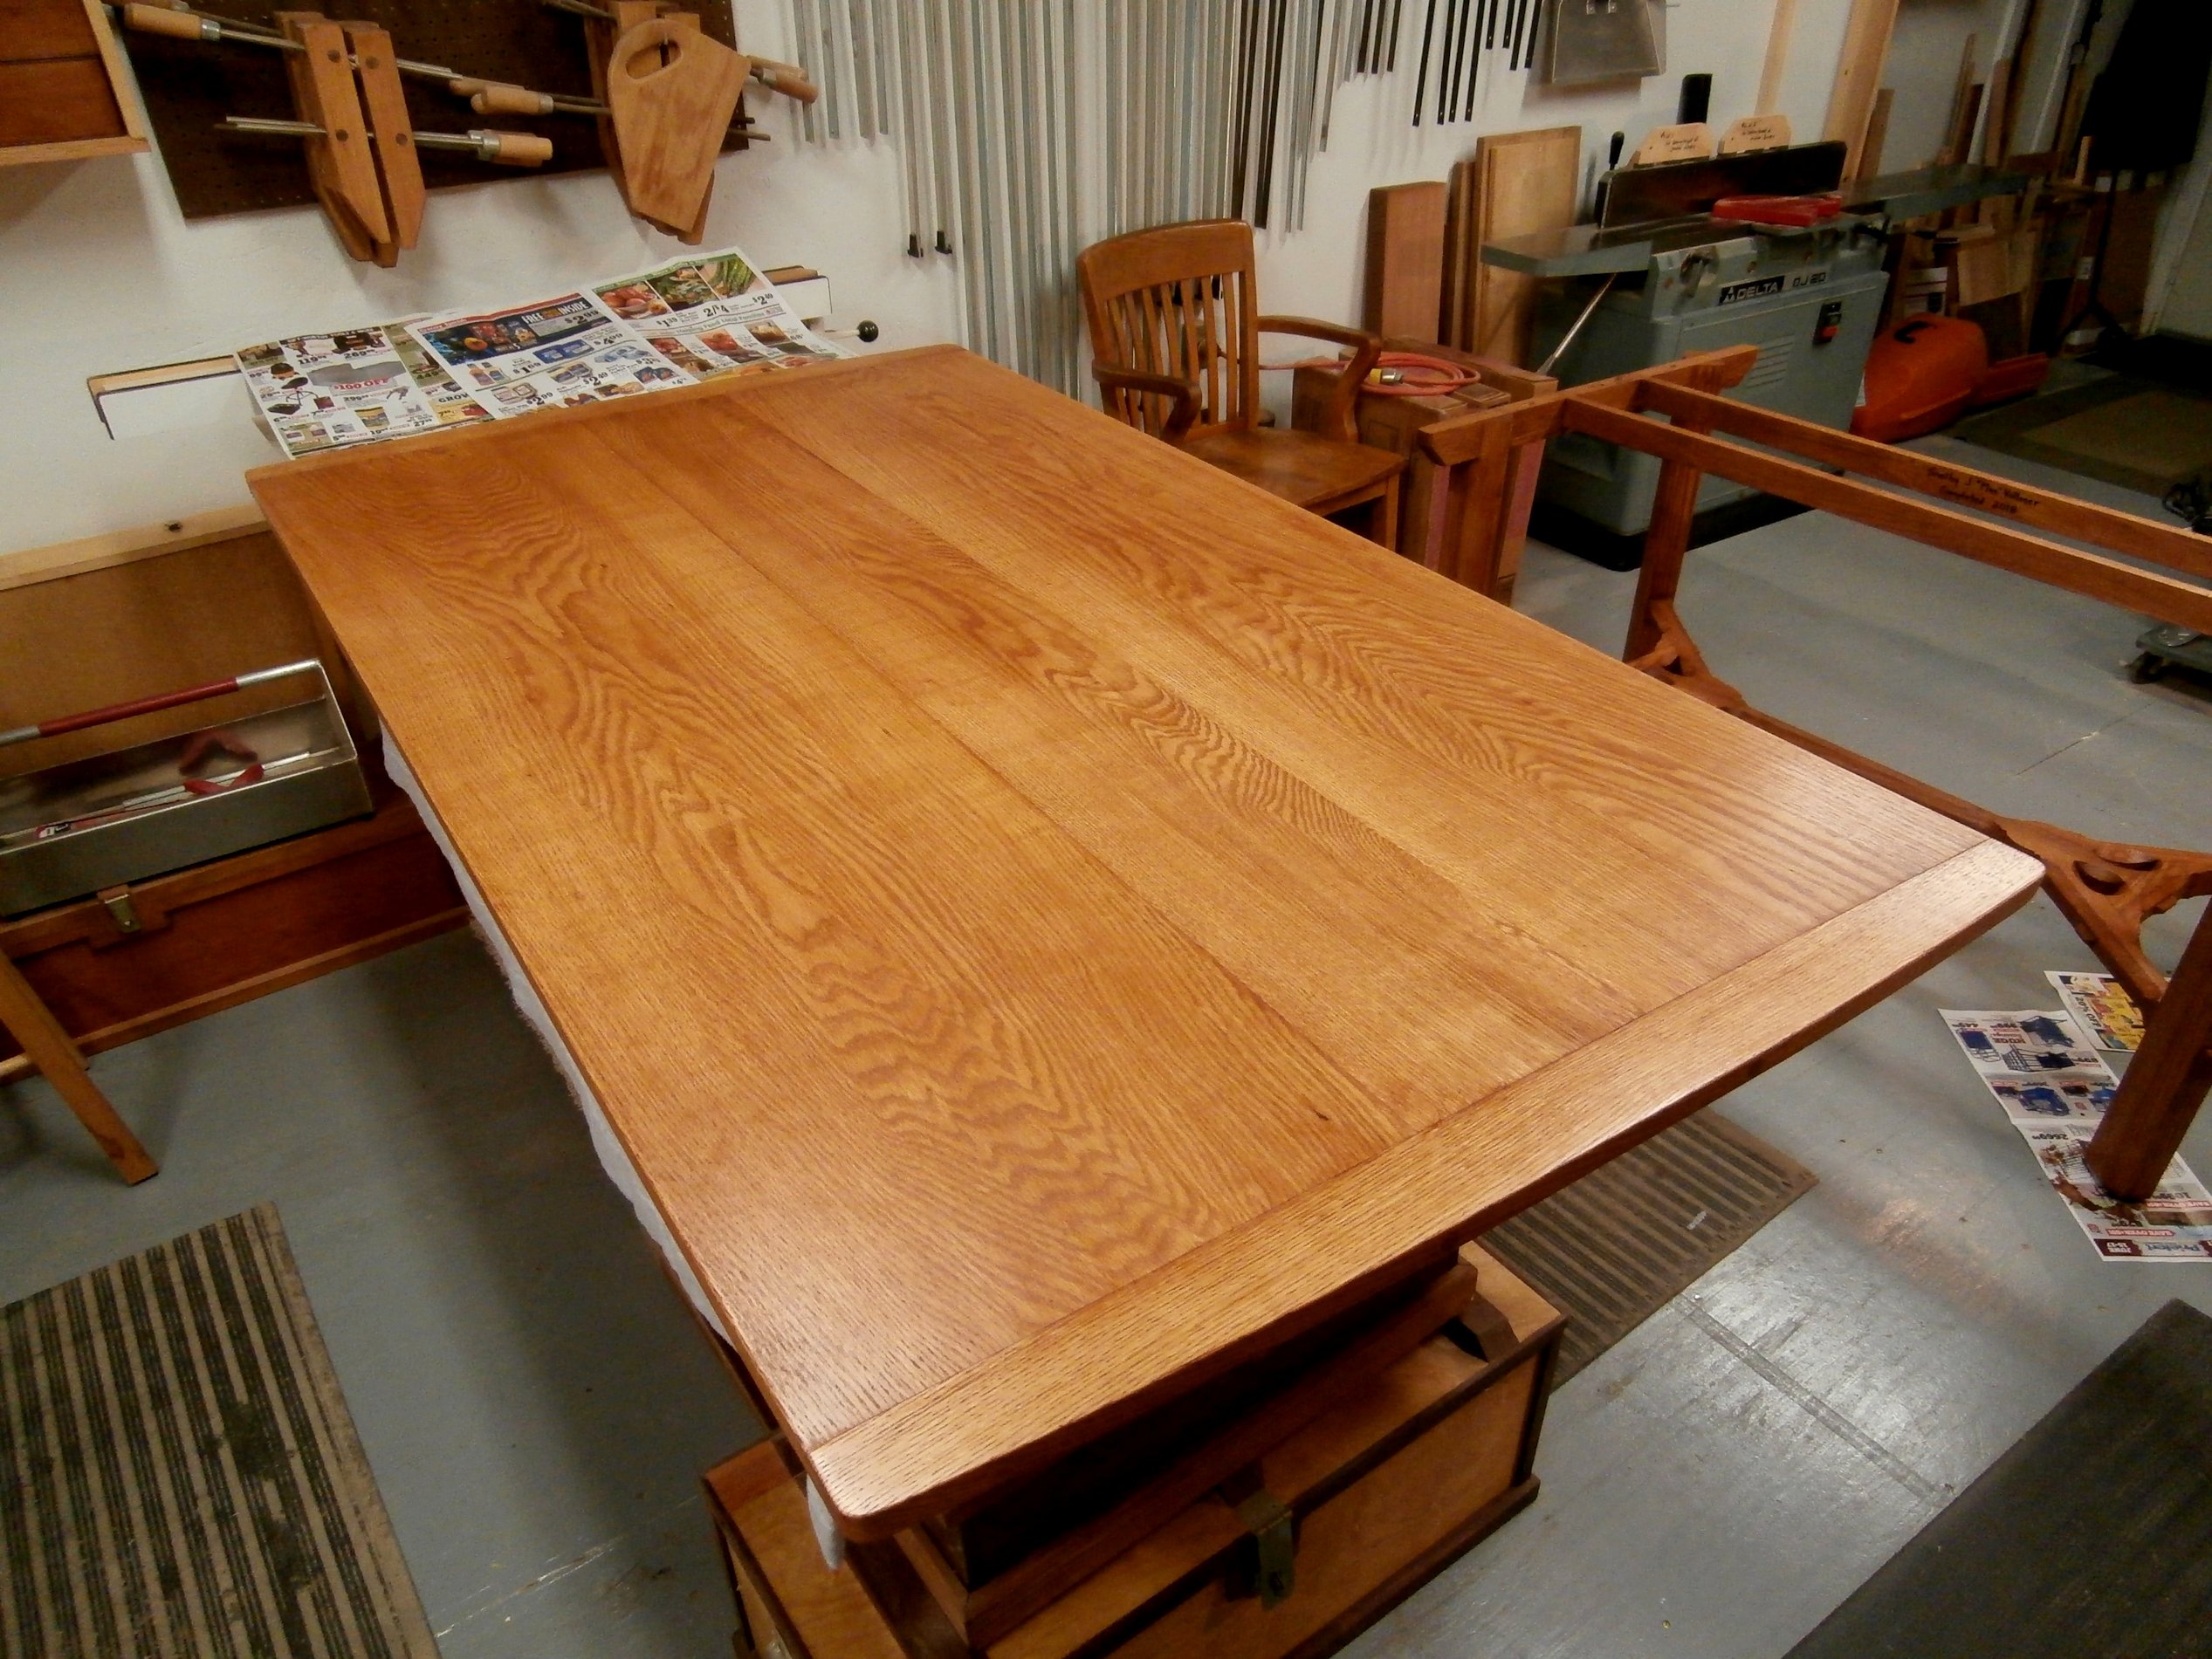
Rounding out the table frame, I fit cross pieces to the tops of the legs and then installed two long, under-table supports that are joined to the cross pieces with dovetails. The result is a support structure that, barring fire or natural disaster, has an essentially unlimited lifespan (1,000 years?) if cared for. Here it is with finish and signed with my makers mark on a cross bar.
Here’s the table top. And, following that, the table in my house. Final dimensions are 68″ L x 38″ W x 31.5″ H. The table is compact, but the design of the hay rake stretcher and the canted legs allow for four chairs, across and end to end, and will accommodate four people comfortably for a meal.
I have the lumber to make a long, low, and narrow coffee table with the same hay rake stretcher design, to which I want to add wishbone struts under the table top for added complexity and interest, something Barnsley did in one of his tables. I just need a shop.
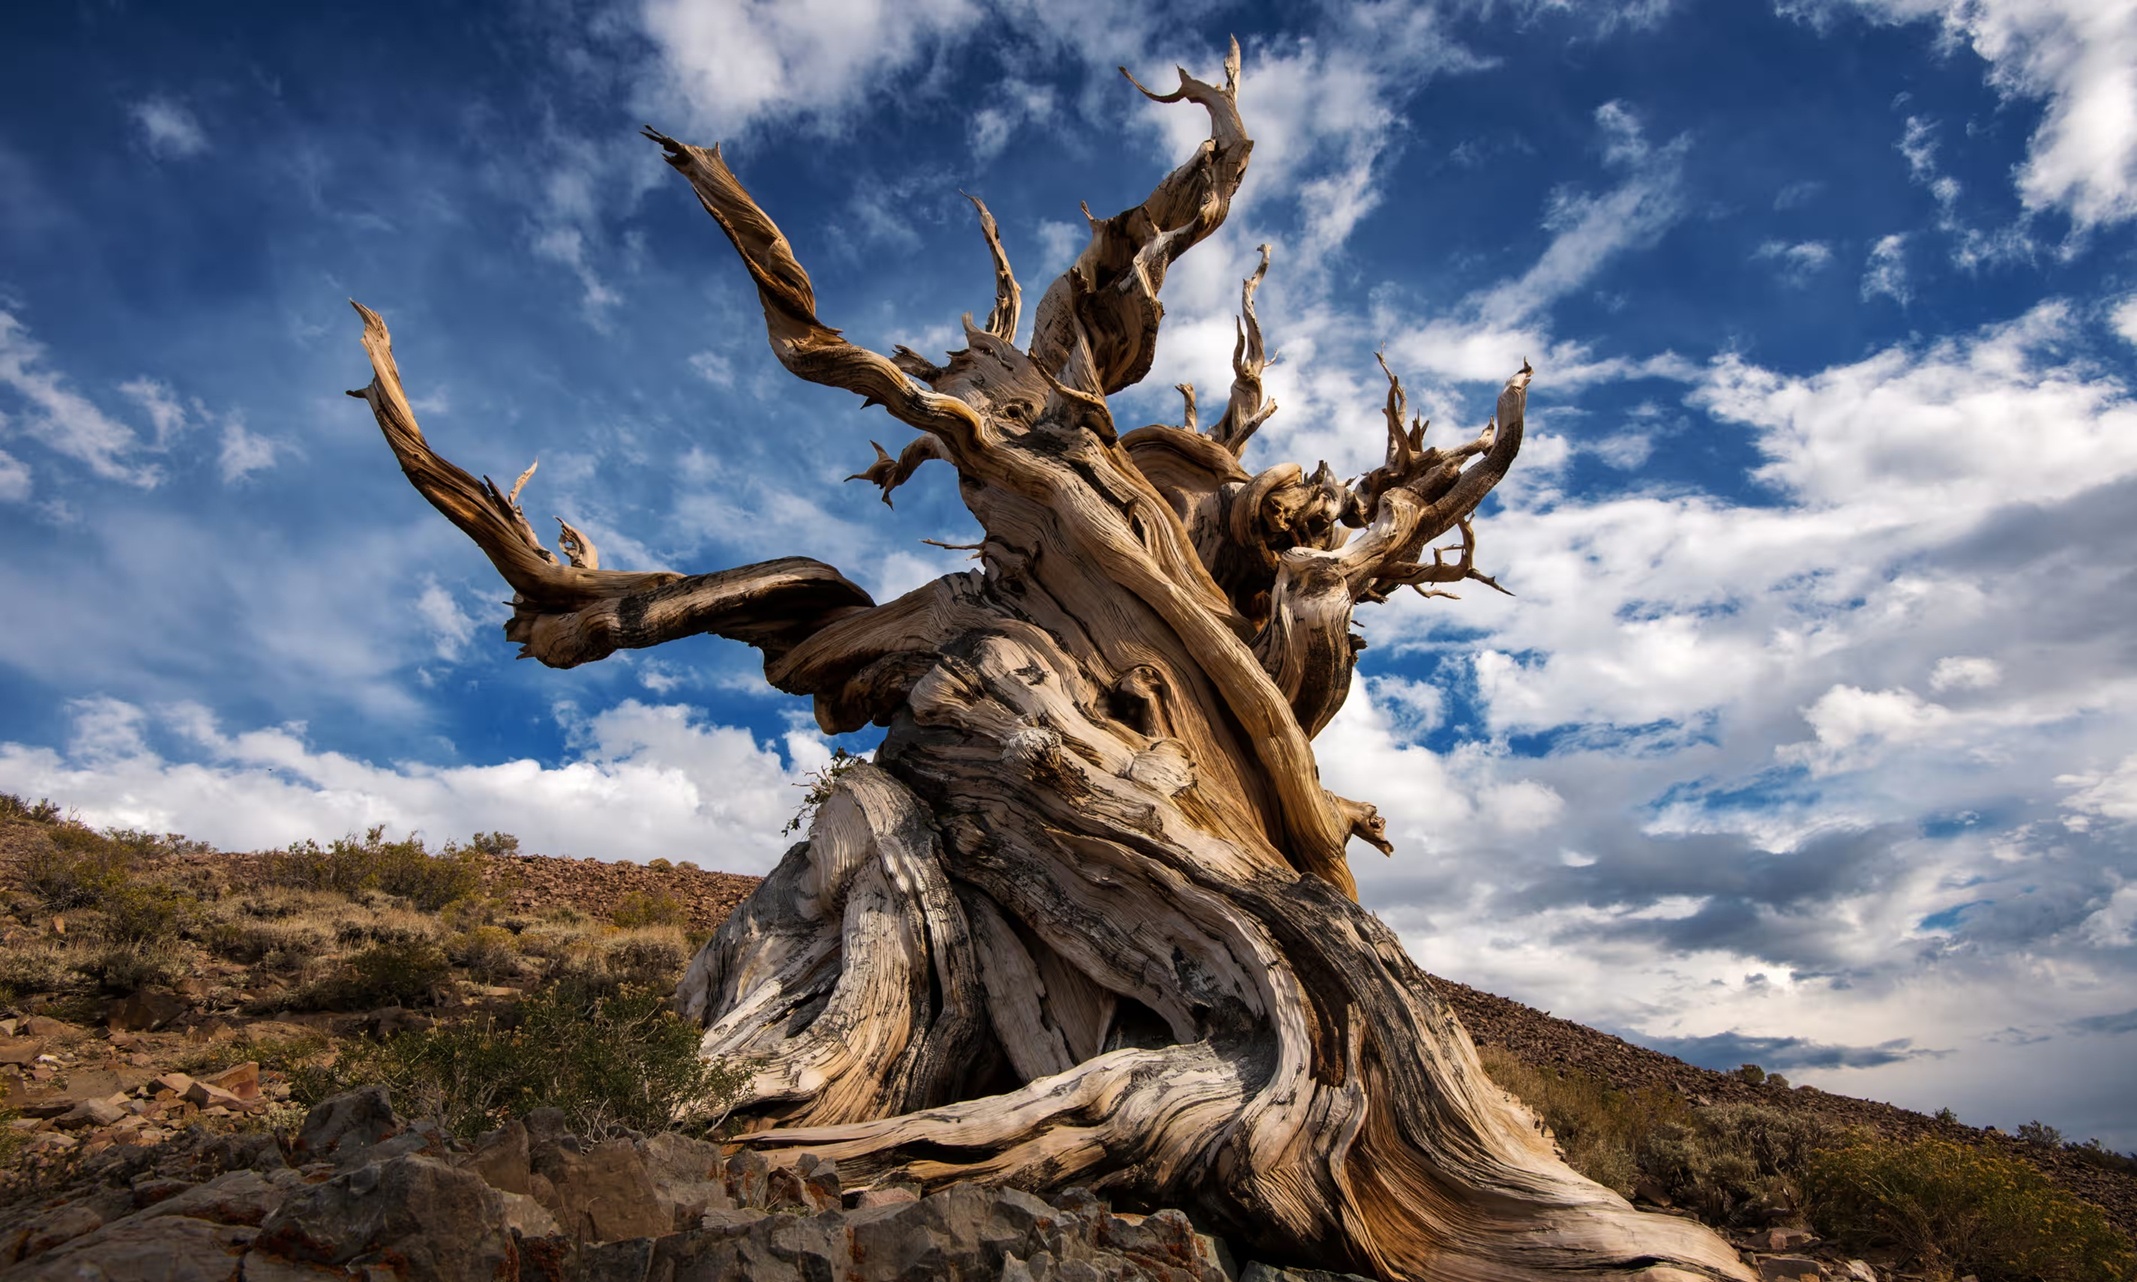
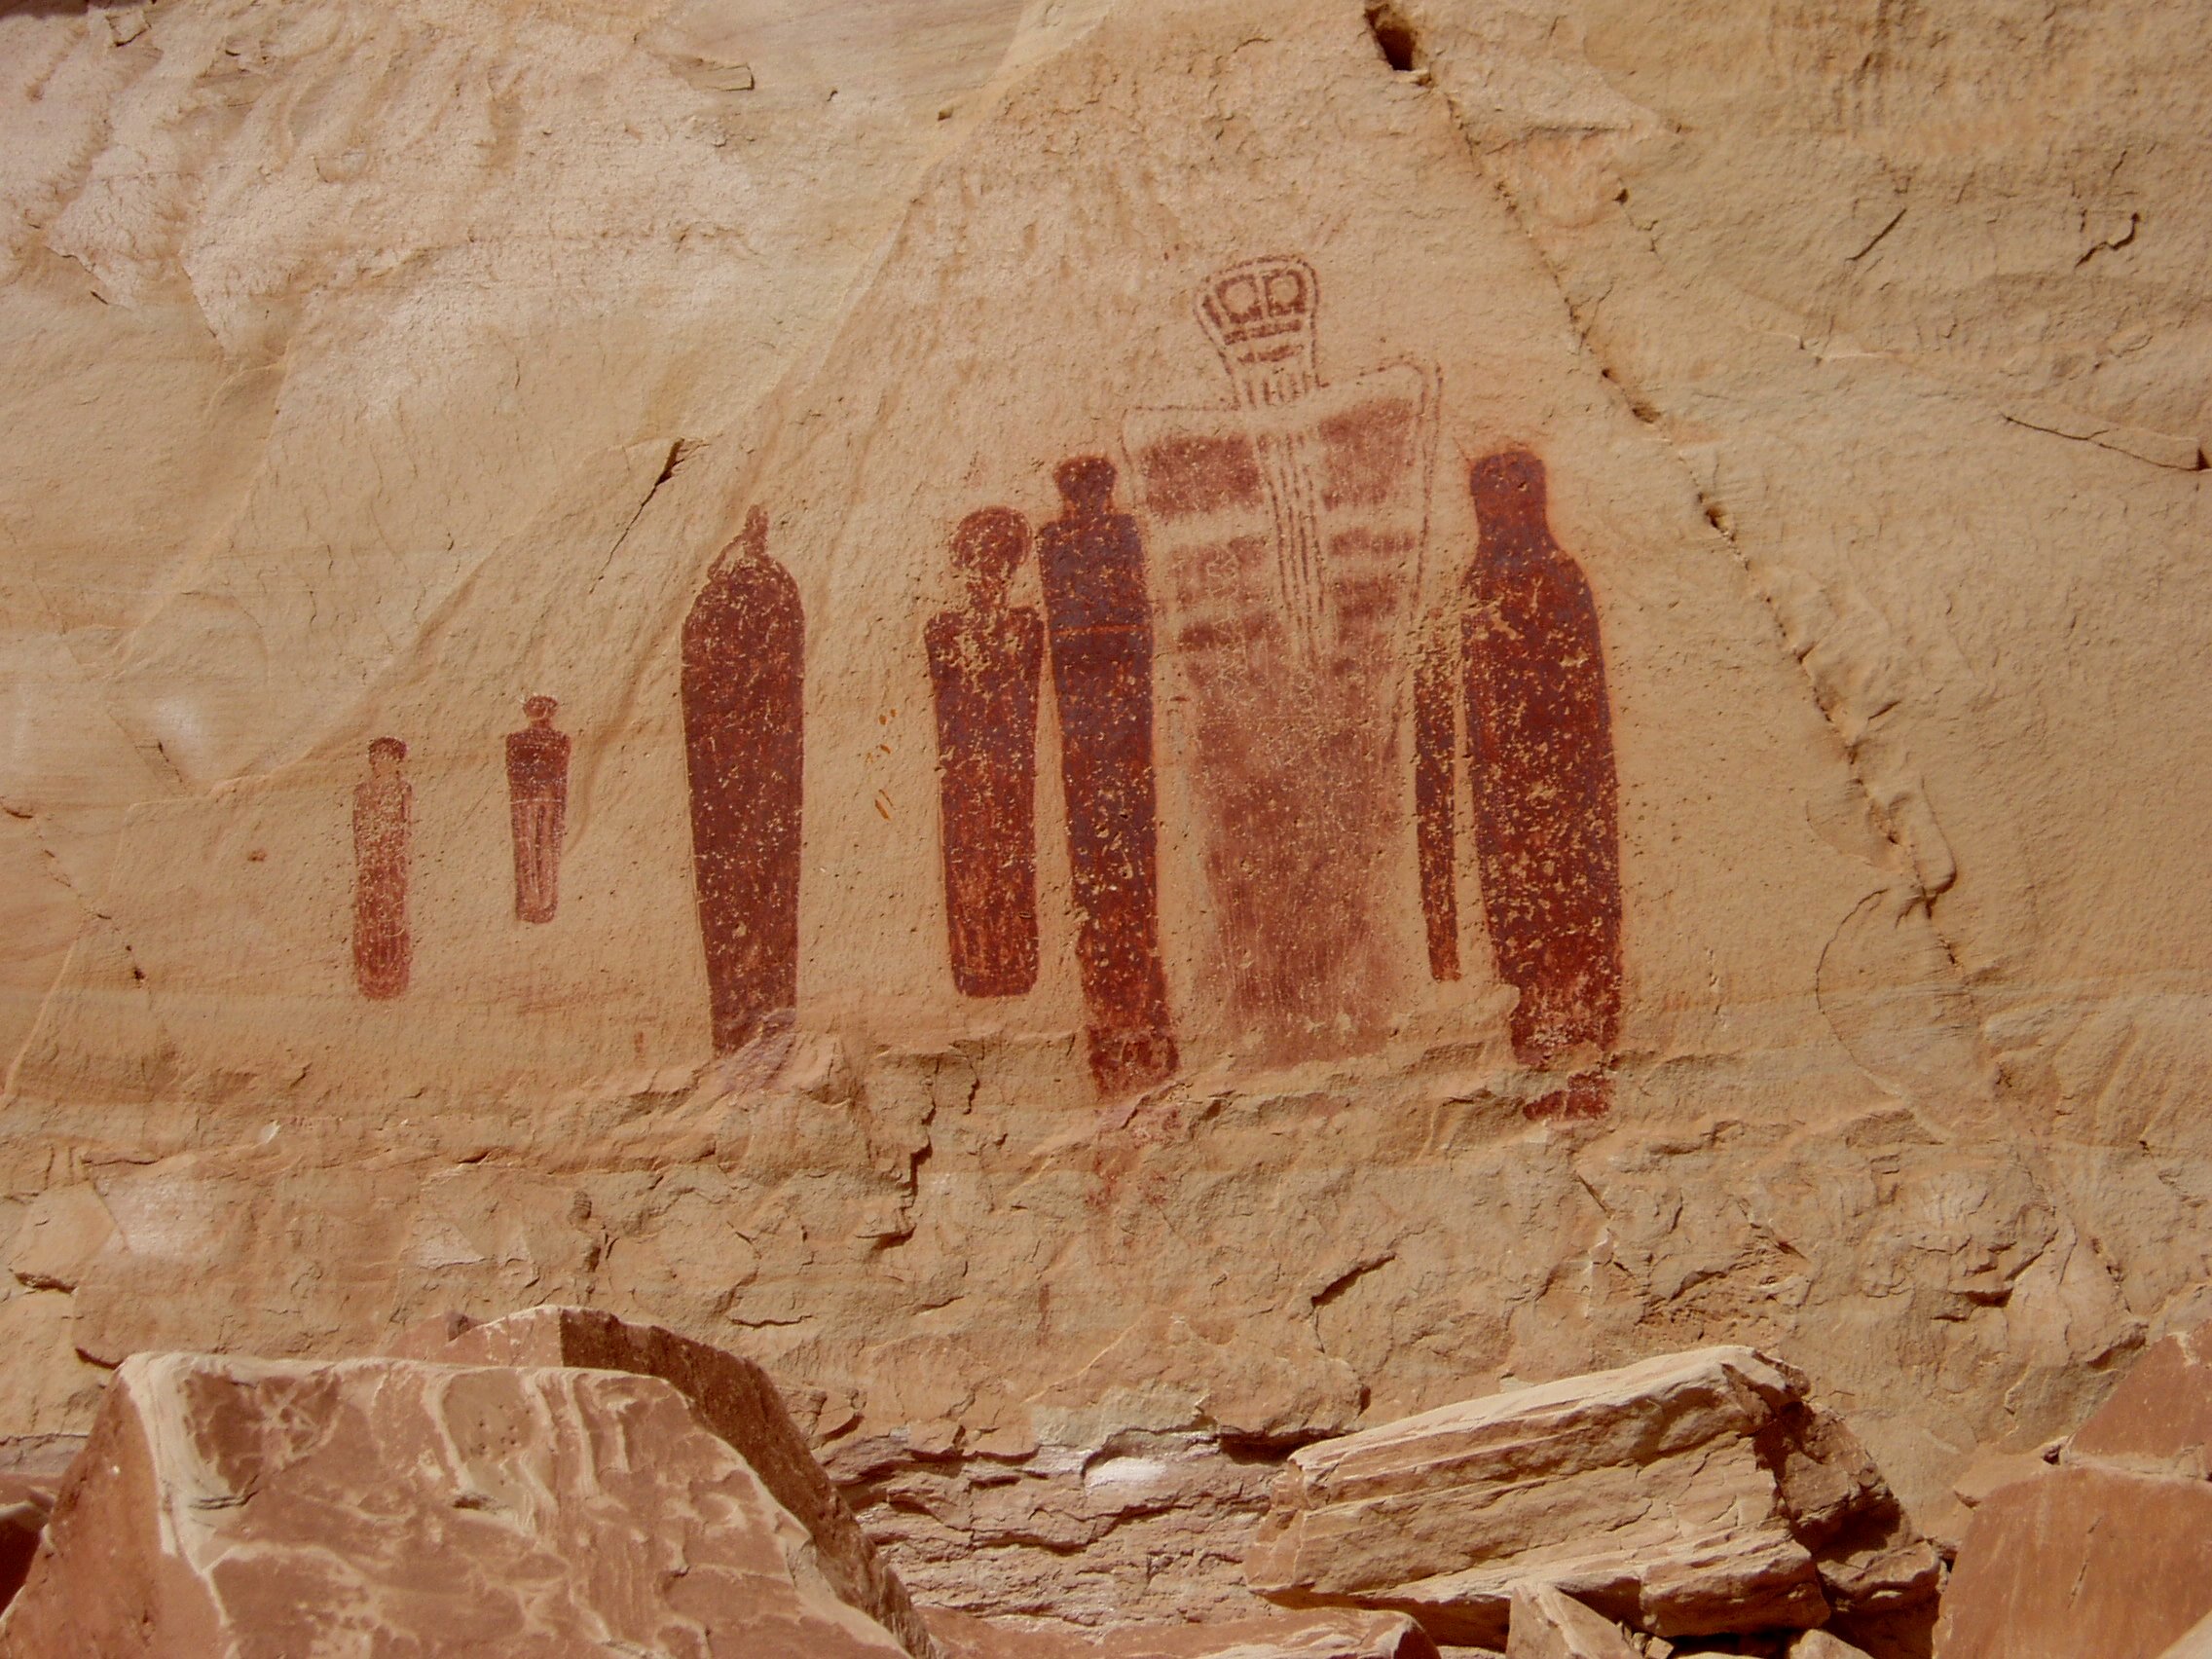
In the late 1960’s, early 1970’s, I purchased a Sierra Club Ballantine book authored by the brothers, Renny and Terry Russell, titled On the Loose. It was comprised of their accounts and their photographs from explorations as young men in the wildlands of Utah. One picture they took and included in the book was of the “Grand Gallery” of ancient Native American pictographs in a small, separate and remote piece of Canyonlands National Park in Utah. The book captured my imagination and I had every intention of following in their footsteps. I made several road trips into the southwest before 2004 when I finally set out to find the Grand Gallery.
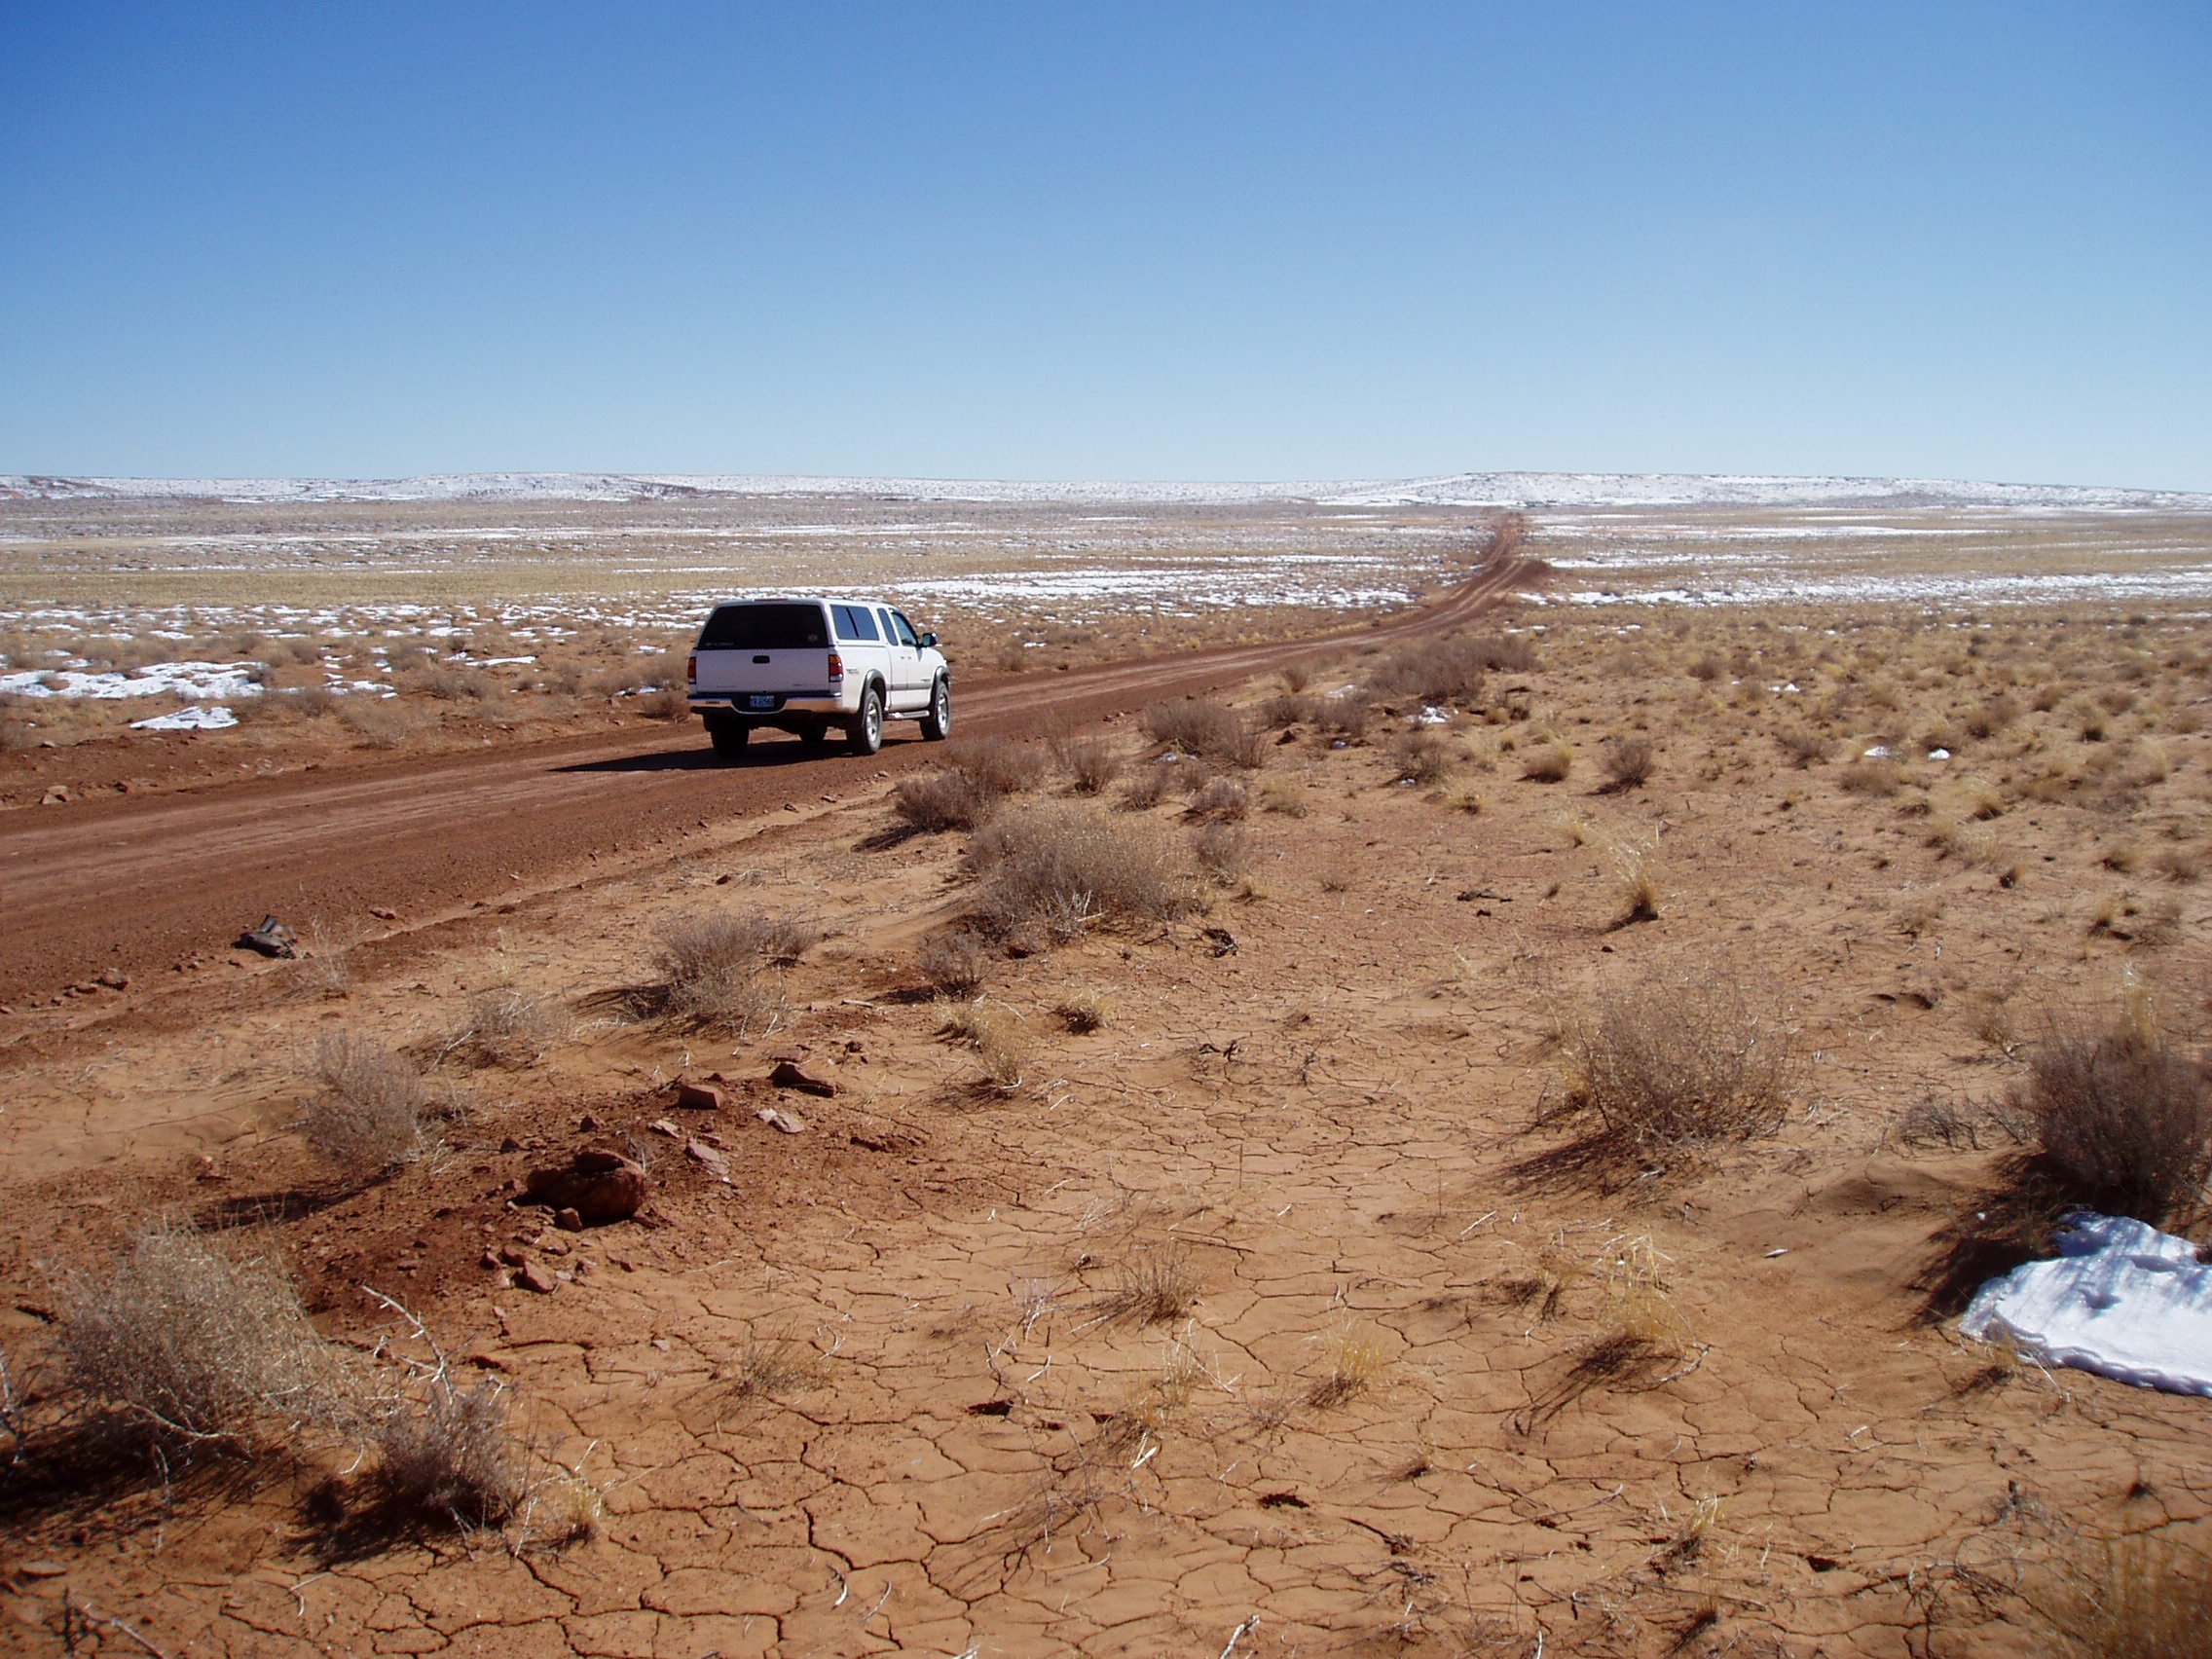
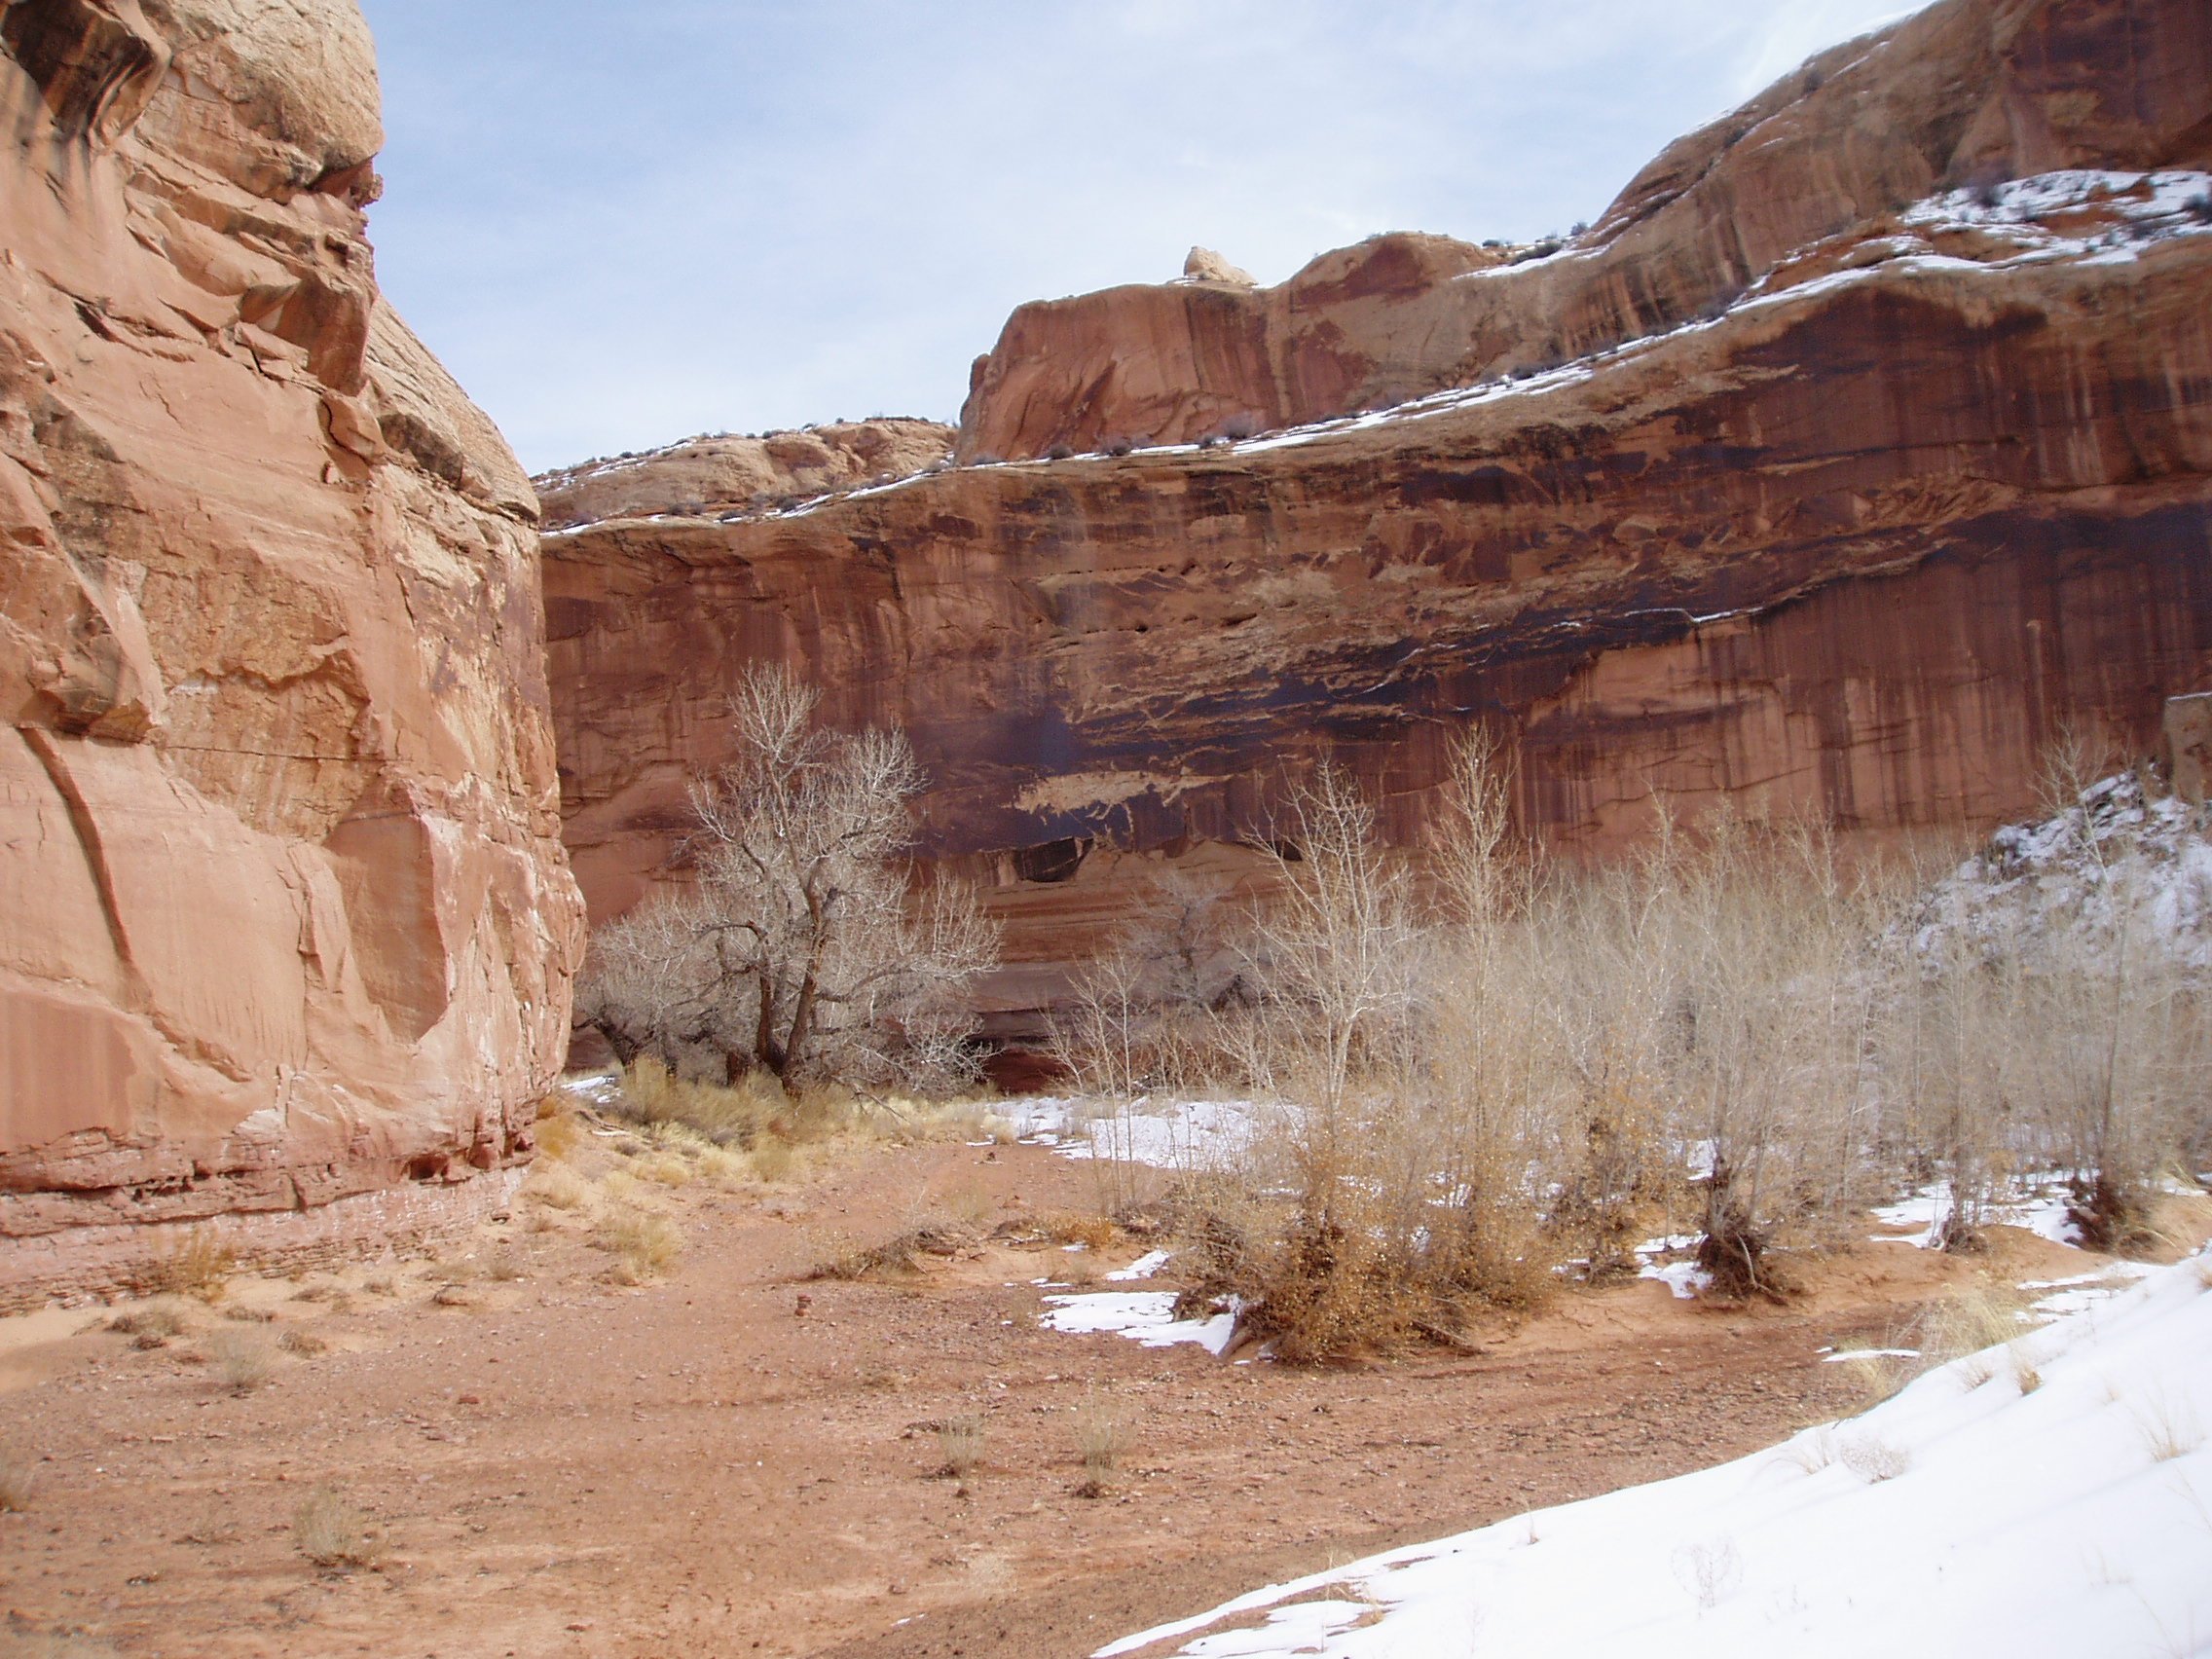
Departing from a paved highway in central Utah, the dirt and gravel road to the trailhead for the gallery is about 25 miles long. I made the trip in February. It was so cold the night before I set out on the day-long hike that my gallon of milk turned into an icy slush overnight. The trail to the gallery descends from the tableland into the canyon on a very rough “road” dynamited in the 1950’s by uranium prospectors down a sandstone cliff to the canyon below. The hike takes half a day to the gallery and half a day back. I had it all to myself.
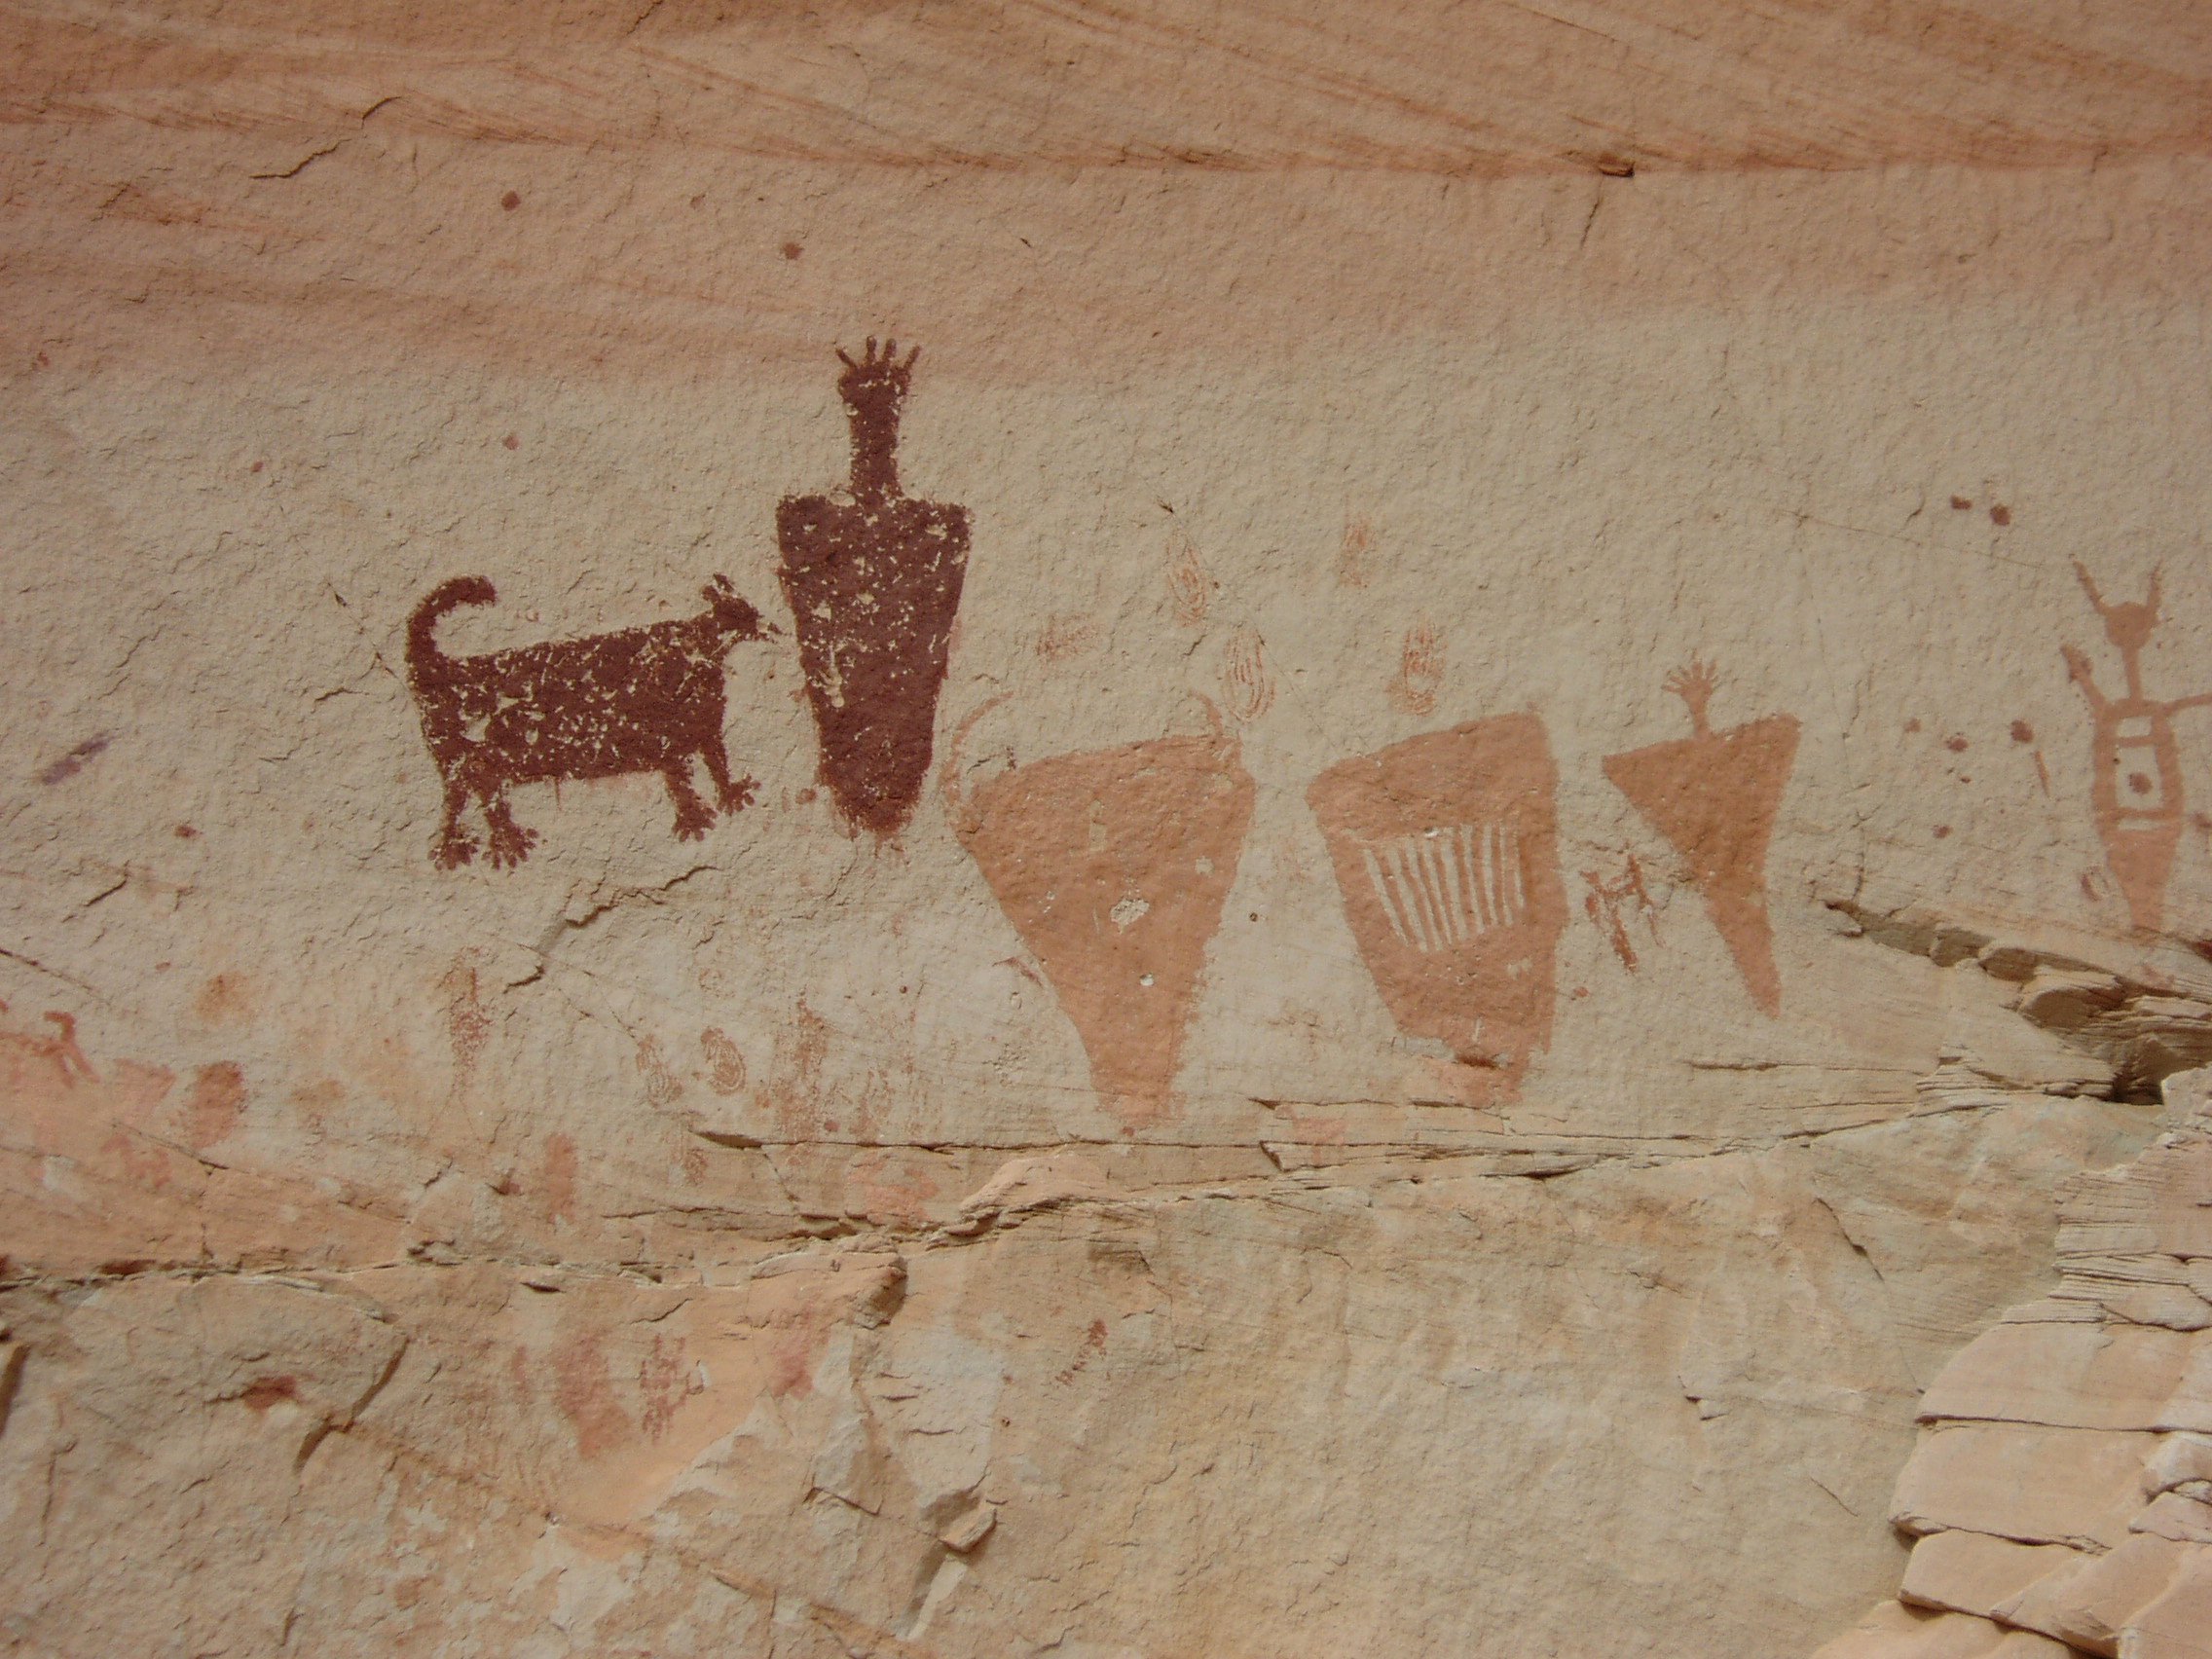
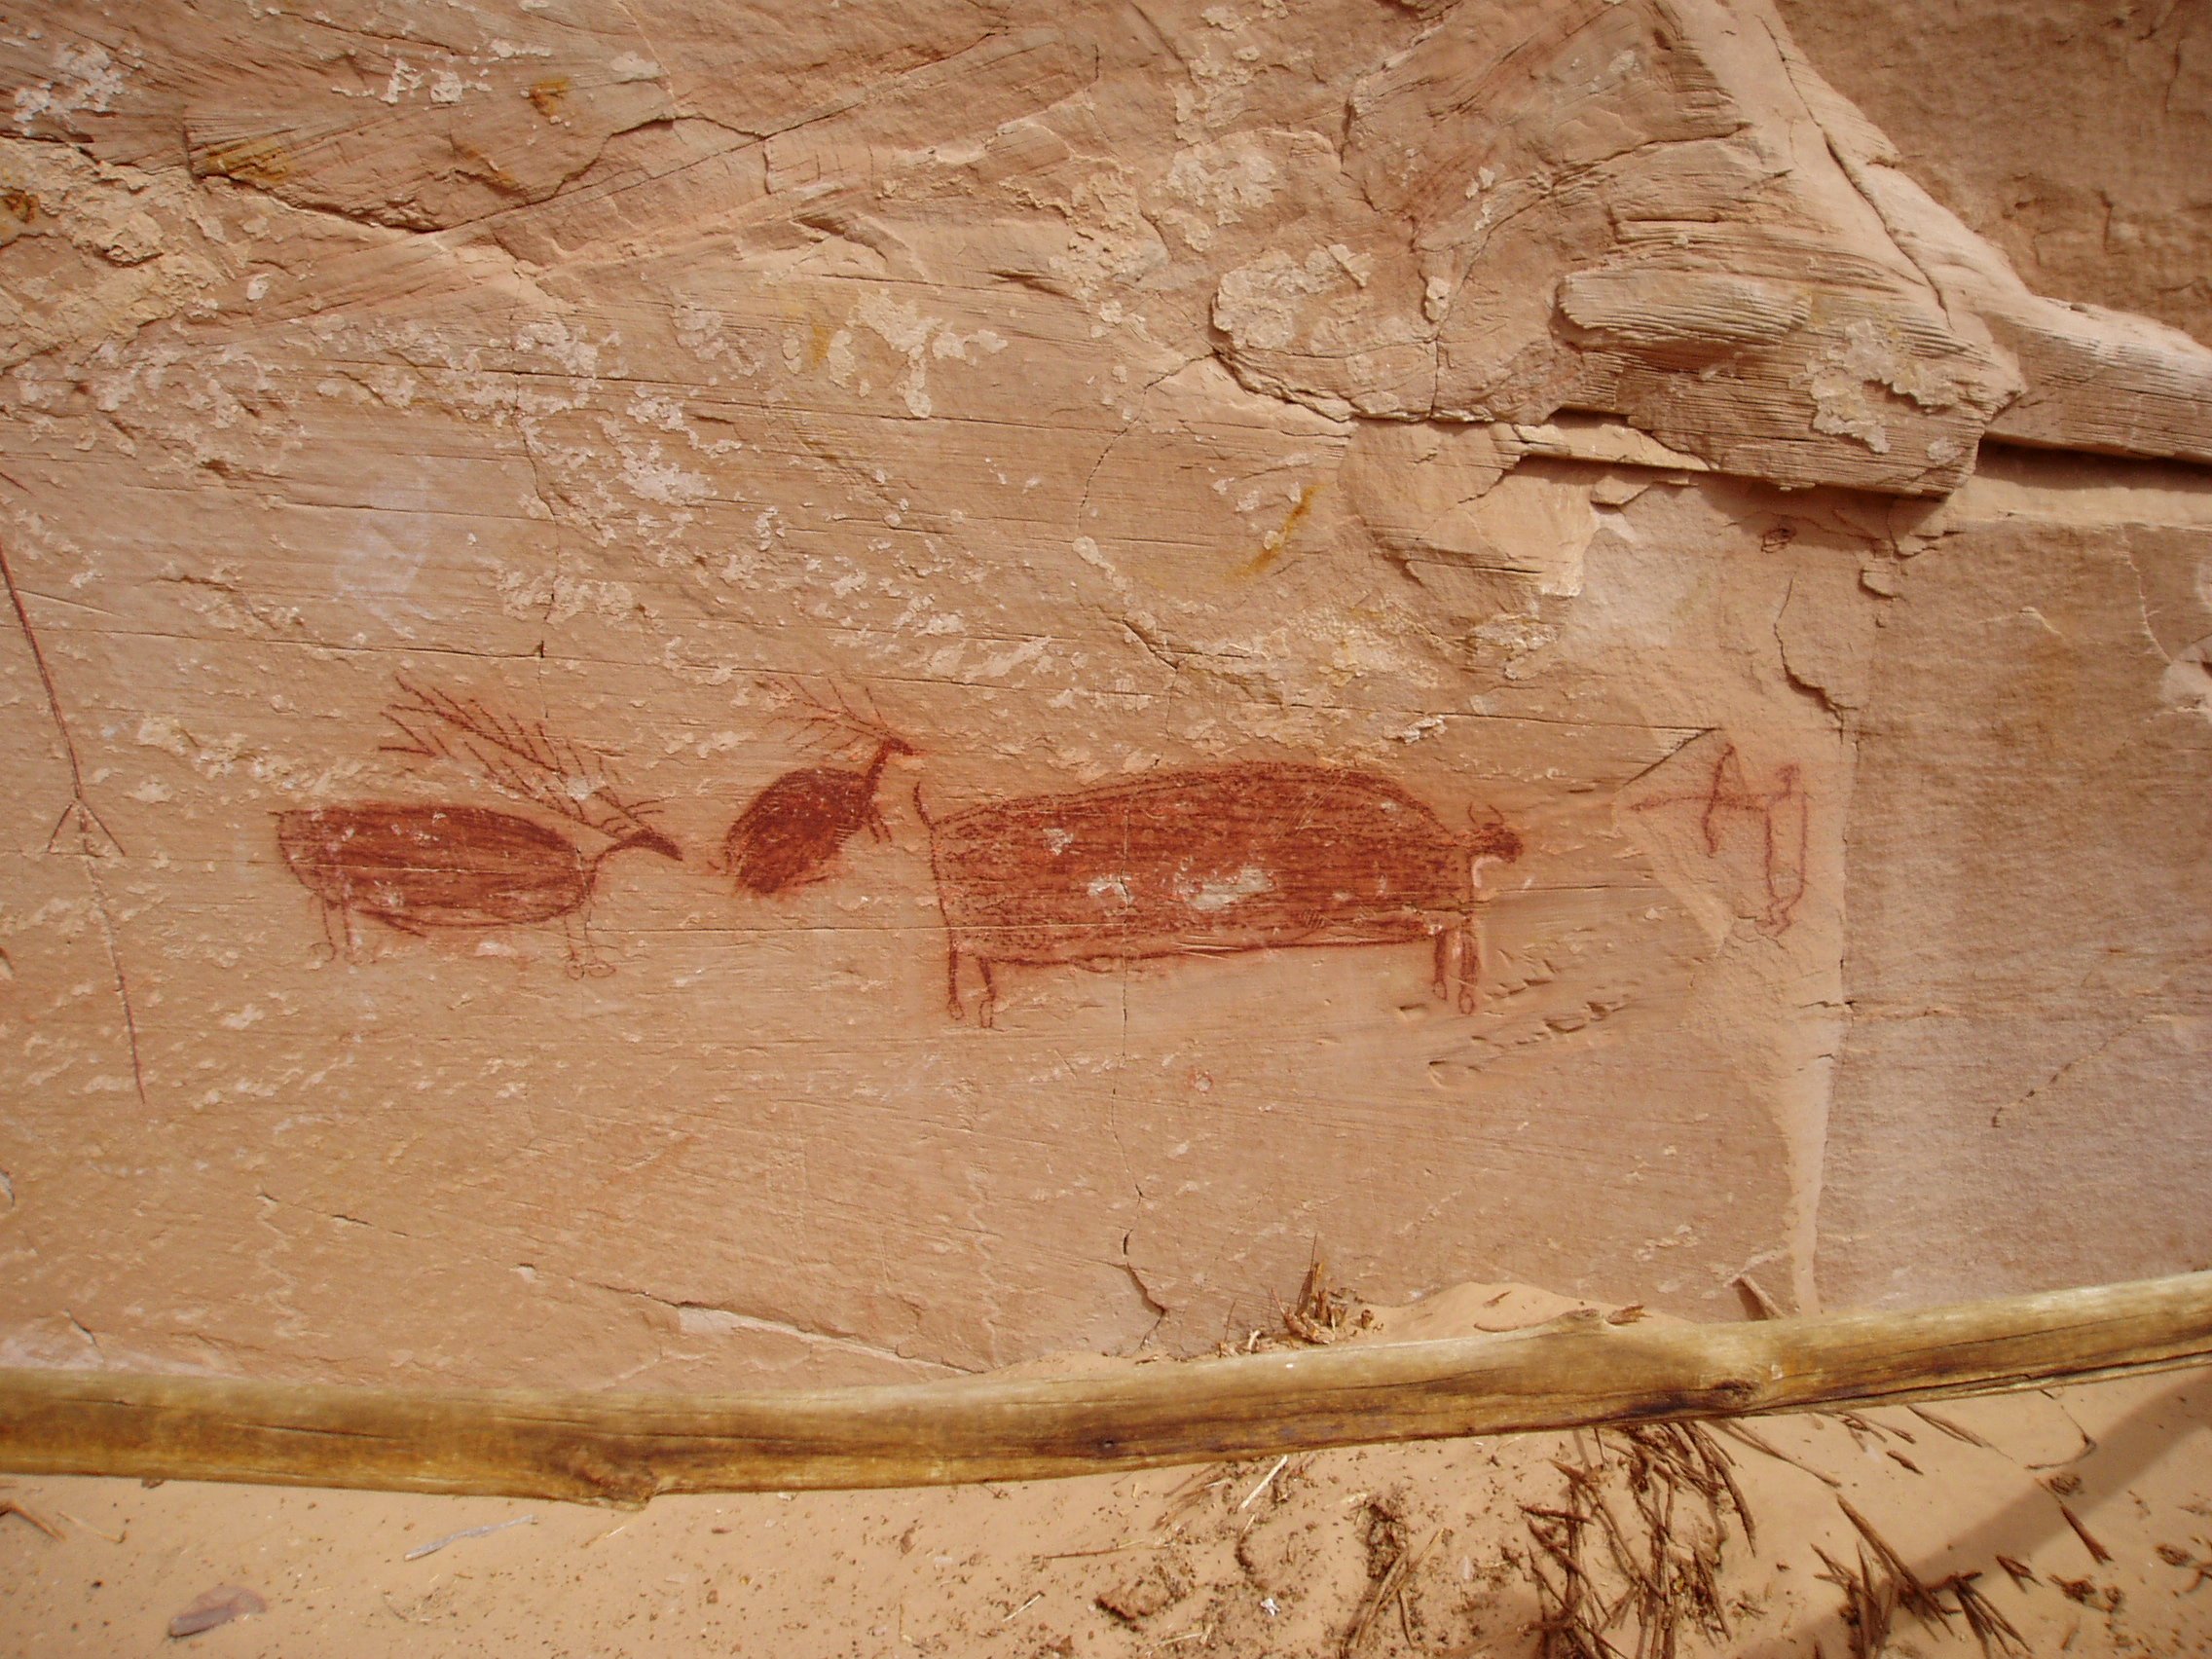
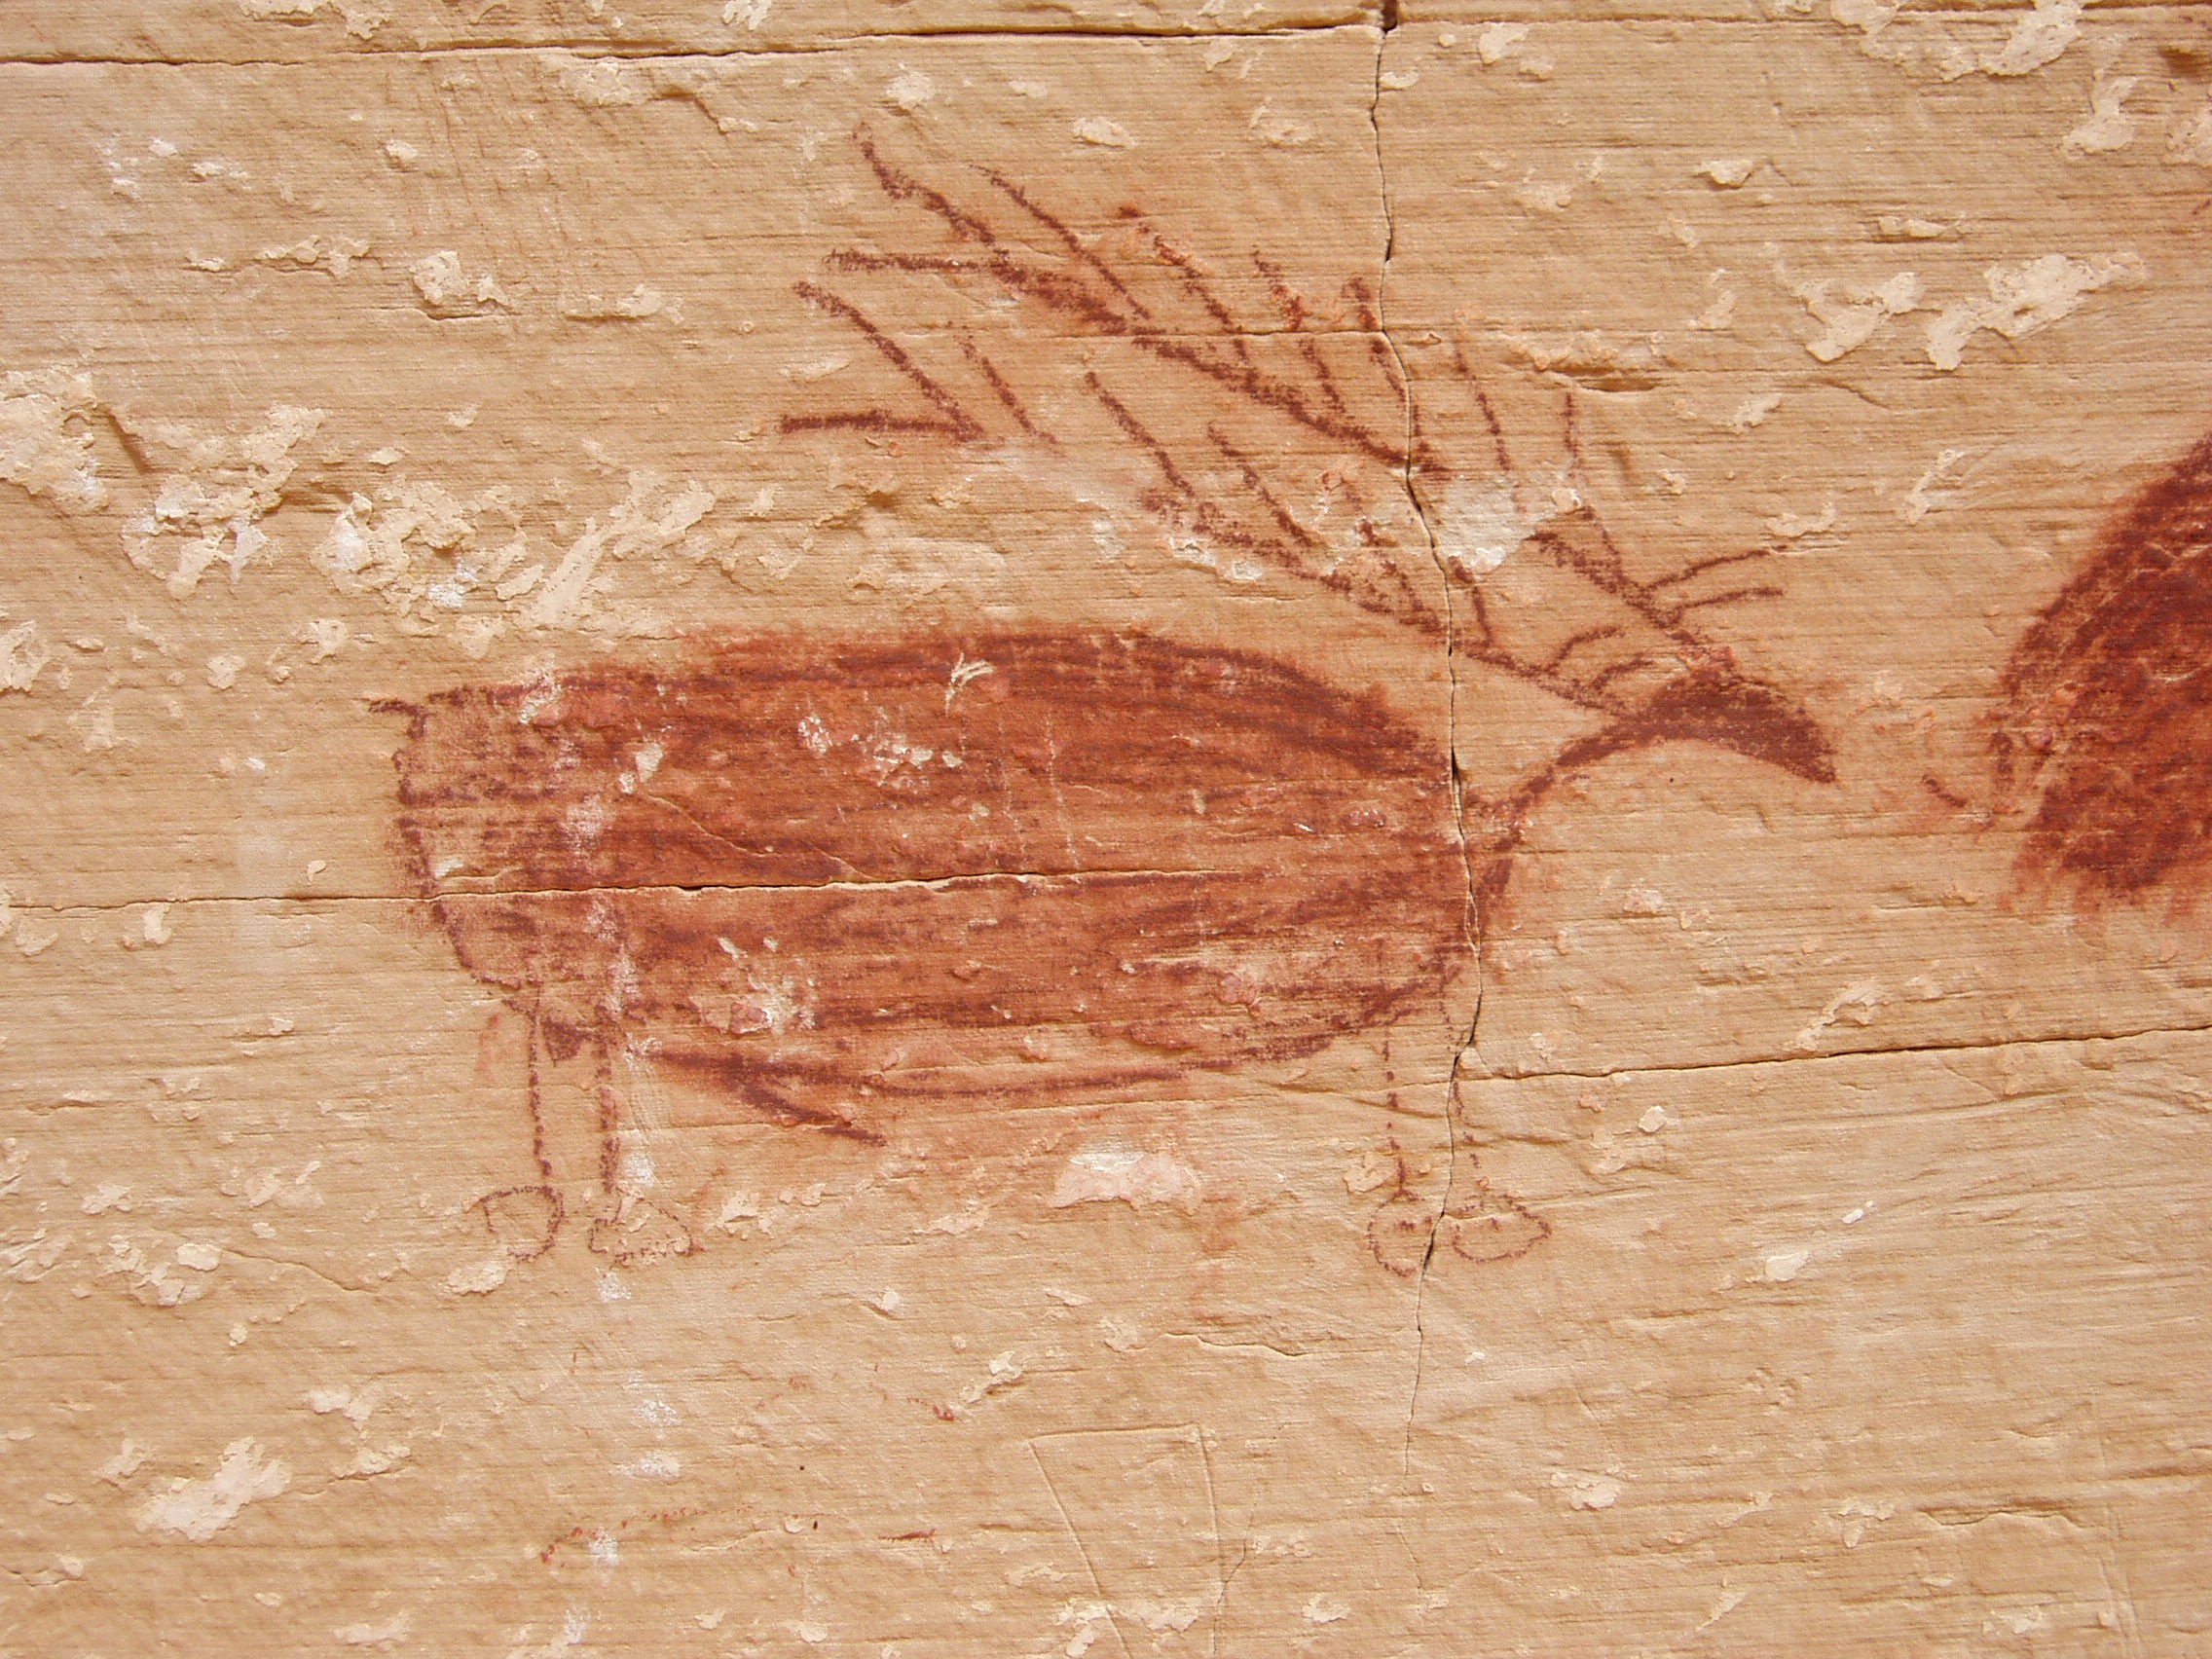
The pictographs cannot be precisely dated but are estimated to be thousands of years old, made by the Archaic peoples who preceded the Anasazi and more modern Pueblo people. Here are some photos taken on the way out to the trailhead and on the day of my hike. [Click on any image to enlarge, All photos Max Vollmer]
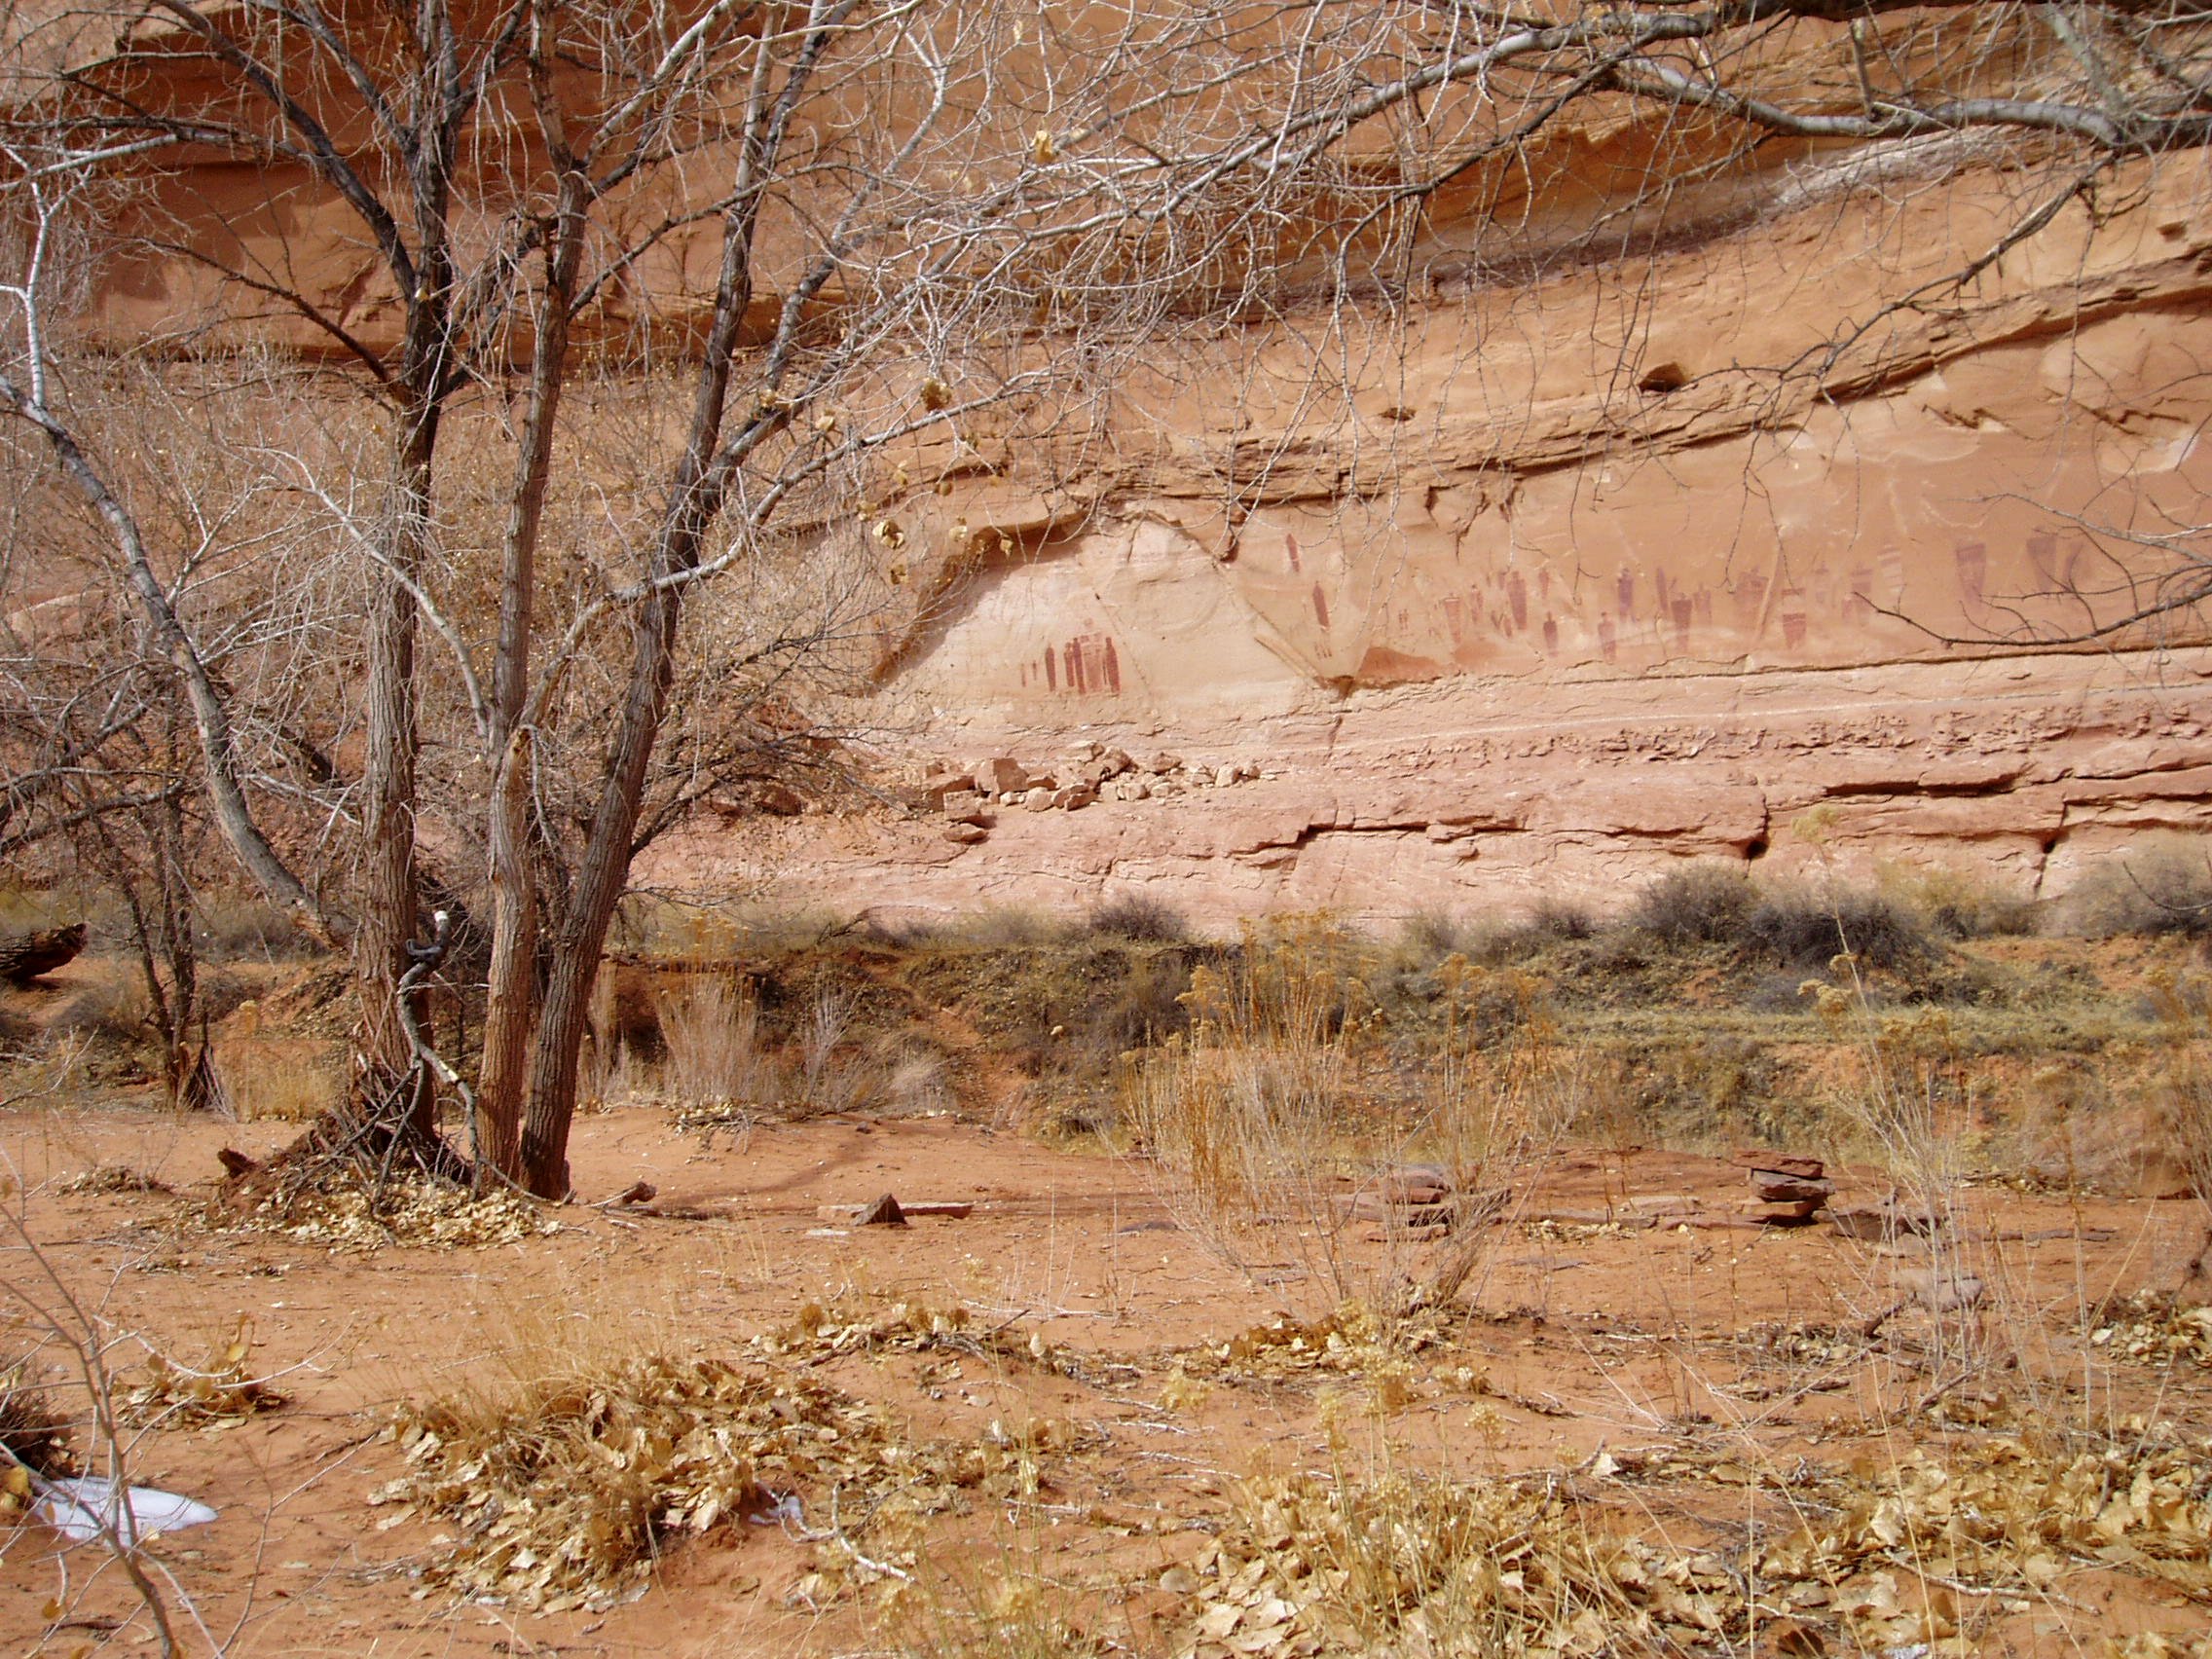
The long road out to the trailhead.Parking at the trailhead.Dinner of beef stew with fresh, steamed broccoli.Hiking through the canyon.The Grand Gallery on the cliff face from 100 yards away.Some of the pictographs, the largest of which is approx. 8 feet tall.Otherworldly, probably shamanic figures.Deer, antelope, and buffalo presumably, with a hunter holding his bow and arrow to the right..Closeup of the deer pictograph.
The largest and strangest anthropomorphic figures are believed to be the work of shamans on their vision quests. The animal figures are thought to represent the game hunted by a later group of people. Fortunately, all the pictographs are now too high up on the wall to reach which gives them some protection from vandals. Erosion over the centuries has lowered the canyon floor.
I made a mid-Winter trip down to the SE corner of Oregon, in part to find some open space amid the pandemic, but also for my first glimpse of the Owyhee Canyonlands. This remote area is very sparsely populated by cattle ranchers and some sheep herders. To give you and idea, one sign I passed read, “Next gas 120 miles.” I hit a spate of dry weather which was fortunate because the desert soil turns to a slippery and sticky gumbo when wet. During the day I needed 4WD on the Leslie Gulch-Succor Creek Byway which is mud in winter. Here are a few photos. [Click on any image to enlarge, All photos Max Vollmer]
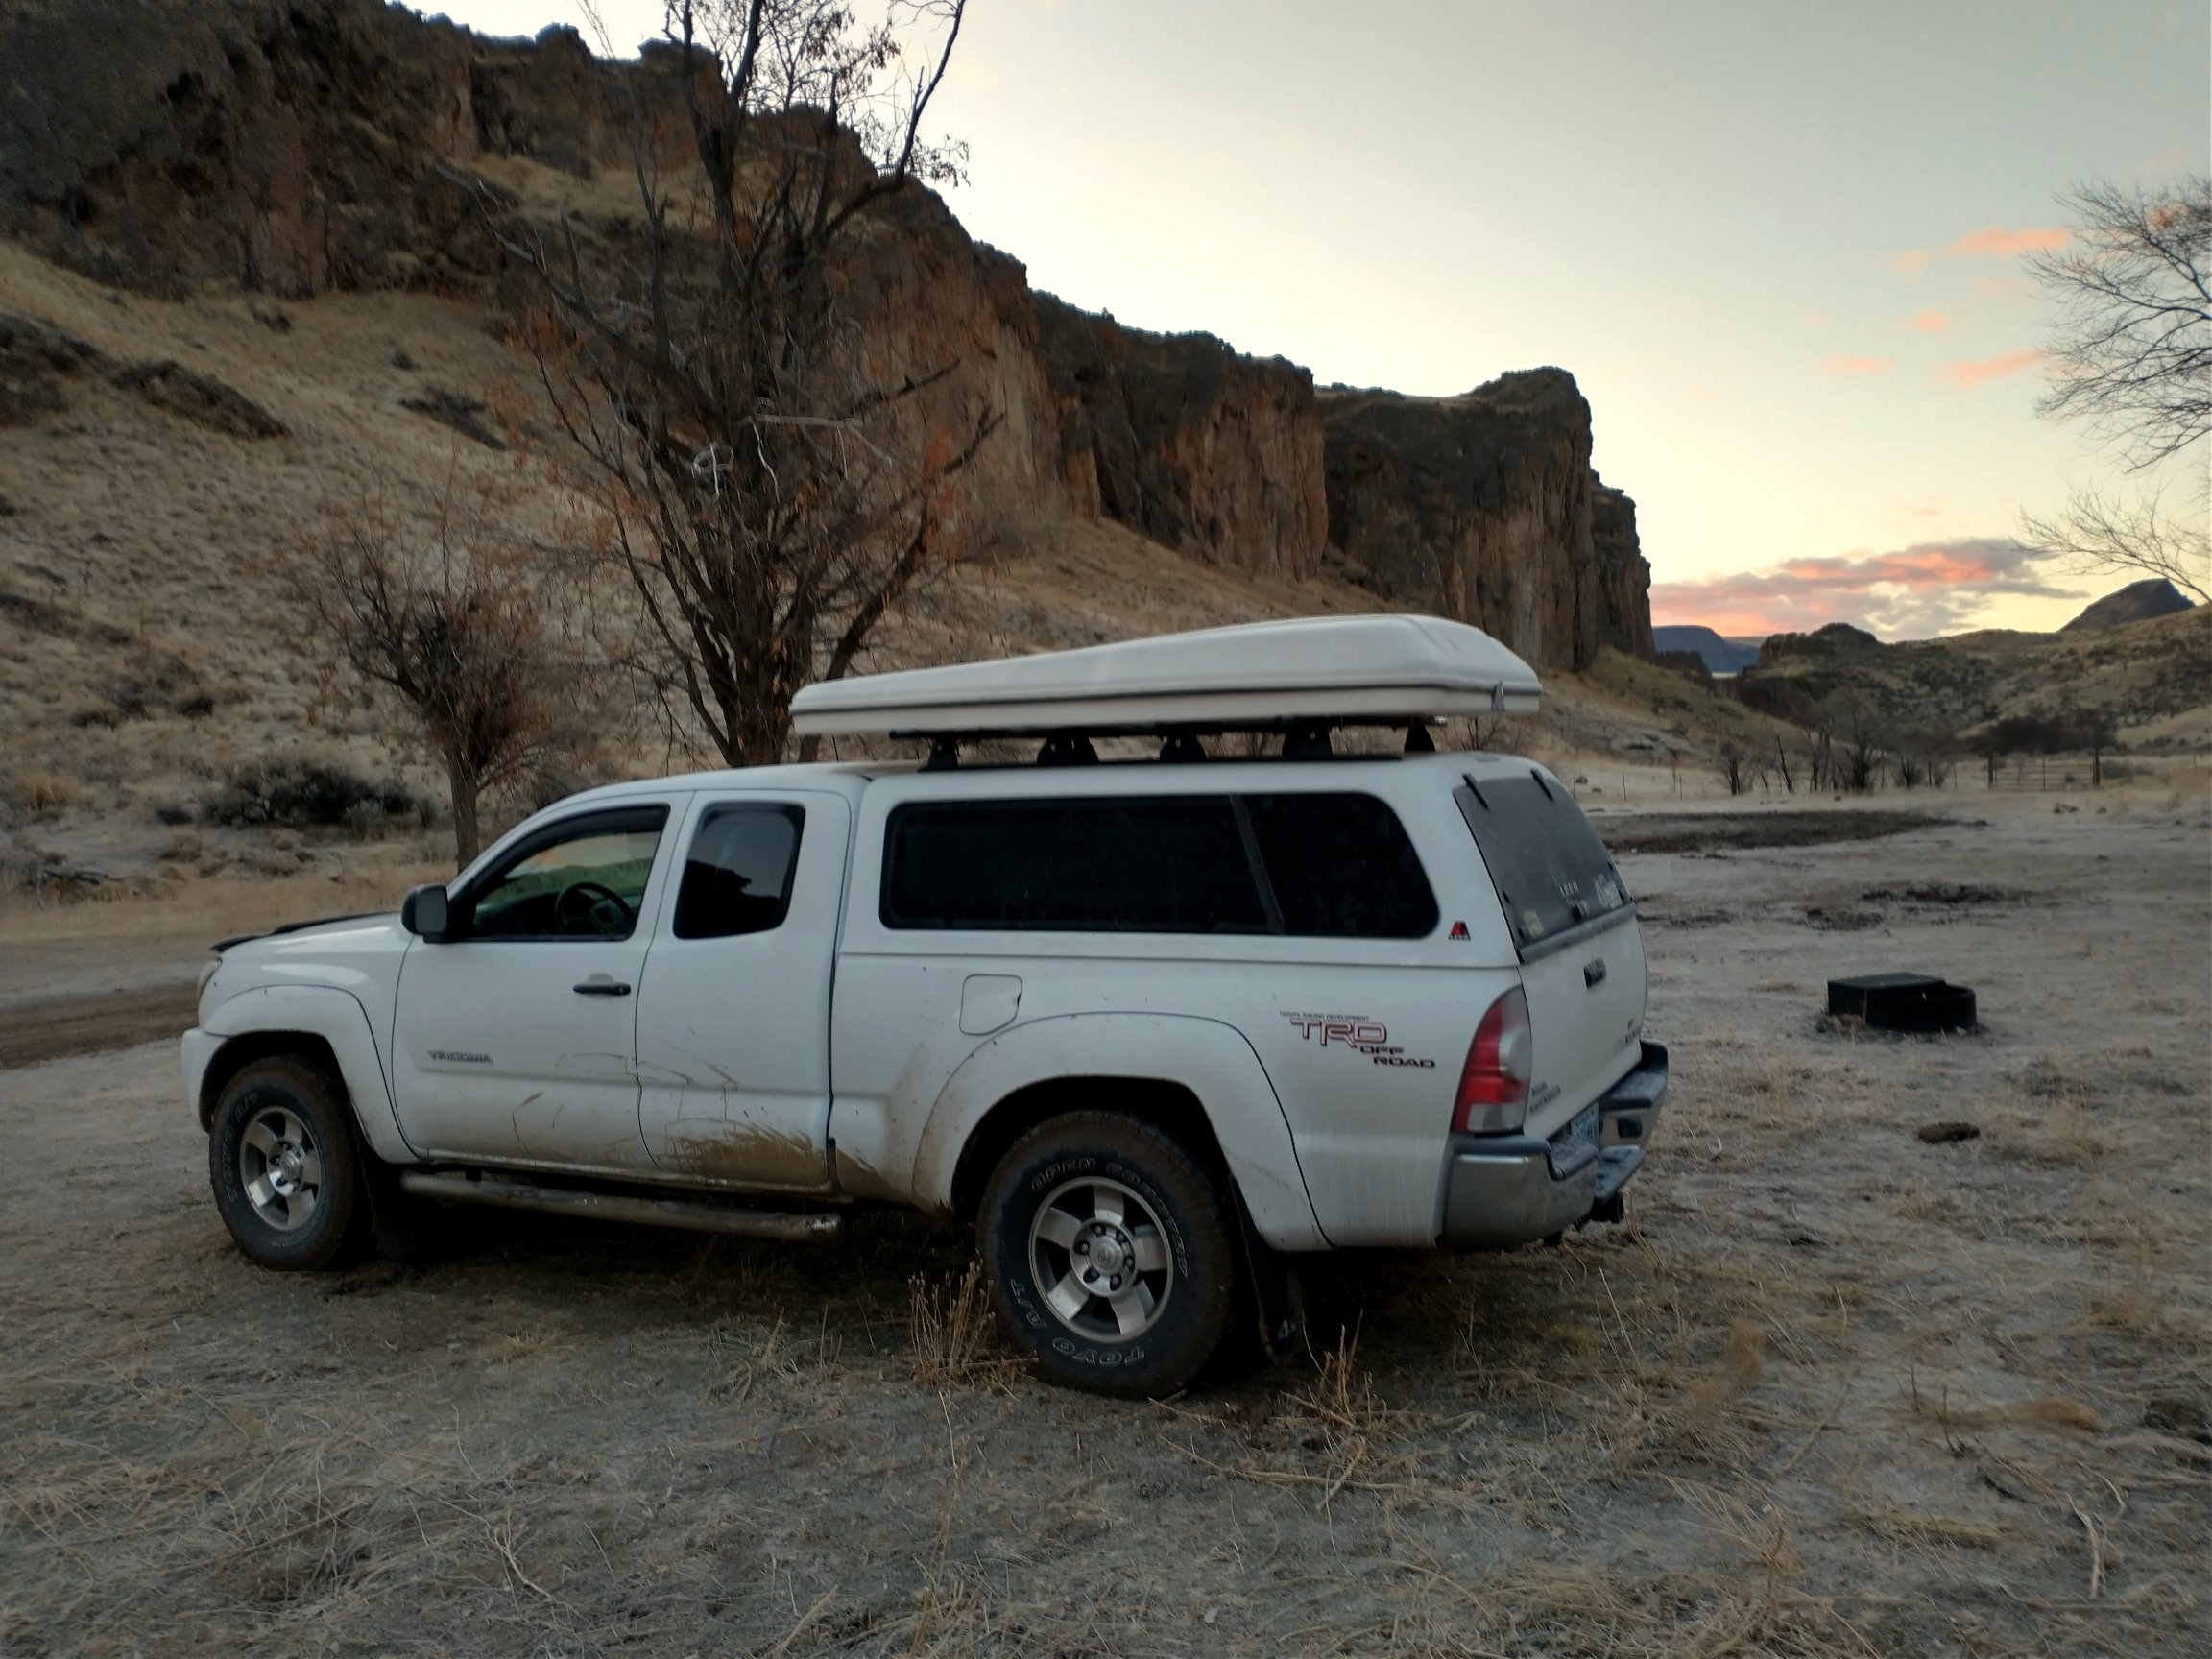
This was just before sunset at my first campsite NW of Burns Junction. Overnight low was 28 degrees F, enough to freeze the mud which made it easier to break camp in the morning.
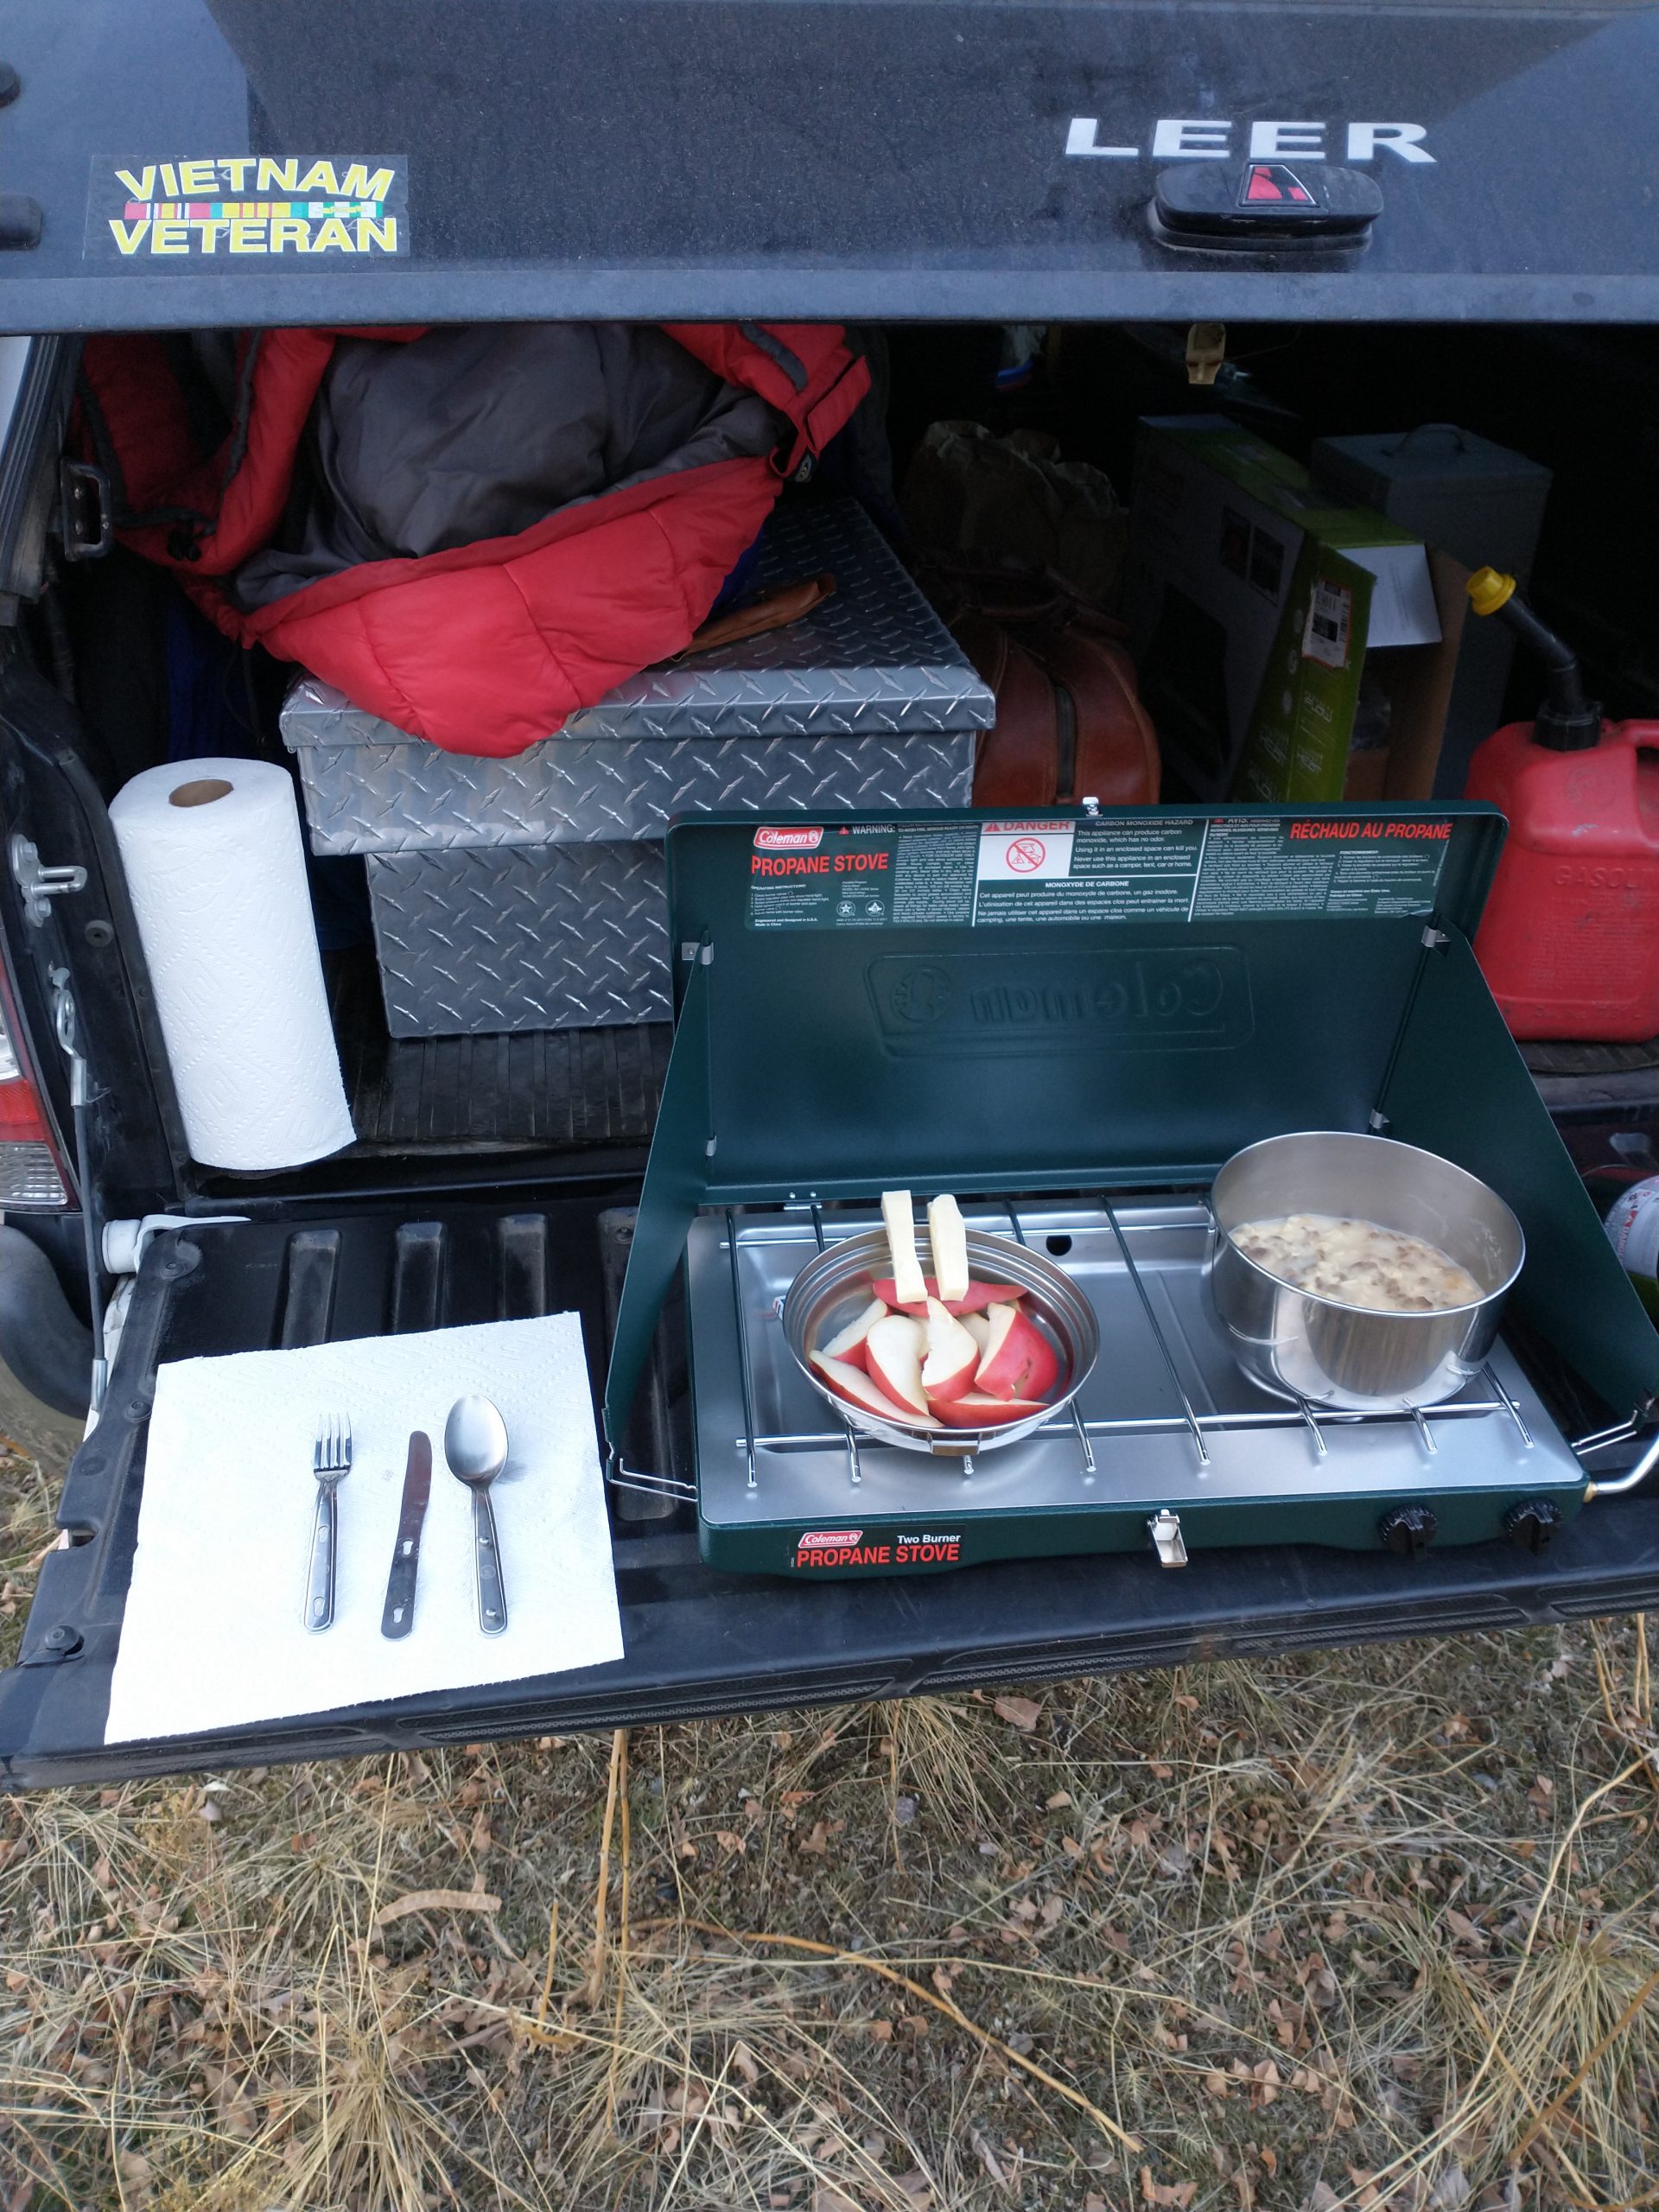
This was my setup at Succor Creek State Park alongside the Owyhee River. Dinner that evening was Beef Stroganoff with egg noodles, sliced red pear with some cheese, and hot coffee.
Darkness fell around 5:30 p.m. and the pre-dawn light didn’t amount to much until 5:30 a.m. That makes for a long night in the sack. When I packed up and departed on my last morning along the Owyhee, it was 22 degrees F. I had hot coffee and cleared out while the mud was frozen and shallow puddles were iced over, but not before picking a bunch of sage along the river bank to perfume the truck cab.
Winter colors in the canyonlands are not much to brag about.
To live content with small means; to seek elegance rather than luxury, and refinement rather than fashion; to be worthy, not respectable; and wealthy, not rich; to study hard, think quietly, talk gently, act frankly… this is my way. (Anonymous)