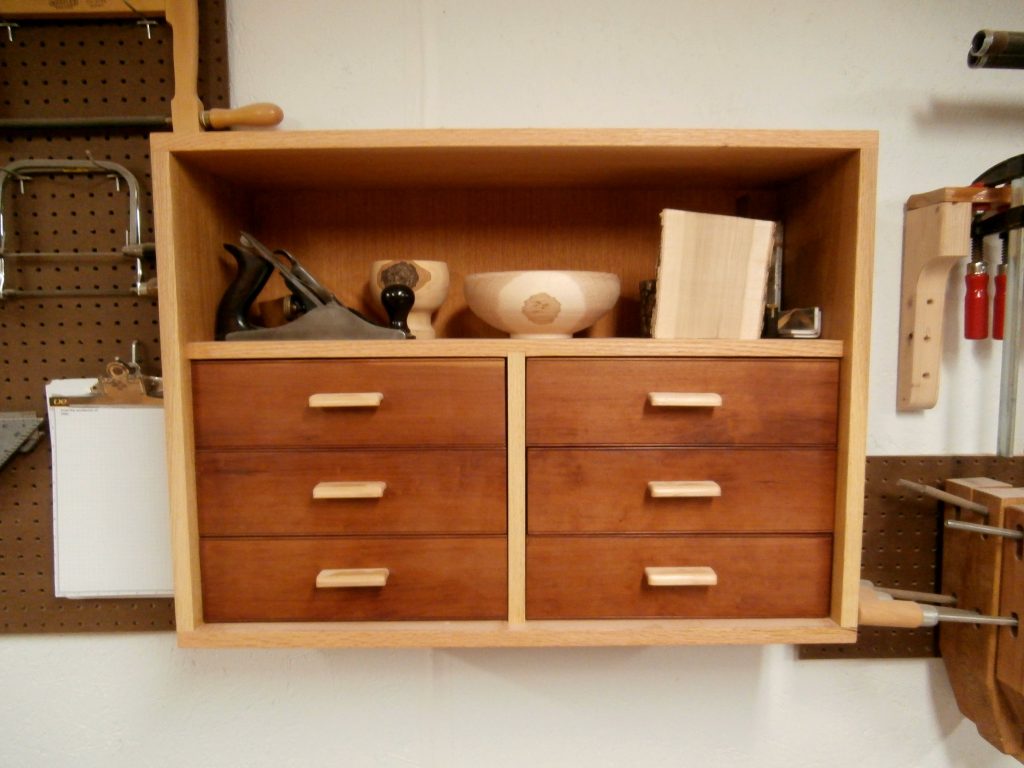
I made this small, wall mounted cabinet to hold my layout tools for measuring and marking. It puts them within easy reach and keeps them organized. I used some off-cuts of red oak, black cherry, American elm, and sugar maple that were too good to throw away. And I used some of the same tools that are now housed in the cabinet to make it. [All photos ![]() Max Vollmer, Click on any photo to enlarge]
Max Vollmer, Click on any photo to enlarge]
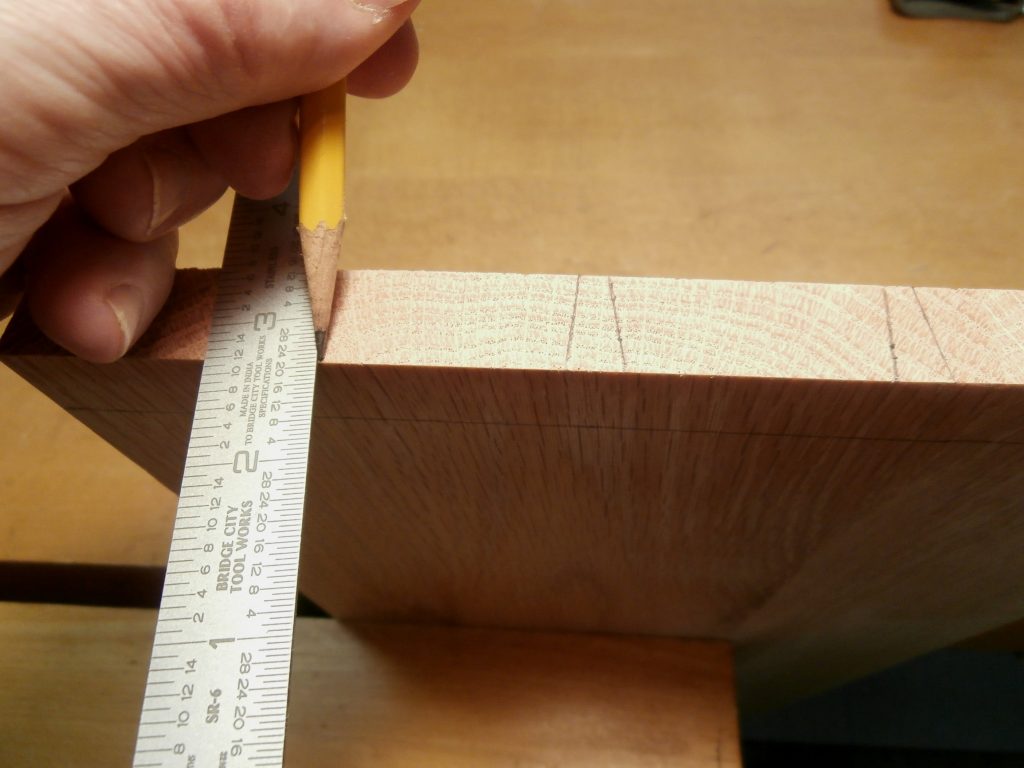
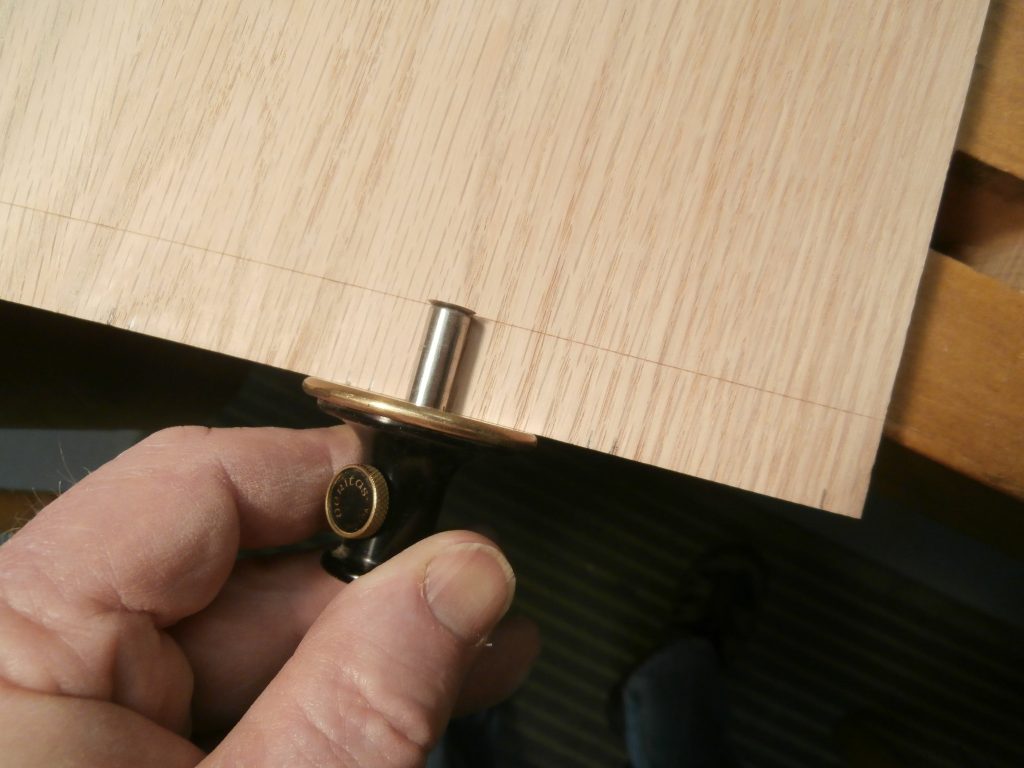
Step one: having determined the dimensions for the cabinet and cut the component pieces to size, I started the through dovetails for the case by marking the length for the tails based on the thickness of the board to which they will be joined, using an adjustable marking gauge made by Veritas Tools in Canada.
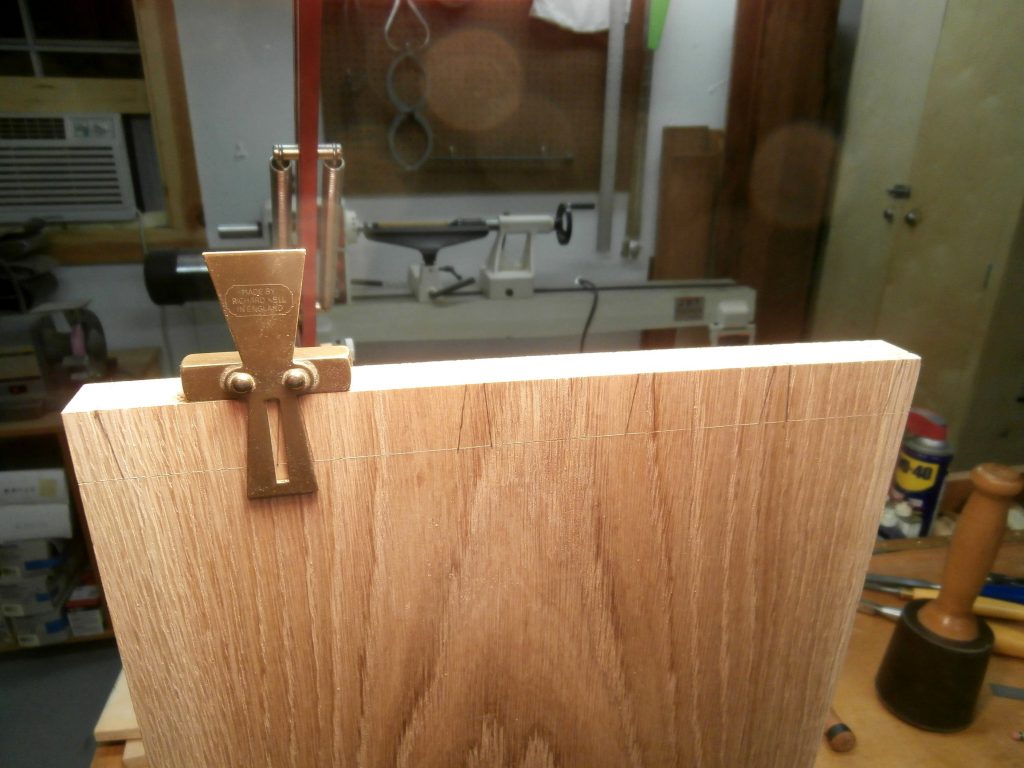
Having decided on my dovetail spacing, I then marked the tails with a brass dovetail guide made by an Englishman, Richard Kell, many years ago.
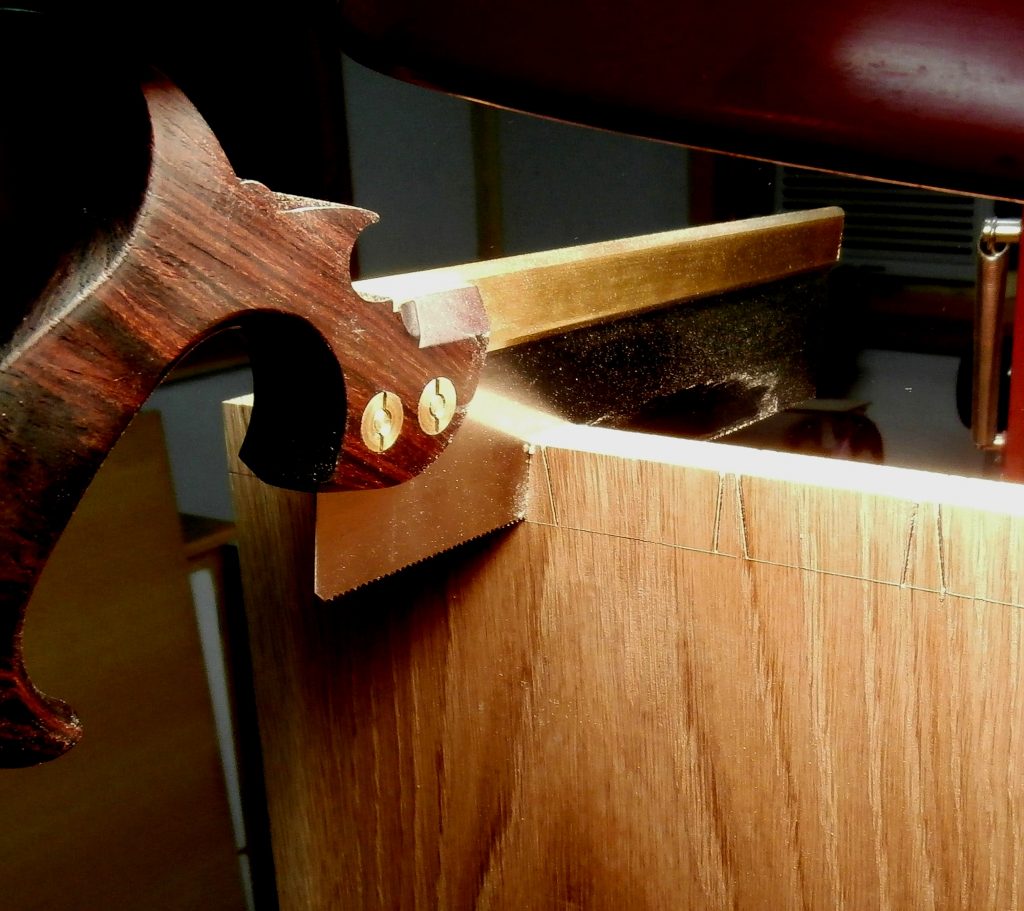
The next two steps were to cut alongside the marked tails and then chop out the waste between them.
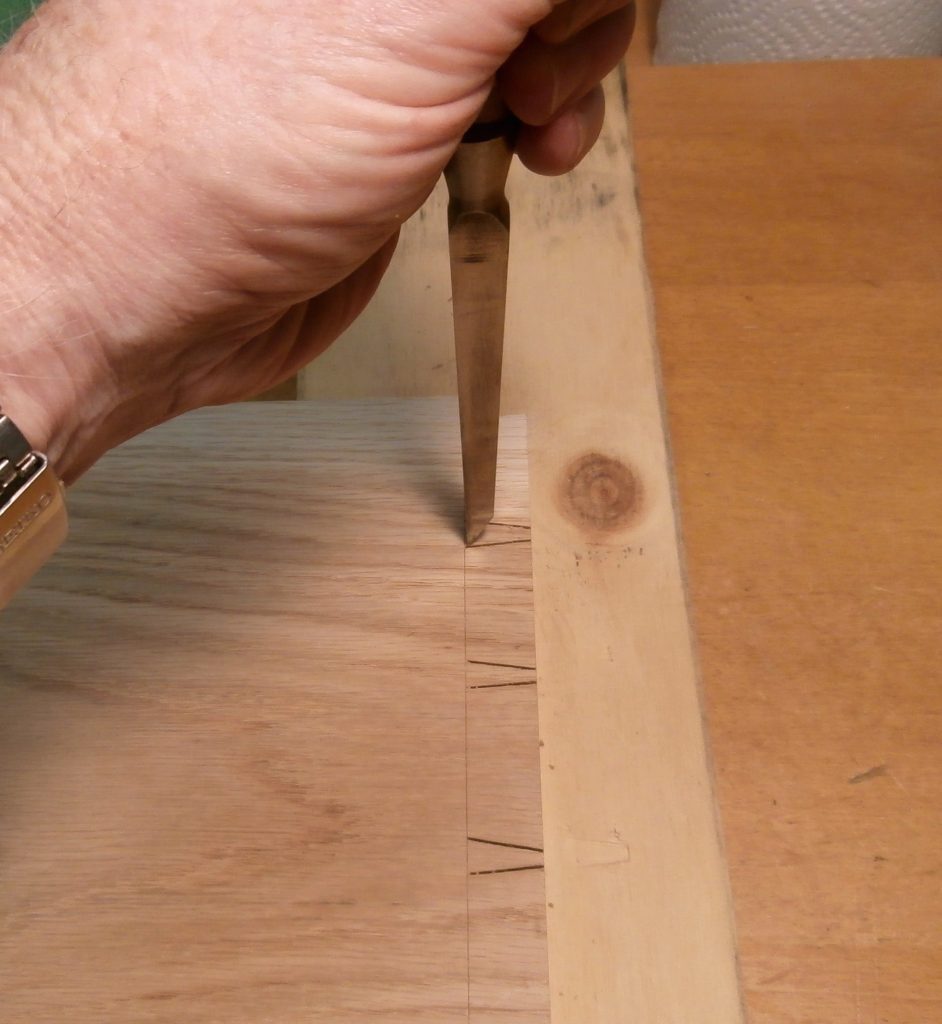
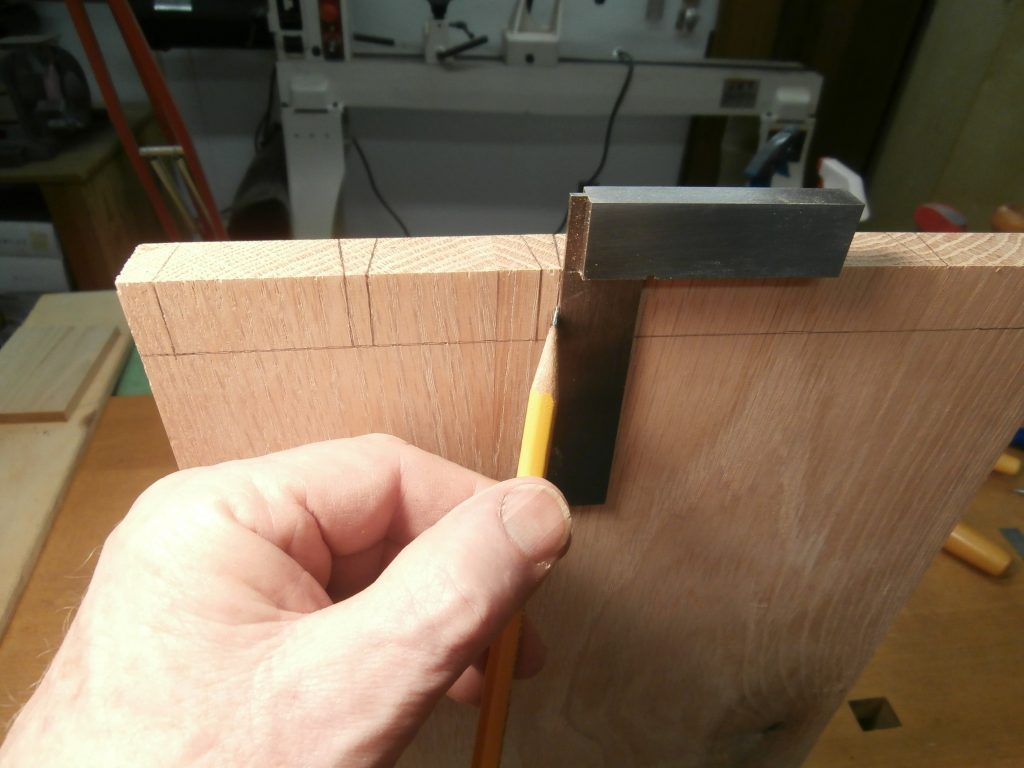
To align the dovetails with matching pins, I clamped the board with the finished tails in my bench vise and lined up the board that will have pins and marked their location. With the spacing marked in pencil, I used a marking knife to inscribe the outlines of the waste between pins. I go to all this trouble to get the narrowest pins and finest fit. There are always slight variations in hand cut dovetails, unlike those made with a router and jig. It is not possible to get the very small pins you see in fine, antique furniture with a router and I want my furniture to reflect the skill required for hand work.
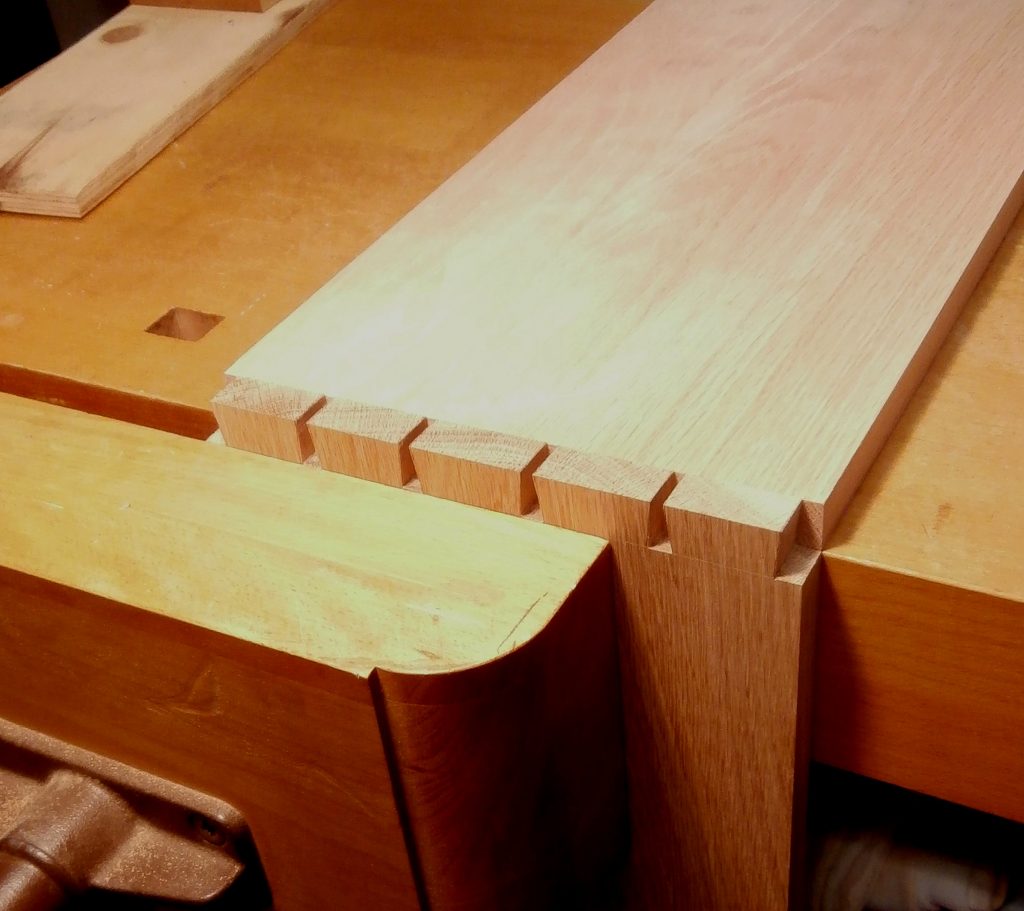
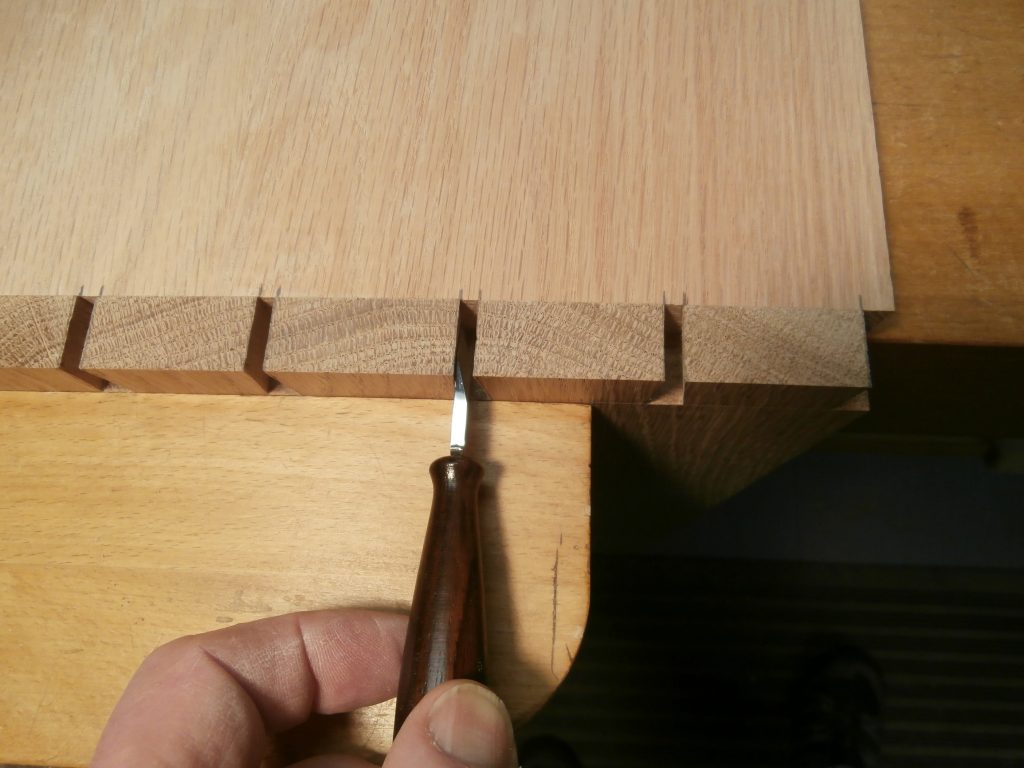
Next, I fully outline the pins with a pencil to guide my cuts. This is slow work but yields good results.
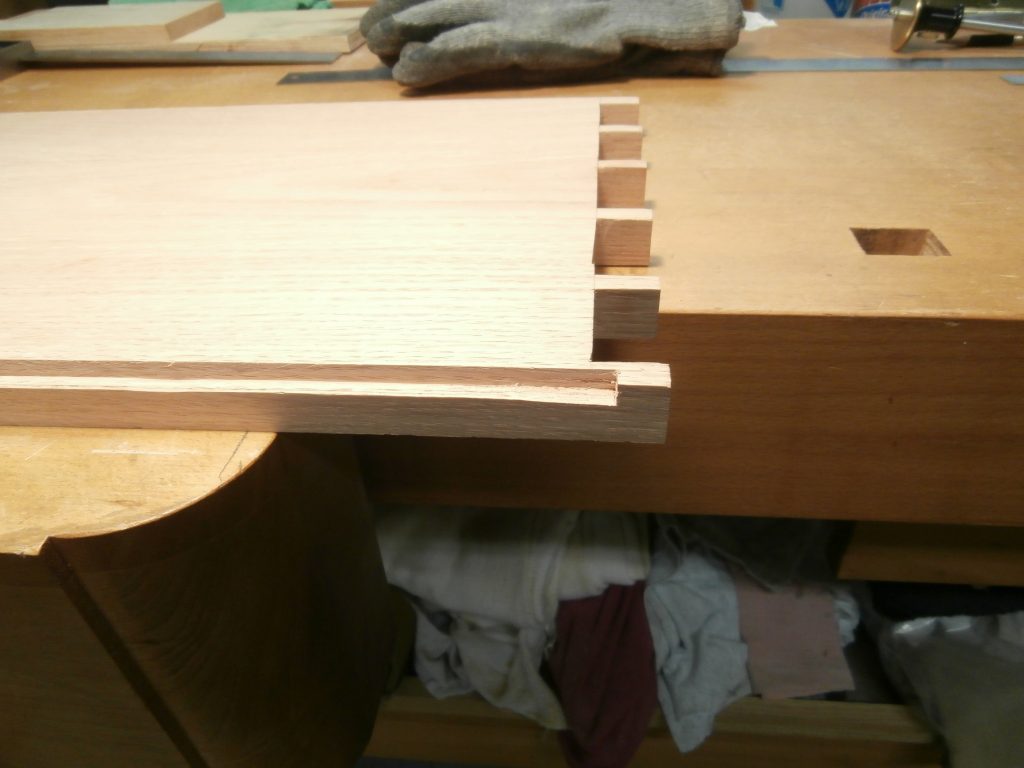
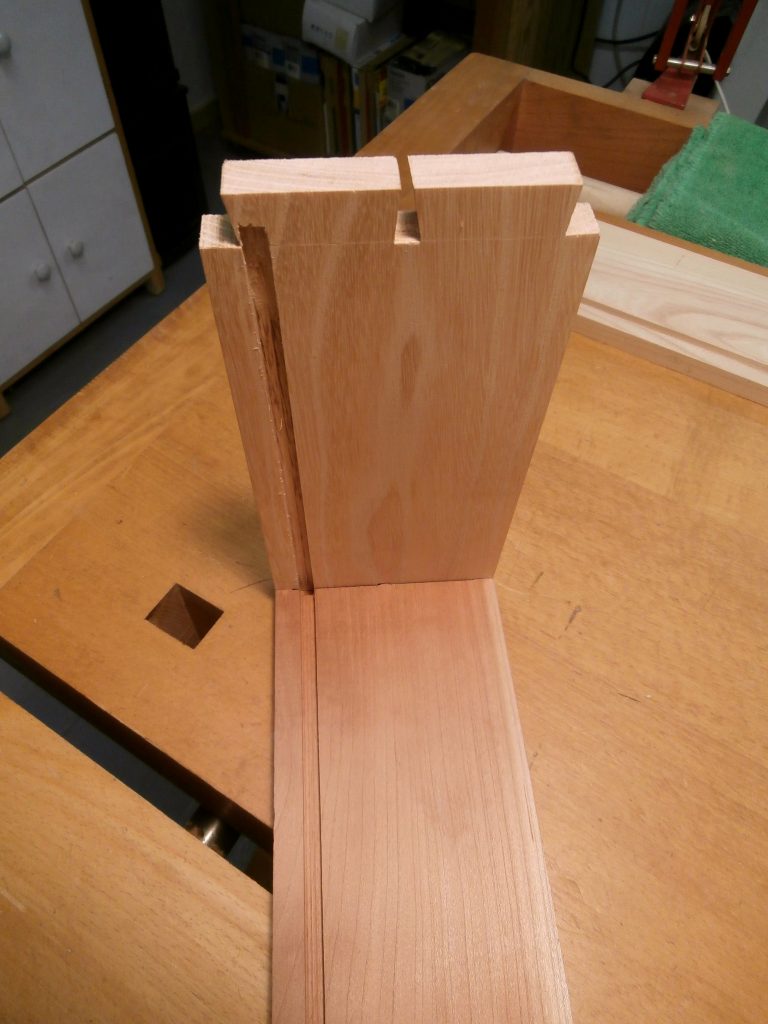
Since I planned to have a recessed back panel for the wall cabinet, after cutting the tails and pins for all four of the case frame pieces, I took this opportunity to cut the stopped rabbets around the back edges of the case pieces as well. See Below.
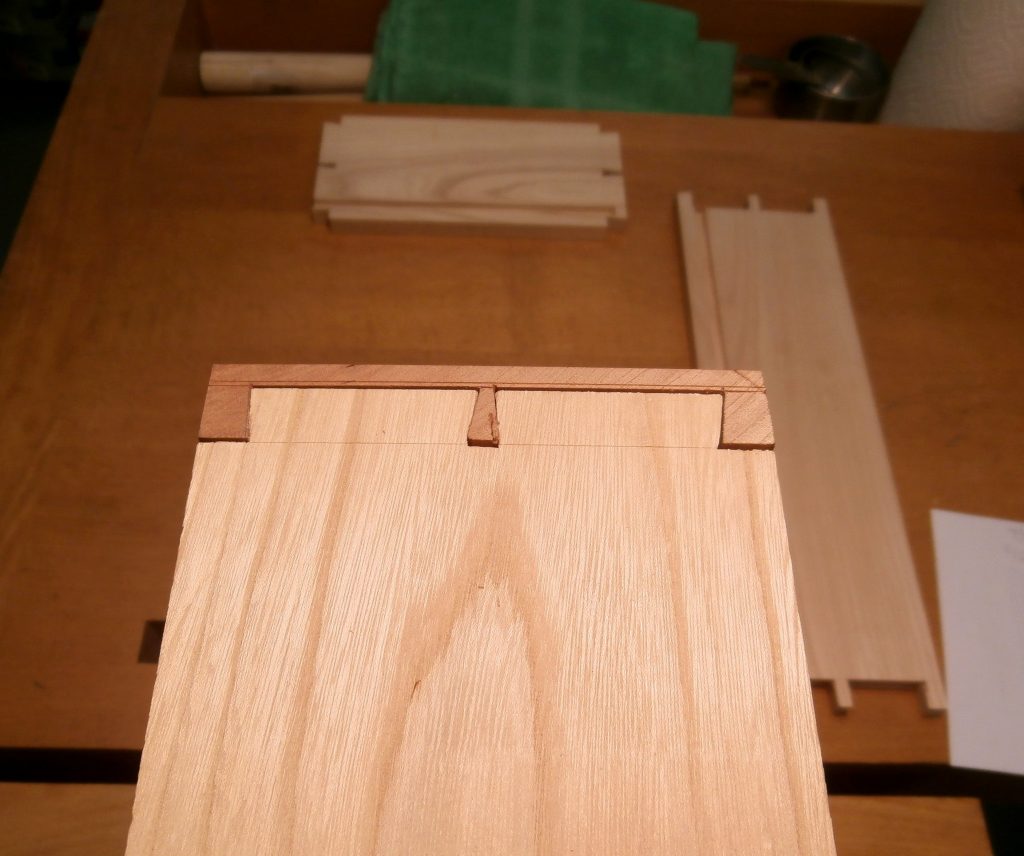
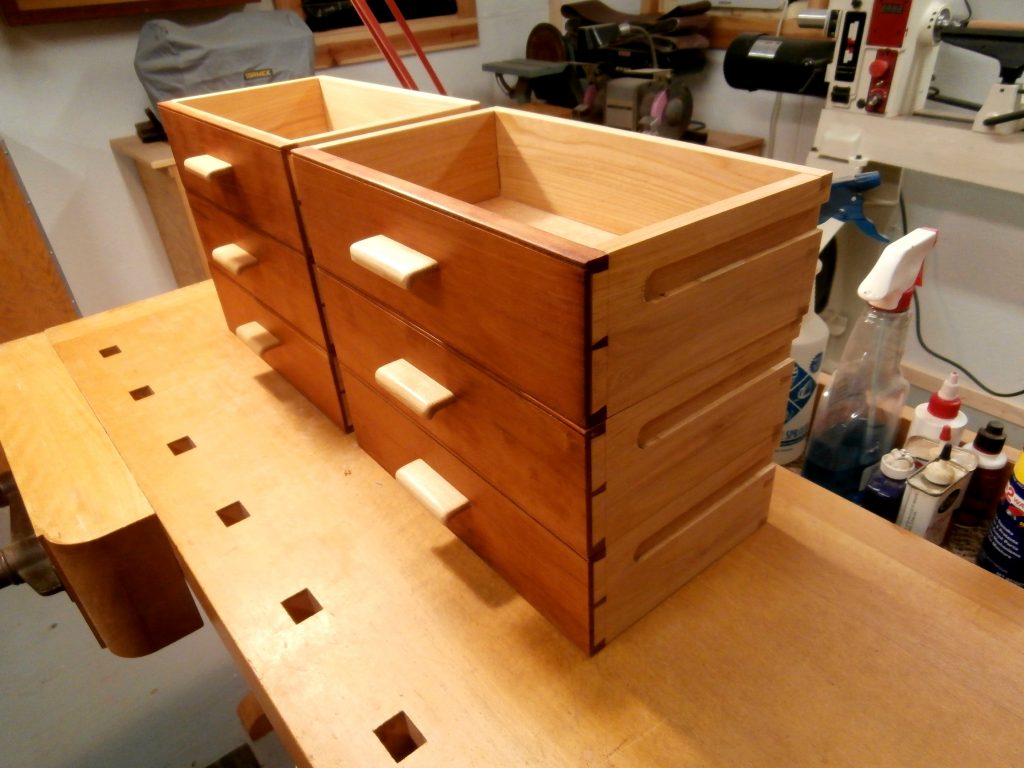
The six drawers, with American elm sides and Black cherry drawer fronts, have through dovetails on the back corners and “half-blind” dovetails on the front corners. “Half-blind” means that the tails do not go all the way through the adjoining boards so that they do not show on the face. My technique for the half-blind dovetails was basically the same as that for through dovetails. See below.
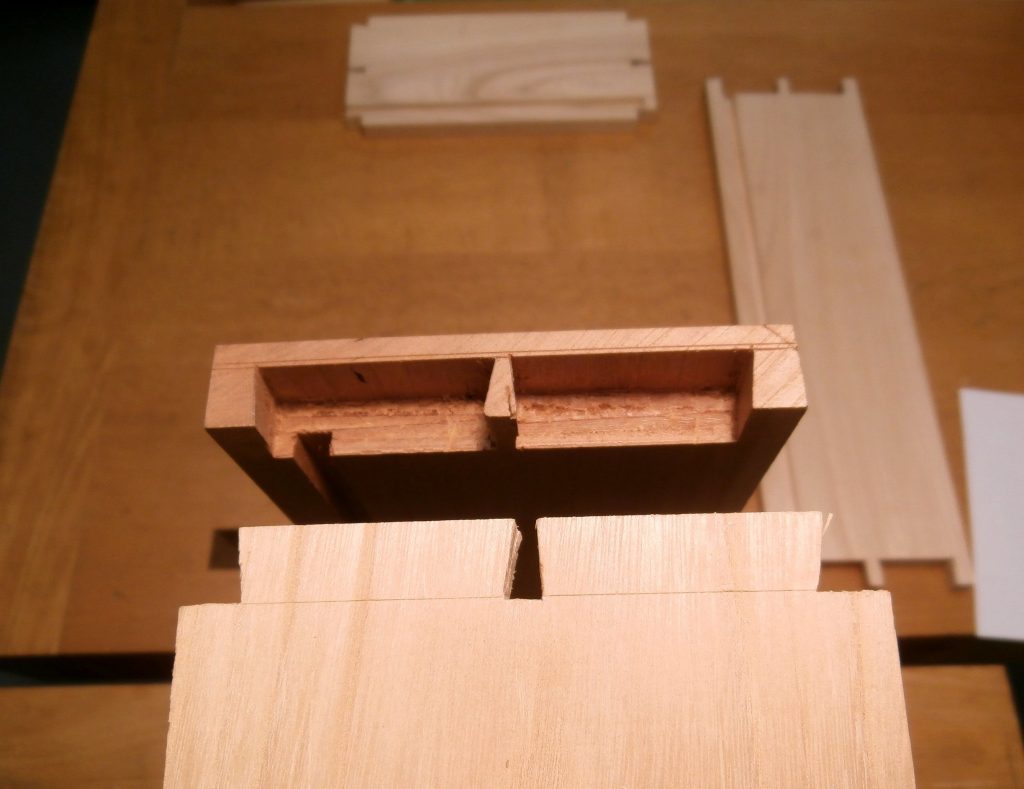
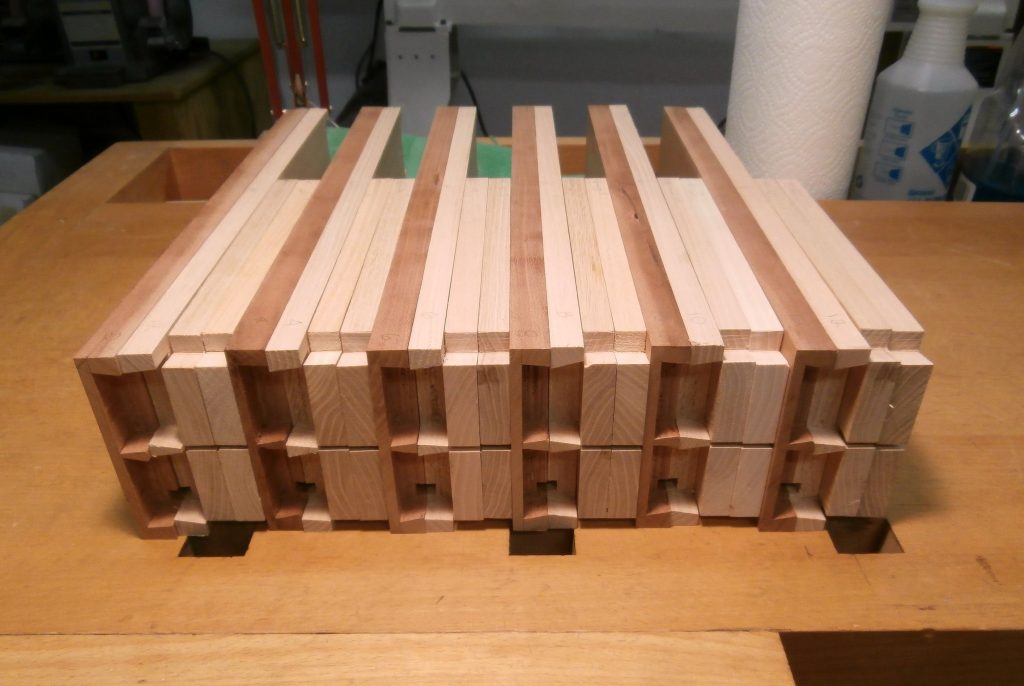
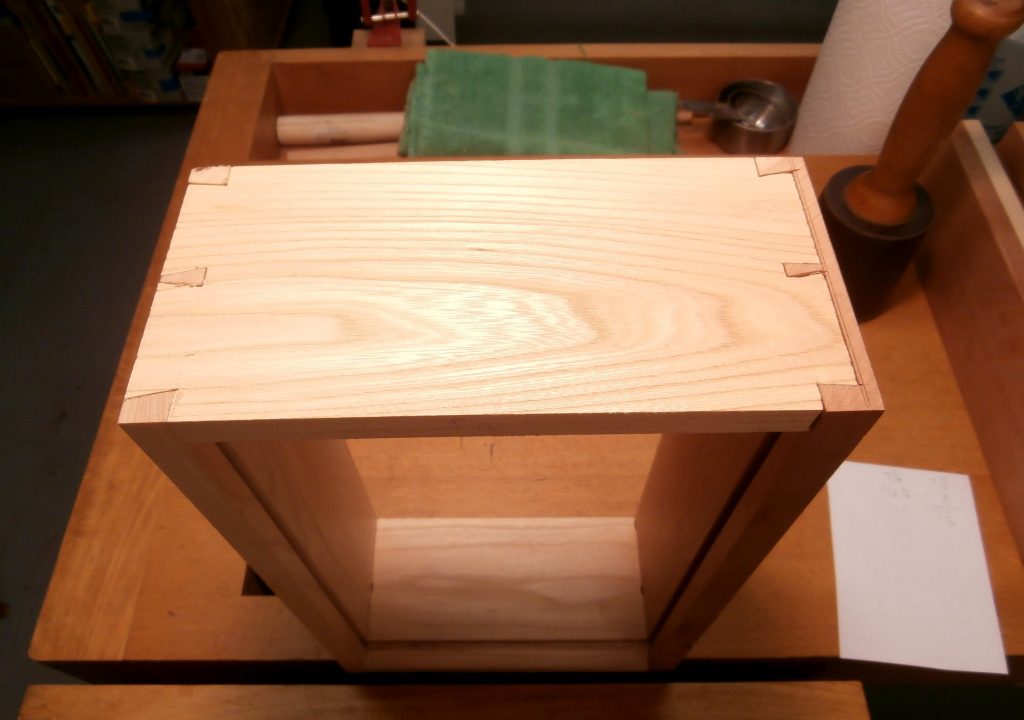
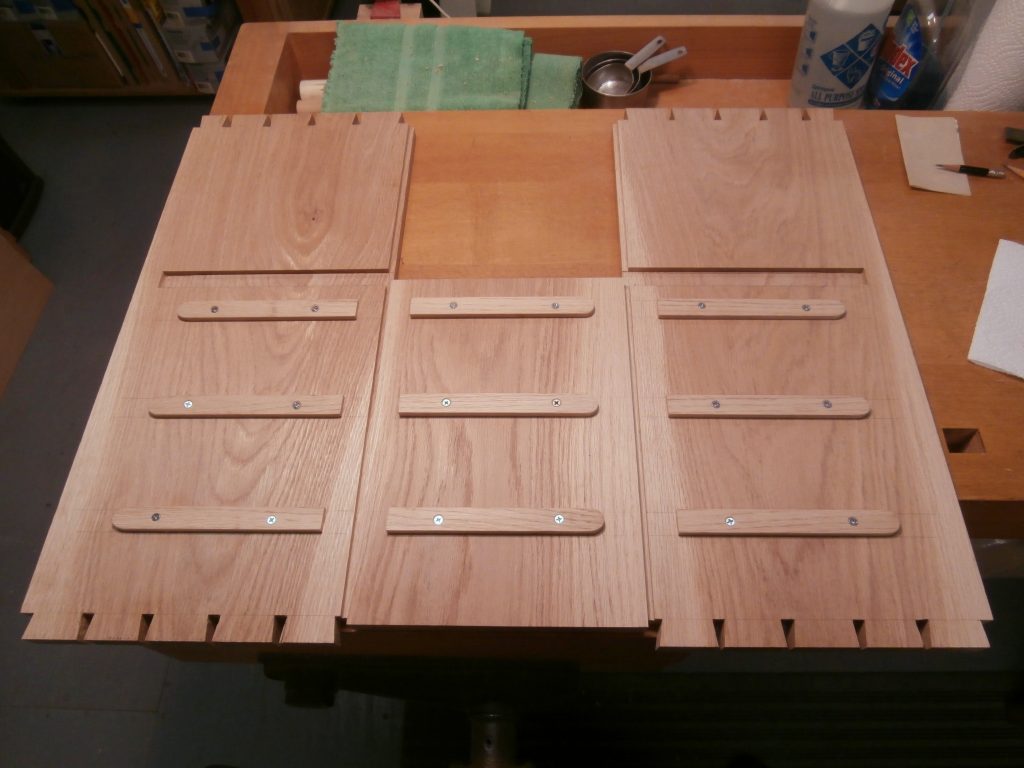
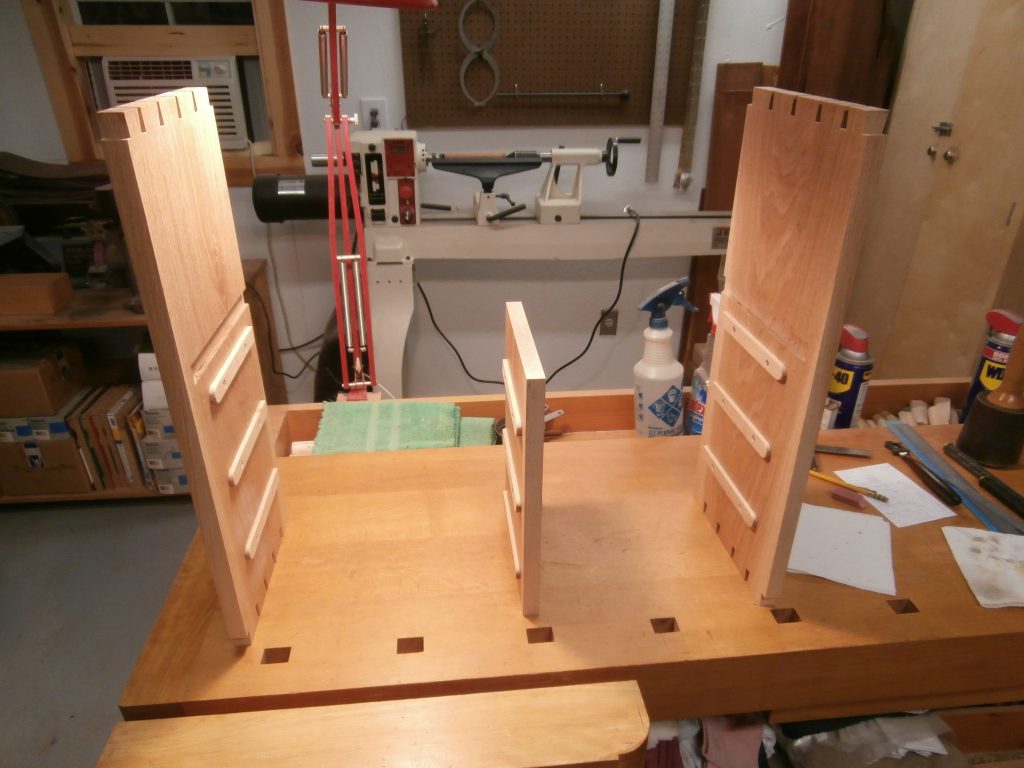
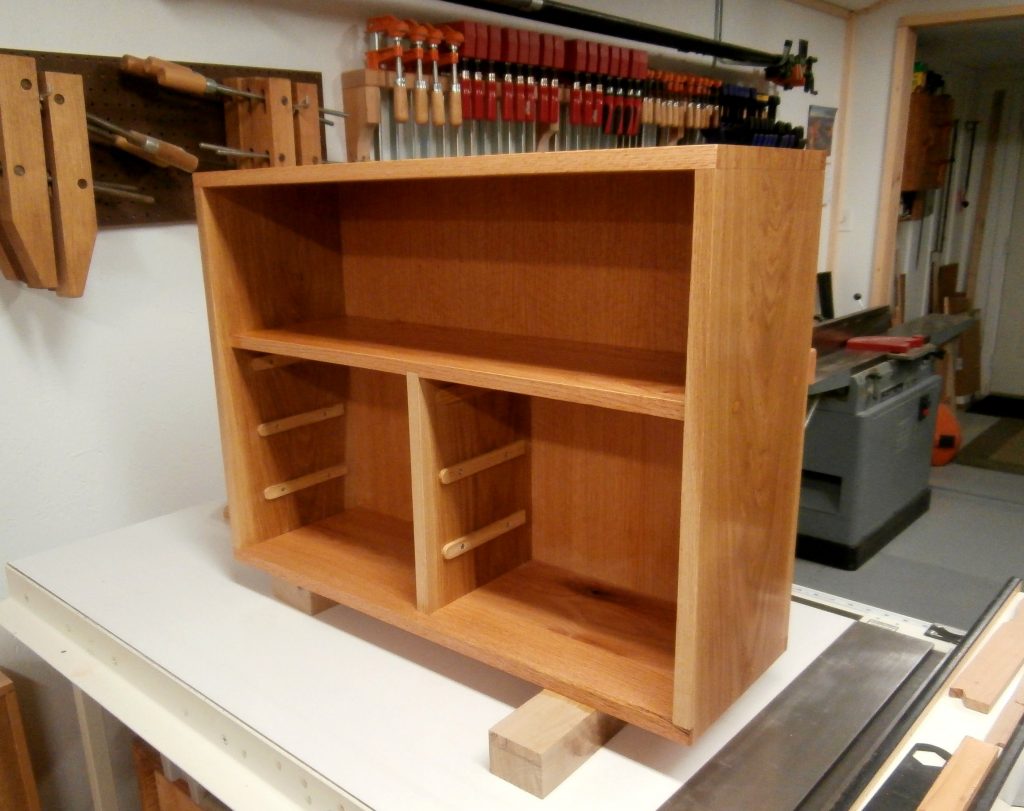
After cutting the 3/16″ oak plywood for the drawer bottoms, I cut and shaped a piece of Sugar maple with the table saw and a router to be cut into individual lengths for drawer pulls. Then I cut stopped dadoes on the outside faces of the drawer sides before final assembly, and made and attached matching wood drawer guides on the inside faces of the case pieces .
What remained was assembly and finishing with clear/natural Watco Danish Oil.
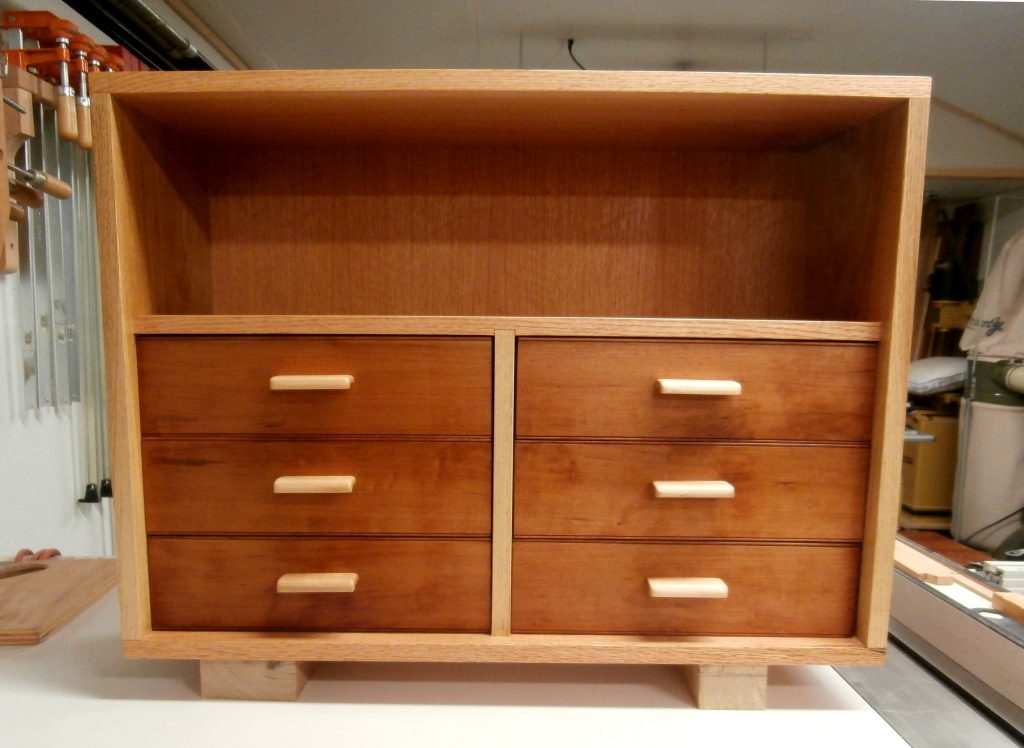
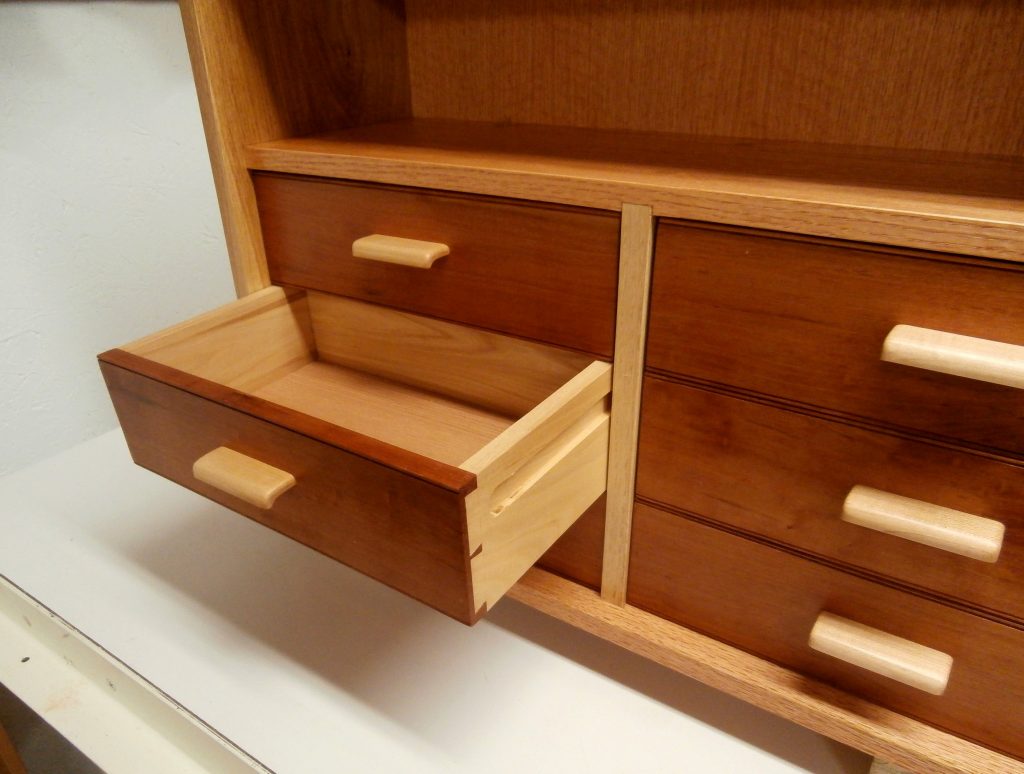
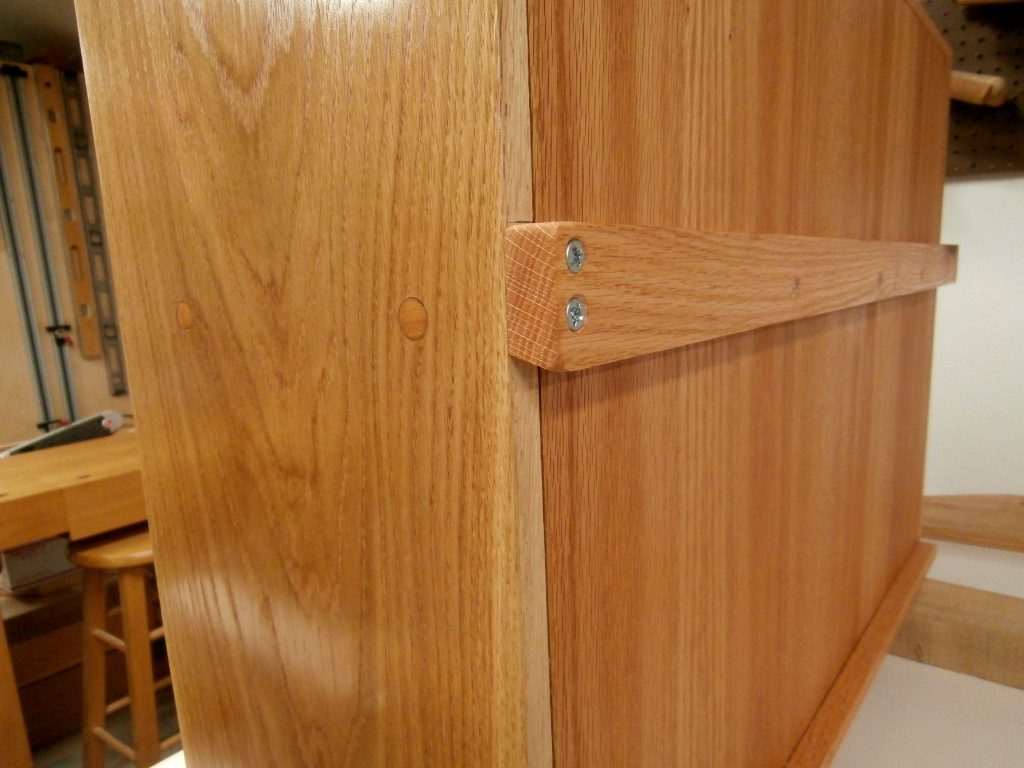
To hang the wall cabinet, I used a piece of oak with an angle cut mounted to the back of the case that mates with another oak piece, with the complimentary angle cut, that is mounted to the wall. In this way the cabinet can be hung and removed as needed.
