Claro Walnut Bowl

Bowl #1, Emily's Claro Walnut Bowl

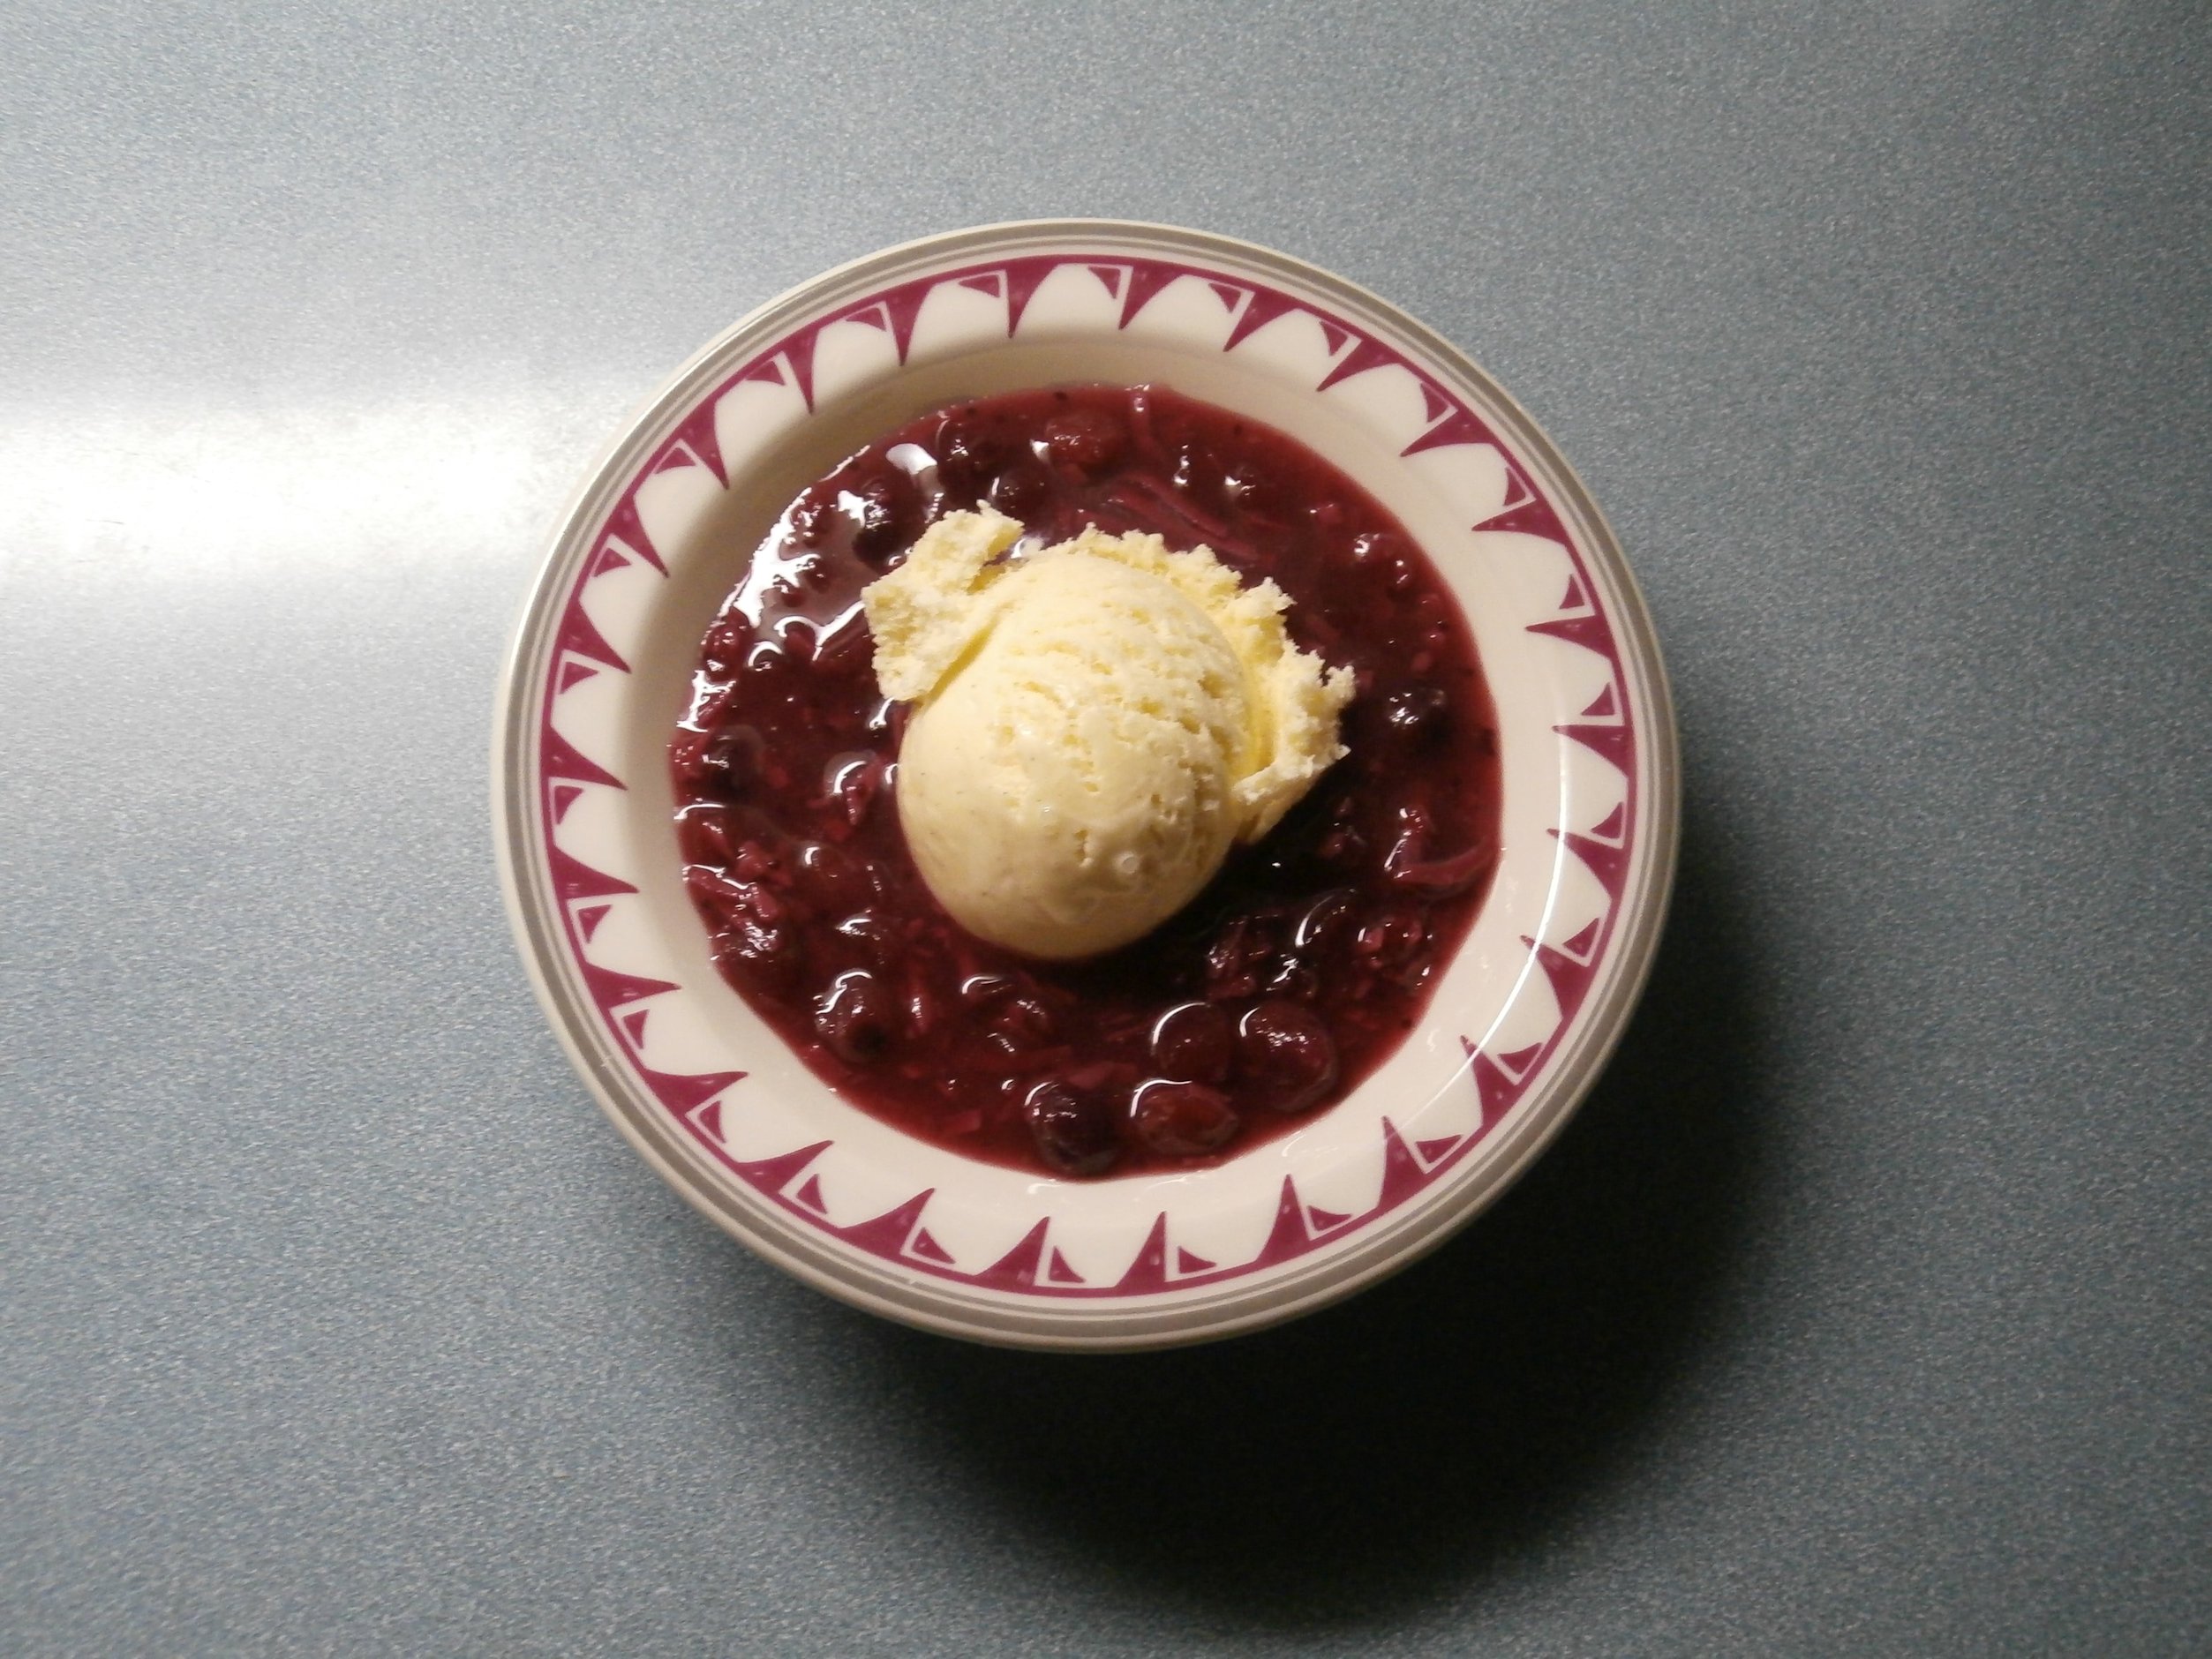
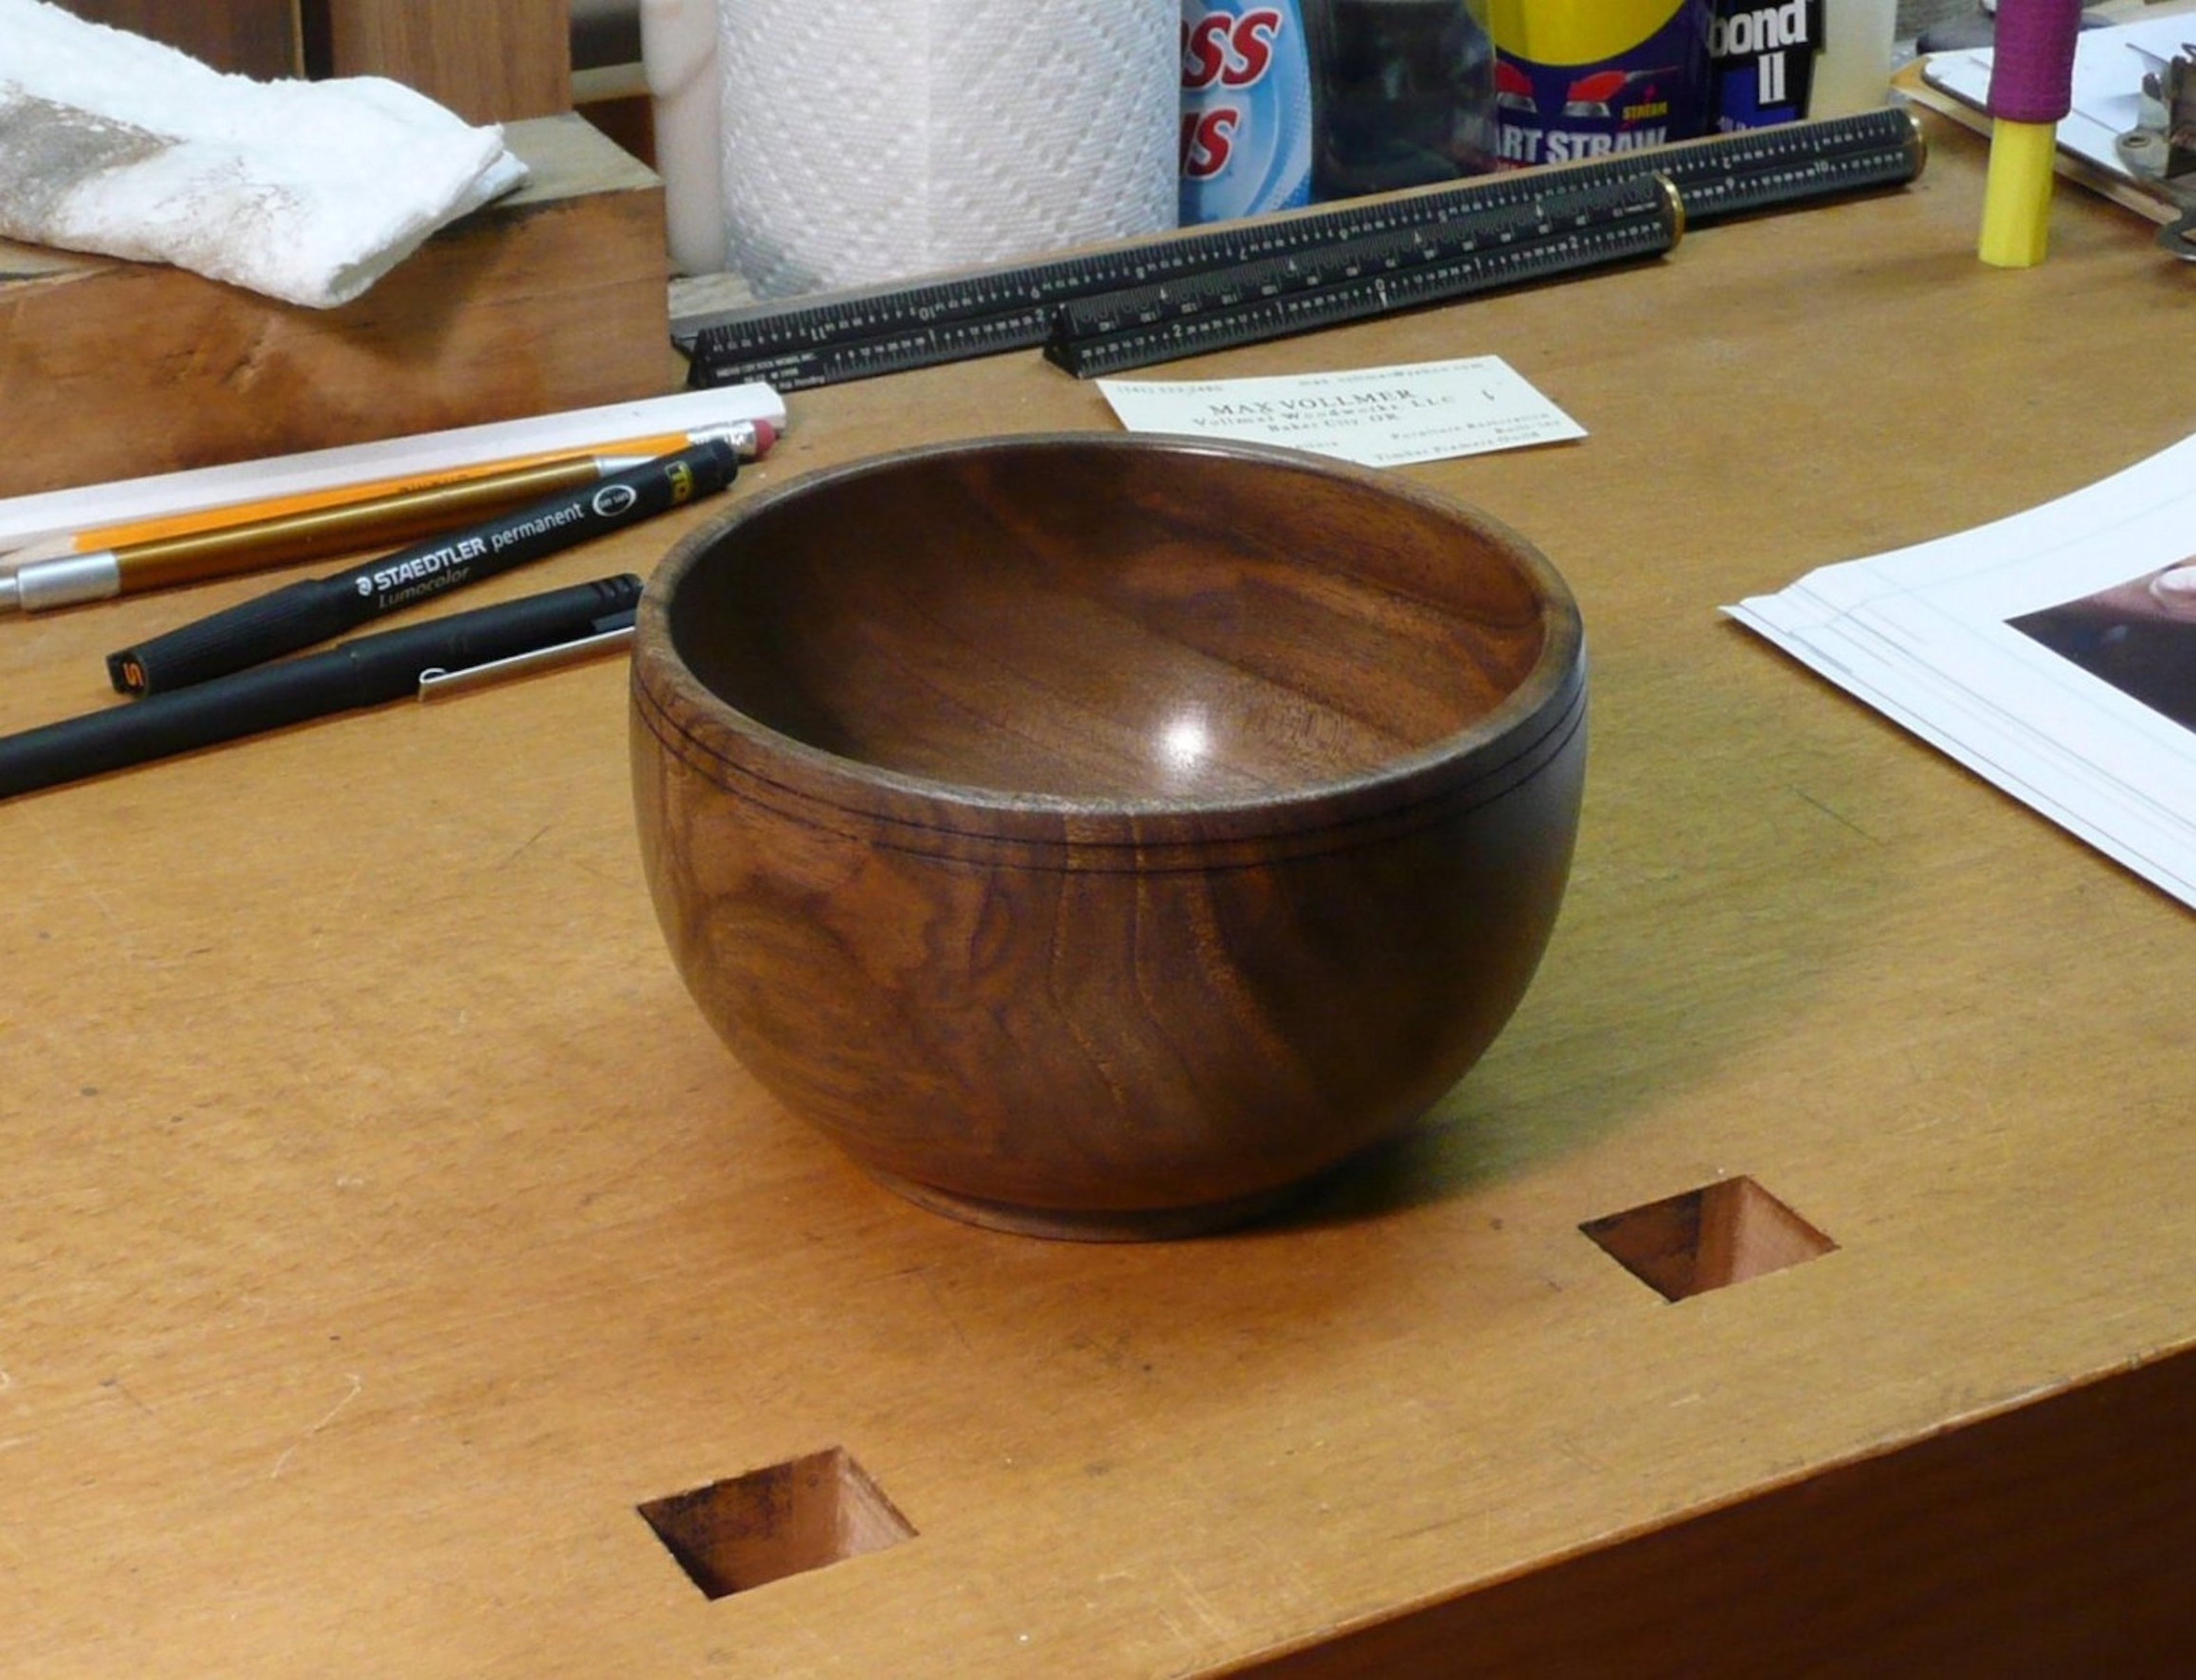
This is bowl #1, the first bowl I ever turned.   It was made from a small block of Claro walnut, about 6″ square.  I would encourage anyone thinking of learning to turn bowls on a lathe to go for it.    It’s not easy at first, but as with anything, perseverance pays off.  If you don’t have the opportunity to learn in a class or from an experienced turner in person, as I didn’t, then I can highly recommend Richard Raffan’s video, “Turning Wood,” published by Taunton Press.  Raffan’s books on turning are an inferior substitute for seeing the techniques explained and demonstrated in the video.    (Click on any image to enlarge)

Here’s a partial picture of the lightweight 1/2 HP Delta wood lathe I  started with.

Walnut bowl 005

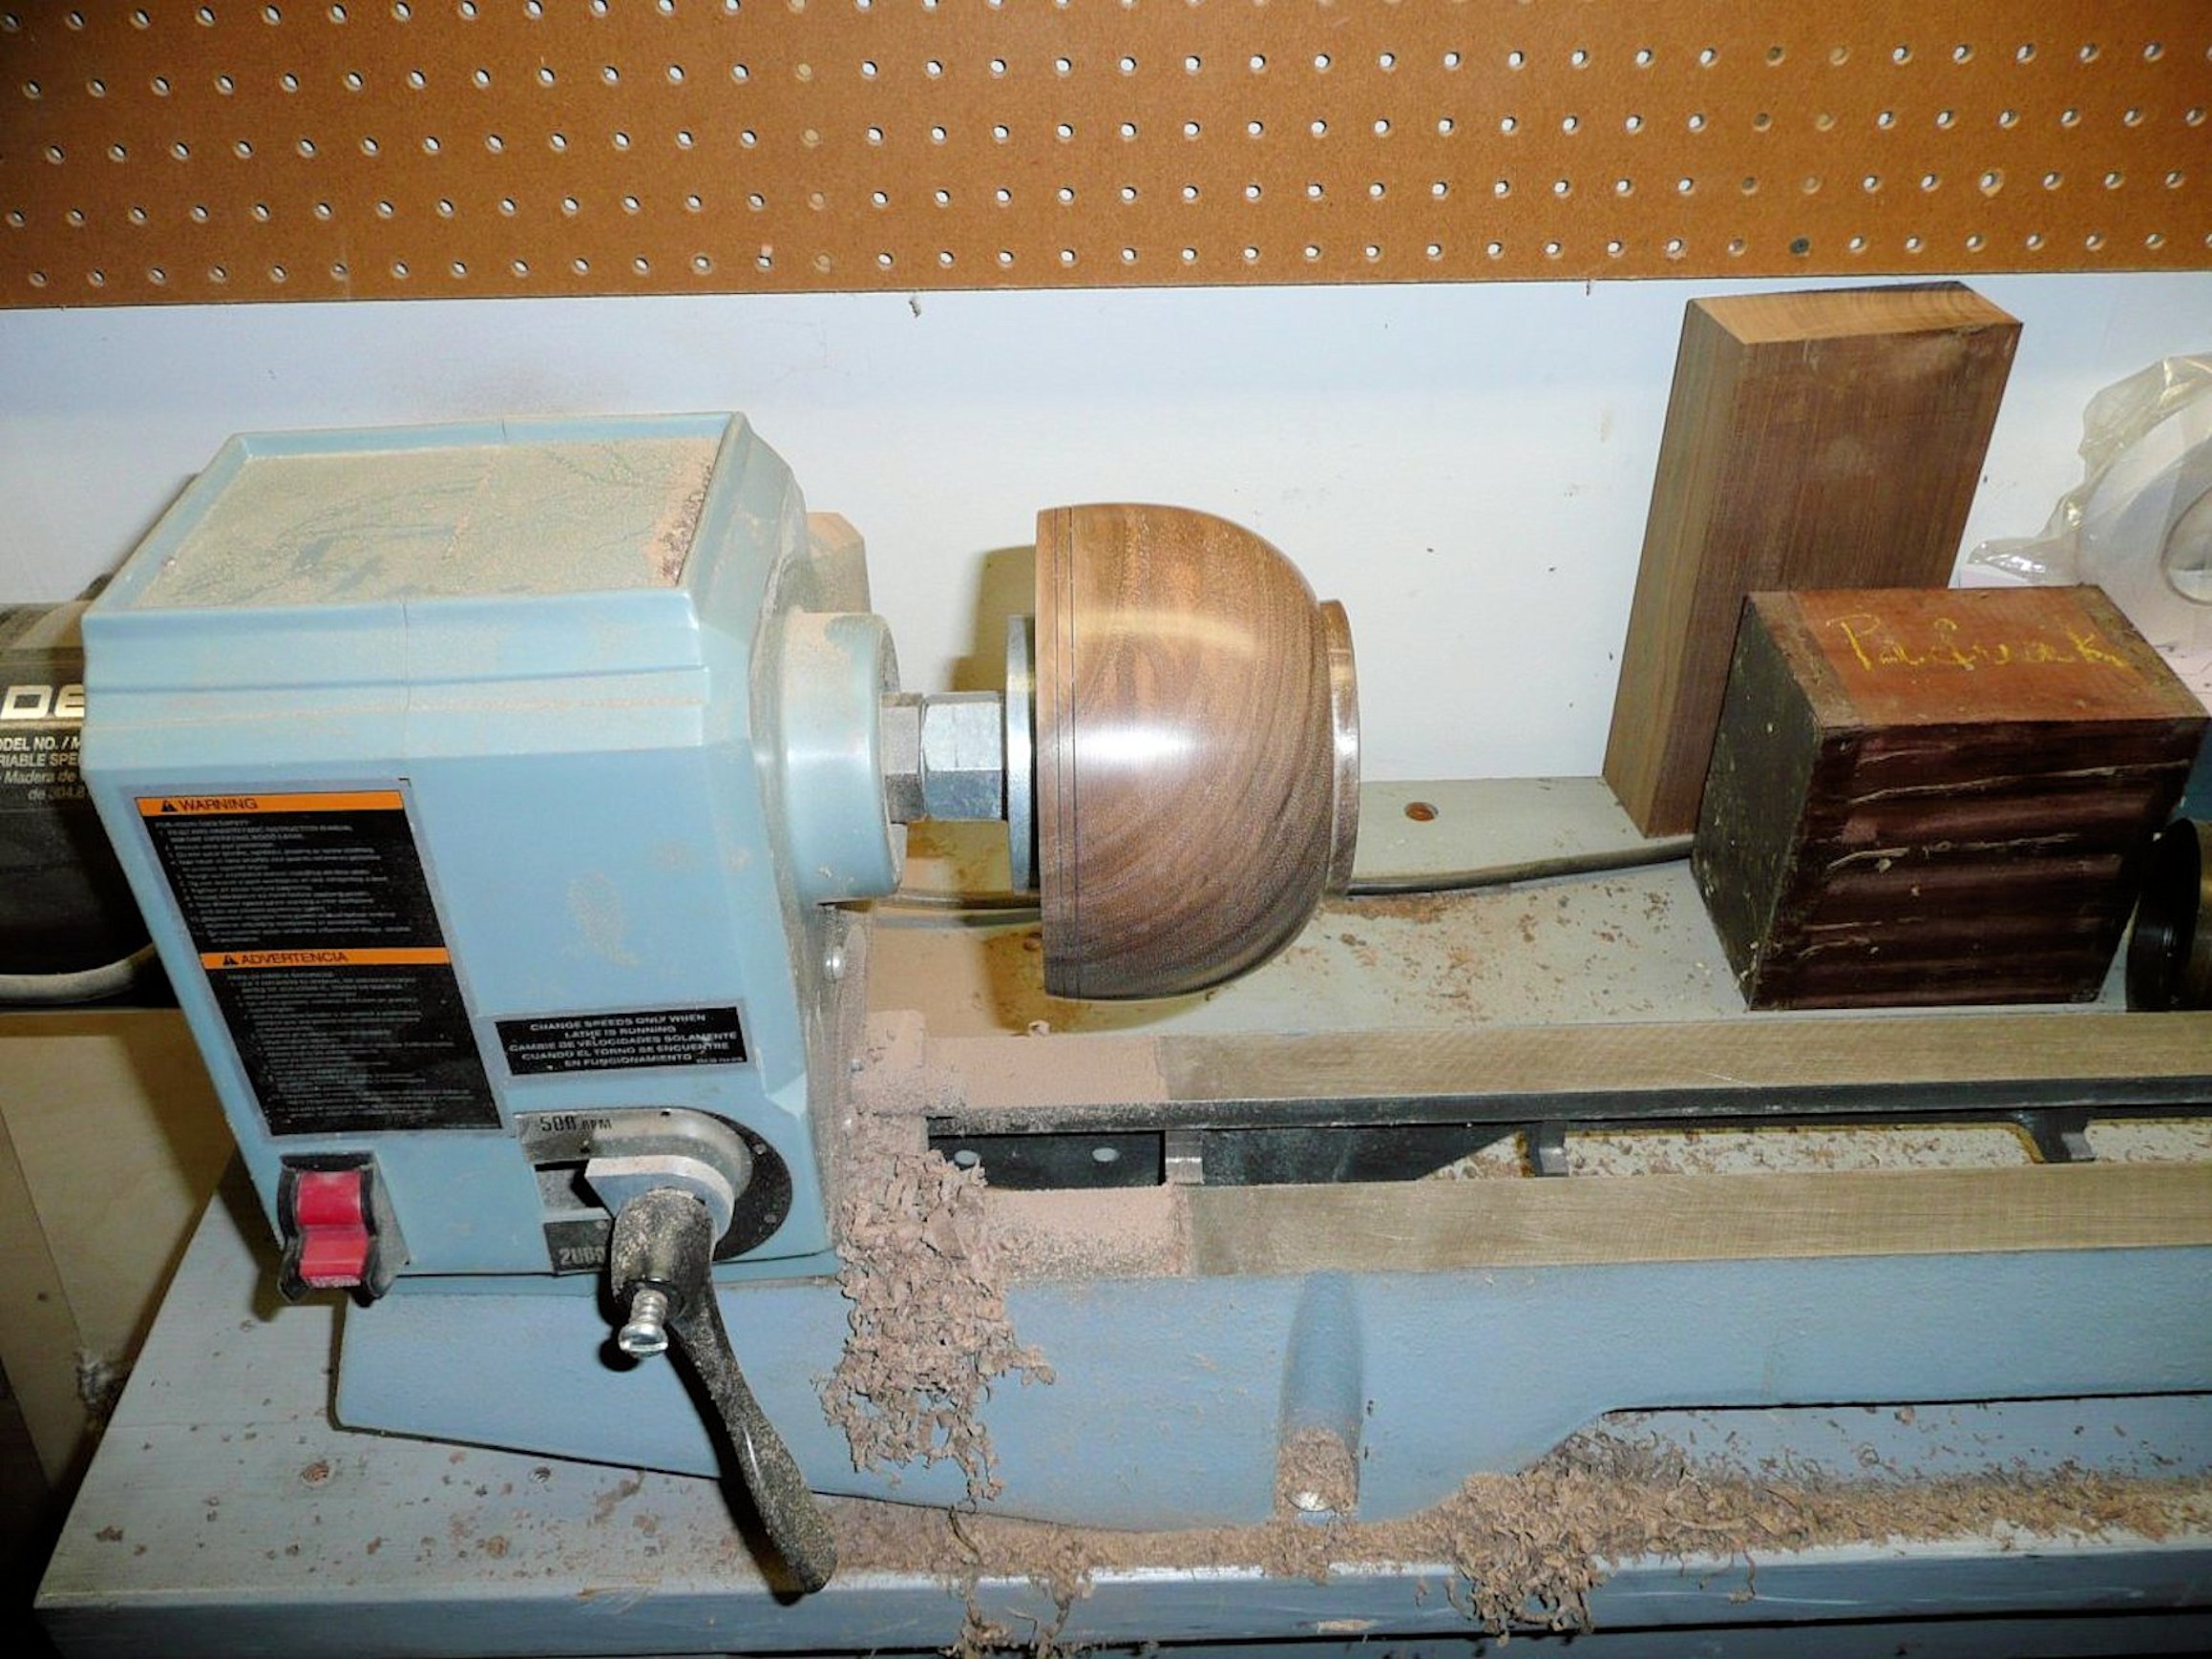
I sold this lathe because it was too light, under powered, and of dubious quality.  Buy the heaviest and best lathe you can afford.  If turning bowls is what you want to do, I also recommend that you buy heavier duty, high speed steel (HSS) turning tools.   A 3/8″ thick bowl scraper will be much easier to control and yield better results than one 1/4″ thick.  The same goes for  gouges, heavier duty is better for bowls.  Why?  Because the thicker, heavier tool will be better at dampening vibration.  This is especially true the further the cutting edge of the scraper or gouge is extended out over the tool rest, which happens when hollowing the interior.

Repairing Danger’s Chair

I once had a dog, a fine dog with a stout heart, named “Danger” . . . actually his full name was “Nick Danger, Third Eye.”   When Danger was a puppy, he liked to chew on things, as all puppies do.  When my back was turned, he went to work on the rungs of an old oak chair I found at a flea market.  He chewed all the way through  a side rung and mangled the two turned rungs in front as you can see below.  It was that way for 20 years.  (Click on any image to enlarge)

Danger's Chair 004

With Danger a distant but fond memory, I finally decided it was time to do something about the chair.  To begin, I cut the old front rungs off and drilled out the sockets.

Danger's Chair 005

Danger's Chair 006

I pulled some white oak from my stash and went to work on my lathe to turn one new side rung and two new front rungs, modeled as closely as possible after the originals.

Danger's Chair 019

Next, I turned to two tools from the 18th century to prepare the new parts to go in the leg sockets.  The first, a spoke pointer mounted on a hand brace at the bottom of the following picture, is used somewhat like a pencil sharpener to trim down the end of the rung so that the second tool, a tenon cutter also mounted on a brace in the middle of the picture, can be used to cut down the end of the rung to fit the leg socket.

Danger's Chair 022

The process, as the following sequence shows, is to “point” the rung and then cut it down to a pre-determined diameter.

Danger's Chair 023

Danger's Chair 024

Danger's Chair 027

Danger's Chair 025

Danger's Chair 028

All that remained after the ends were cut down to size was to temporarily remove one front leg so that the new rungs could be inserted and glued in place.  Then, with a new coat of Minwax, Danger’s chair was restored to something close to it’s original appearance.

Danger's Chair 036b

Danger's Chair 036

All is forgiven, Danger!

The “Recycled” Cabinet

OLYMPUS DIGITAL CAMERA

I needed a job-specific cabinet that would fit in a defined, limited space in my shop.  It needed to hold my Ridgid oscillating sander on top, and house my Tormek sharpening machine and related sharpening equipment on shelves below.  It ended up being made entirely out of leftover and recycled parts:  four old cabinet doors with hinges, two off-cuts of plywood, ceramic door knobs from a house I owned 30 years ago, and one 10 foot 2″x4″ left over from another project.   I challenged myself to use only materials on hand, as efficiently as possible (i.e. zero waste), while still meeting my design criteria. (Click on any image to enlarge)

OLYMPUS DIGITAL CAMERA

The basic frame for the cabinet came from the 2″ x 4″ which was ripped lengthwise and then sized into 1 3/8″ square stock.  The four cabinet doors and their 1970’s era hinges came from a client’s house where I installed replacements.  Two of the cabinet doors became panels for the back, and the other two were each divided in half for the doors in front.

OLYMPUS DIGITAL CAMERA

The sides were made from one leftover piece of 3/8″ AC plywood divided in half, and the cabinet top and two interior shelves came one piece of 3/4″ CDX plywood.

Drafting Table and Storage Box

OLYMPUS DIGITAL CAMERA

I needed a drafting table and also a place to store my drafting tools (T-squares, triangles, compass, rules, pencils, roll of vellum, etc.), so I designed this combination drafting table + portable storage box.   (Click on any image to enlarge)

OLYMPUS DIGITAL CAMERA

The 34″ x 26″ table top is adjustable to three different angles;  20, 25, and 30 degrees, by using one of three pre-cut pairs of legs that can be quickly changed.

OLYMPUS DIGITAL CAMERA

The legs fold into the box to close and the table/lid is held closed with twin latches.  A carry handle allows the relatively light weight box to be carried to another location and stored.

OLYMPUS DIGITAL CAMERA

The drafting table/box is constructed with clear pine, joined at the corners with dovetail joints.  The drafting table surface  is birch plywood framed with pine.  It is dead flat and square and attached to the box frame with a piano hinge.  The entire box was sealed with several coats of Minwax and the table surface has several additional coats of satin finish polyurethane.


Cherry & Maple, Hand Dovetailed Box

Dell II 436

This is a box I made for my son using quarter sawn, American black cherry for the sides.  I also used the cherry to frame the raised panel of birdseye maple on the lid.   I’m going to very briefly show you the steps I use to cut the dovetail joints for the box sides.  Fine, hand cut dovetail joints can always be distinguished from those produced with a power router by the very narrow spacing between the tails (i.e. the very small size of the “pins”) which cannot be accomplished in this small size with a router.  (Click on an image to enlarge it.)

Dell II 446

I first use a thin kerf, rip saw to cut the outlines of the previously laid out and marked “tails” (shaped like a stylized bird’s tail) on two sides at once (held in the vise) so that the proportions will appear even all the way around the box.

Dell II 449

Then I clamp one side at a time in a jig I designed so that I can use a Japanese dovetail chisel (with a triangular cross section) to chop out the waste between the saw cuts, thereby creating the “tails.”

Dell II 450

Finished “tails.”

Dell II 452

The “pins” that fit into the slots between the “tails” are first marked on the ends of the remaining two side boards to correspond to the size and spacing of the “tails.”  Then, after being laid out, the “pins” are cut in the same way as the “tails,” with saw and chisel.

Fresh Cranberry & Coconut Compote

OLYMPUS DIGITAL CAMERA

I washed 16 oz. of fresh cranberries while one inch of water was heating in a medium saucepan.  When the water reached a full boil, I added the cranberries and stirred them as they started to pop open.  When the berries began to thicken into a sauce, I added 1 cup of sugar, a dash of cinnamon and ground nutmeg, approx. 1/3 cup of shredded coconut, and then continued to mix it all in.  I let the mix cool down and added a little more sugar to taste.  Let it cool  overnight in the refrigerator and serve with a scoop of vanilla ice cream.