Tag Archives: American Cherry

Cherry Dresser Progress

OLYMPUS DIGITAL CAMERA

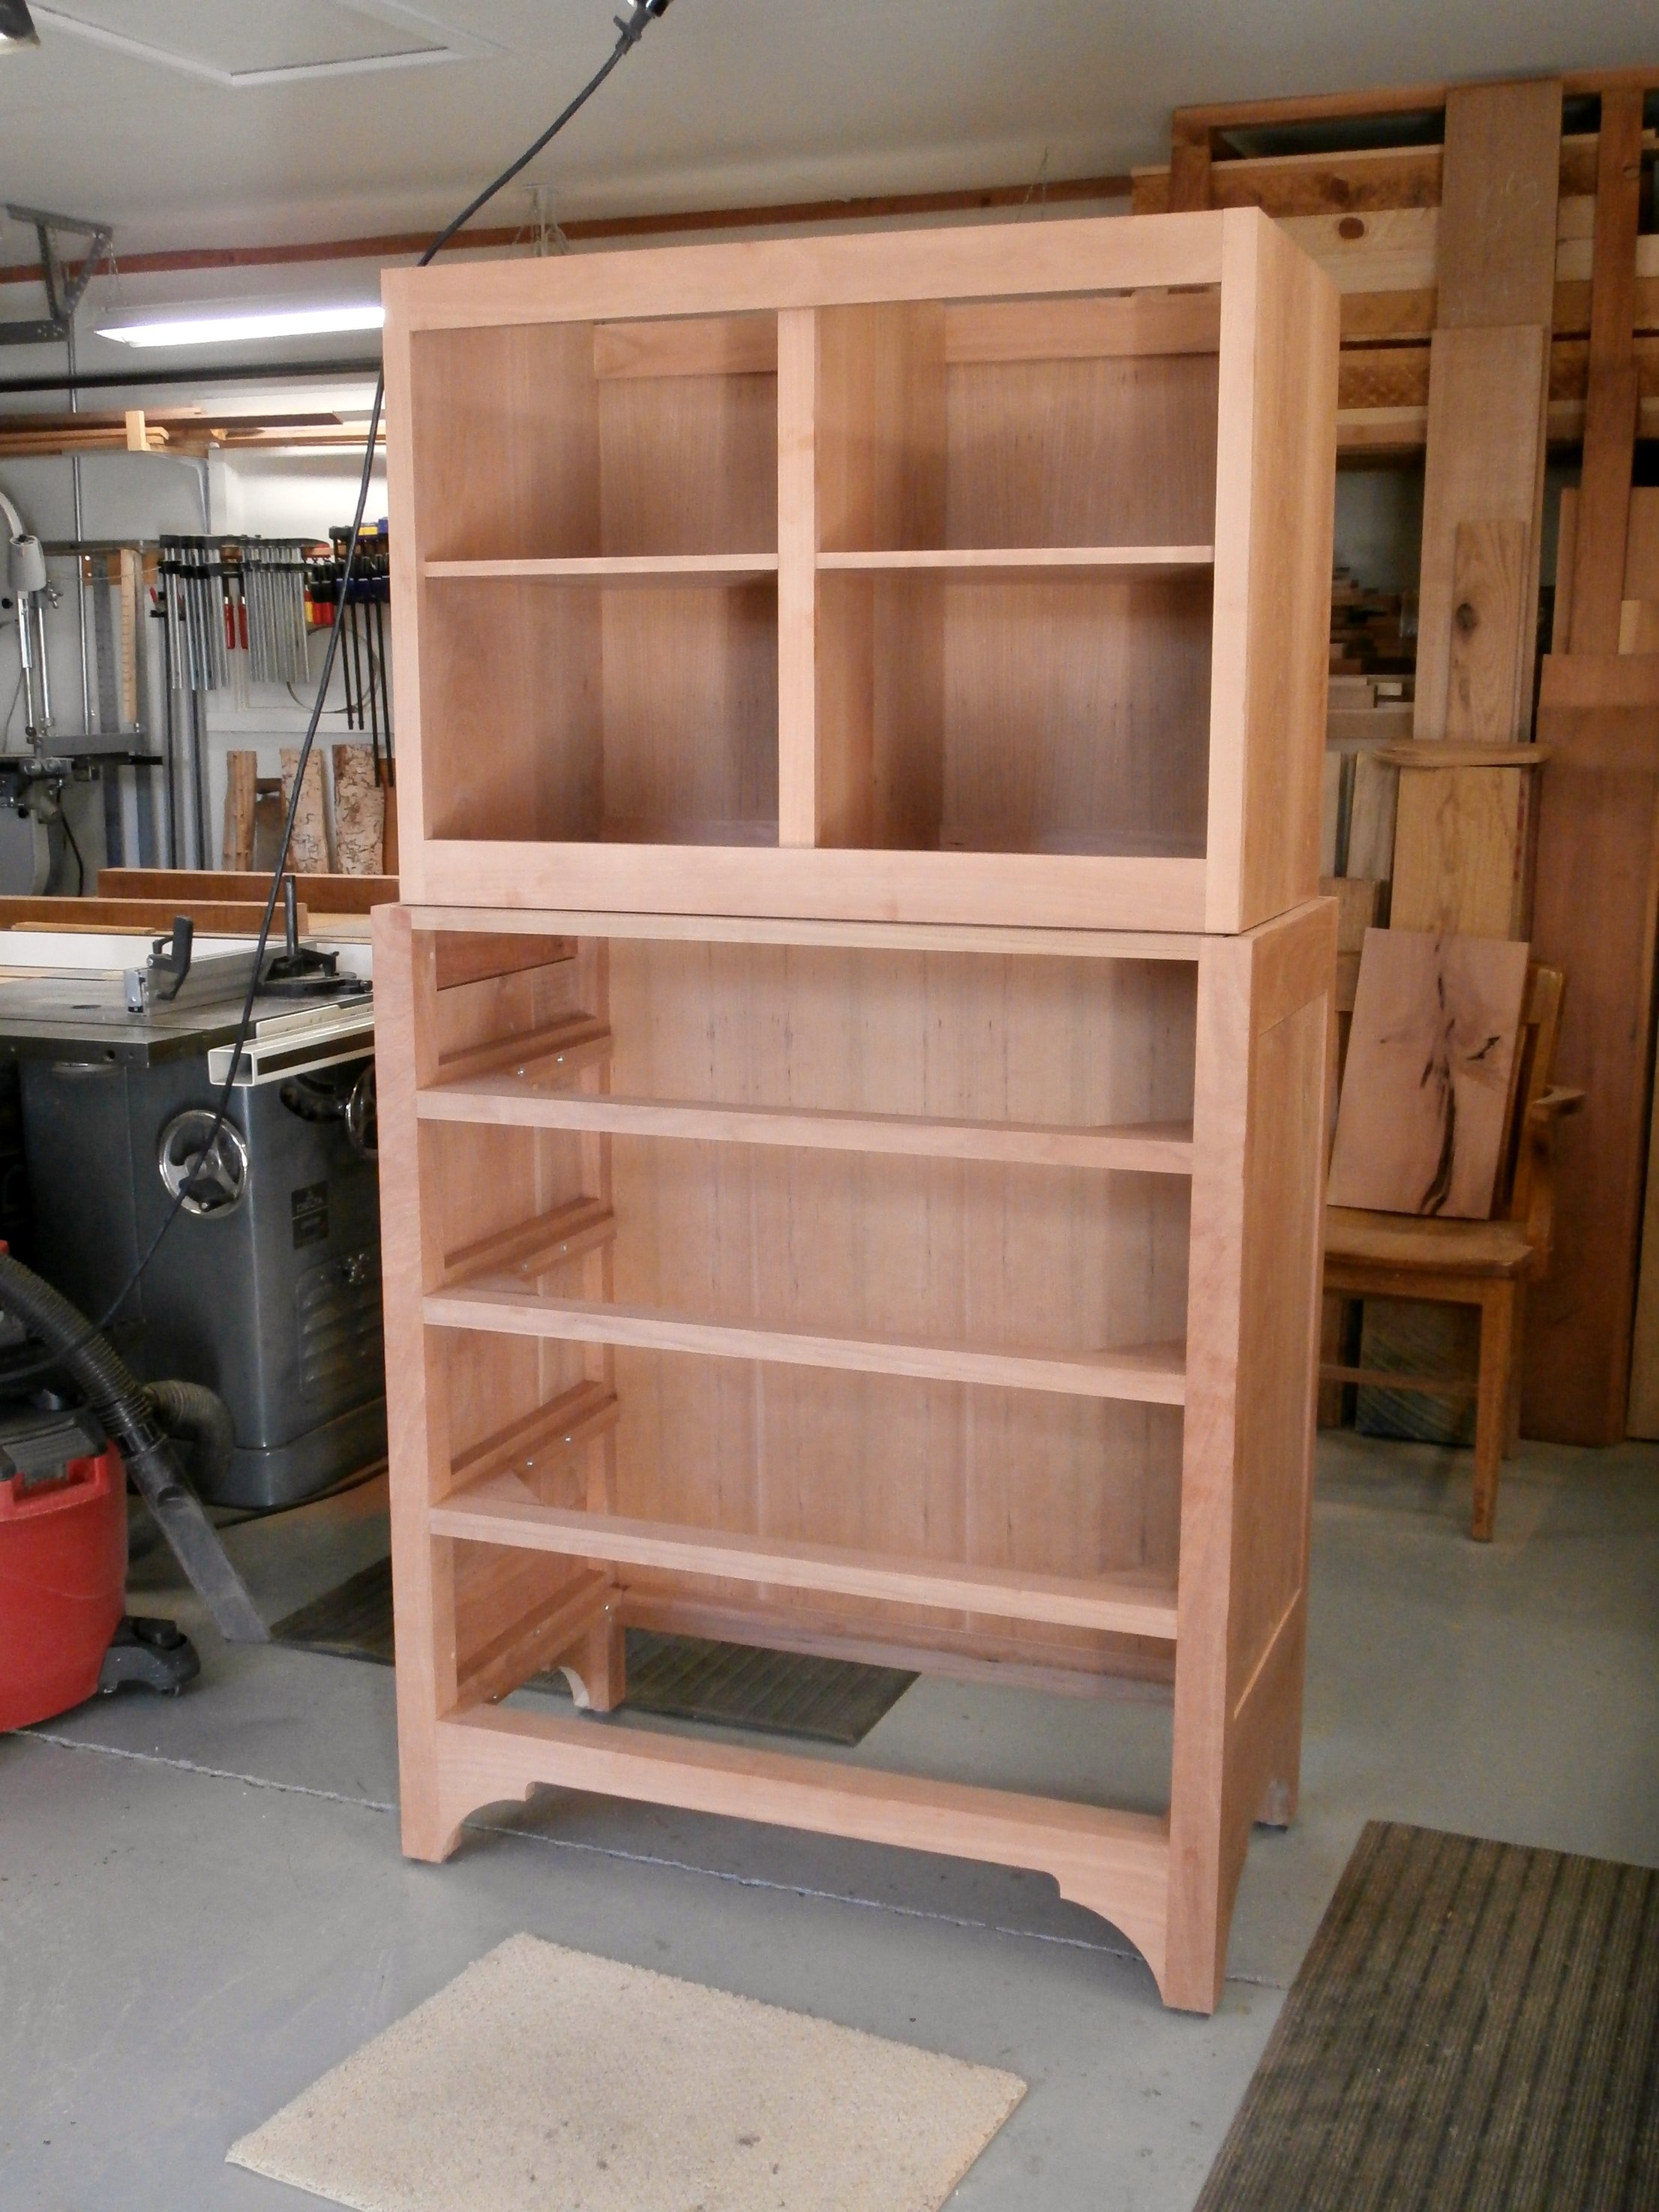
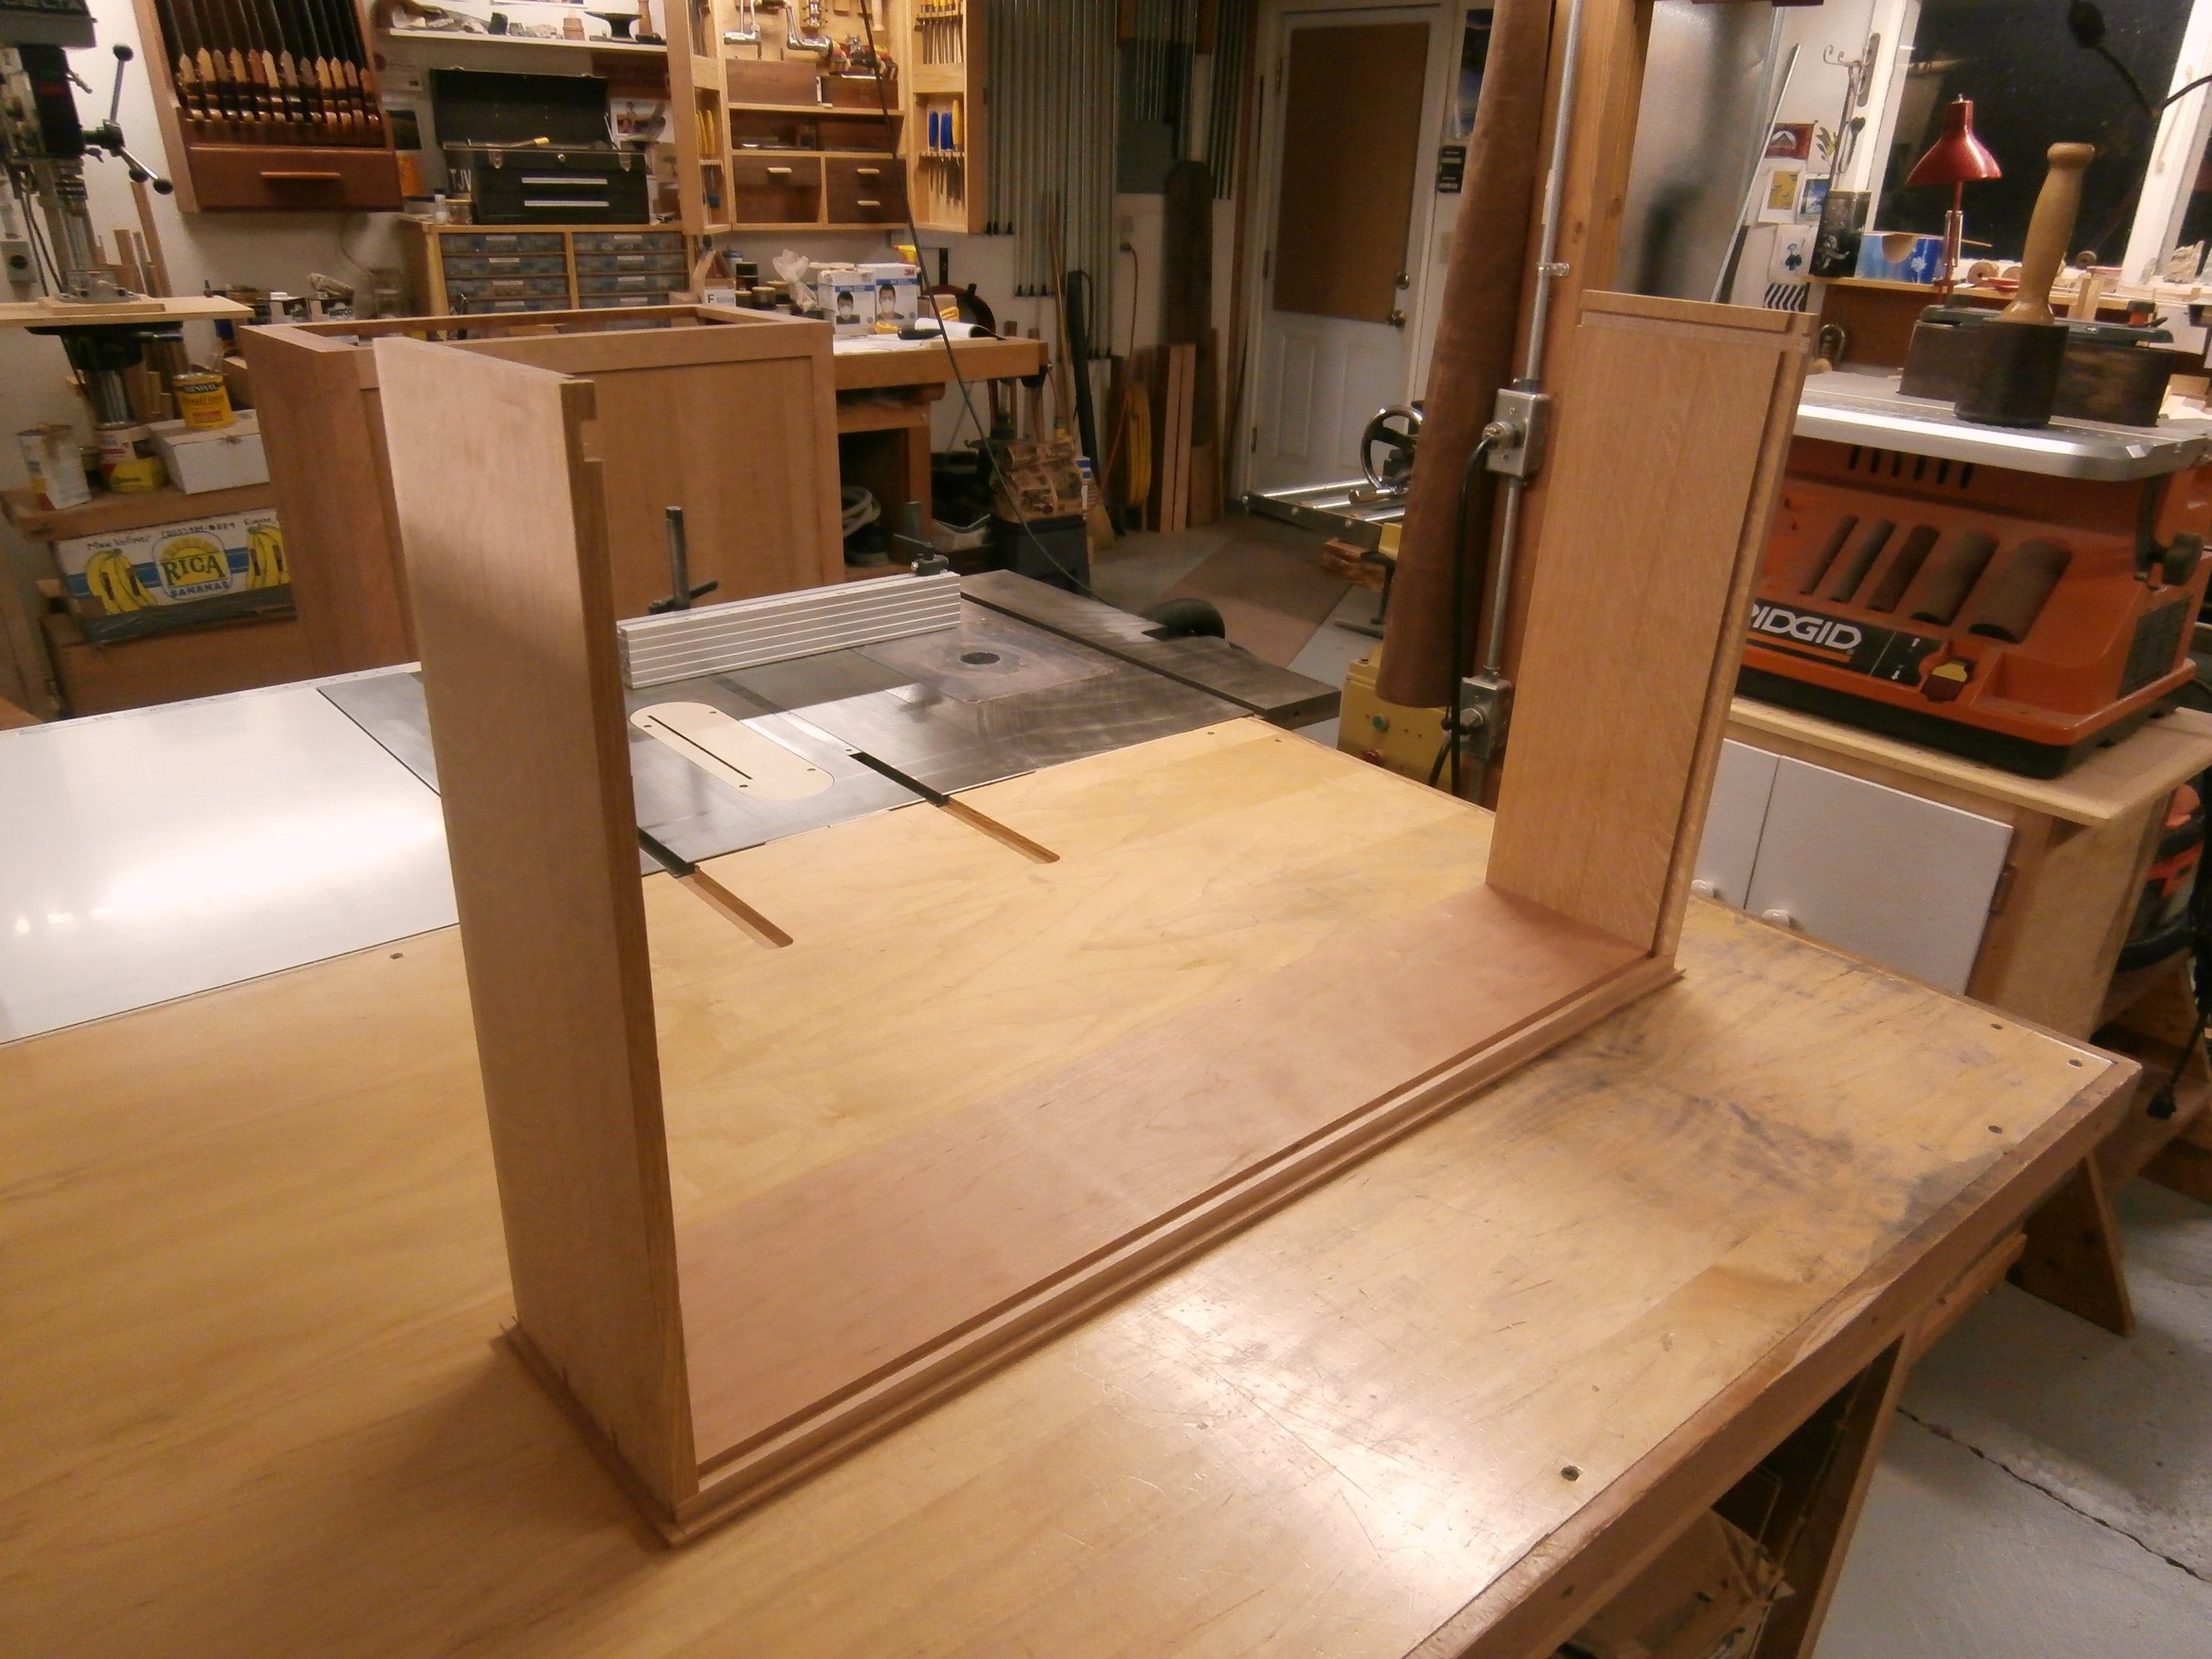
This is where the basic frame work of the dresser stood on April 27.  Since then I have fabricated the raised panel doors for the upper section, the drawer fronts and sides, and drawer backs and bottoms for the lower section.  I am gluing up the drawers today and hope to mount the hinged panel doors for the upper case as well.  (Click on any image to enlarge)

OLYMPUS DIGITAL CAMERA

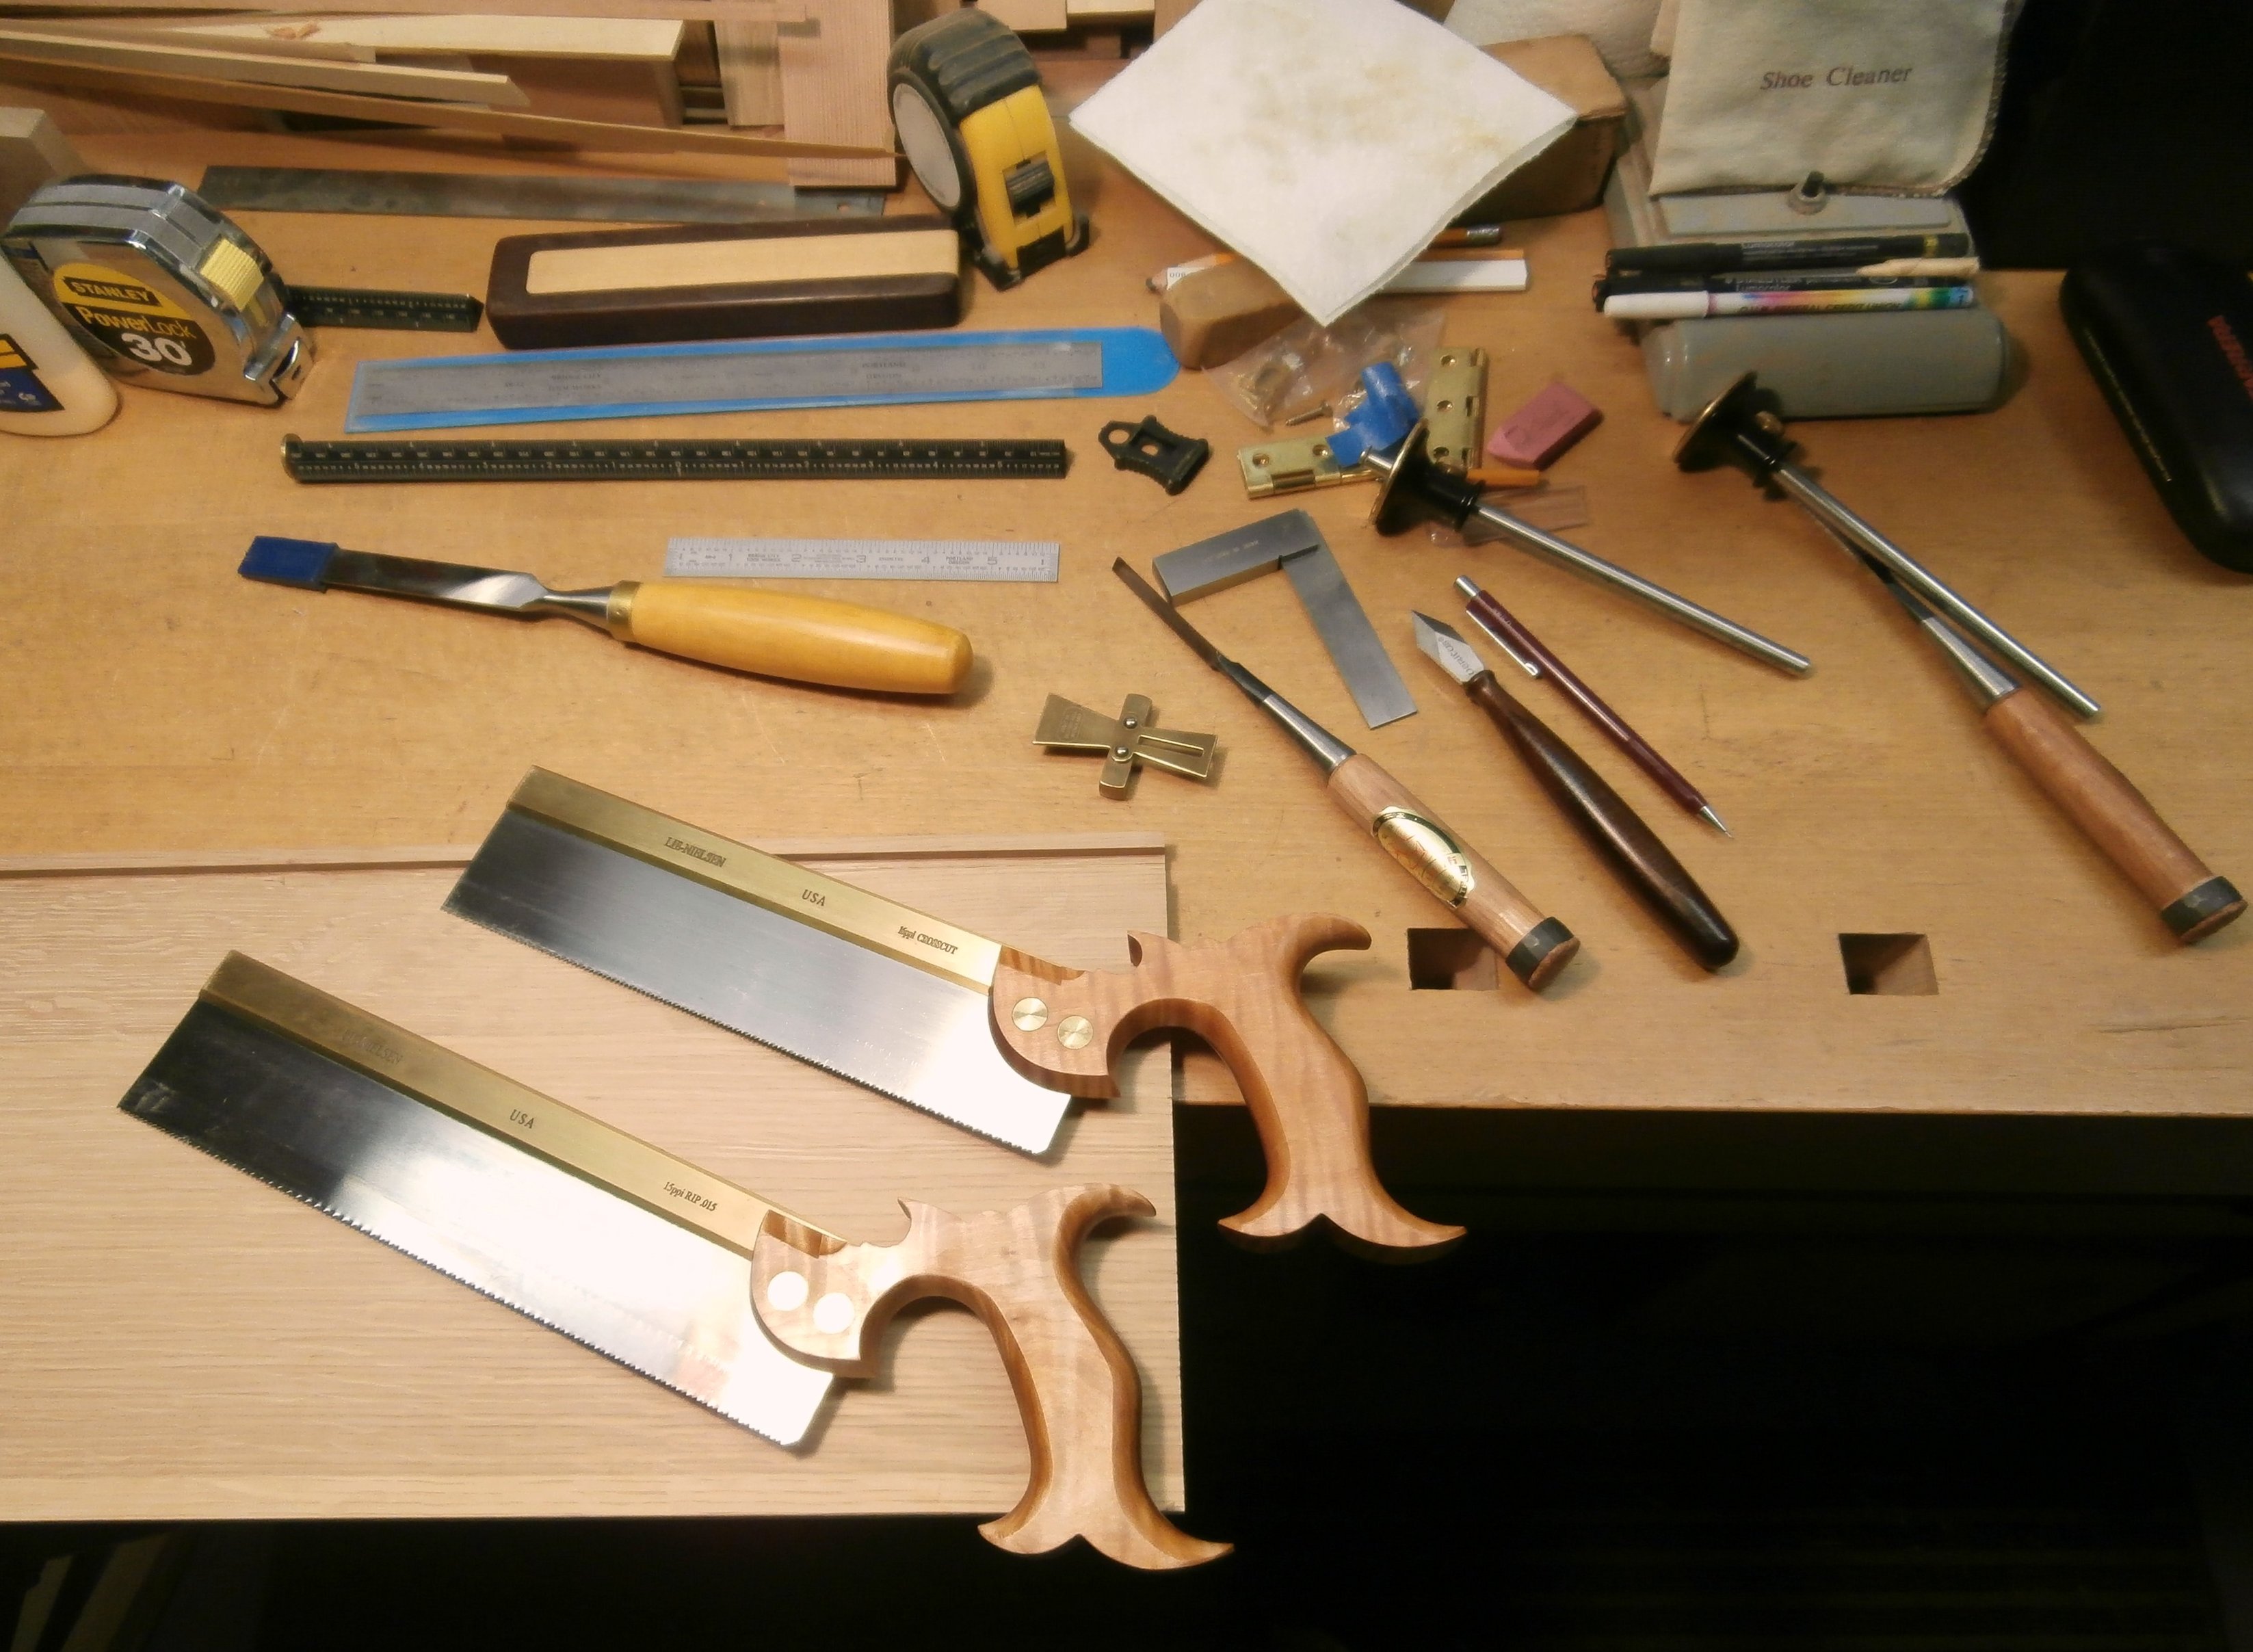
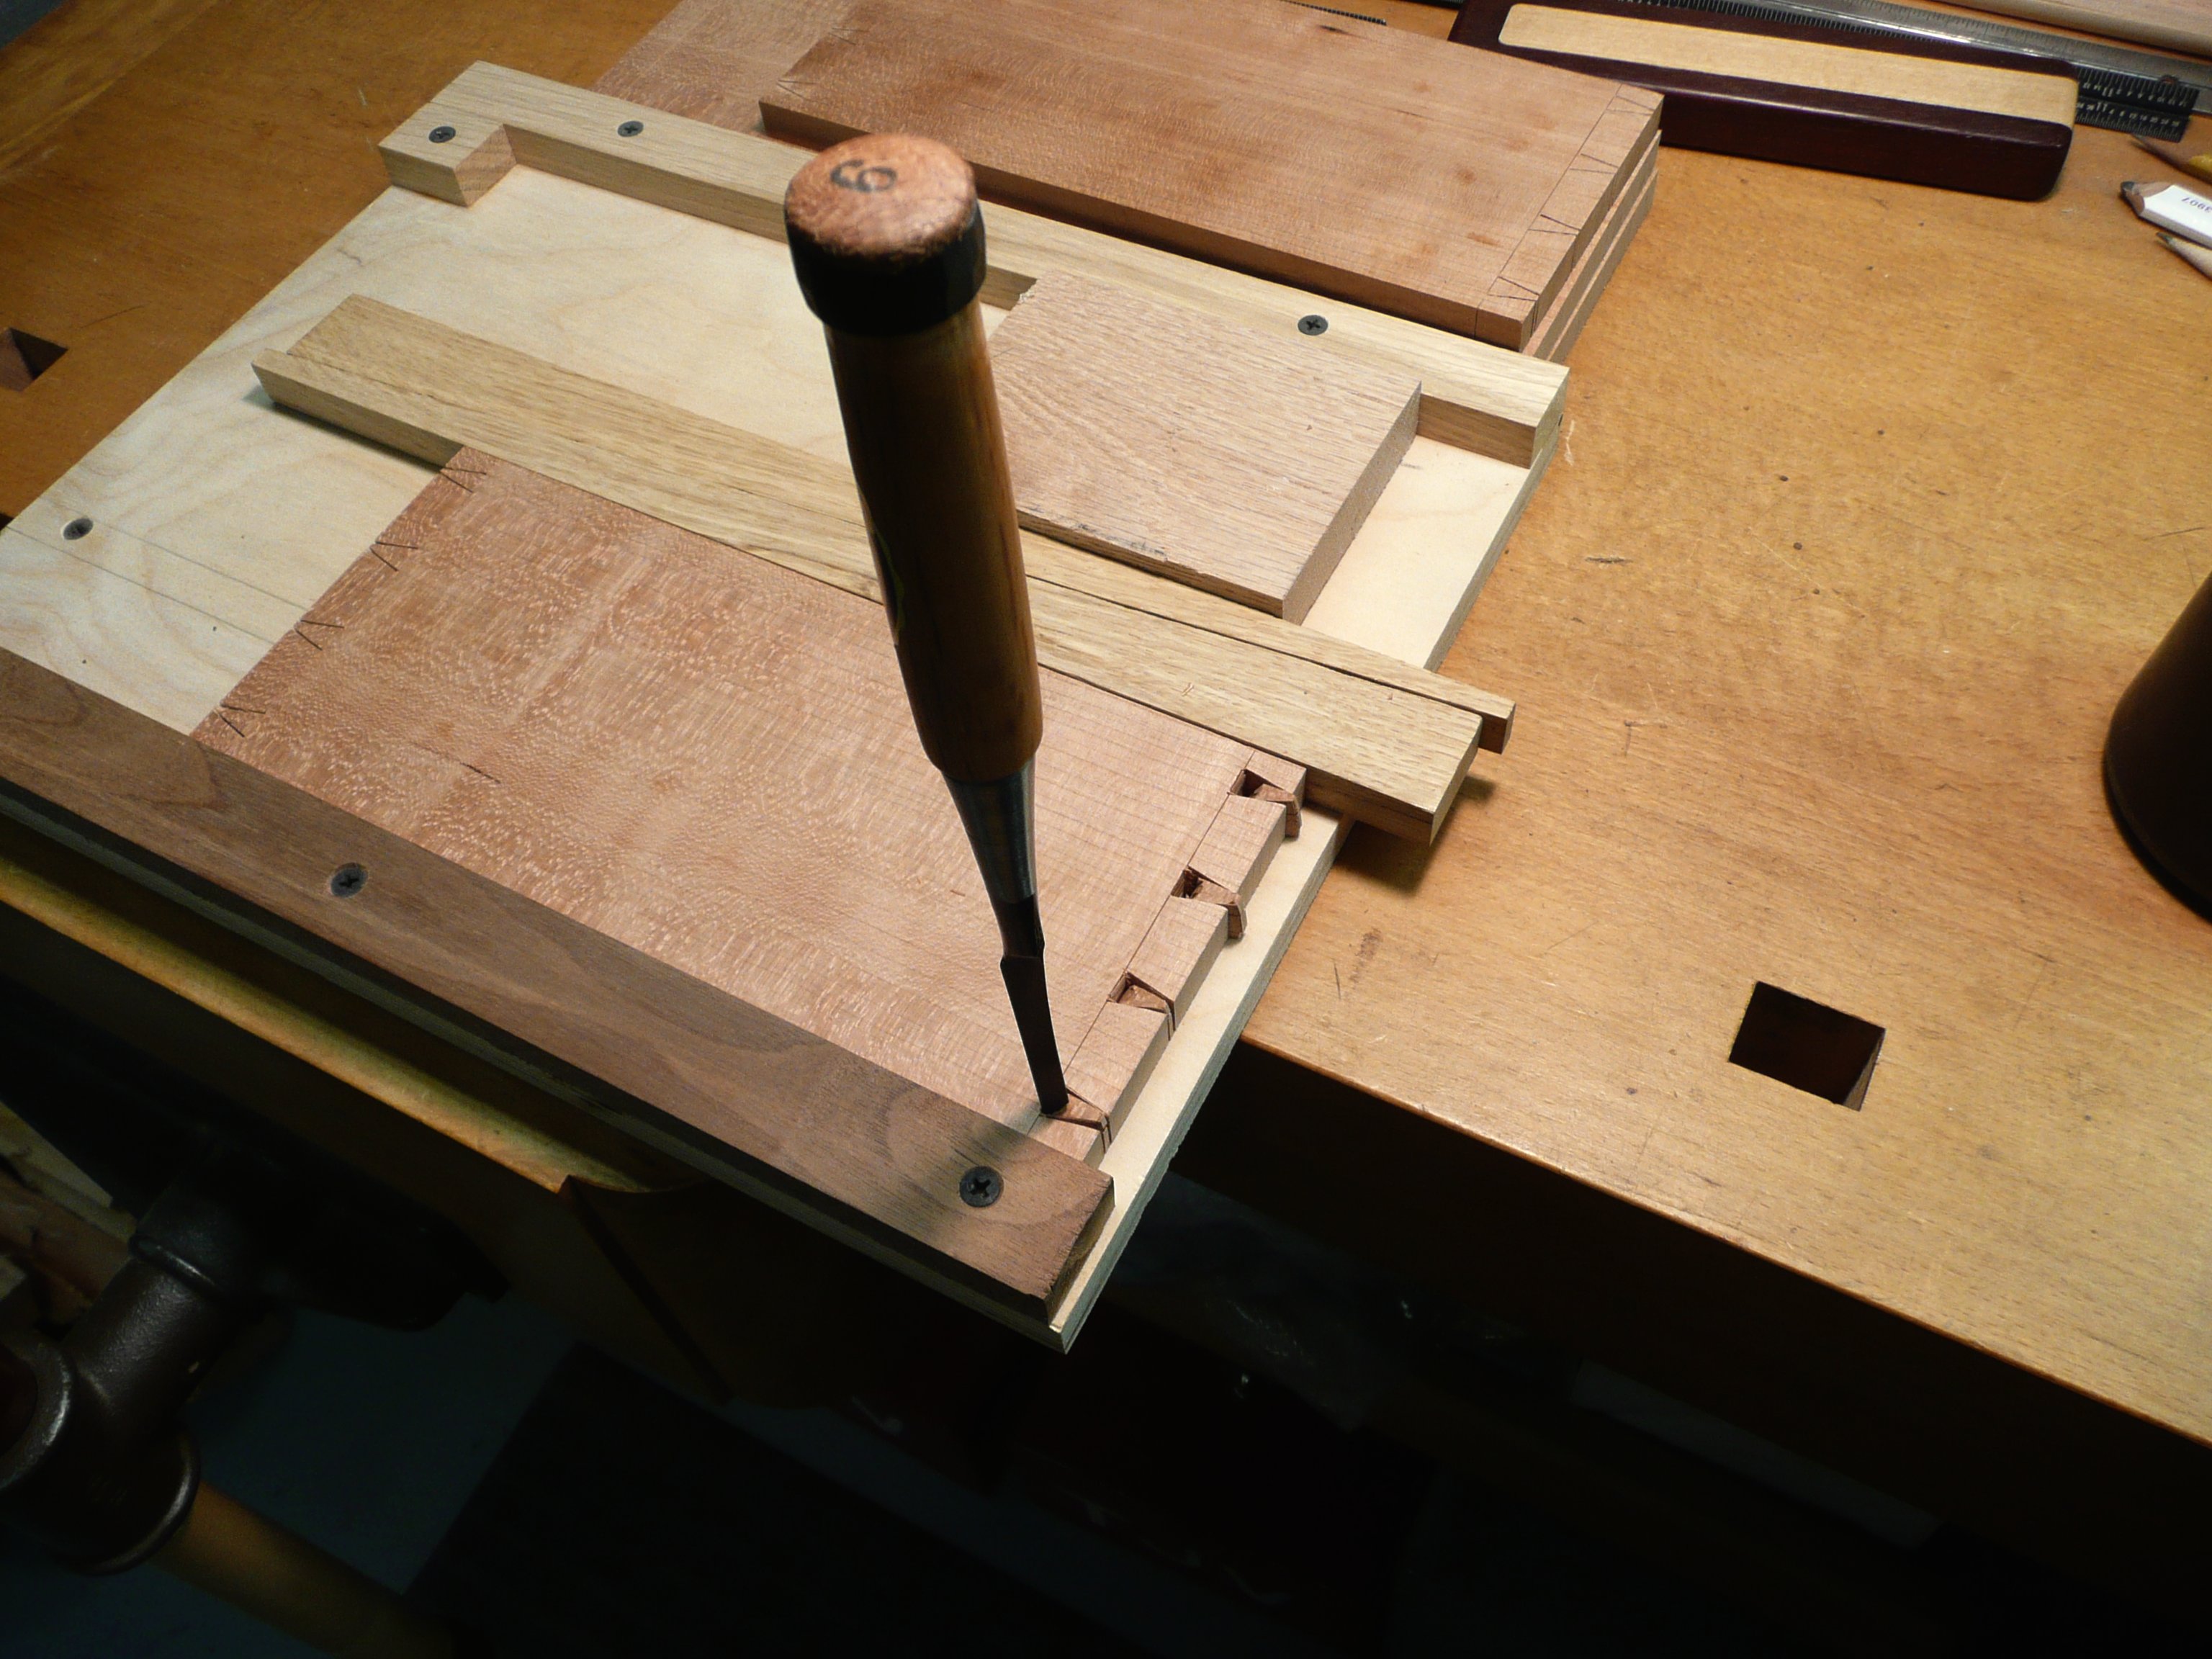
These are most, but not all, of the tools required for marking and cutting the hand-cut, half-blind dovetails that are used to join the drawer sides to the drawer fronts.

OLYMPUS DIGITAL CAMERA

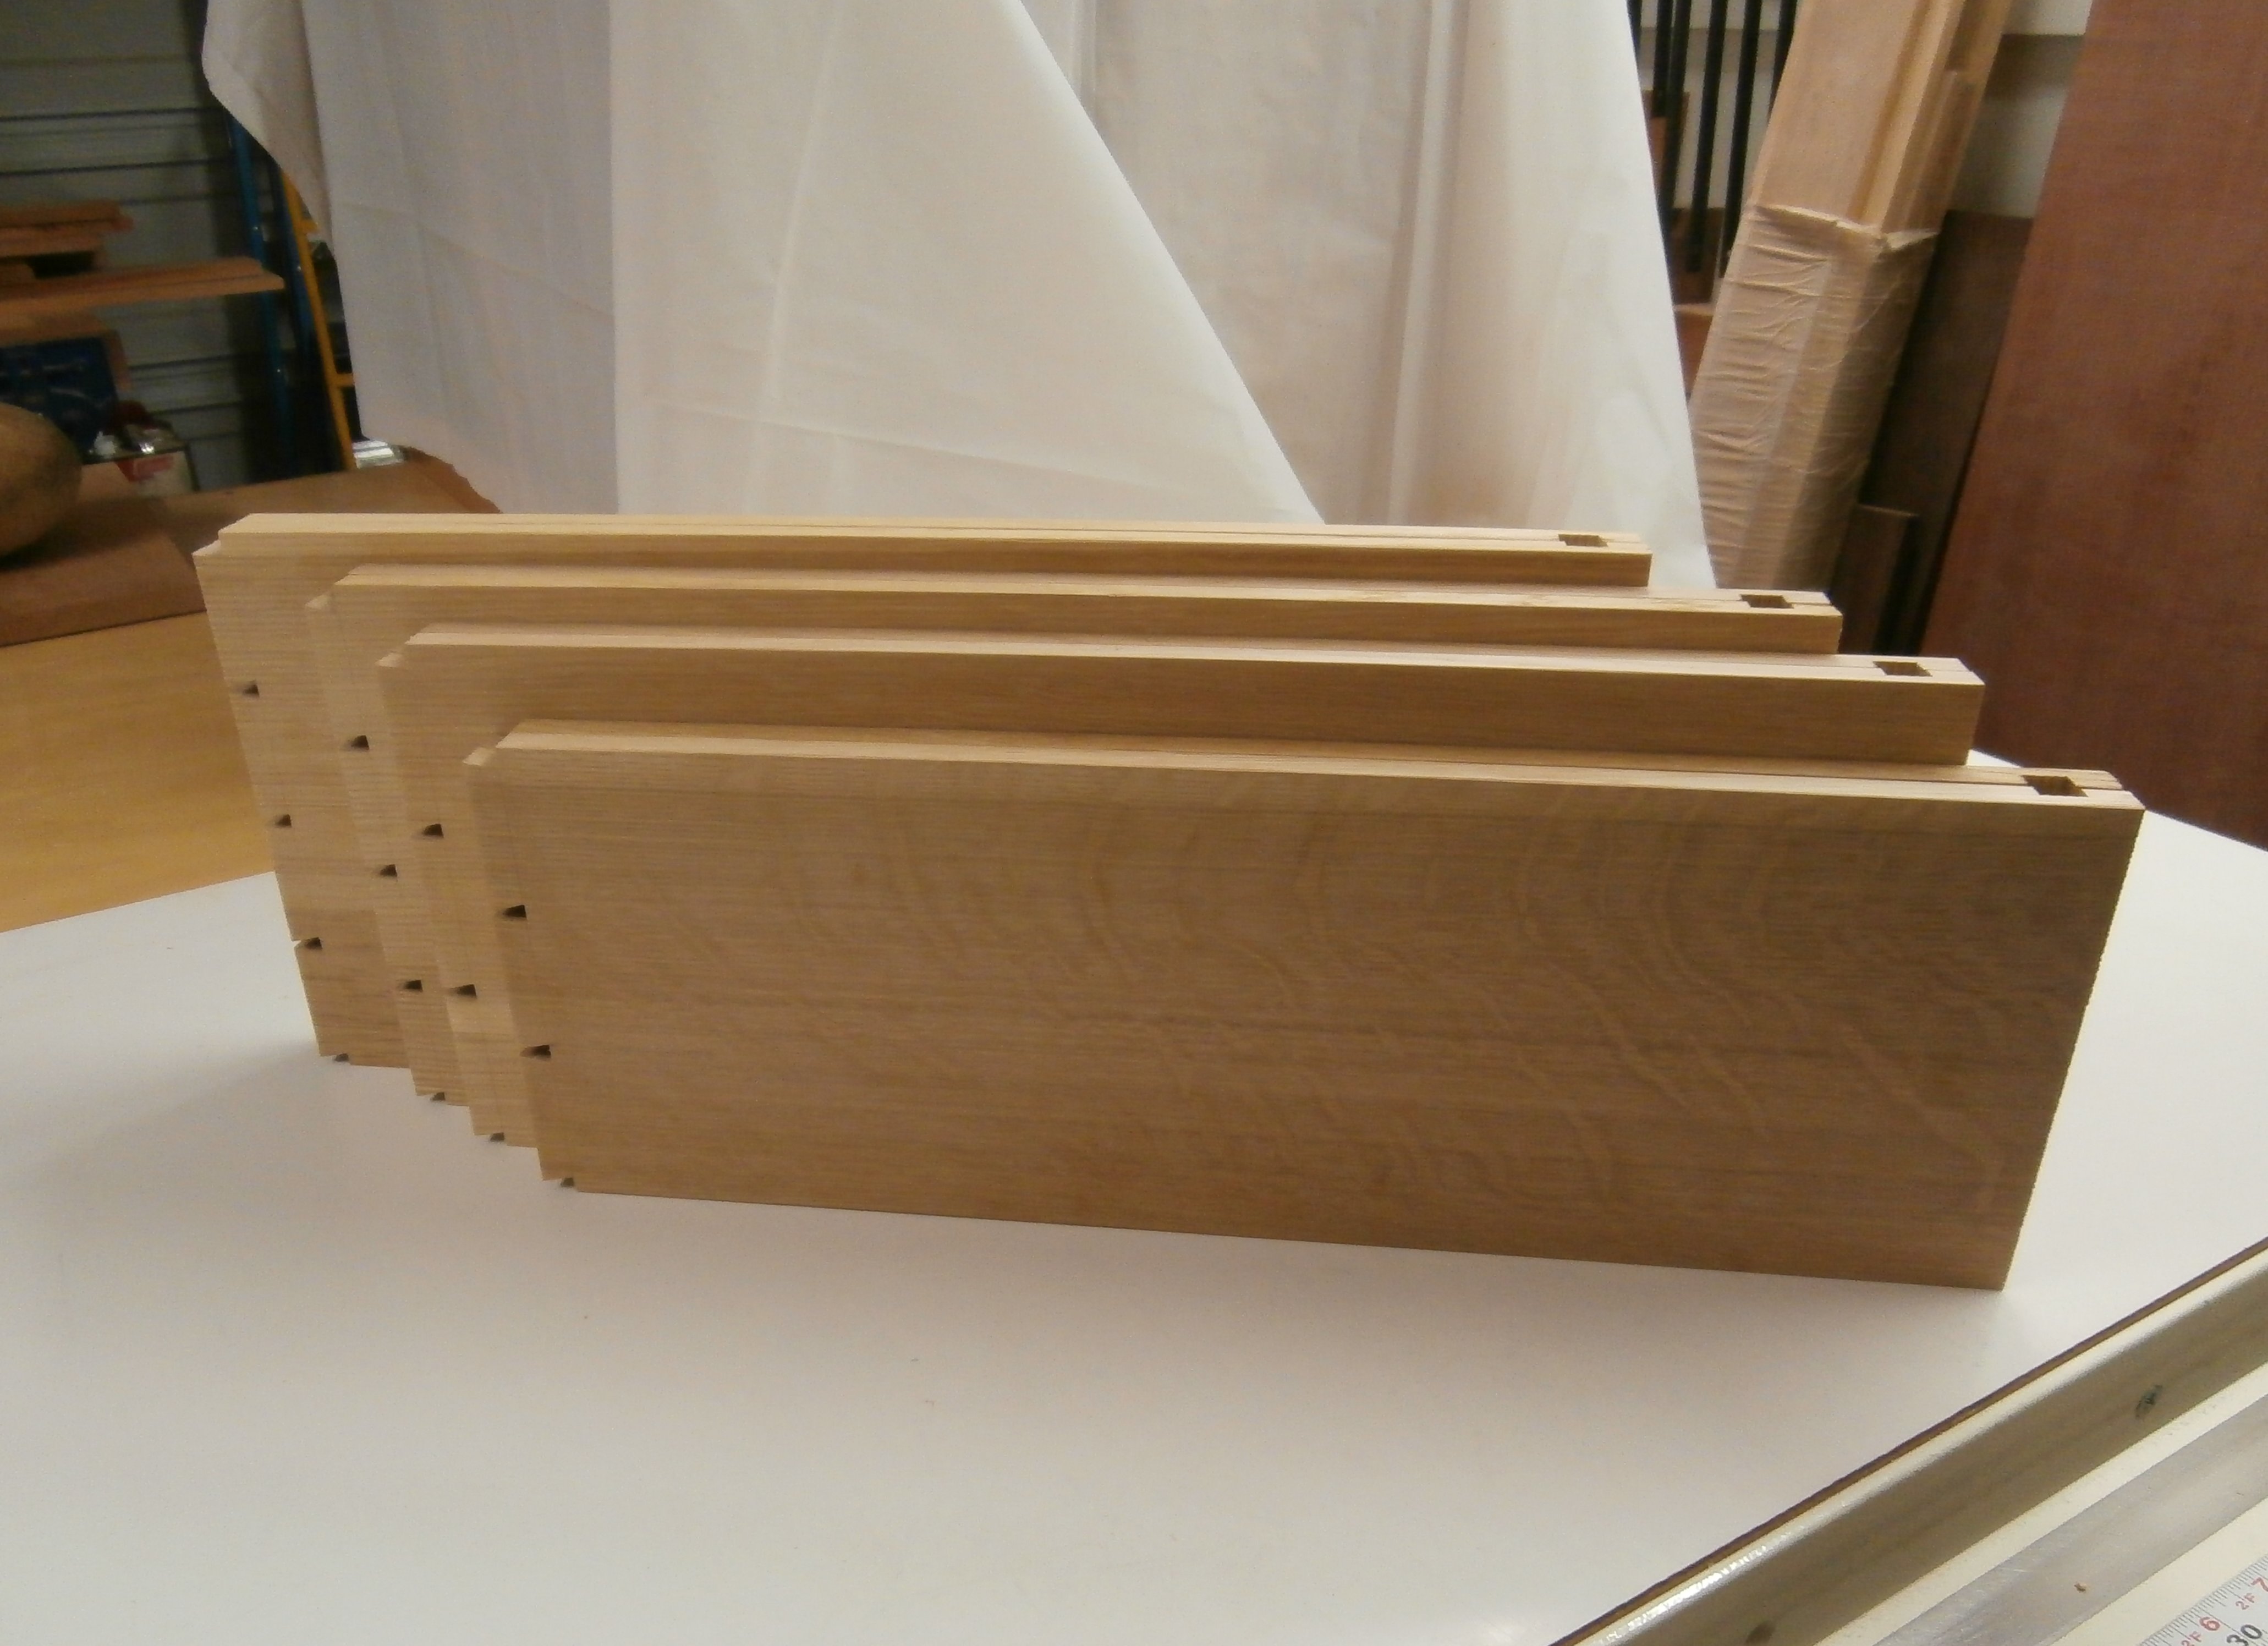
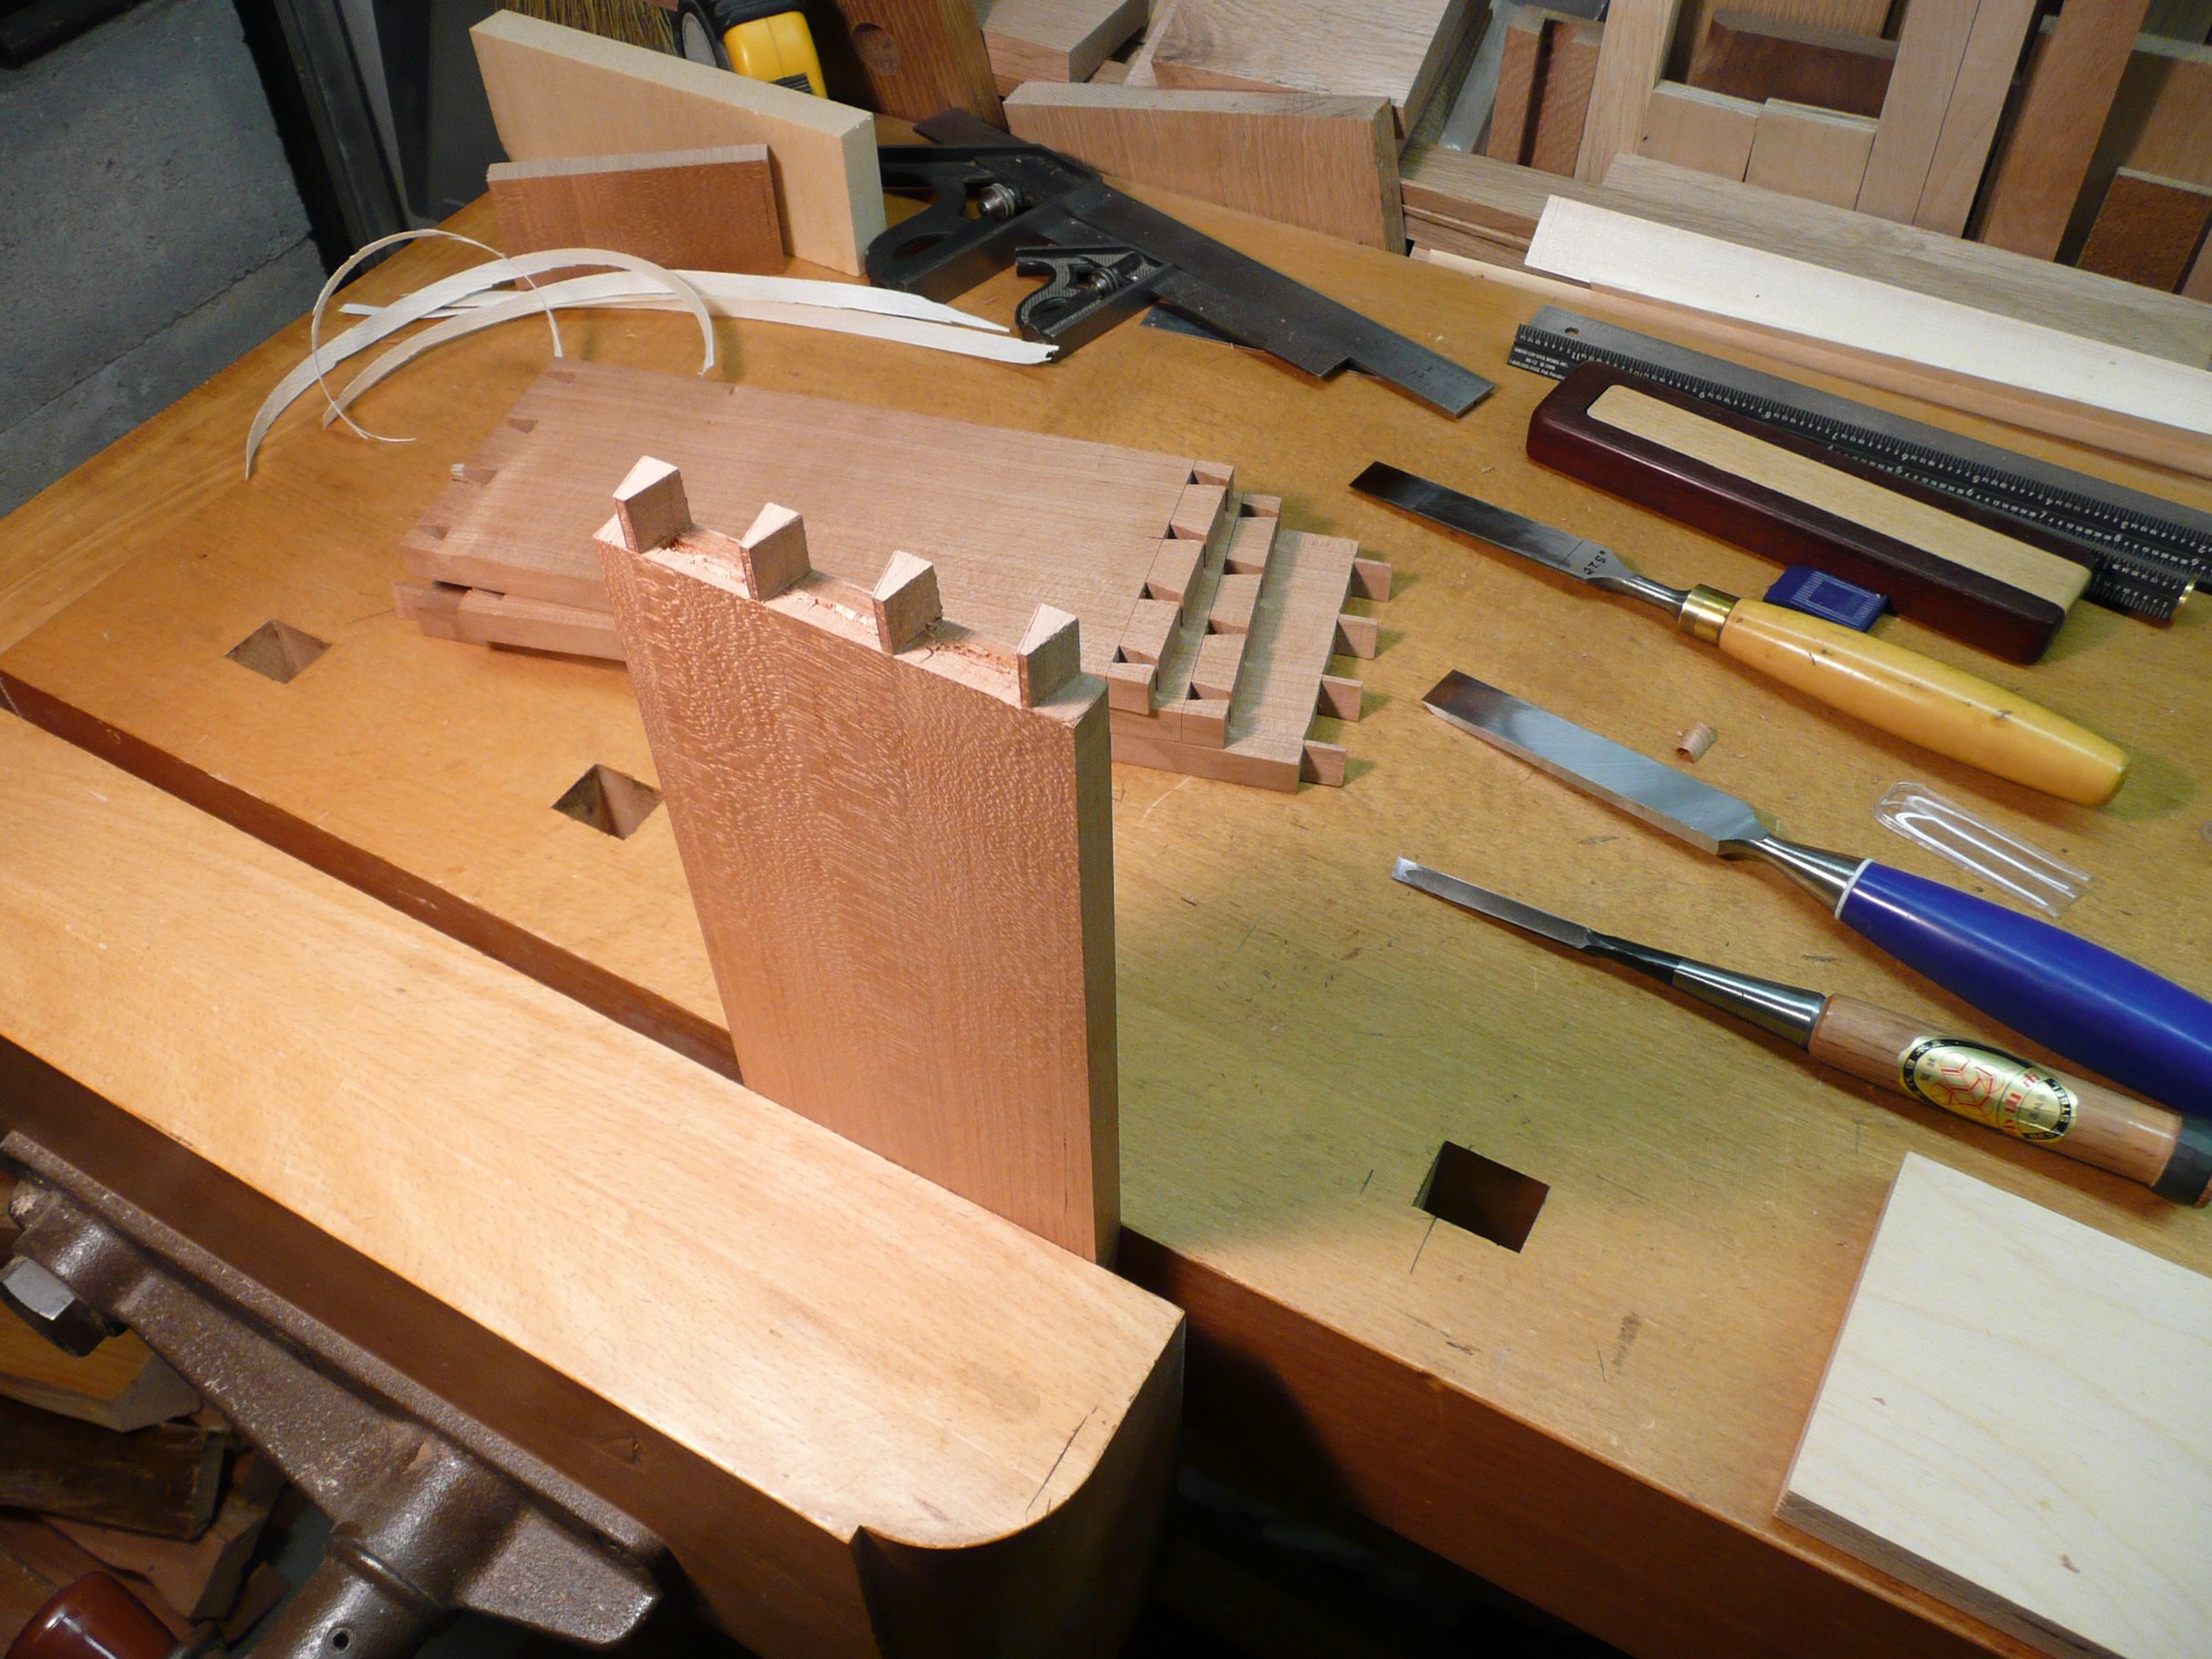
These are the four pairs of quarter-sawn white oak drawer sides for the four, graduated size drawers.  The dovetails are hand-cut, the rabbets and the dadoes are cut on the table saw for the drawer bottoms and drawer backs.

OLYMPUS DIGITAL CAMERA

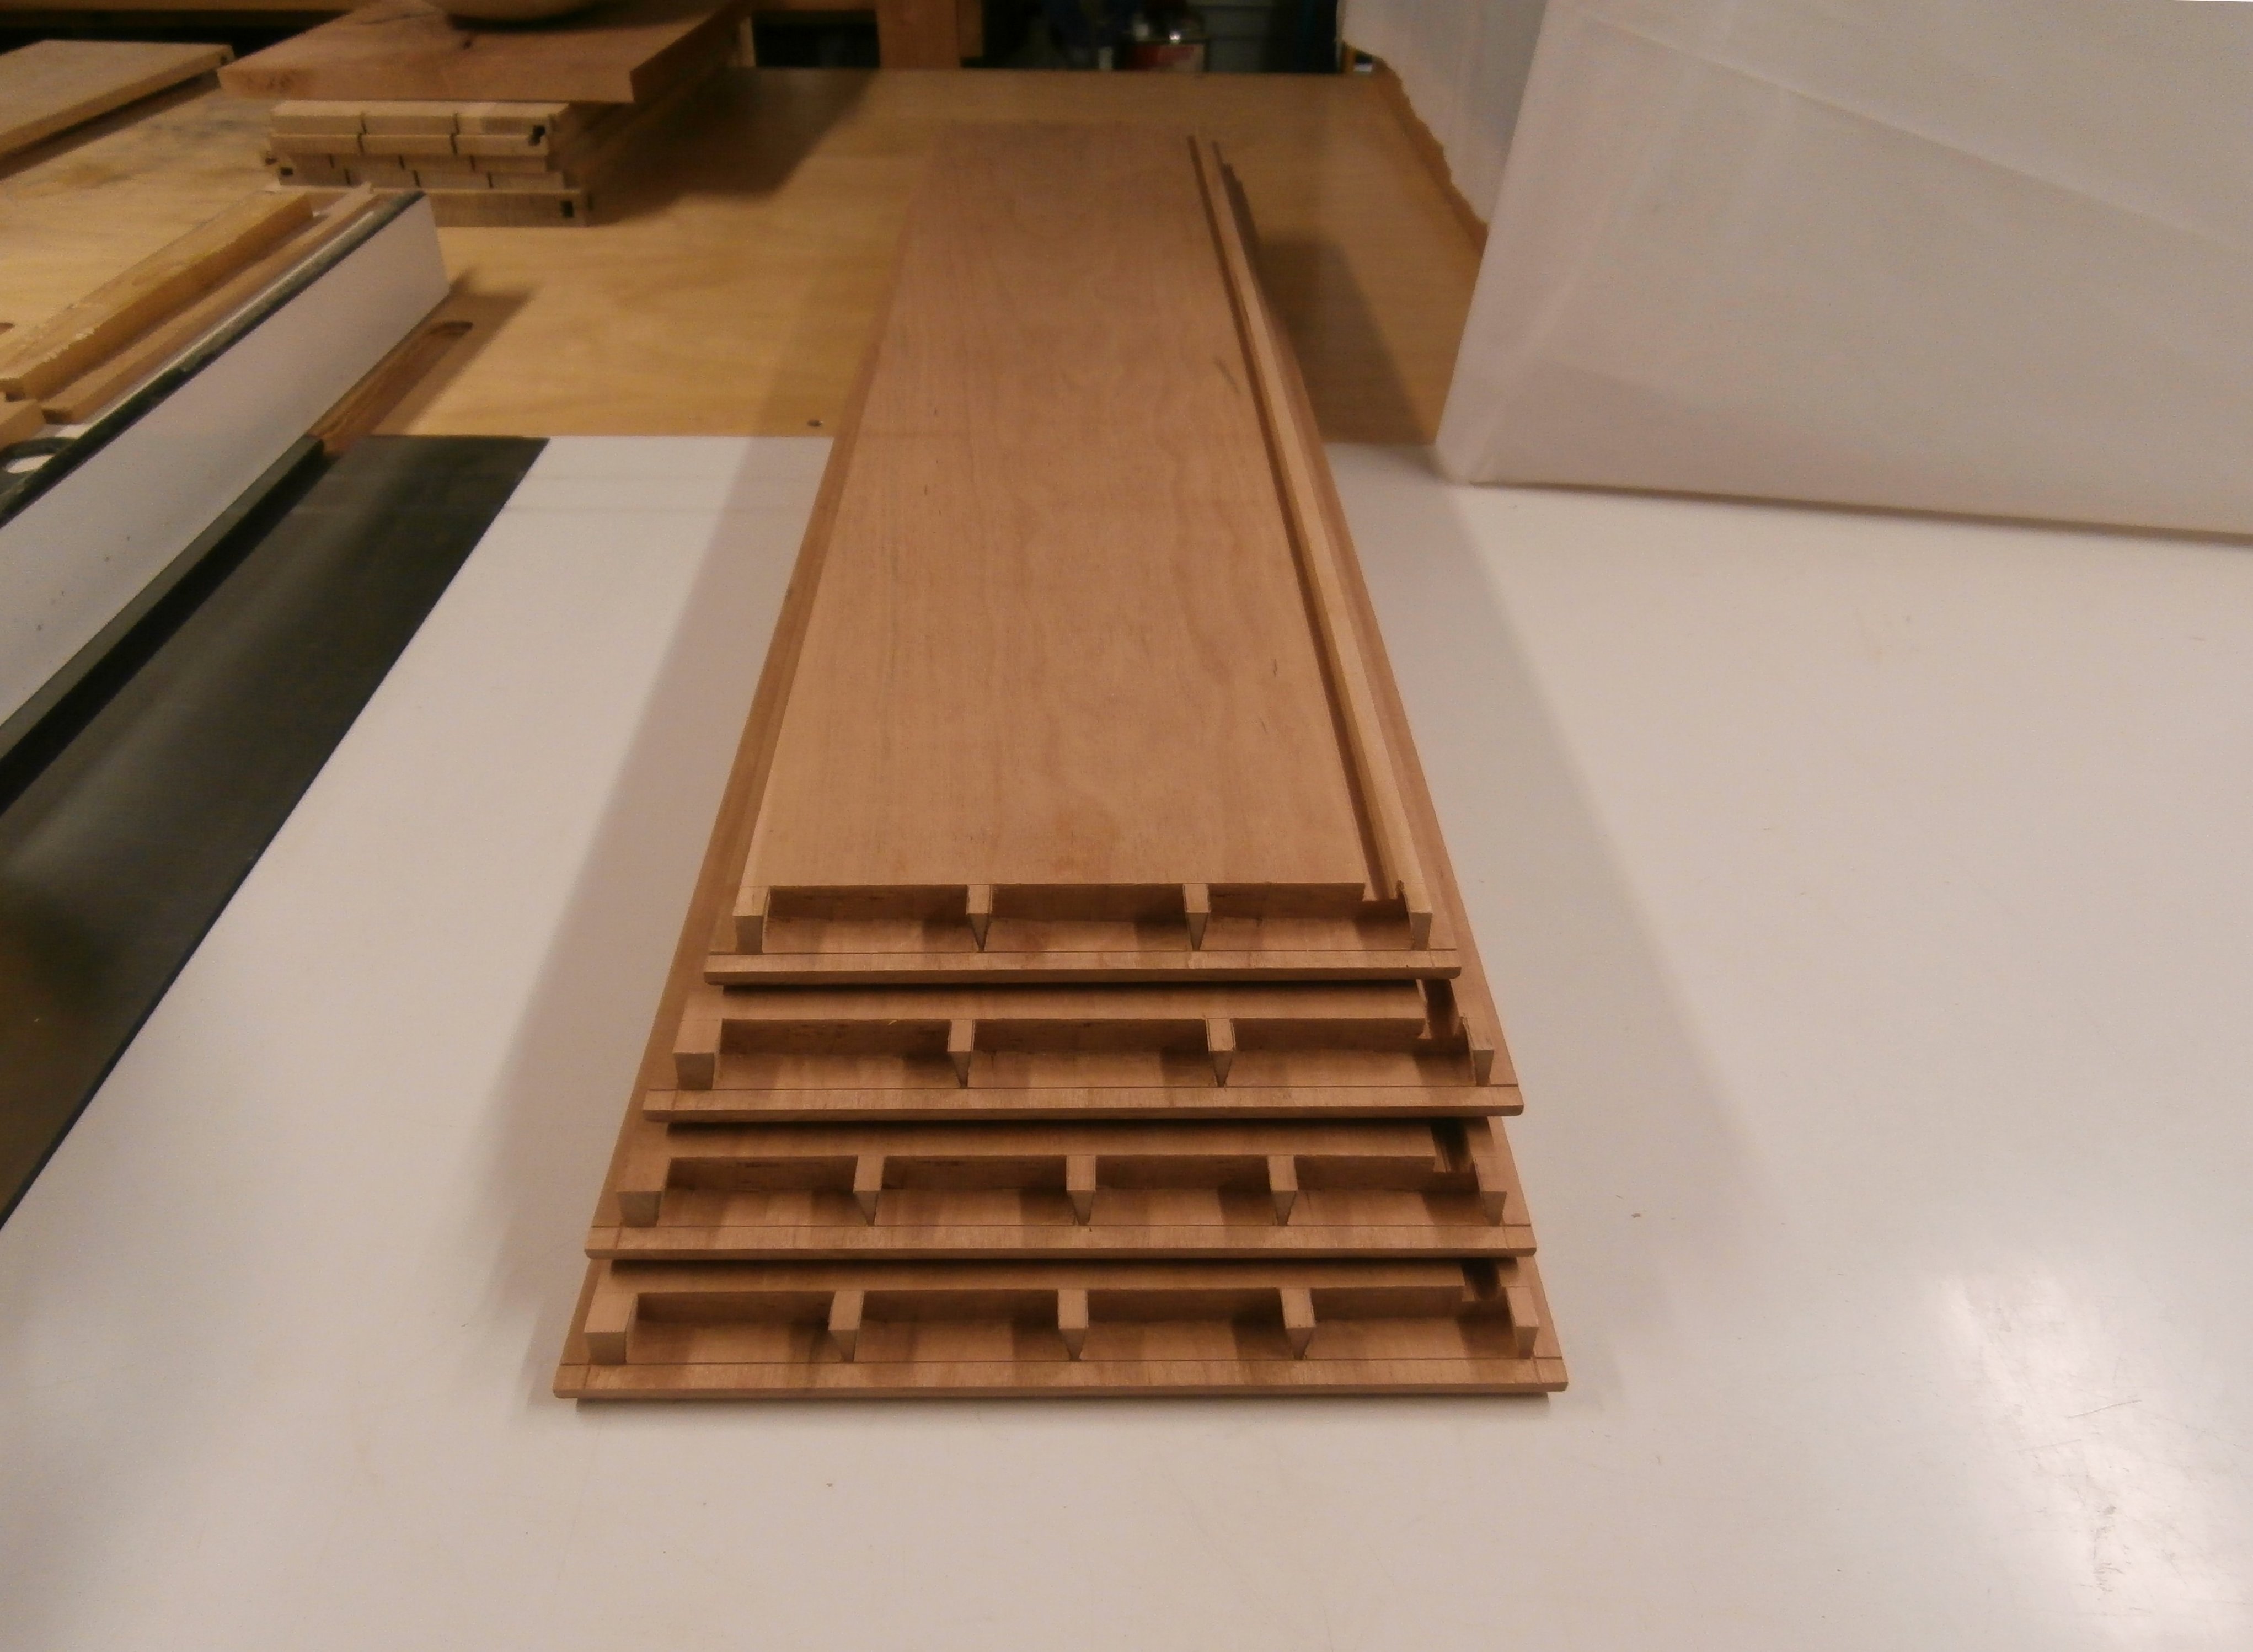
These are the four cherry drawer fronts with all dovetails cut to mate with the drawer sides, and the dadoes for the drawer bottoms are cut as well.

OLYMPUS DIGITAL CAMERA

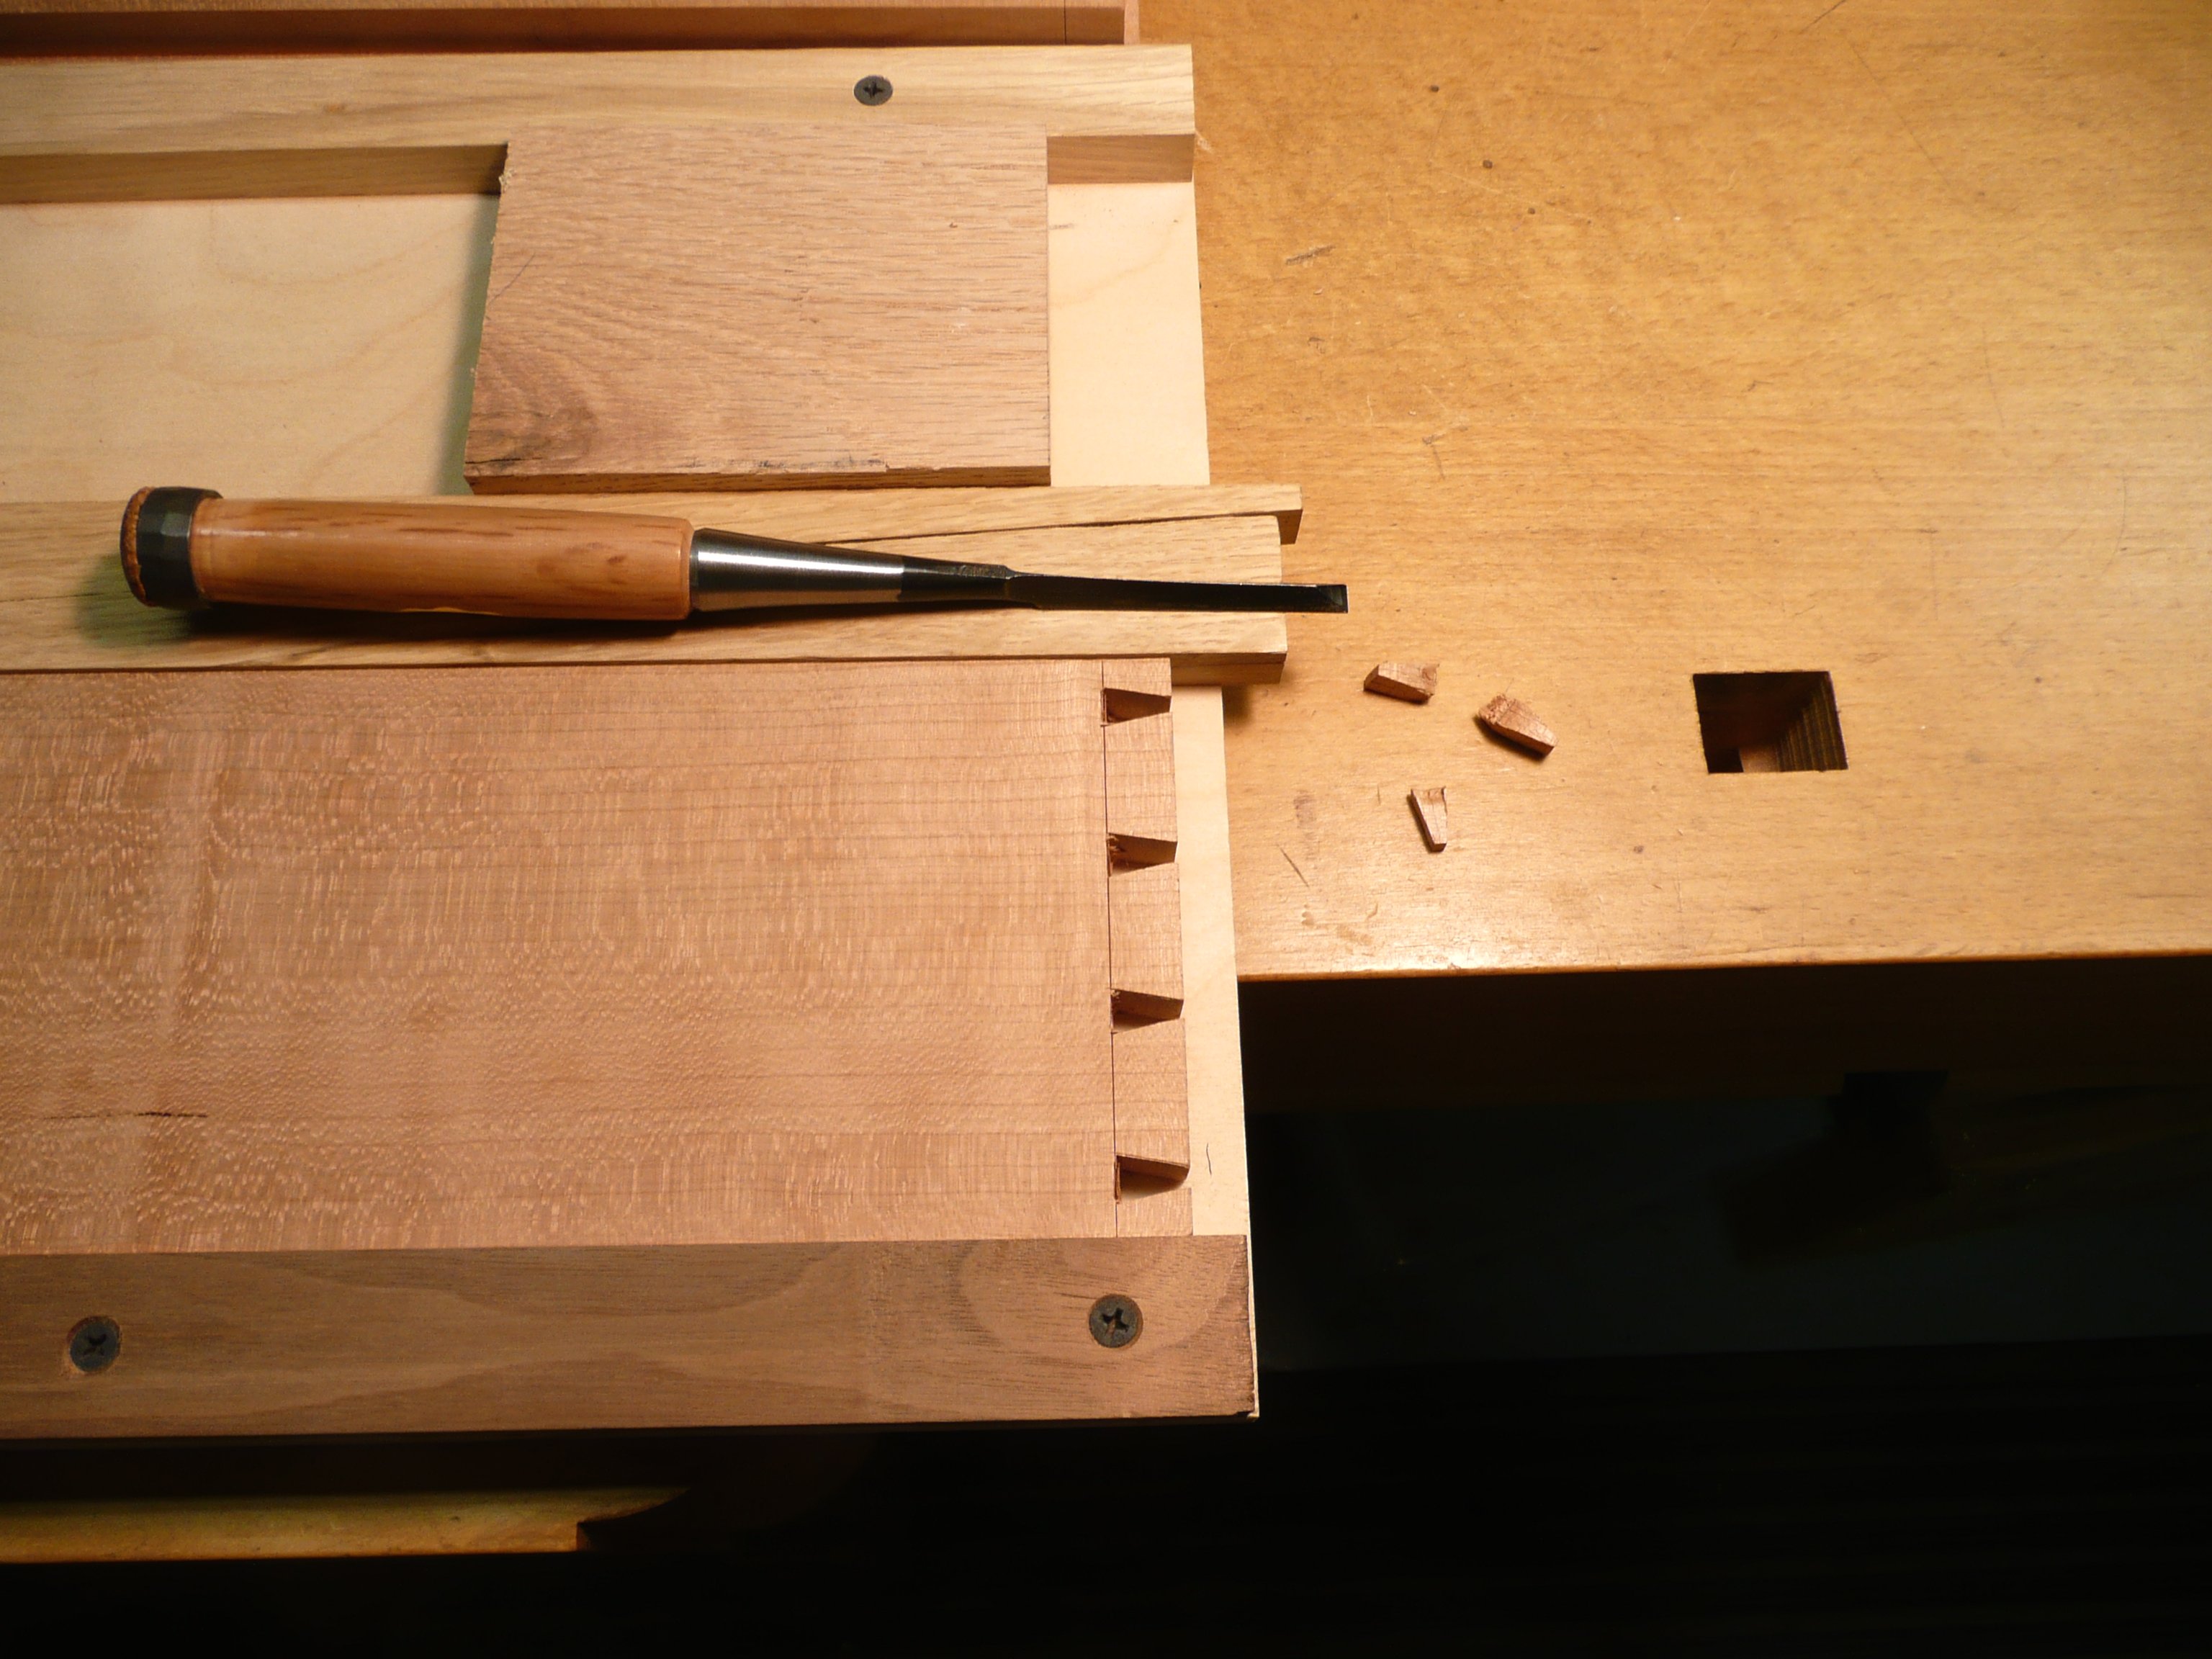
This is how a drawer front and drawer sides come together.  Note that the dadoes on both the drawer sides and drawer front line up to accommodate the drawer bottom.

OLYMPUS DIGITAL CAMERA

OLYMPUS DIGITAL CAMERA

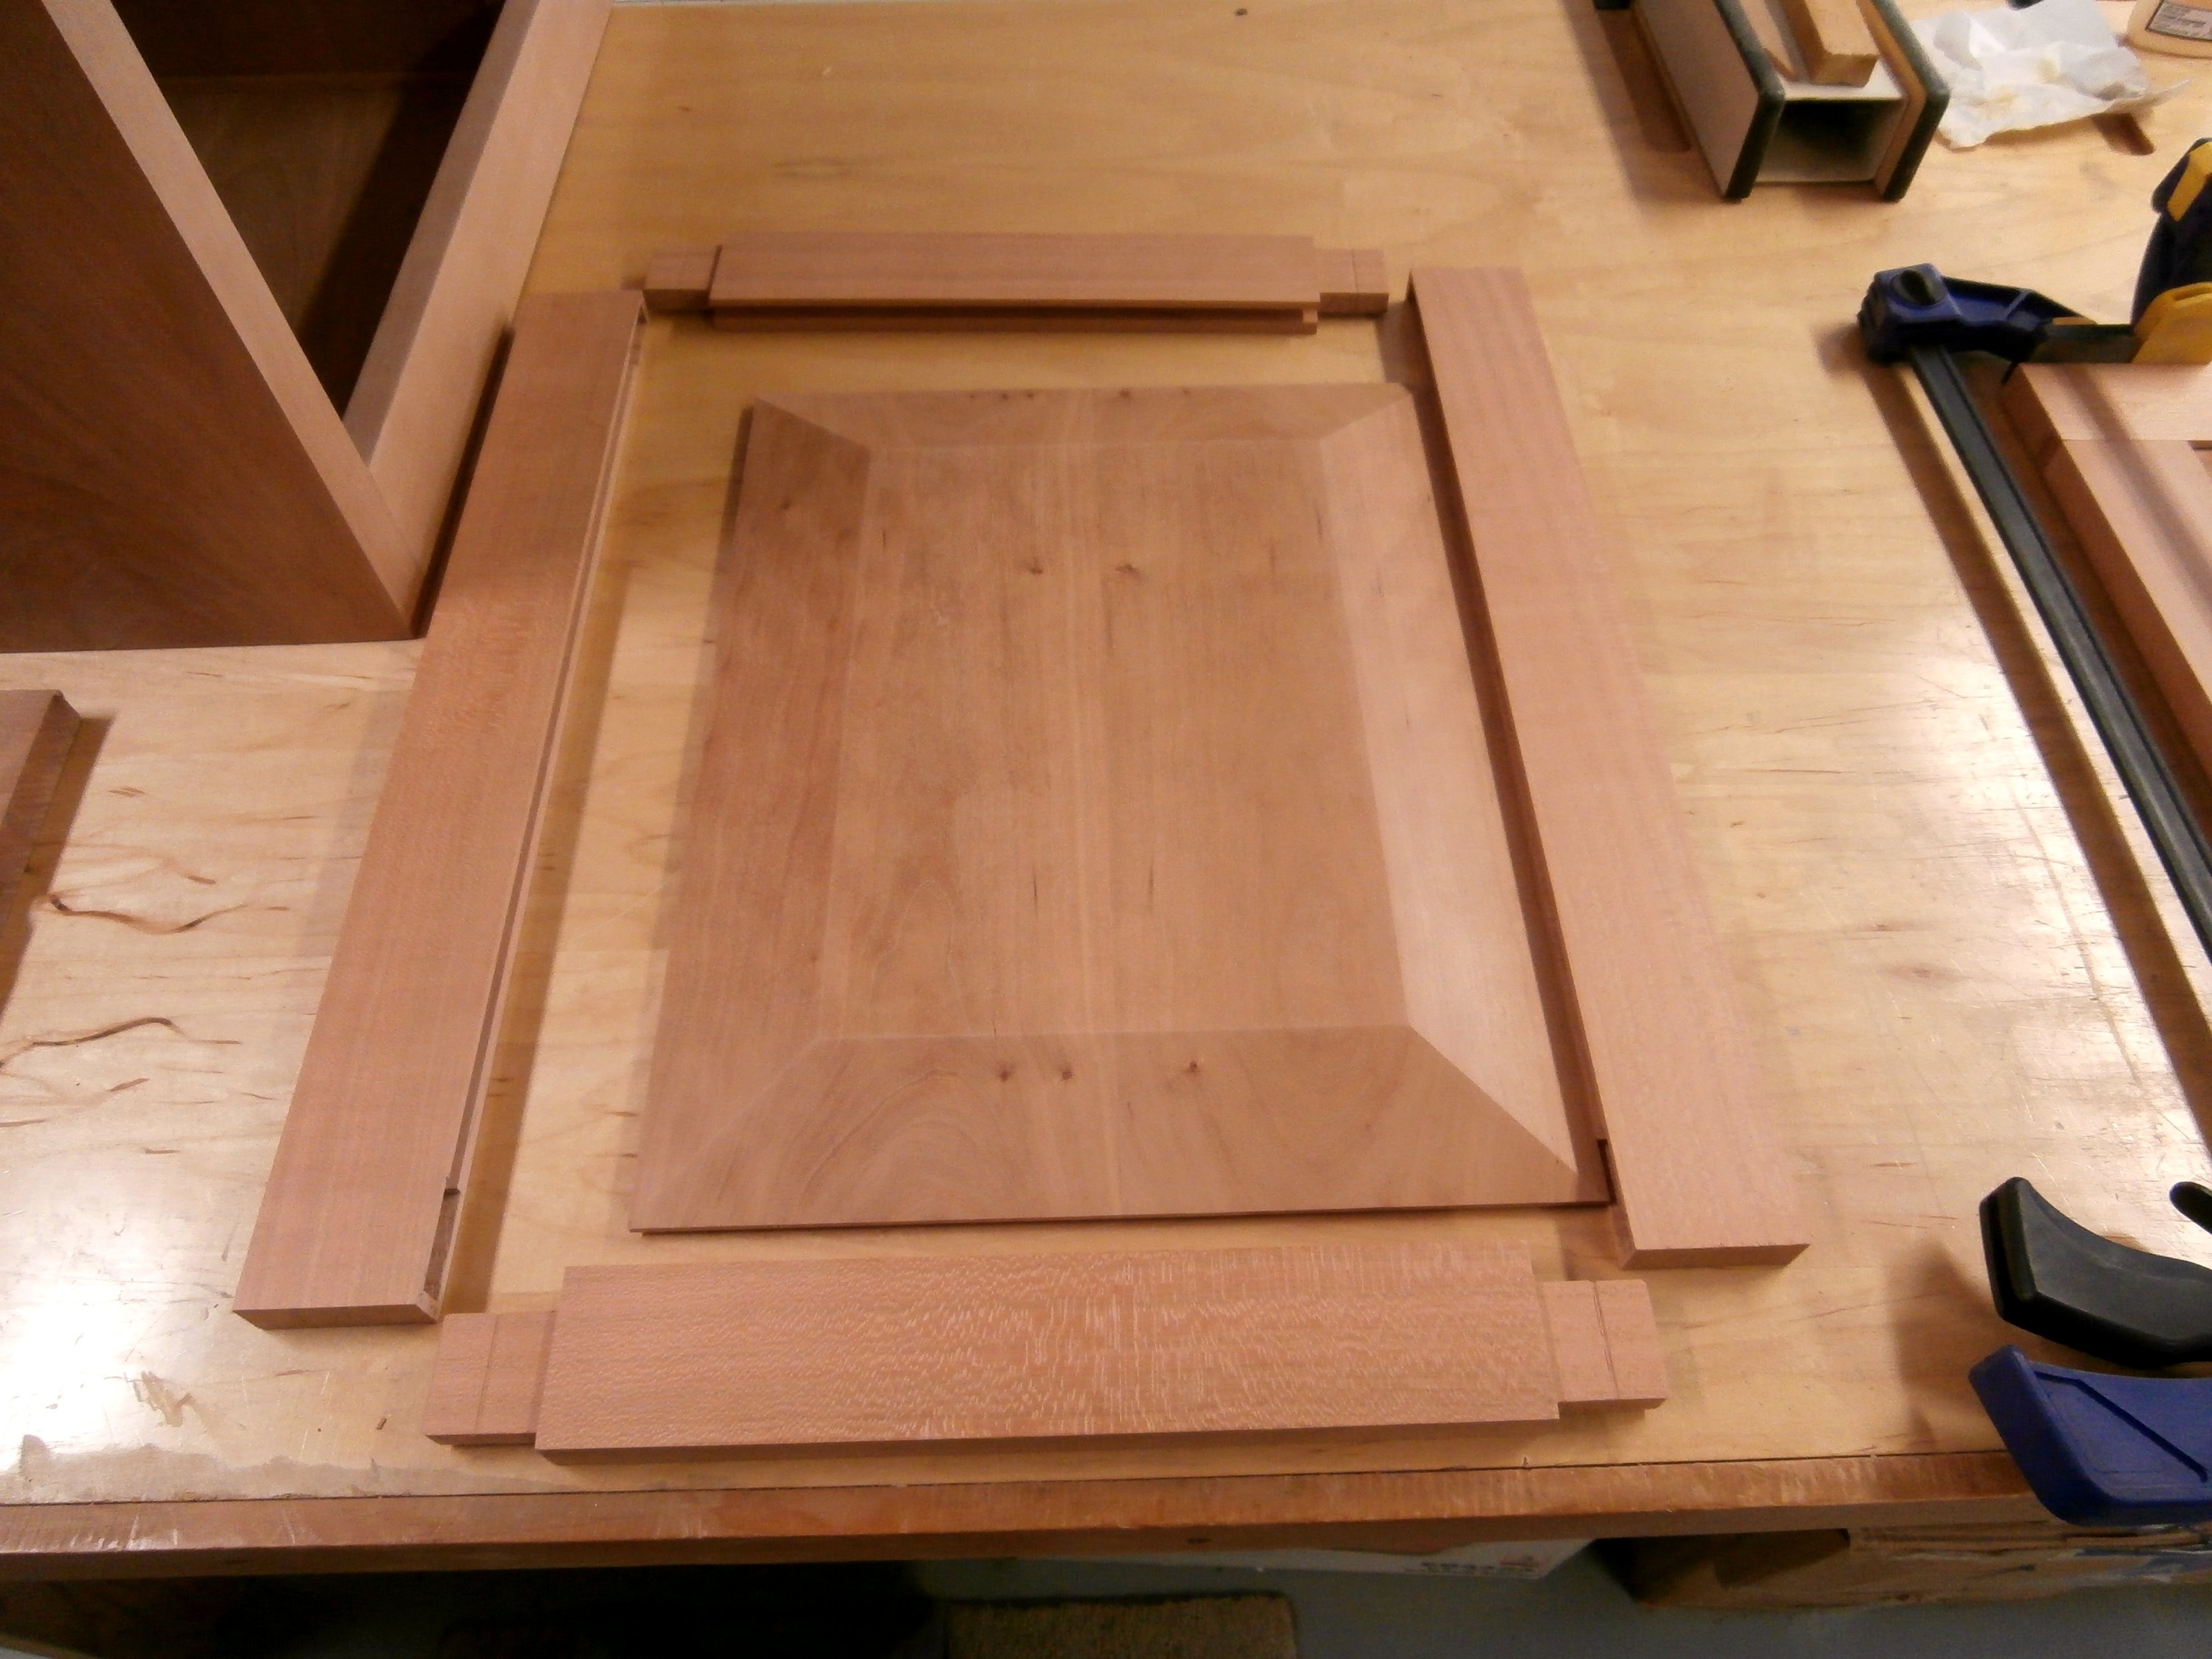
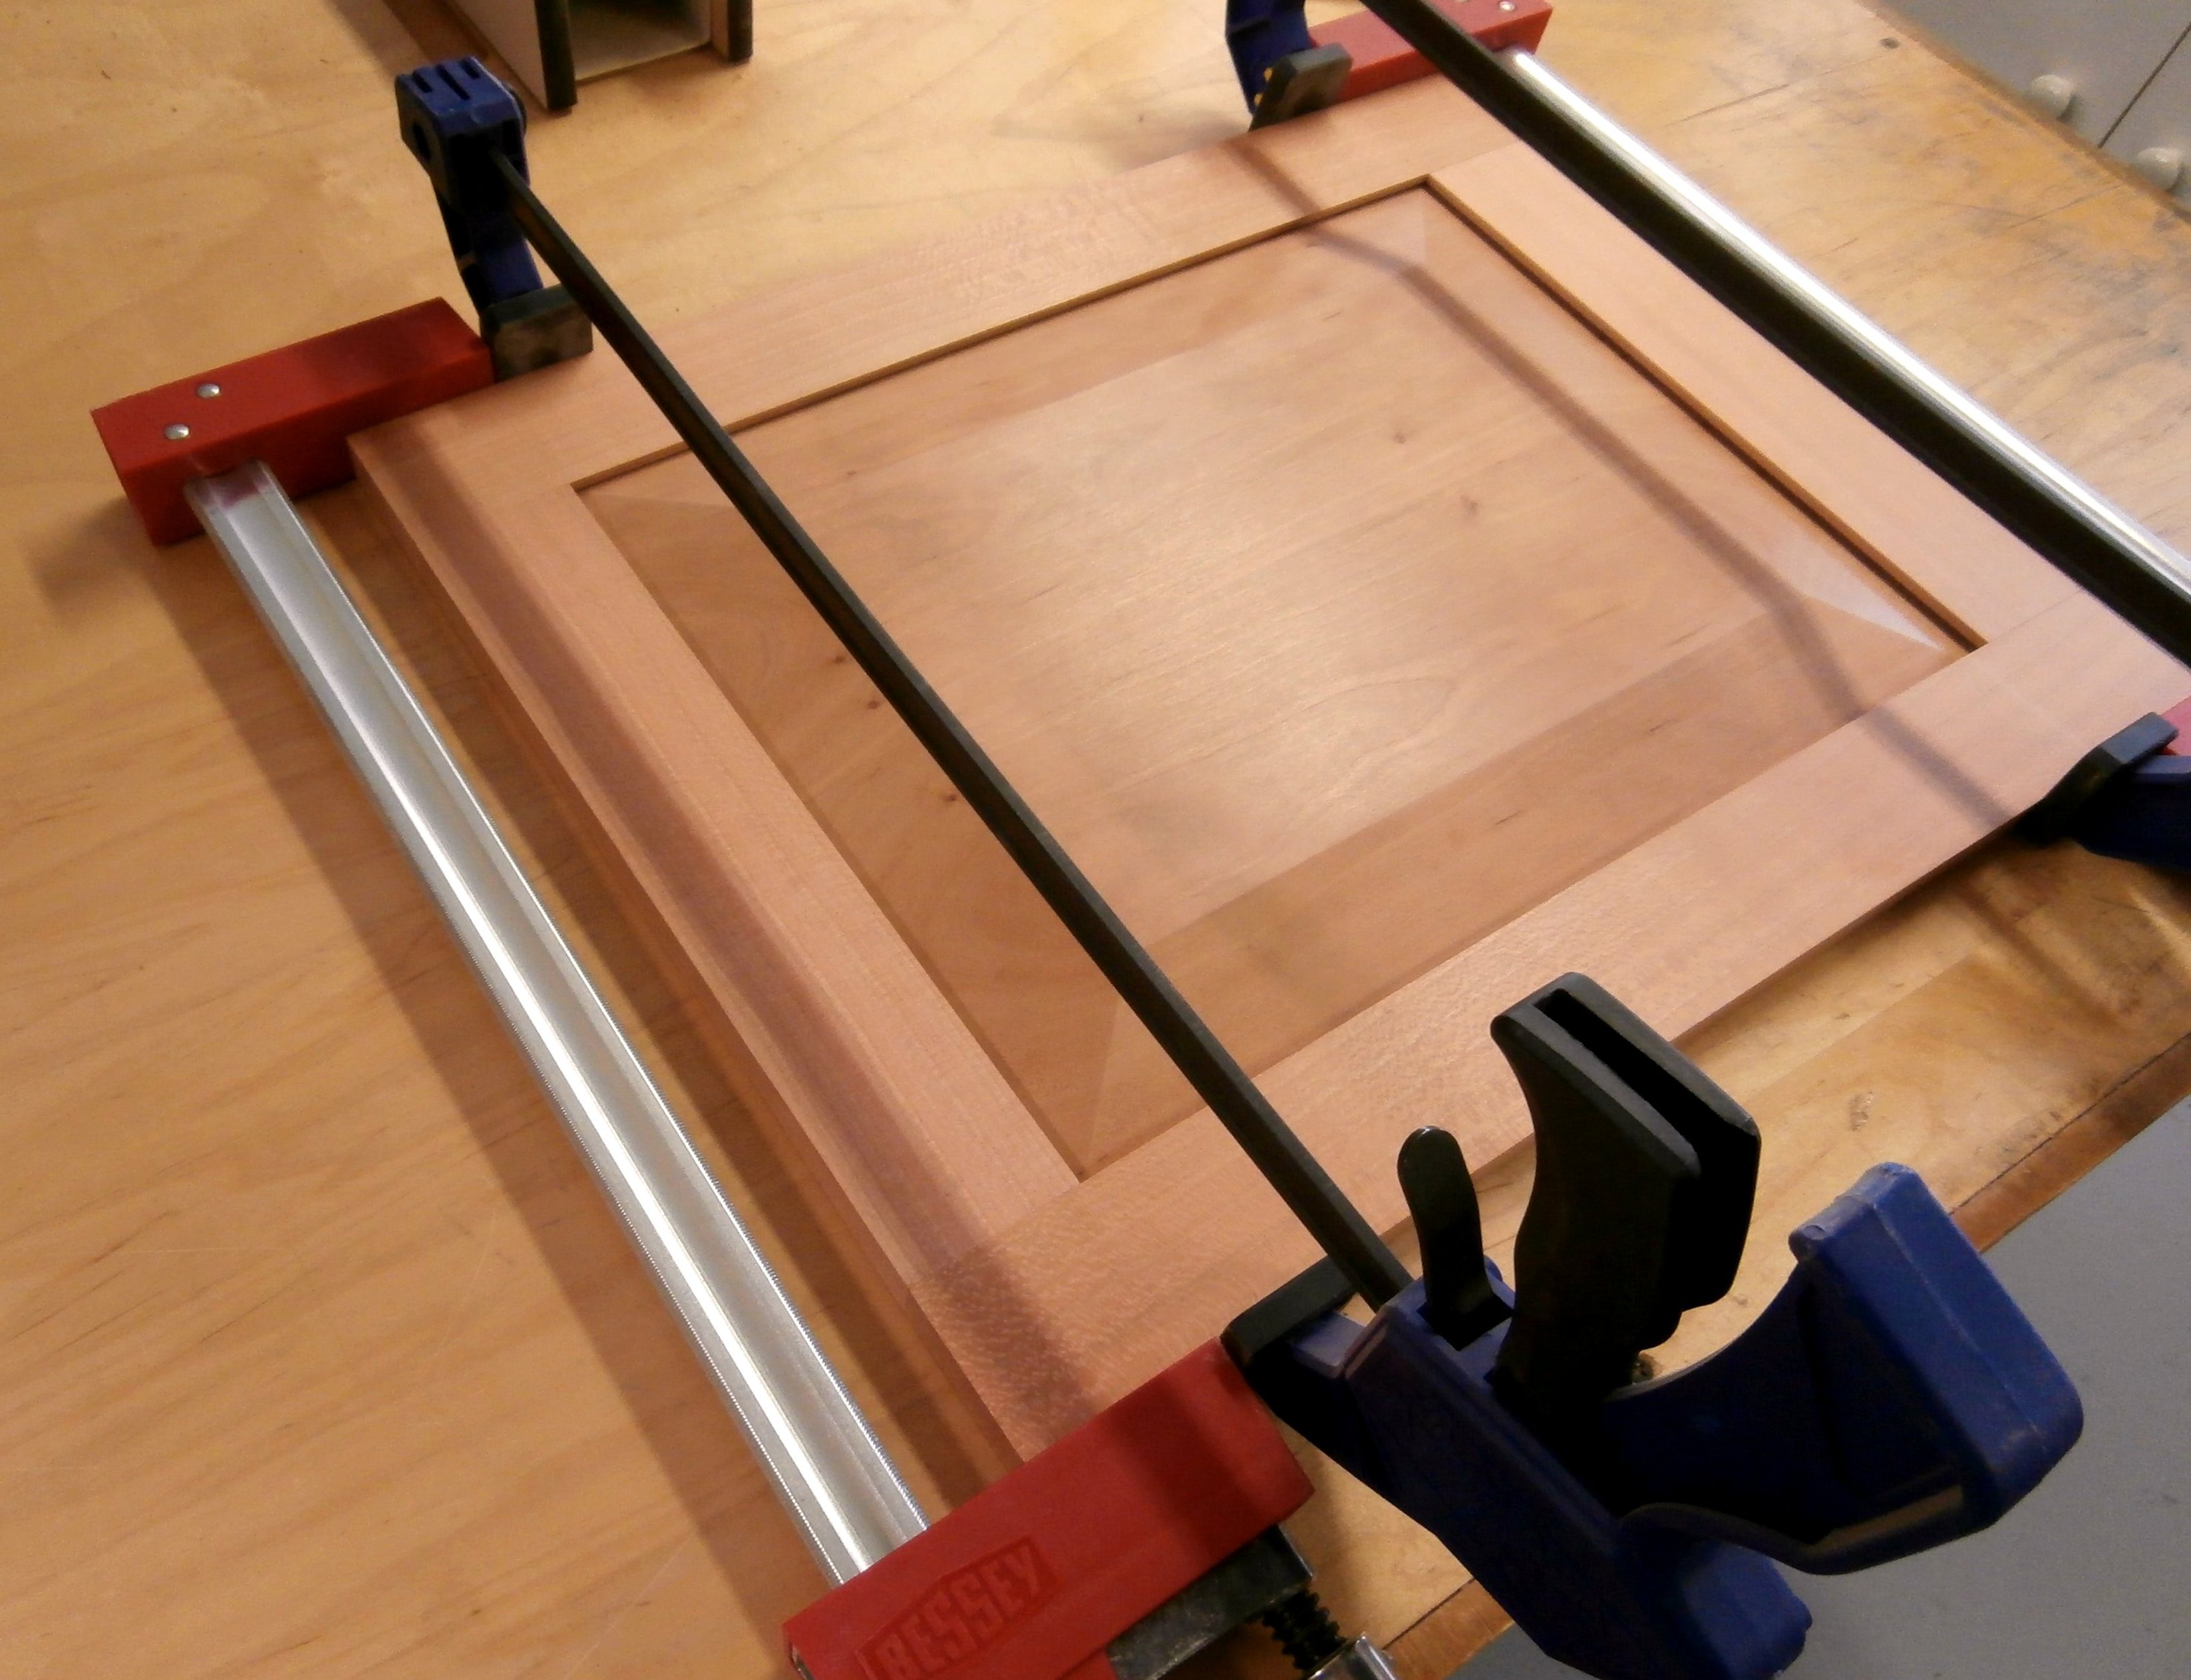
The two pictures above show one of the raised panel doors for the upper section before assembly, and then the pieces glued and clamped in place.  The frame pieces are glued together, but the panel floats free in dadoes that run all the way around the inside of the frame.  This is so the wide, flat-sawn panel boards can expand or contract with changes in ambient humidity without stressing or cracking the frame.  The door frame pieces are cut from quarter-sawn cherry and are joined together with mortise and tenon joints.  The door panel is made up of two “book-matched” cherry boards arranged vertically and edge glued before the beveled edges are crafted.

Weed Pots

OLYMPUS DIGITAL CAMERA

These are the first three I turned on my lathe in, from l. to r., black walnut, American black cherry, and white oak.  They stand about 5.5″ tall.  In addition to being drilled out at the top to hold dried flowers, branches, ornamental grass, or interesting weeds, the bottoms also have a cavity drilled out which is filled with steel shot and then sealed with a wood plug.  The bottom-weighting provides stability.  (Click on any image to enlarge)

Since the first three were made, I have experimented with other shapes and heights, as well as with some exotic woods.  Below, l. to r., Claro walnut and Wenge, straight off the lathe.

OLYMPUS DIGITAL CAMERA

I’ve also ordered various sizes of glass test tubes to be inserted into properly sized holes in the tops so that in addition to holding dried arrangements,  a single rose or small flower grouping can be kept fresh in water.


Cherry & Maple, Hand Dovetailed Box

Dell II 436

This is a box I made for my son using quarter sawn, American black cherry for the sides.  I also used the cherry to frame the raised panel of birdseye maple on the lid.   I’m going to very briefly show you the steps I use to cut the dovetail joints for the box sides.  Fine, hand cut dovetail joints can always be distinguished from those produced with a power router by the very narrow spacing between the tails (i.e. the very small size of the “pins”) which cannot be accomplished in this small size with a router.  (Click on an image to enlarge it.)

Dell II 446

I first use a thin kerf, rip saw to cut the outlines of the previously laid out and marked “tails” (shaped like a stylized bird’s tail) on two sides at once (held in the vise) so that the proportions will appear even all the way around the box.

Dell II 449

Then I clamp one side at a time in a jig I designed so that I can use a Japanese dovetail chisel (with a triangular cross section) to chop out the waste between the saw cuts, thereby creating the “tails.”

Dell II 450

Finished “tails.”

Dell II 452

The “pins” that fit into the slots between the “tails” are first marked on the ends of the remaining two side boards to correspond to the size and spacing of the “tails.”  Then, after being laid out, the “pins” are cut in the same way as the “tails,” with saw and chisel.