
All posts by Max Vollmer
Arvo Part – Spiegal im spiegal
The “Recycled” Cabinet
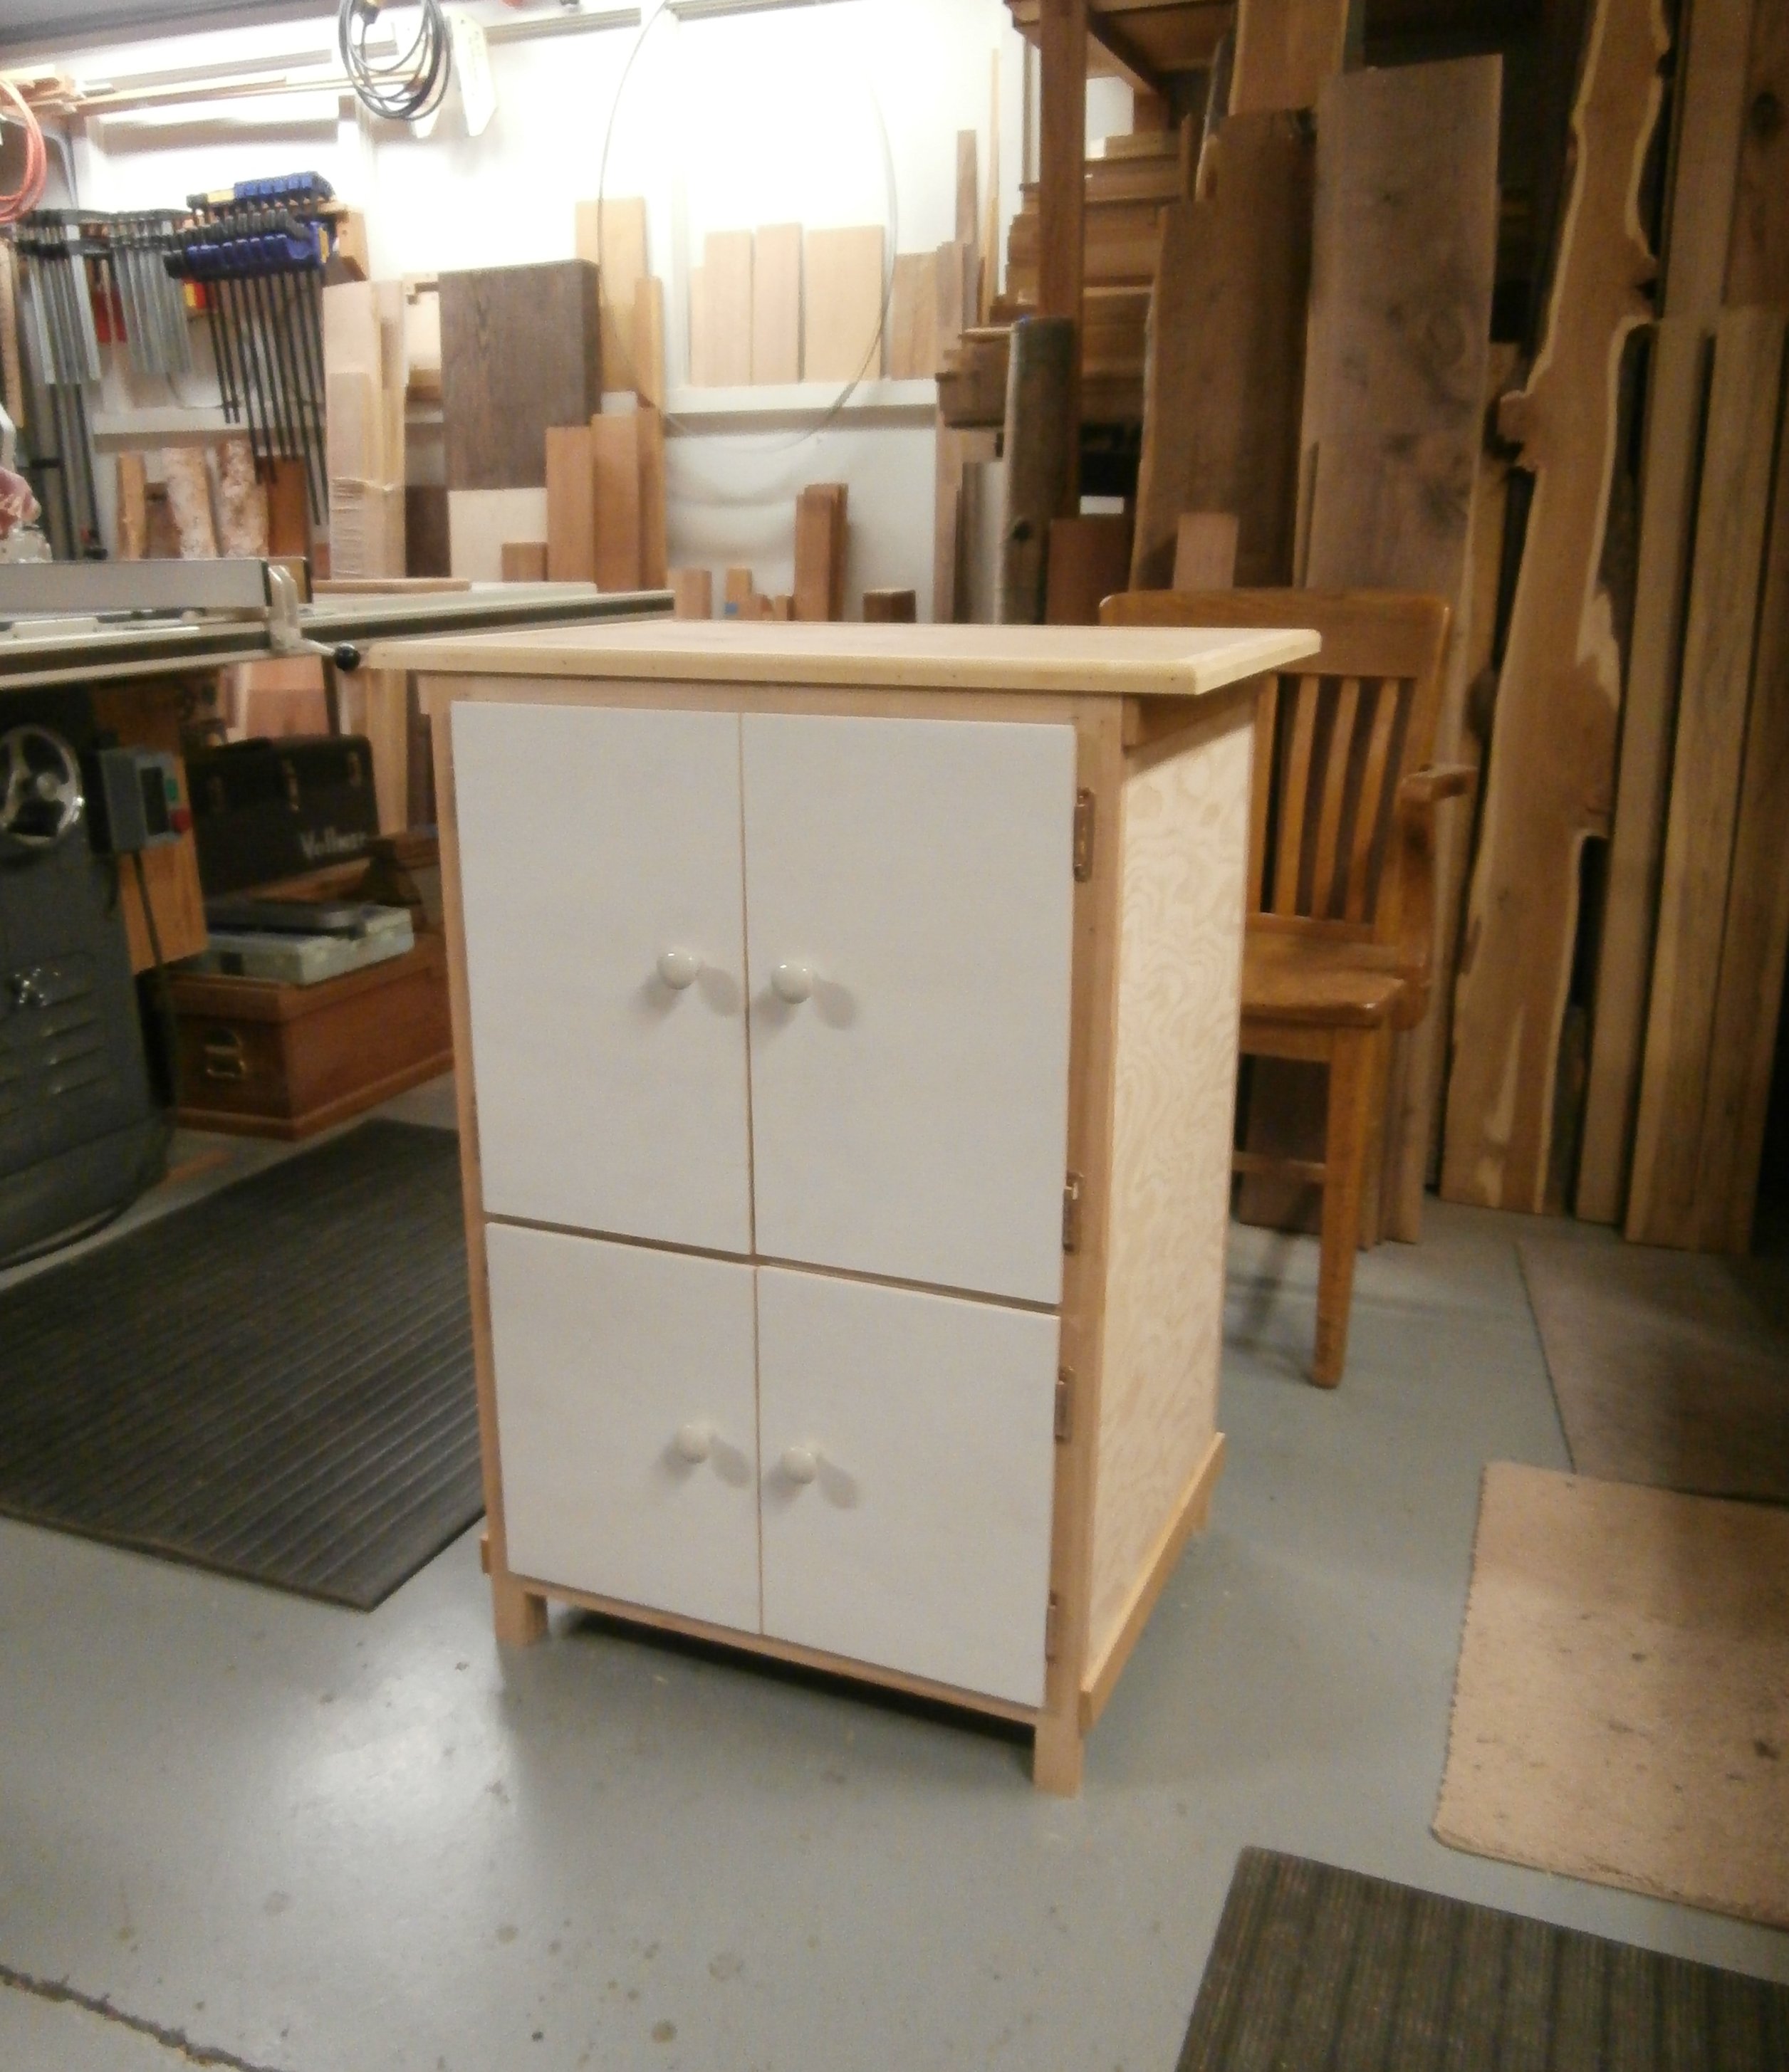
I needed a job-specific cabinet that would fit in a defined, limited space in my shop. It needed to hold my Ridgid oscillating sander on top, and house my Tormek sharpening machine and related sharpening equipment on shelves below. It ended up being made entirely out of leftover and recycled parts: four old cabinet doors with hinges, two off-cuts of plywood, ceramic door knobs from a house I owned 30 years ago, and one 10 foot 2″x4″ left over from another project. I challenged myself to use only materials on hand, as efficiently as possible (i.e. zero waste), while still meeting my design criteria. (Click on any image to enlarge)
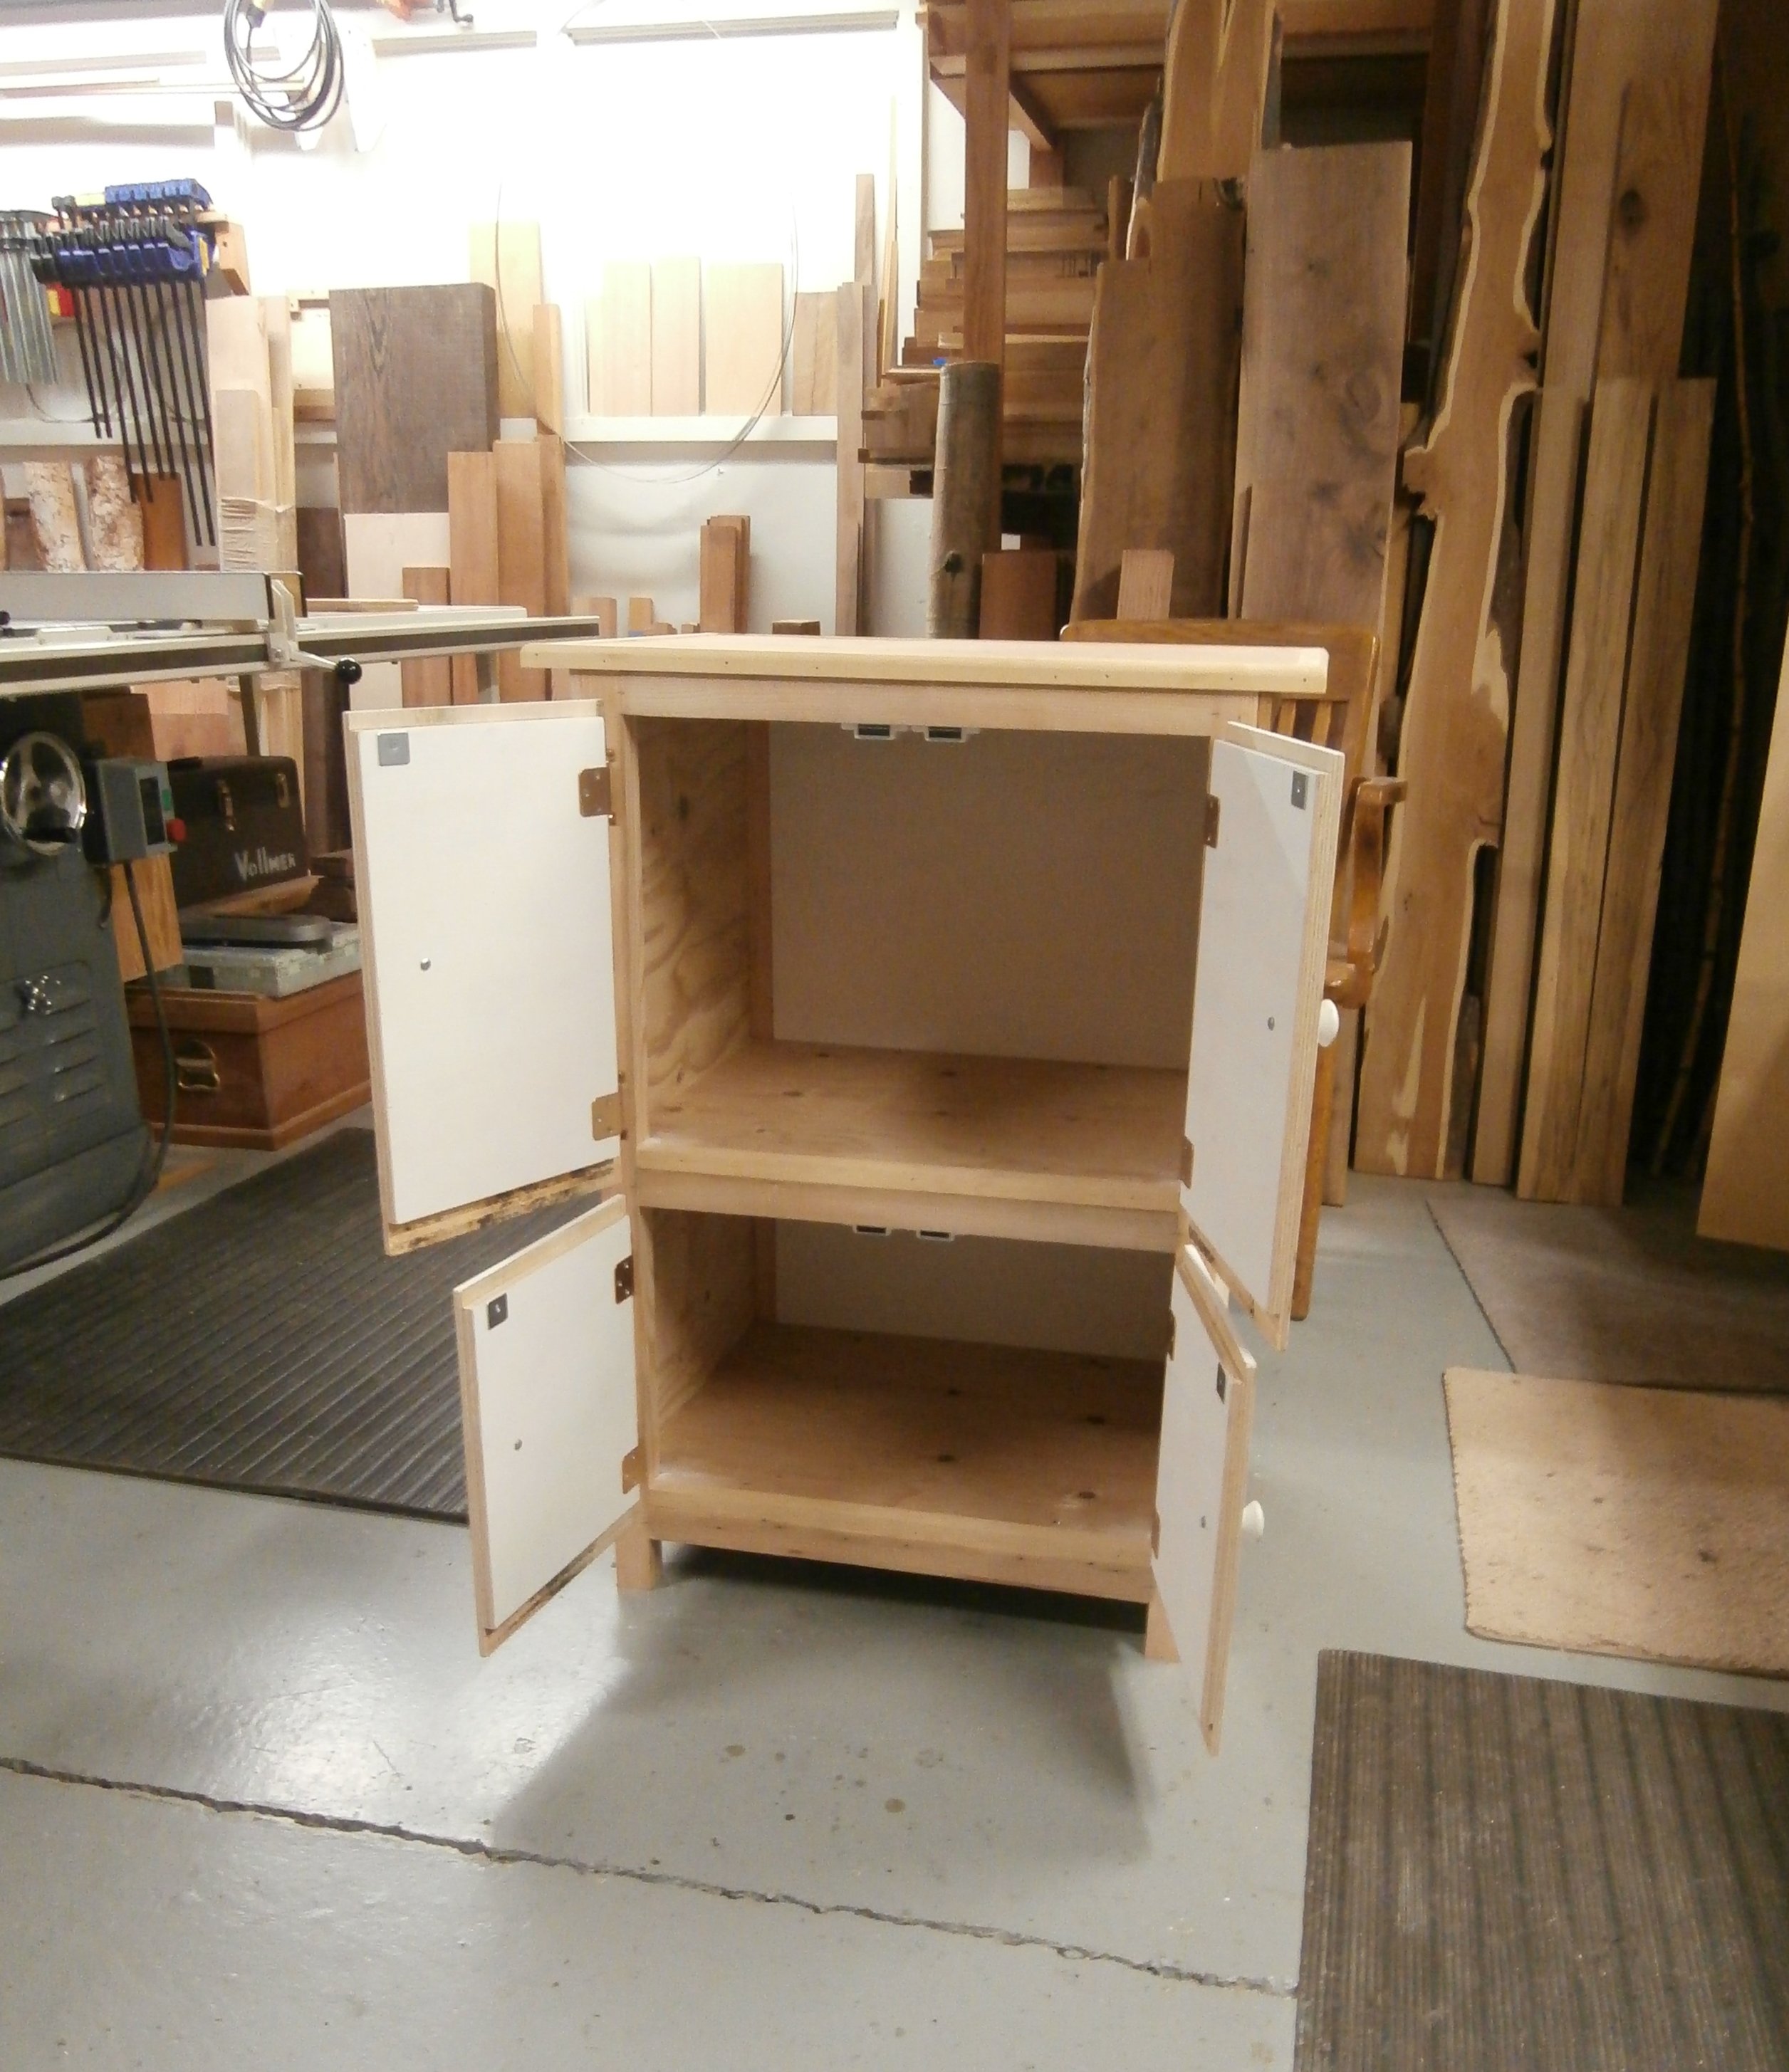
The basic frame for the cabinet came from the 2″ x 4″ which was ripped lengthwise and then sized into 1 3/8″ square stock. The four cabinet doors and their 1970’s era hinges came from a client’s house where I installed replacements. Two of the cabinet doors became panels for the back, and the other two were each divided in half for the doors in front.
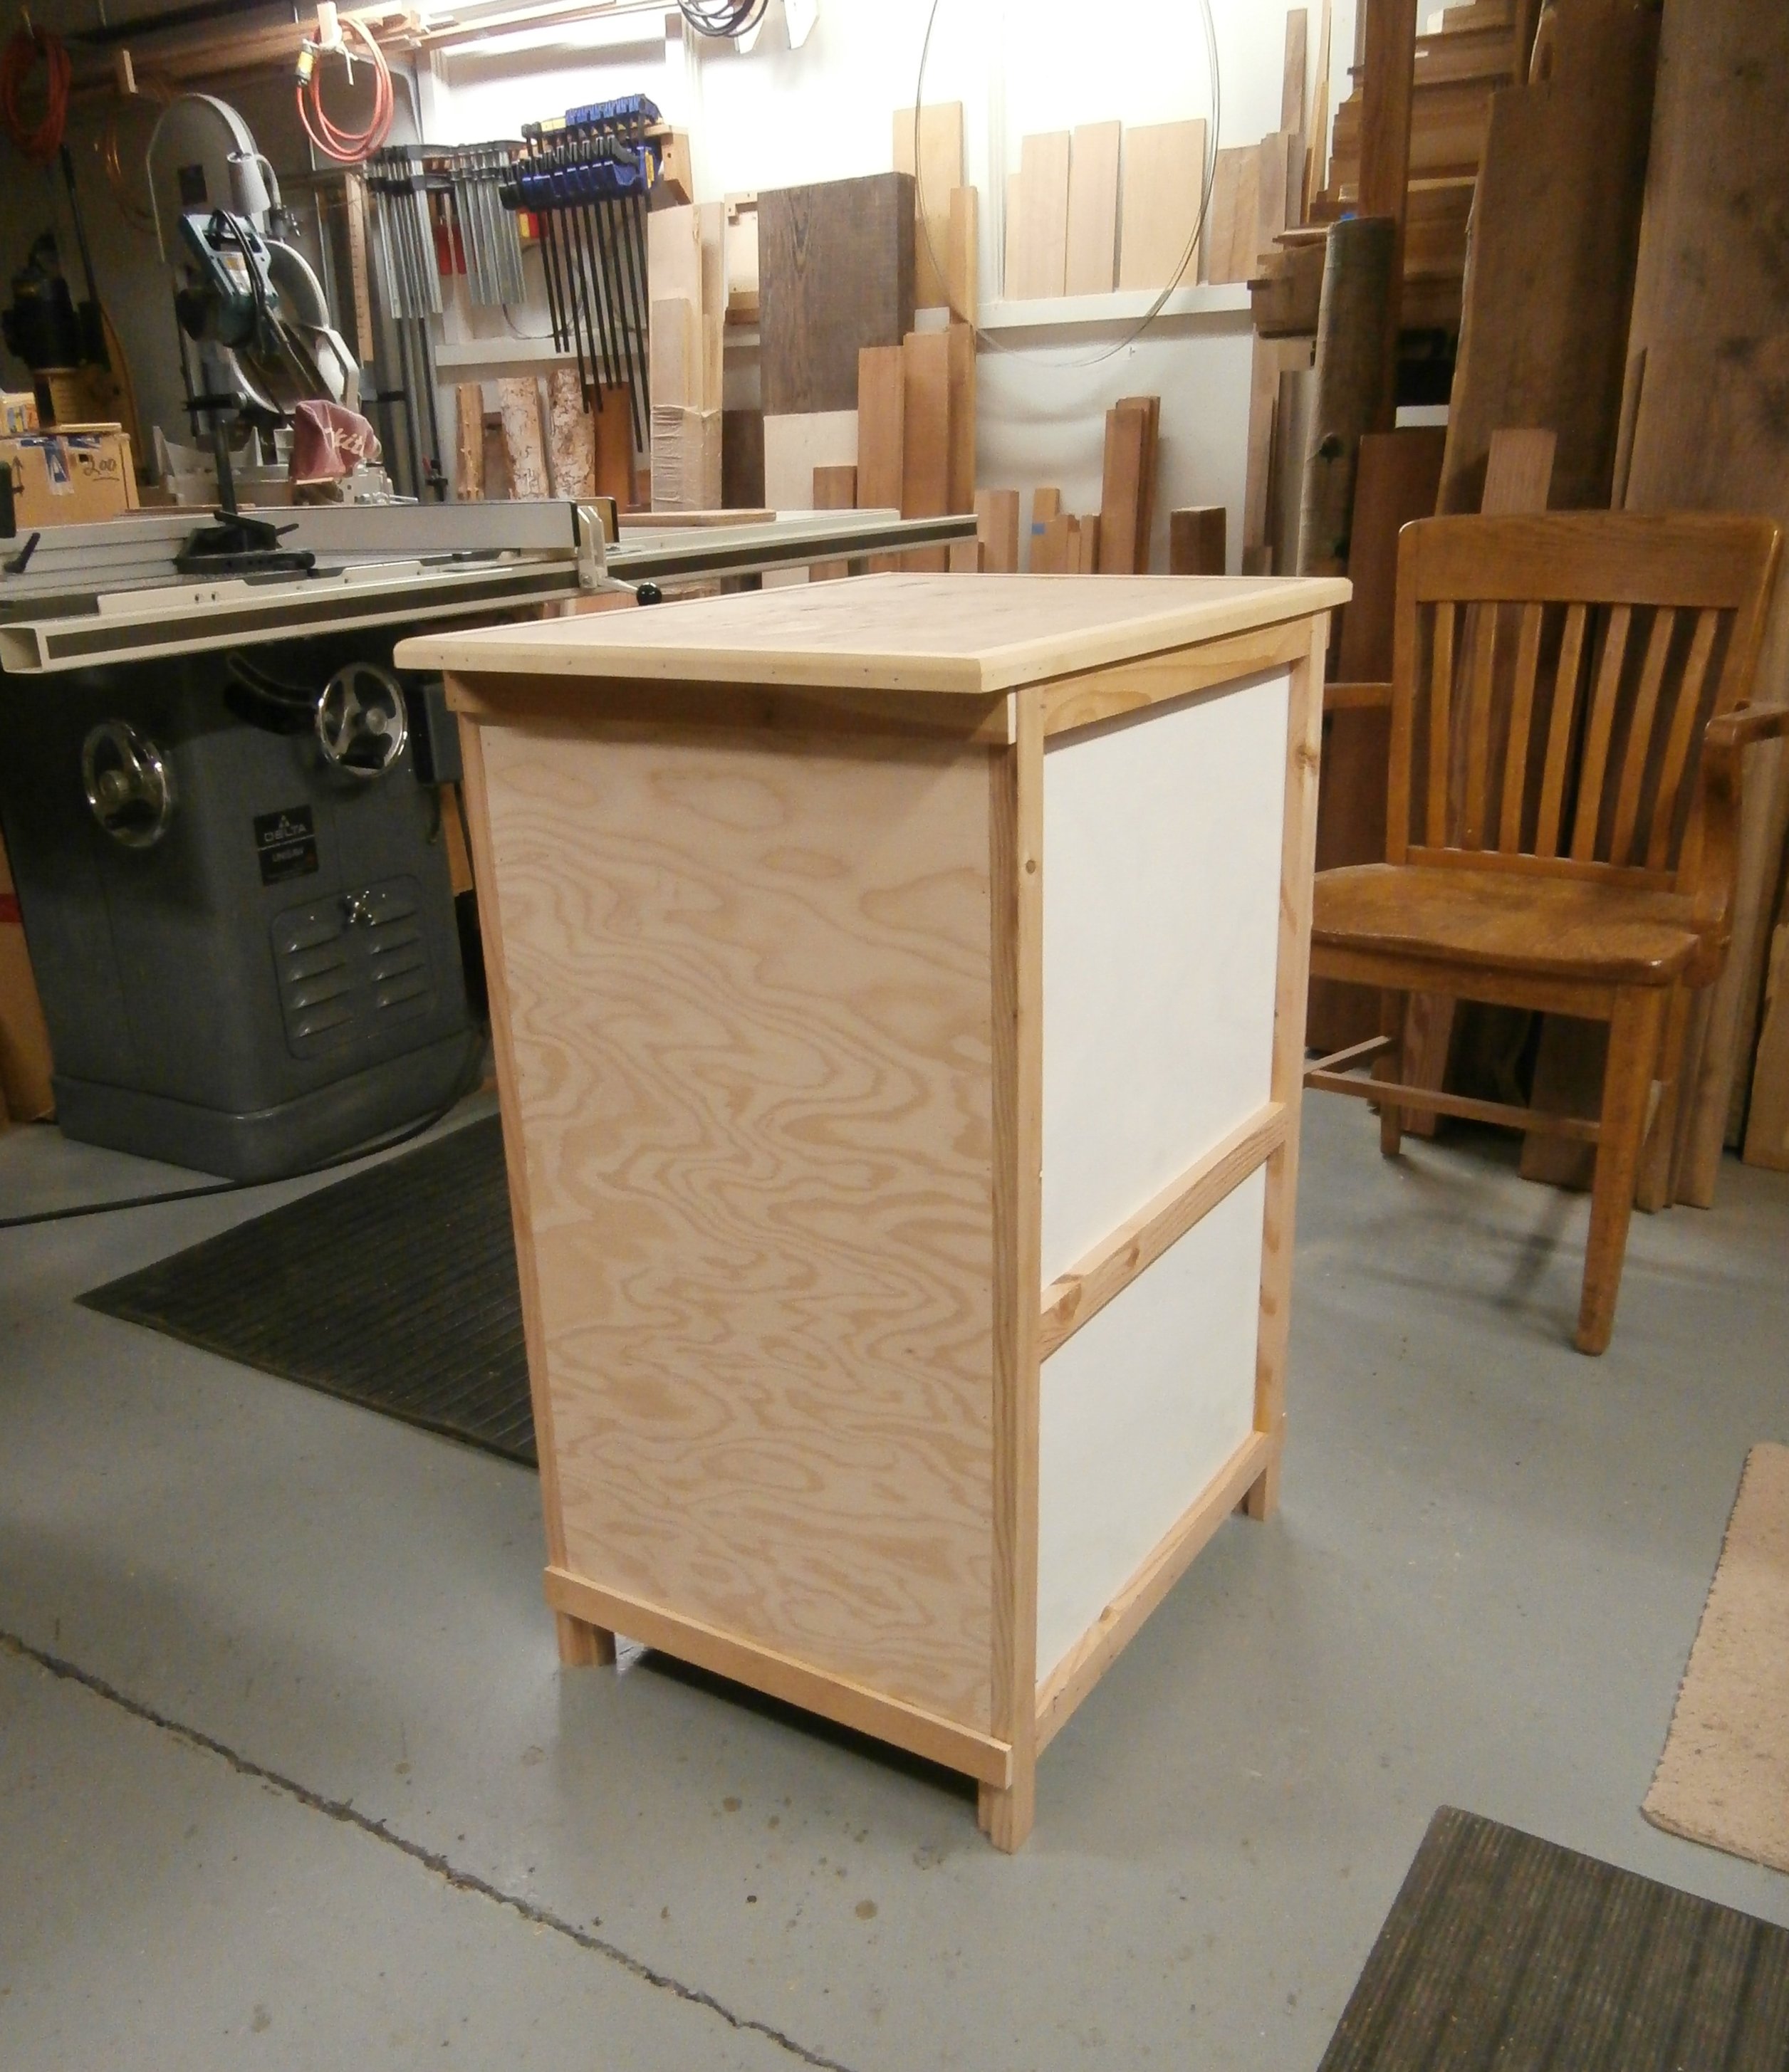
The sides were made from one leftover piece of 3/8″ AC plywood divided in half, and the cabinet top and two interior shelves came one piece of 3/4″ CDX plywood.
Drafting Table and Storage Box
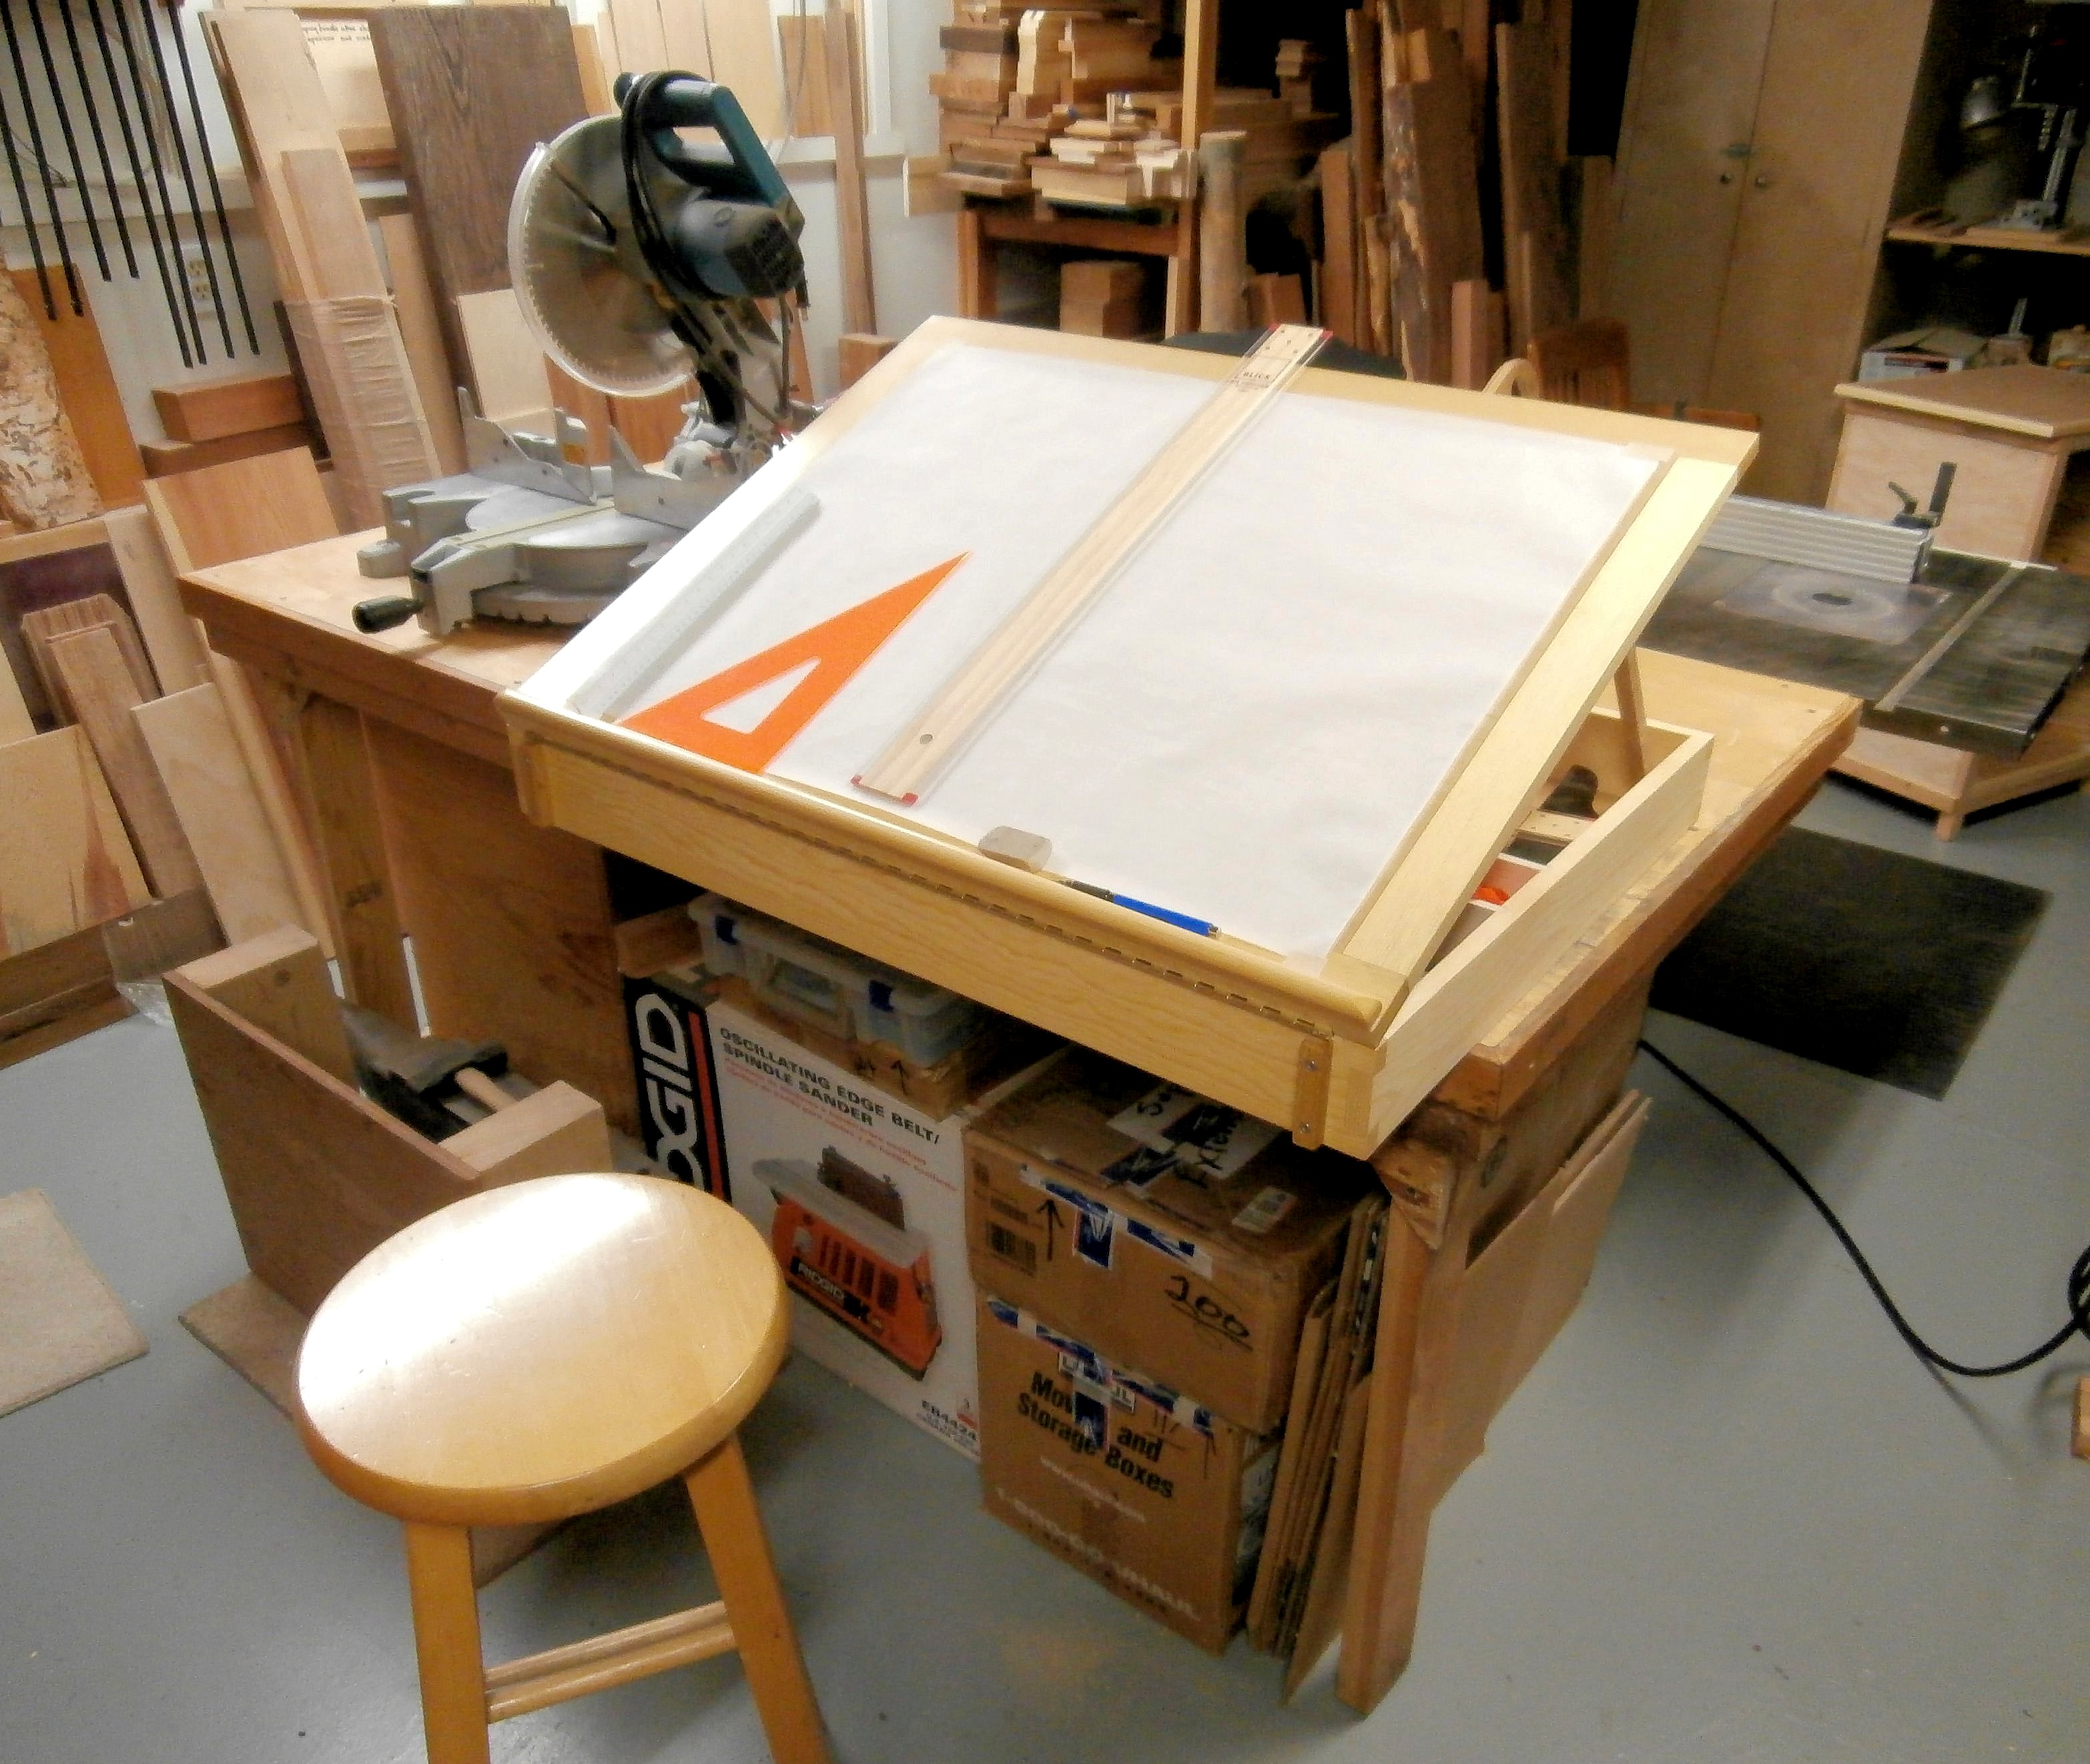
I needed a drafting table and also a place to store my drafting tools (T-squares, triangles, compass, rules, pencils, roll of vellum, etc.), so I designed this combination drafting table + portable storage box. (Click on any image to enlarge)
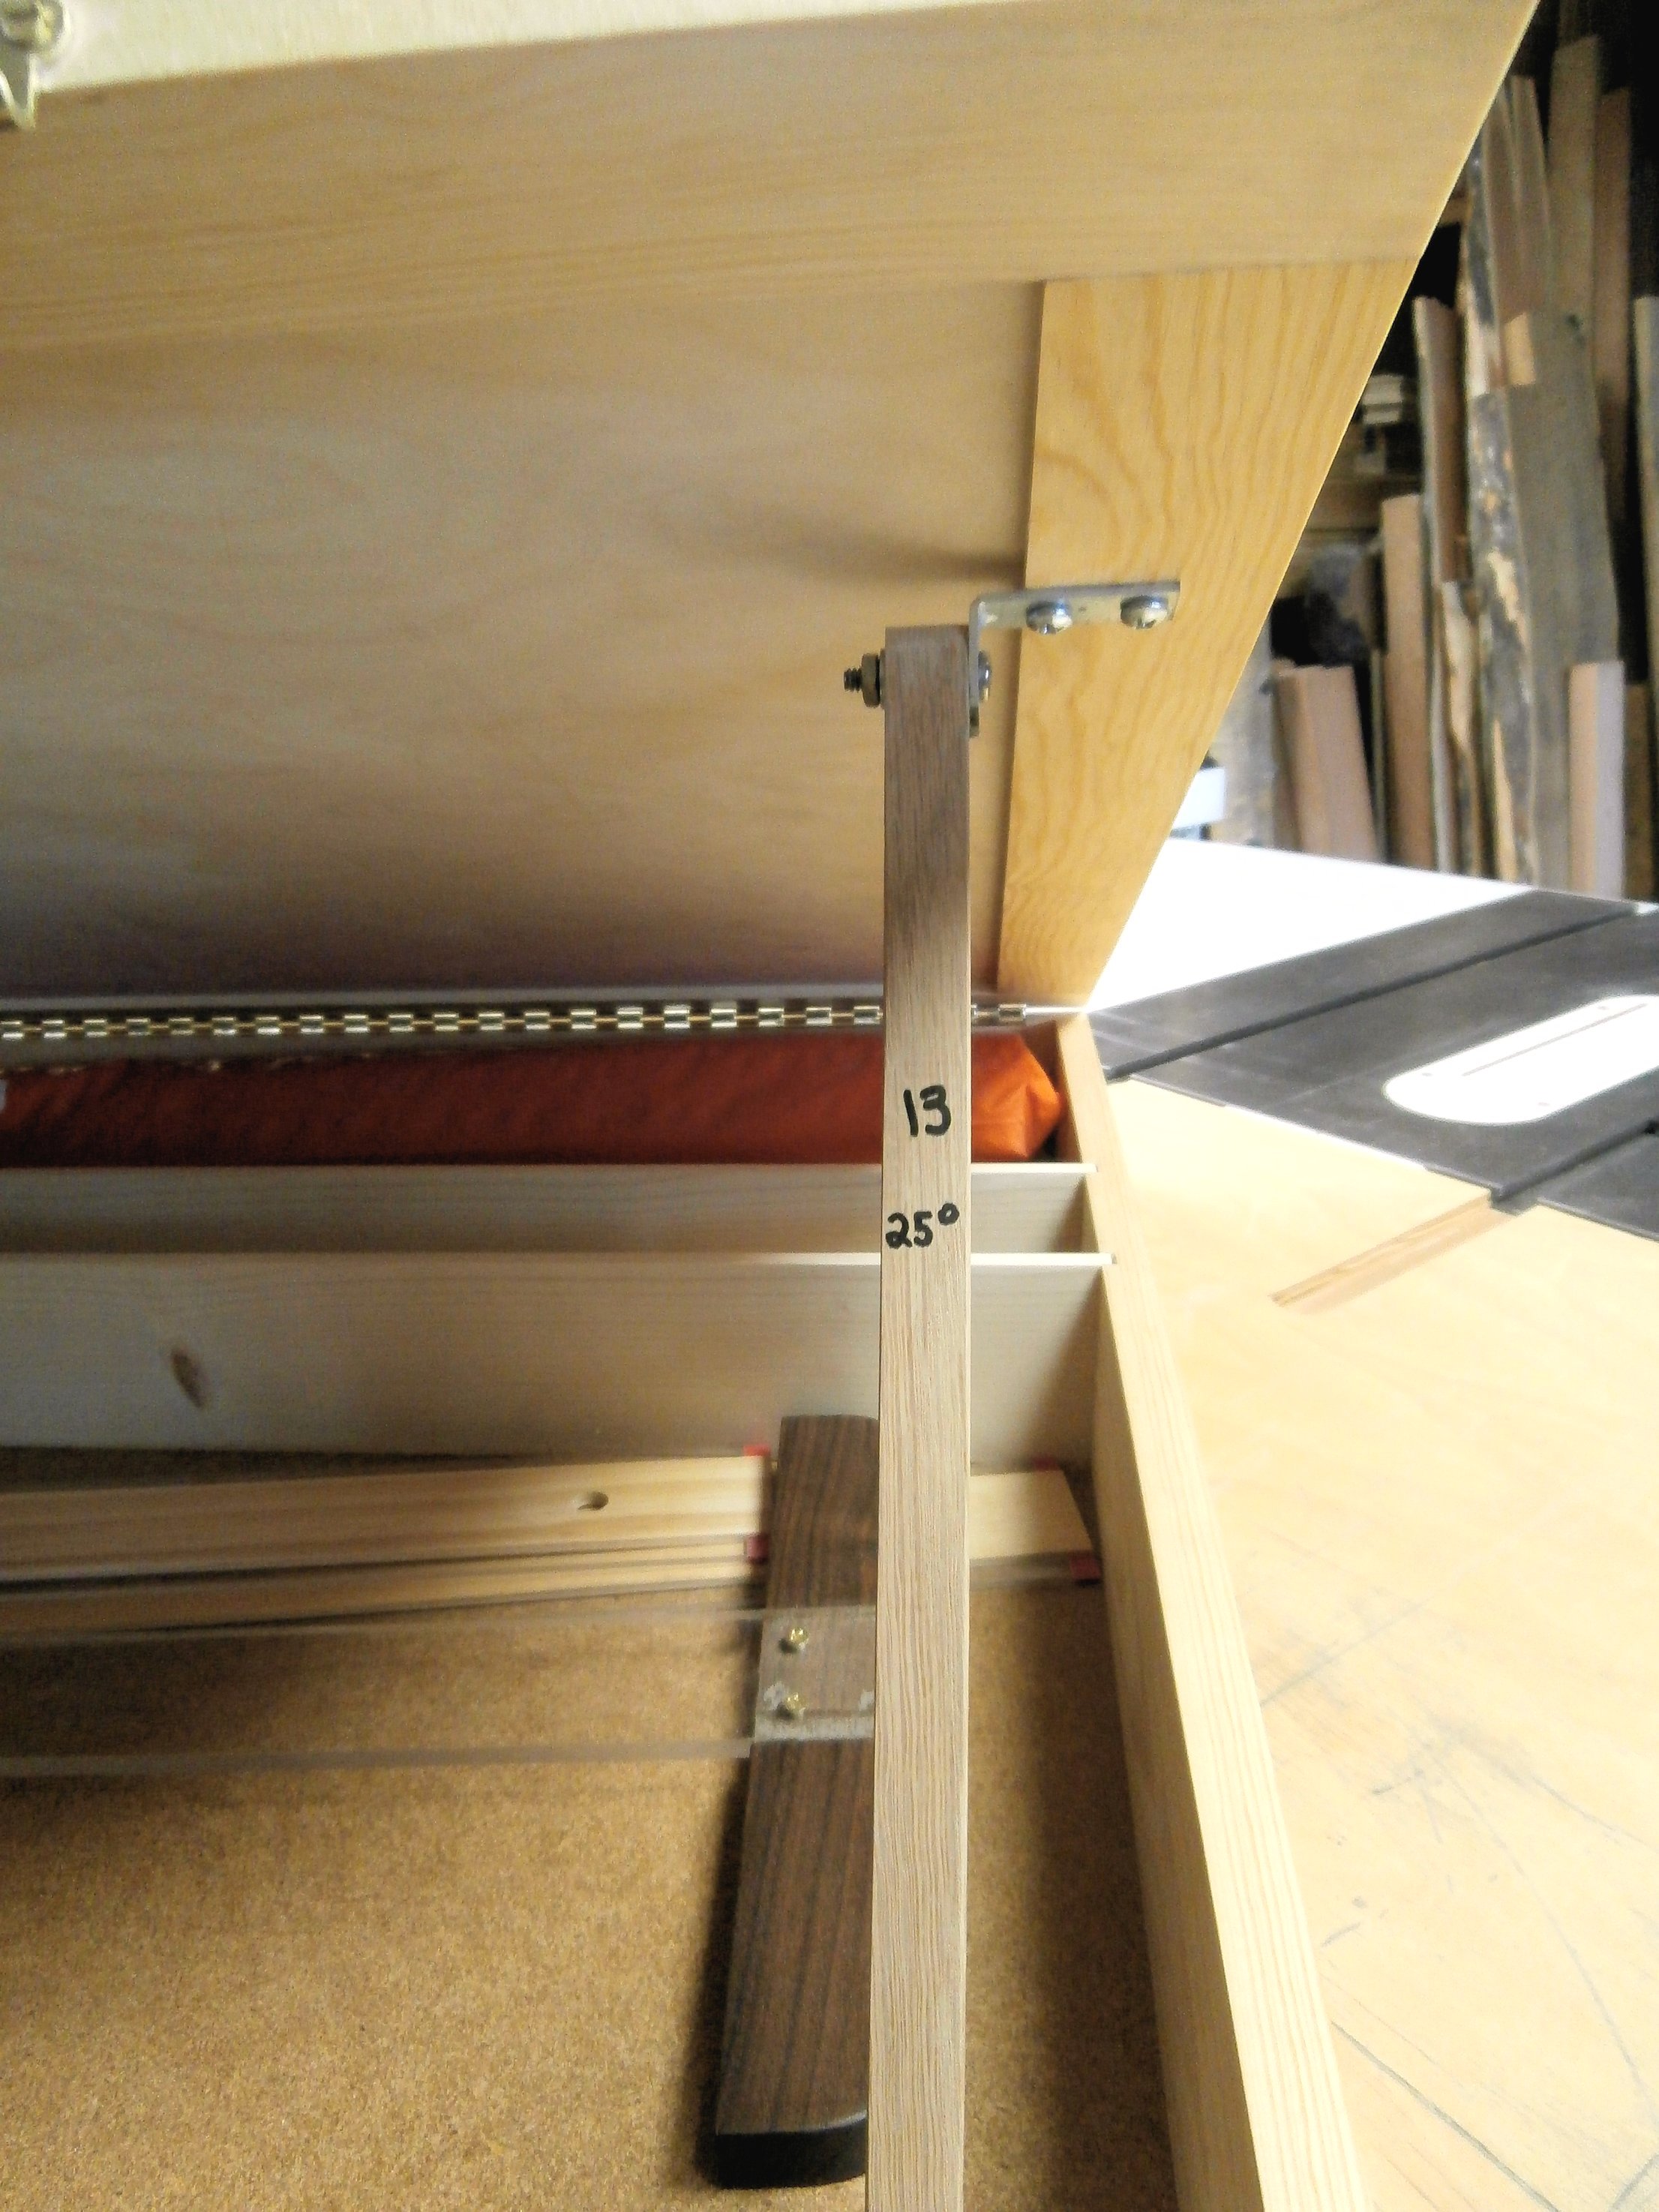
The 34″ x 26″ table top is adjustable to three different angles; 20, 25, and 30 degrees, by using one of three pre-cut pairs of legs that can be quickly changed.
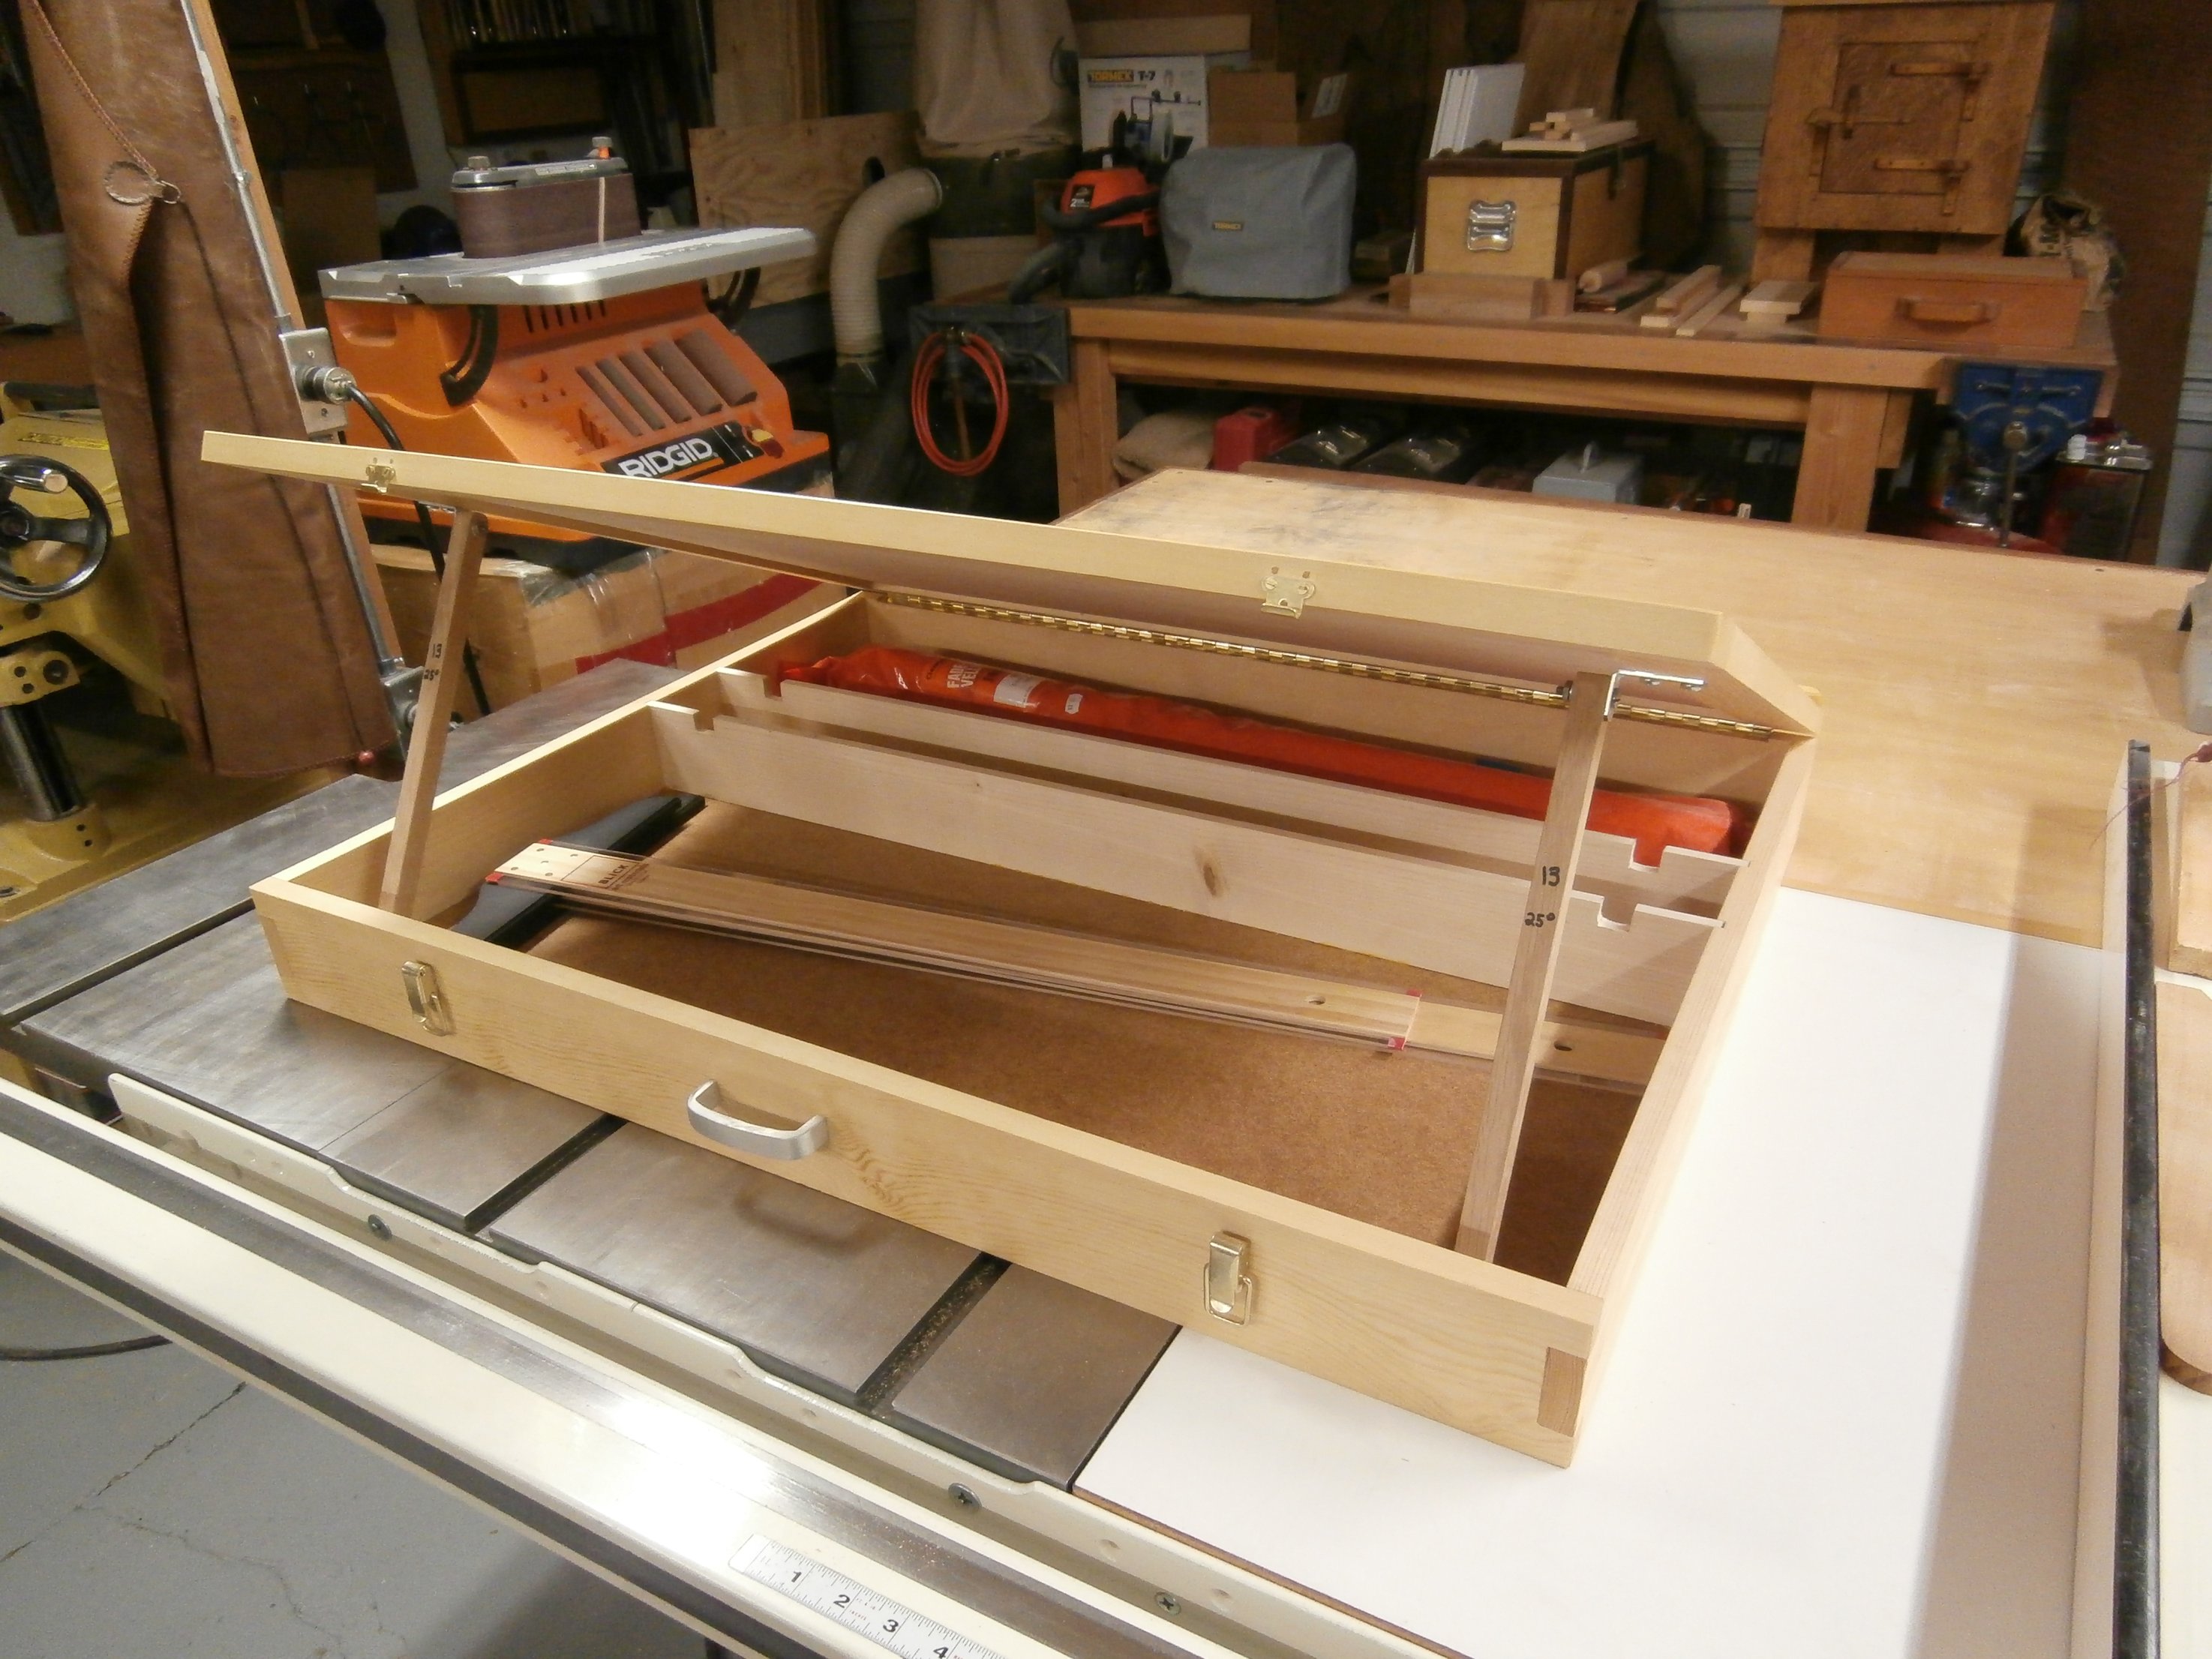
The legs fold into the box to close and the table/lid is held closed with twin latches. A carry handle allows the relatively light weight box to be carried to another location and stored.
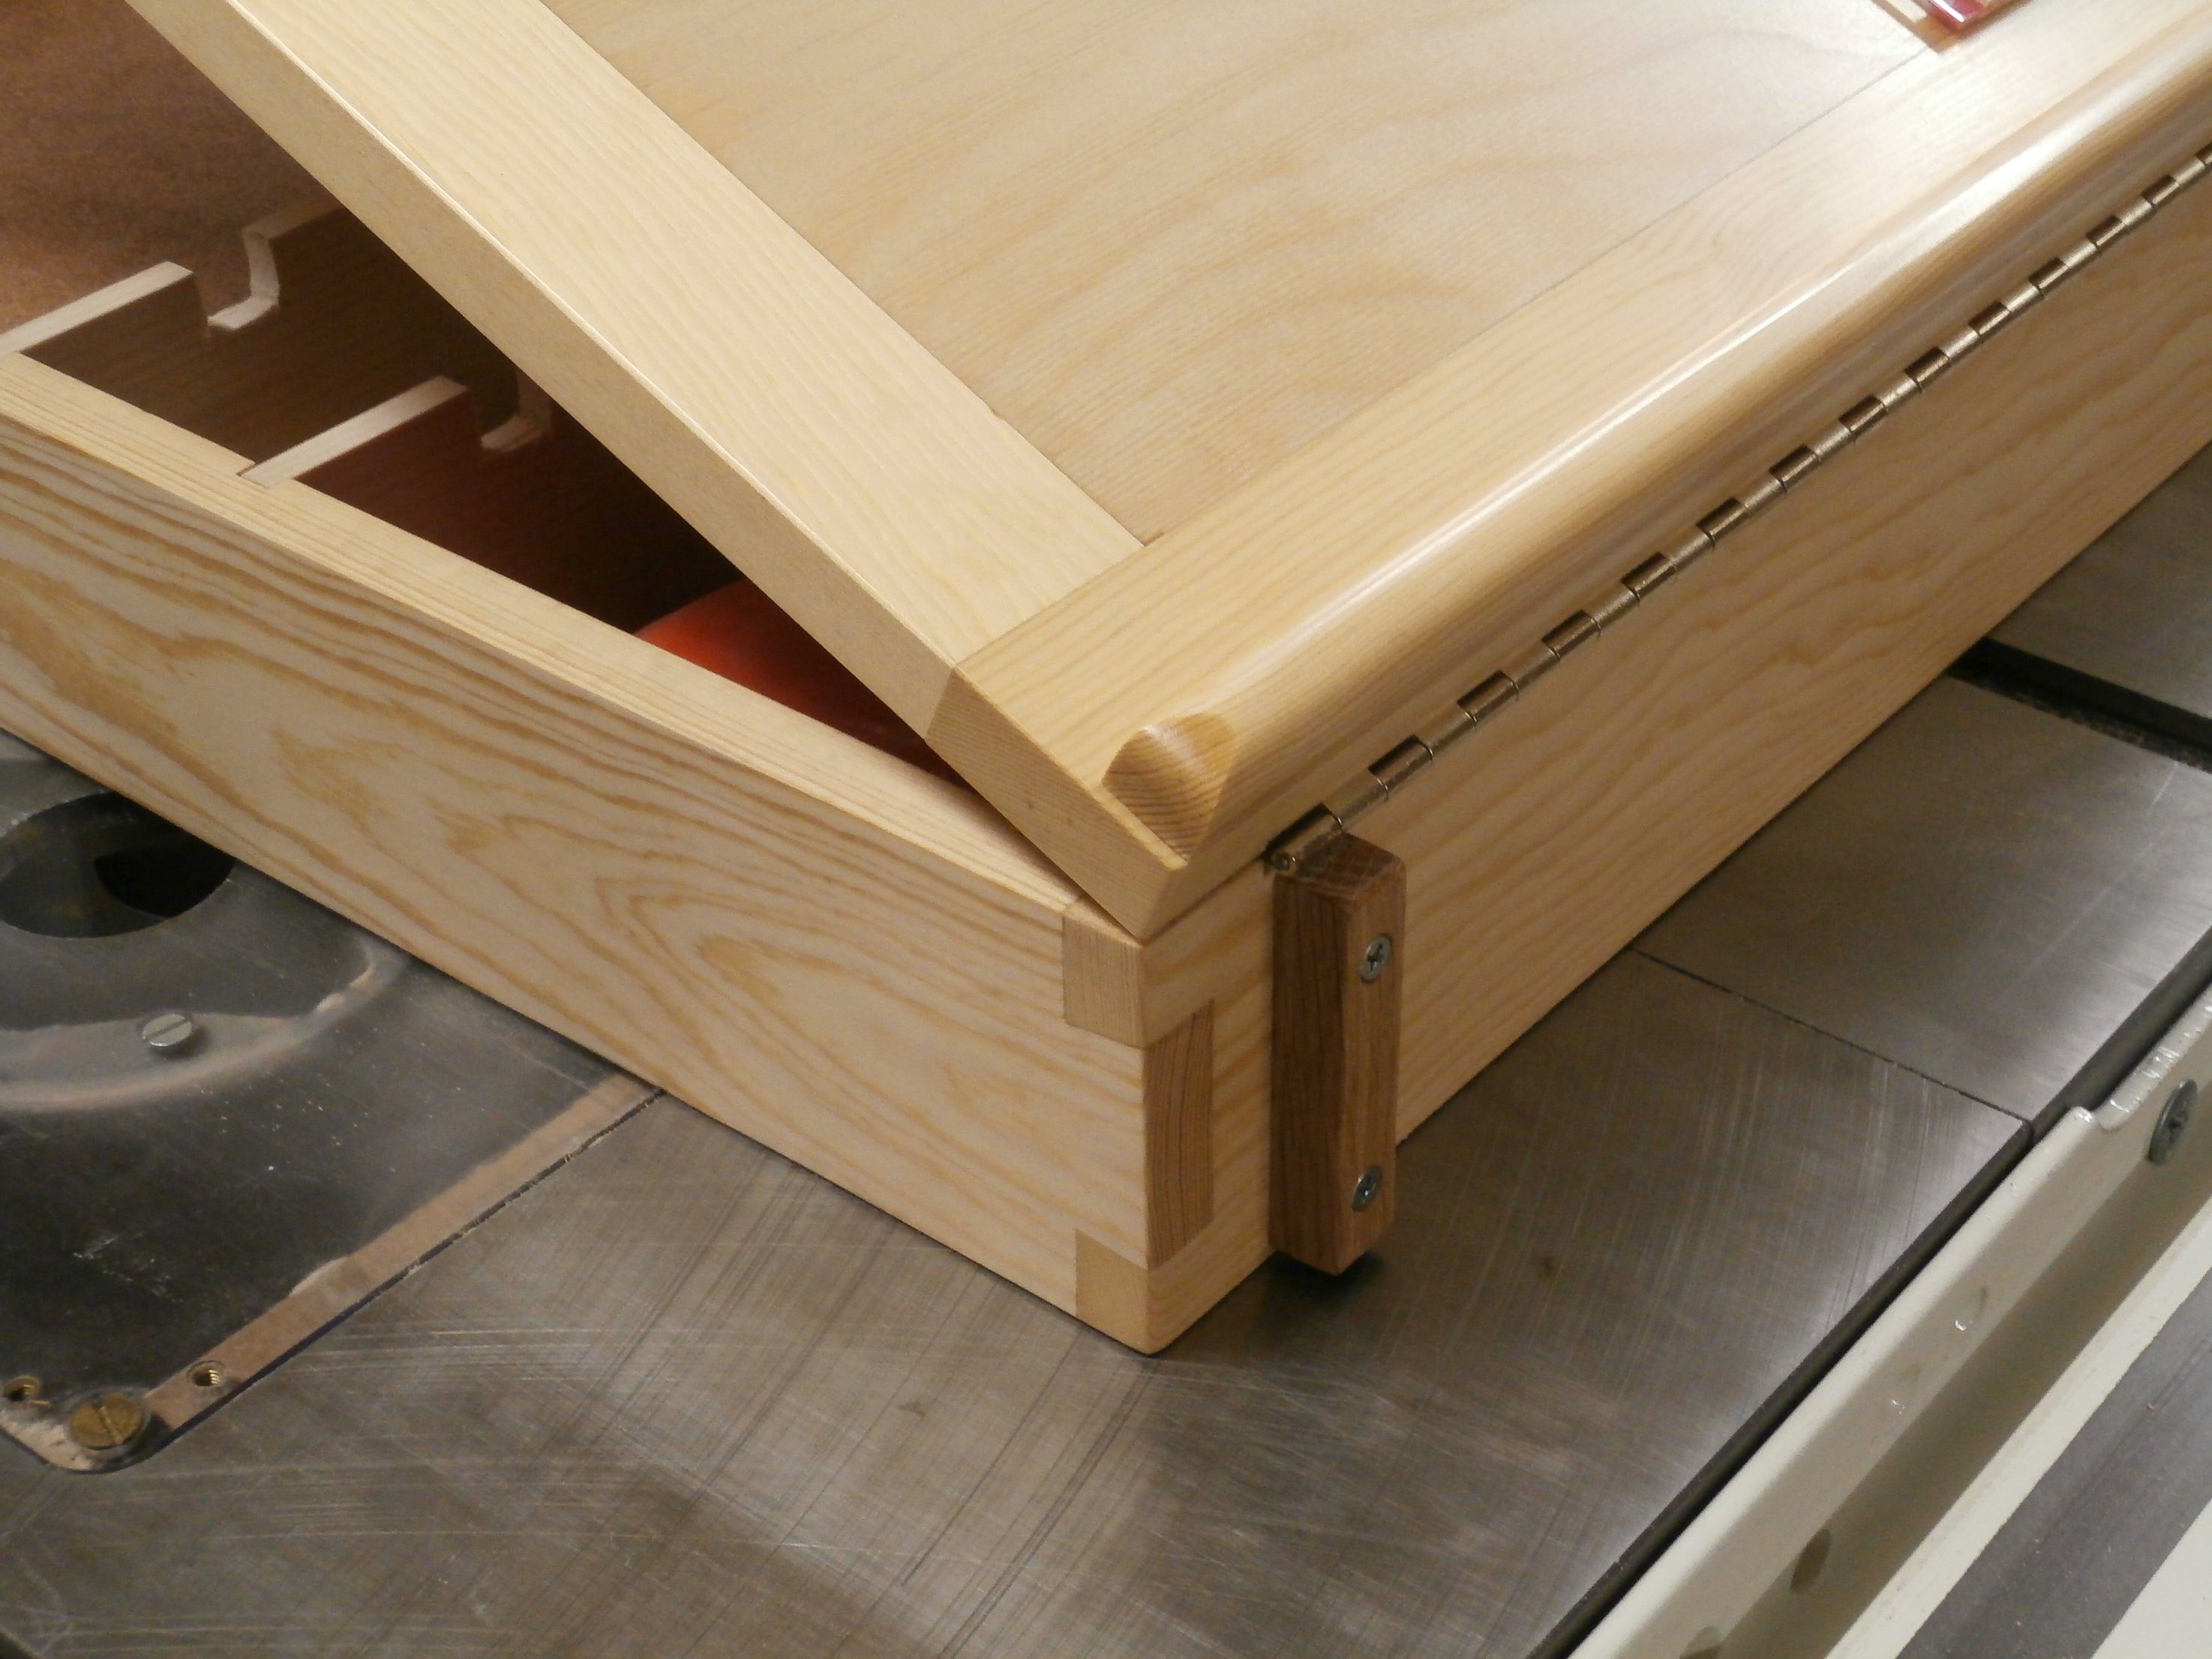
The drafting table/box is constructed with clear pine, joined at the corners with dovetail joints. The drafting table surface is birch plywood framed with pine. It is dead flat and square and attached to the box frame with a piano hinge. The entire box was sealed with several coats of Minwax and the table surface has several additional coats of satin finish polyurethane.
Cherry & Maple, Hand Dovetailed Box
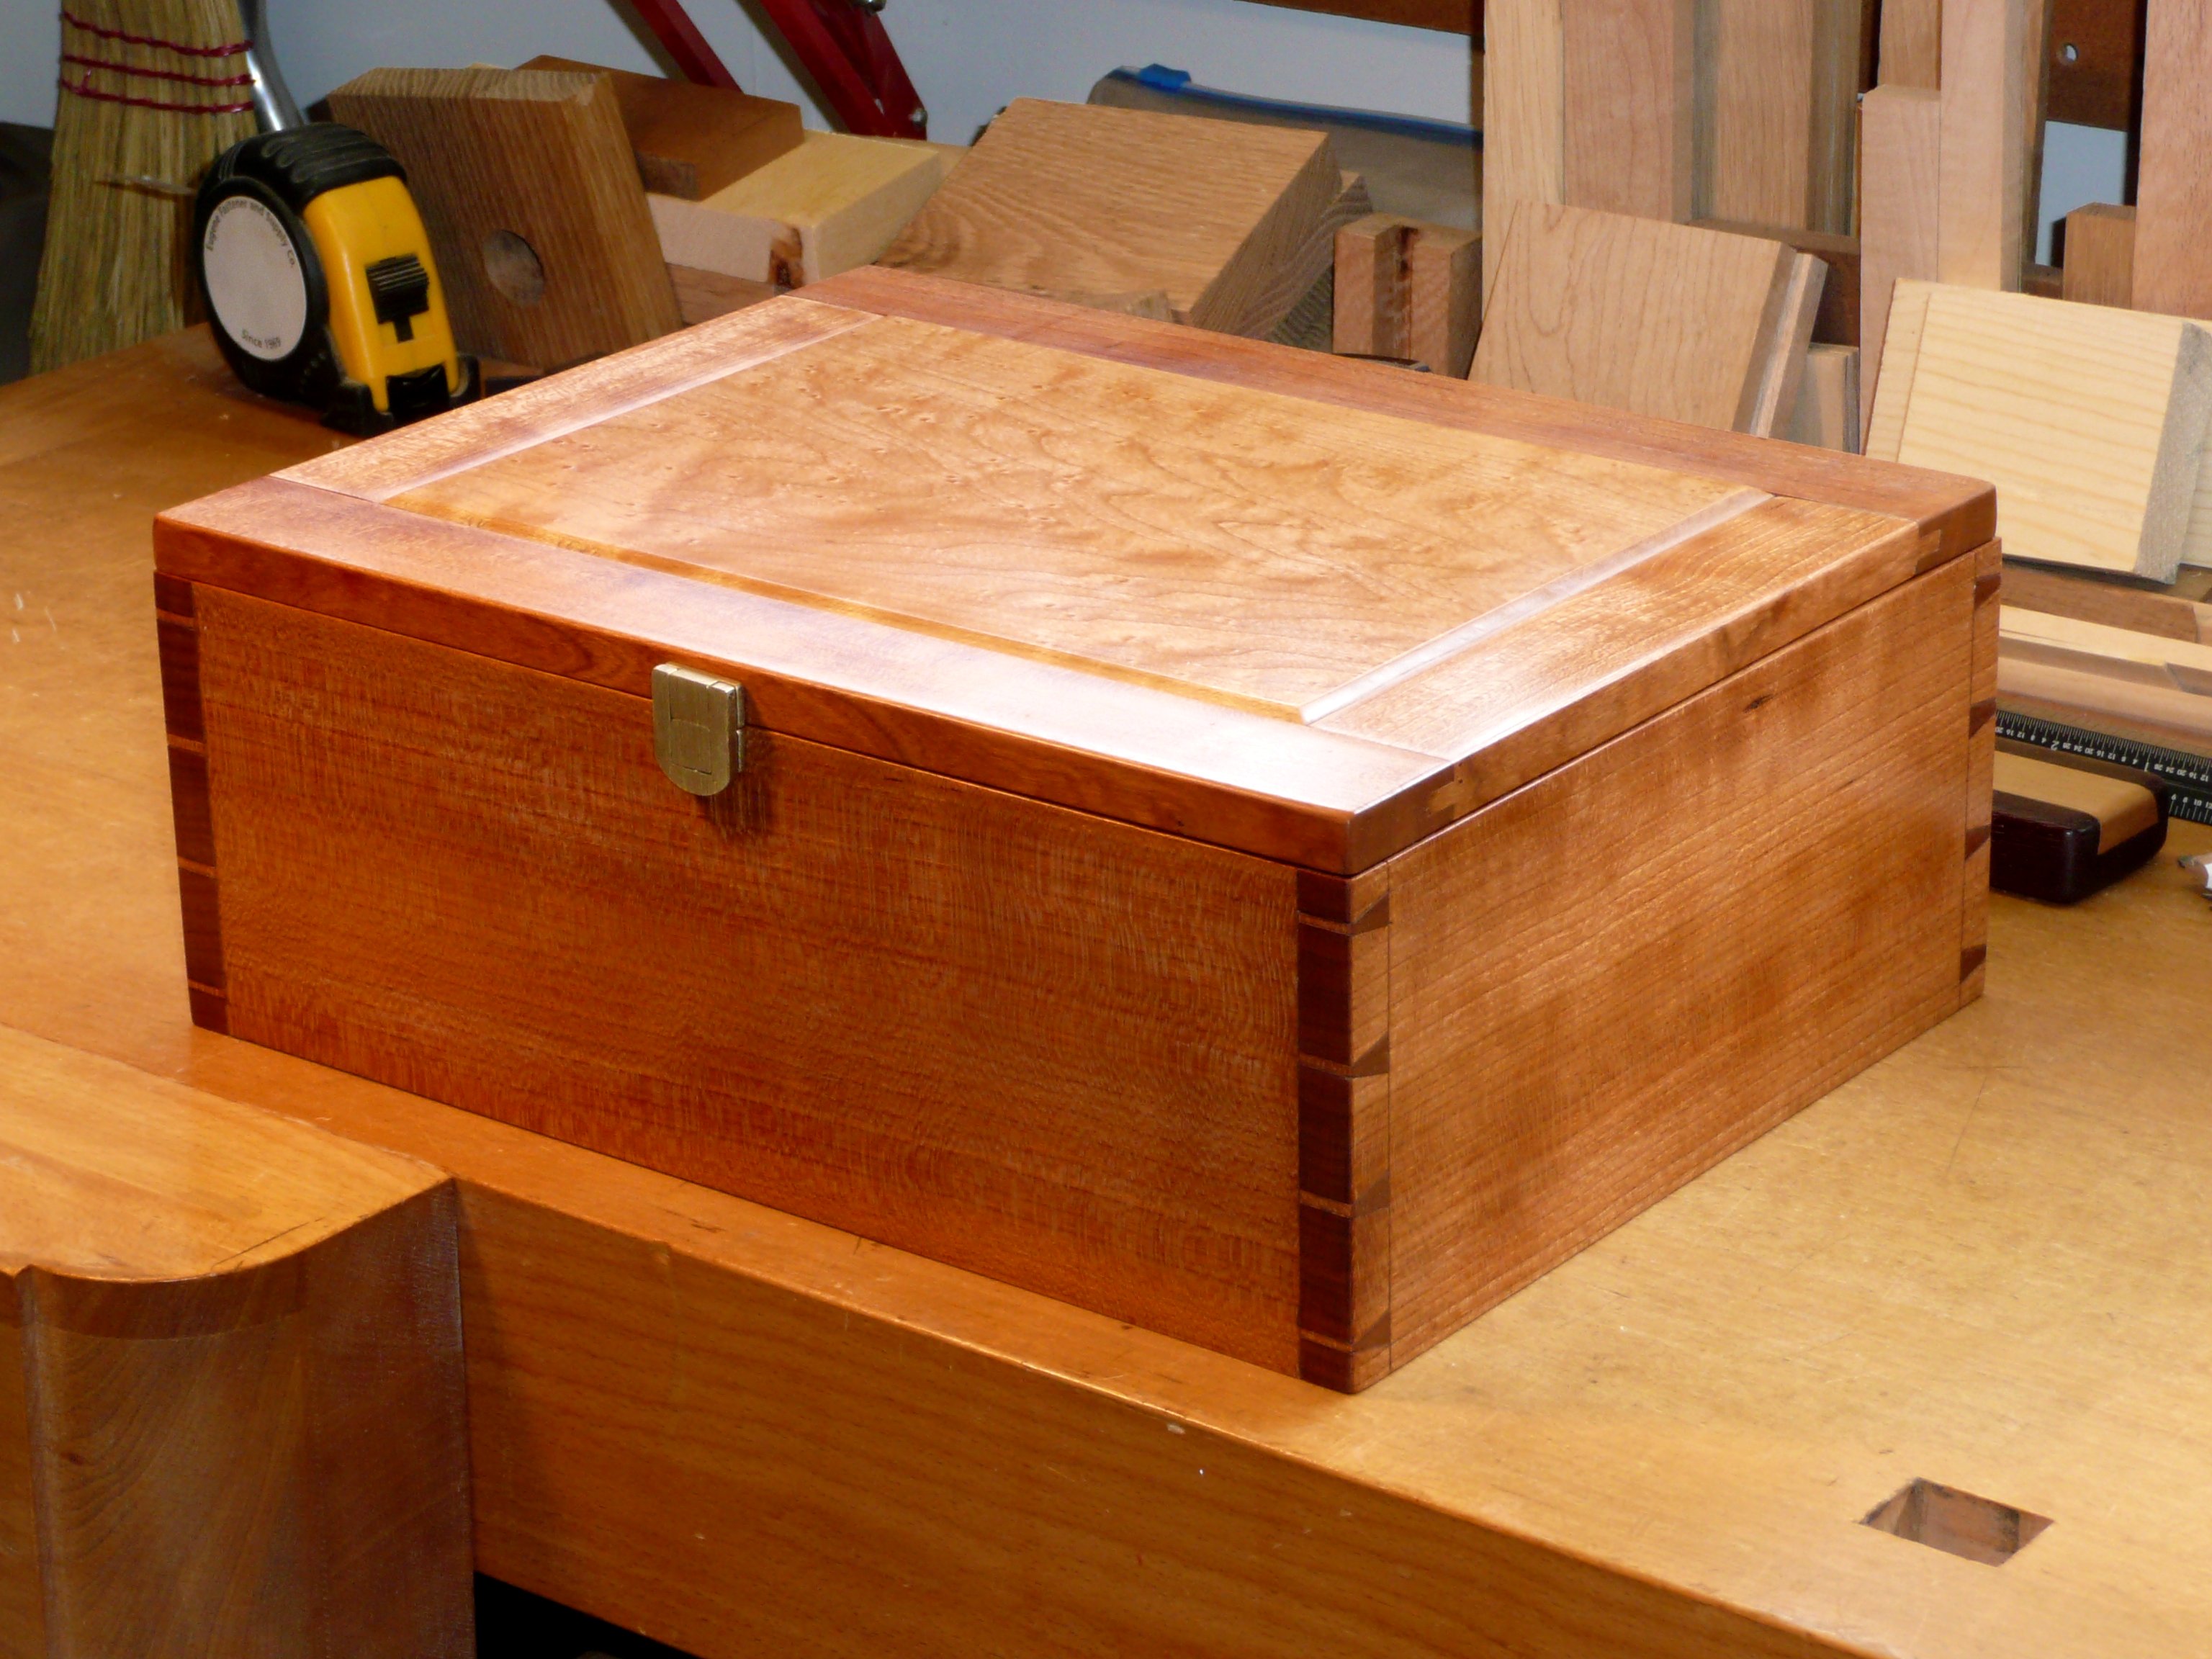
This is a box I made for my son using quarter sawn, American black cherry for the sides. I also used the cherry to frame the raised panel of birdseye maple on the lid. I’m going to very briefly show you the steps I use to cut the dovetail joints for the box sides. Fine, hand cut dovetail joints can always be distinguished from those produced with a power router by the very narrow spacing between the tails (i.e. the very small size of the “pins”) which cannot be accomplished in this small size with a router. (Click on an image to enlarge it.)
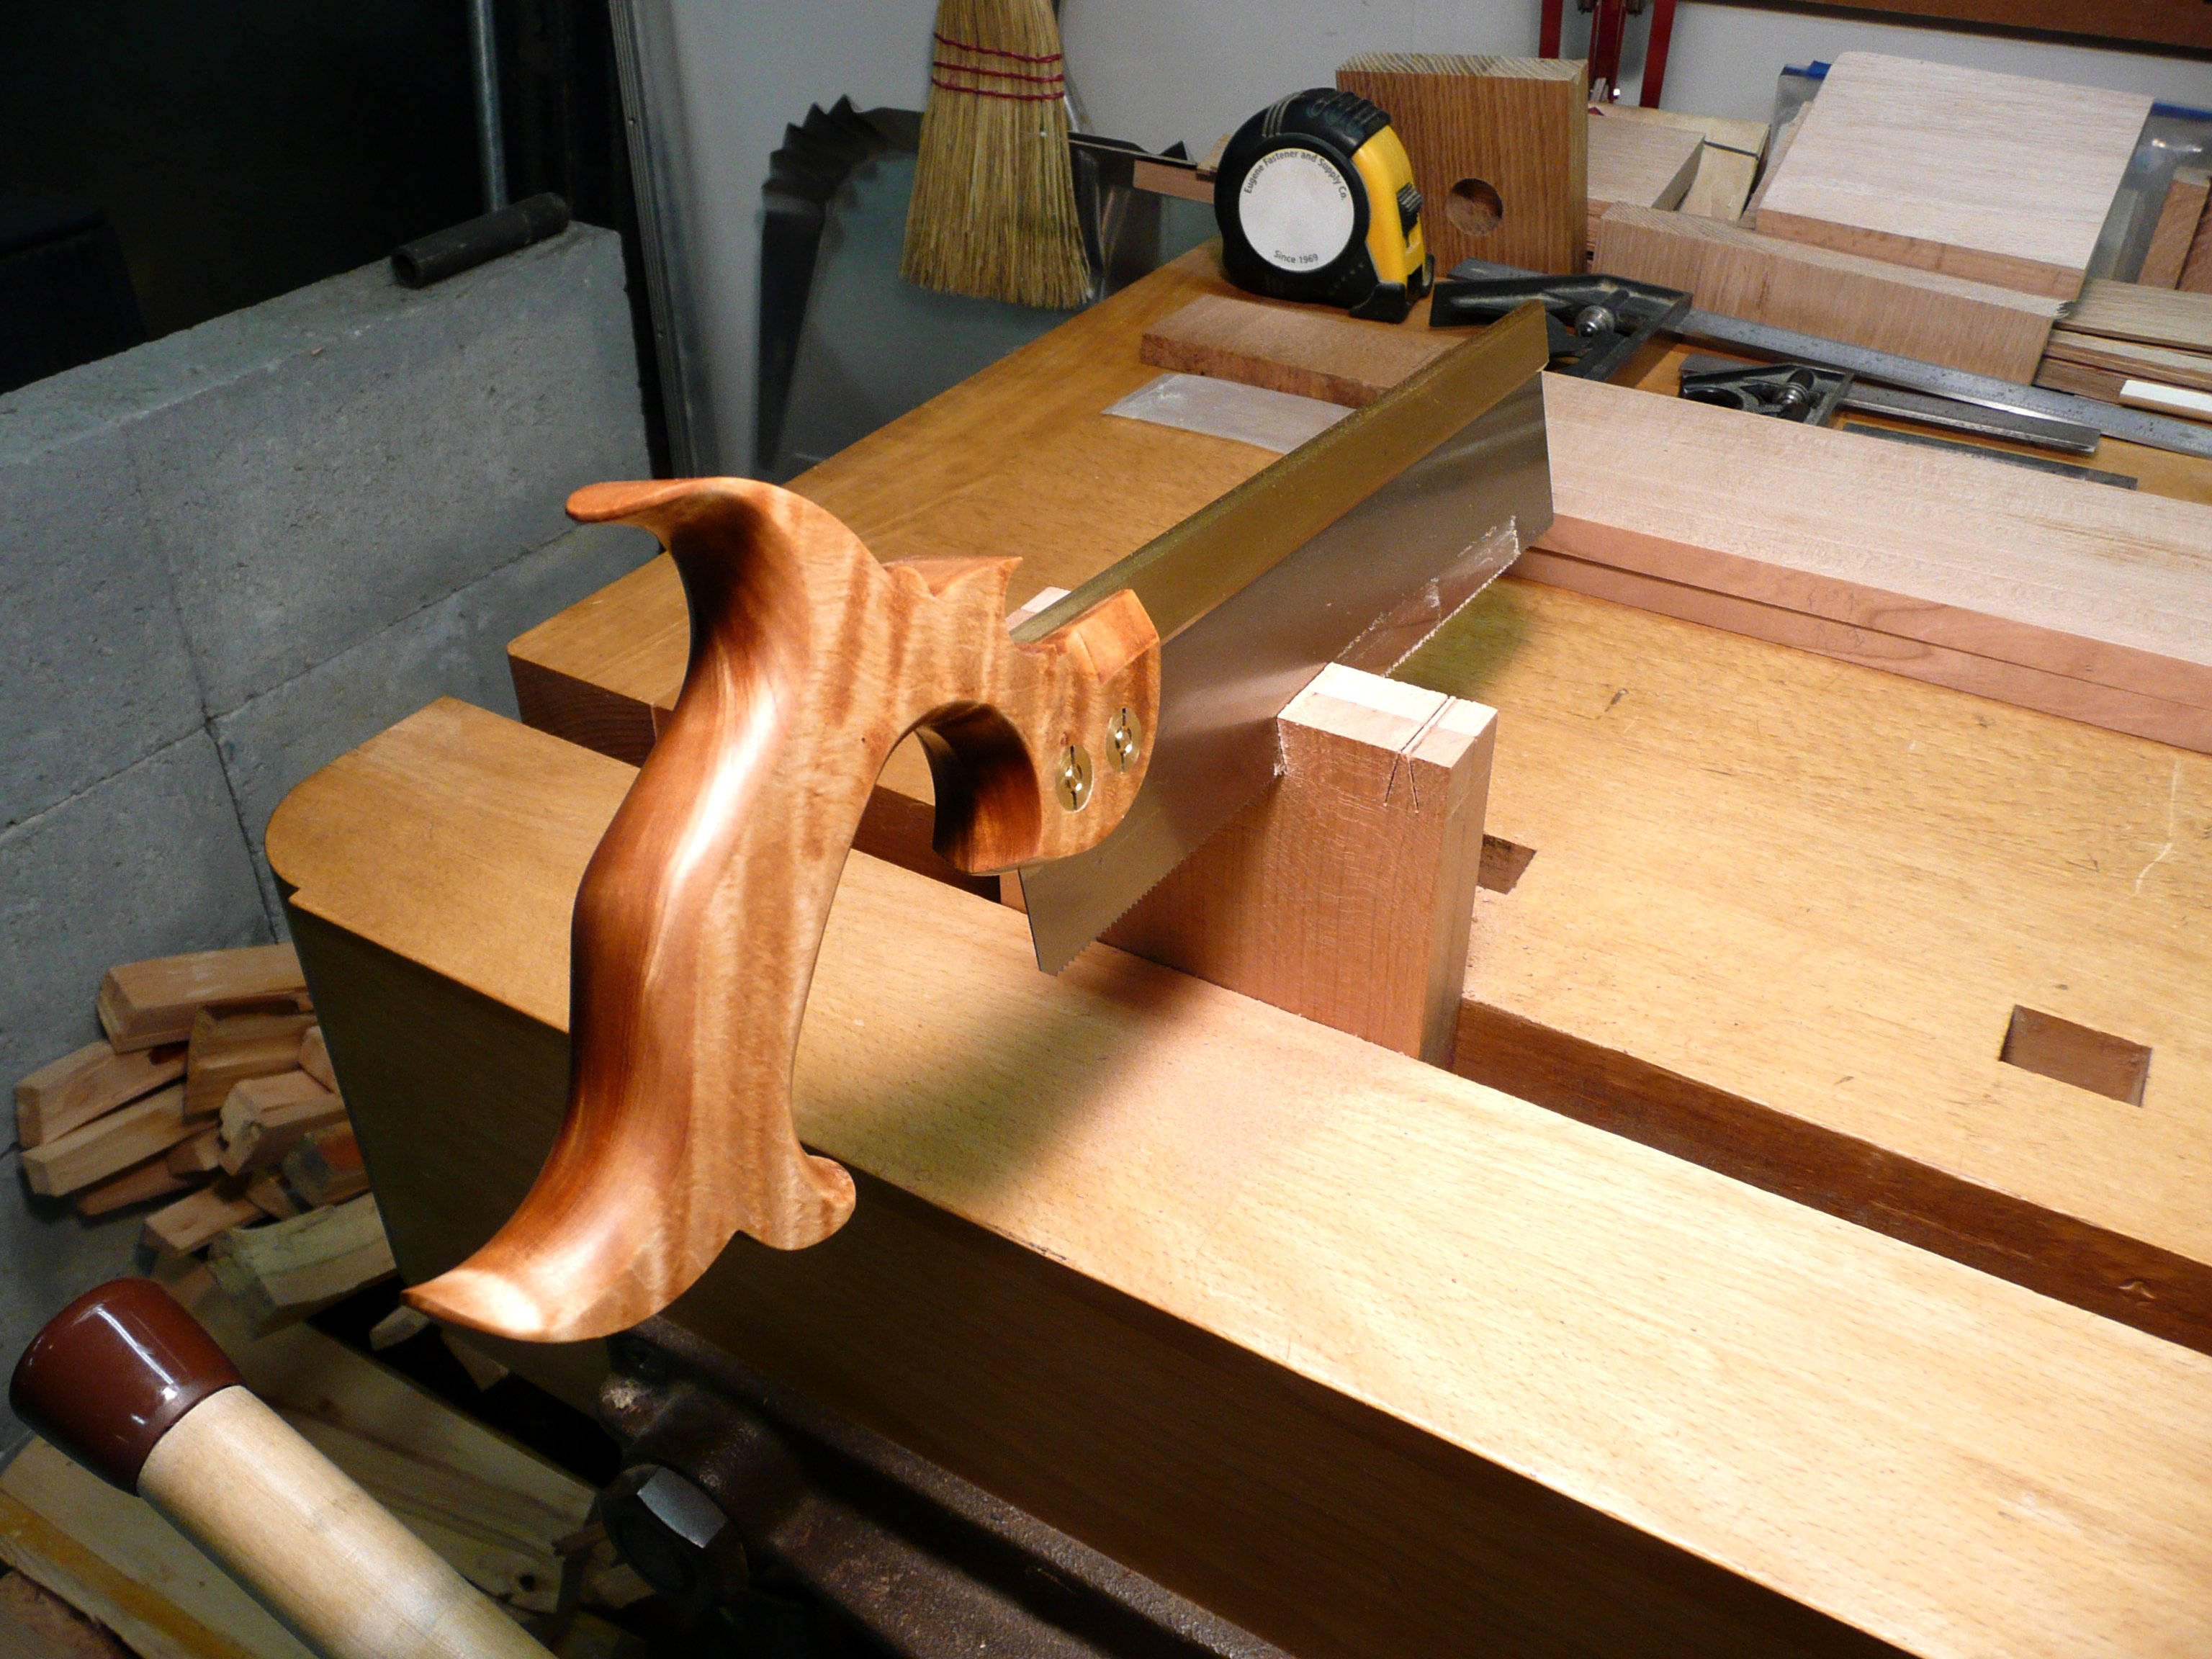
I first use a thin kerf, rip saw to cut the outlines of the previously laid out and marked “tails” (shaped like a stylized bird’s tail) on two sides at once (held in the vise) so that the proportions will appear even all the way around the box.
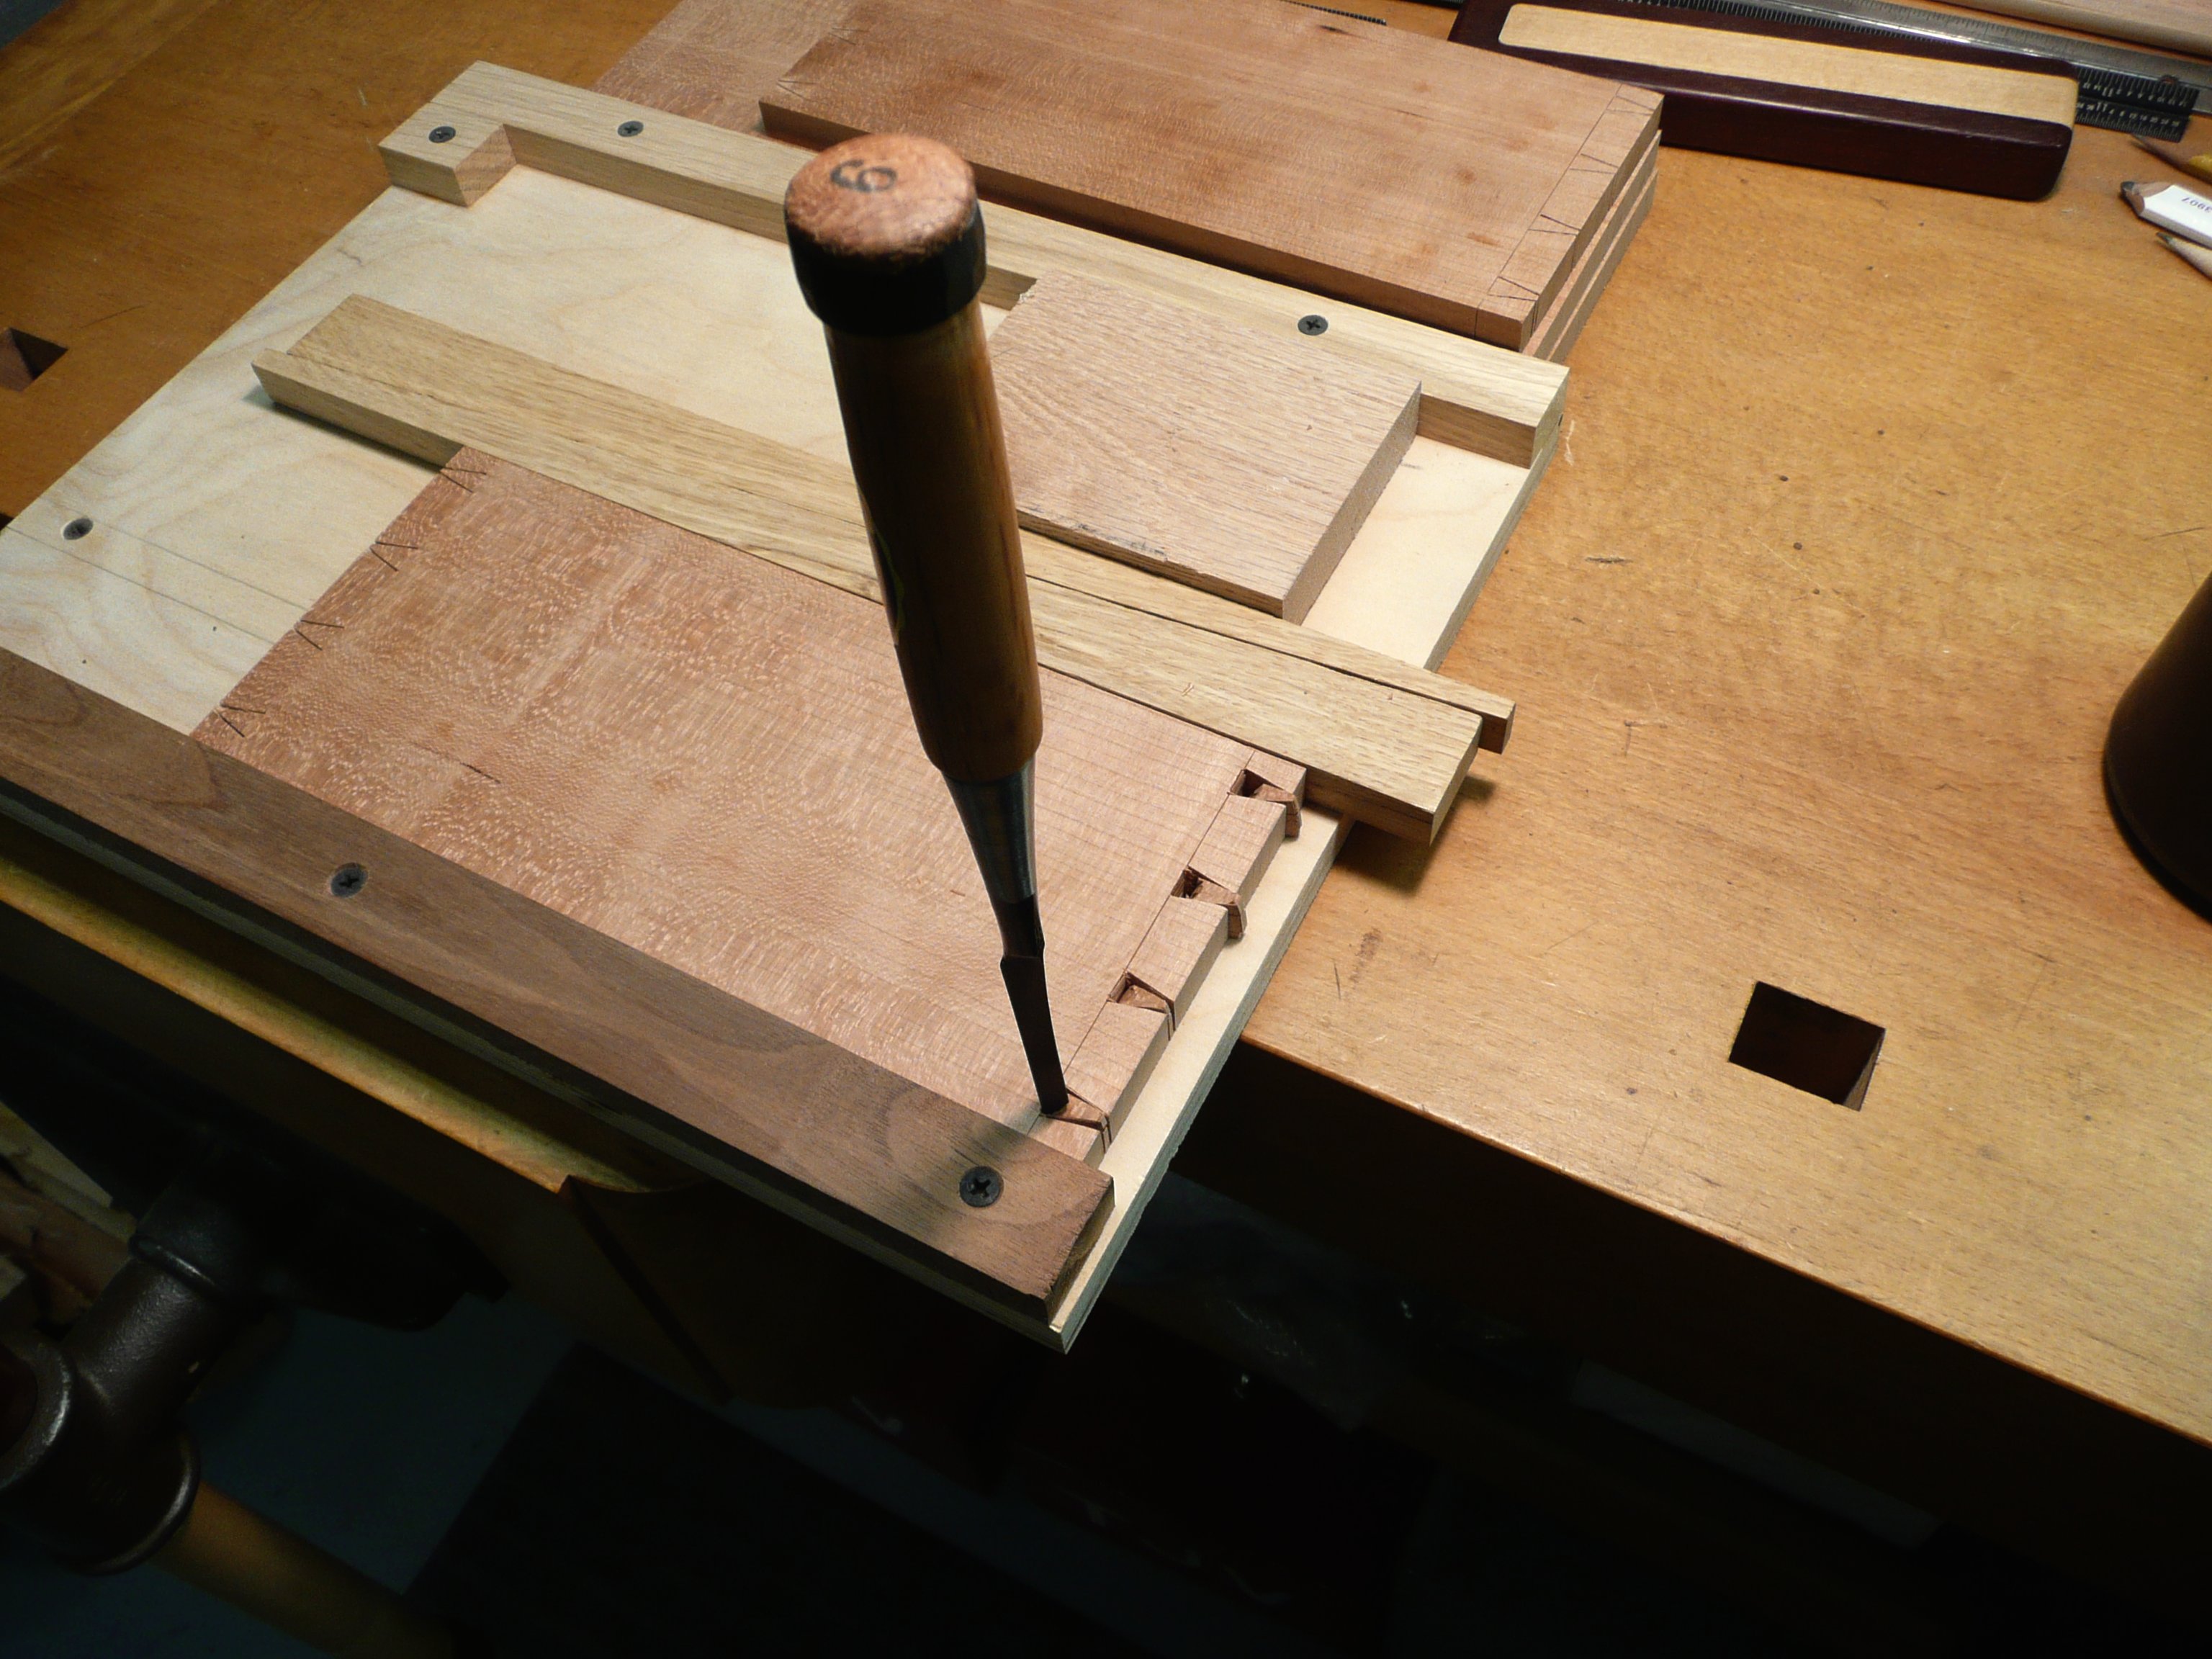
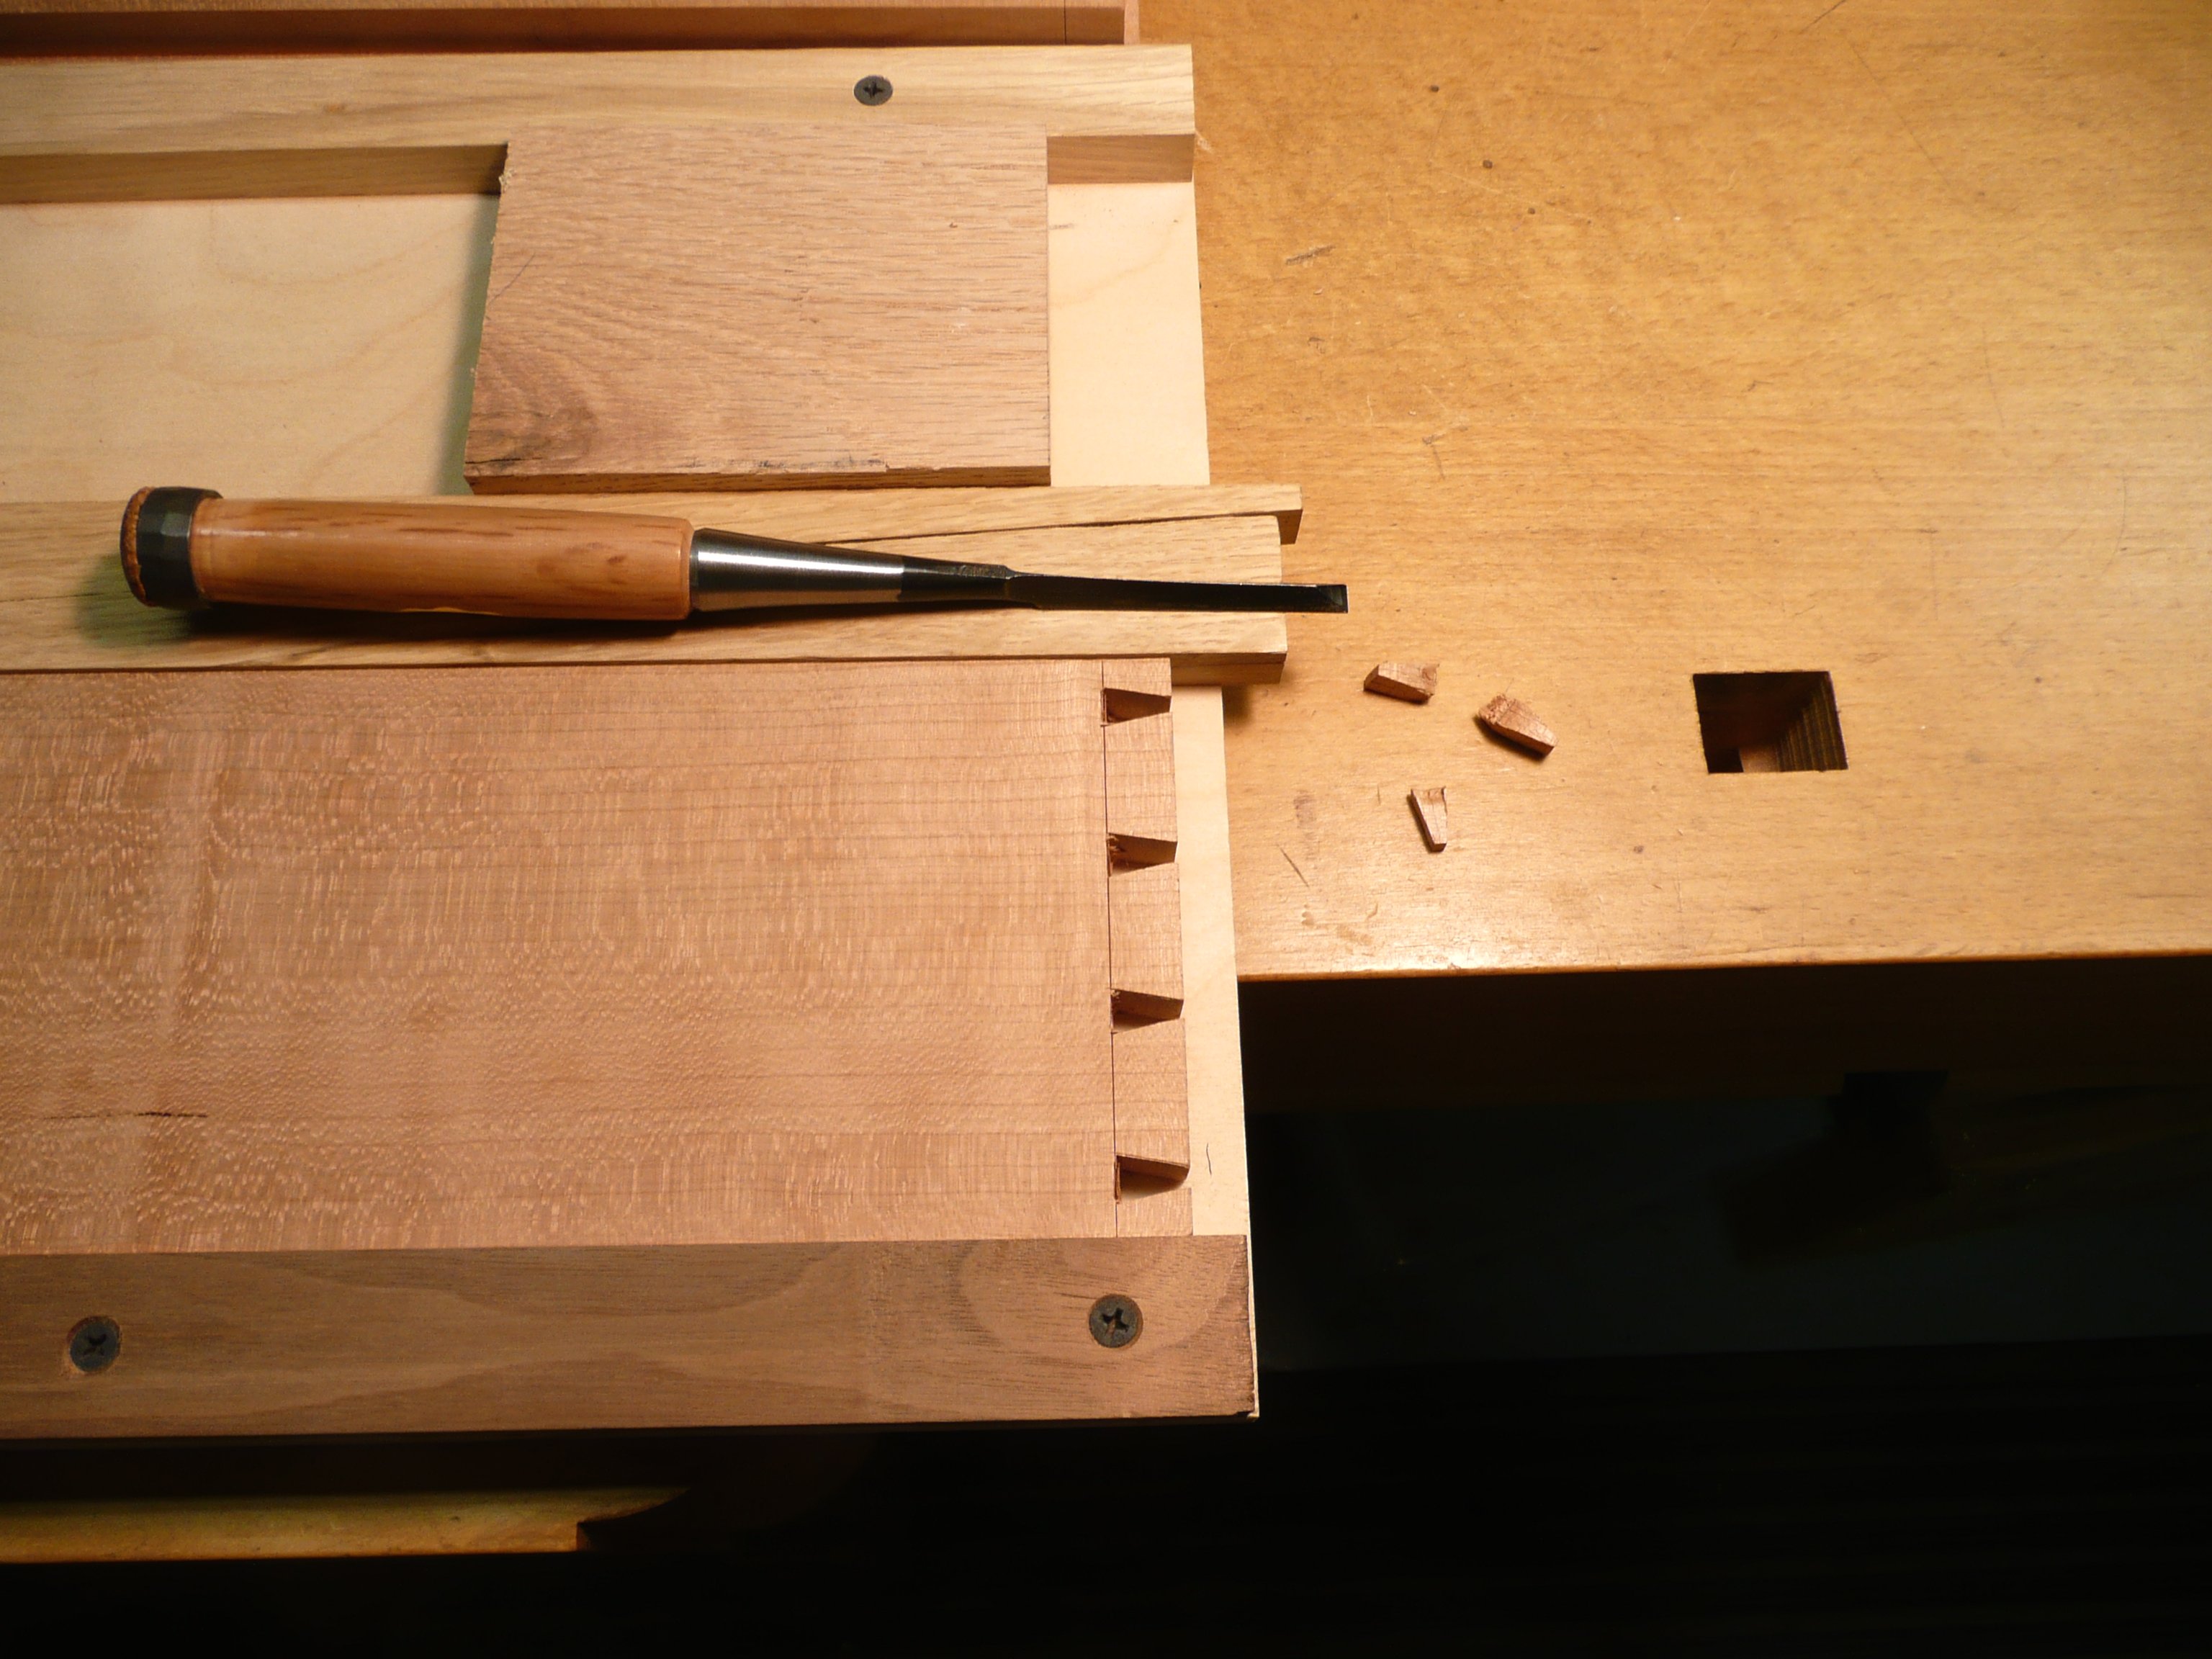
Then I clamp one side at a time in a jig I designed so that I can use a Japanese dovetail chisel (with a triangular cross section) to chop out the waste between the saw cuts, thereby creating the “tails.”
Finished “tails.”
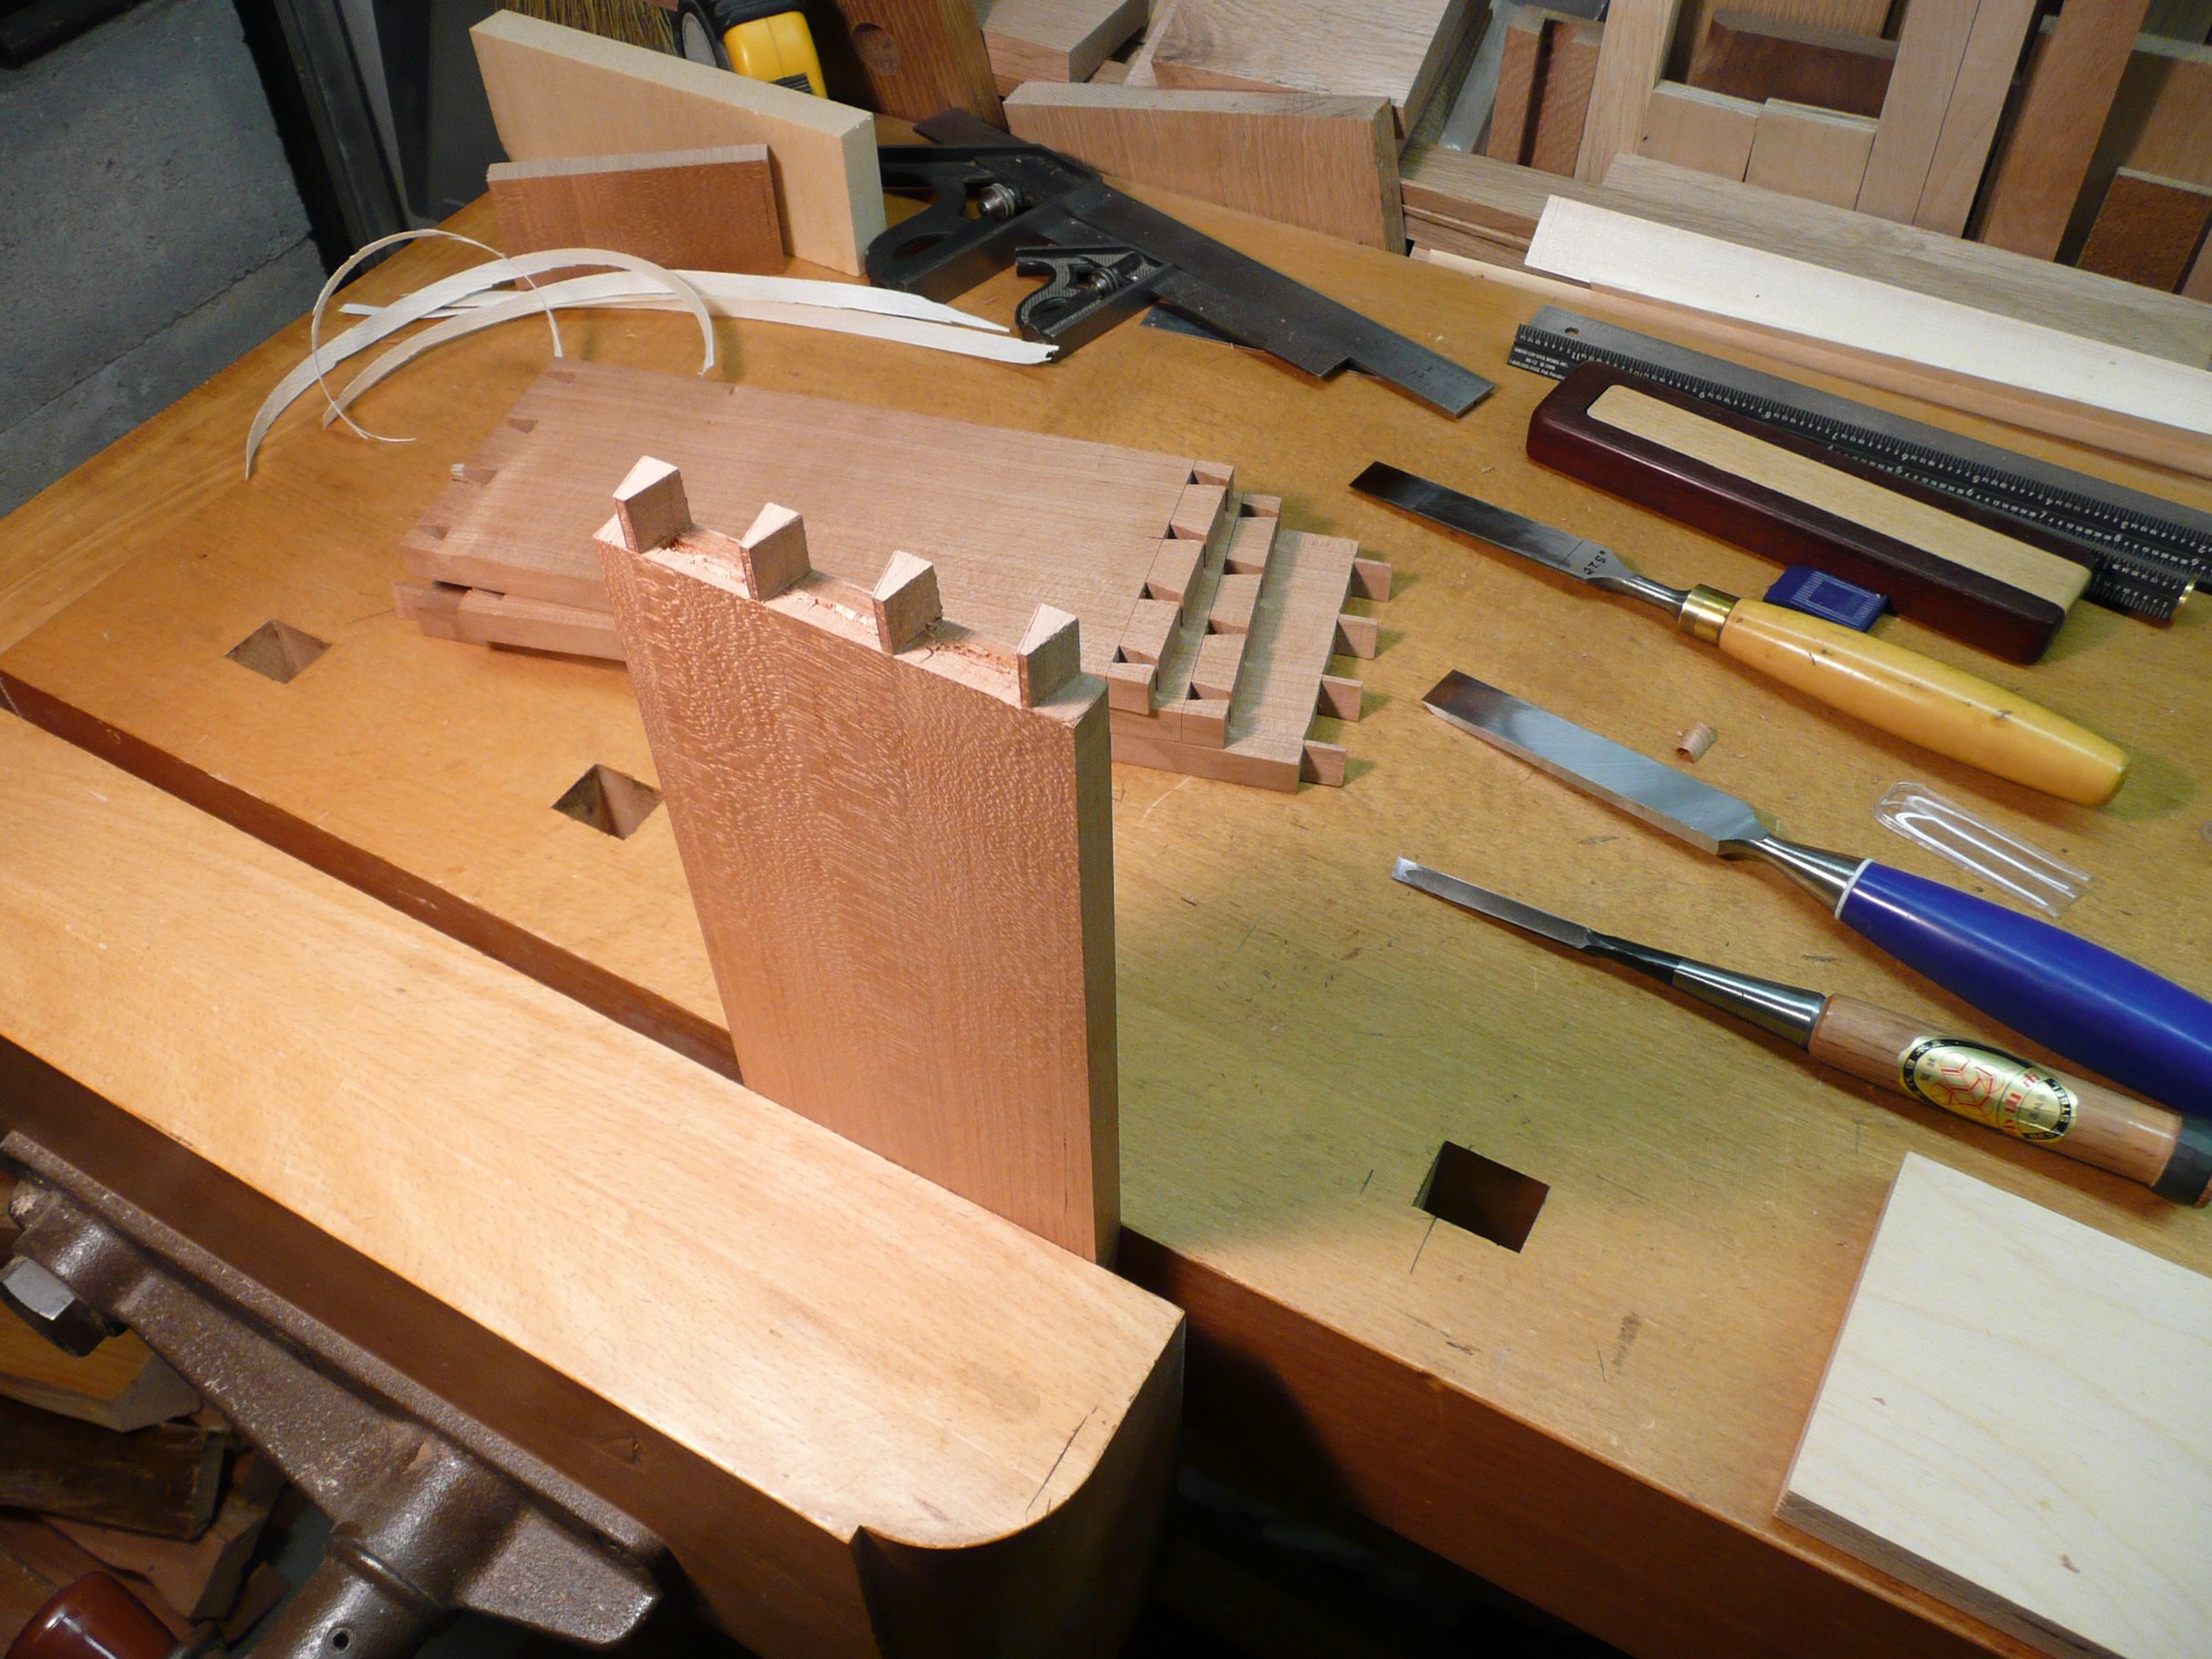
The “pins” that fit into the slots between the “tails” are first marked on the ends of the remaining two side boards to correspond to the size and spacing of the “tails.” Then, after being laid out, the “pins” are cut in the same way as the “tails,” with saw and chisel.
Fresh Cranberry & Coconut Compote
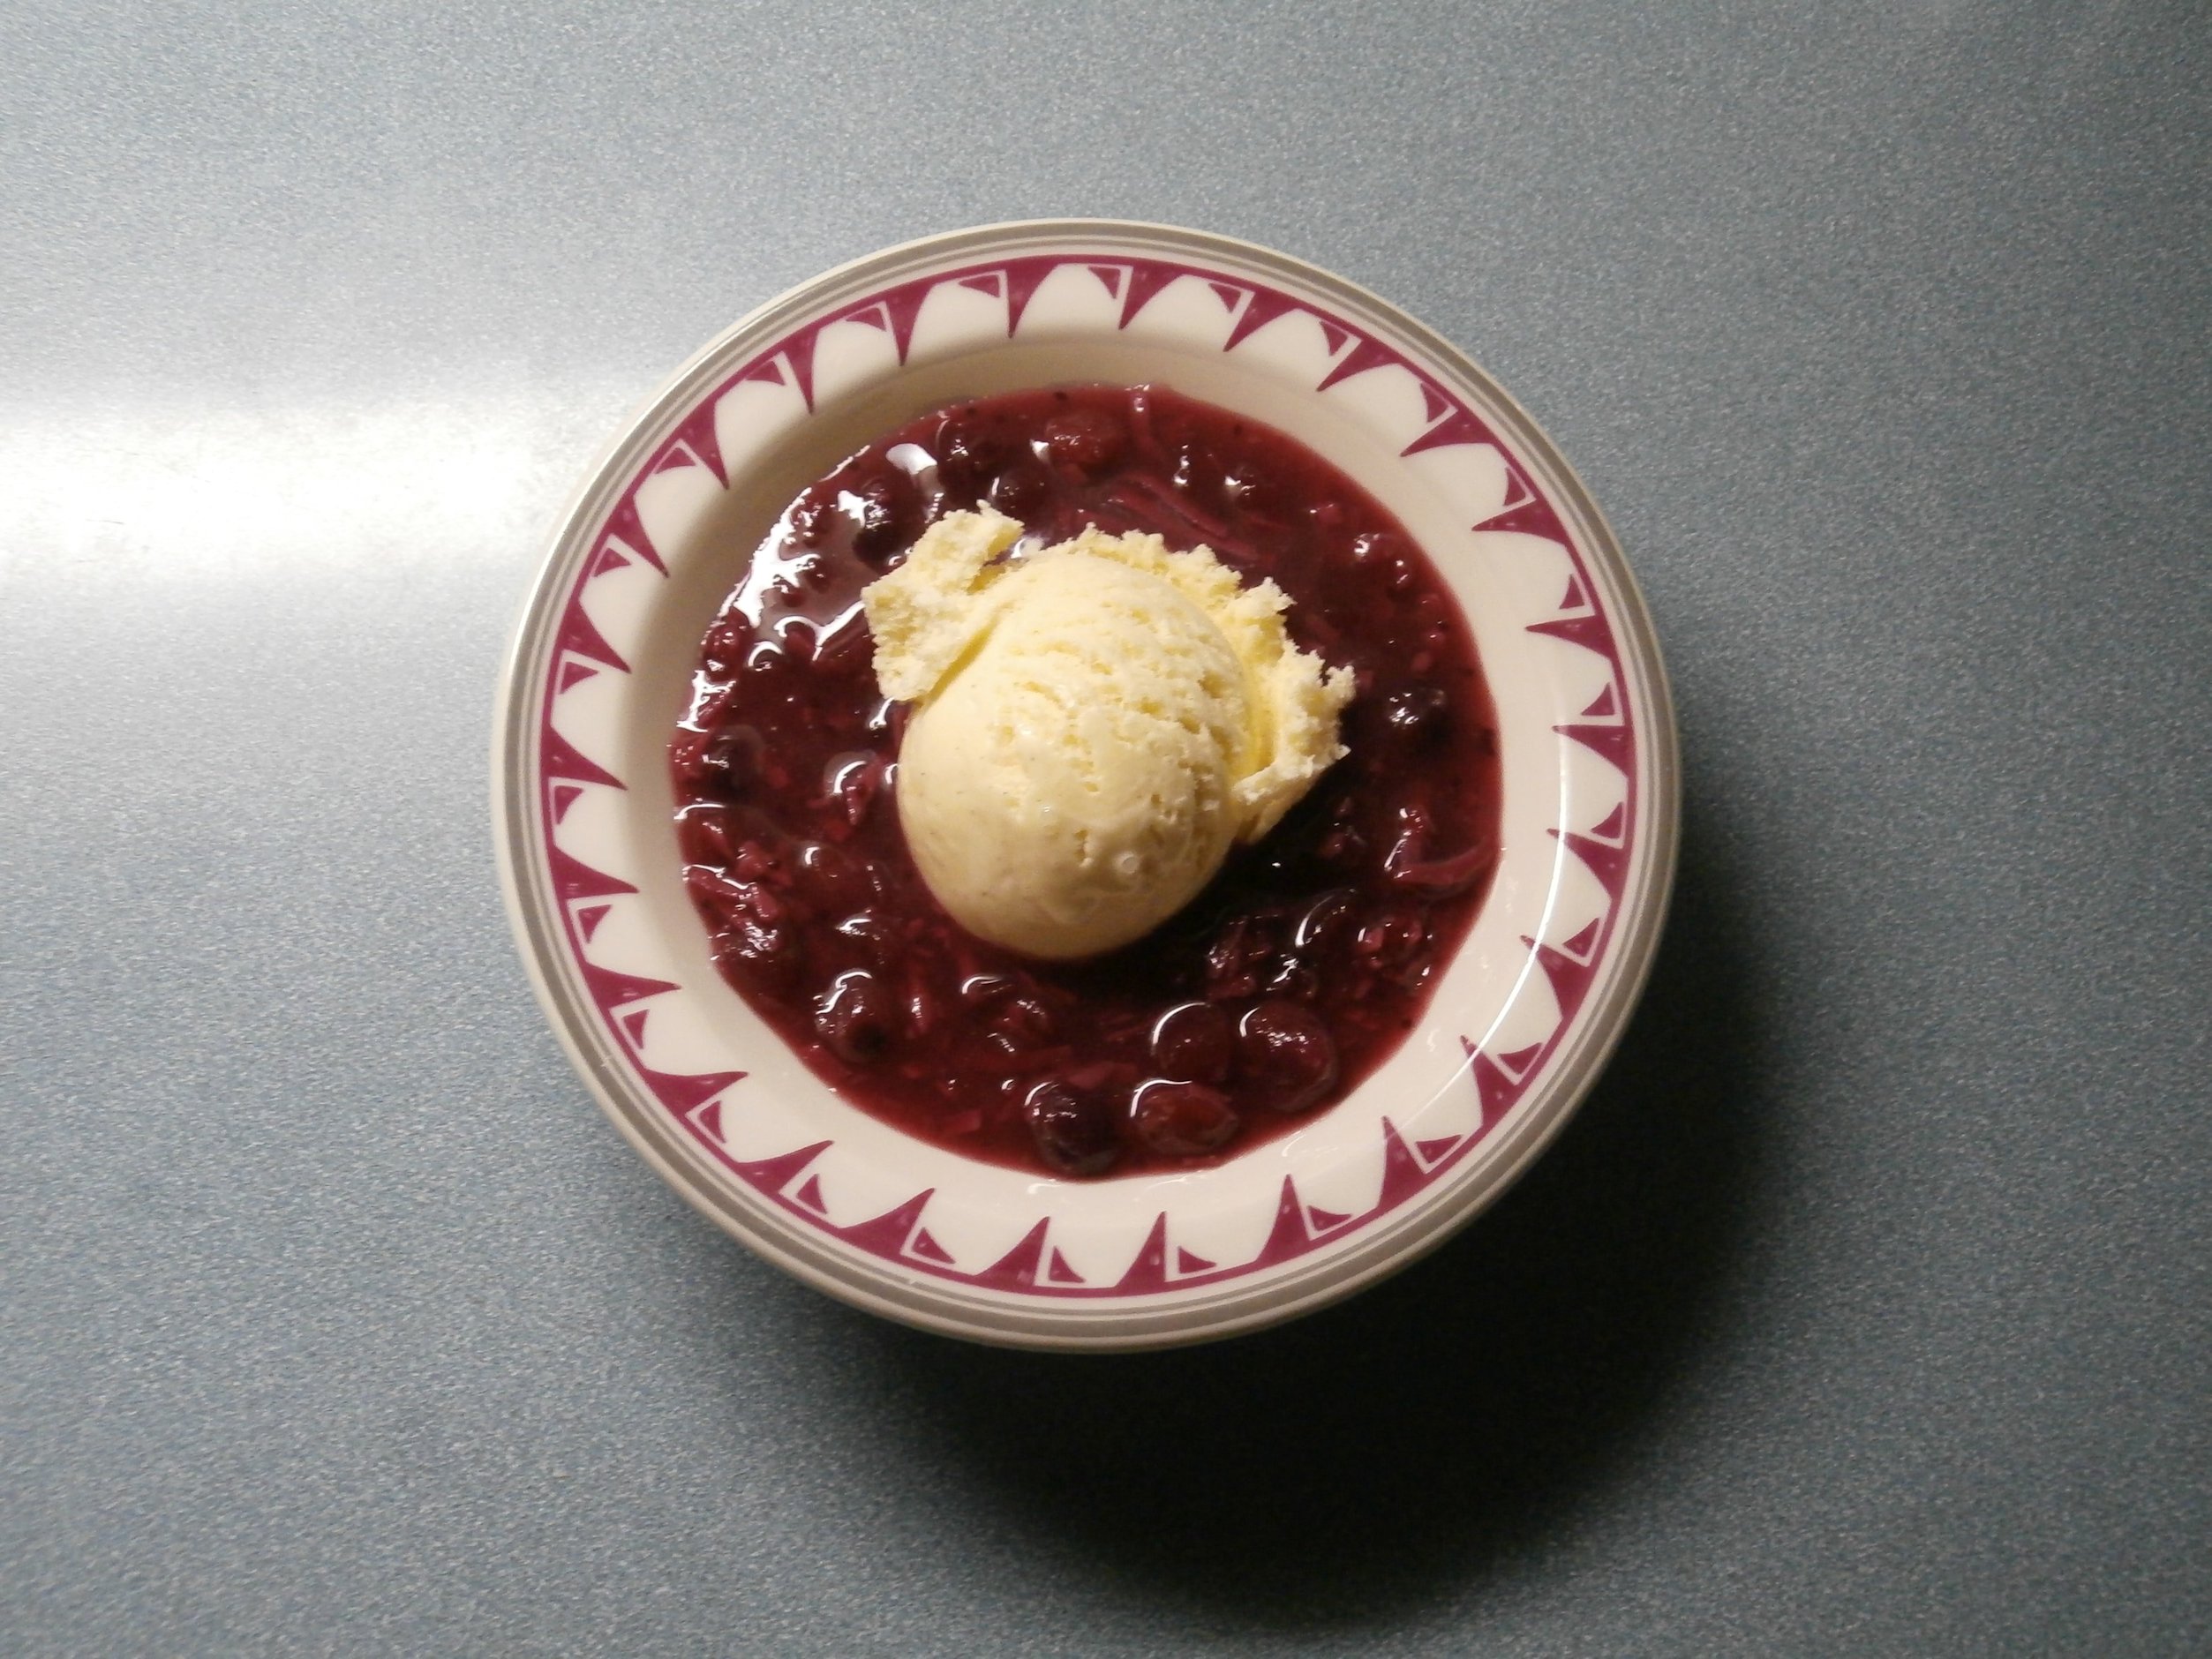
I washed 16 oz. of fresh cranberries while one inch of water was heating in a medium saucepan. When the water reached a full boil, I added the cranberries and stirred them as they started to pop open. When the berries began to thicken into a sauce, I added 1 cup of sugar, a dash of cinnamon and ground nutmeg, approx. 1/3 cup of shredded coconut, and then continued to mix it all in. I let the mix cool down and added a little more sugar to taste. Let it cool overnight in the refrigerator and serve with a scoop of vanilla ice cream.
Vaughan Williams Fantasia on a theme of Thomas Tallis
New Blog – Day 1

Thanks go to my son for setting up and hosting my new blog.