Category Archives: Woodwork

Rustic Wall Cabinet w/Hand Carved Hinges & Latch

OLYMPUS DIGITAL CAMERA

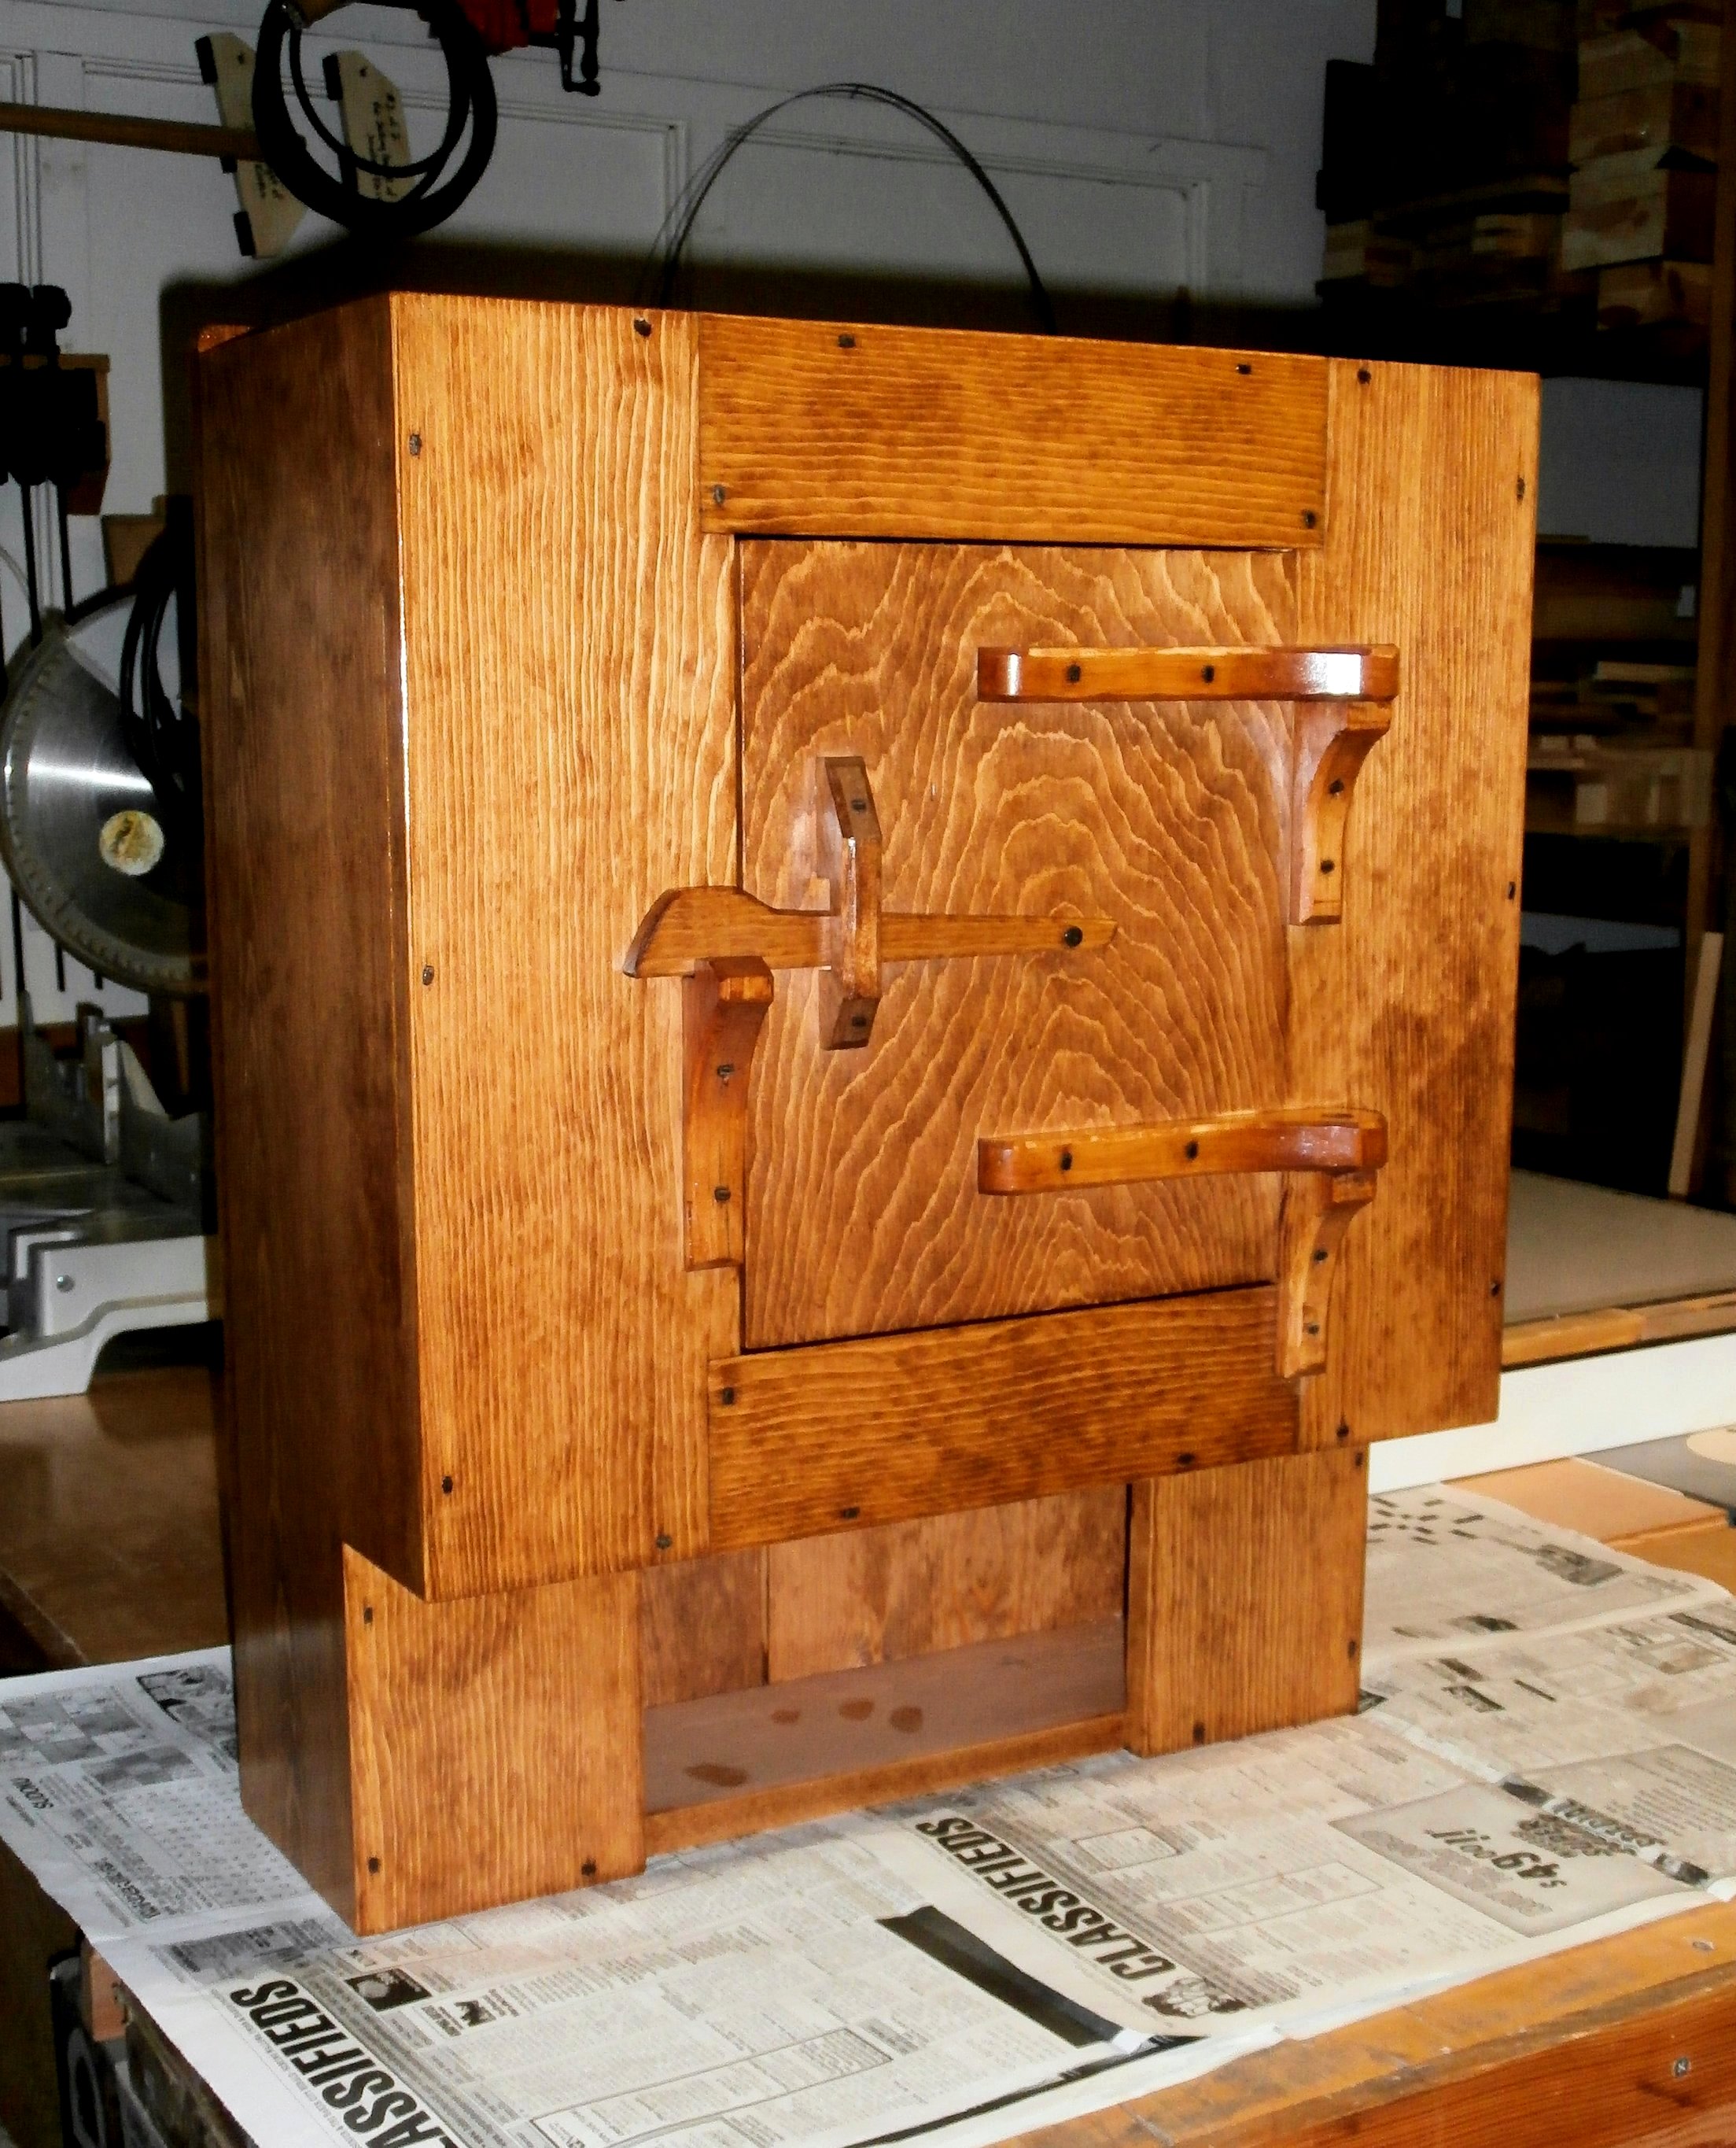
This is an experimental piece, loosely modeled after an antique original.  It gave me an opportunity to try some hand carved, chamfered “hardware” (hinges and latch), and to join the pieces making up the cabinet with traditional, square-cut nails.  (Click on any image to enlarge)

OLYMPUS DIGITAL CAMERA

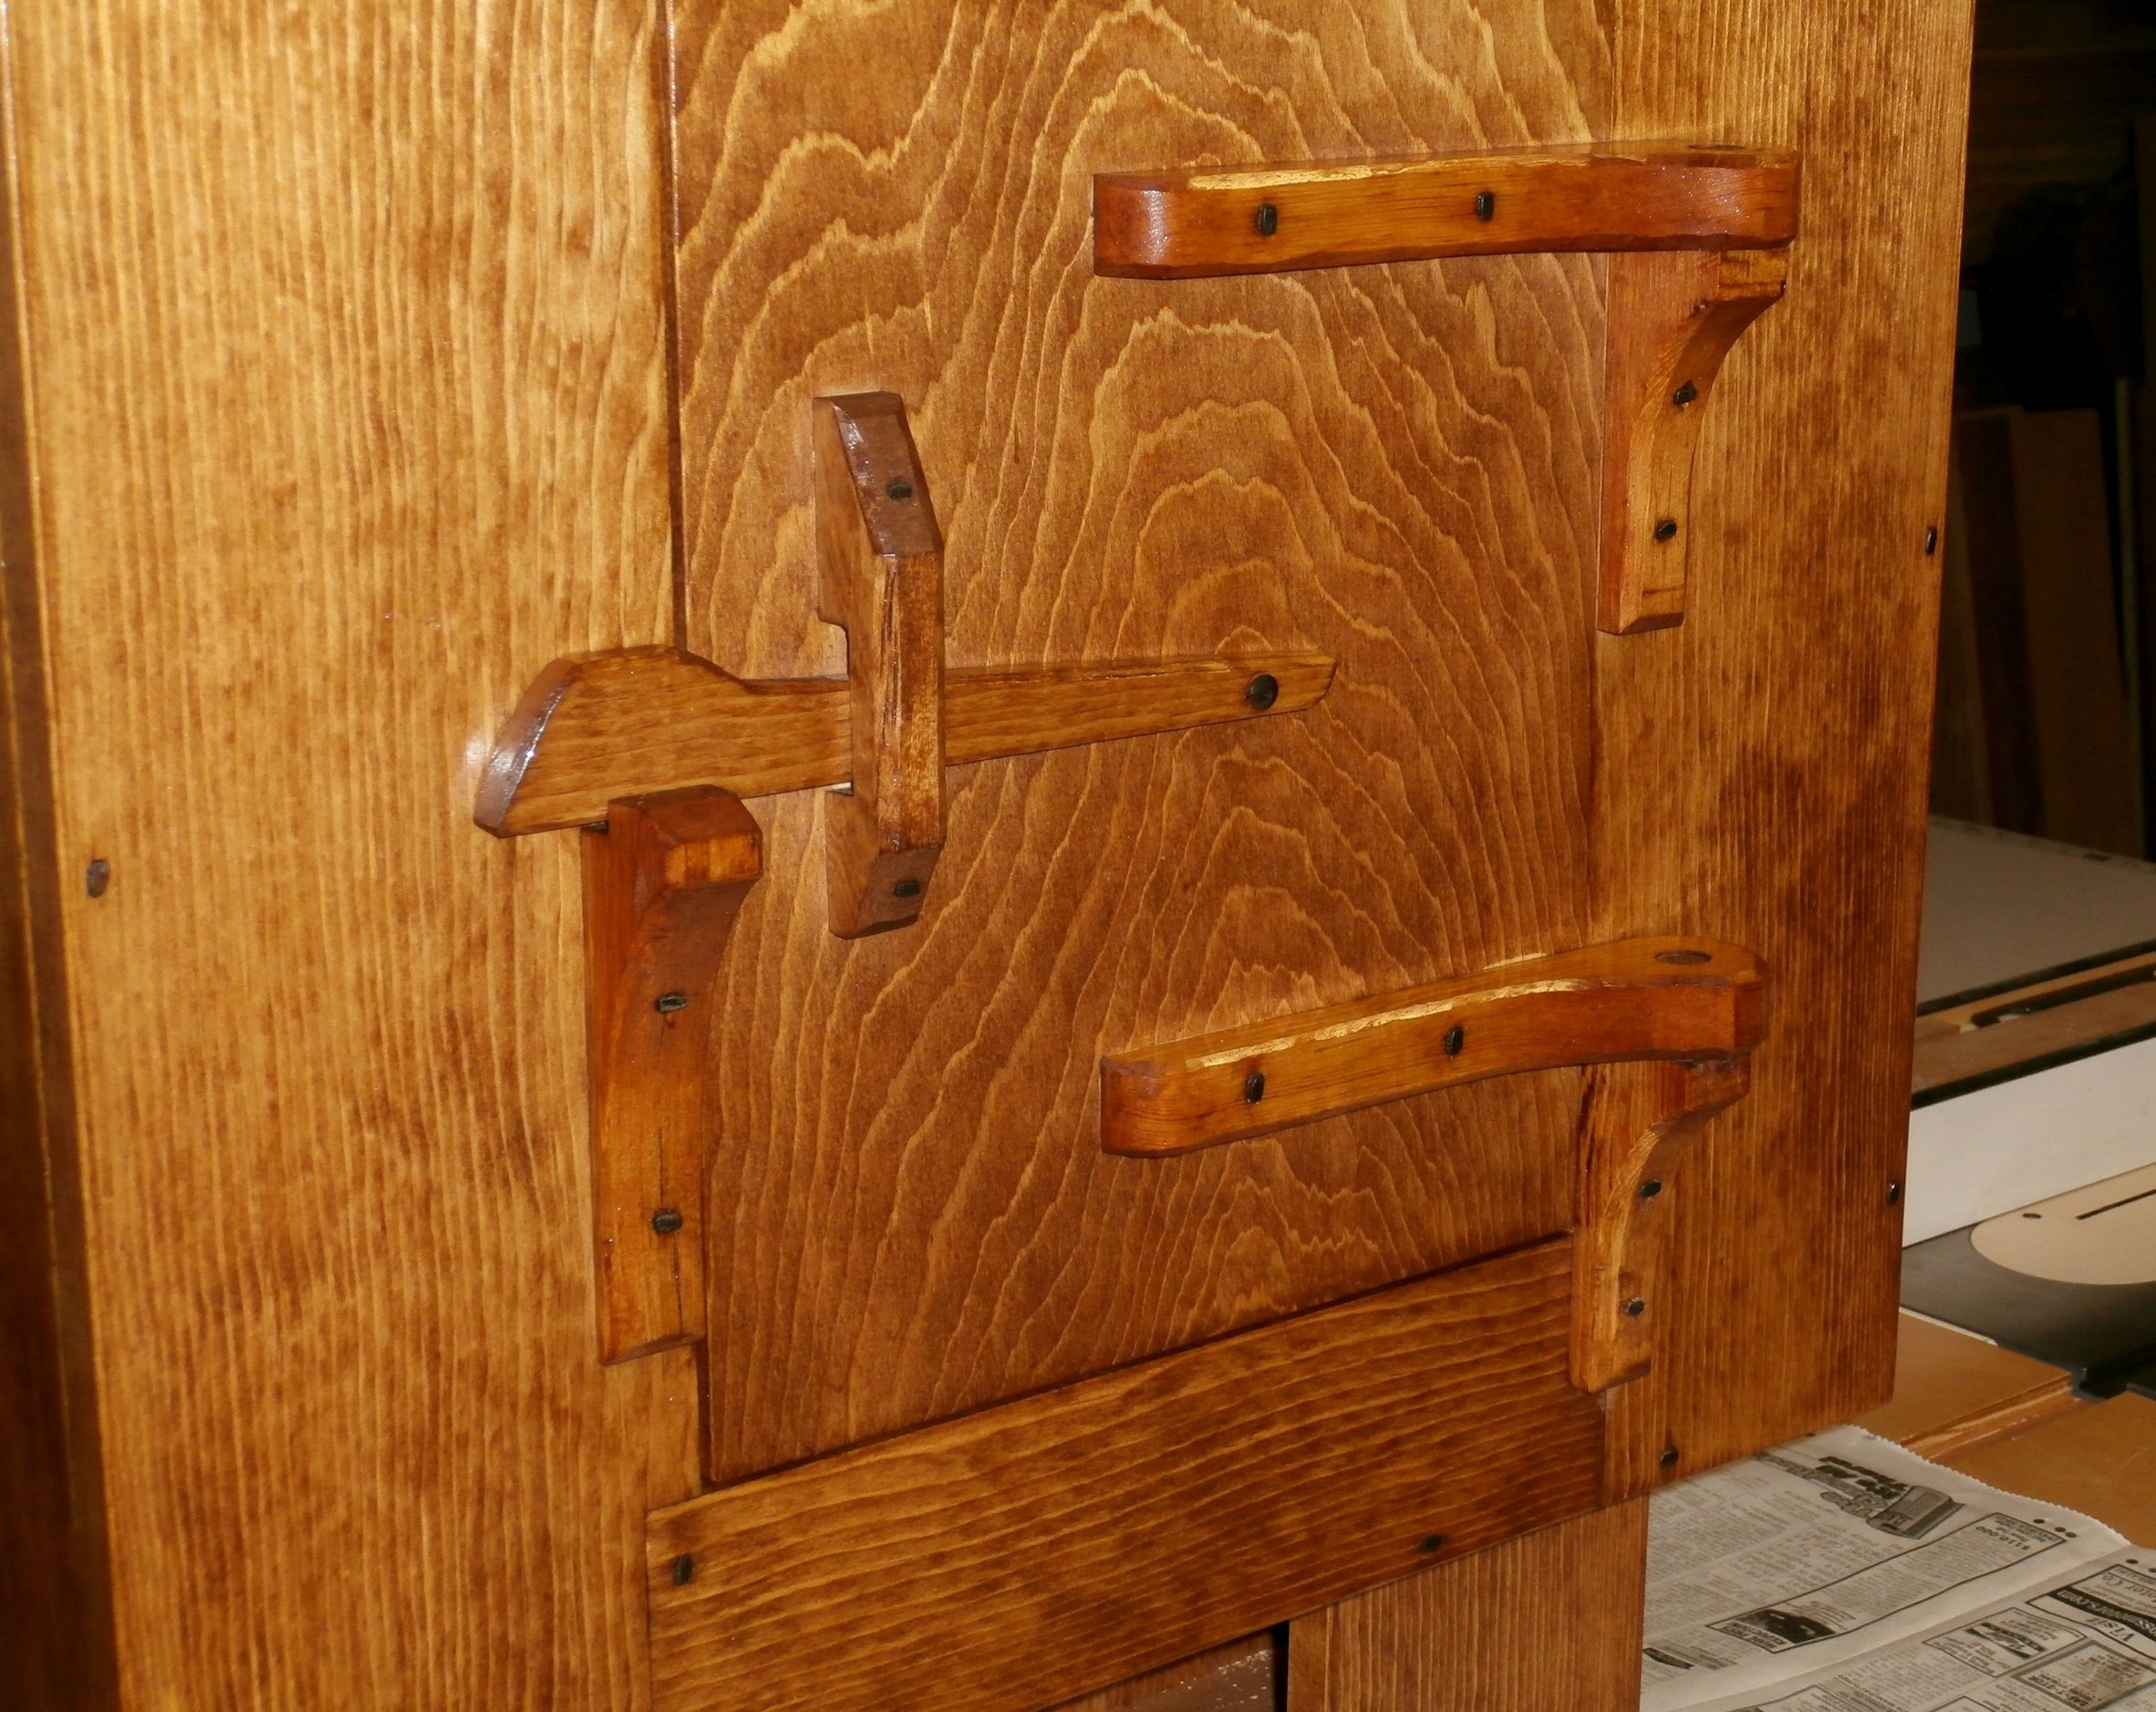
Although it was not terribly difficult, the hinge pieces (pintle and strap) had to be sized properly to allow the door to swing open without binding, and for the door to close with even spacing around the door opening.

OLYMPUS DIGITAL CAMERA

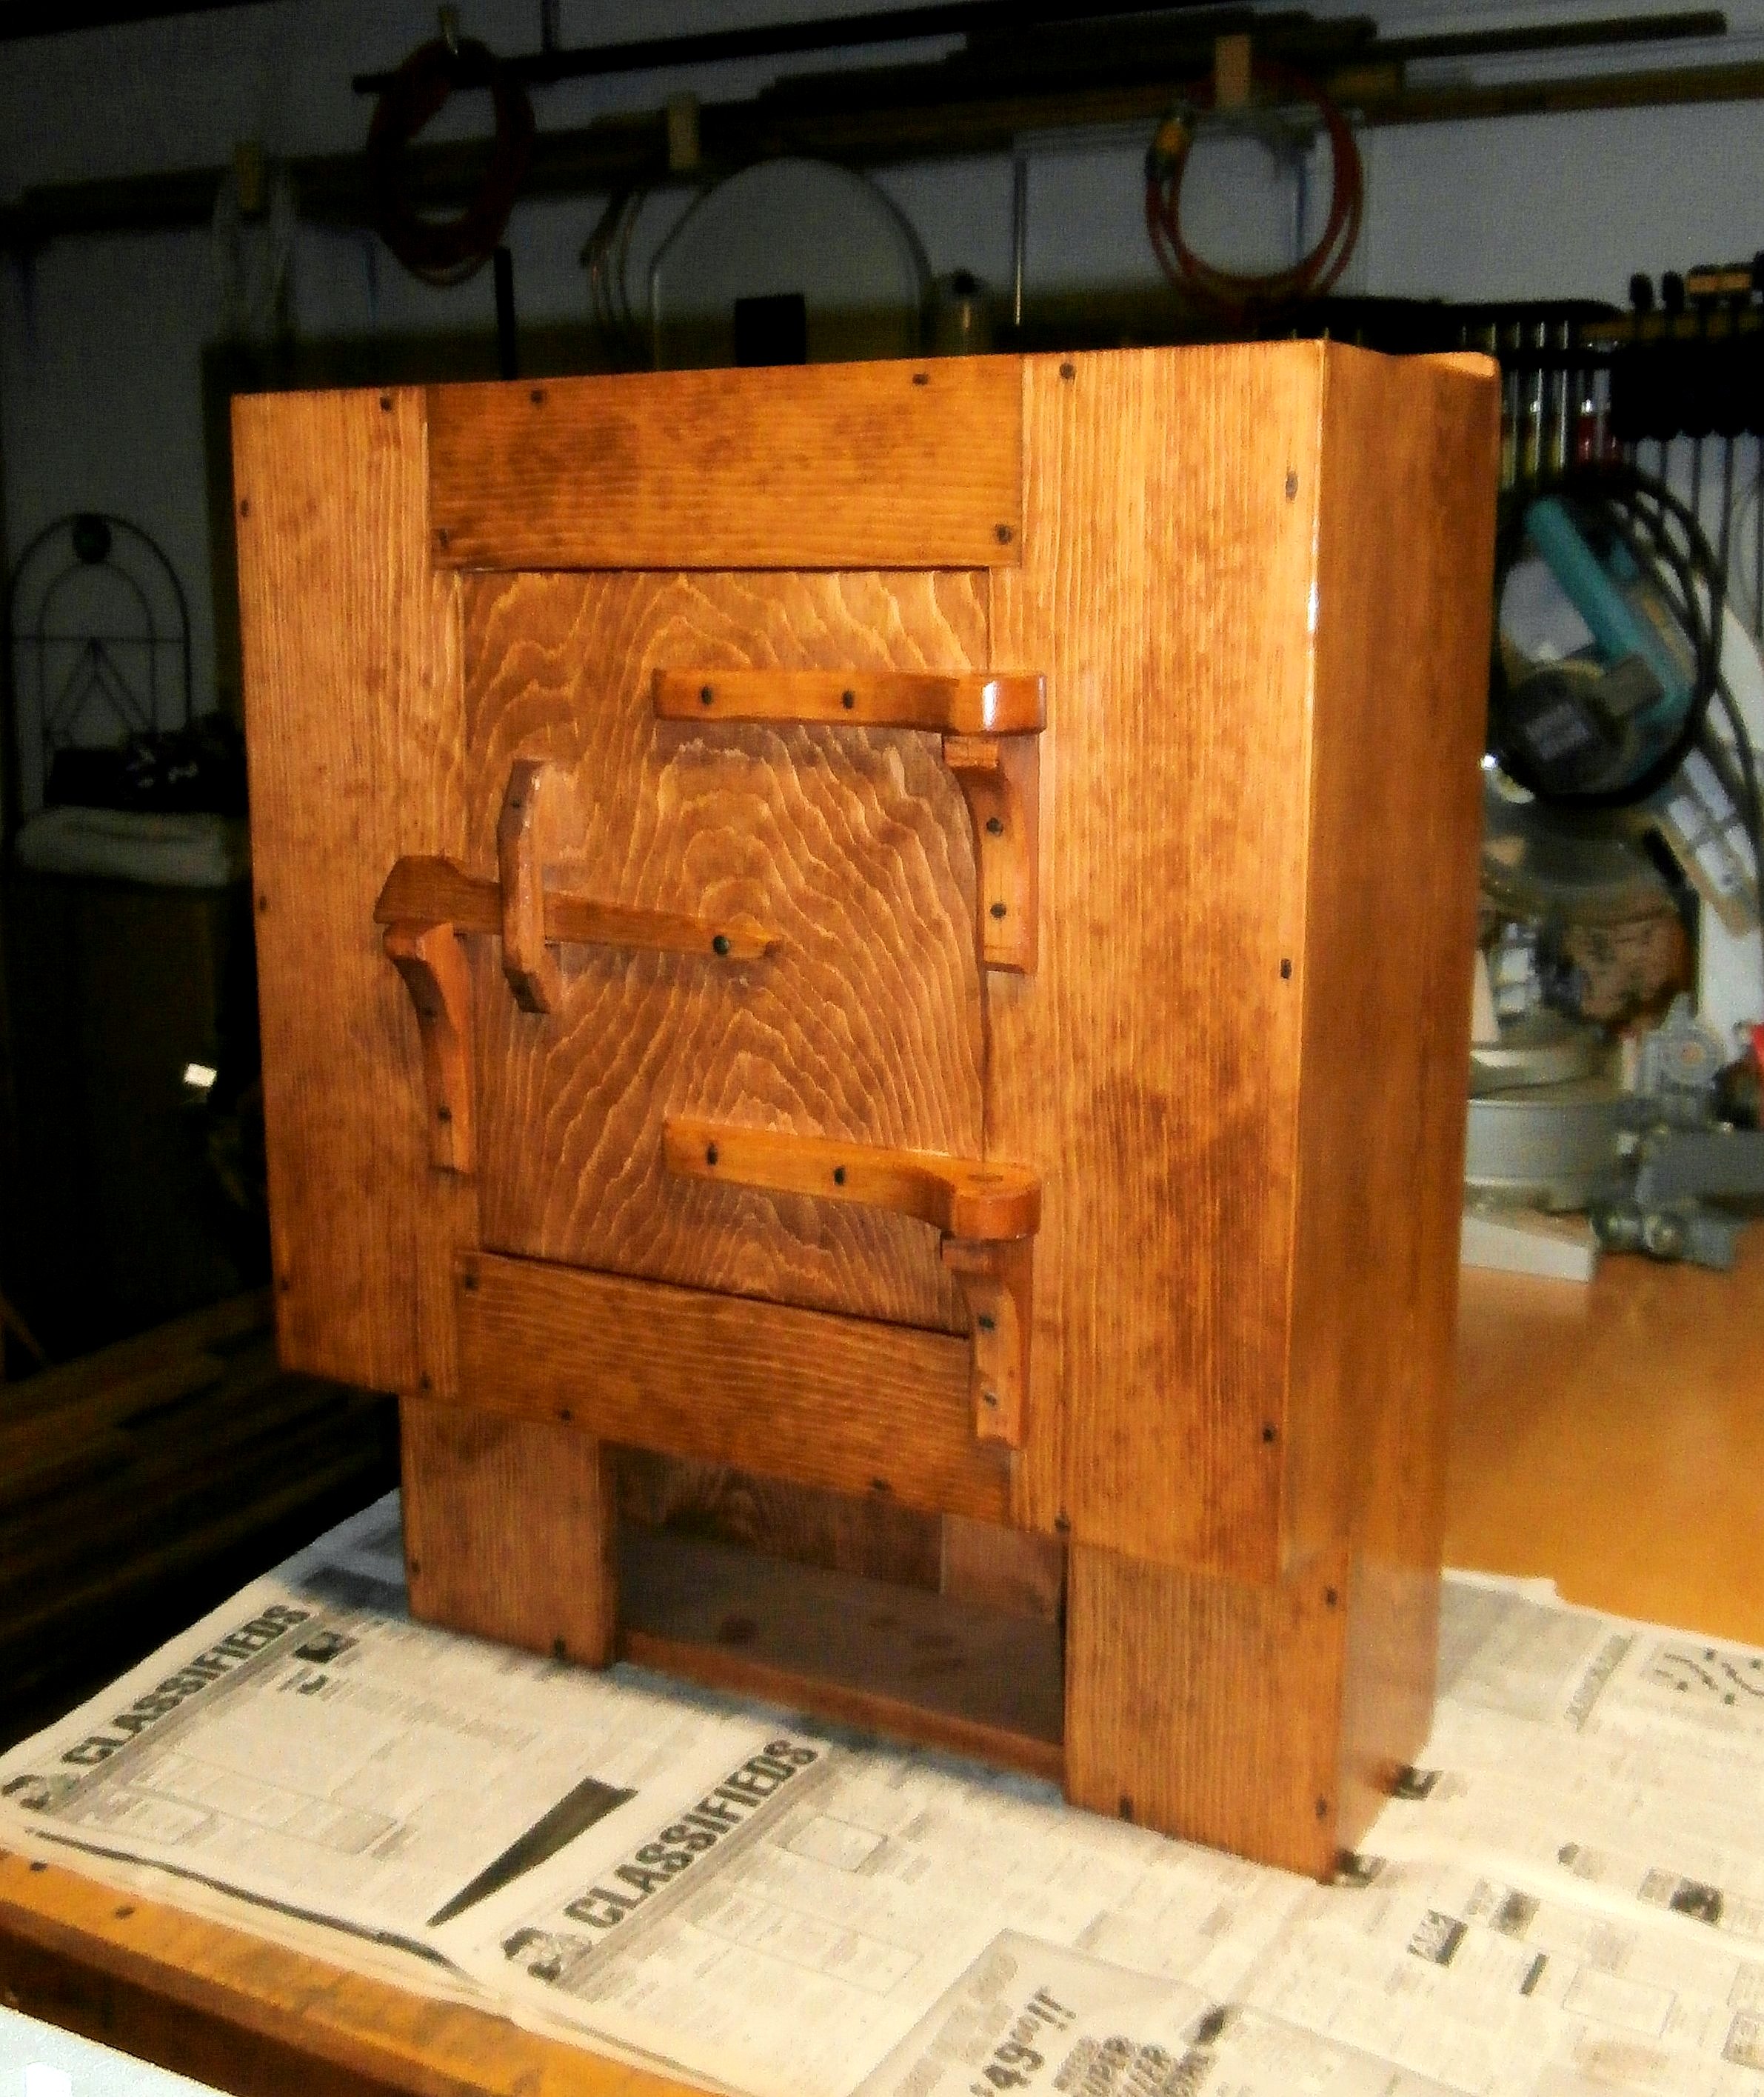
The latch “keeper” also had to be scaled in order for the latch to both close and “lock” in the notch, and to clear the notch when being opened.

OLYMPUS DIGITAL CAMERA

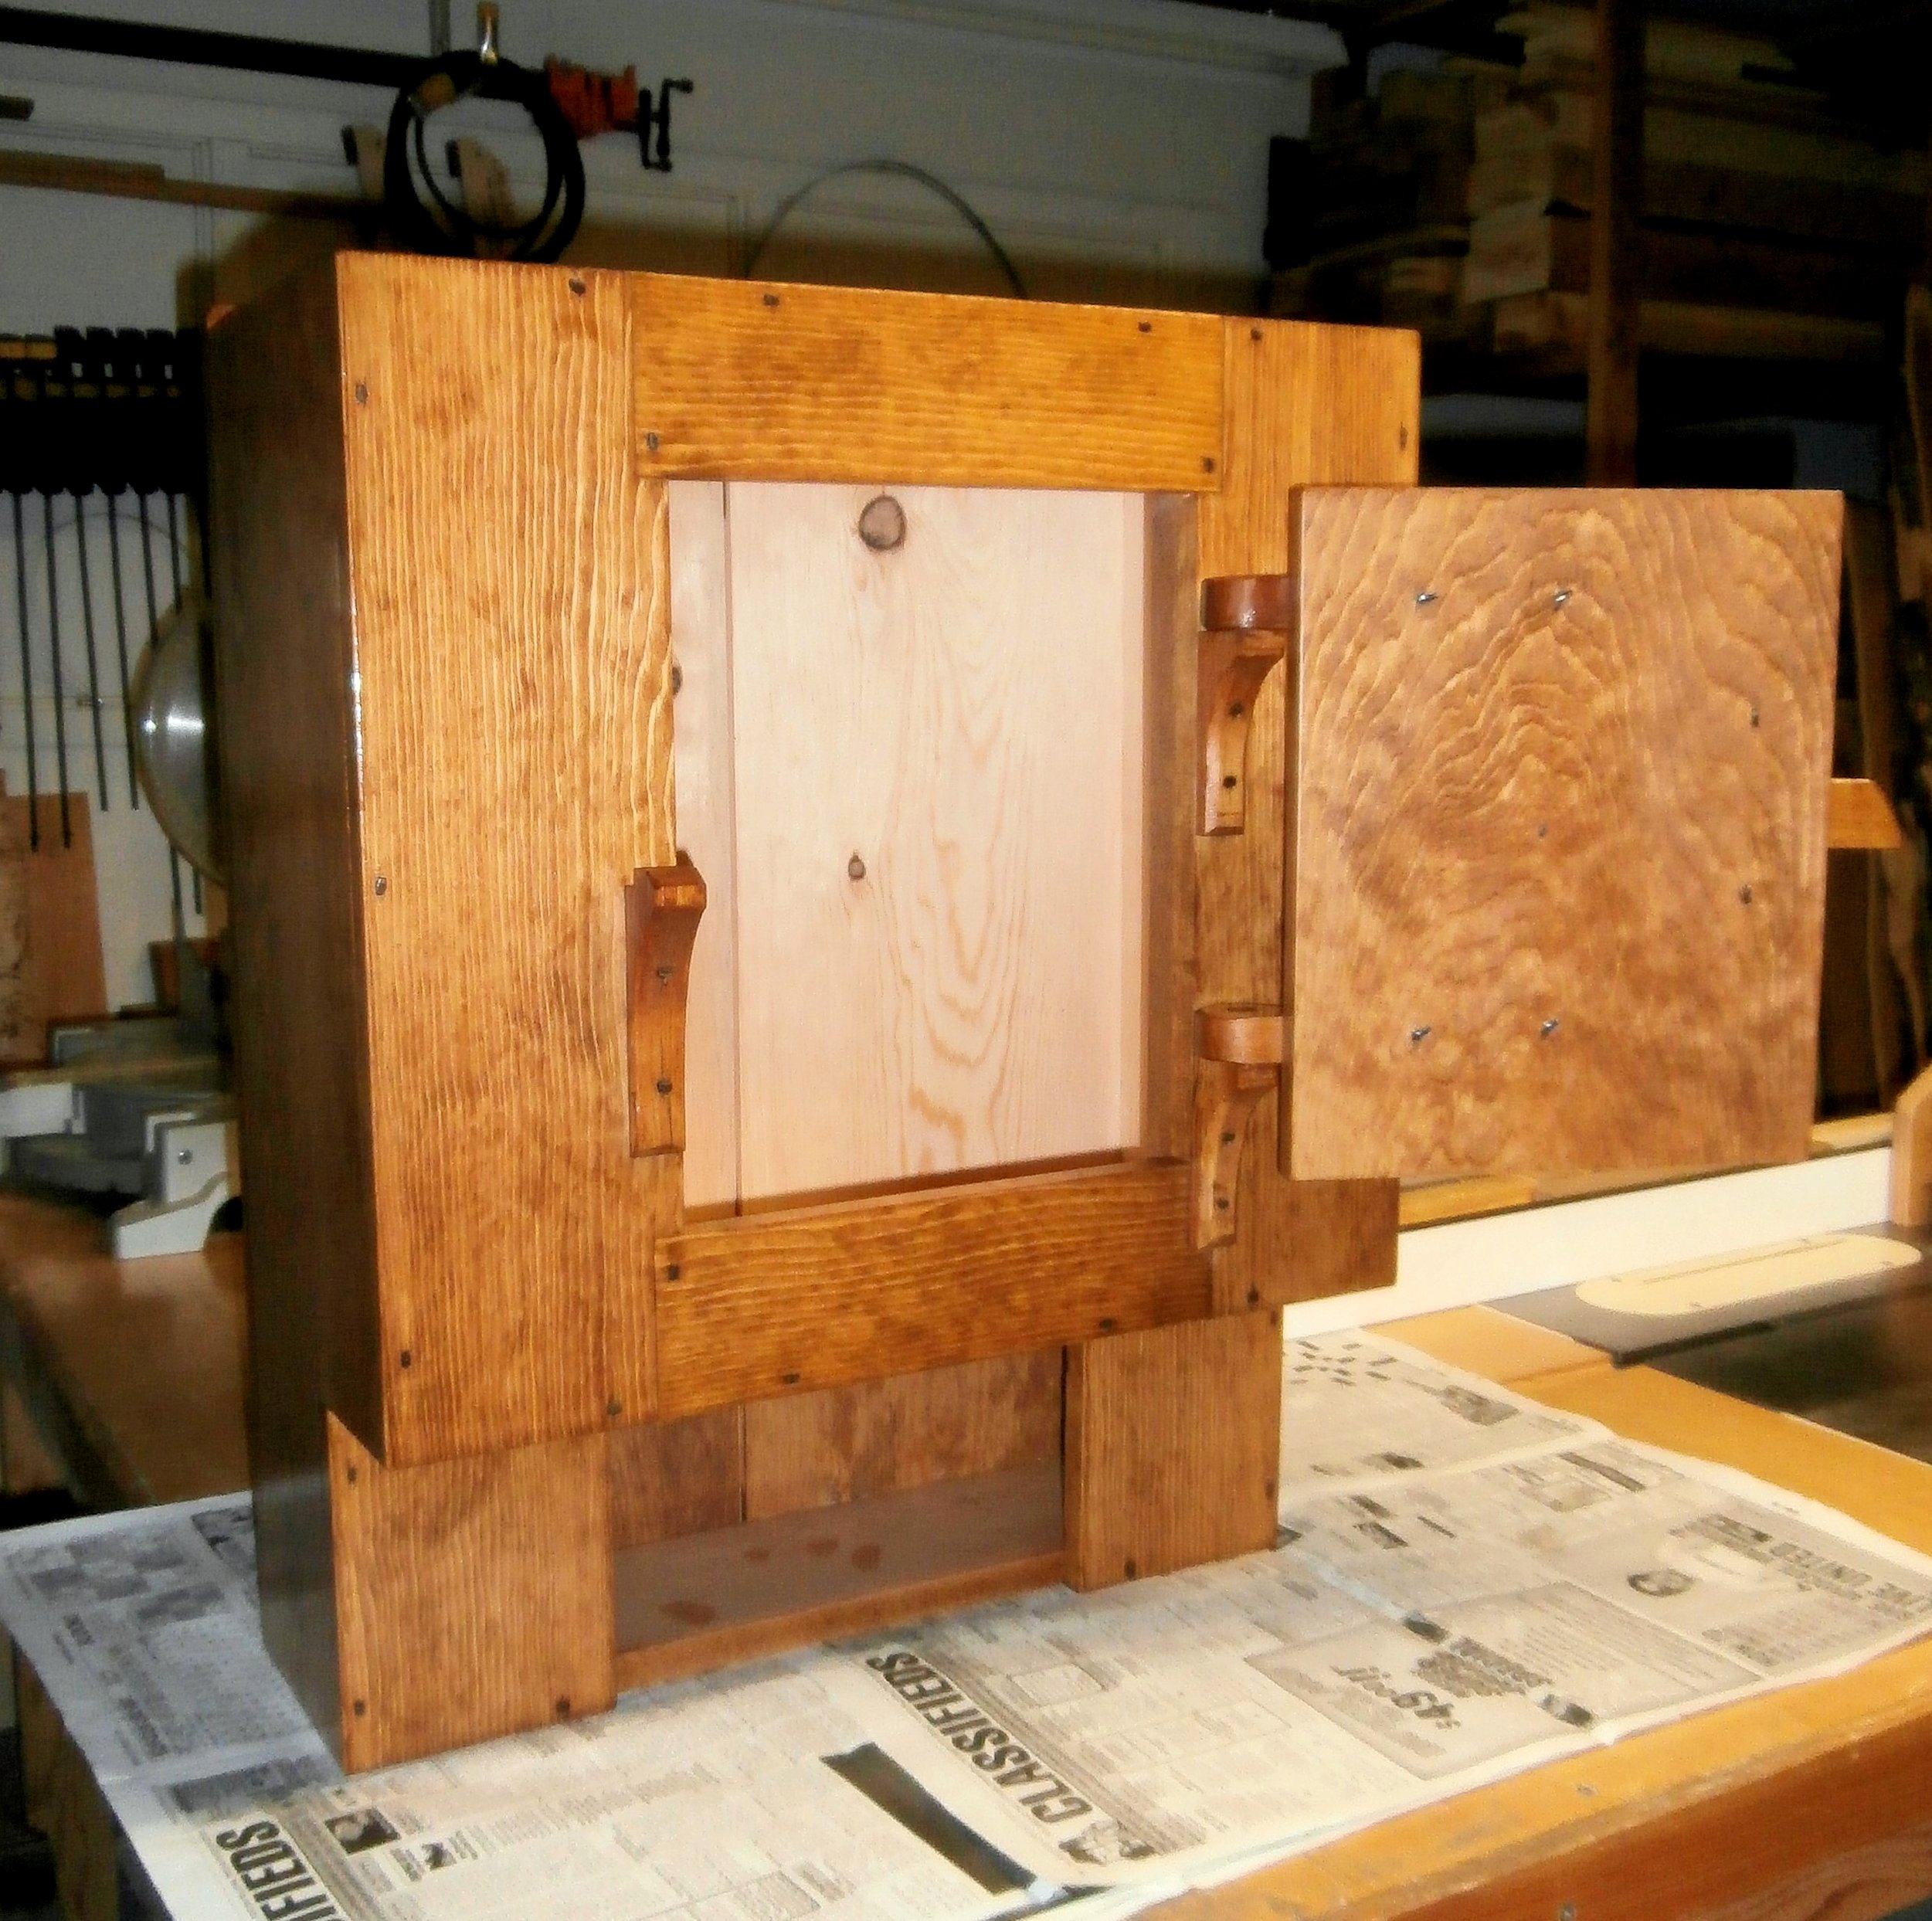
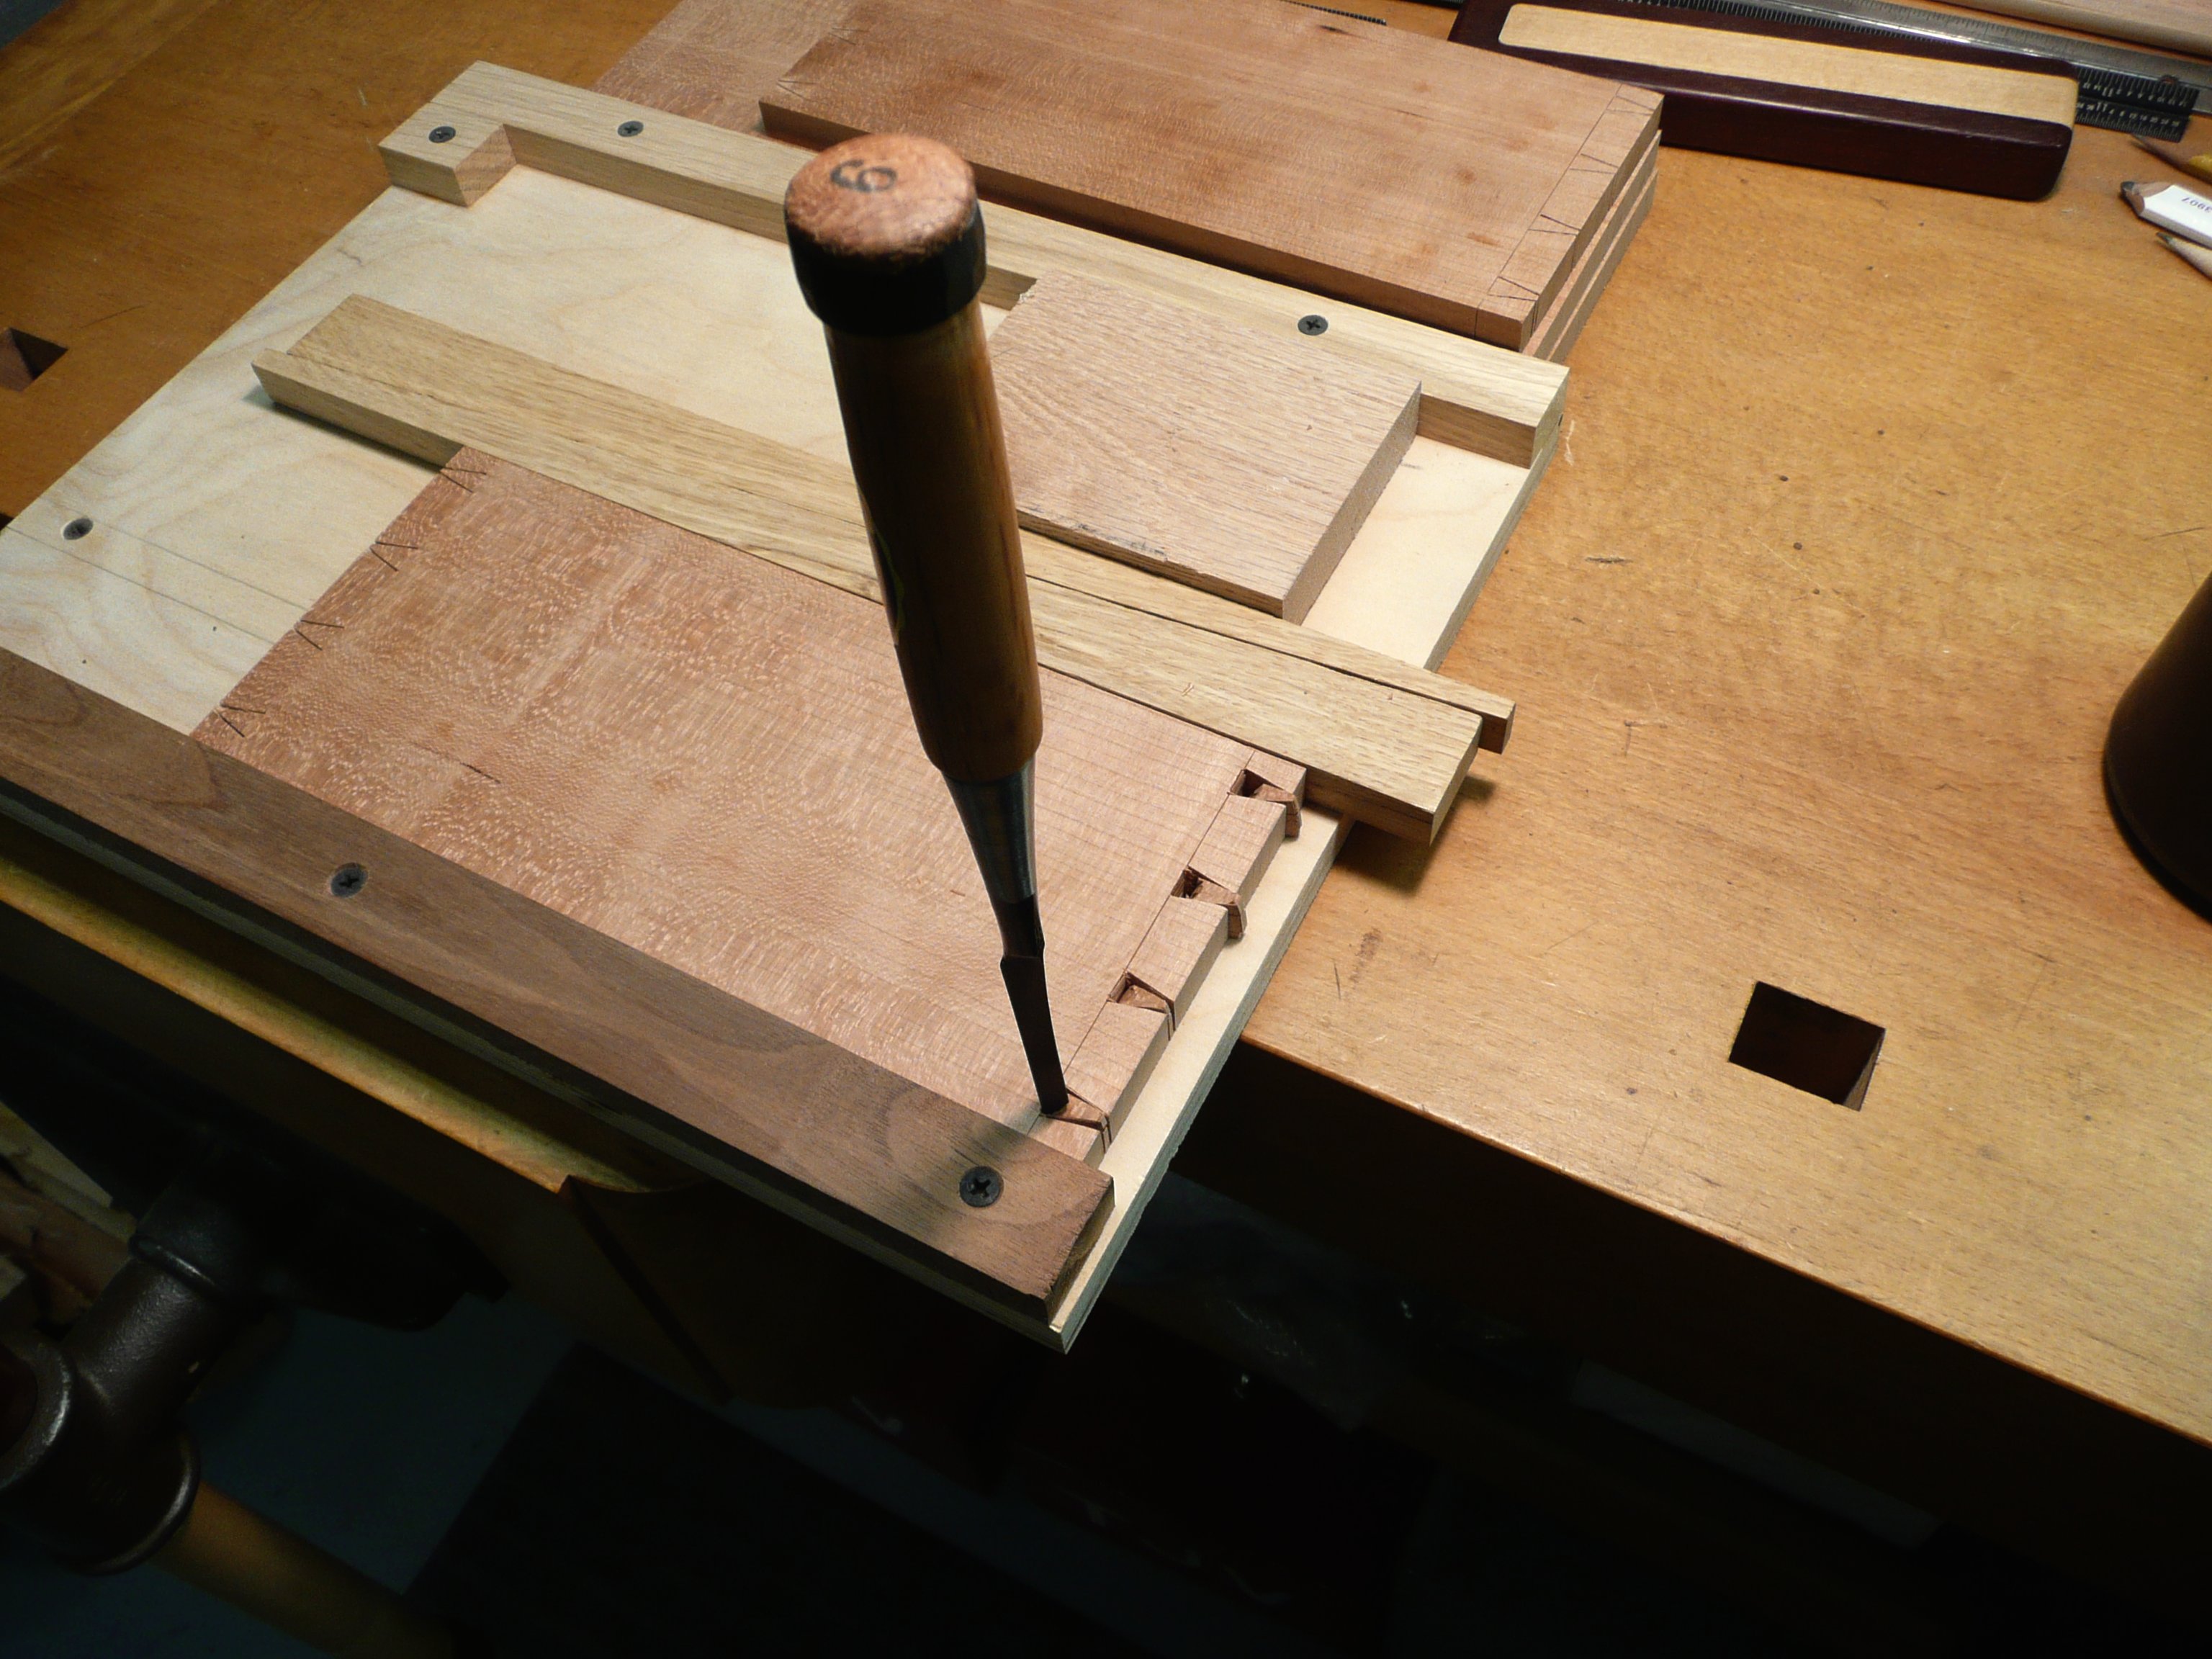
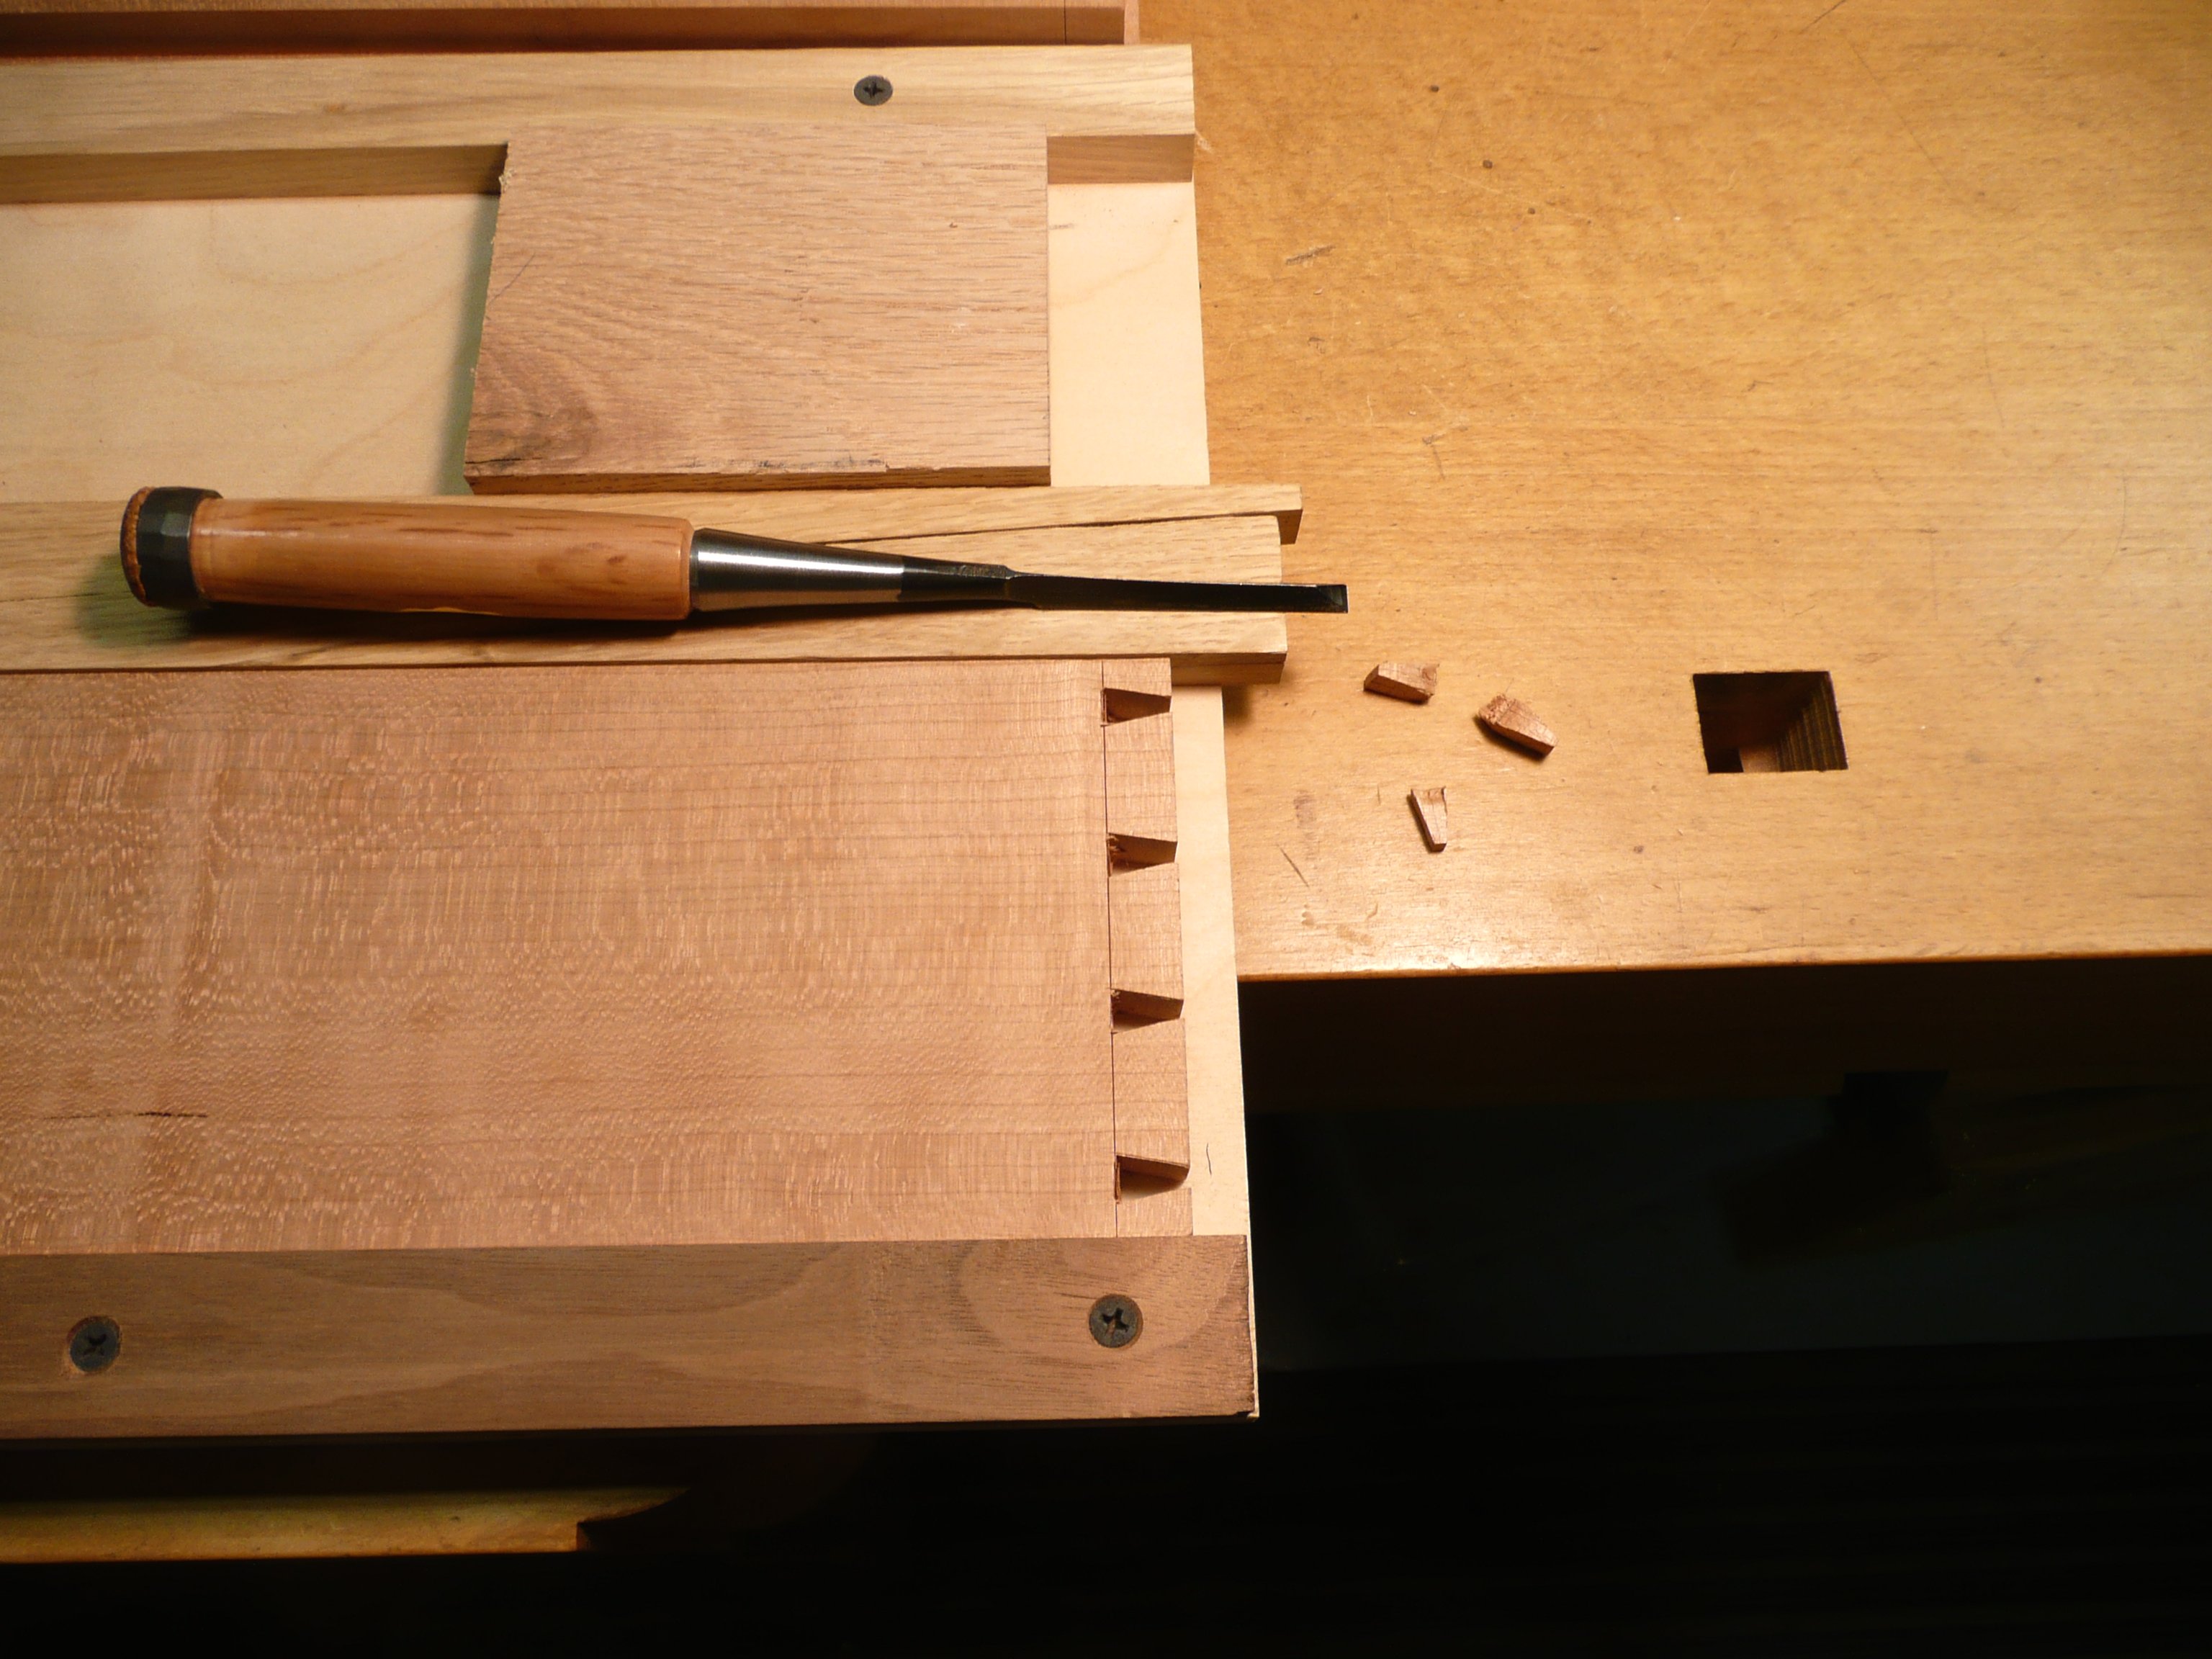
The square-cut nails that hold the straps to the door are “clinched” (the points bent over) on the inside to avoid protruding, and to permanently secure the hinge straps to the door.  The front, side, top and bottom boards are all clear pine, but the two ship-lapped back panels are lower grade lumber with knots.

Teak Dinner Plate

Teak plate 001

Turning a plate on a lathe is a challenge because of the difficulty in holding the relatively thin piece of wood.  However, the task has been made much easier in recent years with a 4-jaw, self centering chuck that can grip either in expansion mode inside a turned, shallow void on the bottom, or contraction mode around a turned ring on the bottom.  (Click on any image to enlarge)

Teak plate 003

Teak is a naturally oily wood.  For a plate on which food will be served, and which is then going to go into soapy water, the natural oil helps preserve the wood and keep it from drying and cracking.

Weed Pots

OLYMPUS DIGITAL CAMERA

These are the first three I turned on my lathe in, from l. to r., black walnut, American black cherry, and white oak.  They stand about 5.5″ tall.  In addition to being drilled out at the top to hold dried flowers, branches, ornamental grass, or interesting weeds, the bottoms also have a cavity drilled out which is filled with steel shot and then sealed with a wood plug.  The bottom-weighting provides stability.  (Click on any image to enlarge)

Since the first three were made, I have experimented with other shapes and heights, as well as with some exotic woods.  Below, l. to r., Claro walnut and Wenge, straight off the lathe.

OLYMPUS DIGITAL CAMERA

I’ve also ordered various sizes of glass test tubes to be inserted into properly sized holes in the tops so that in addition to holding dried arrangements,  a single rose or small flower grouping can be kept fresh in water.


Repairing Danger’s Chair

I once had a dog, a fine dog with a stout heart, named “Danger” . . . actually his full name was “Nick Danger, Third Eye.”   When Danger was a puppy, he liked to chew on things, as all puppies do.  When my back was turned, he went to work on the rungs of an old oak chair I found at a flea market.  He chewed all the way through  a side rung and mangled the two turned rungs in front as you can see below.  It was that way for 20 years.  (Click on any image to enlarge)

Danger's Chair 004

With Danger a distant but fond memory, I finally decided it was time to do something about the chair.  To begin, I cut the old front rungs off and drilled out the sockets.

Danger's Chair 005

Danger's Chair 006

I pulled some white oak from my stash and went to work on my lathe to turn one new side rung and two new front rungs, modeled as closely as possible after the originals.

Danger's Chair 019

Next, I turned to two tools from the 18th century to prepare the new parts to go in the leg sockets.  The first, a spoke pointer mounted on a hand brace at the bottom of the following picture, is used somewhat like a pencil sharpener to trim down the end of the rung so that the second tool, a tenon cutter also mounted on a brace in the middle of the picture, can be used to cut down the end of the rung to fit the leg socket.

Danger's Chair 022

The process, as the following sequence shows, is to “point” the rung and then cut it down to a pre-determined diameter.

Danger's Chair 023

Danger's Chair 024

Danger's Chair 027

Danger's Chair 025

Danger's Chair 028

All that remained after the ends were cut down to size was to temporarily remove one front leg so that the new rungs could be inserted and glued in place.  Then, with a new coat of Minwax, Danger’s chair was restored to something close to it’s original appearance.

Danger's Chair 036b

Danger's Chair 036

All is forgiven, Danger!

The “Recycled” Cabinet

OLYMPUS DIGITAL CAMERA

I needed a job-specific cabinet that would fit in a defined, limited space in my shop.  It needed to hold my Ridgid oscillating sander on top, and house my Tormek sharpening machine and related sharpening equipment on shelves below.  It ended up being made entirely out of leftover and recycled parts:  four old cabinet doors with hinges, two off-cuts of plywood, ceramic door knobs from a house I owned 30 years ago, and one 10 foot 2″x4″ left over from another project.   I challenged myself to use only materials on hand, as efficiently as possible (i.e. zero waste), while still meeting my design criteria. (Click on any image to enlarge)

OLYMPUS DIGITAL CAMERA

The basic frame for the cabinet came from the 2″ x 4″ which was ripped lengthwise and then sized into 1 3/8″ square stock.  The four cabinet doors and their 1970’s era hinges came from a client’s house where I installed replacements.  Two of the cabinet doors became panels for the back, and the other two were each divided in half for the doors in front.

OLYMPUS DIGITAL CAMERA

The sides were made from one leftover piece of 3/8″ AC plywood divided in half, and the cabinet top and two interior shelves came one piece of 3/4″ CDX plywood.

Drafting Table and Storage Box

OLYMPUS DIGITAL CAMERA

I needed a drafting table and also a place to store my drafting tools (T-squares, triangles, compass, rules, pencils, roll of vellum, etc.), so I designed this combination drafting table + portable storage box.   (Click on any image to enlarge)

OLYMPUS DIGITAL CAMERA

The 34″ x 26″ table top is adjustable to three different angles;  20, 25, and 30 degrees, by using one of three pre-cut pairs of legs that can be quickly changed.

OLYMPUS DIGITAL CAMERA

The legs fold into the box to close and the table/lid is held closed with twin latches.  A carry handle allows the relatively light weight box to be carried to another location and stored.

OLYMPUS DIGITAL CAMERA

The drafting table/box is constructed with clear pine, joined at the corners with dovetail joints.  The drafting table surface  is birch plywood framed with pine.  It is dead flat and square and attached to the box frame with a piano hinge.  The entire box was sealed with several coats of Minwax and the table surface has several additional coats of satin finish polyurethane.


Cherry & Maple, Hand Dovetailed Box

Dell II 436

This is a box I made for my son using quarter sawn, American black cherry for the sides.  I also used the cherry to frame the raised panel of birdseye maple on the lid.   I’m going to very briefly show you the steps I use to cut the dovetail joints for the box sides.  Fine, hand cut dovetail joints can always be distinguished from those produced with a power router by the very narrow spacing between the tails (i.e. the very small size of the “pins”) which cannot be accomplished in this small size with a router.  (Click on an image to enlarge it.)

Dell II 446

I first use a thin kerf, rip saw to cut the outlines of the previously laid out and marked “tails” (shaped like a stylized bird’s tail) on two sides at once (held in the vise) so that the proportions will appear even all the way around the box.

Dell II 449

Then I clamp one side at a time in a jig I designed so that I can use a Japanese dovetail chisel (with a triangular cross section) to chop out the waste between the saw cuts, thereby creating the “tails.”

Dell II 450

Finished “tails.”

Dell II 452

The “pins” that fit into the slots between the “tails” are first marked on the ends of the remaining two side boards to correspond to the size and spacing of the “tails.”  Then, after being laid out, the “pins” are cut in the same way as the “tails,” with saw and chisel.