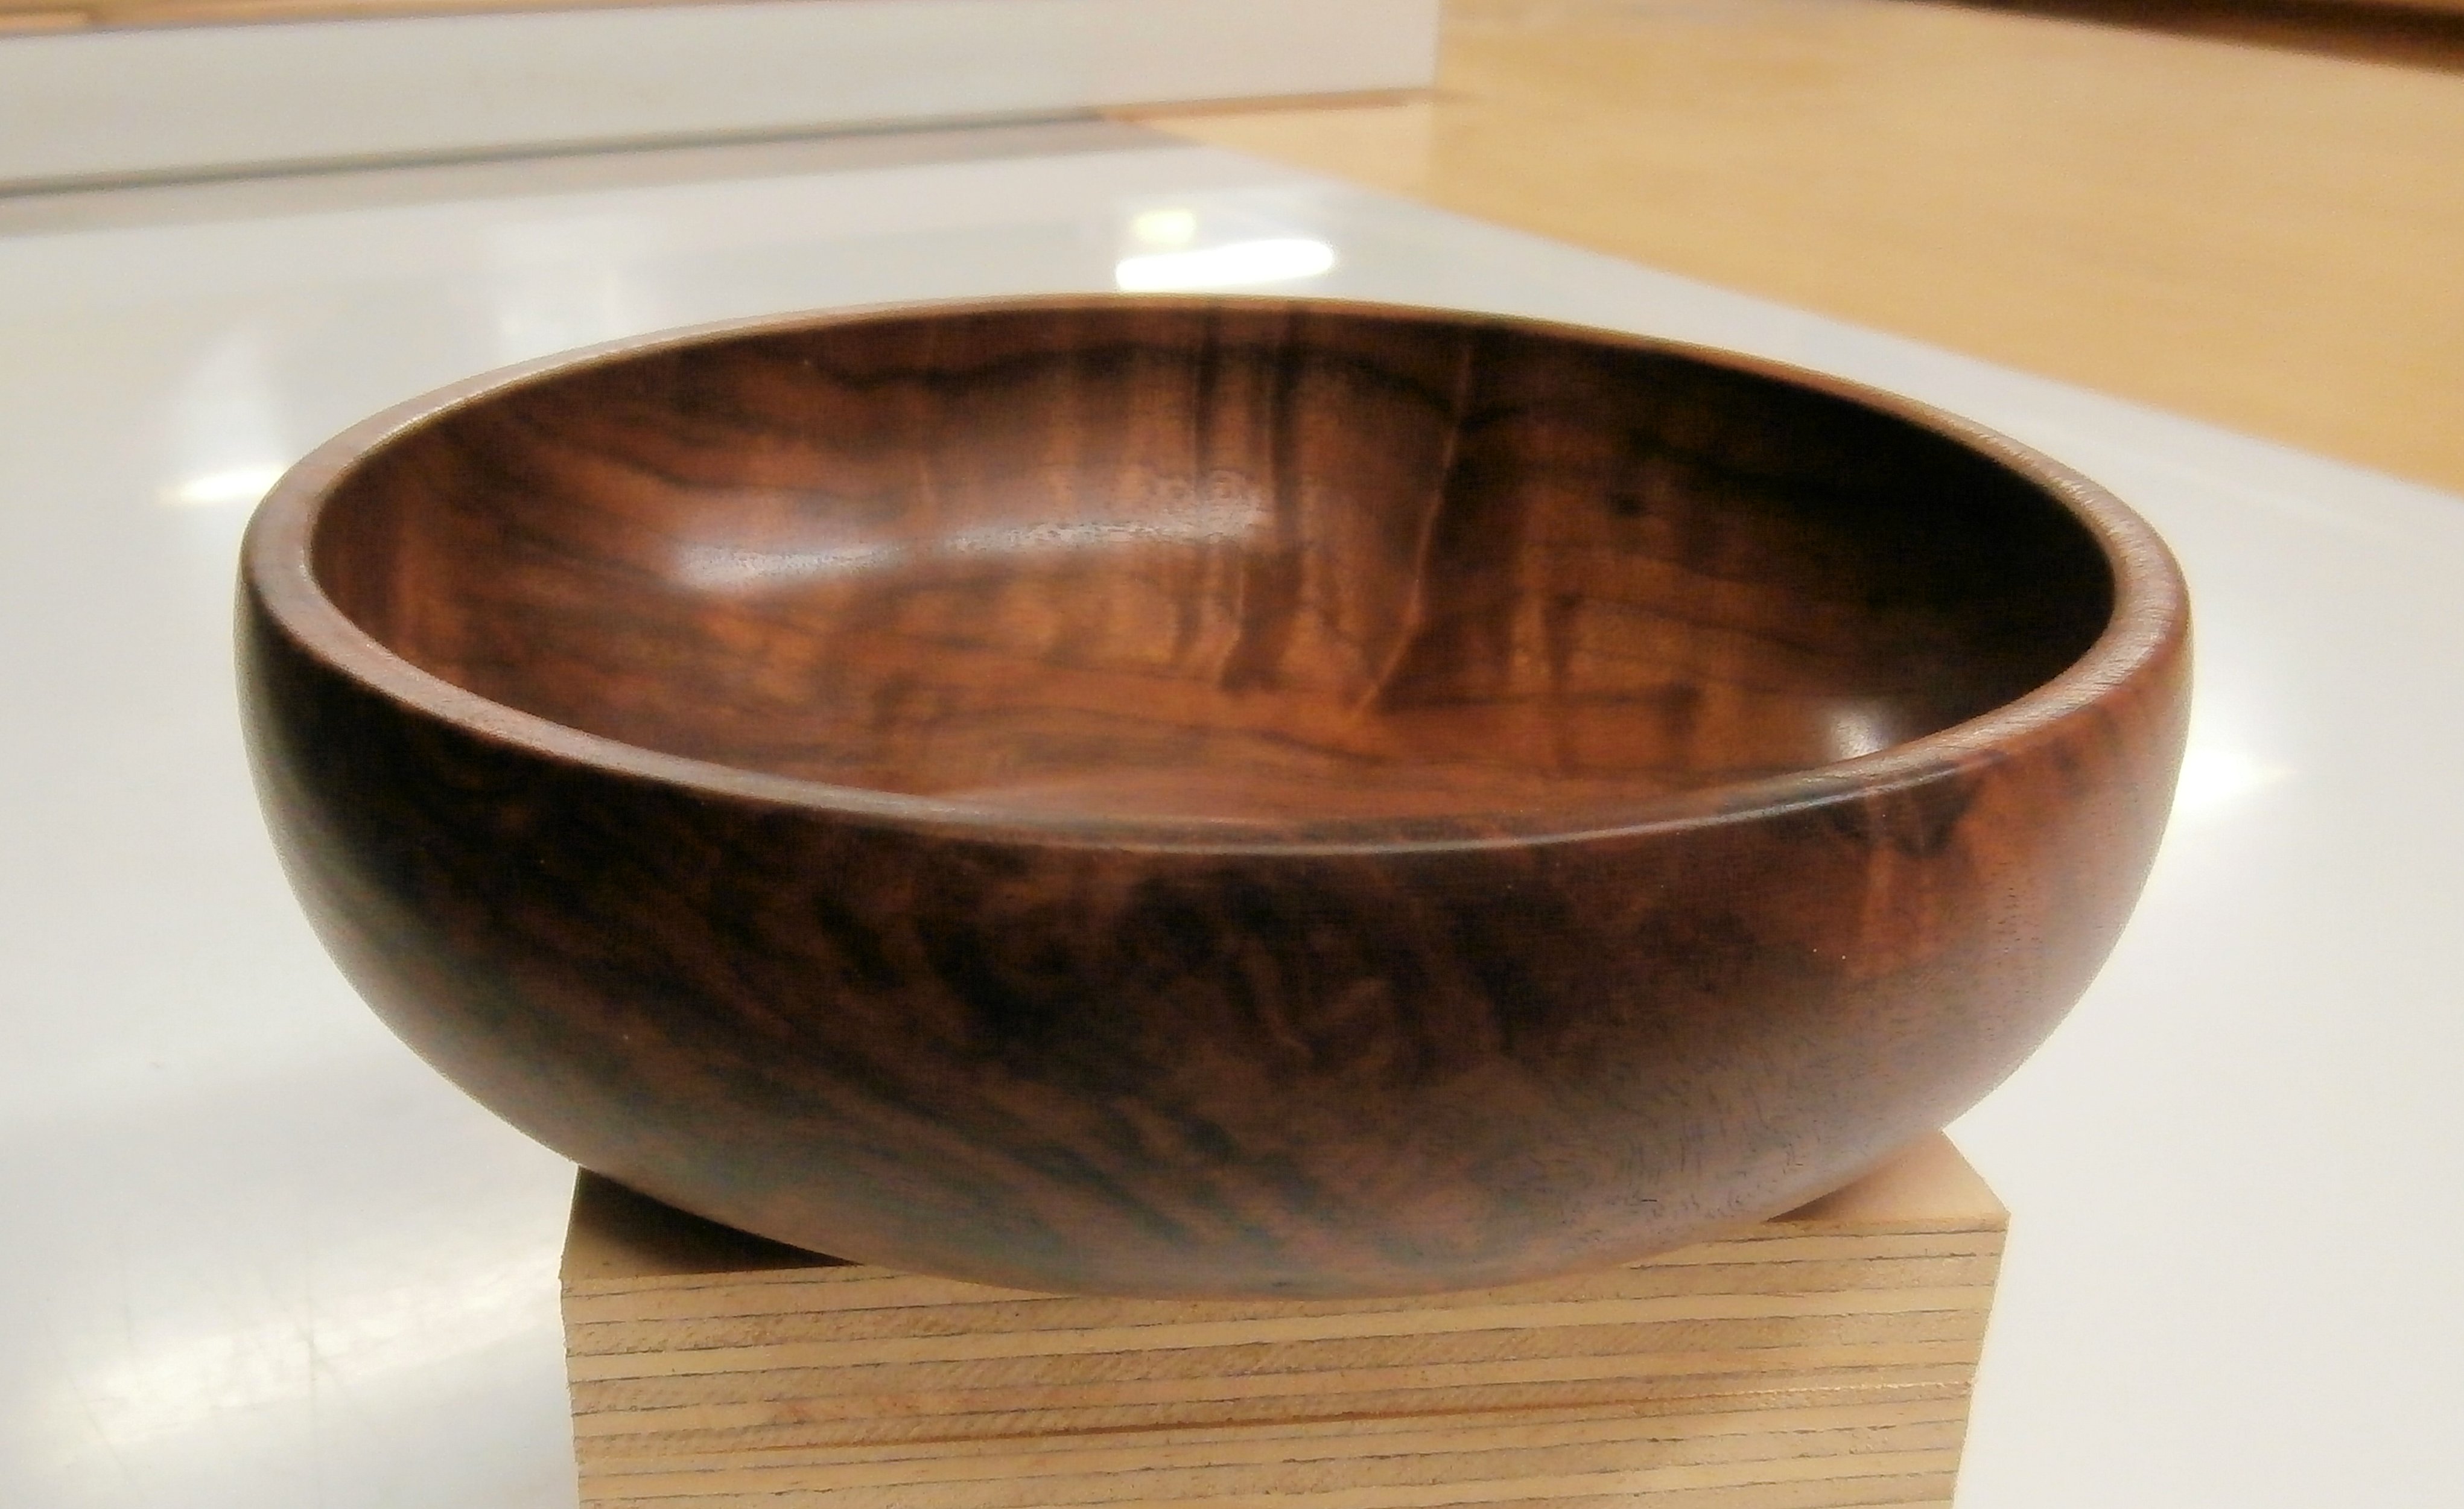
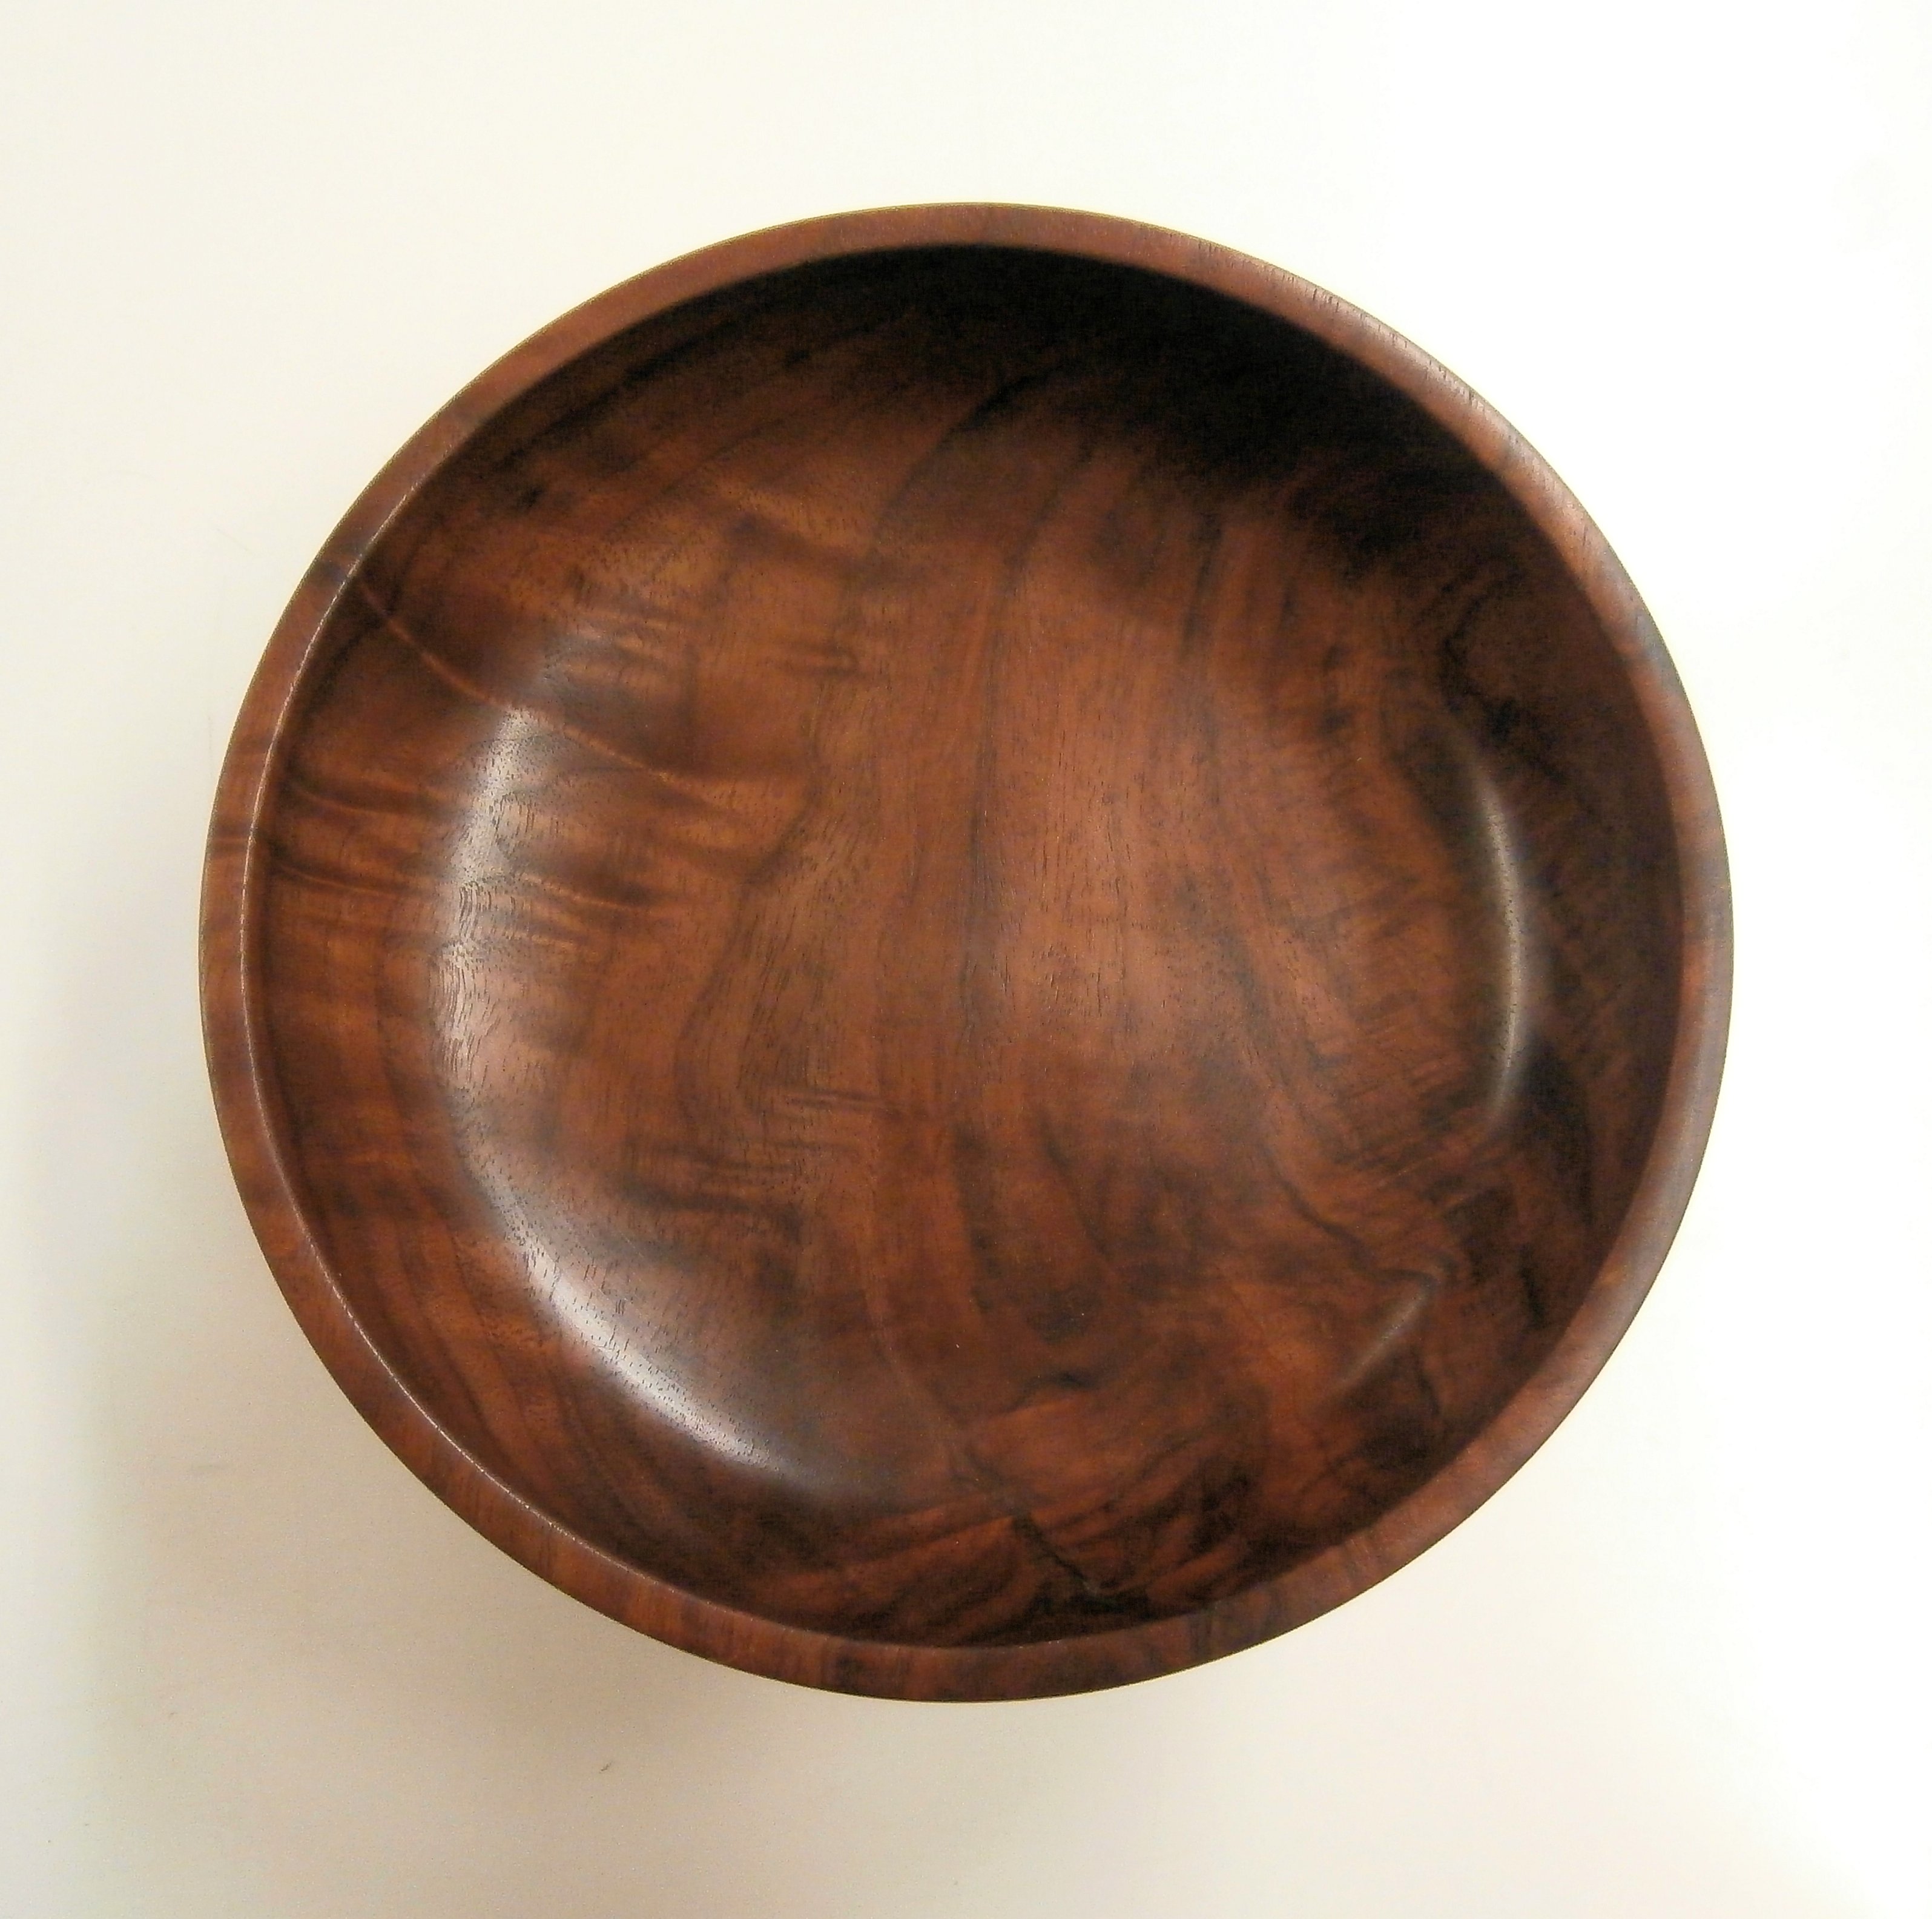
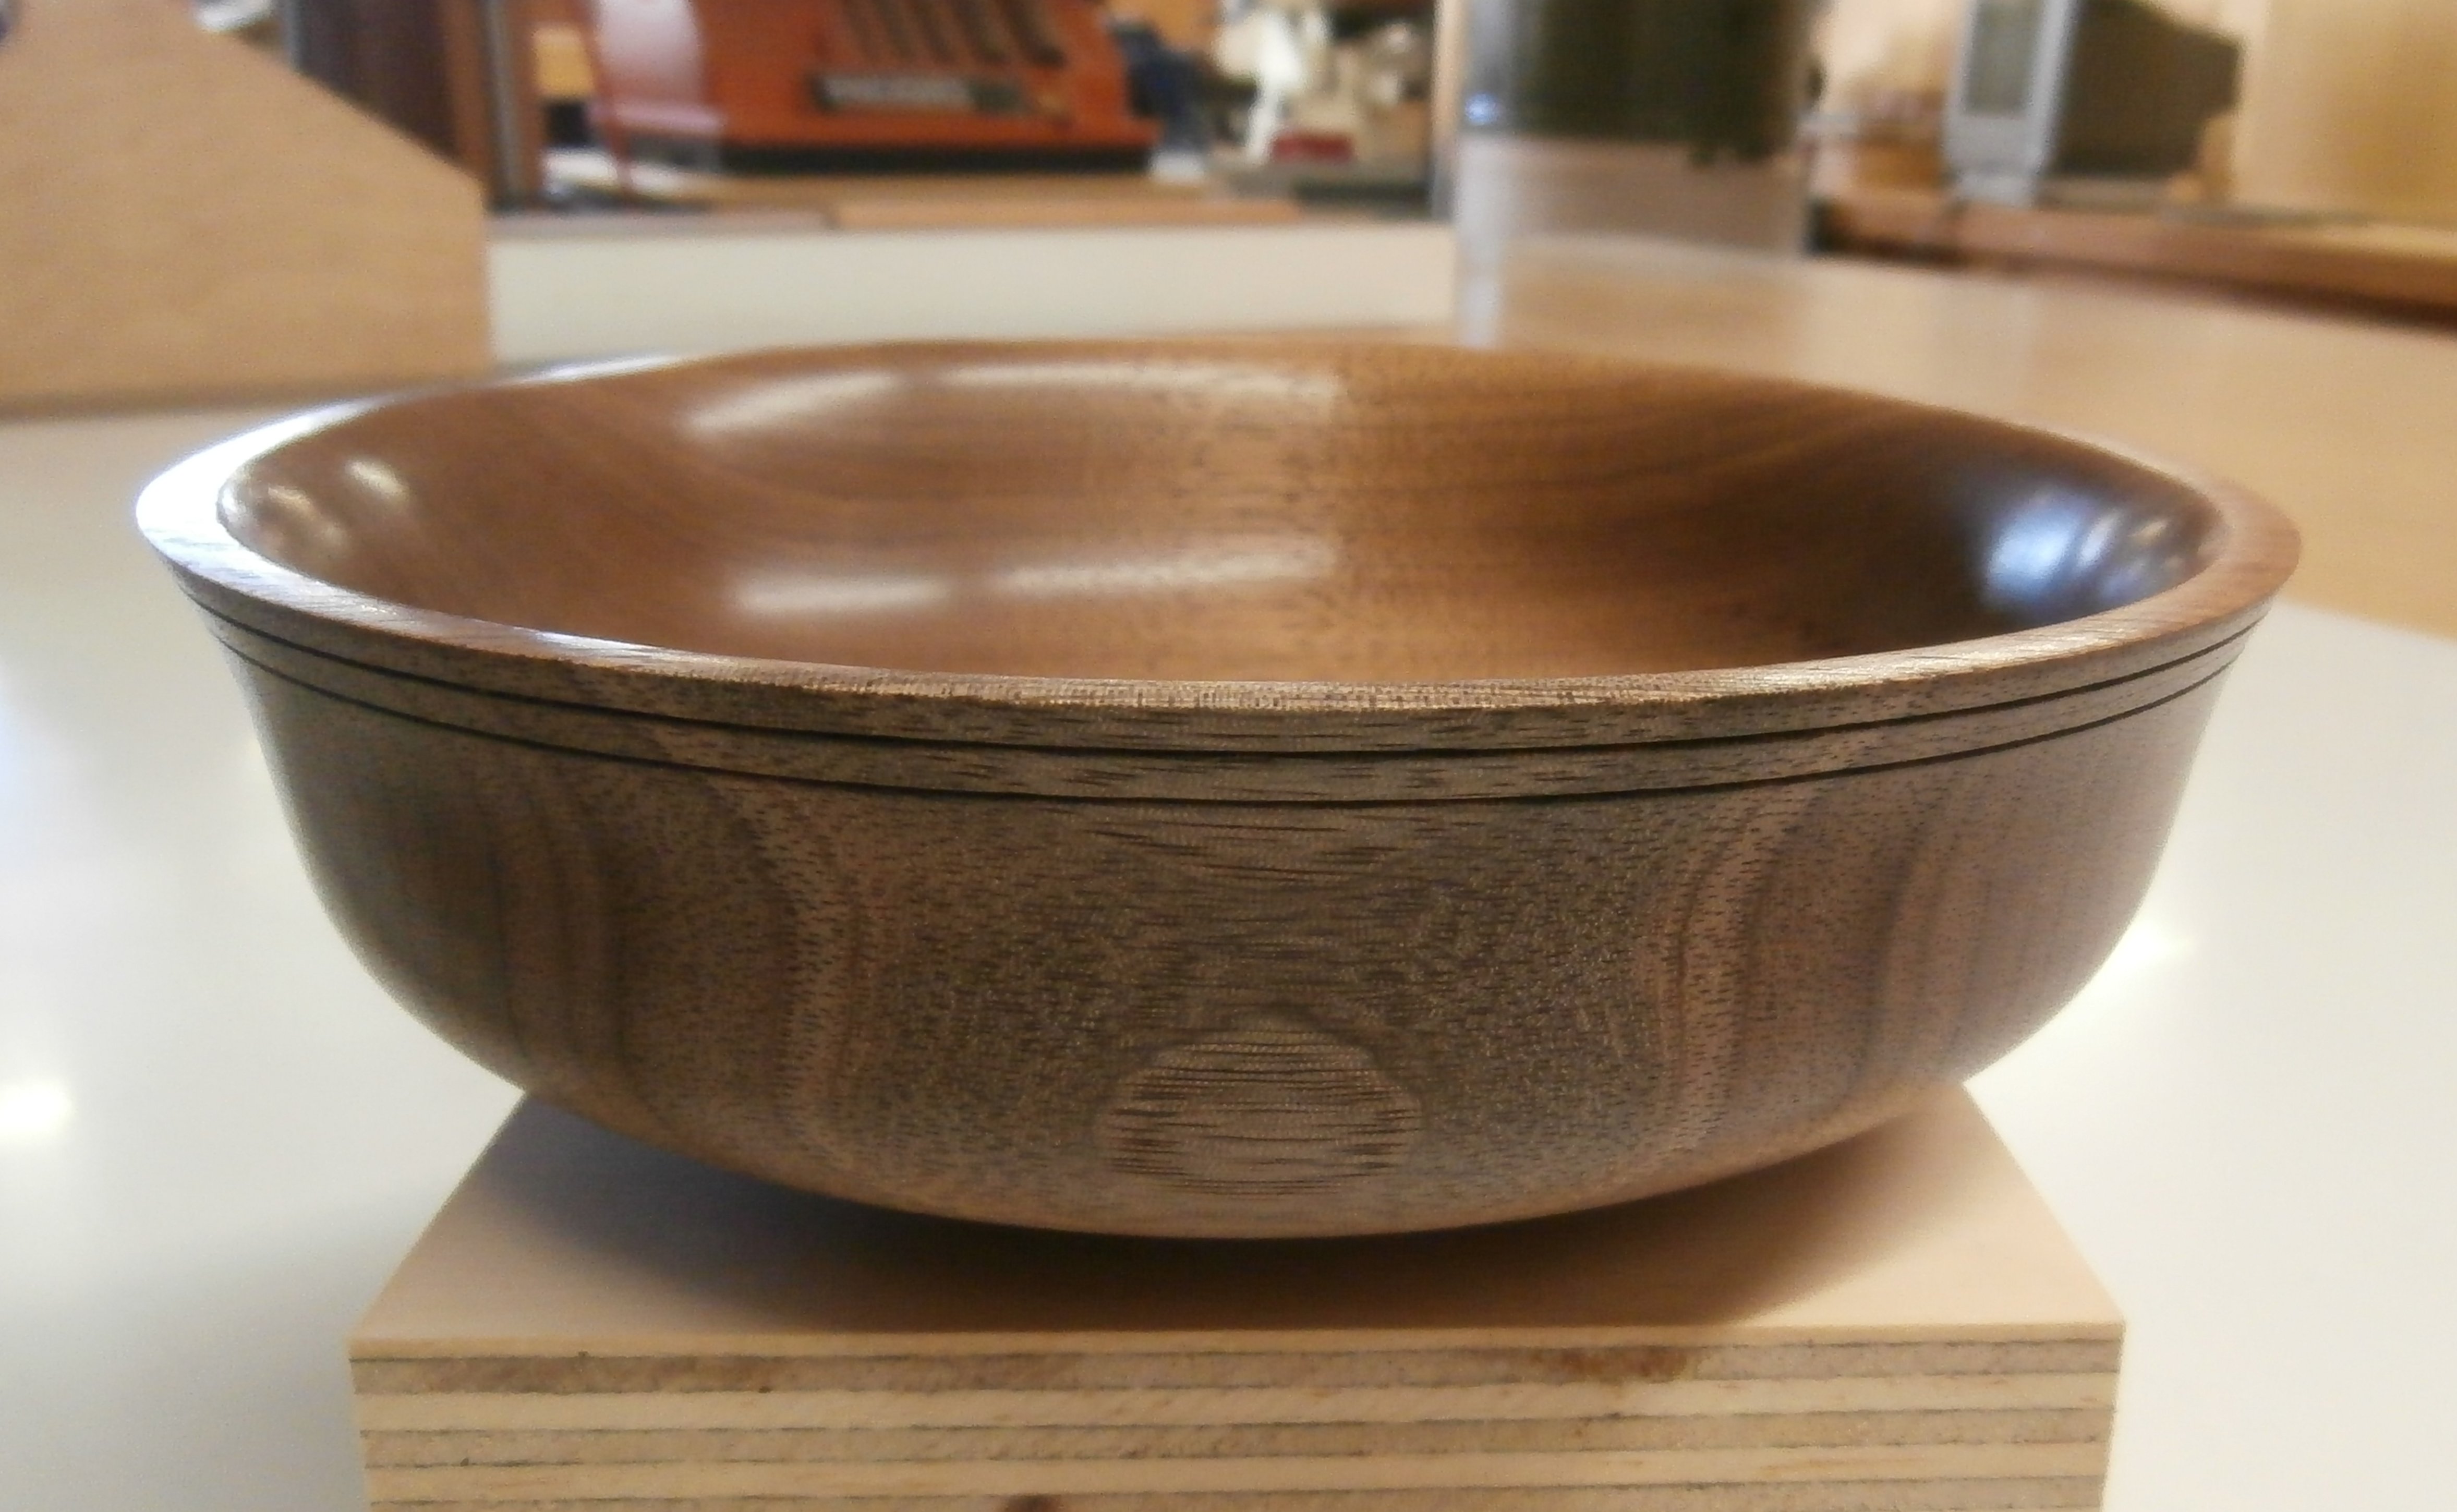
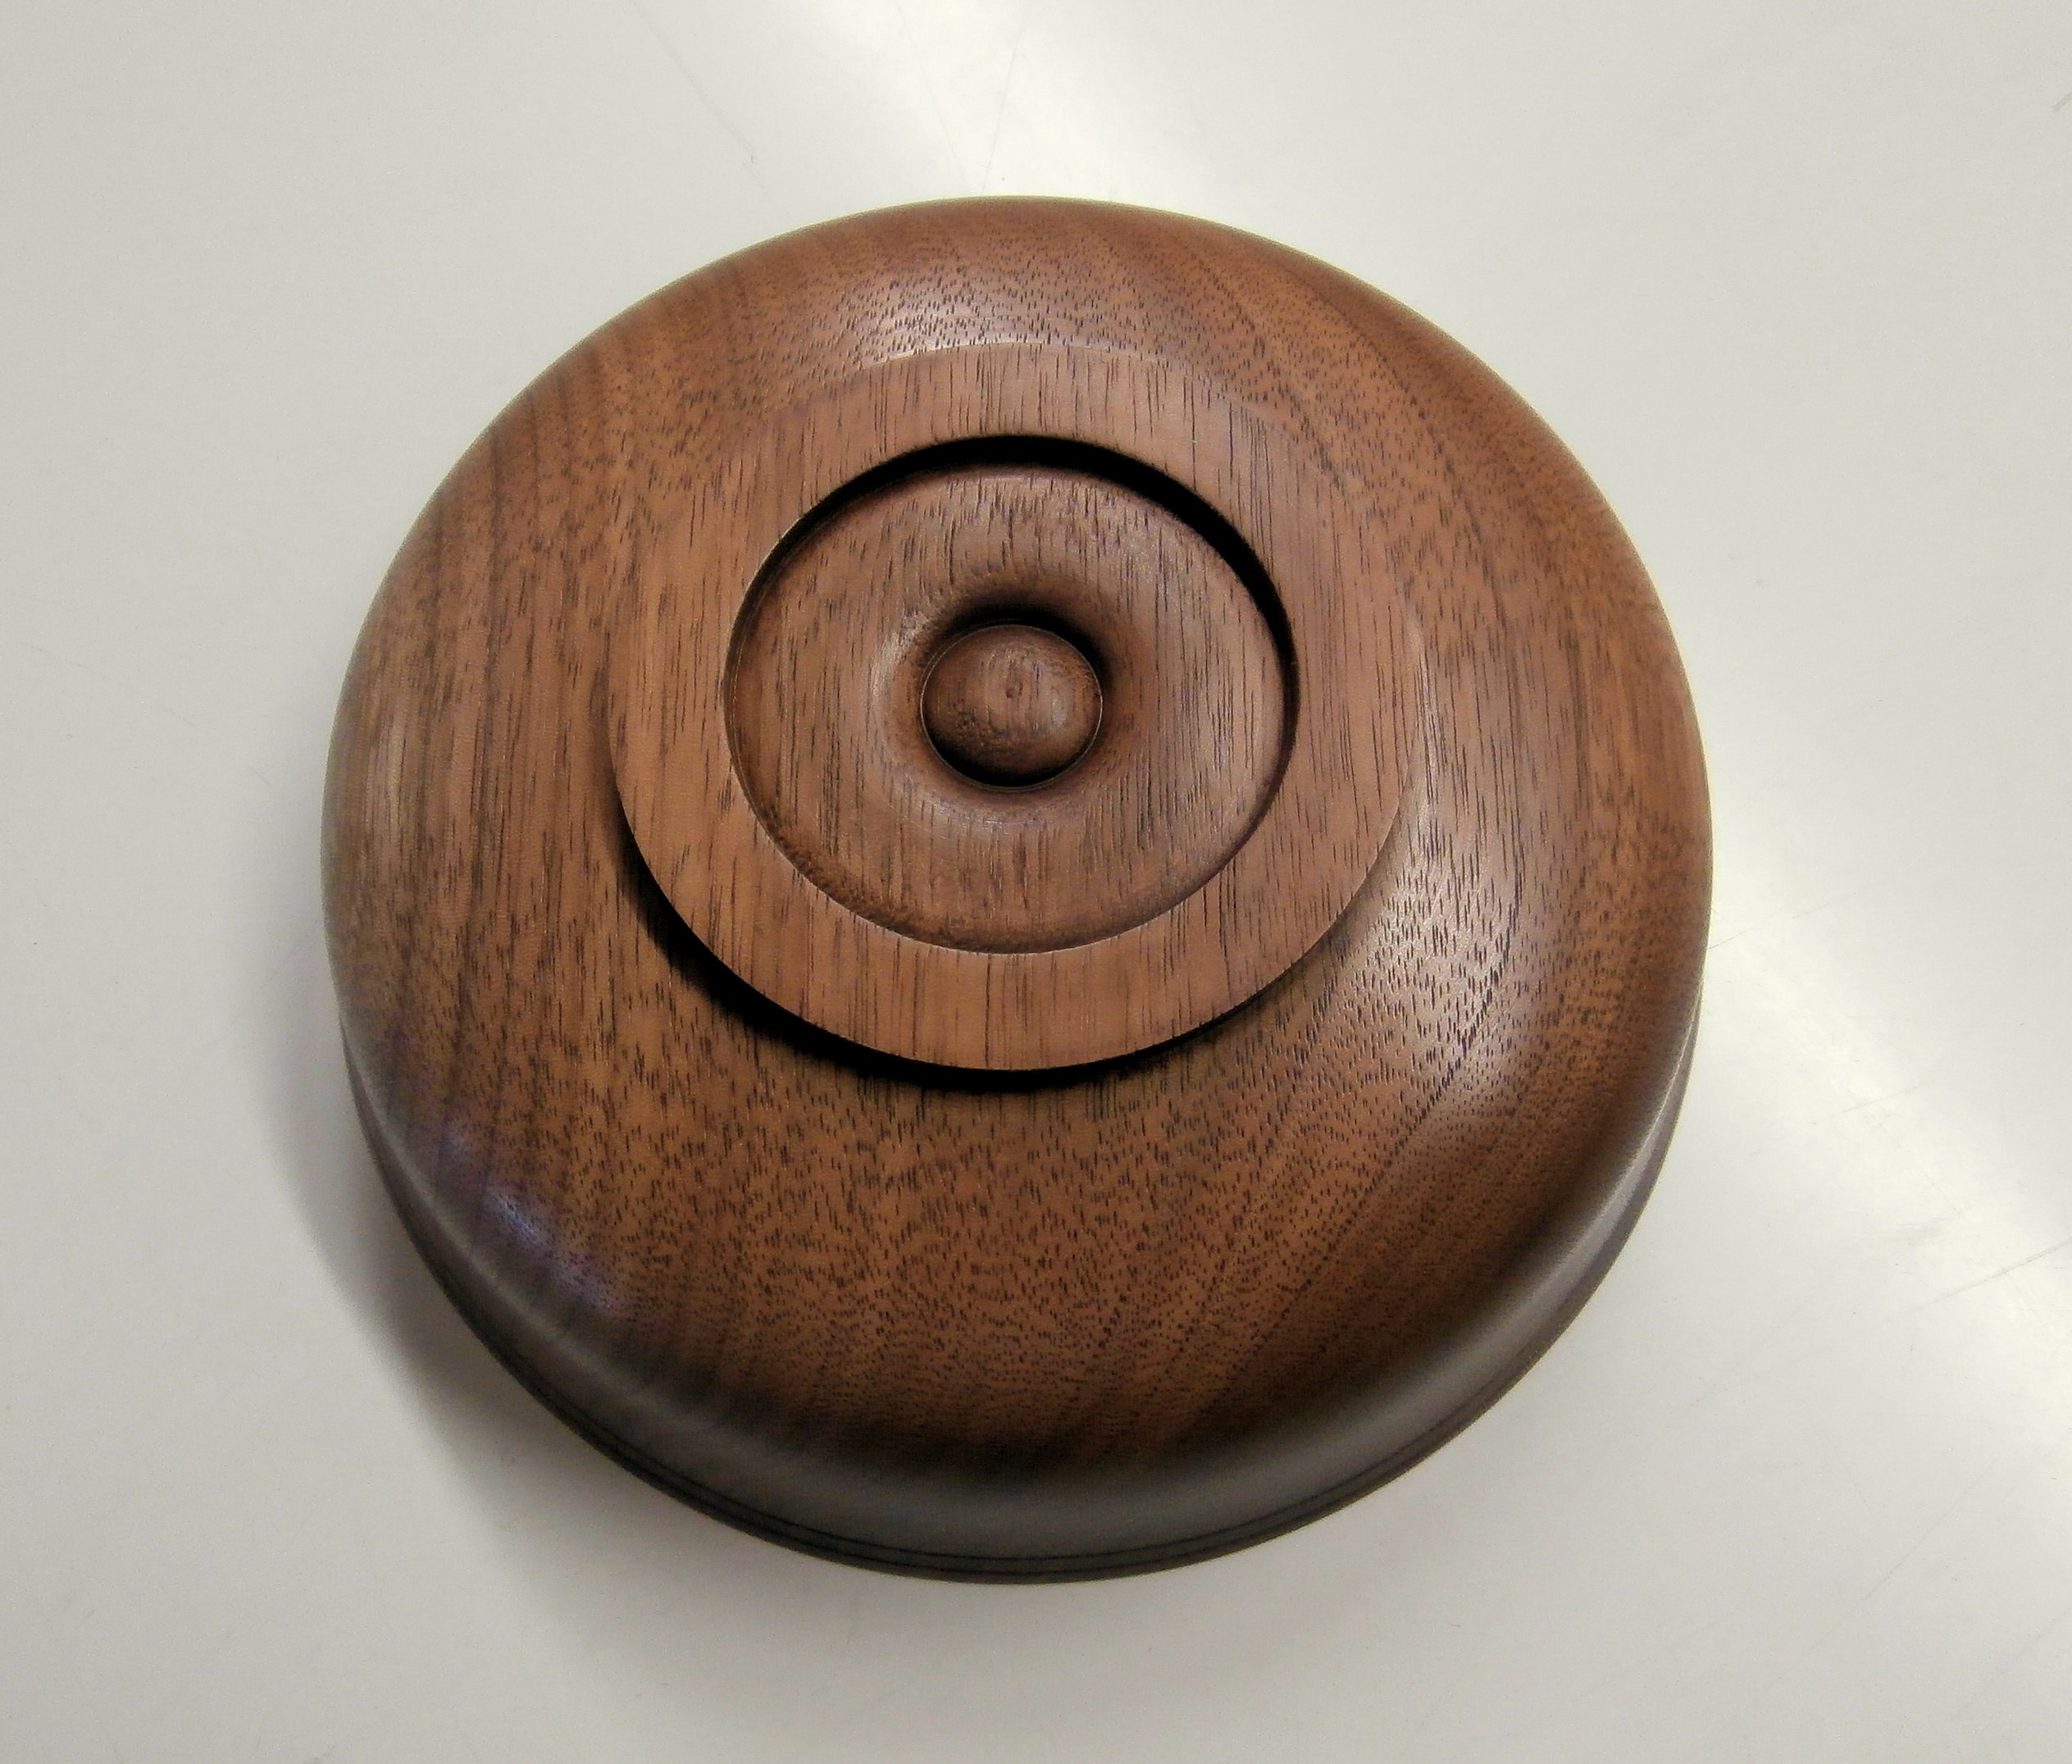
In the case of this bowl , what I really had to do was stand back and let the gorgeous figure in the walnut reveal itself. (Click on any image to enlarge)
Dedicated to my great friend, Debbie Dennison . . . painter, printmaker, woodcarver, silversmith, and more . . . who hails from “south of I-10,” Gulfport, Mississippi to be exact.
Black walnut is an easy wood to turn and takes a beautiful polish on bare wood. This bowl was finished with my food-safe, 100% pure beeswax and mineral oil finish. (Click on any image to enlarge)
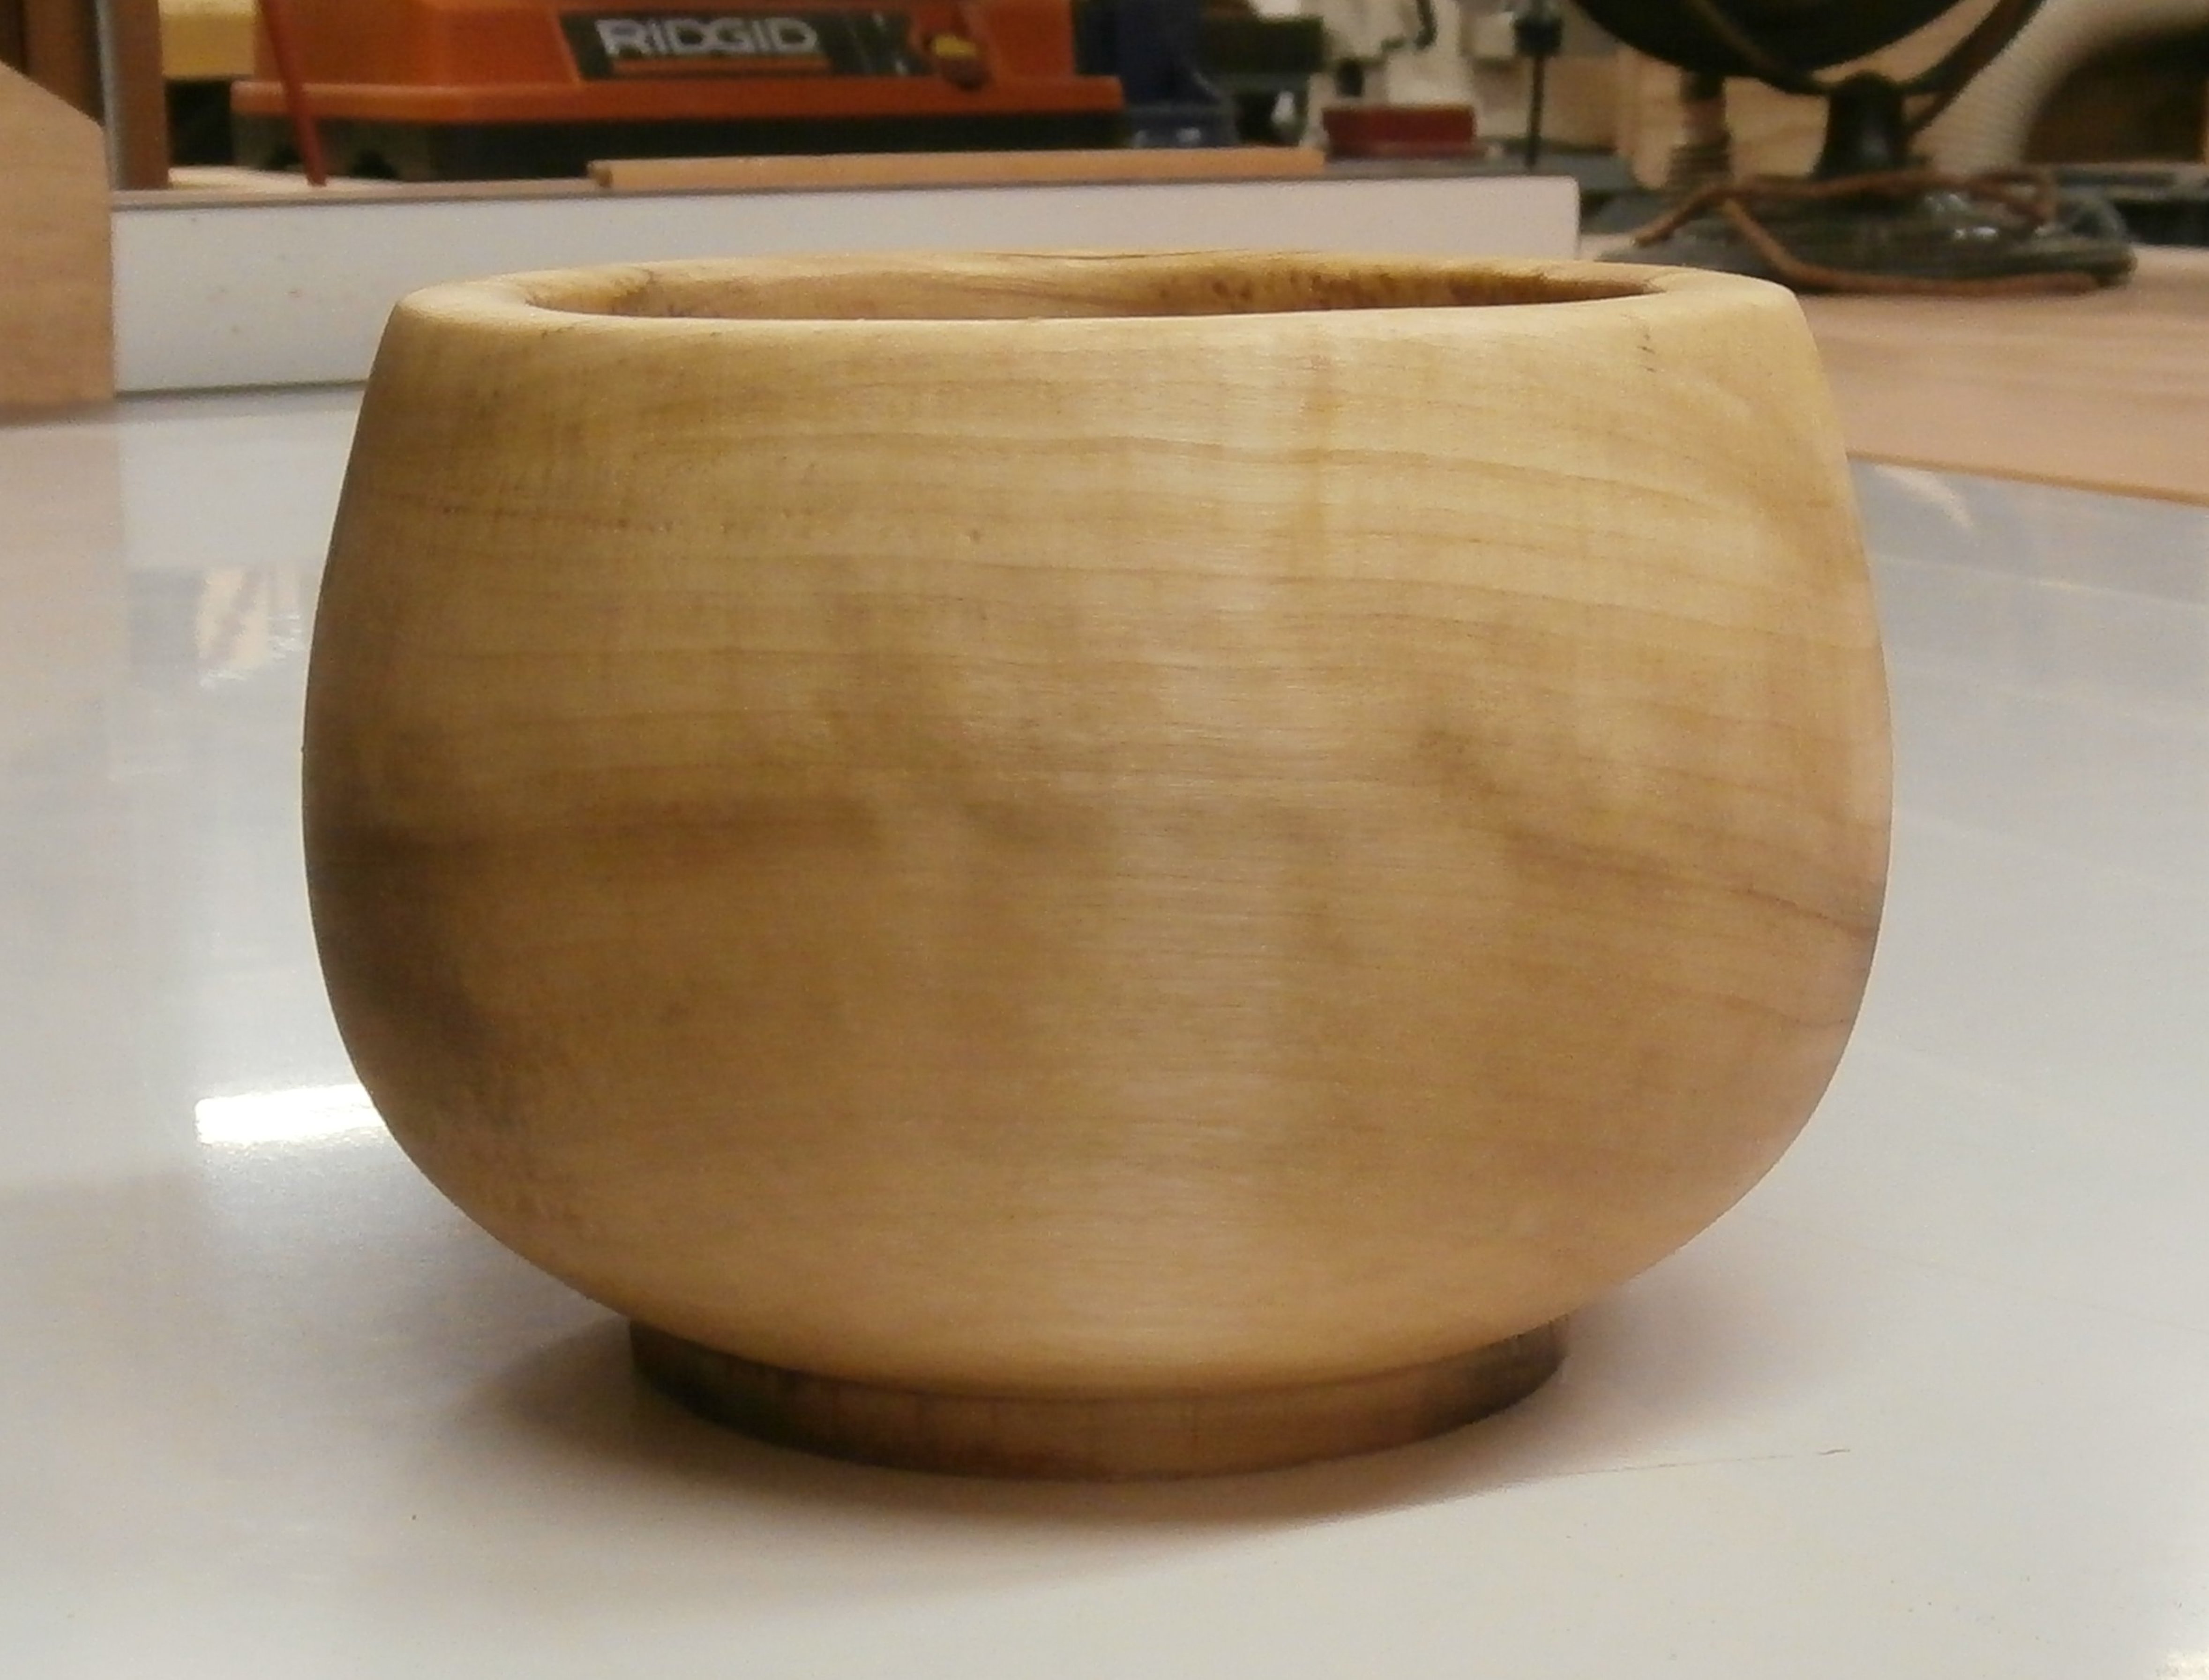
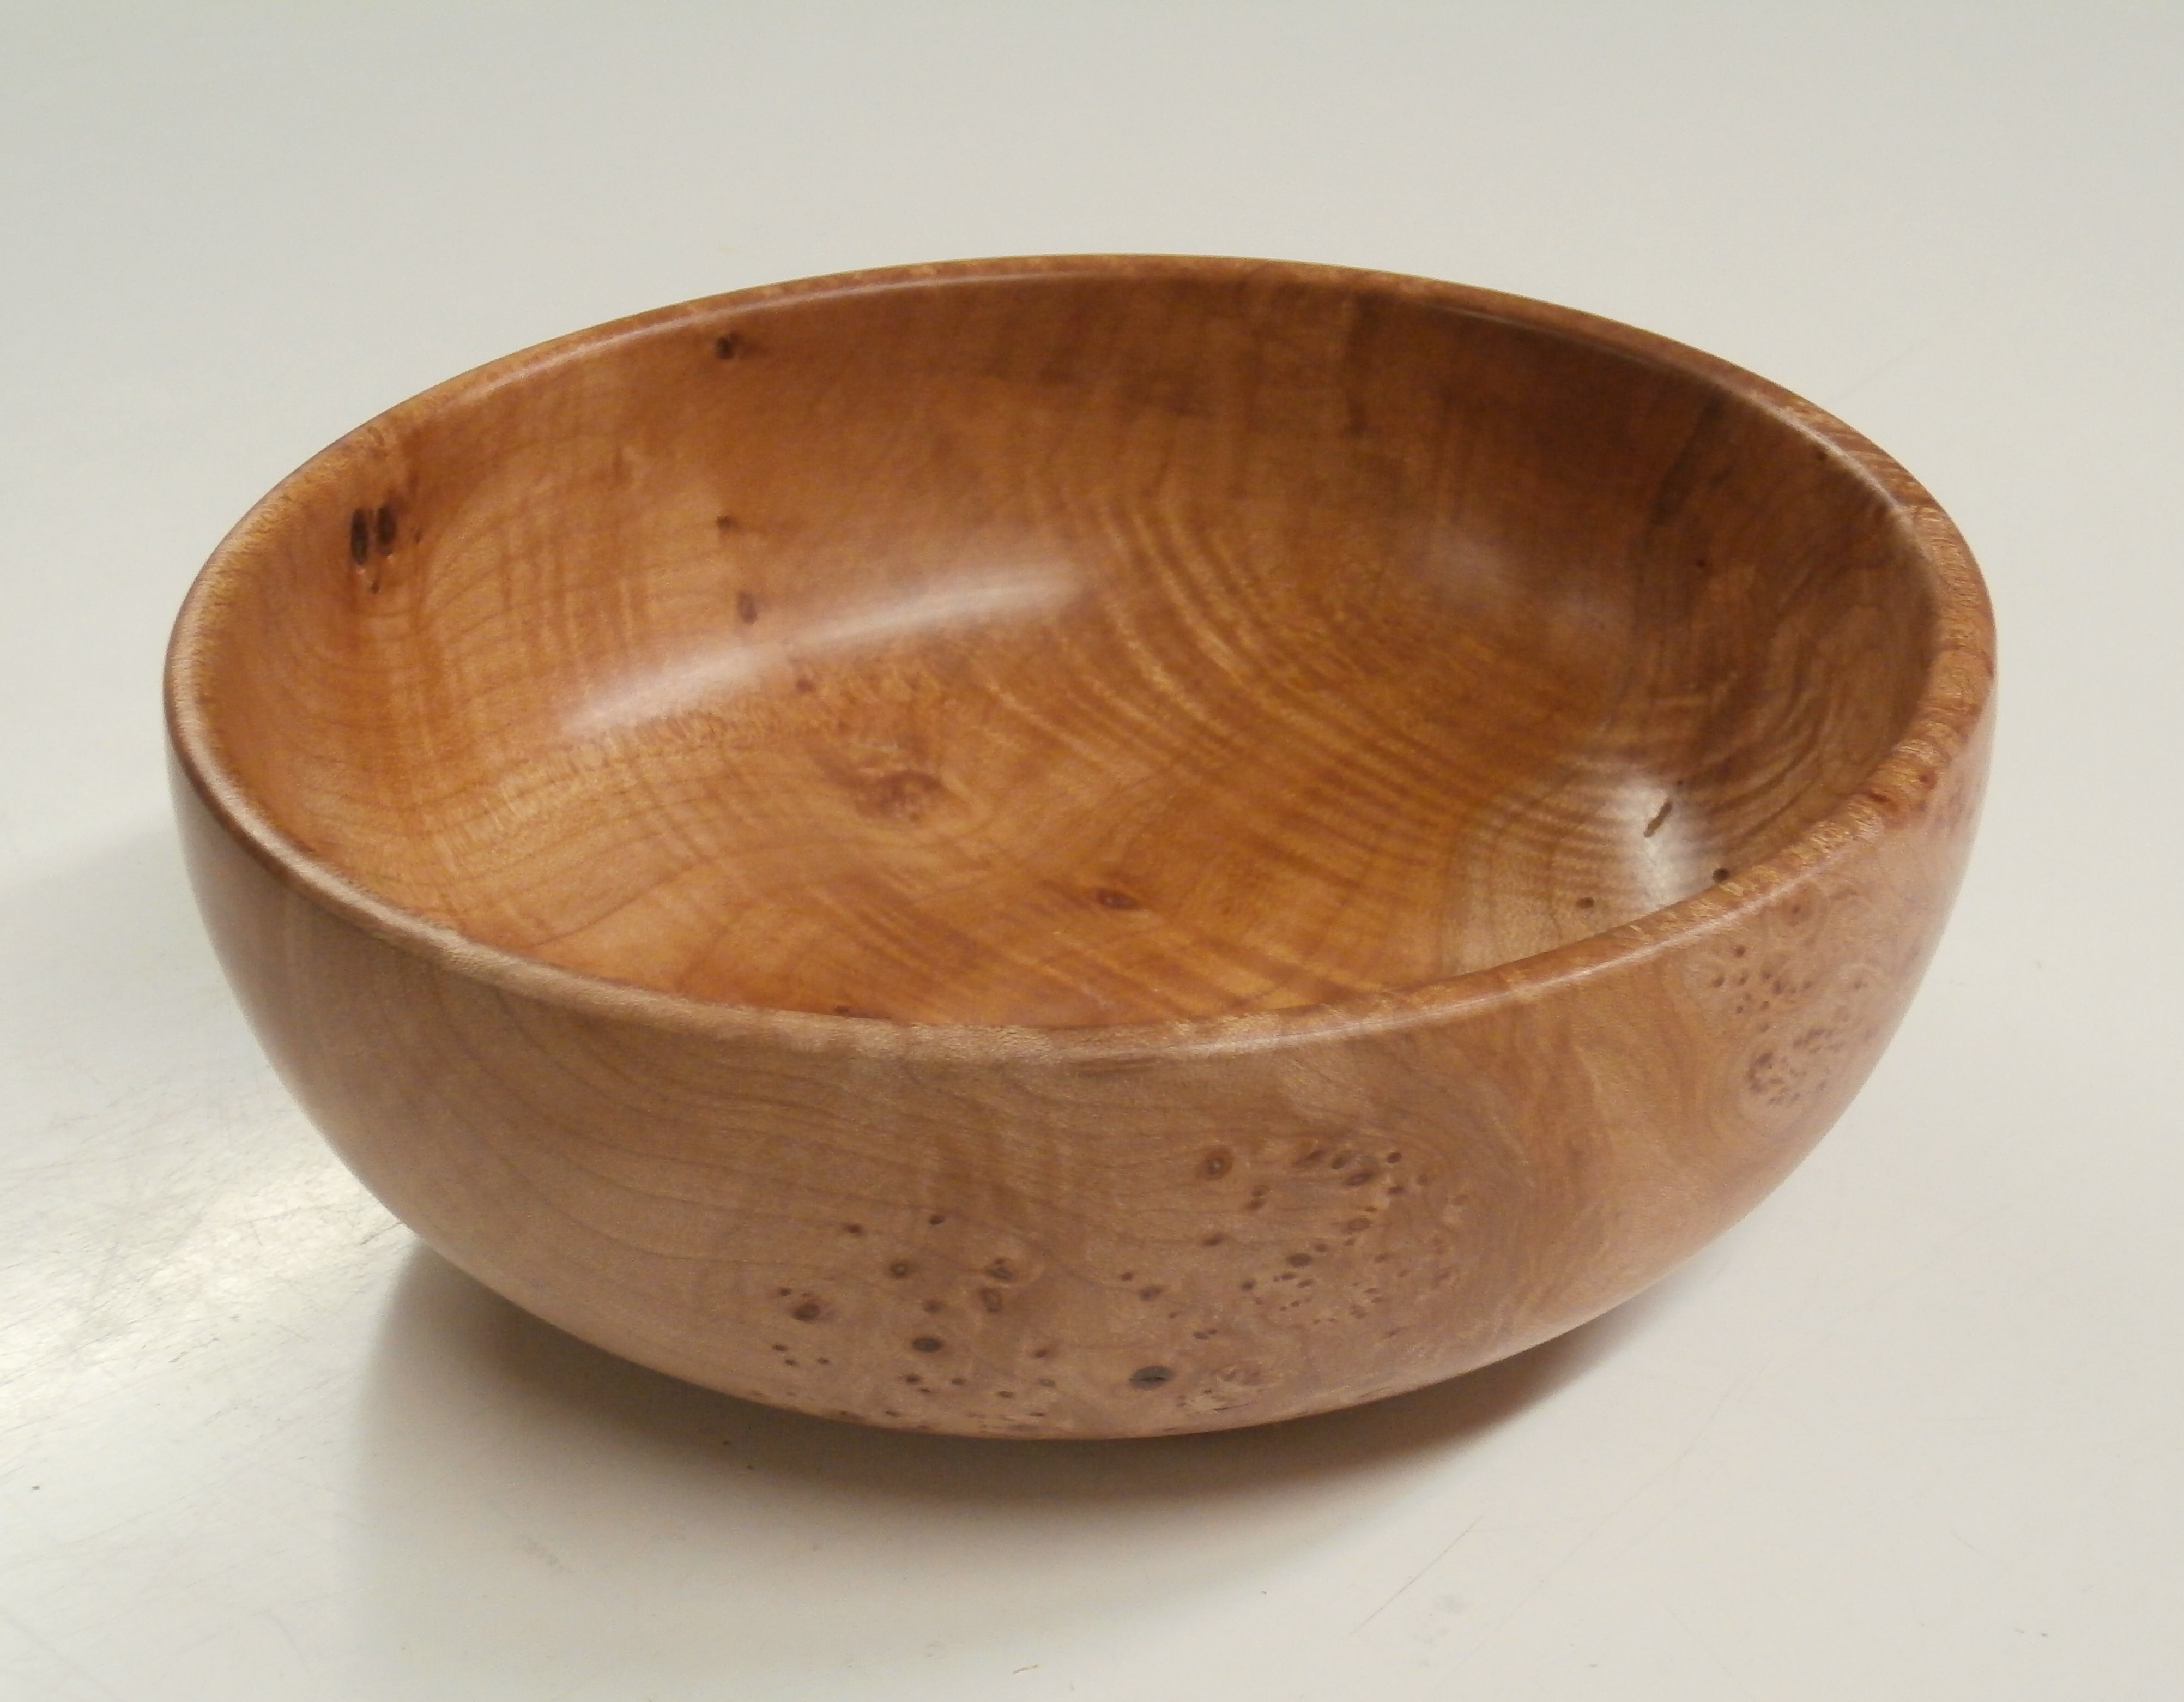
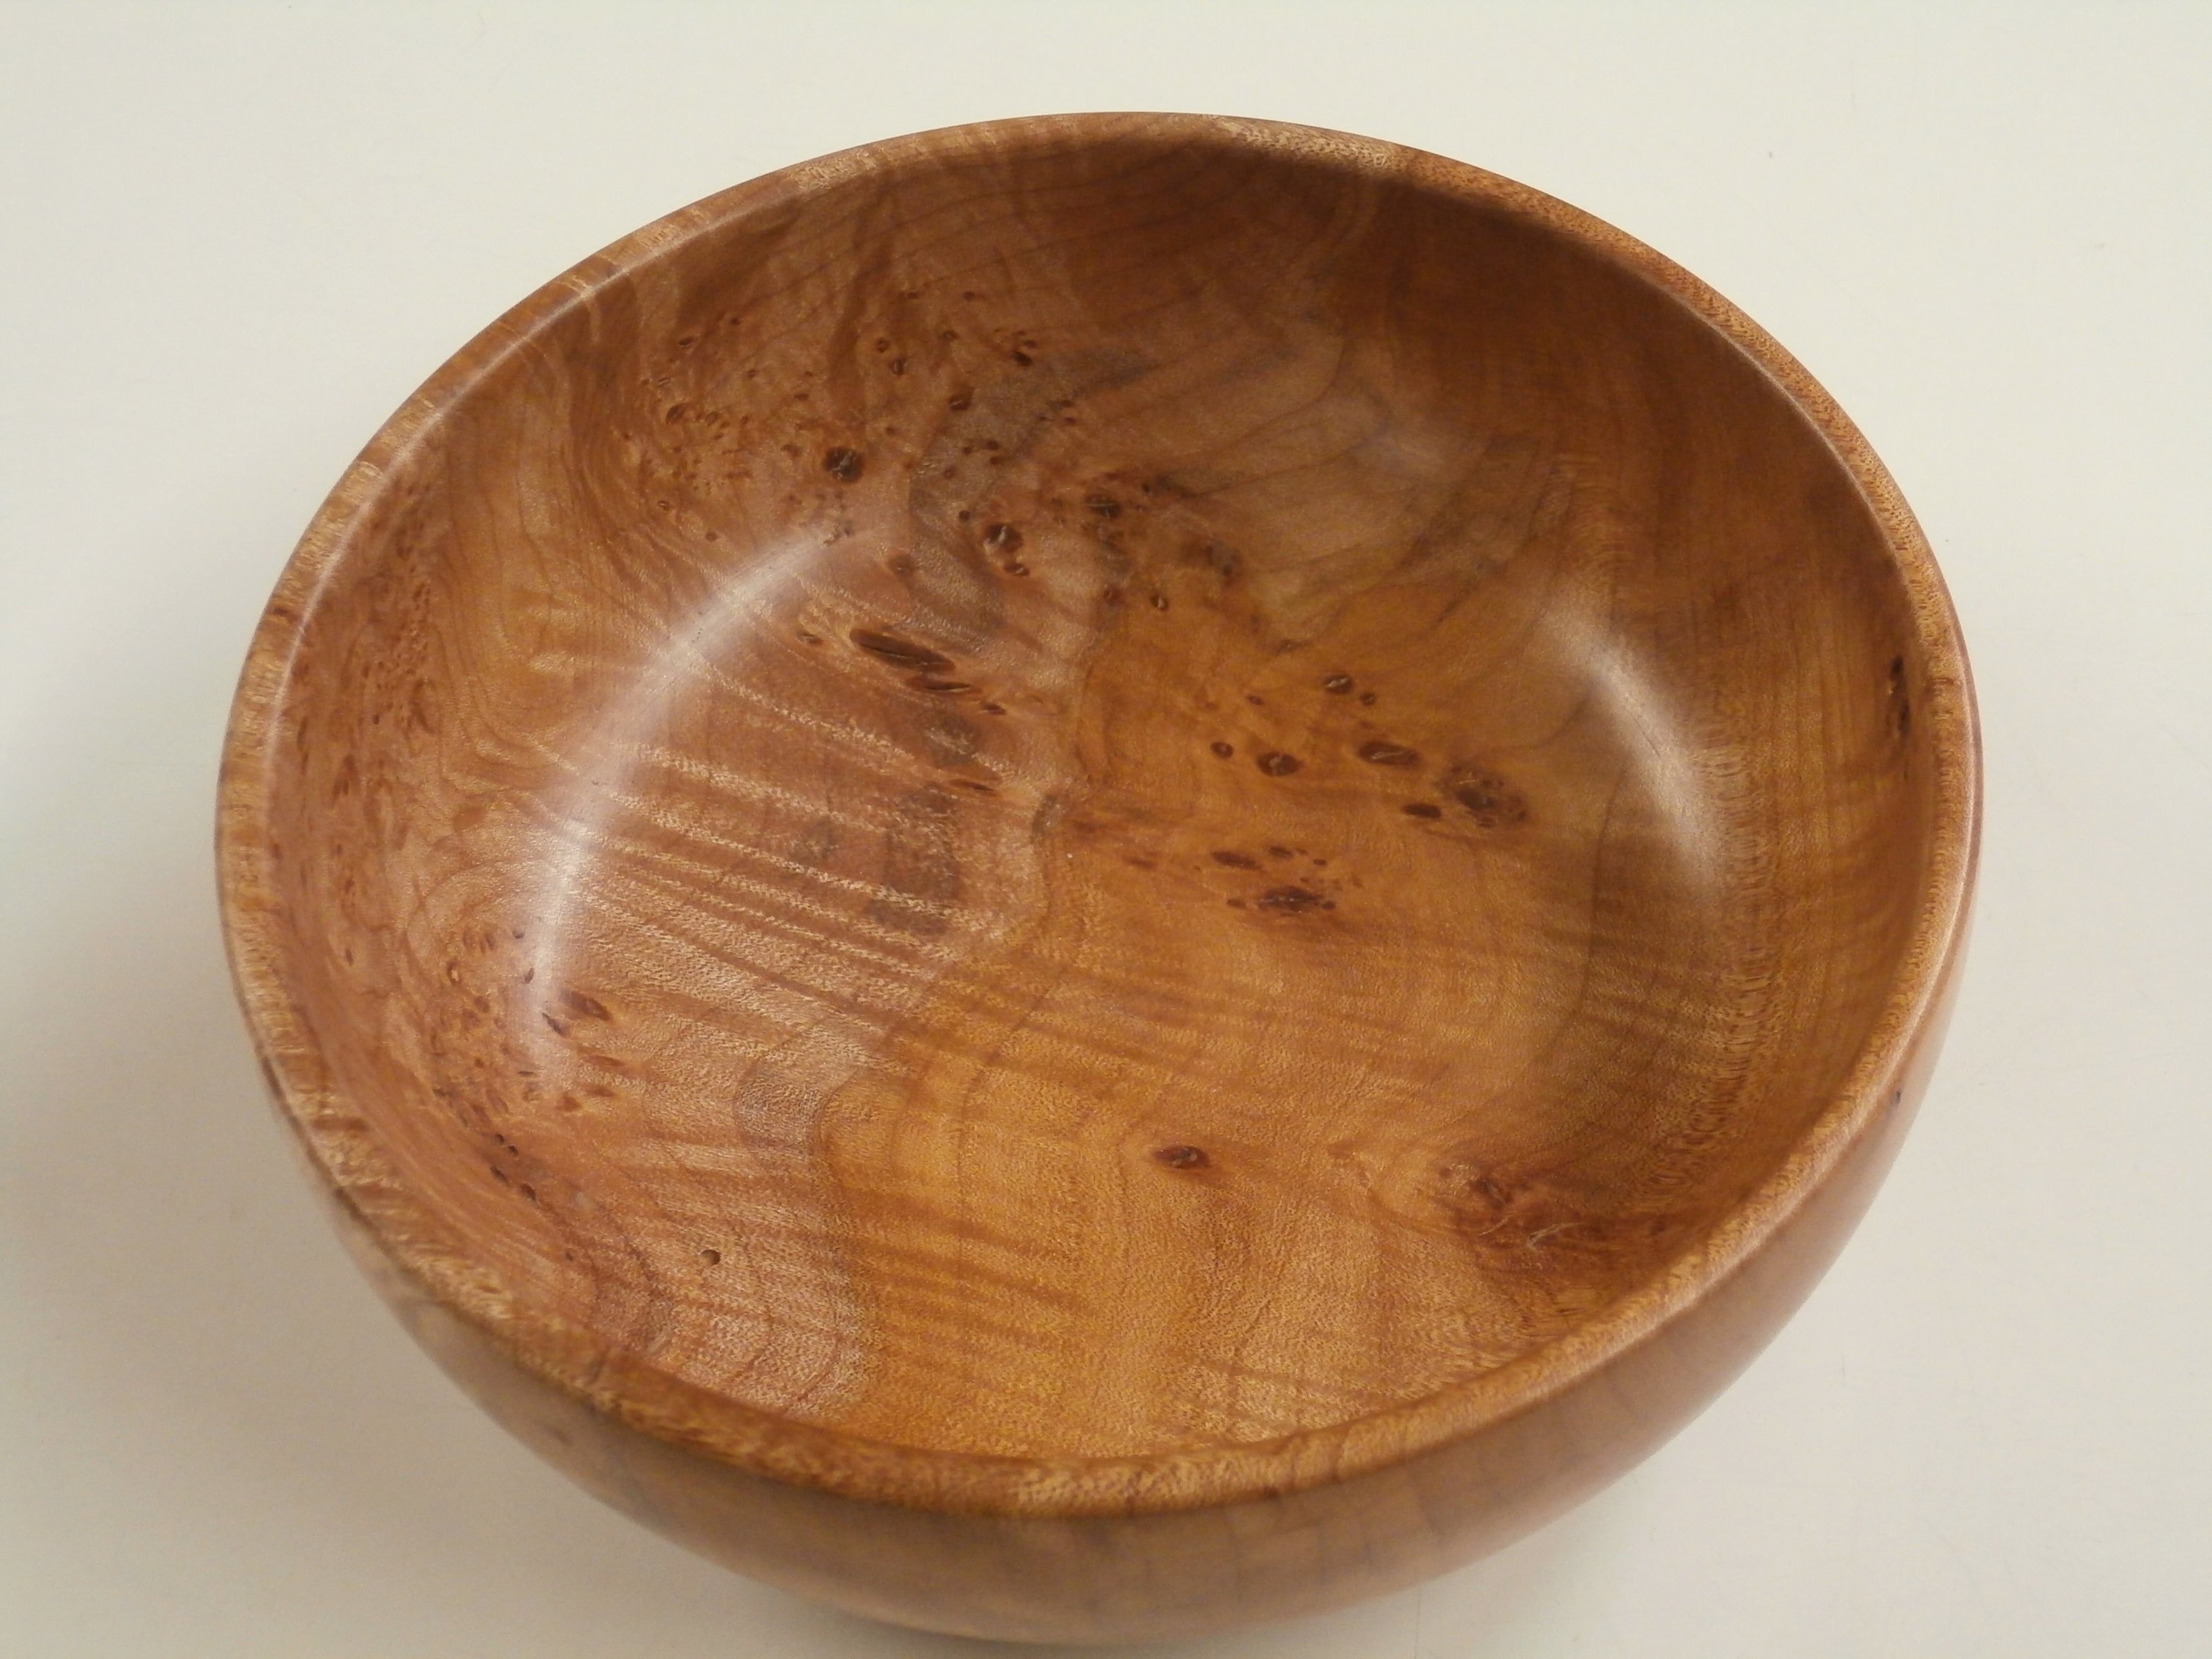
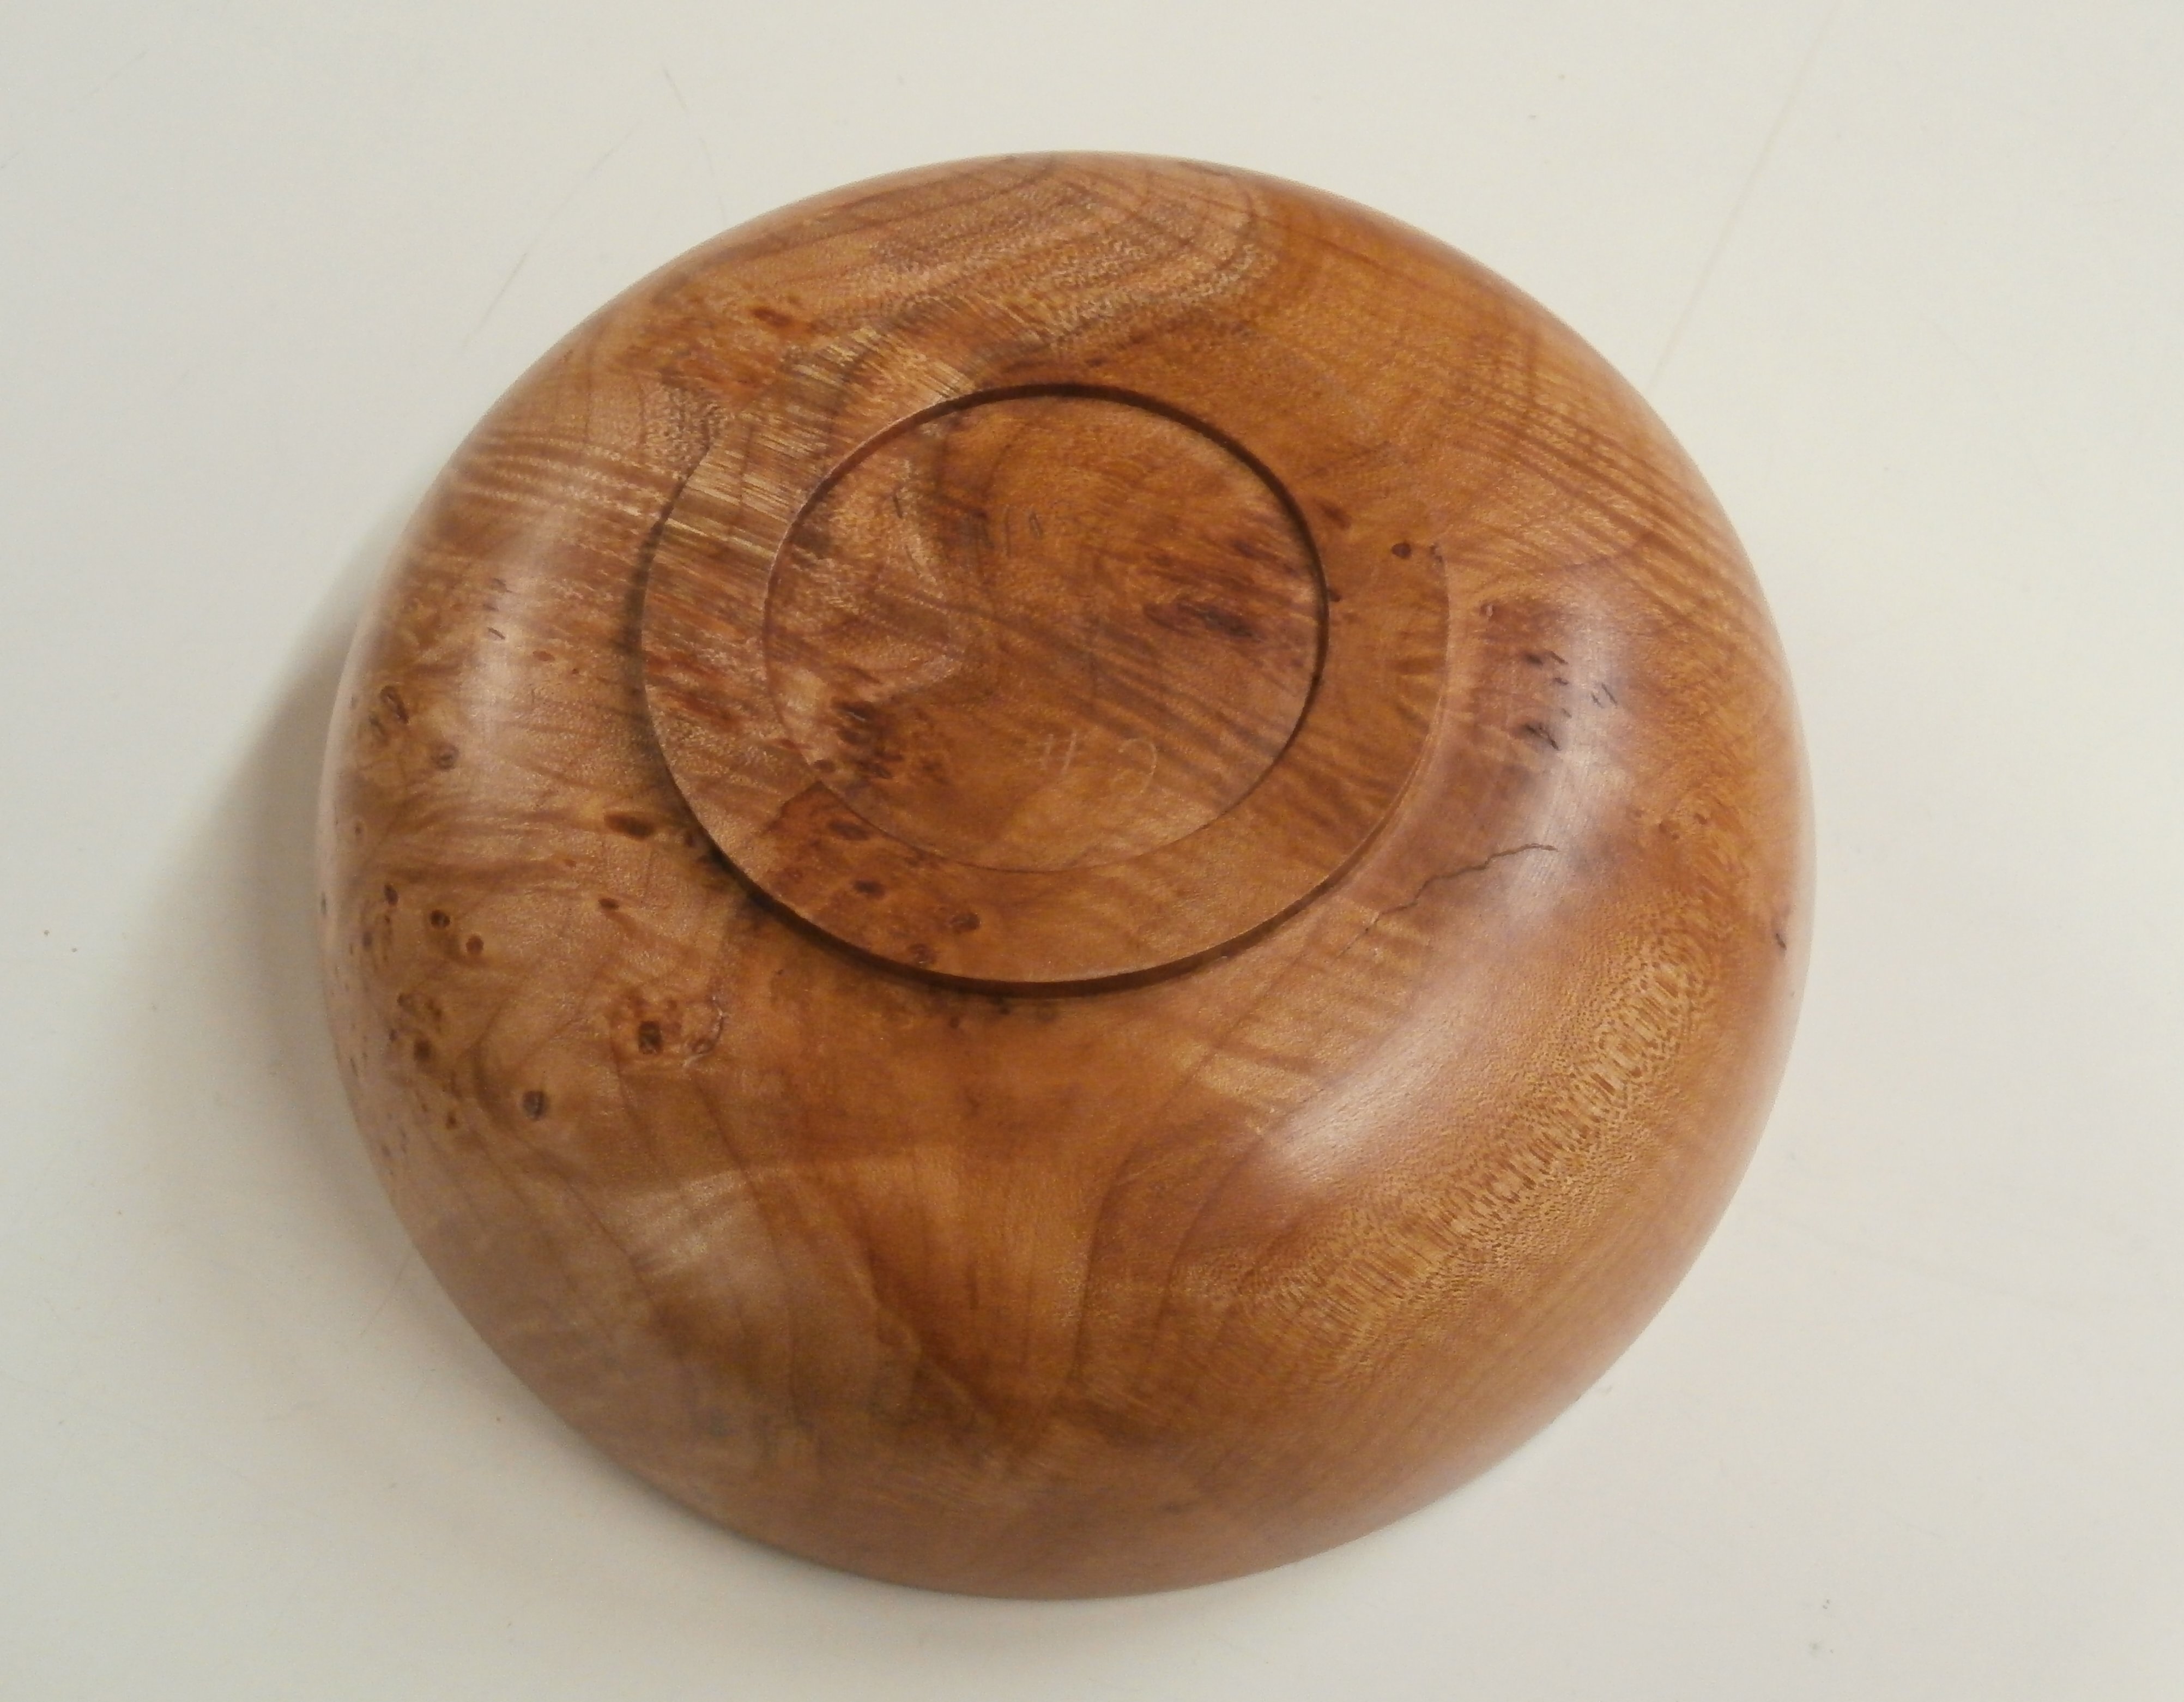
Cottonwood is a very soft wood and for that reason it is not traditionally thought of as material for turning bowls. However, this morning I drove past a couple of guys who had just cut down a dead cottonwood tree in a front yard and I asked for and was given one of the rounds to cut up and try to turn. Although dead, the tree had been standing out in the weather and was relatively wet, making it difficult to cut cleanly with turning tools. Sanding was slow as well. But a pleasing shape can still be realized with a little patience. This bowl is 5″ deep and a little over 6″ across.
Today, I am starting in earnest on the design for my 6′ tall cherry dresser with 4 graduated drawers below and 2 raised panel doors at the top which will open up to 4 pull-out bin-drawers. To be made with knot-free, wide plank, black cherry lumber from Pocahontas County, West Virginia, that I’ve been air drying for over 30 years. (Click on any image to enlarge)
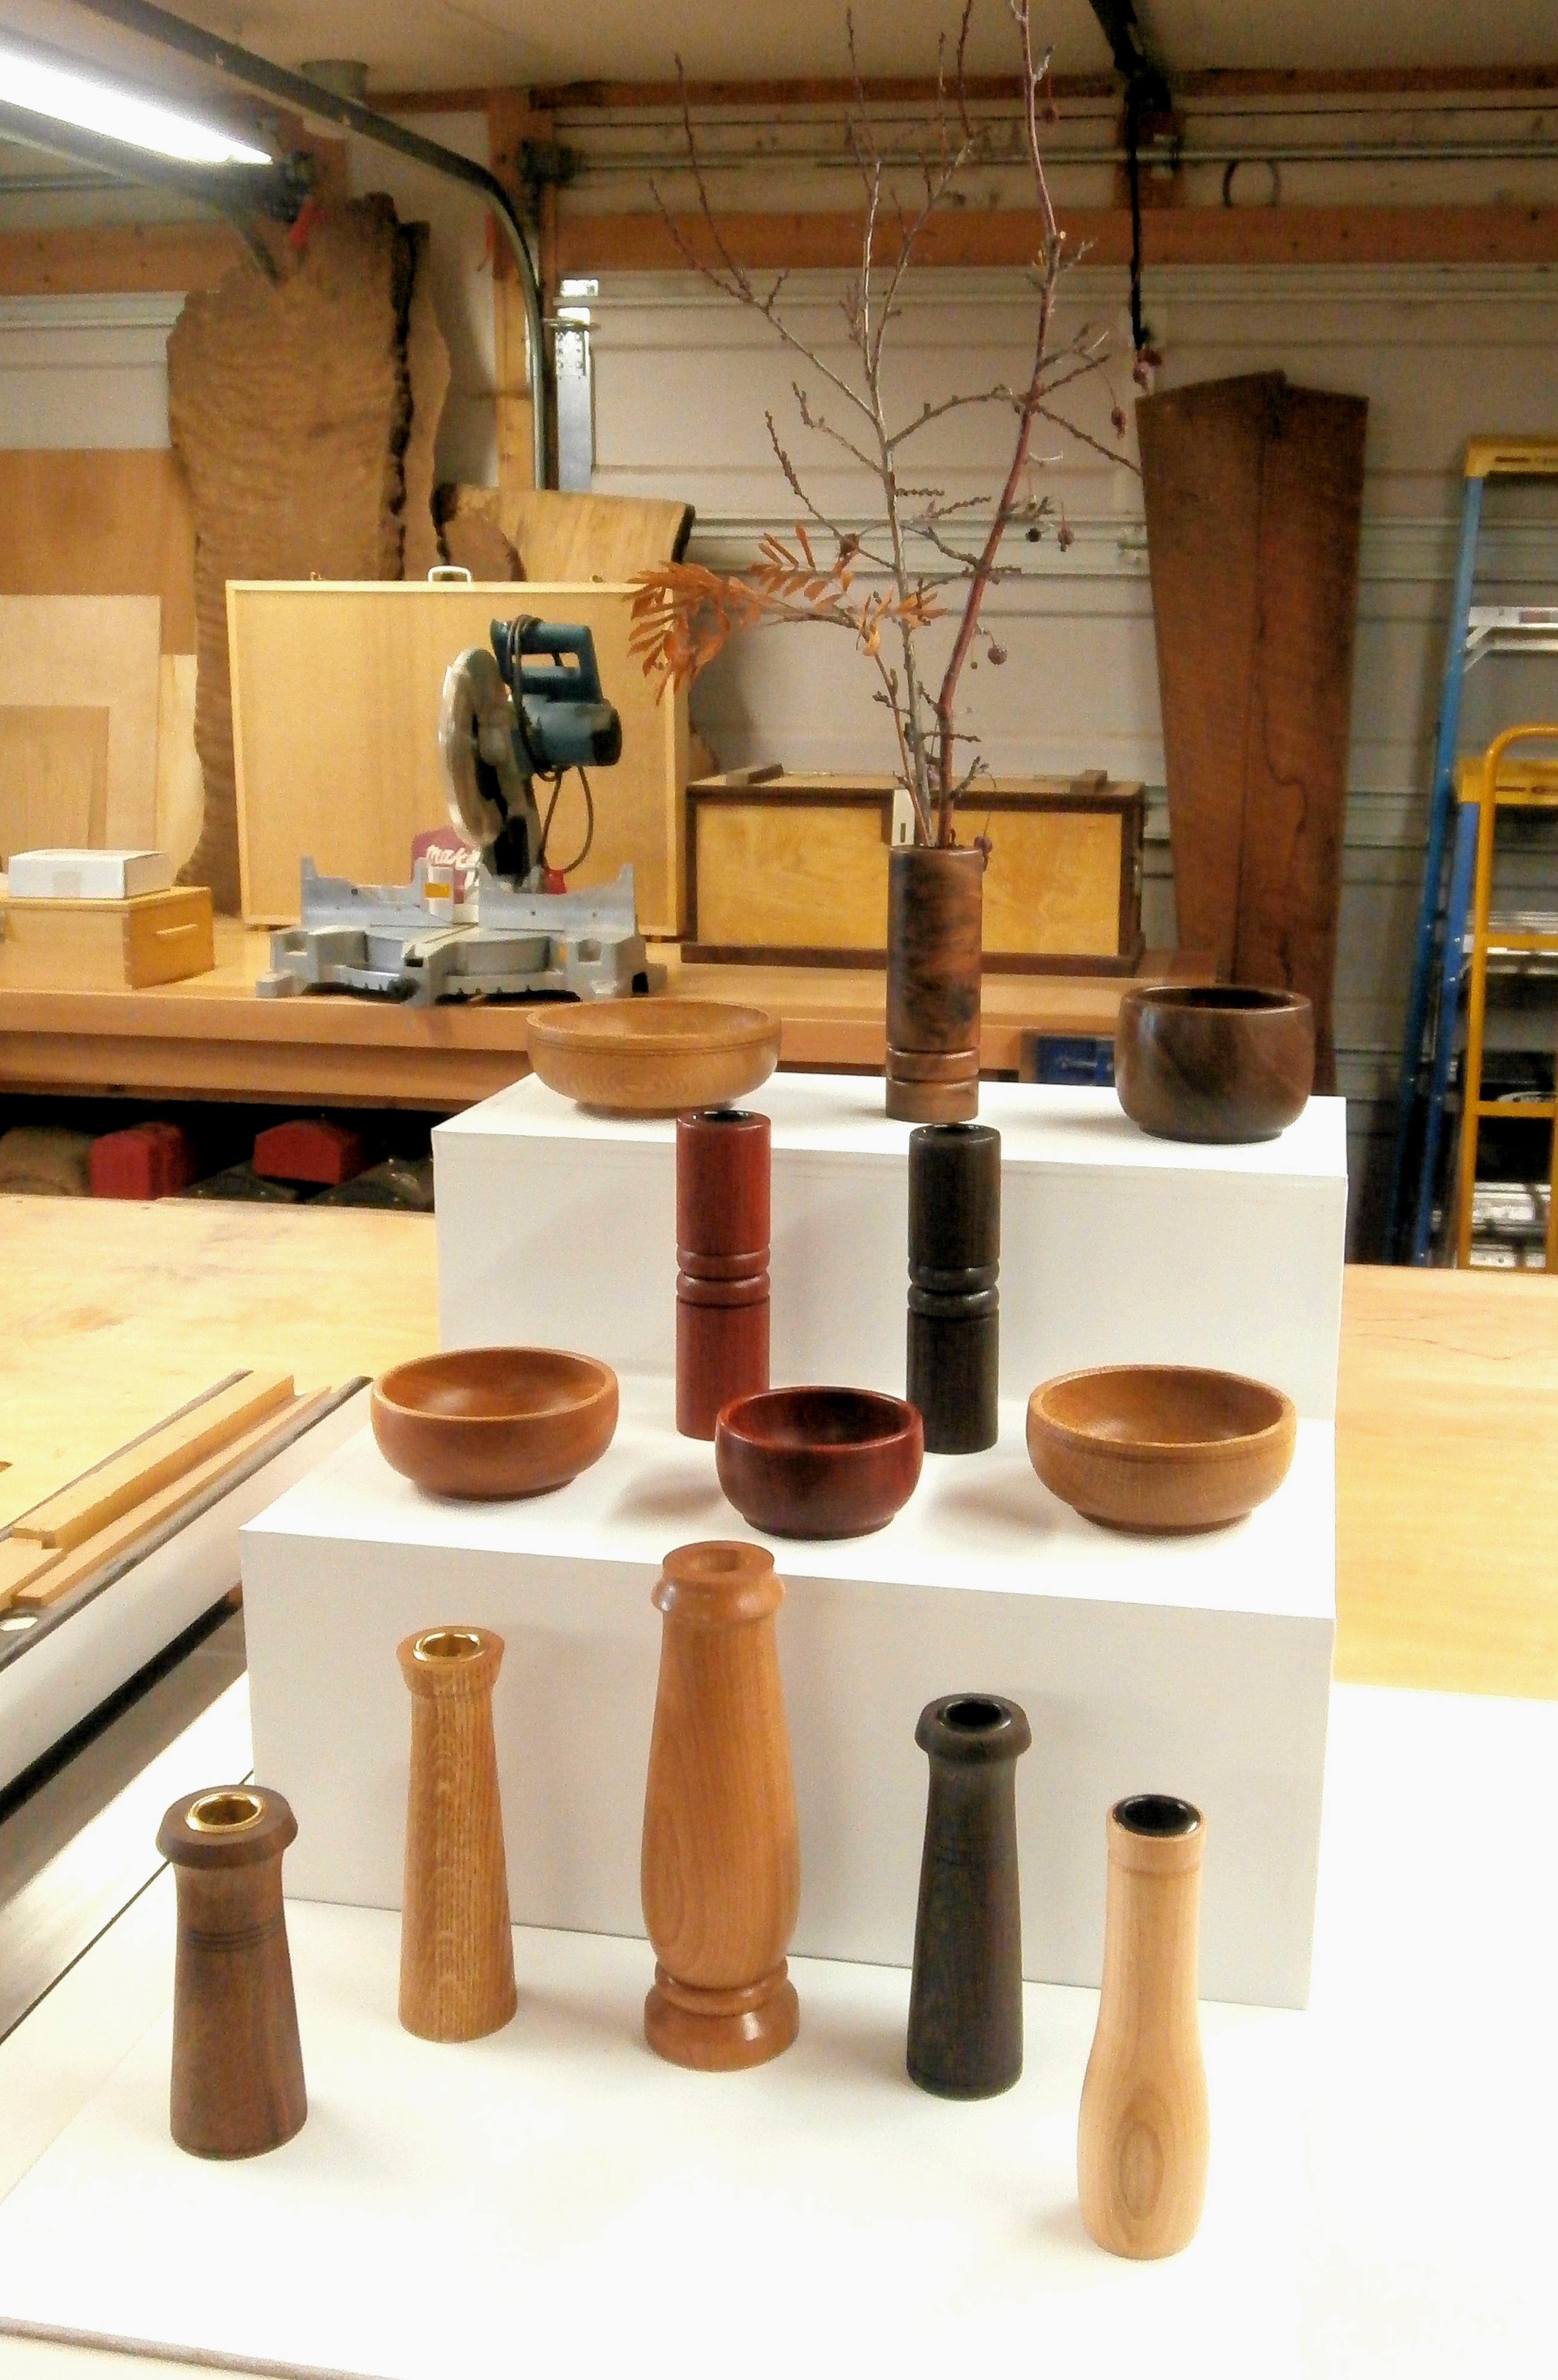
This is a mock-up of a small display of work I created for sale. The woods used for the weed pots/vases include Claro walnut, white oak, black cherry, wenge, sugar maple, and paduak. The bowls include white oak, Claro walnut, black cherry and paduak.
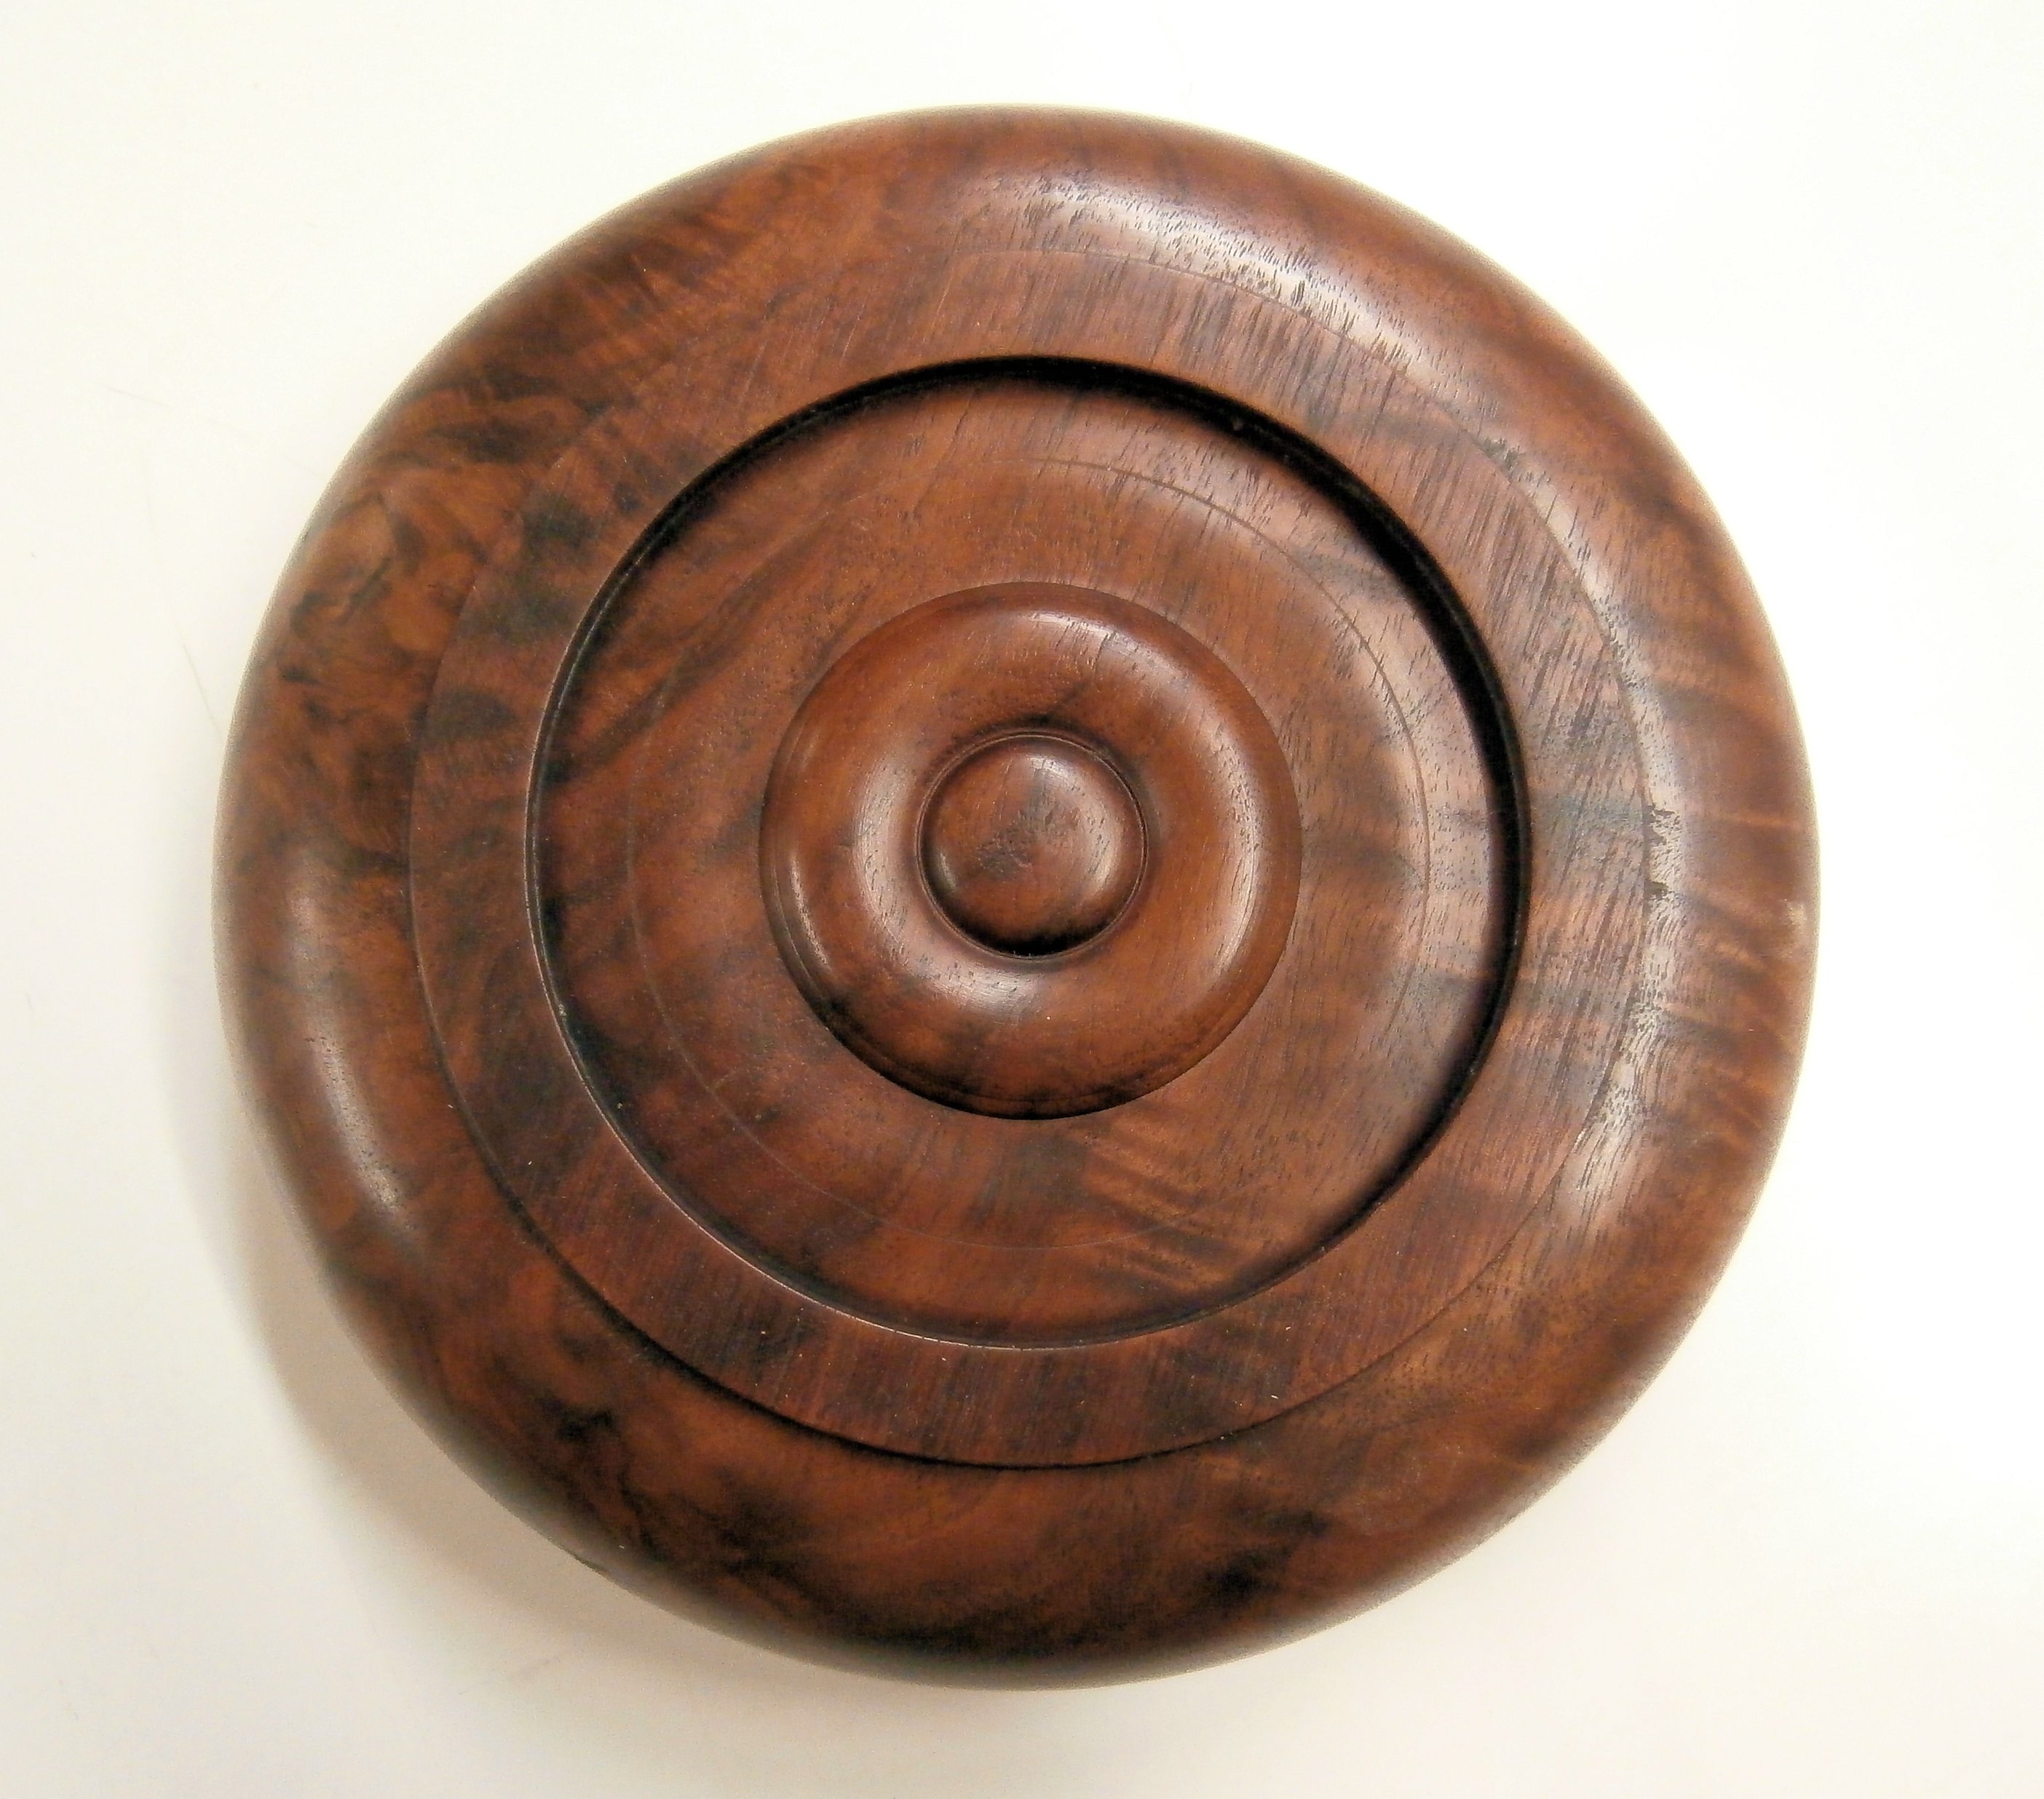
This is what you can do with a weed pot/Ikebana vase in February. I clipped one branch each from my ornamental crab, ornamental plum, and Mountain ash trees in the back yard. The pot was turned from a “defect” in an otherwise clear Oregon black walnut board. (Click on the image to enlarge)
The walnut pot/vase by itself is 5″ tall, 1.75″ in diameter, and has a 5/8″ diameter slug of steel bar hidden in the base for stability.
To live content with small means; to seek elegance rather than luxury, and refinement rather than fashion; to be worthy, not respectable; and wealthy, not rich; to study hard, think quietly, talk gently, act frankly… this is my way. (Anonymous)