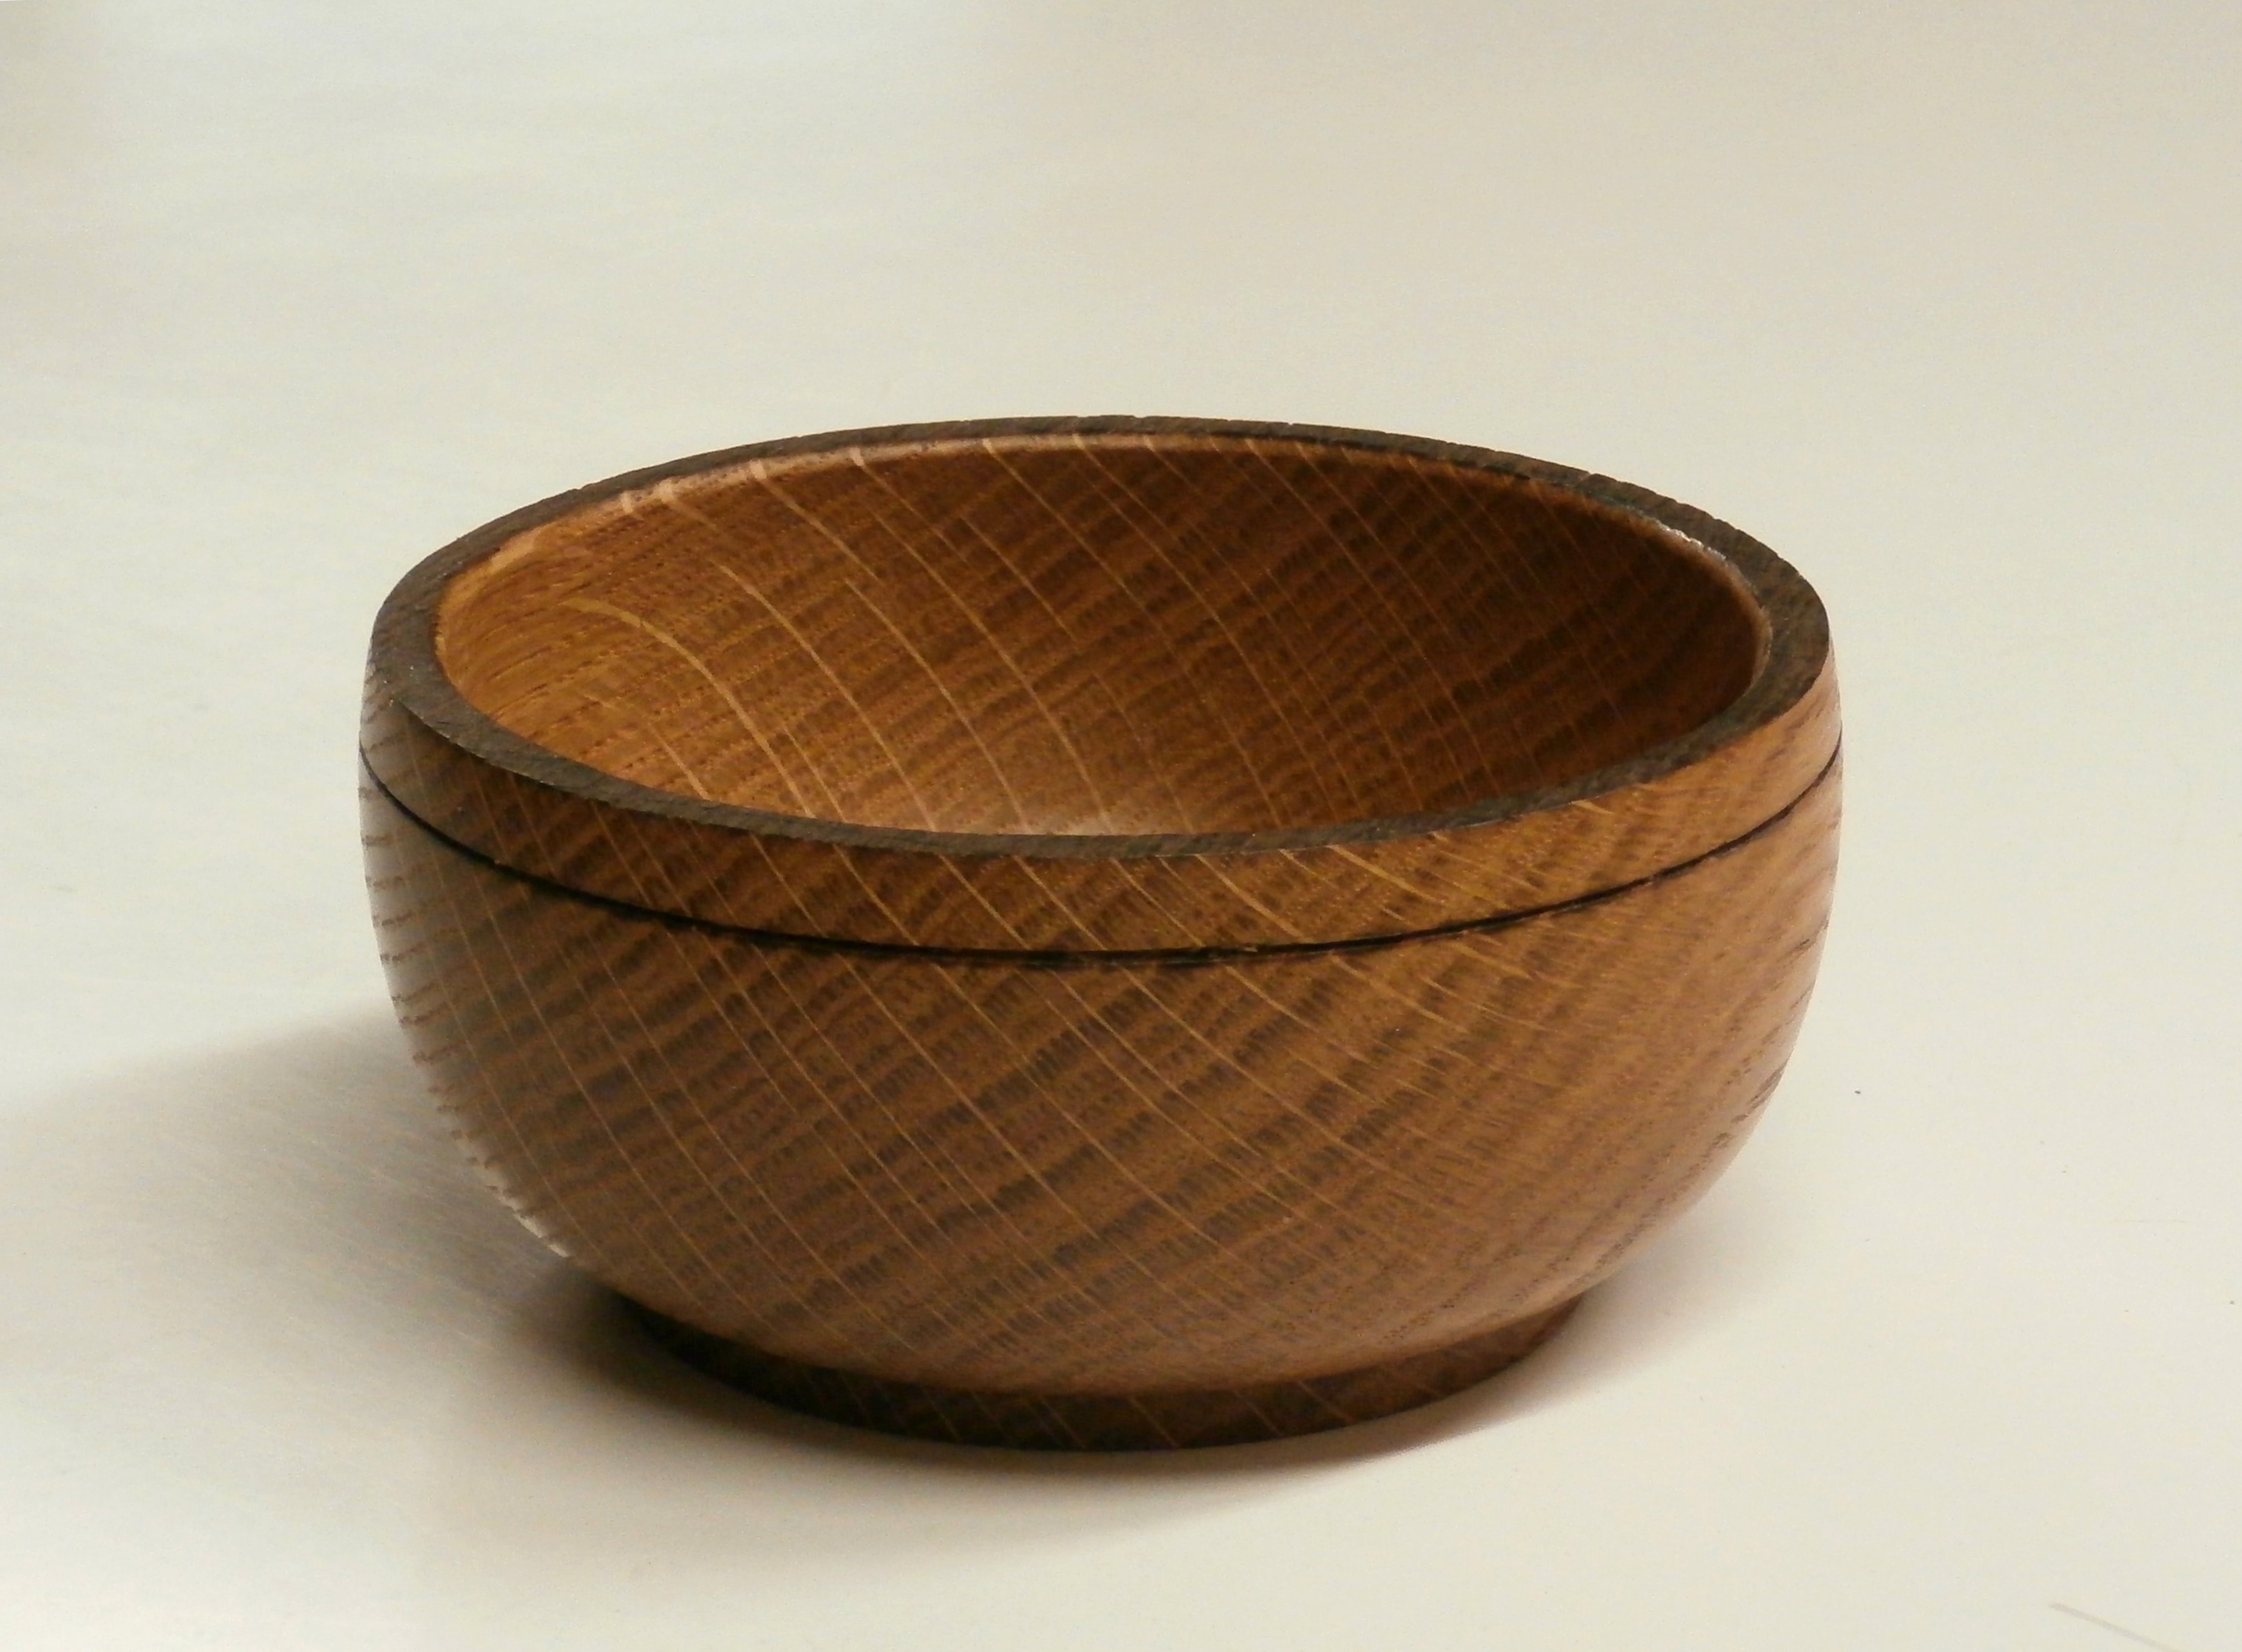
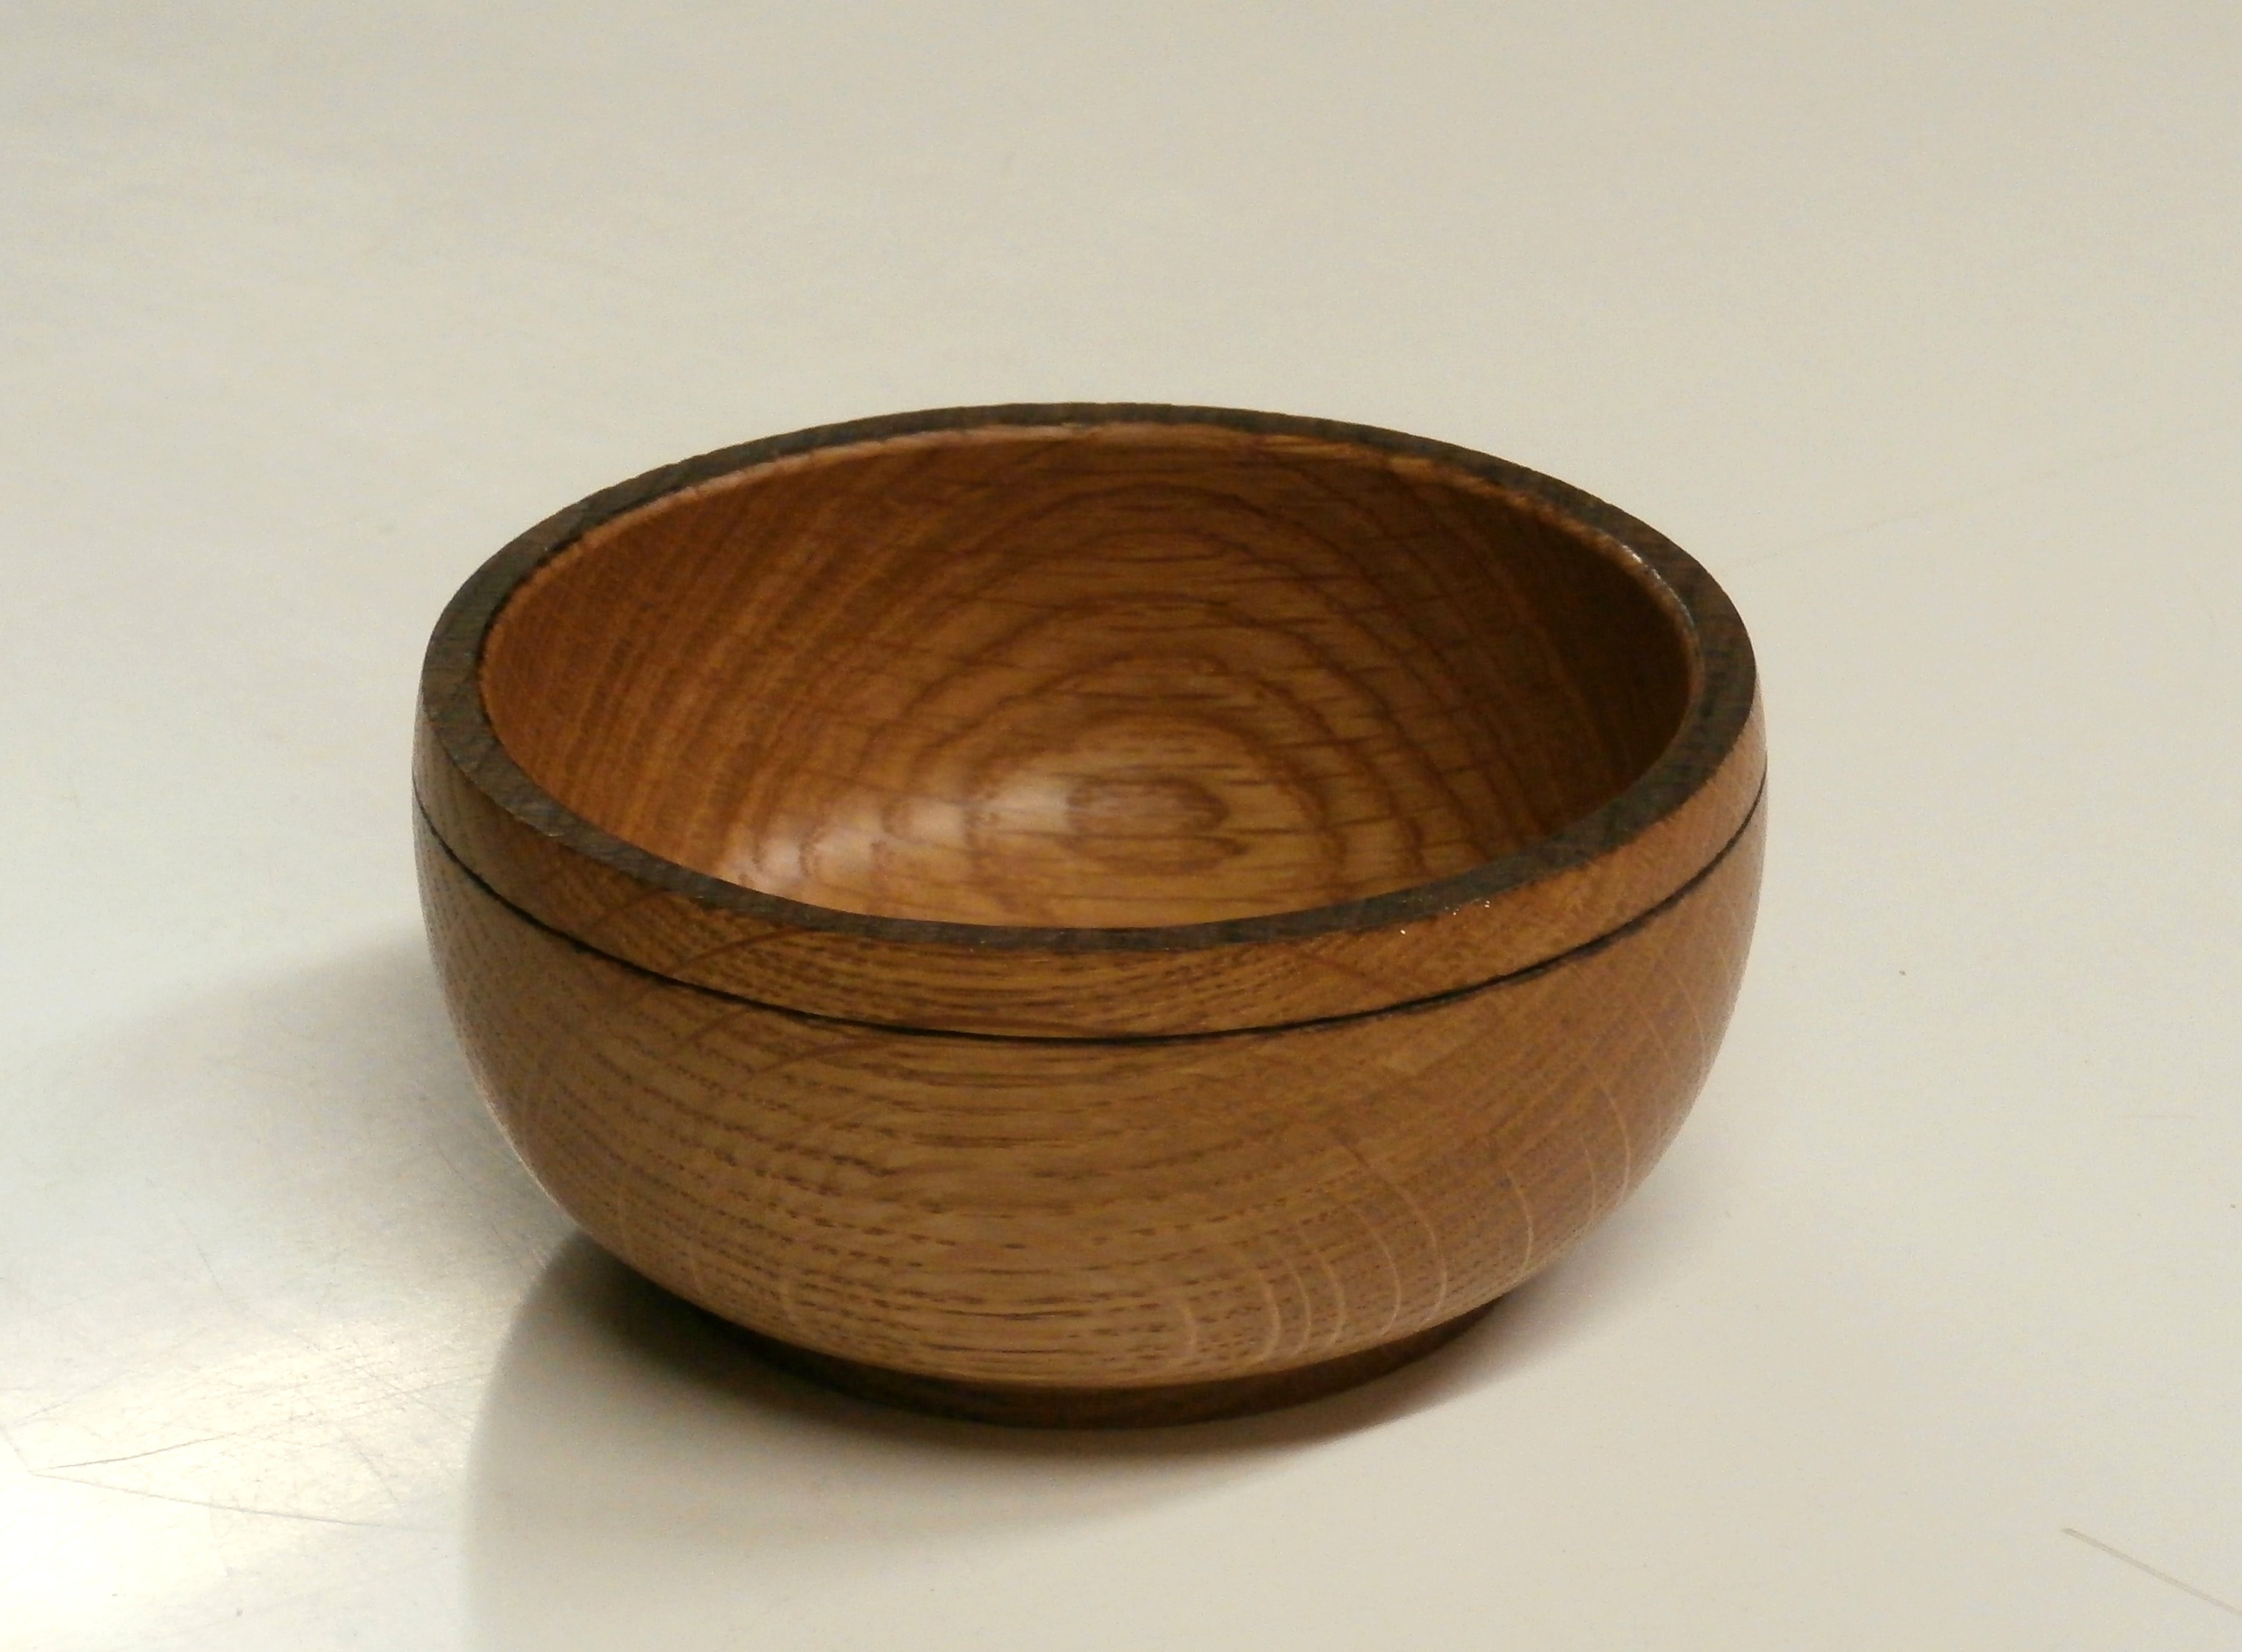
I’m partial to this basic “containing” bowl shape and here it is in white oak. The oak has a nice warm brown tone when finished with just beeswax. I used another piece of oak to burnish the edge while the bowl was spinning on the lathe. (Click on any image to enlarge)
AFTER!! Reconstructed, missing pieces replaced, stained and finished with hand rubbed tung oil.
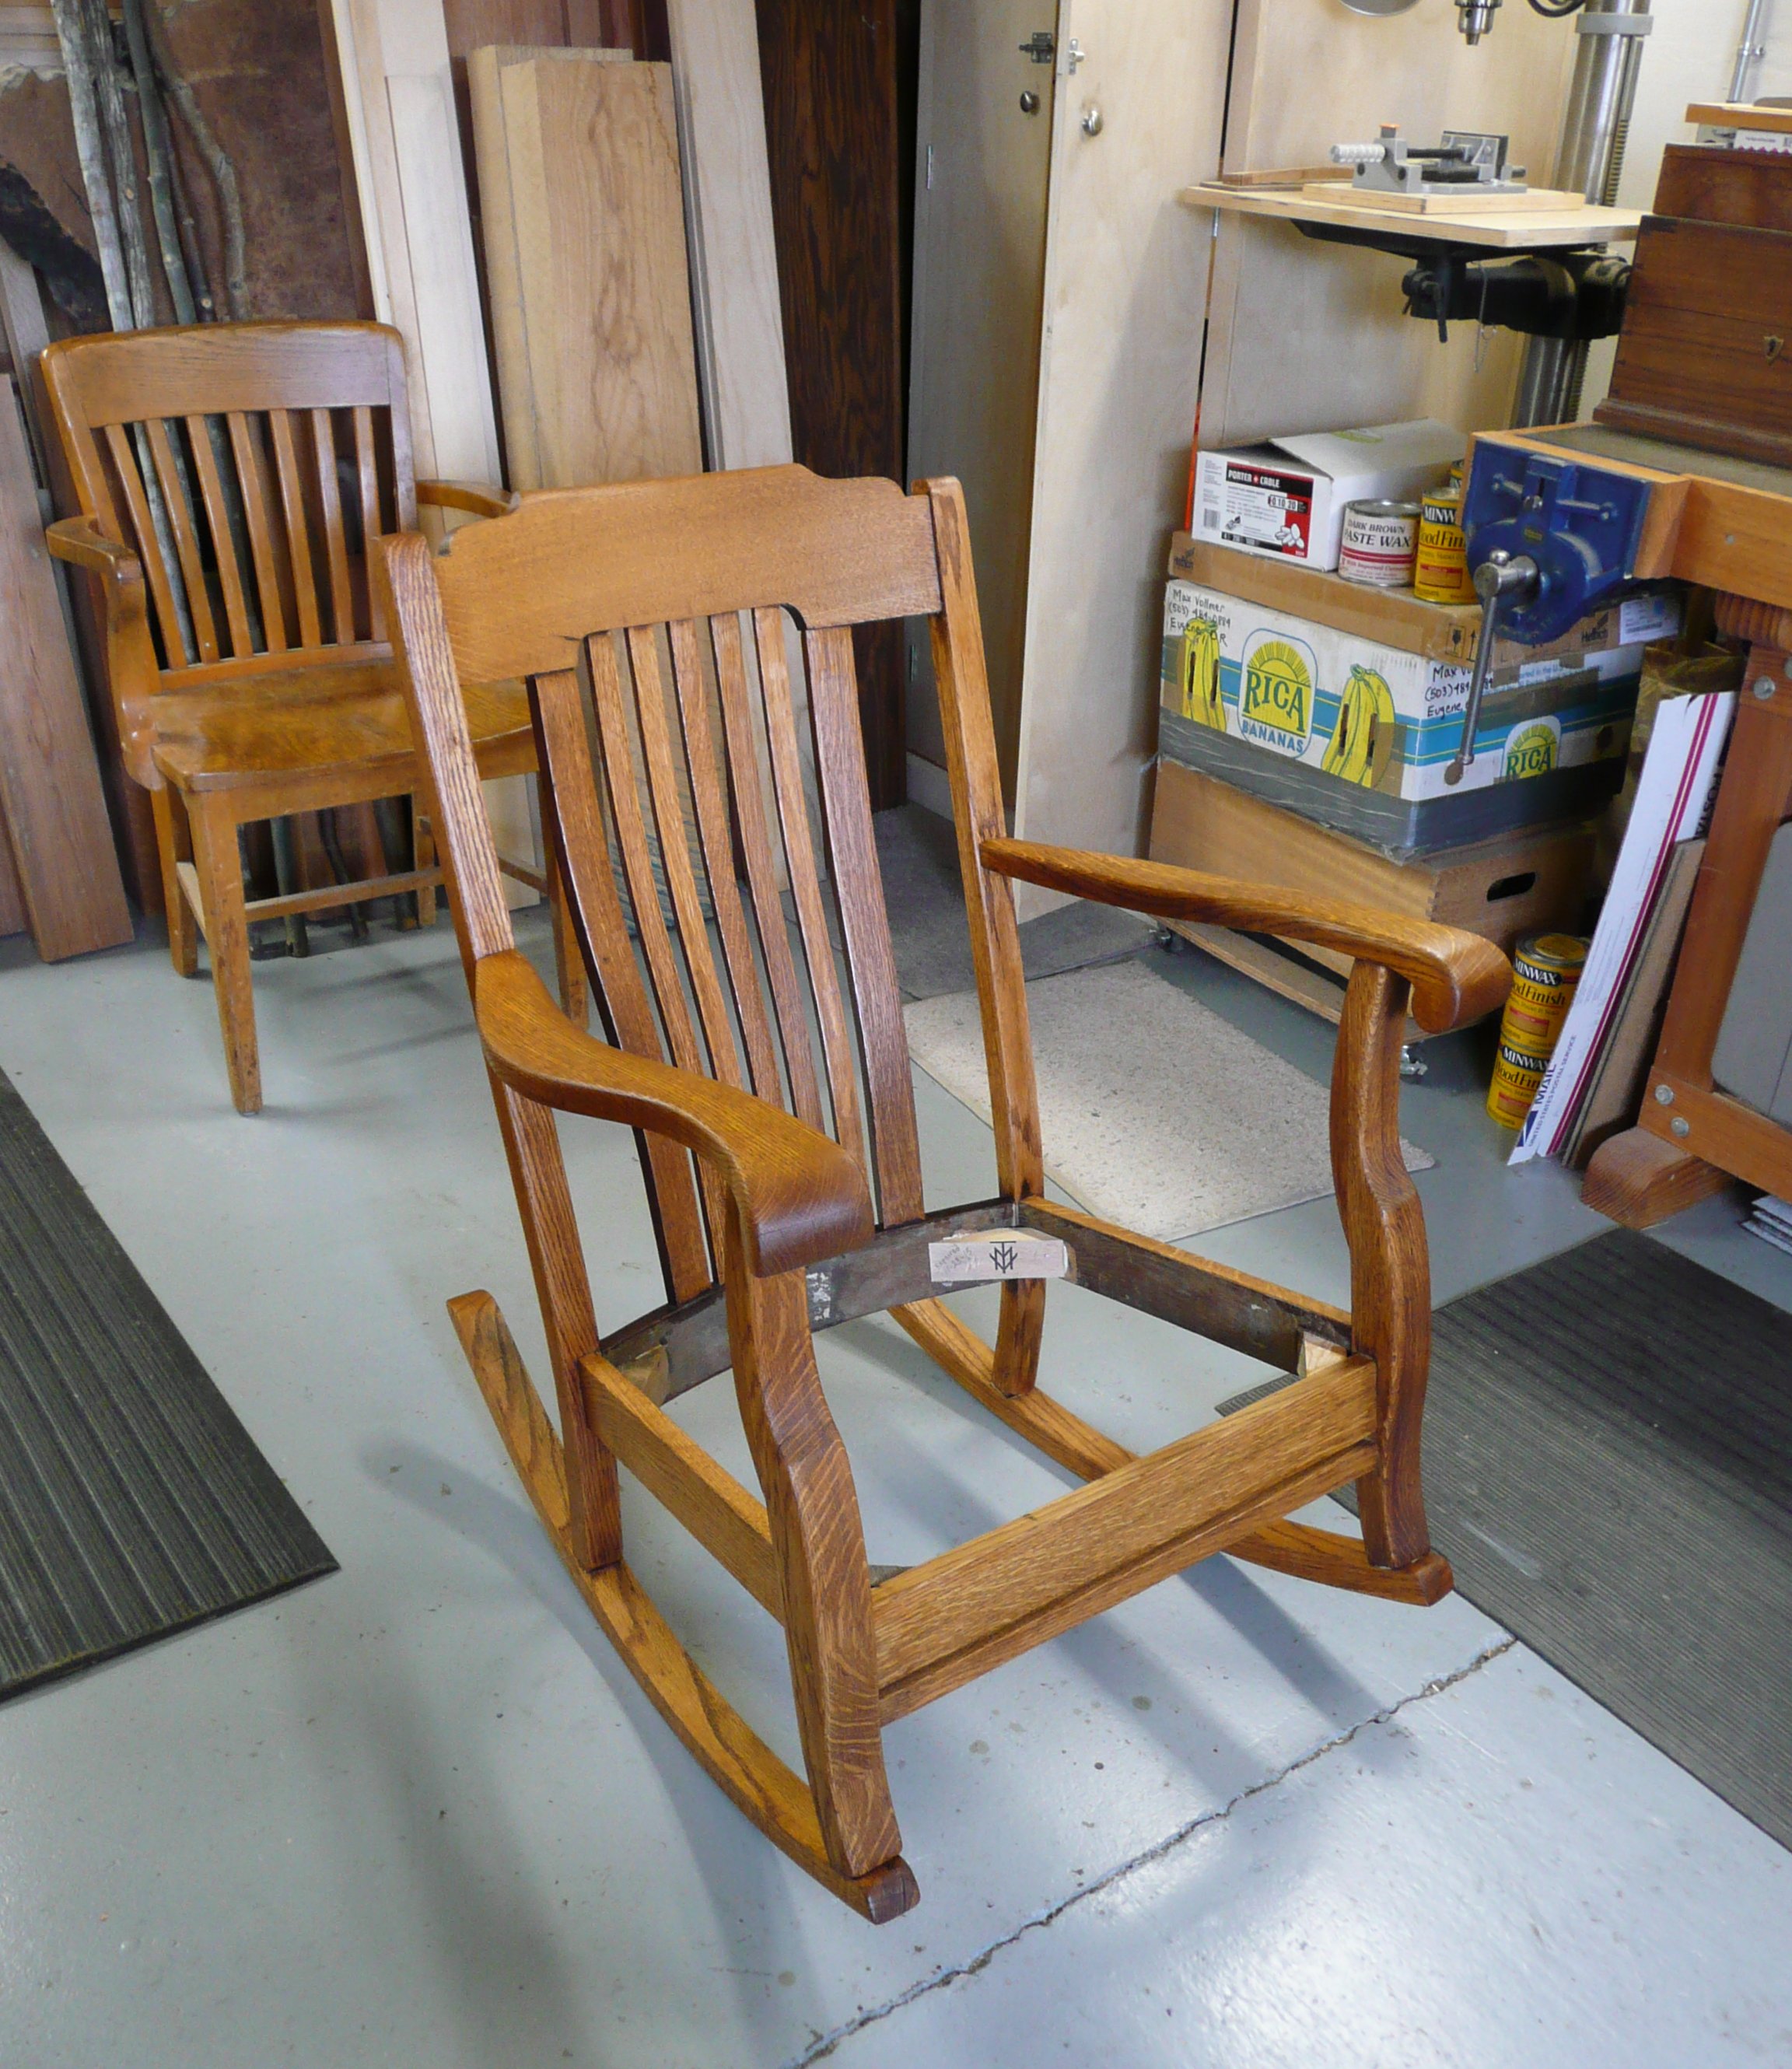
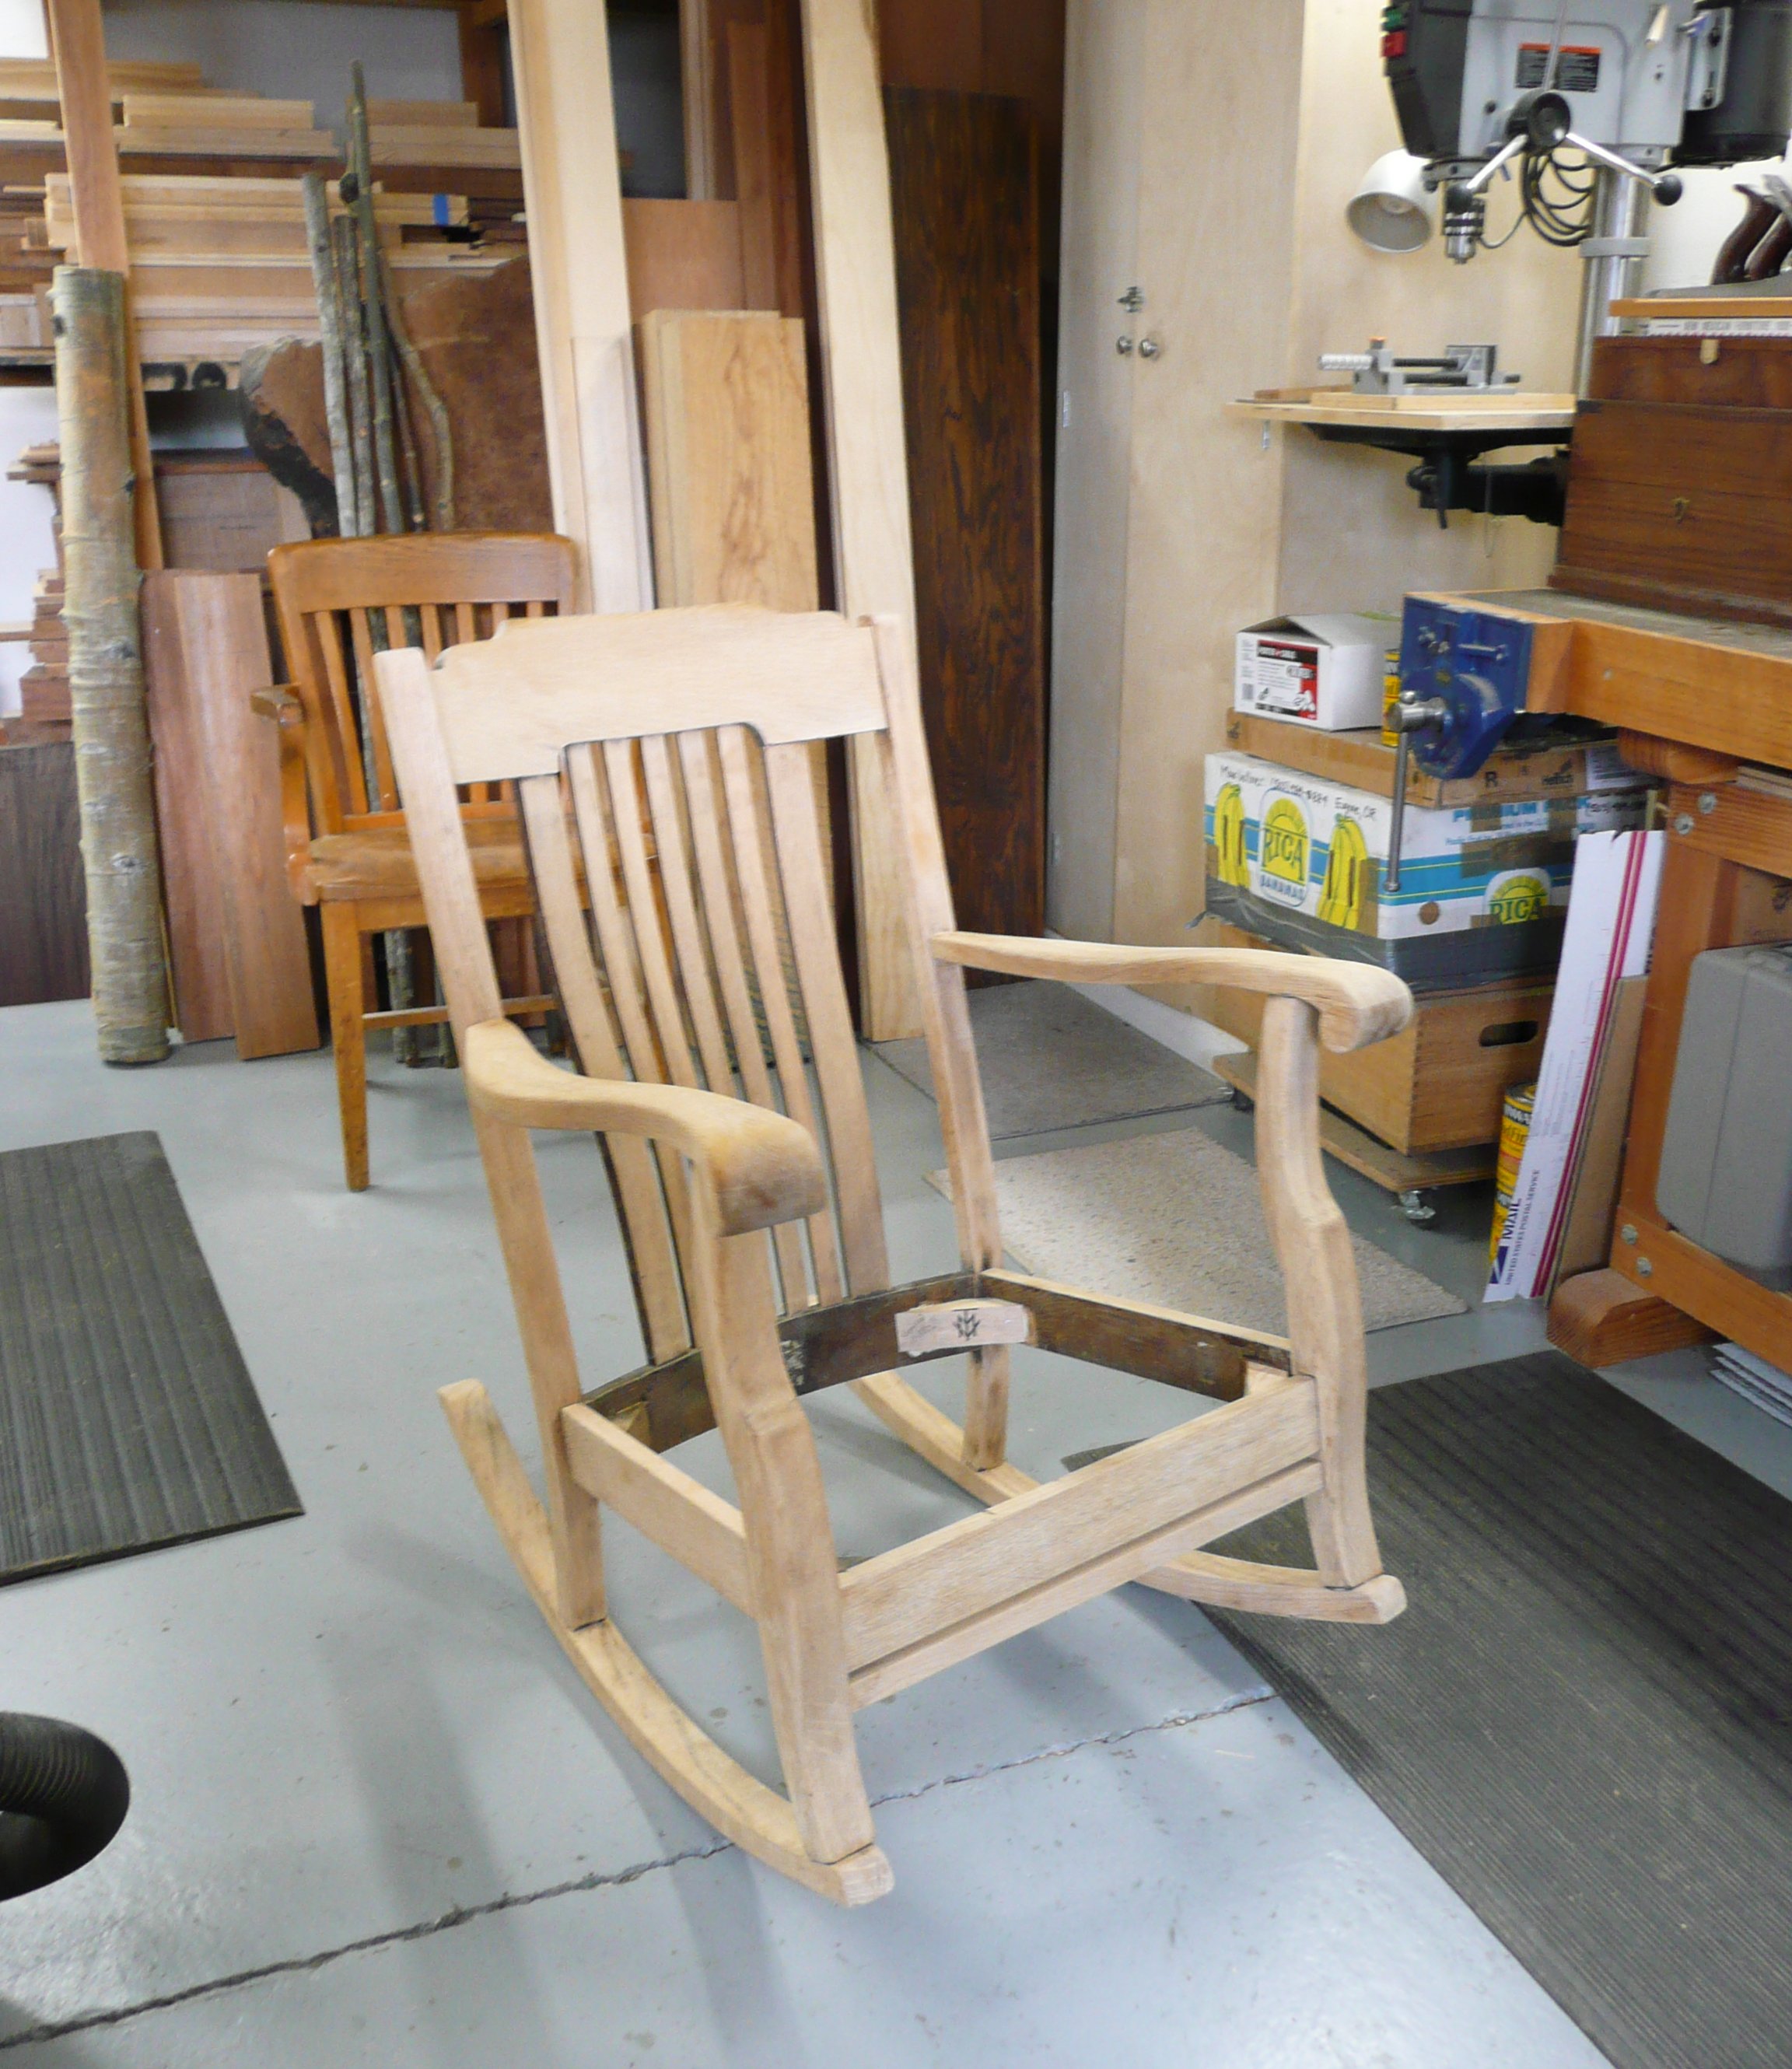
I get more rocking chairs in for repair than any other piece of furniture. No surprise, really. They are favorites in most households and the very fact they are rocked back and forth thousands of time puts a strain, over time, on frames. This nicely proportioned solid oak rocker from the early 20th century was typical in that the original hide glue that held the joints together was nearing 100 years old and turning to powder, loosening all the parts. (Click on any image to enlarge)
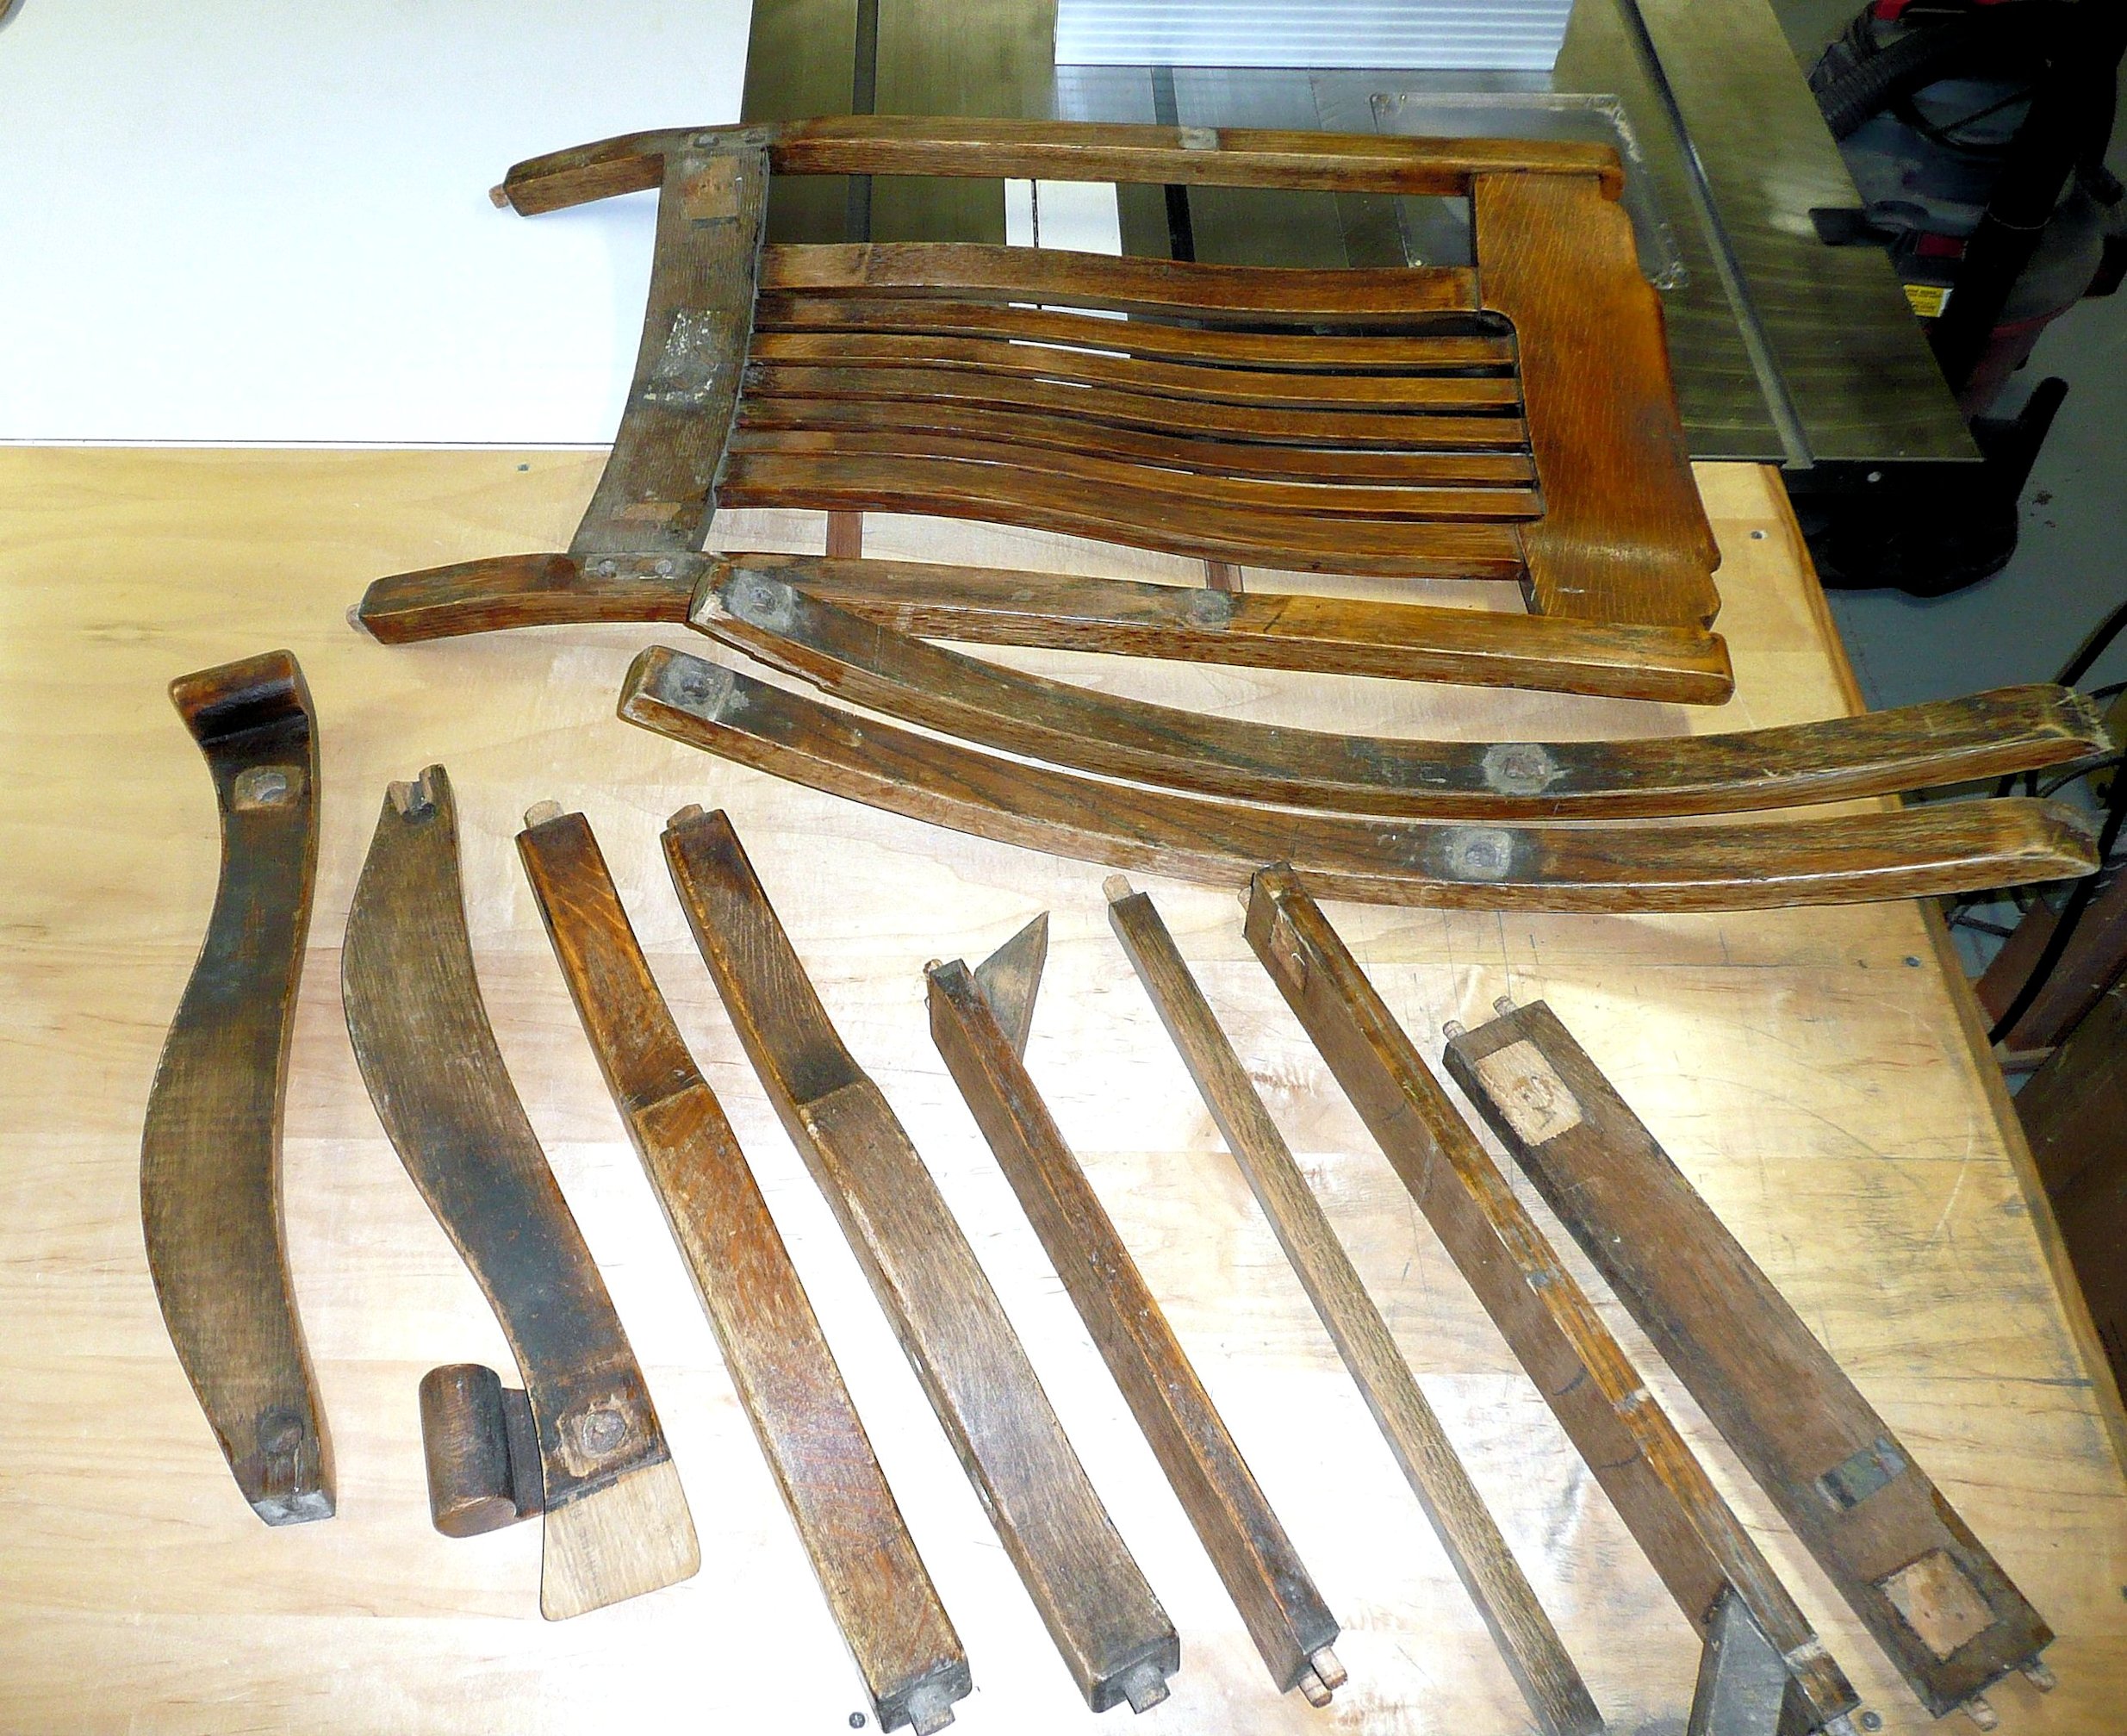
My first step was to disassemble the chair as much as possible.
Then any missing or broken pieces are fabricated anew. Old finish is removed via stripping and/or sanding if the client requests it be done, as happened here . Then the chair is reassembled, in this case with new dowels and reconditioned seats for the dowels.
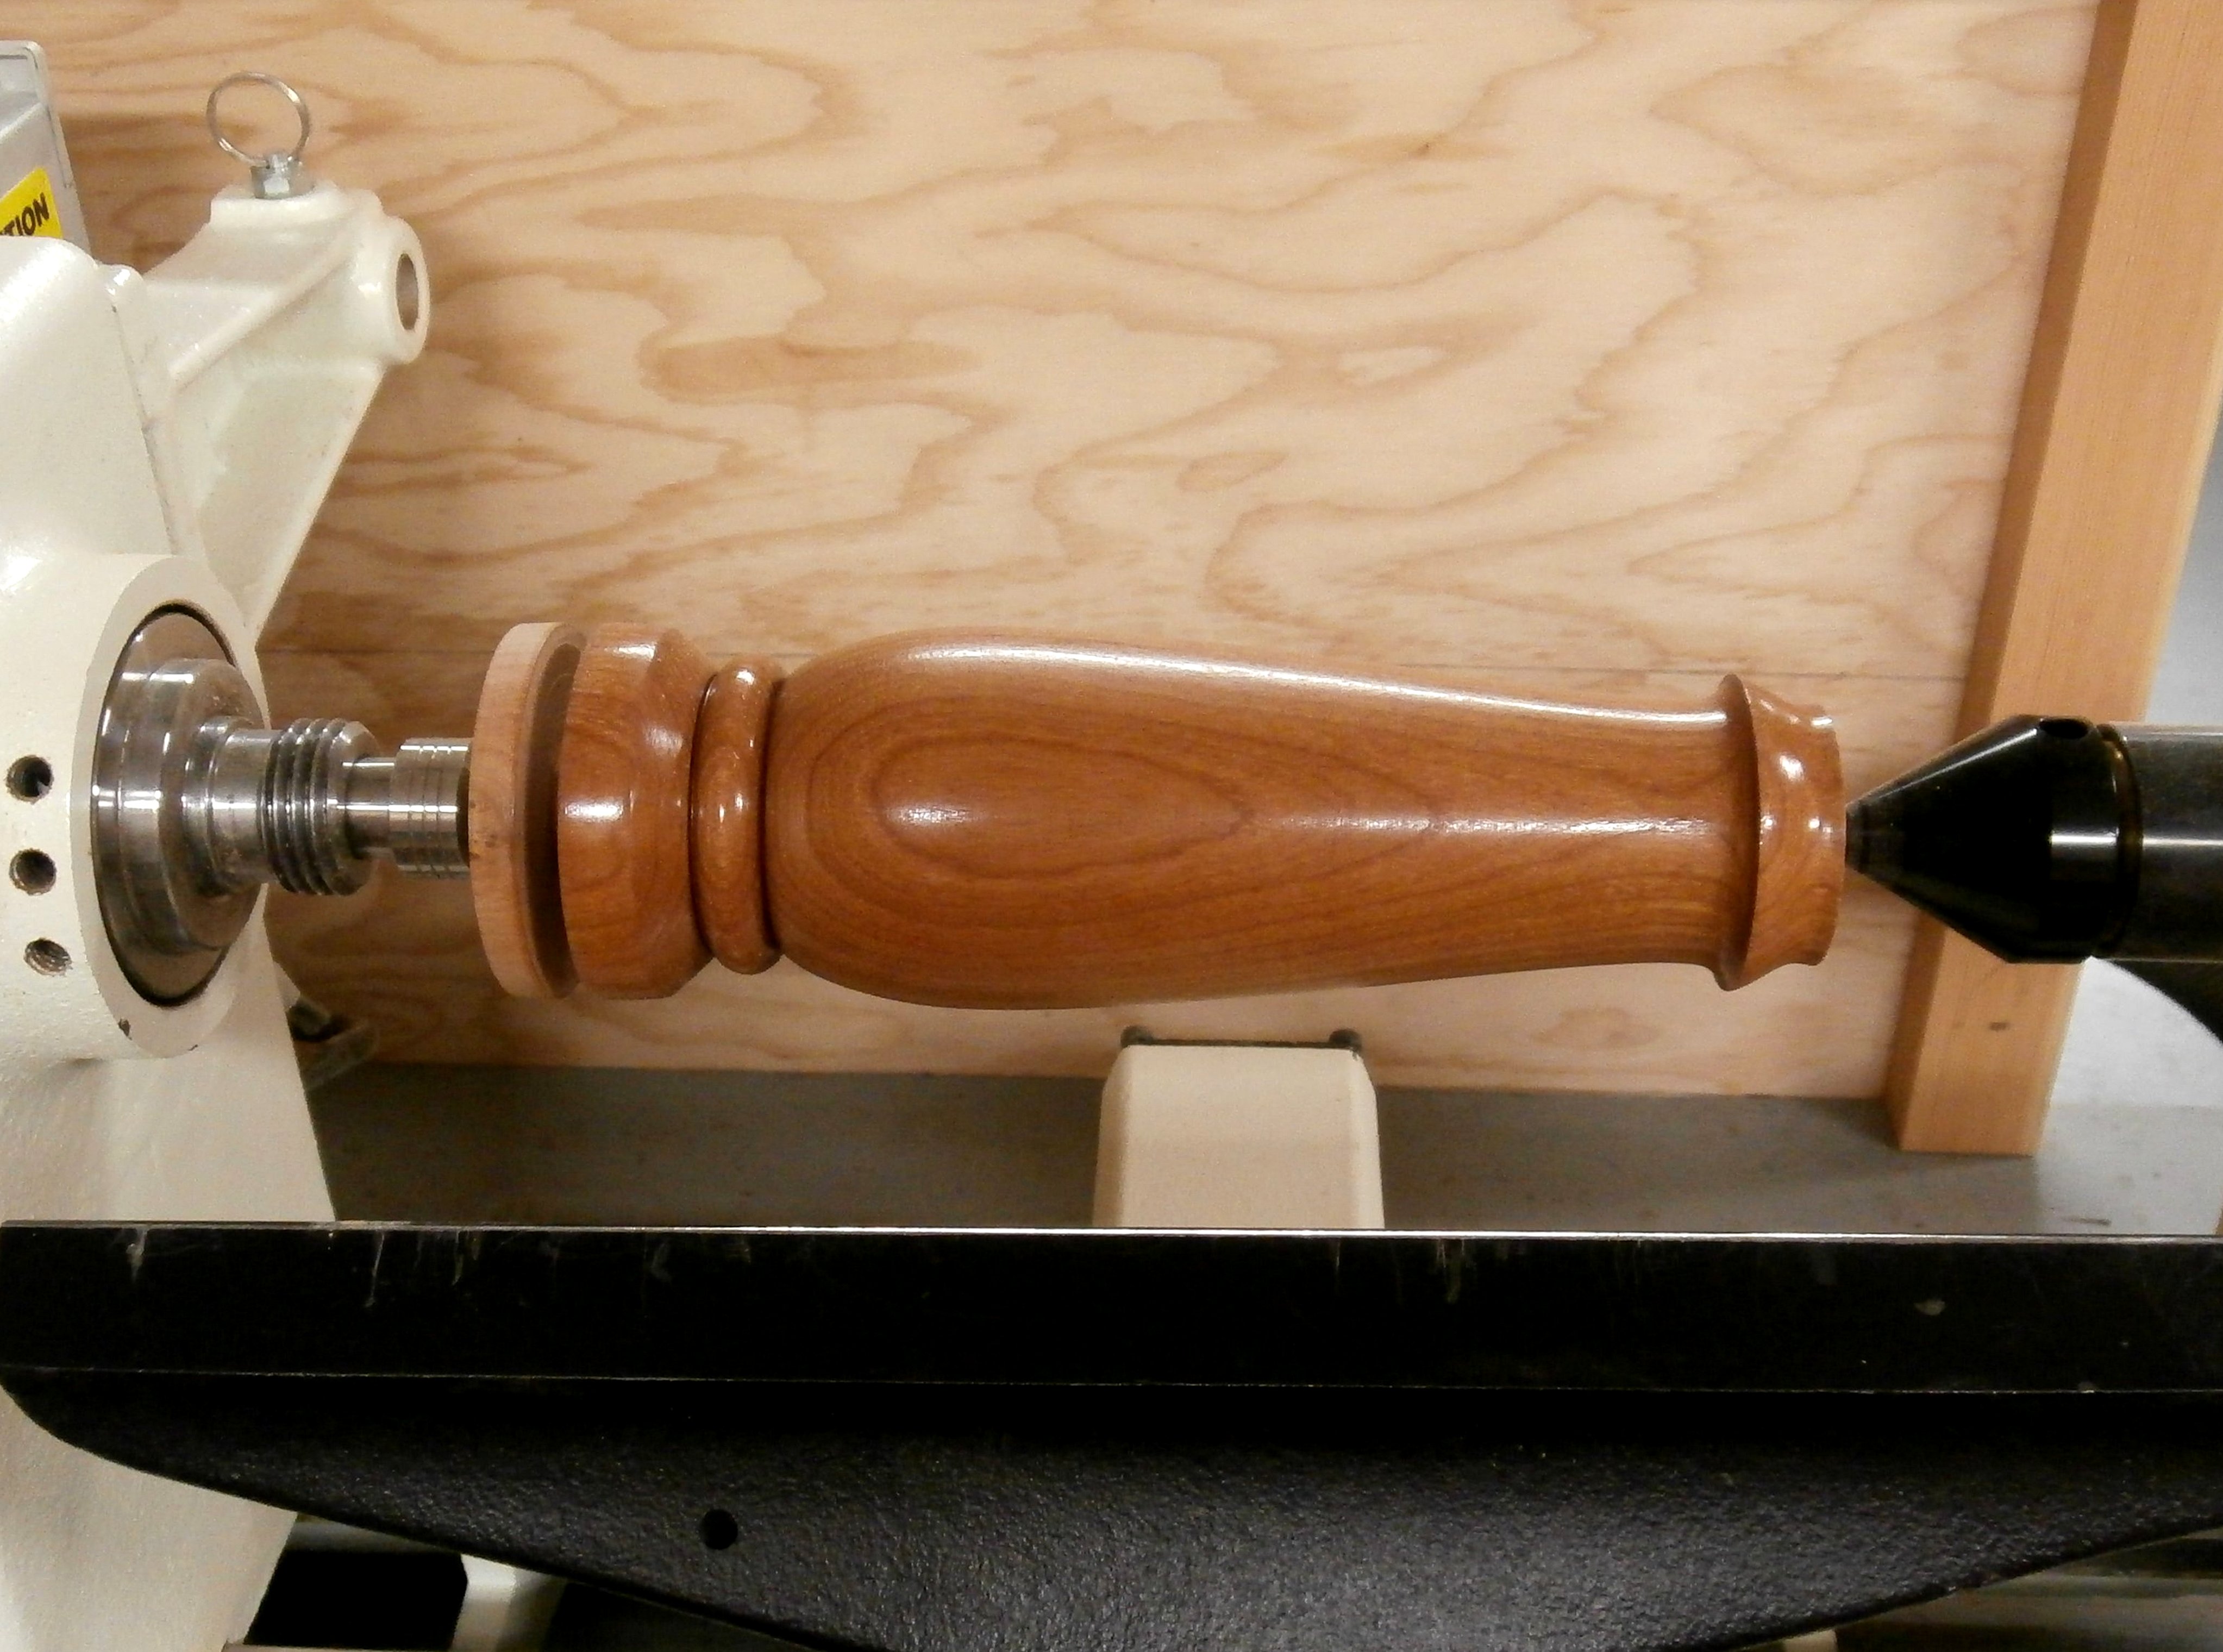
I’m considering trying to sell turned “weed pots,” made from various species of wood, in our local coop art gallery. First, I need to refine my technique for turning, drilling out, and finishing them and decide on a practical size or sizes. I also need to see how quickly I can finish one. (Click on any image to enlarge)
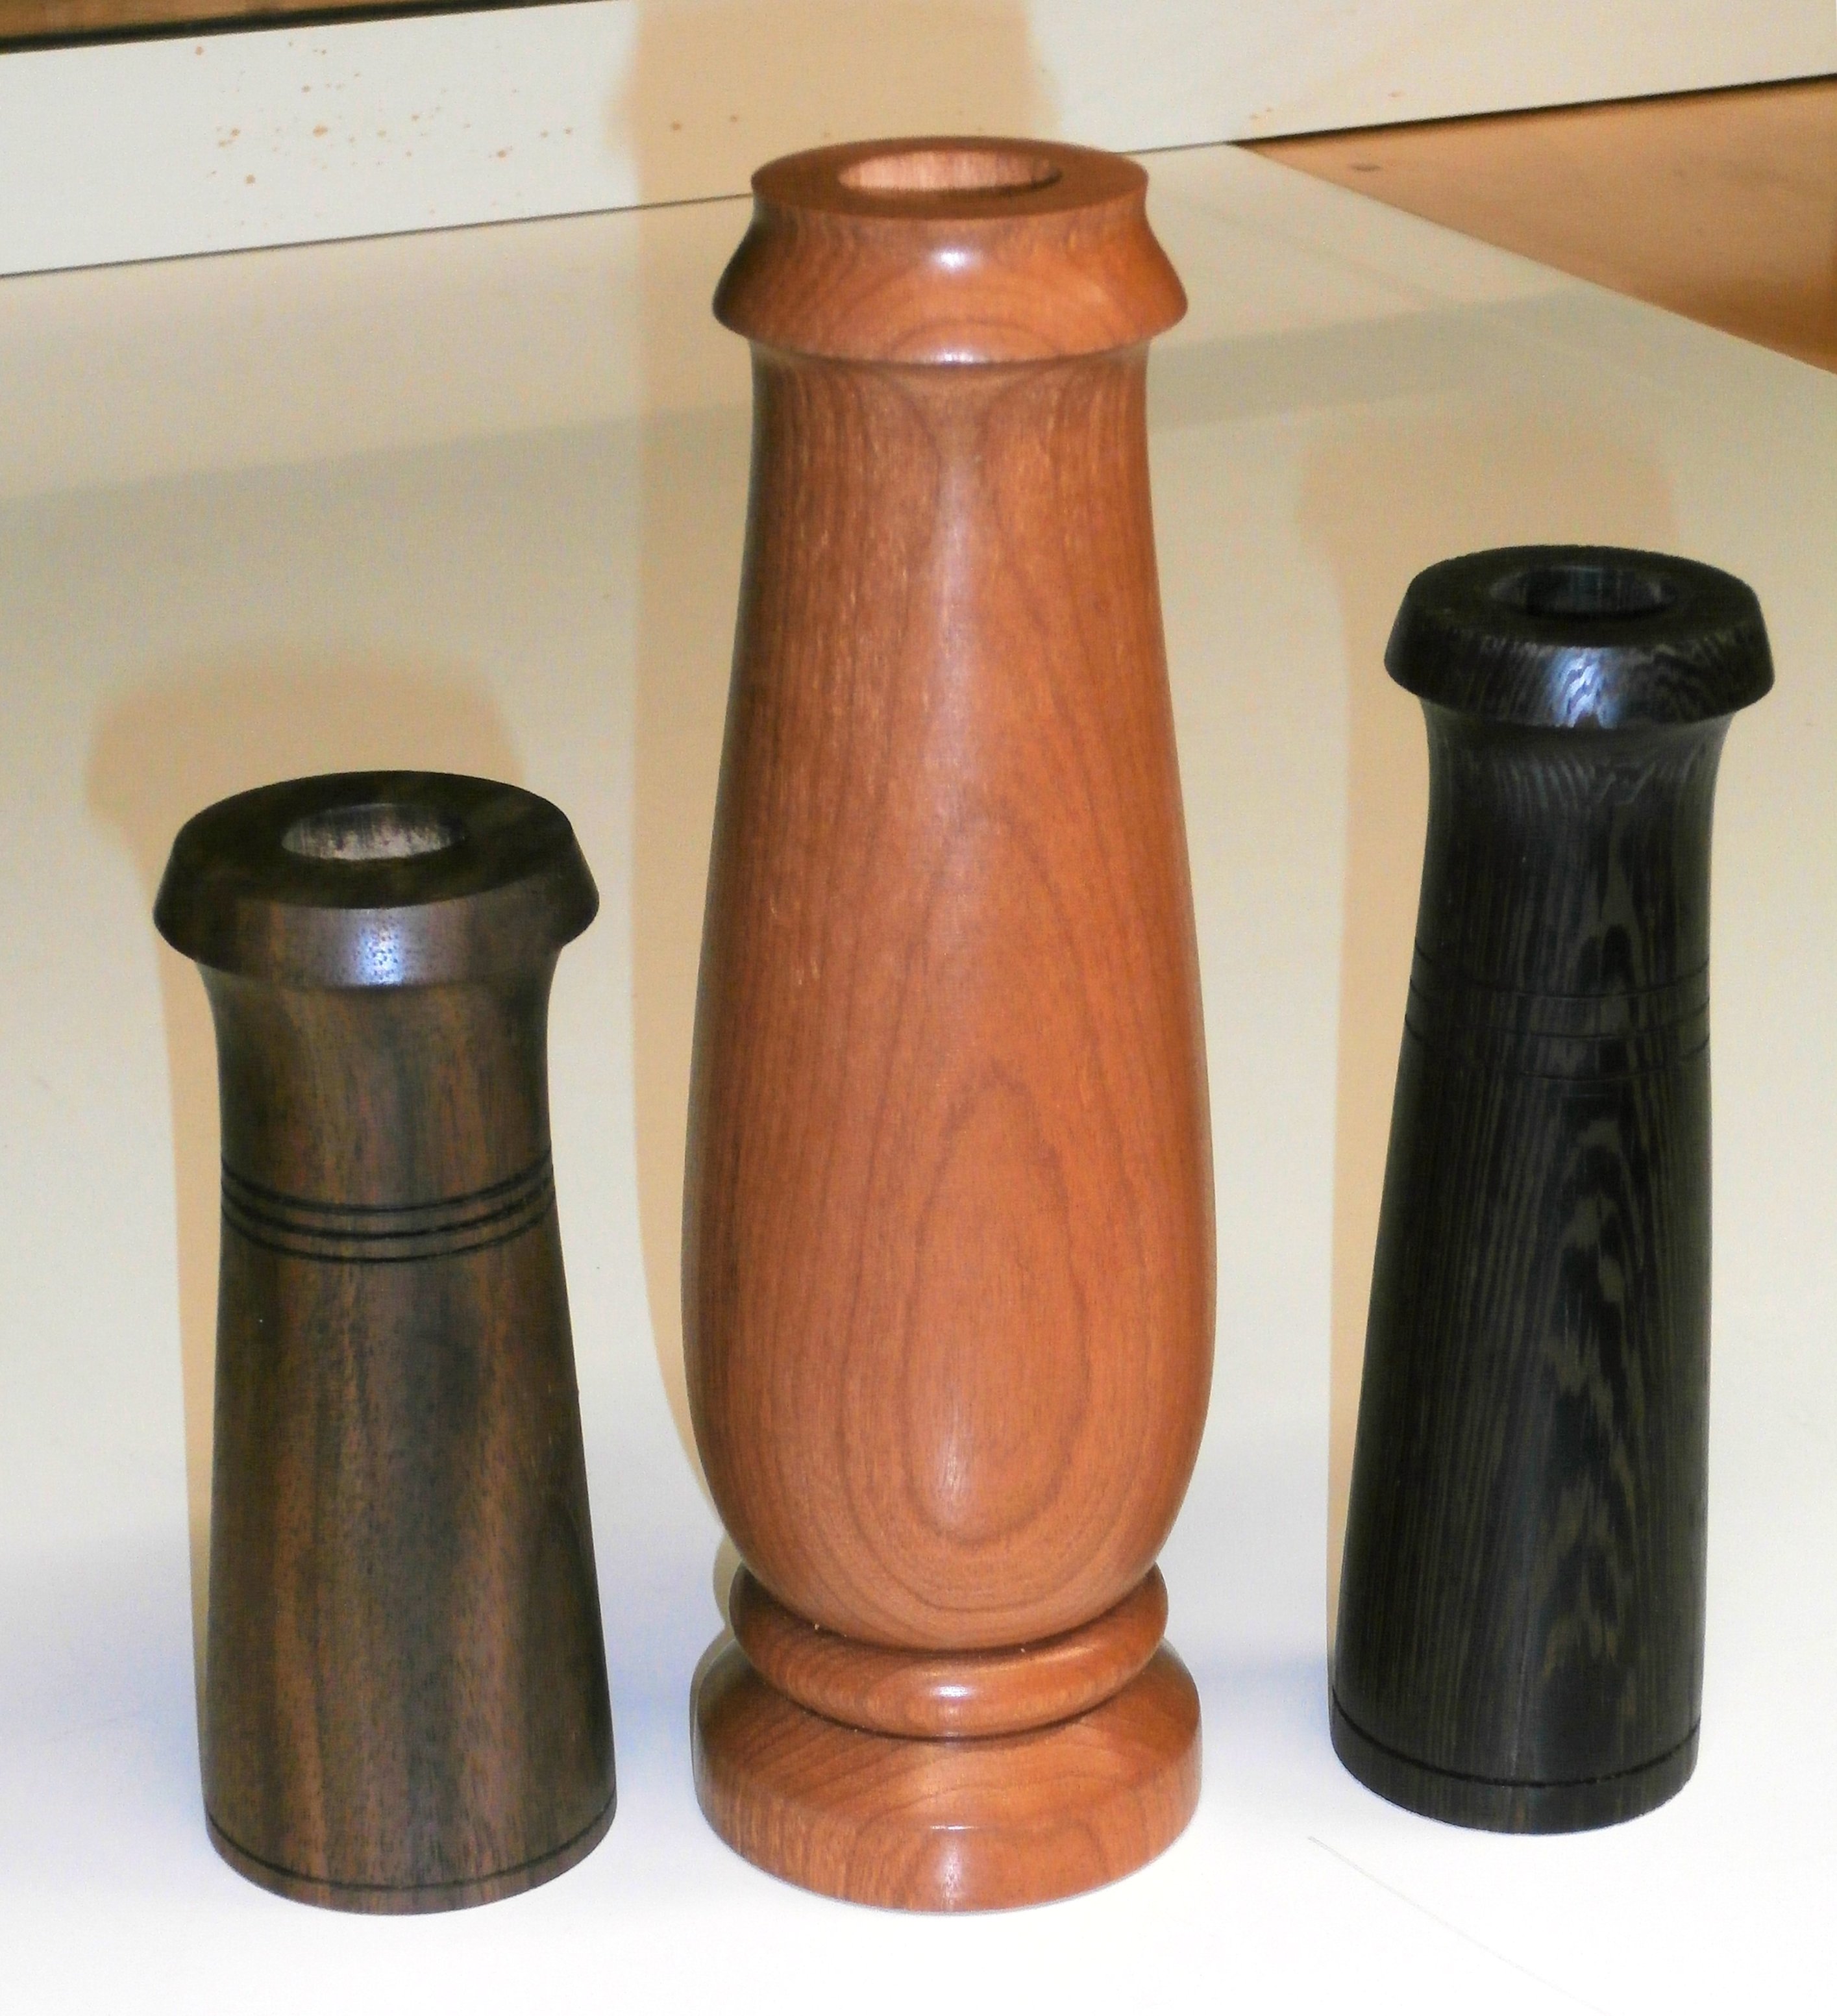
These examples are, from l. to r., 5″ tall in Claro walnut, 8.5″ tall in American black cherry, and 6″ tall in Wenge.
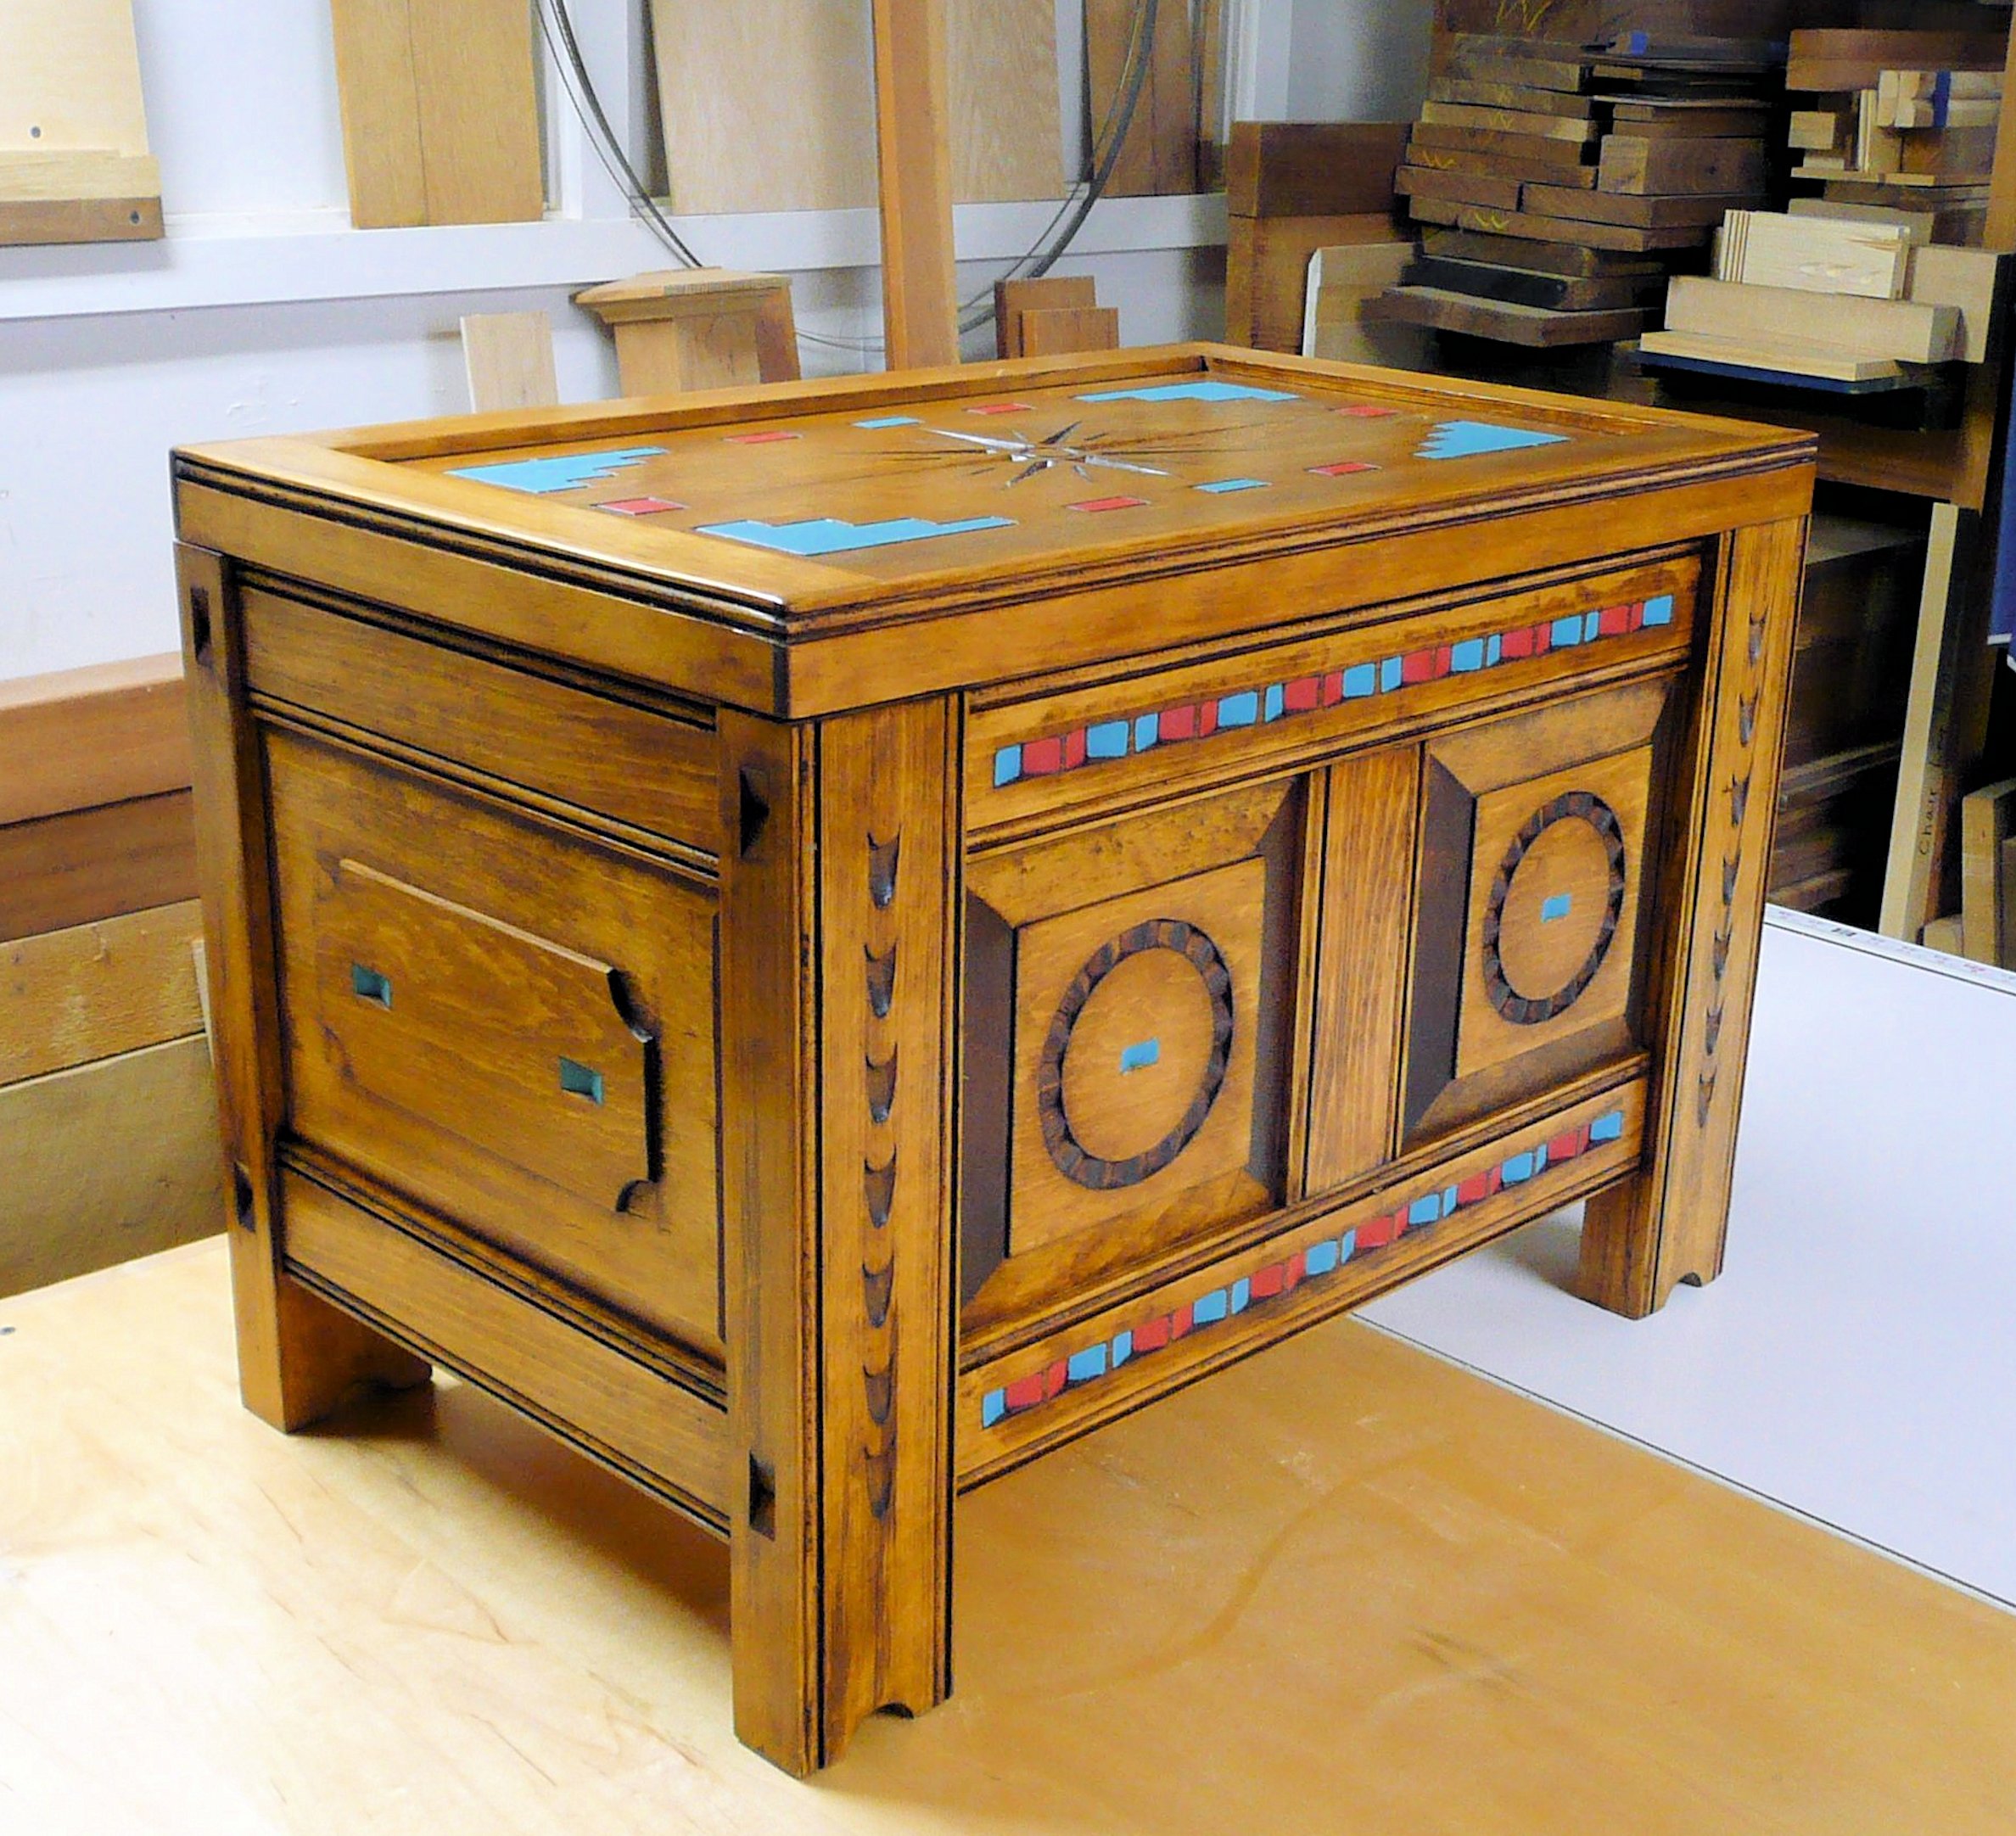
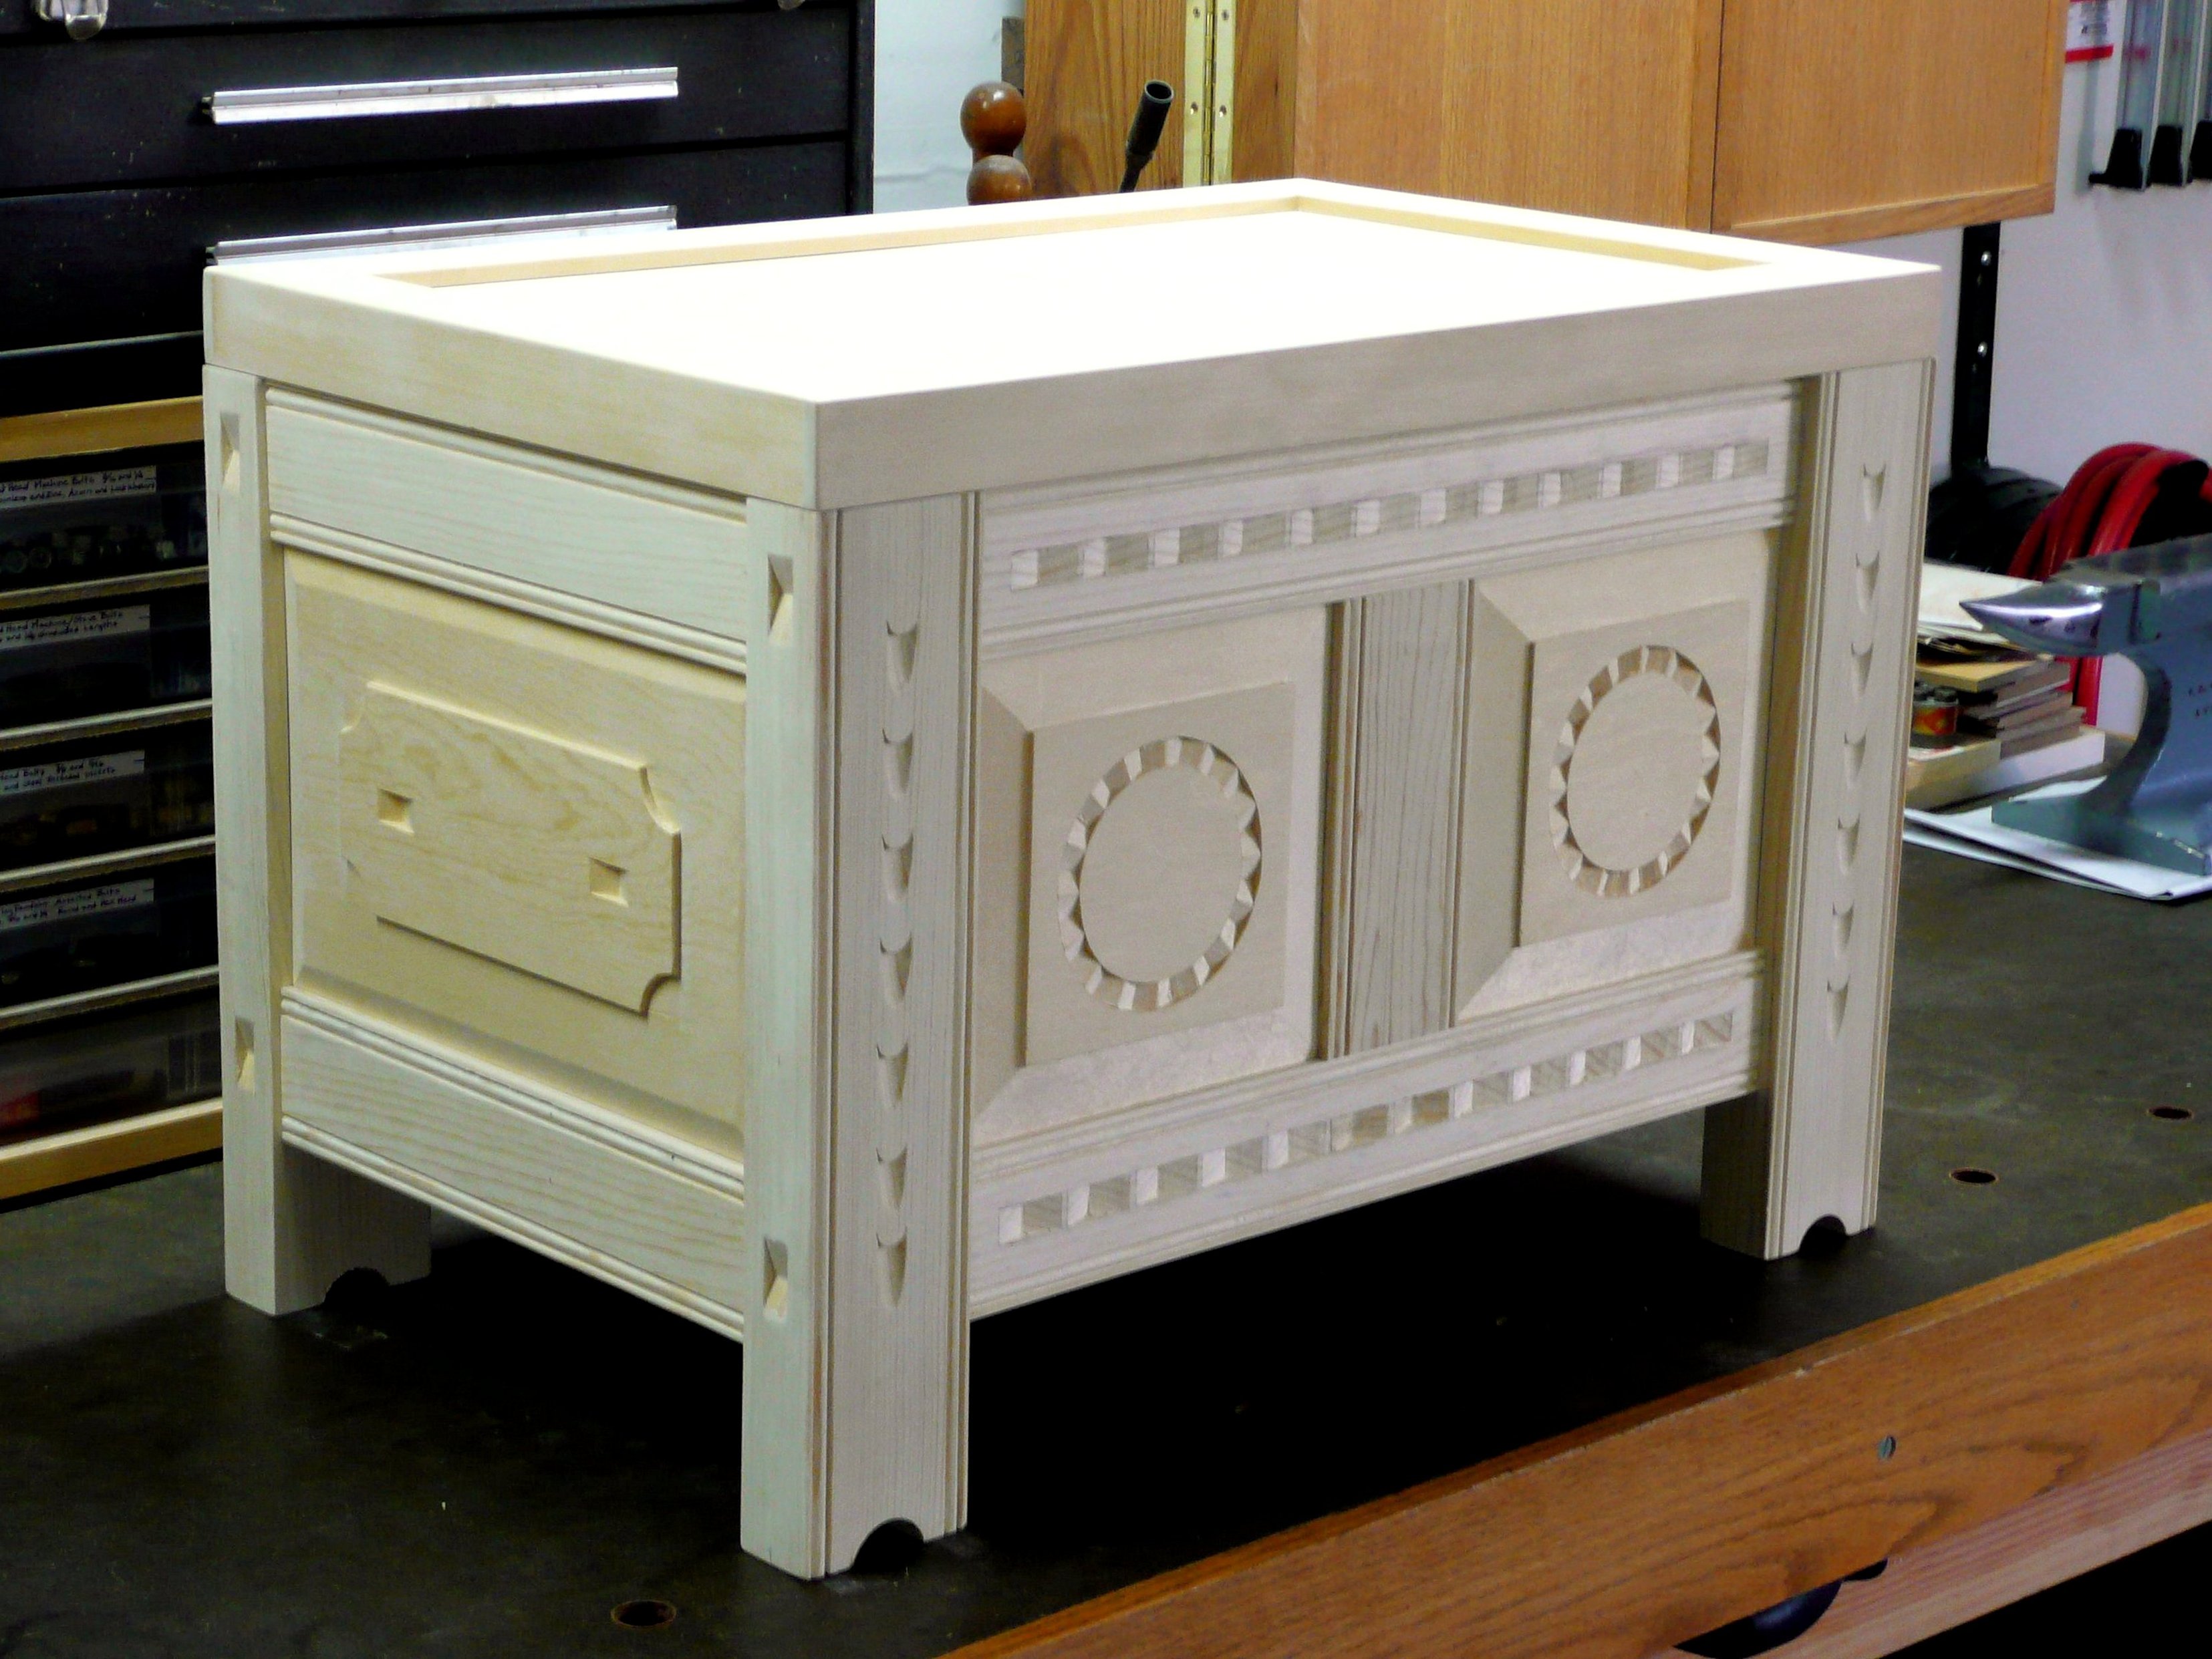
This chest is my original design, utilizing carved detailing characteristic of 17th and 18th century chests from northern New Mexico around the Taos area. It is constructed of clear Ponderosa pine, the wood of choice for that area and time period. (Click on any image to enlarge)
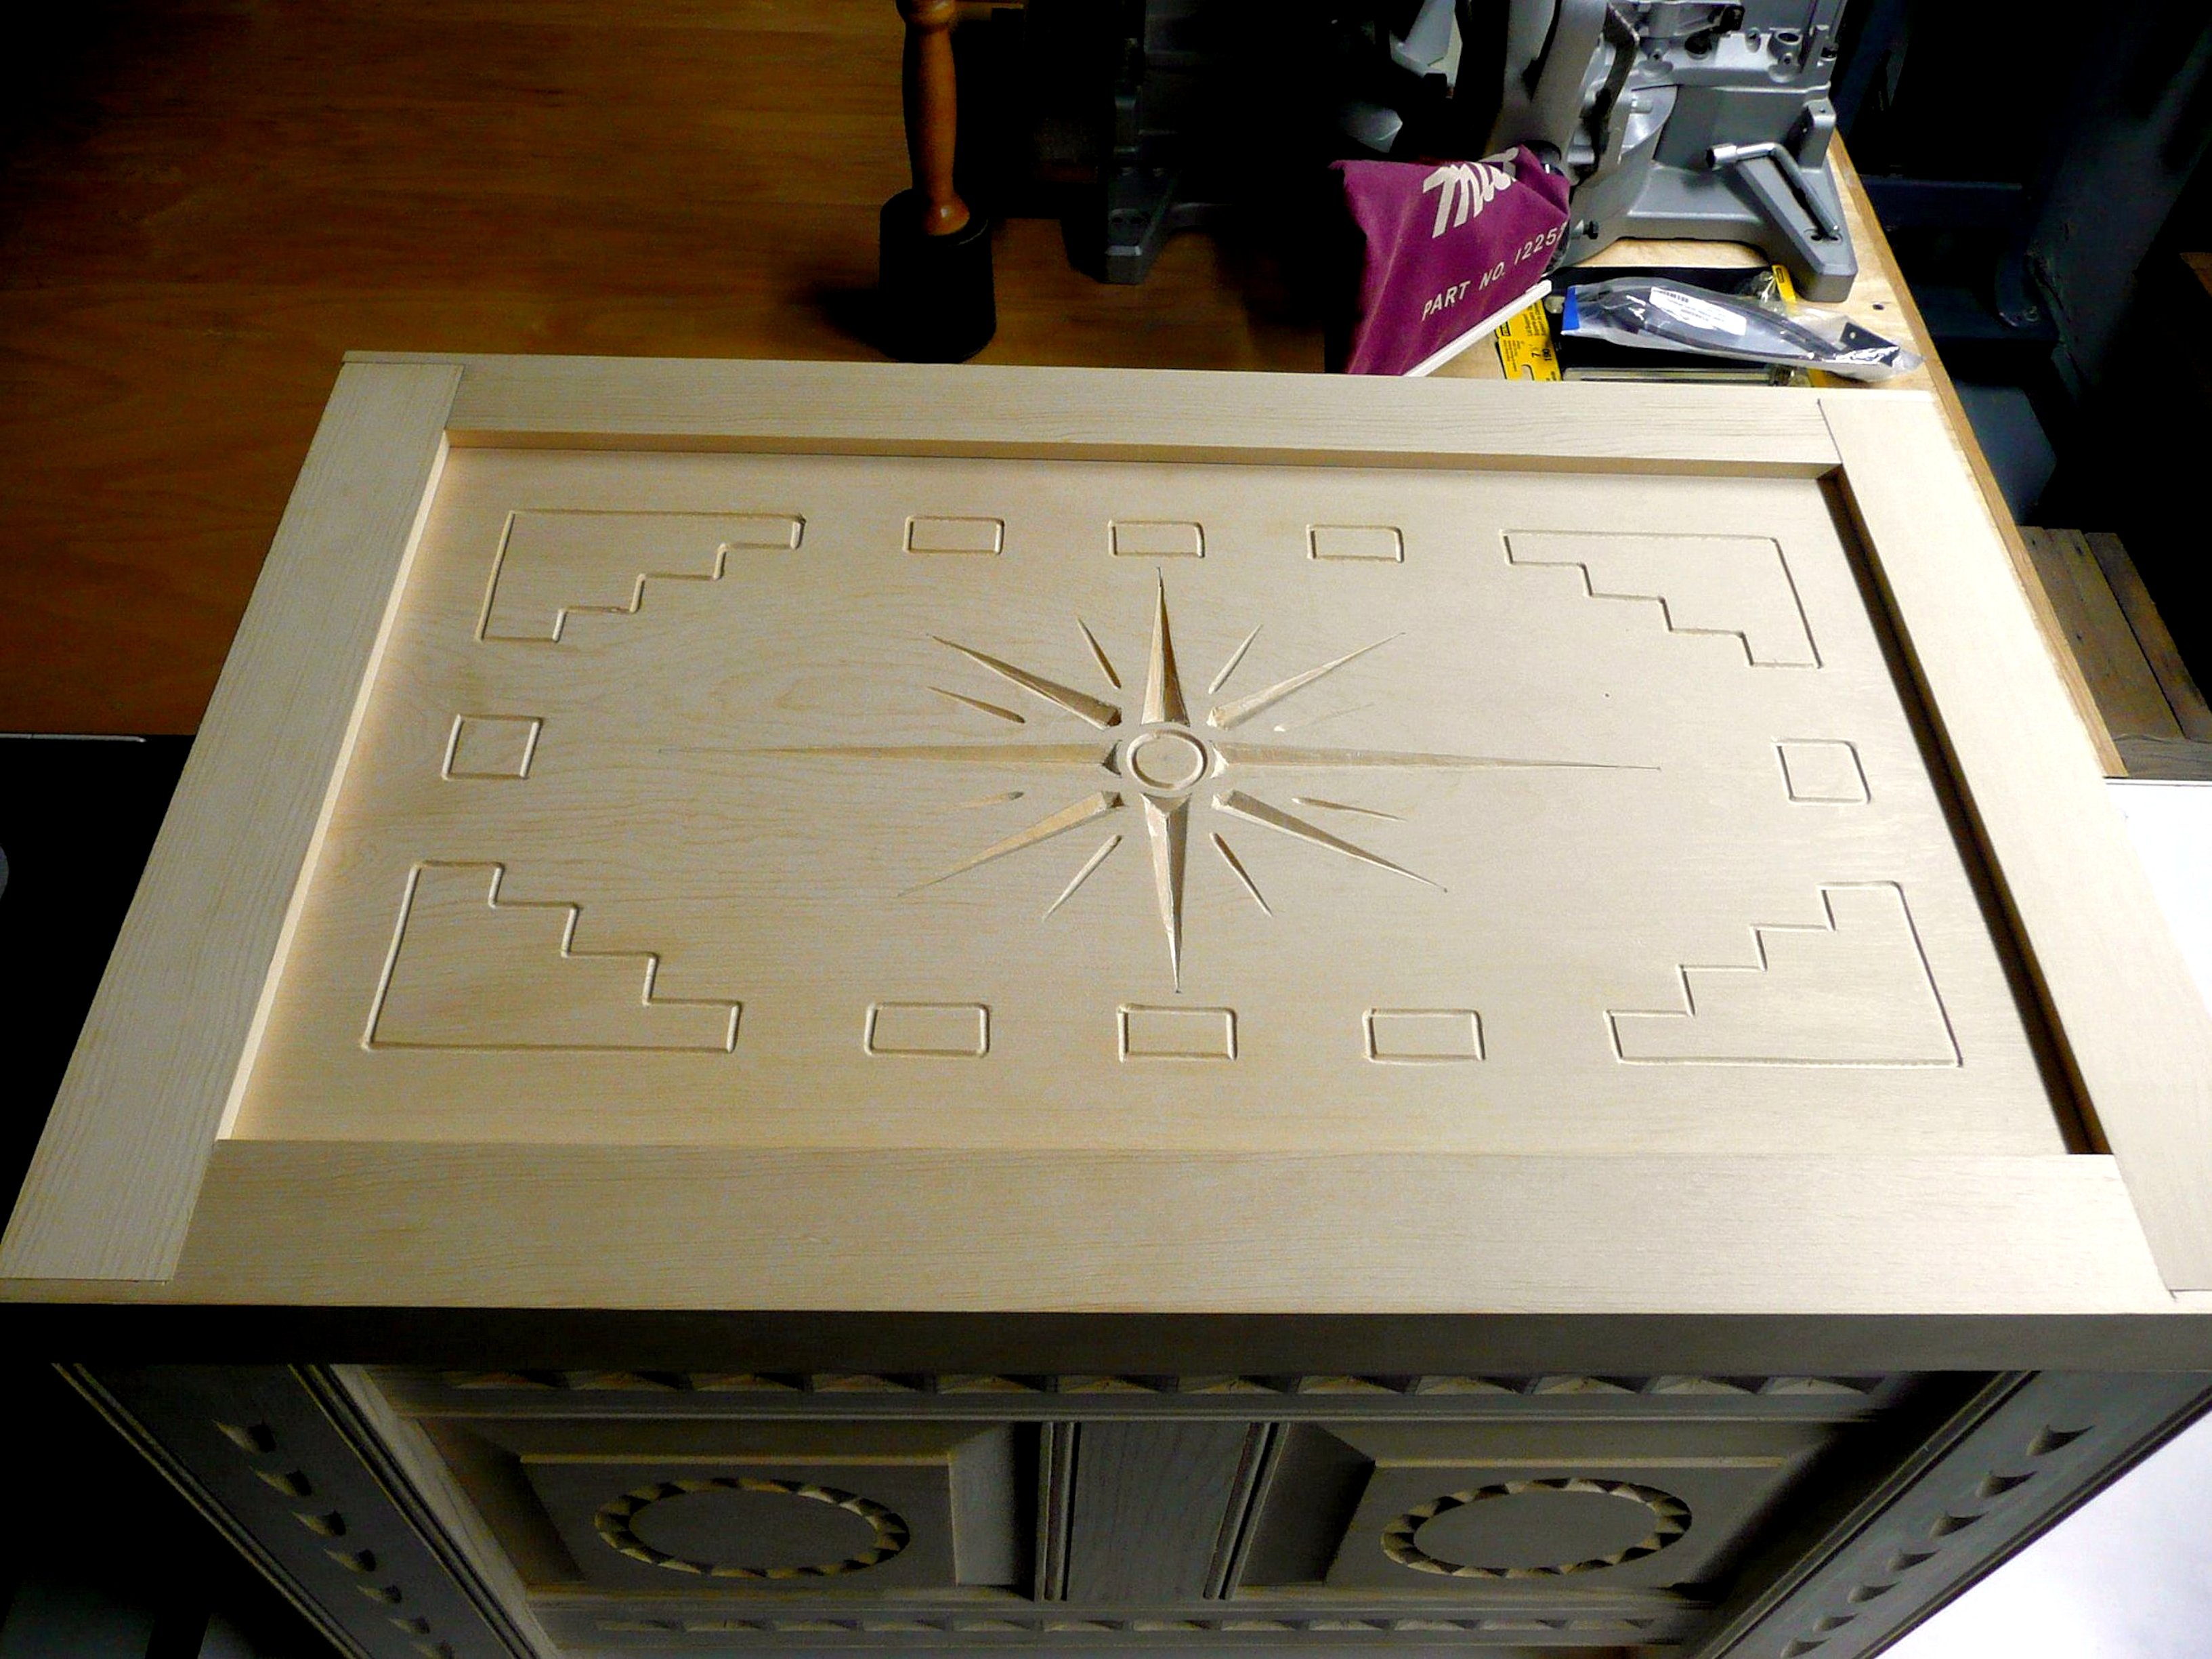
The stepped motif in the four corners of the lid is a part of the southwestern pueblo iconography, and can represent either mountains or clouds. The next three photos show the chest in its unpainted state. All four sides of the chest employ true framed, hand planed, raised panels, with the front made up of two such panels.
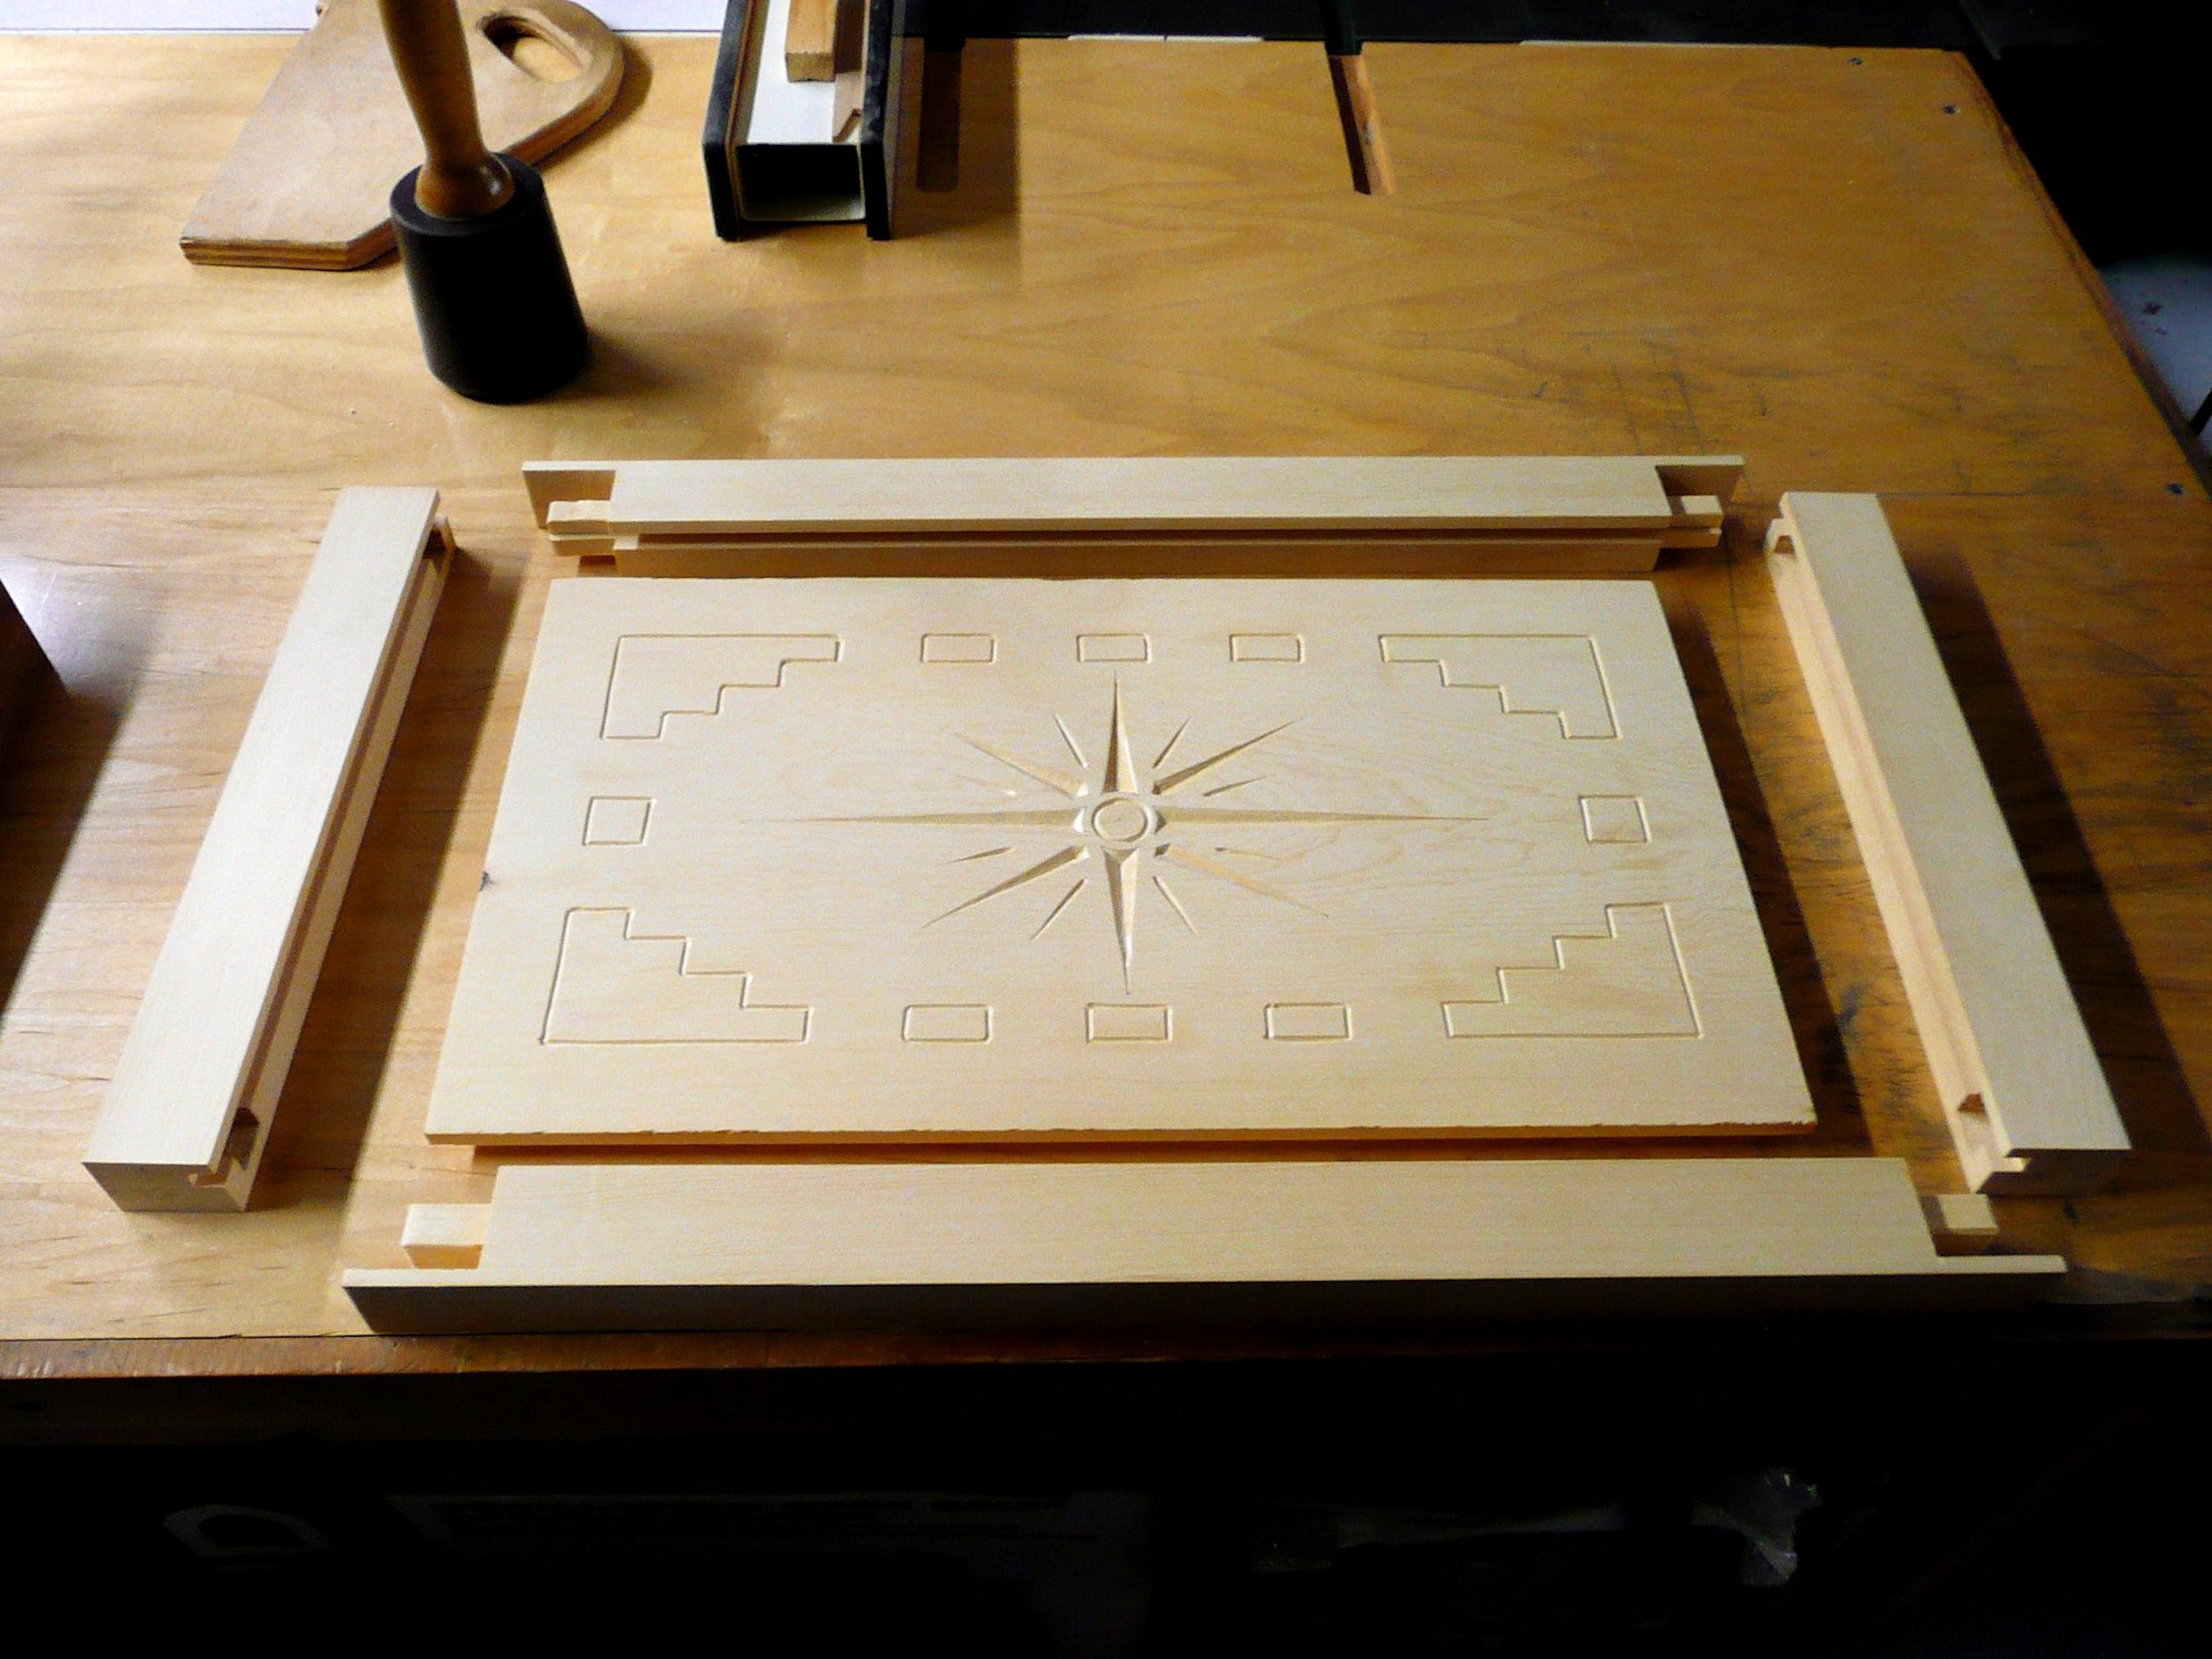
In order to keep any wood end grain from showing on framing for the relief carved lid, I used some carefully executed joinery, with blind tenons as the main connective element. This and other refined details on this chest are not commonly found in the original more rustic chests of the 17th and 18th centuries.
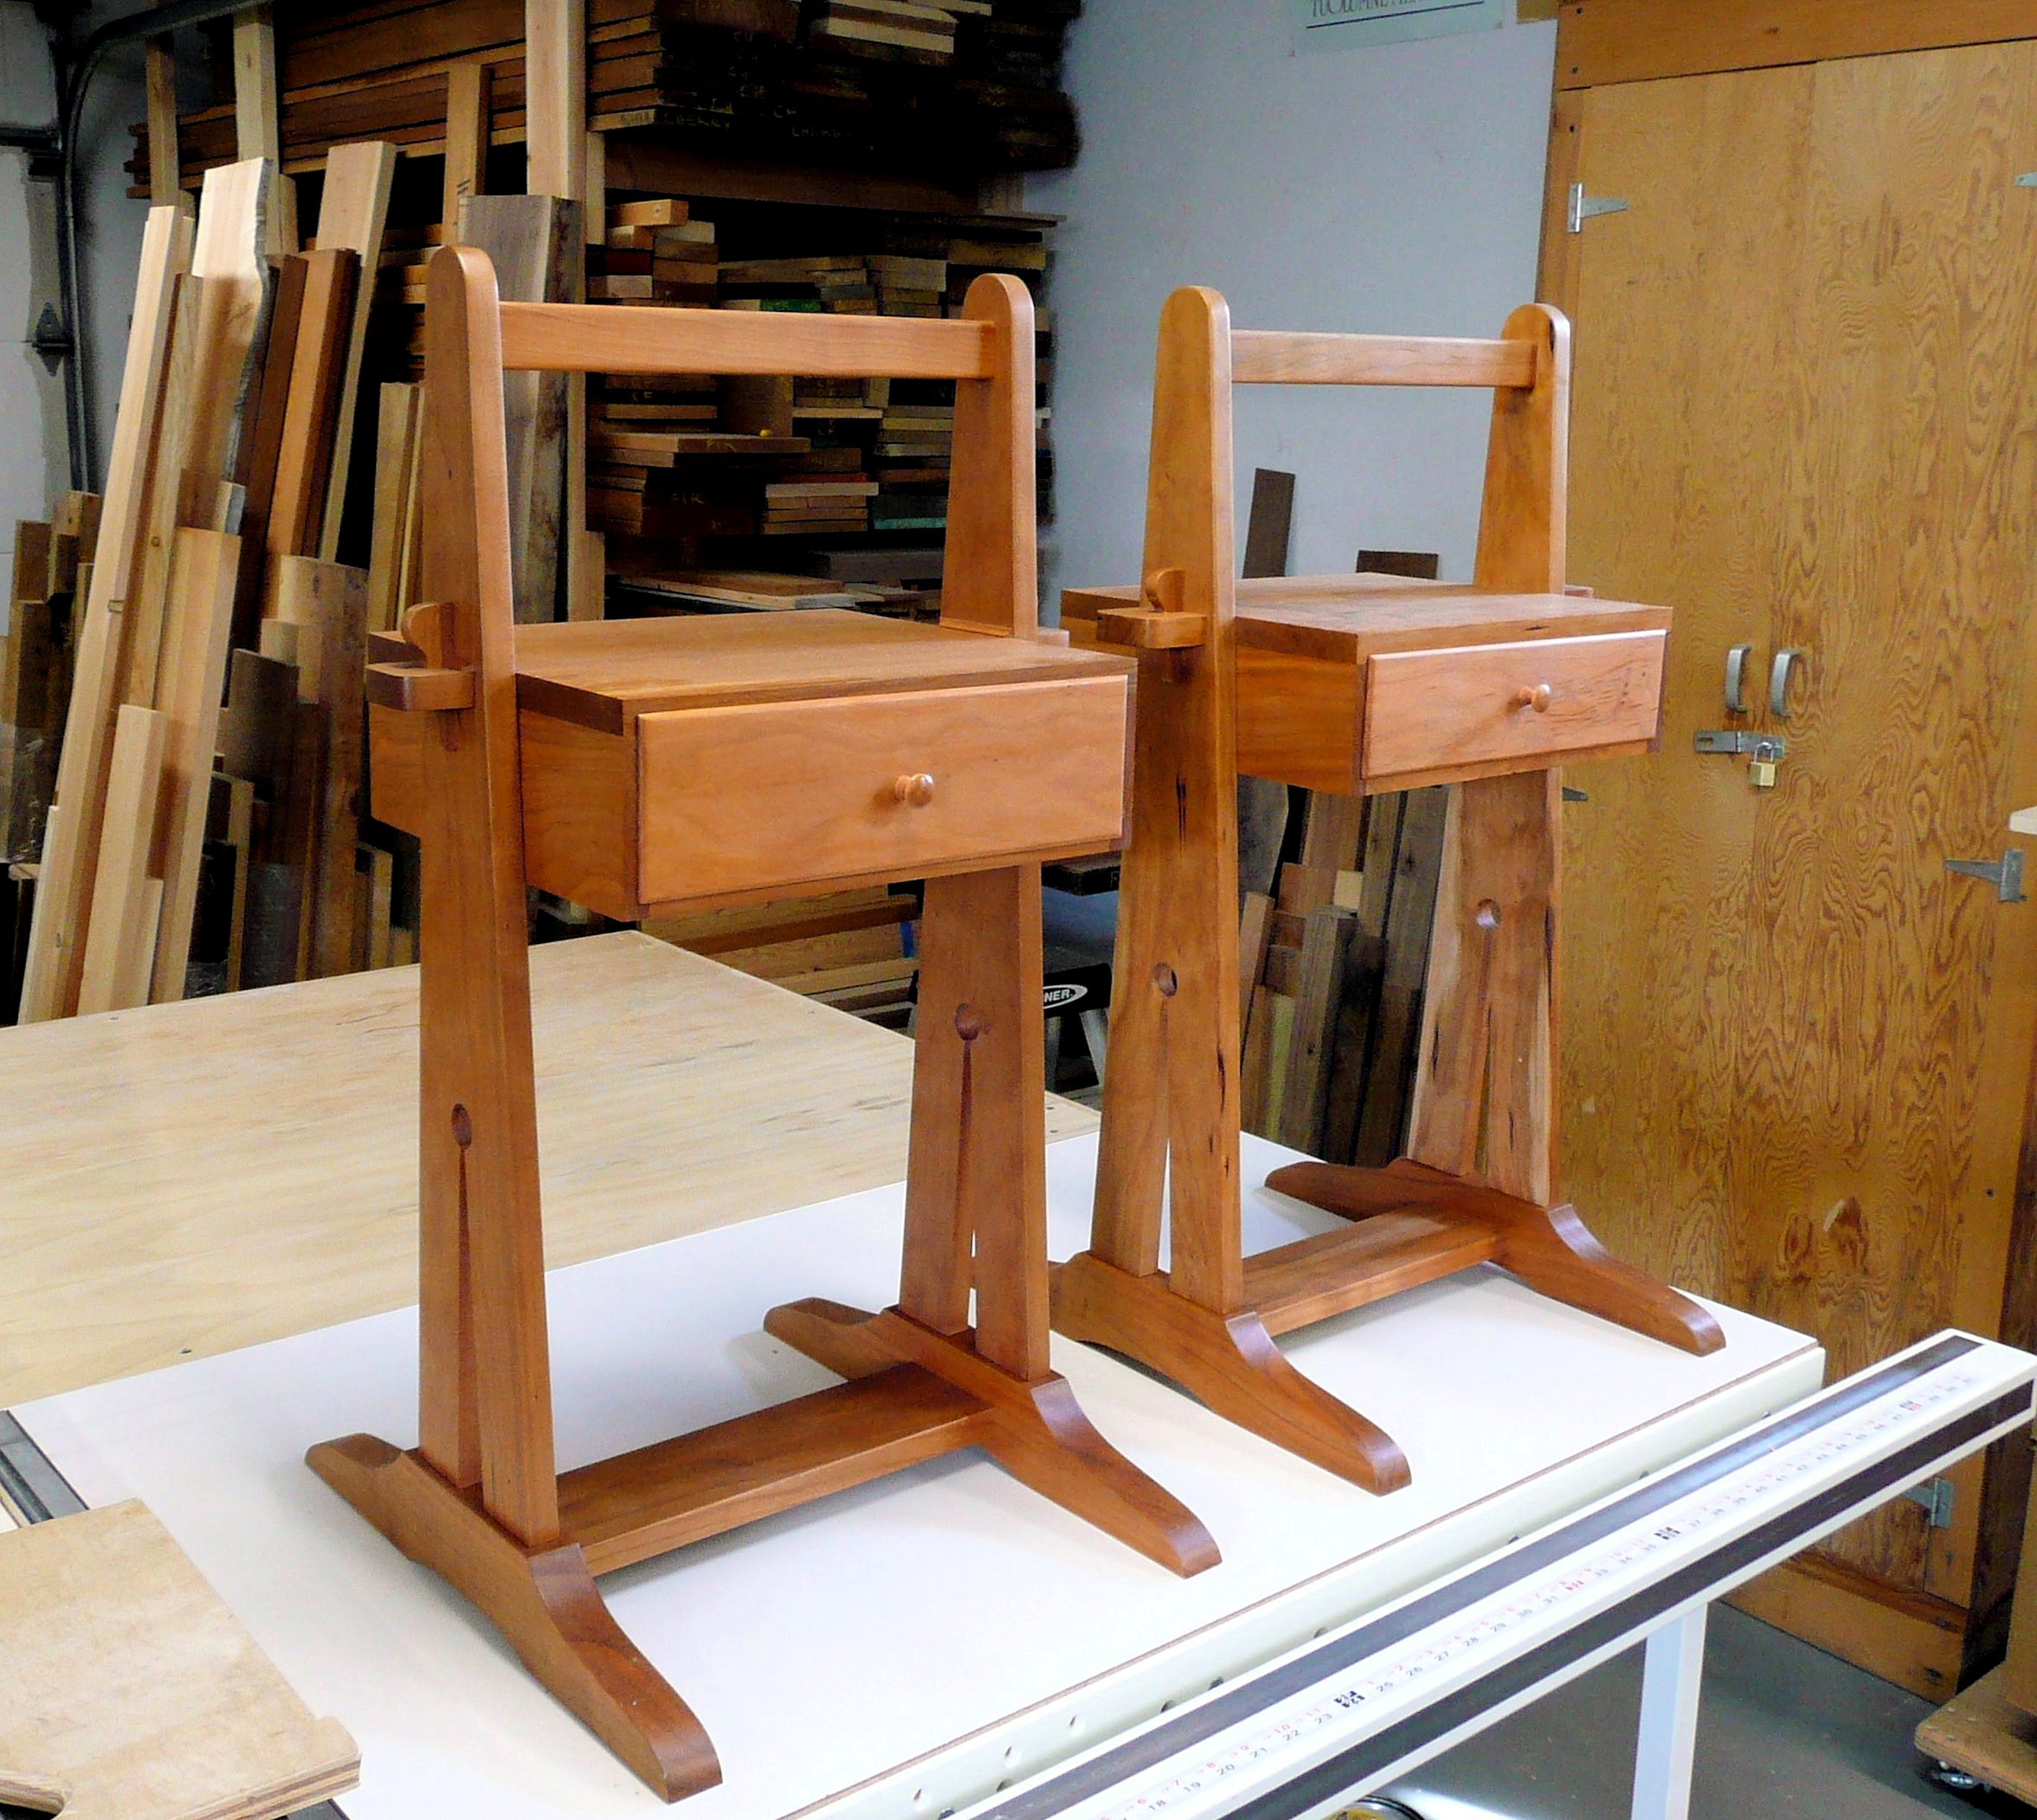
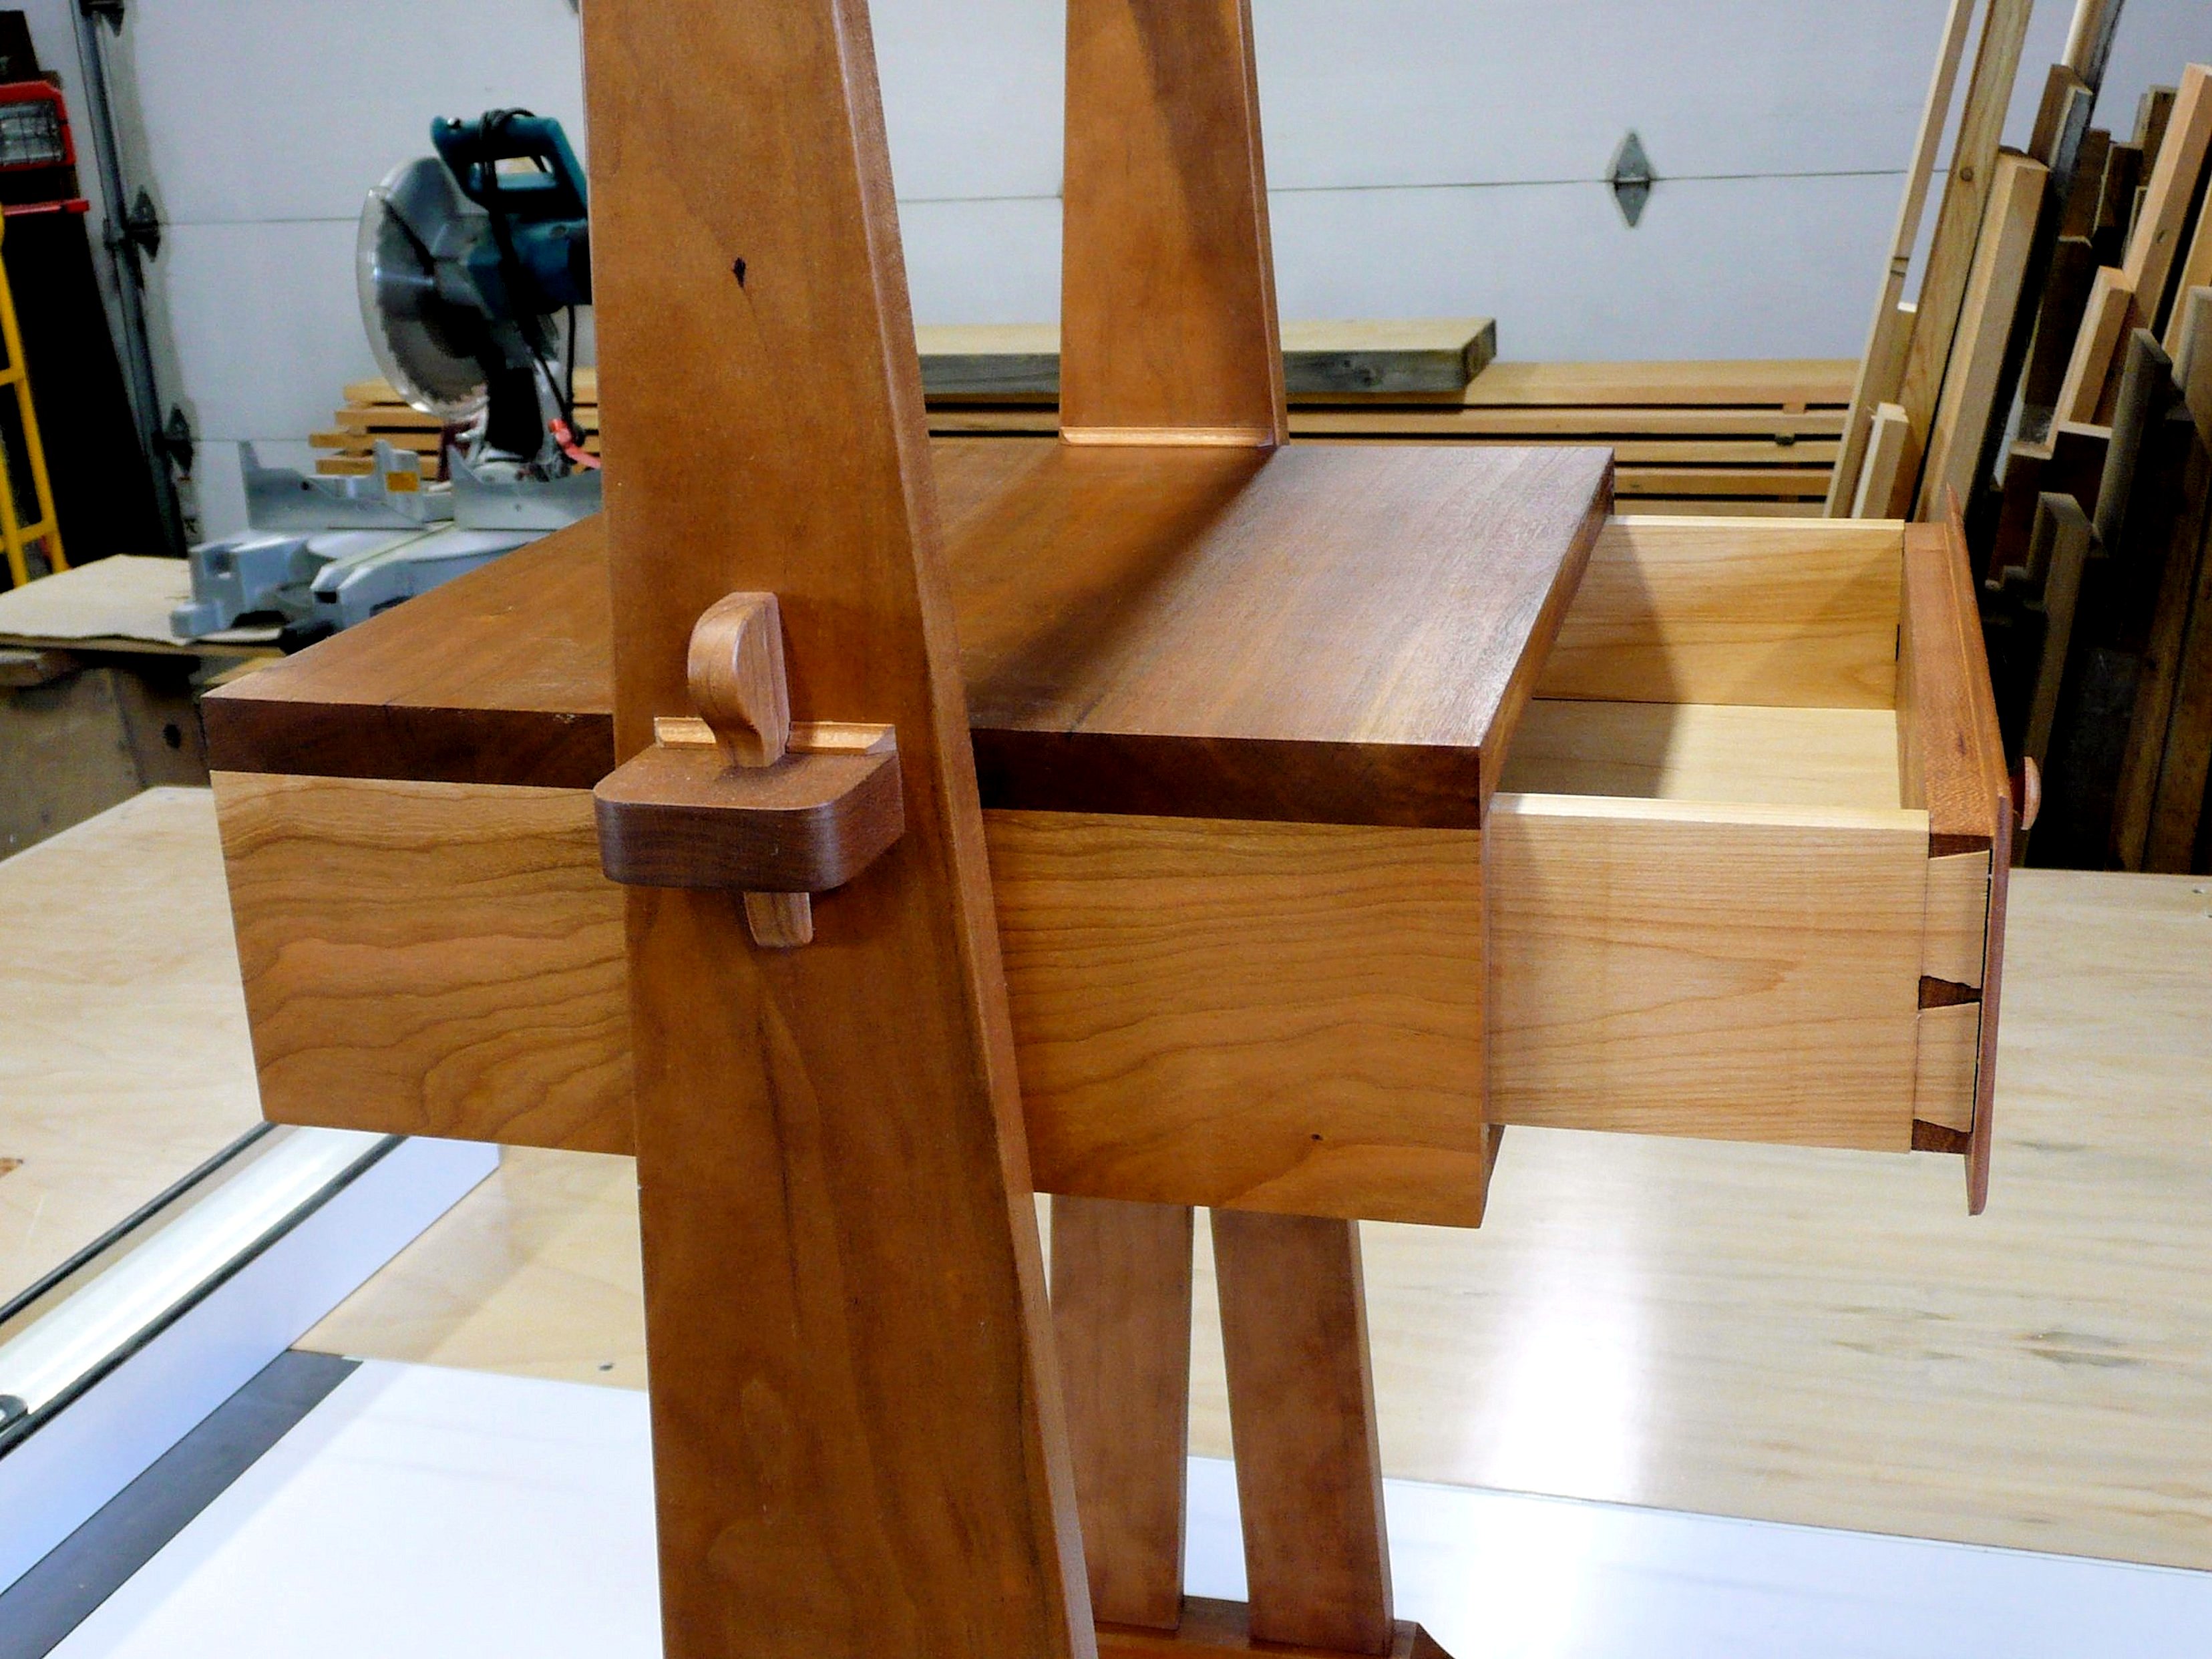
I based these two movable side tables on an early 20th century, Arts & Crafts style, smoking stand. The original stand was white oak, but I chose black cherry from the mountains of West Virginia for my tables. The nice, light cherry color will deepen to a wine red over time. They are finished with a hand rubbed oil finish and wax. The flat table surface is right at arm chair height making them useful for small items like TV remotes. The cross-bar handle makes them easy to move from one placement or room to another. (Click on any image to enlarge)
The cherry drawer fronts are joined to the maple drawer sides with hand cut, “half-blind” dovetail joints, which means the dovetails show on the sides but not on the face of the drawer.
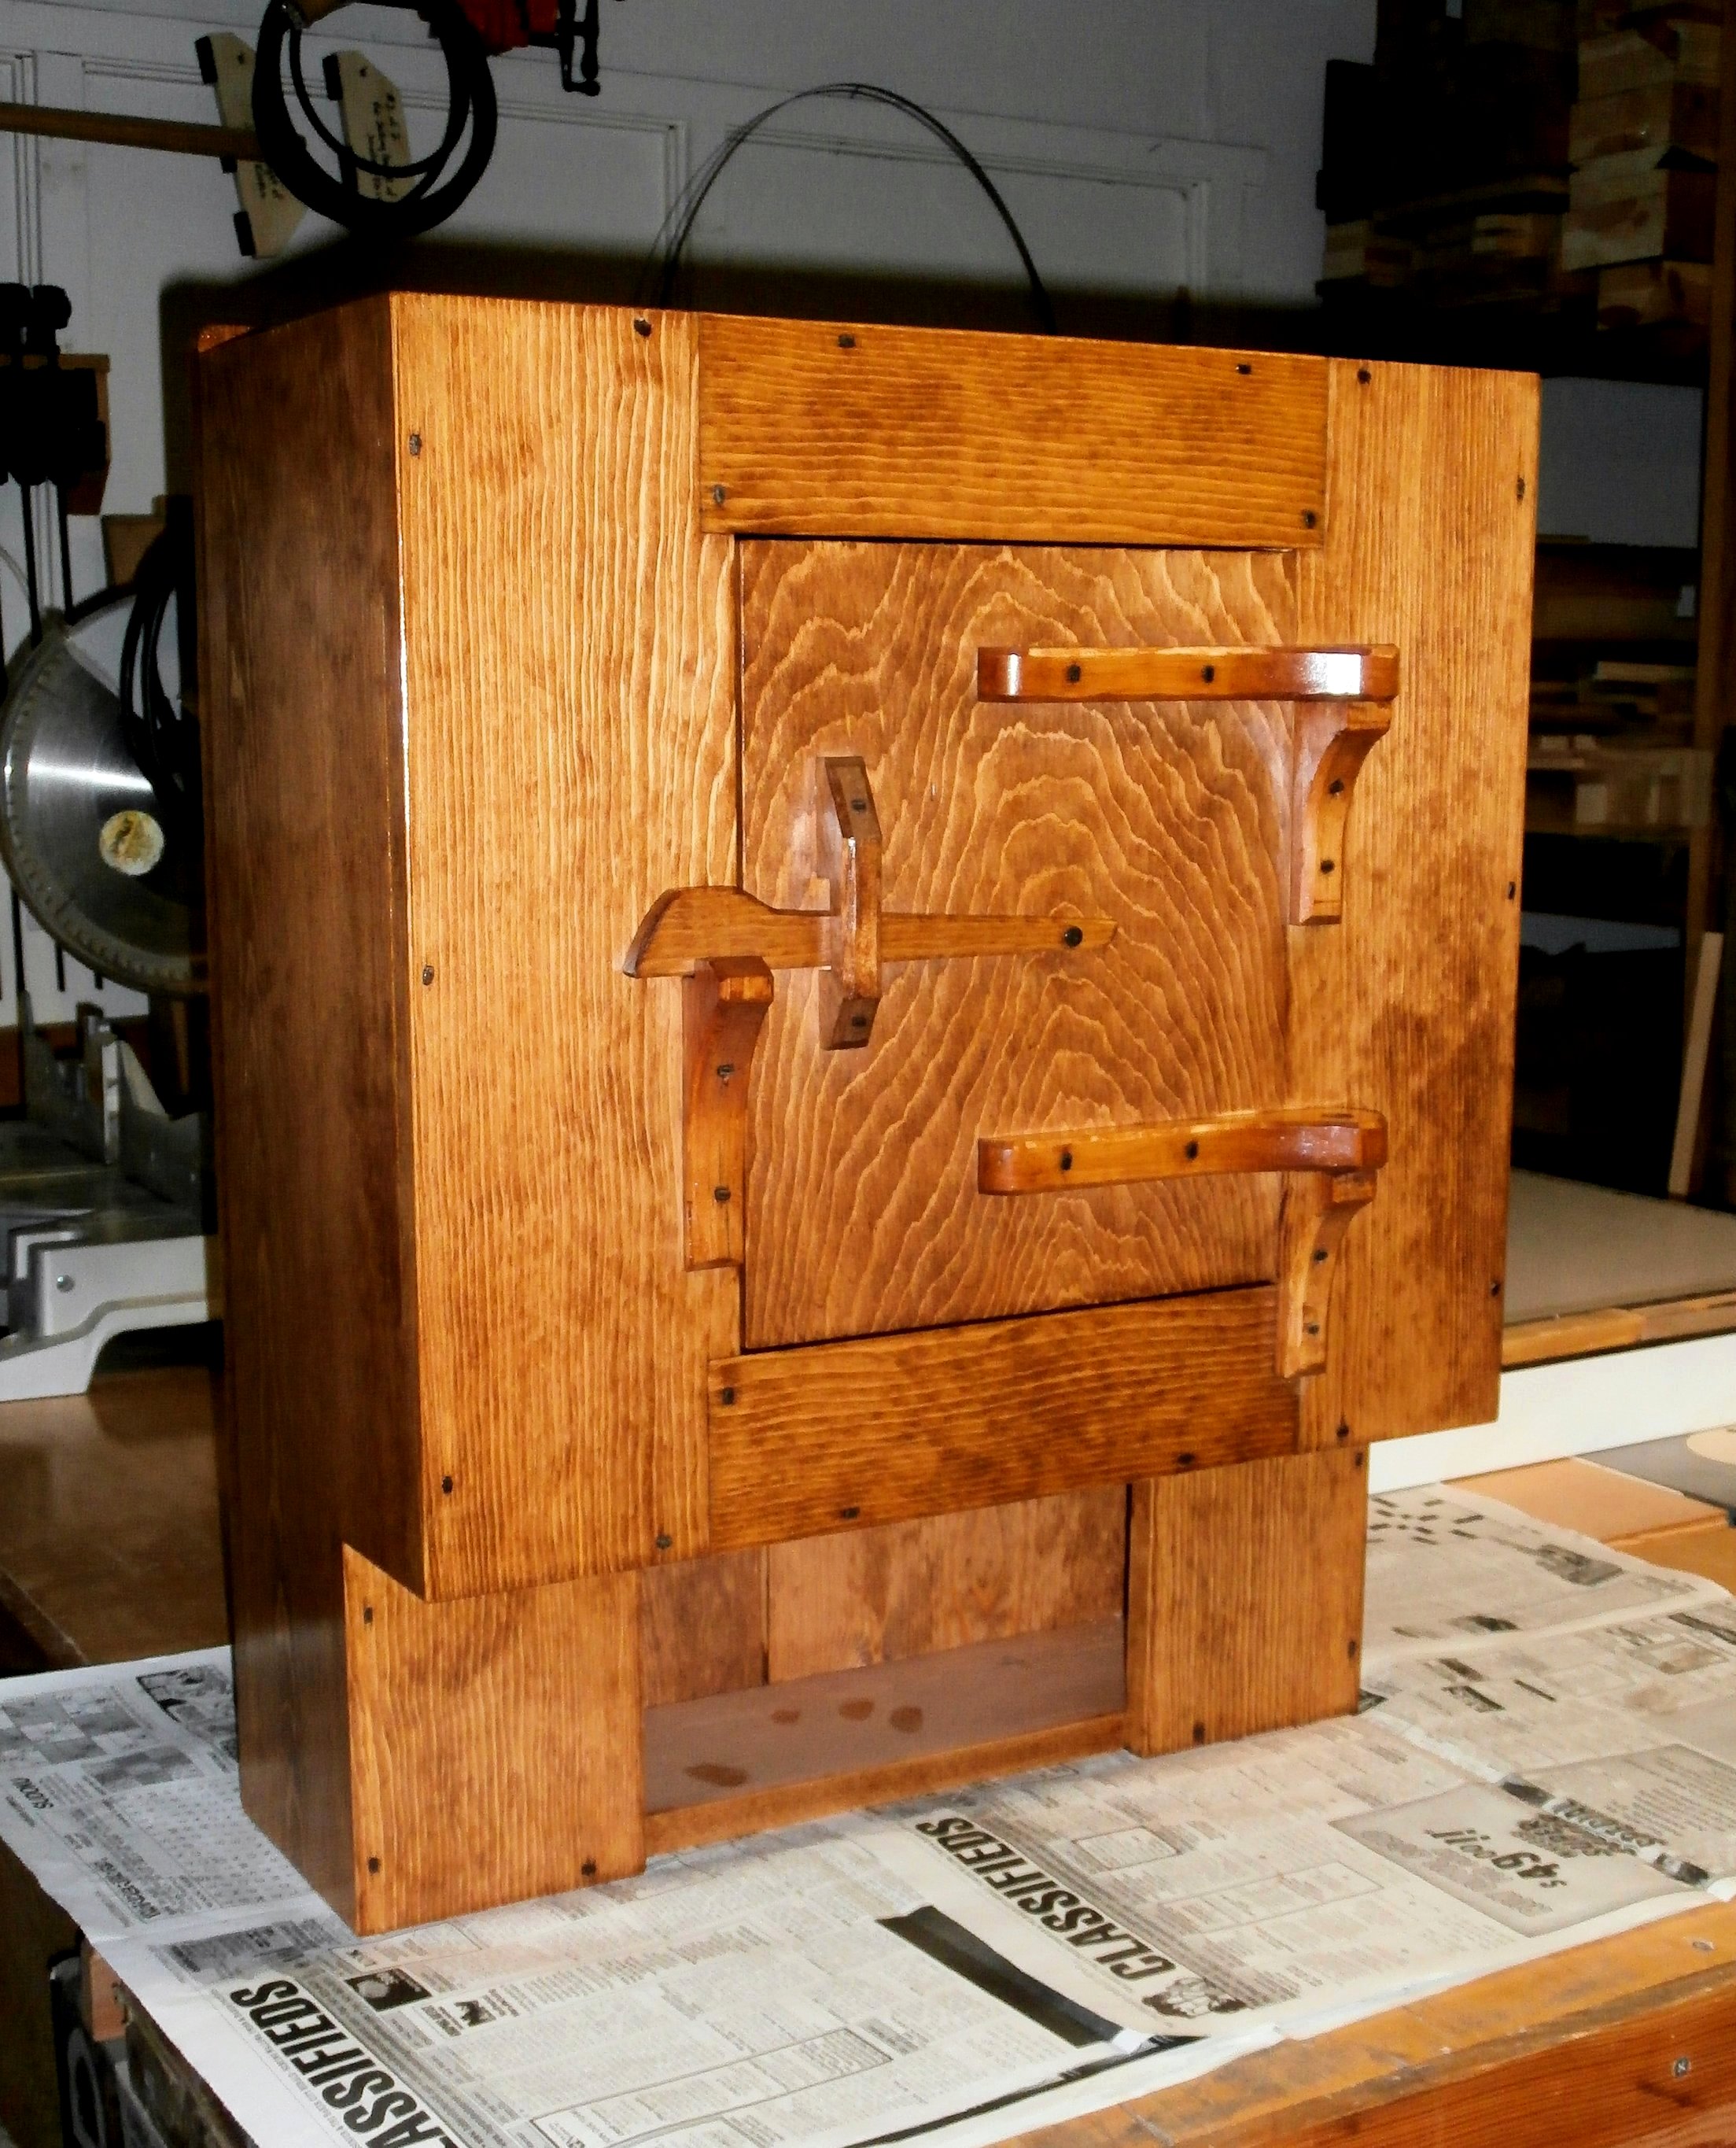
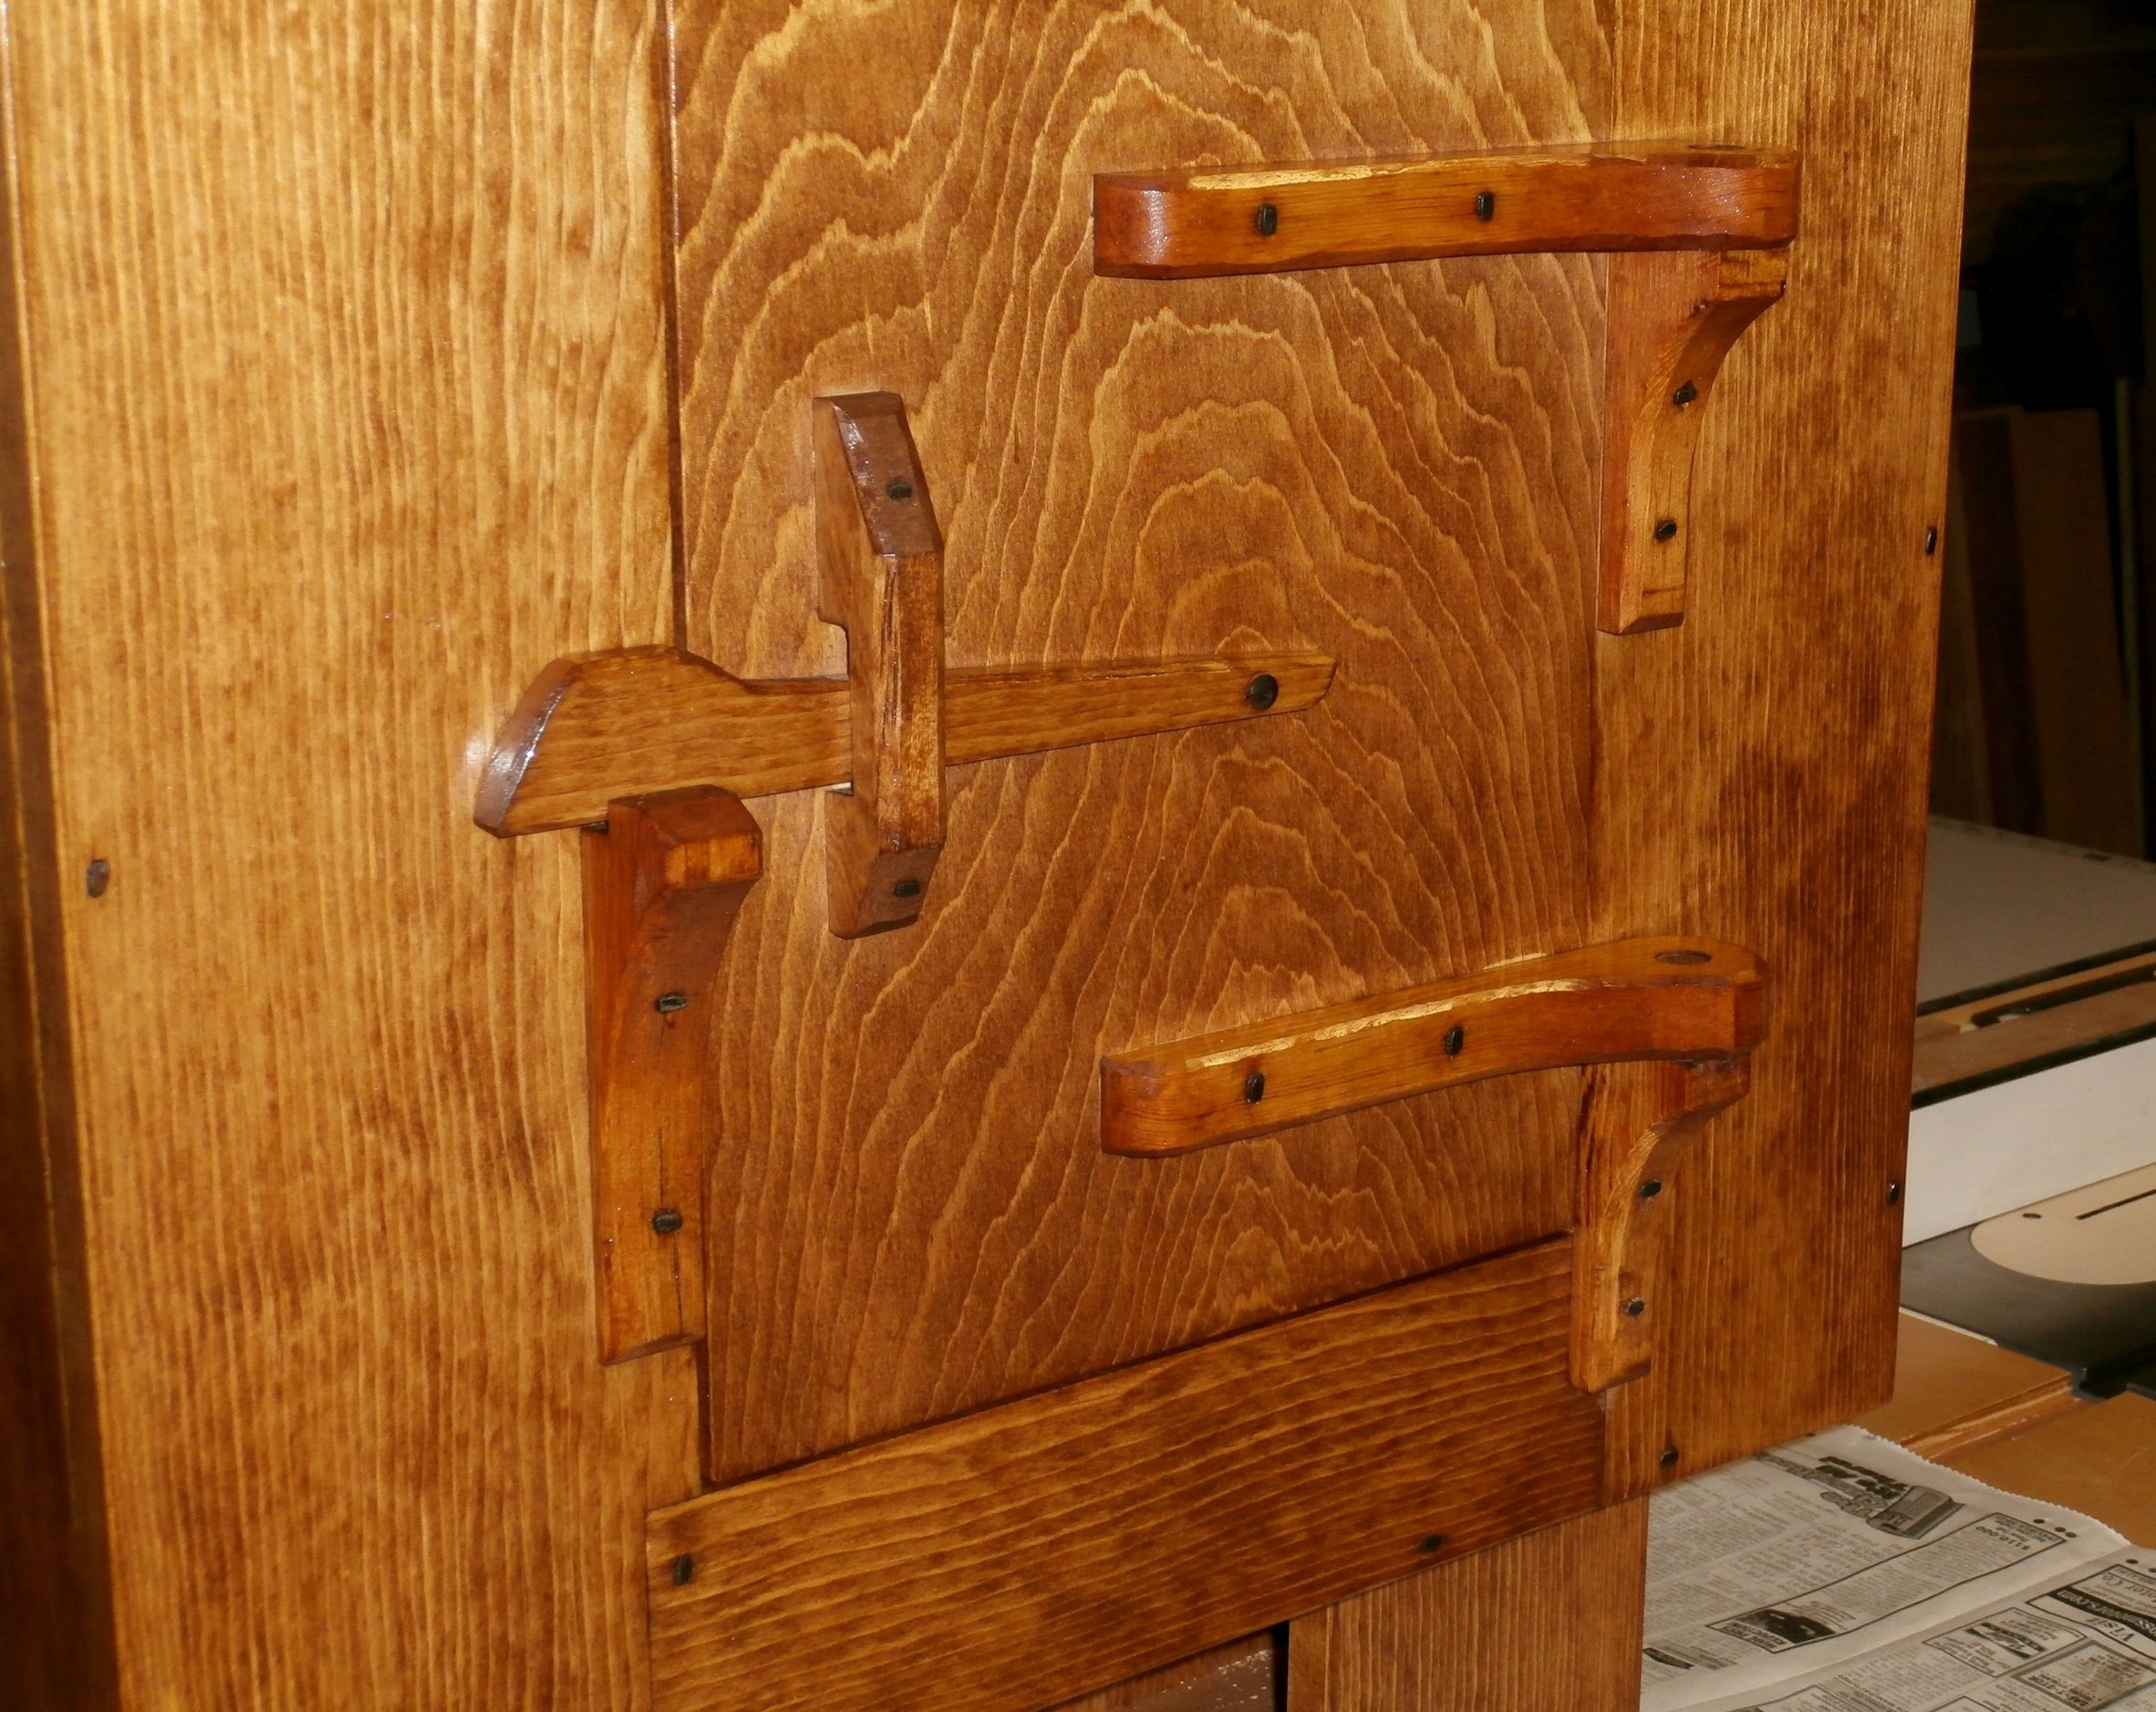
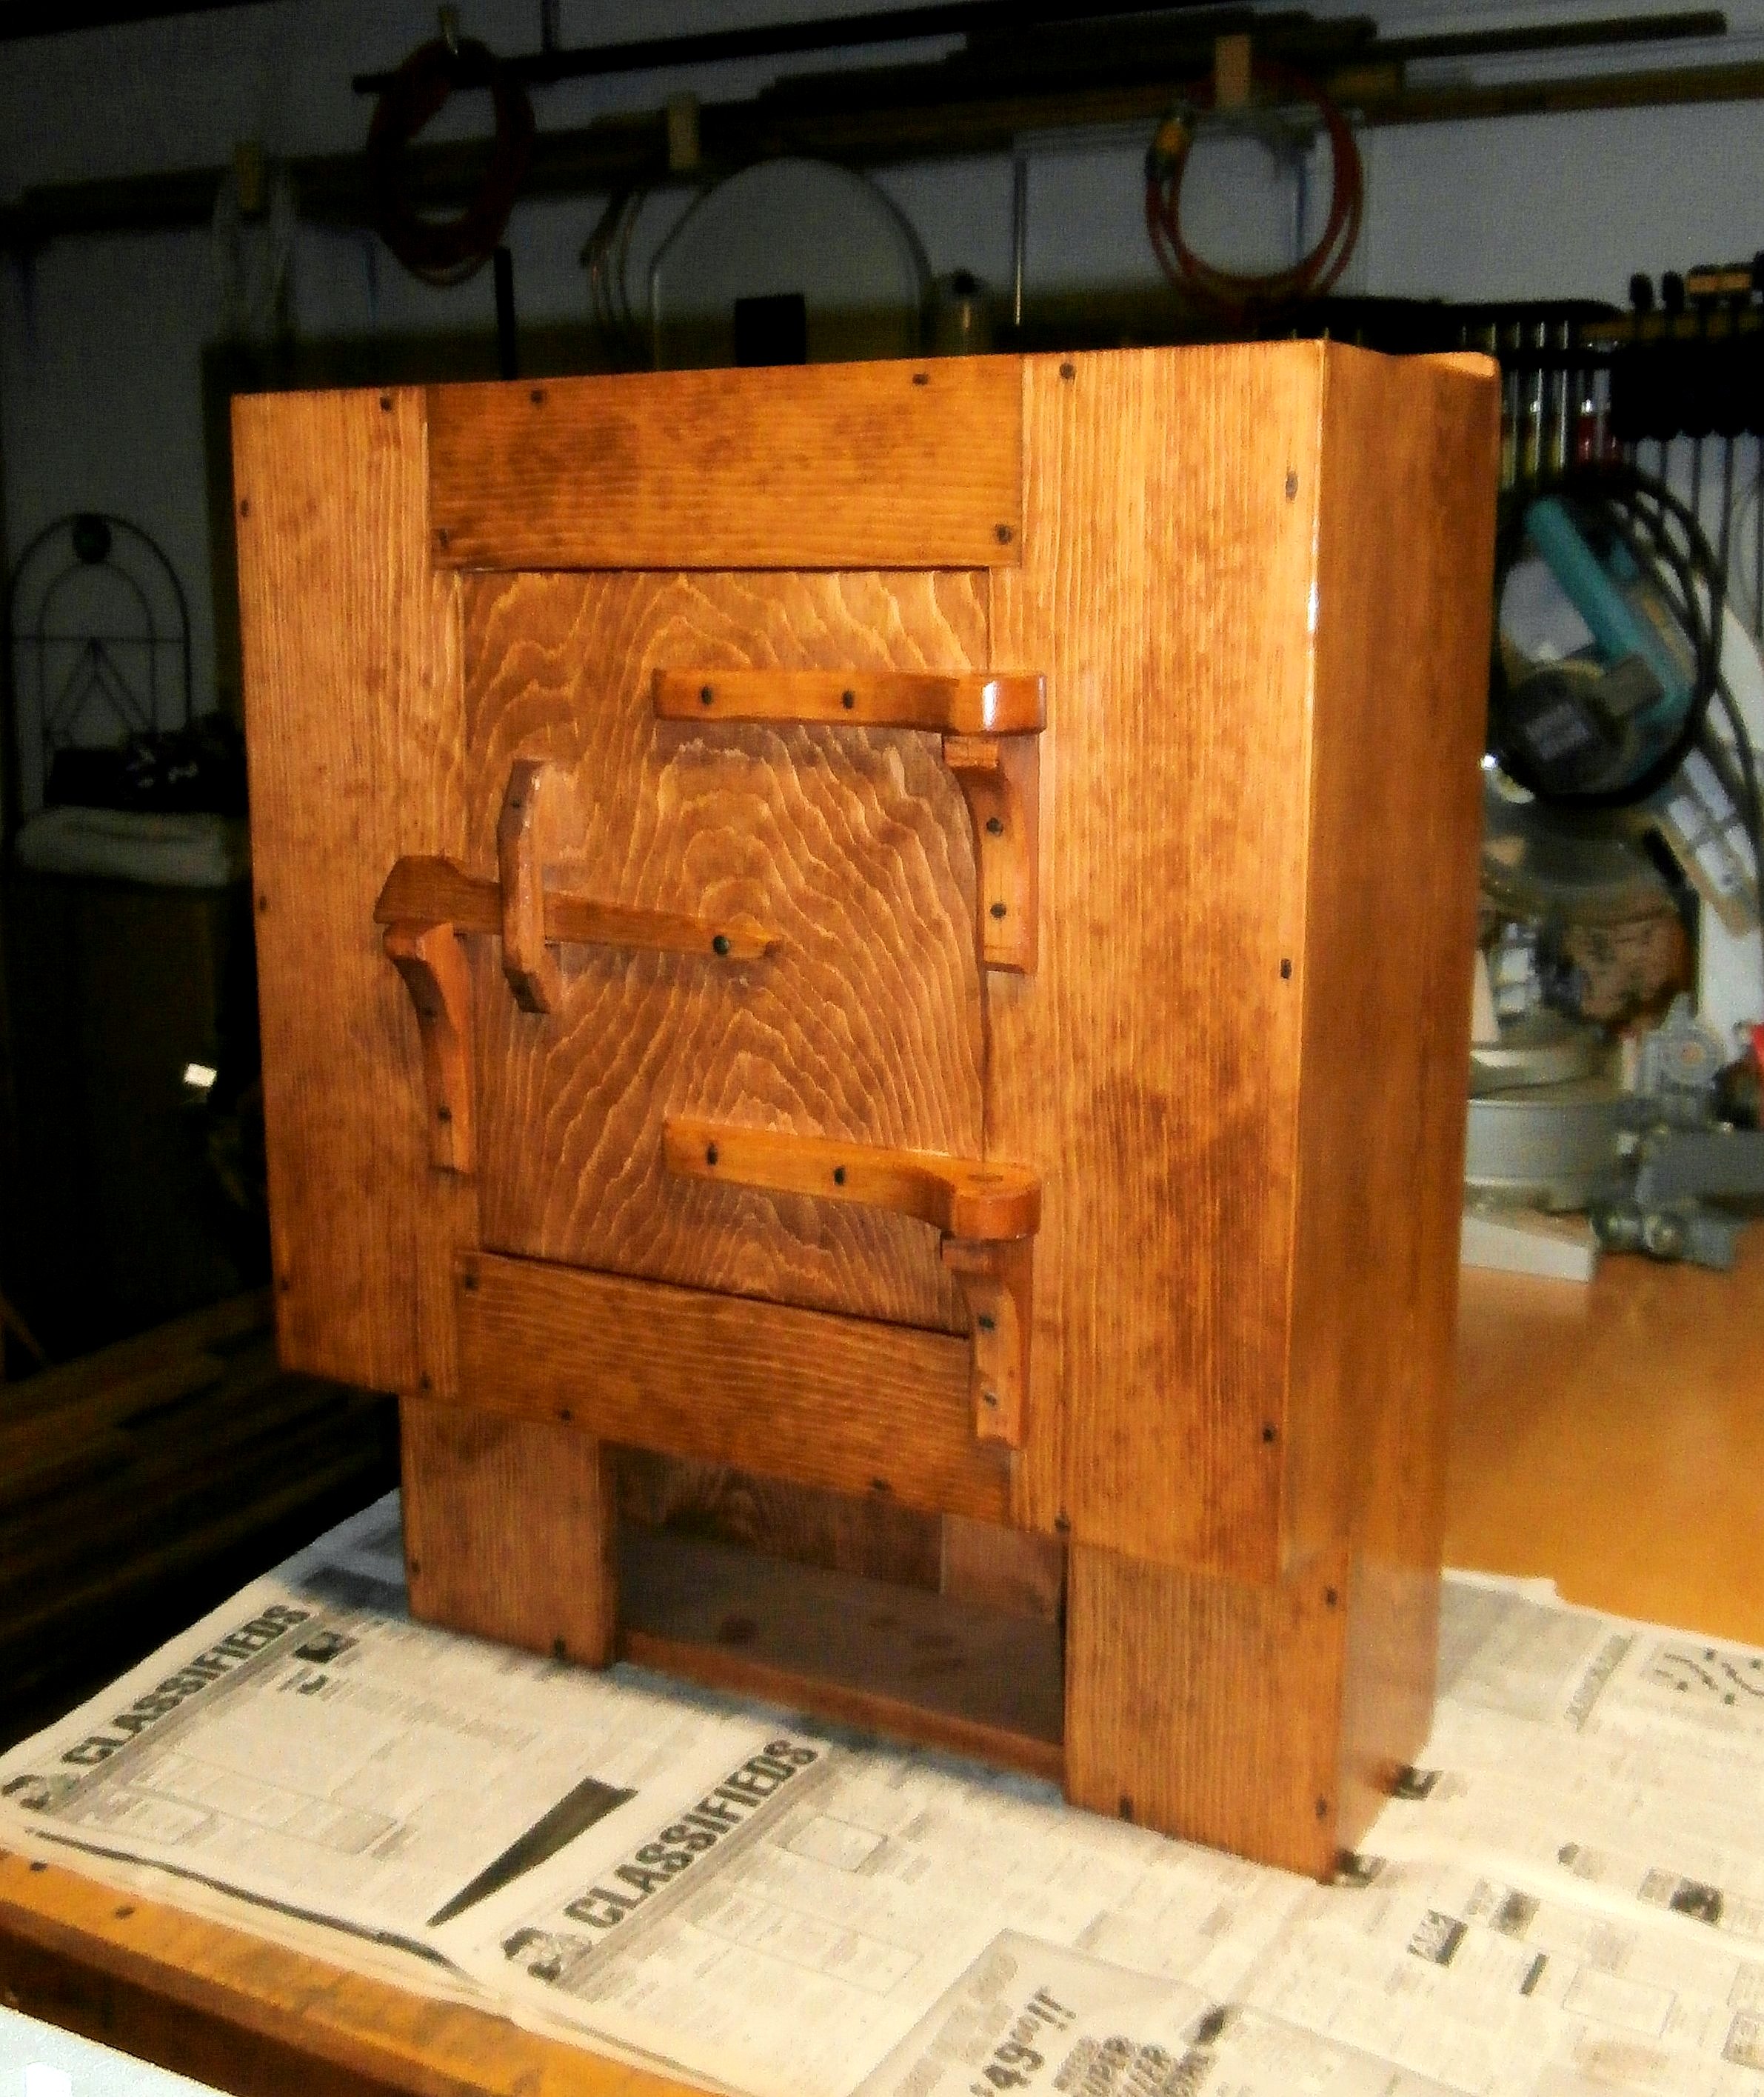
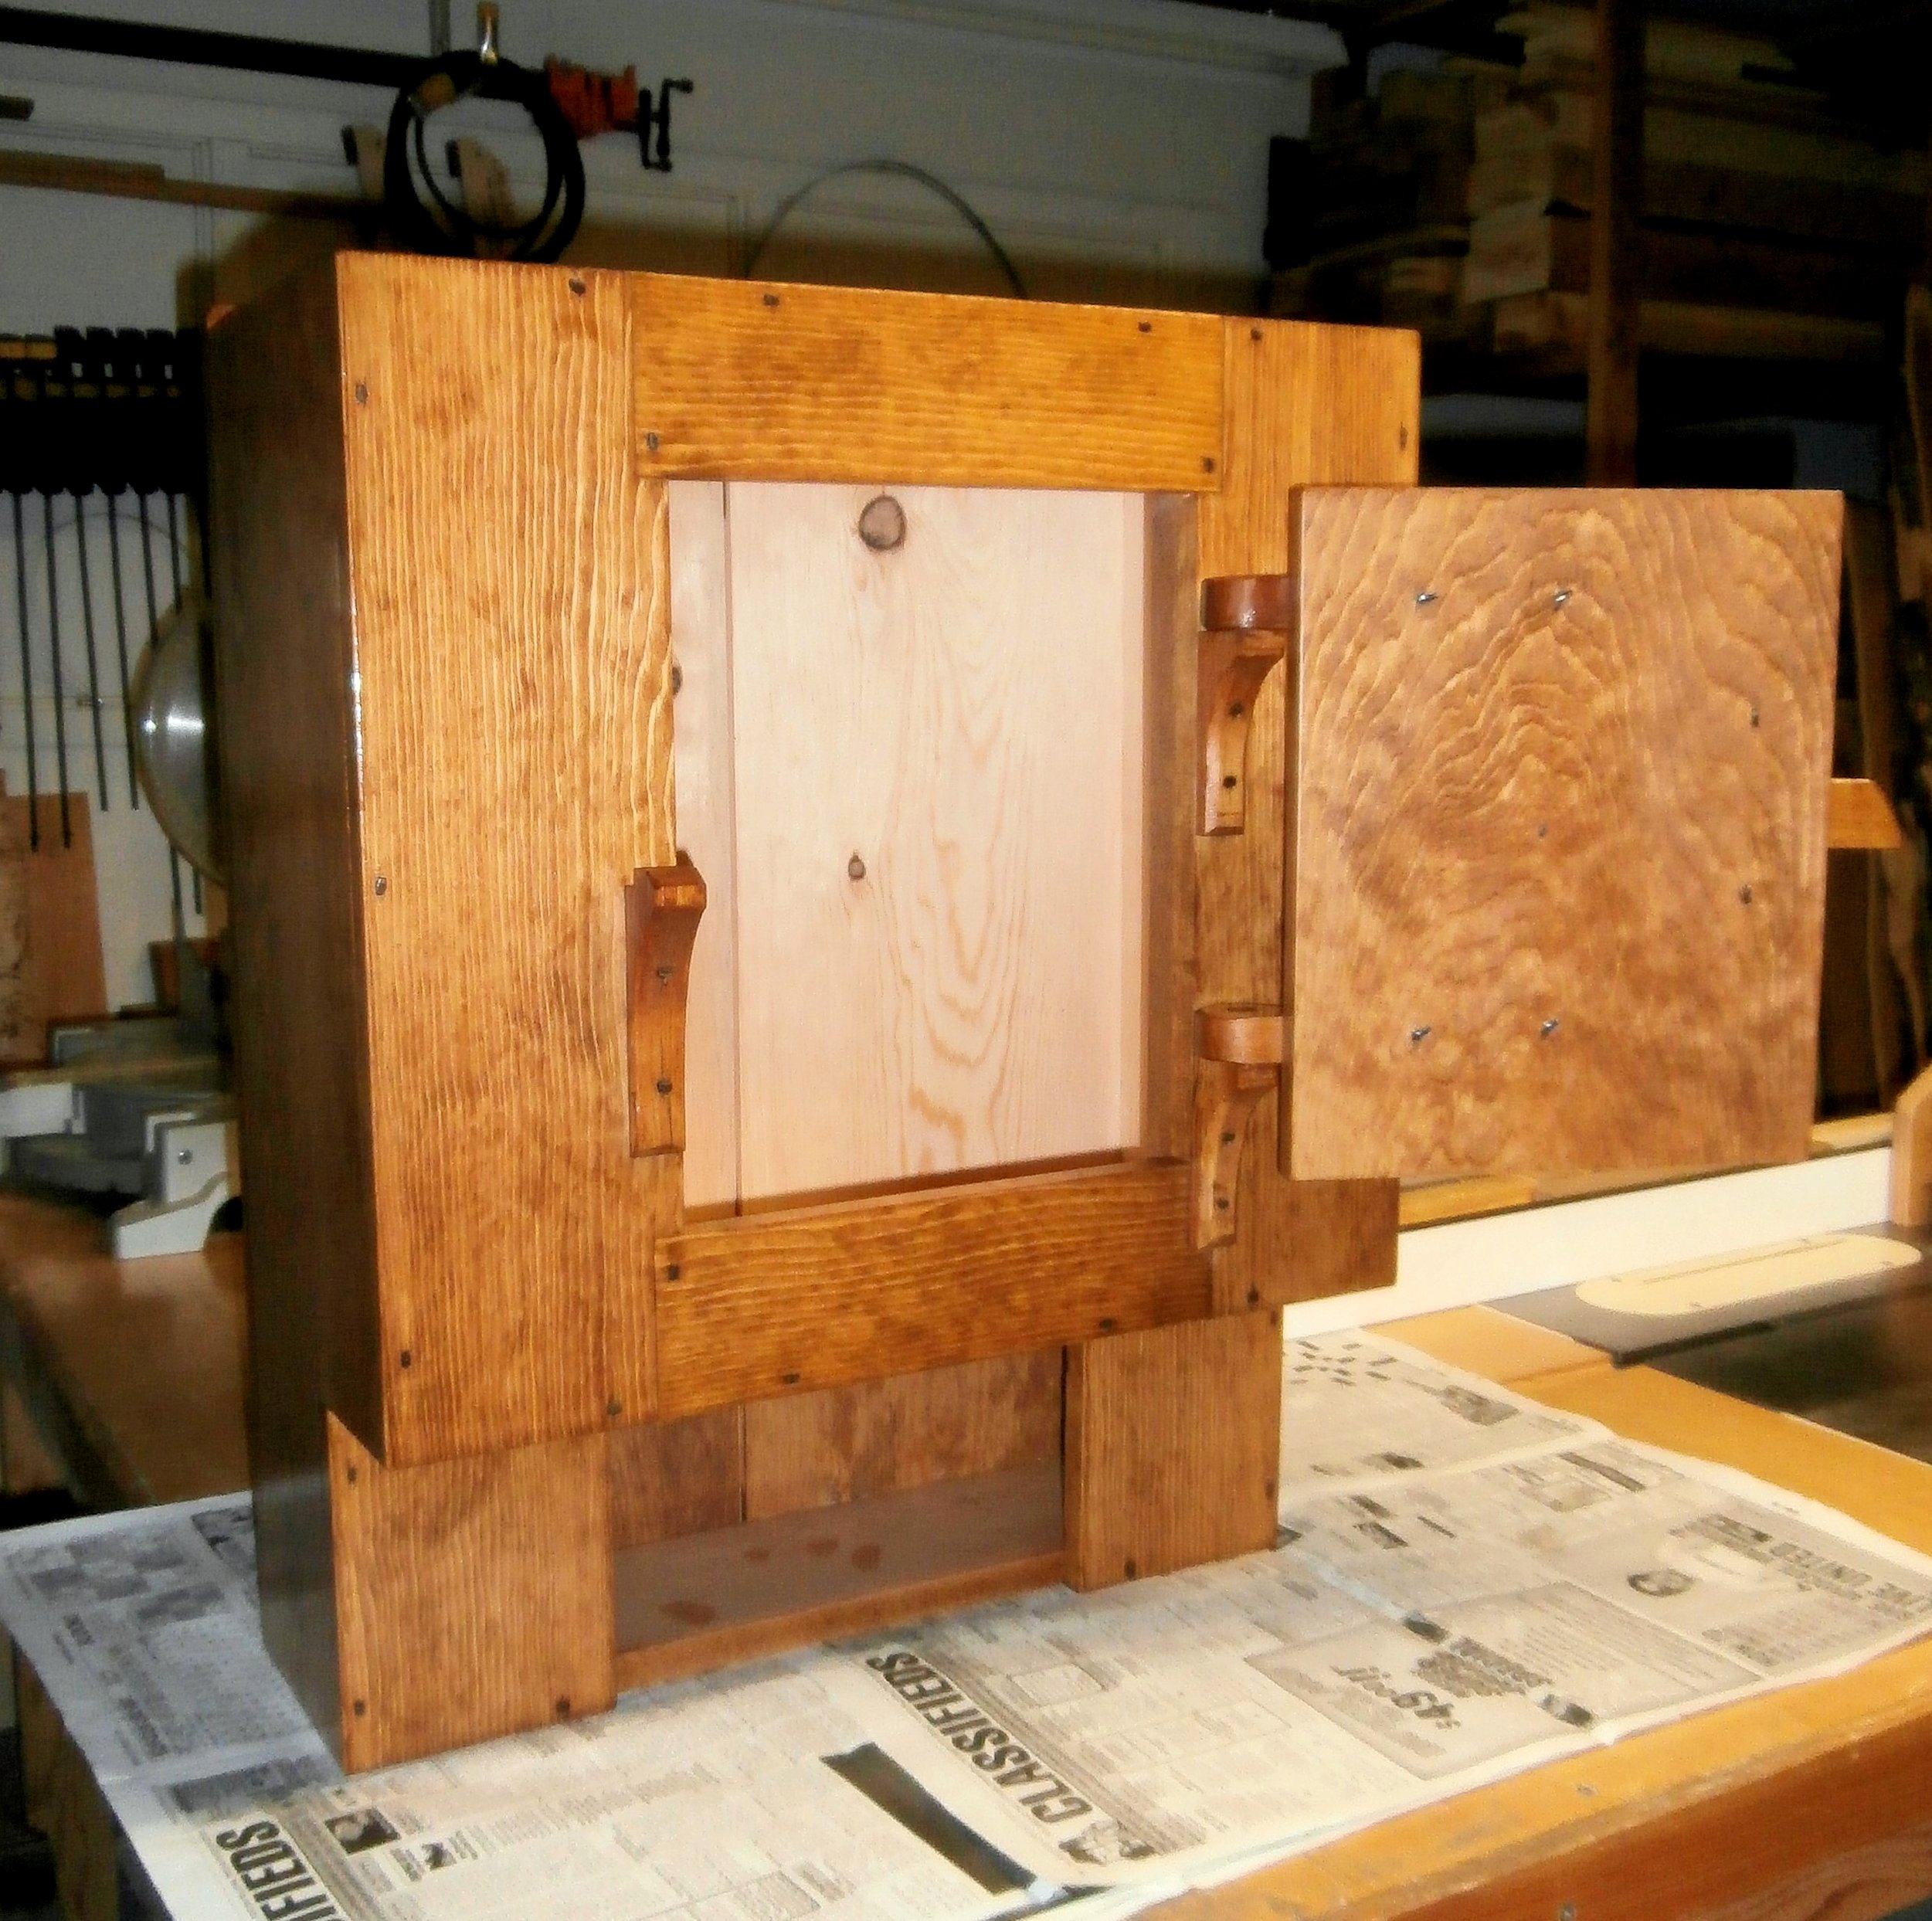
This is an experimental piece, loosely modeled after an antique original. It gave me an opportunity to try some hand carved, chamfered “hardware” (hinges and latch), and to join the pieces making up the cabinet with traditional, square-cut nails. (Click on any image to enlarge)
Although it was not terribly difficult, the hinge pieces (pintle and strap) had to be sized properly to allow the door to swing open without binding, and for the door to close with even spacing around the door opening.
The latch “keeper” also had to be scaled in order for the latch to both close and “lock” in the notch, and to clear the notch when being opened.
The square-cut nails that hold the straps to the door are “clinched” (the points bent over) on the inside to avoid protruding, and to permanently secure the hinge straps to the door. The front, side, top and bottom boards are all clear pine, but the two ship-lapped back panels are lower grade lumber with knots.
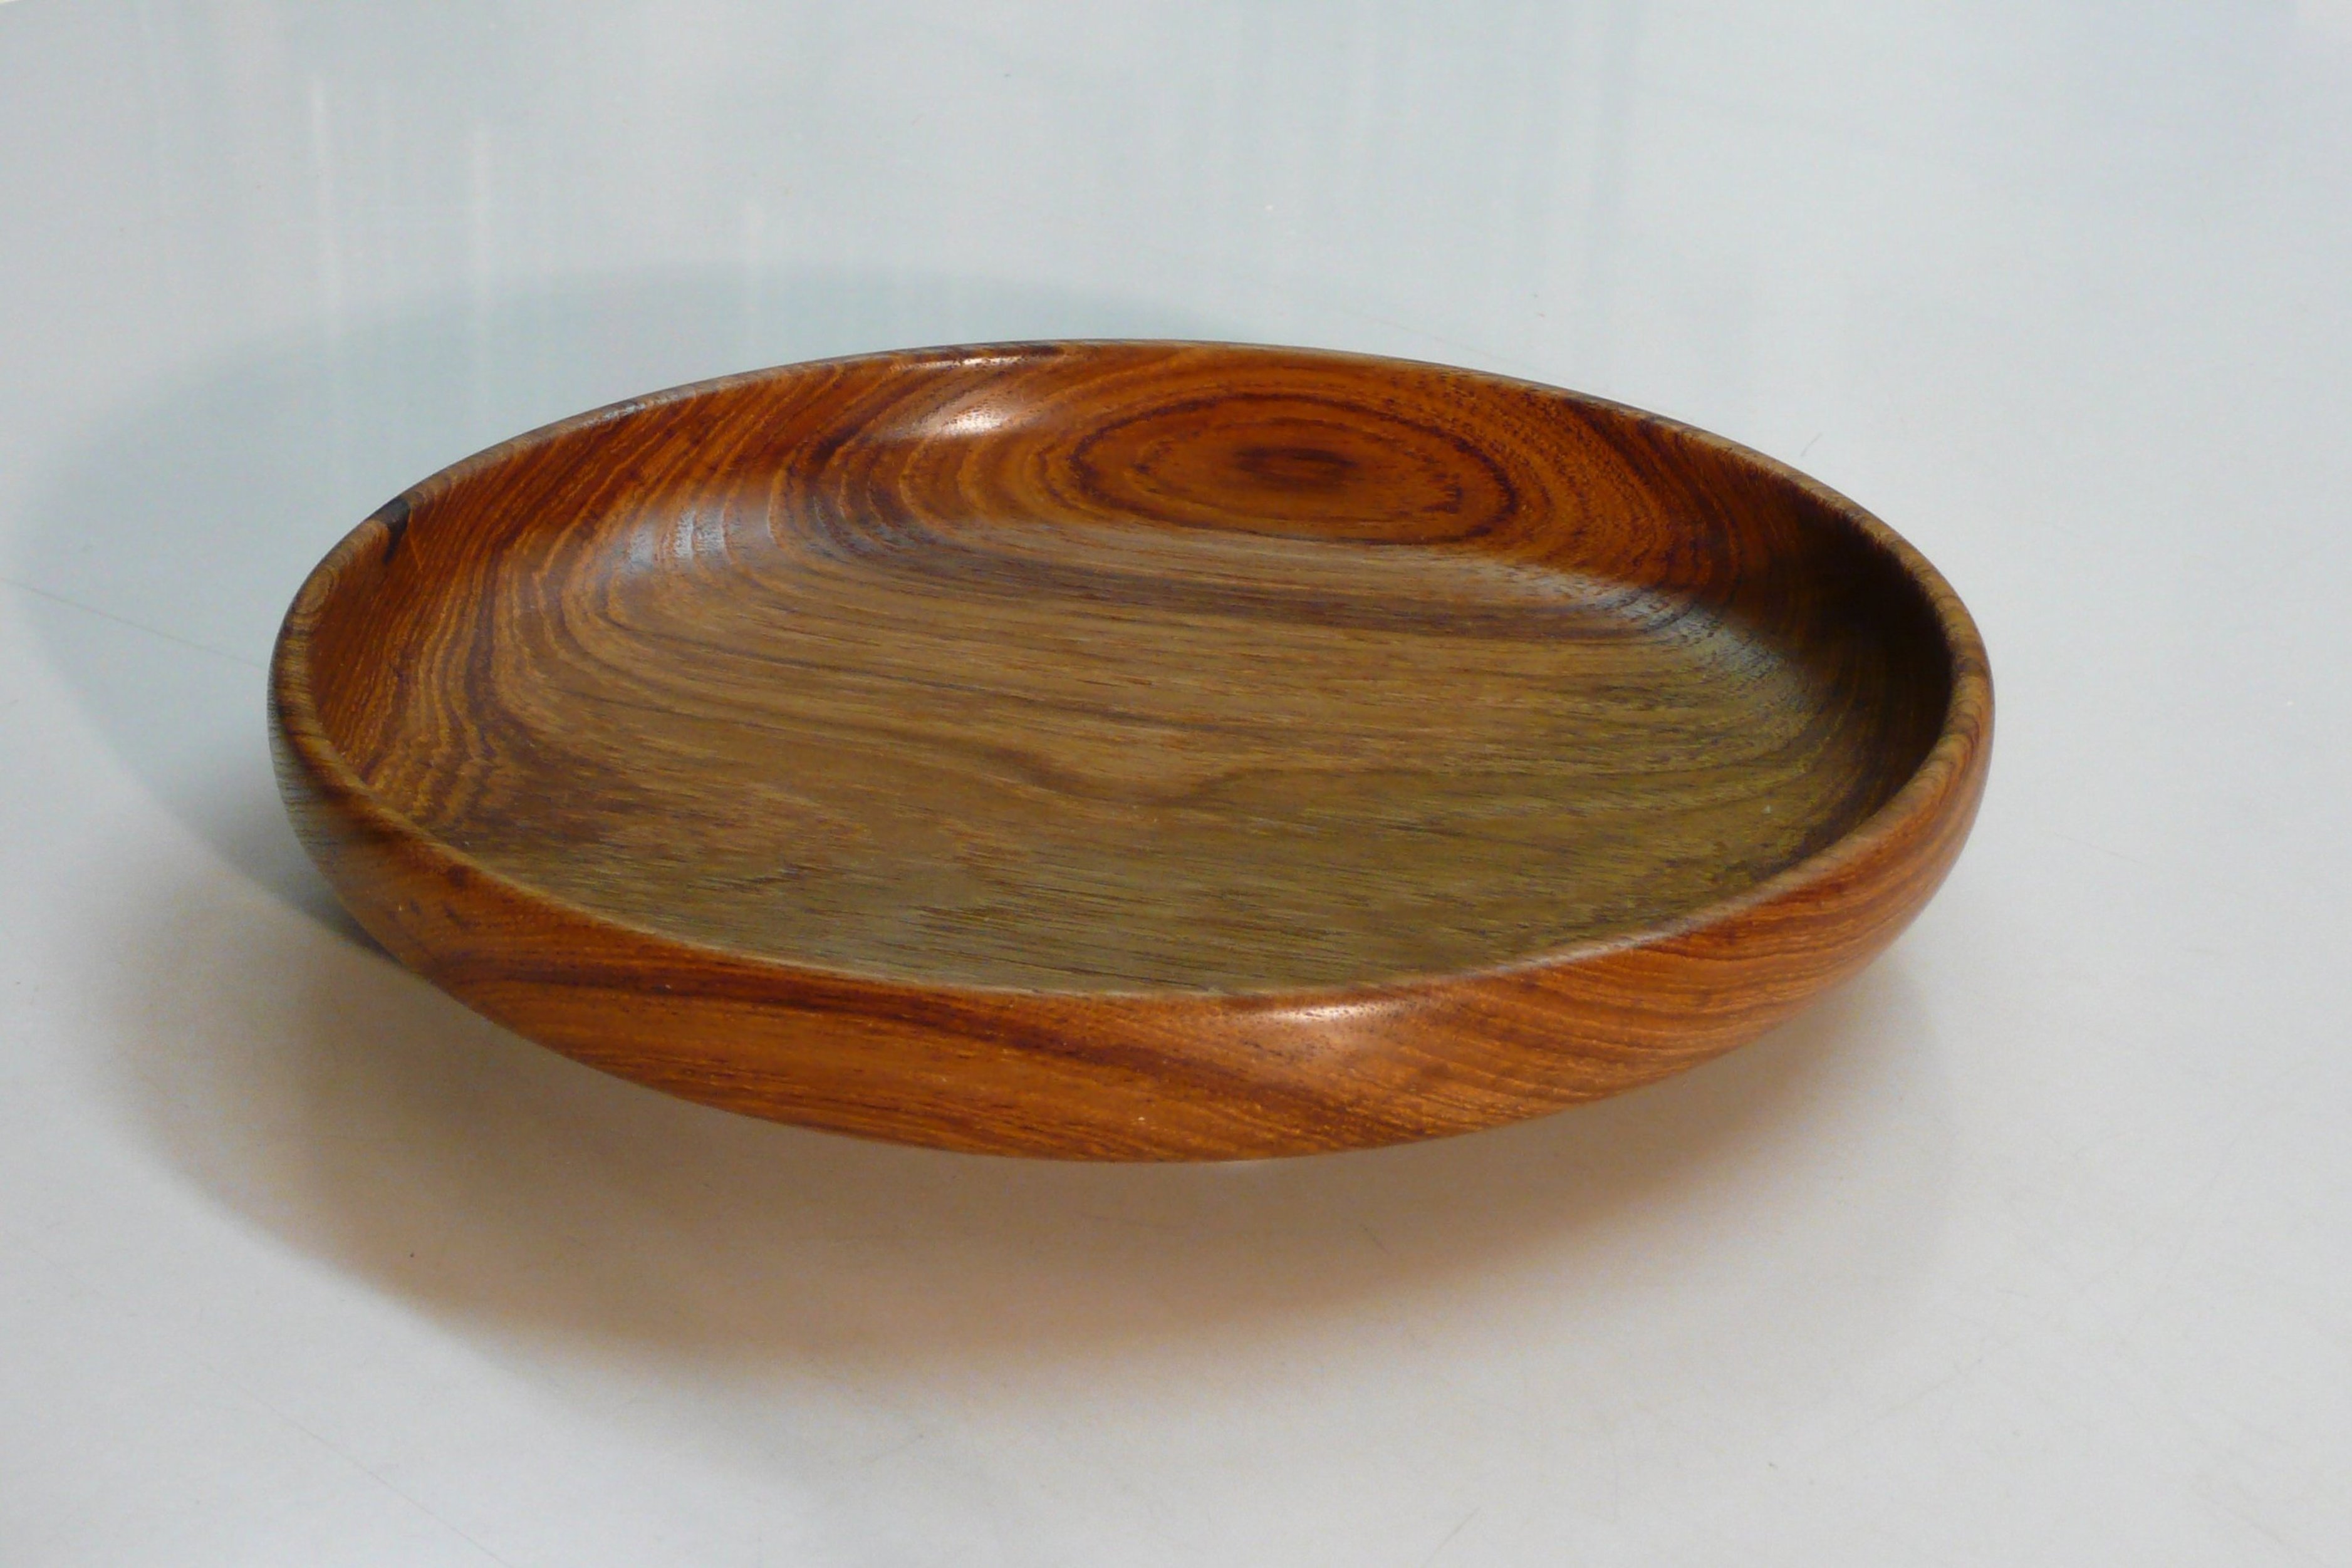
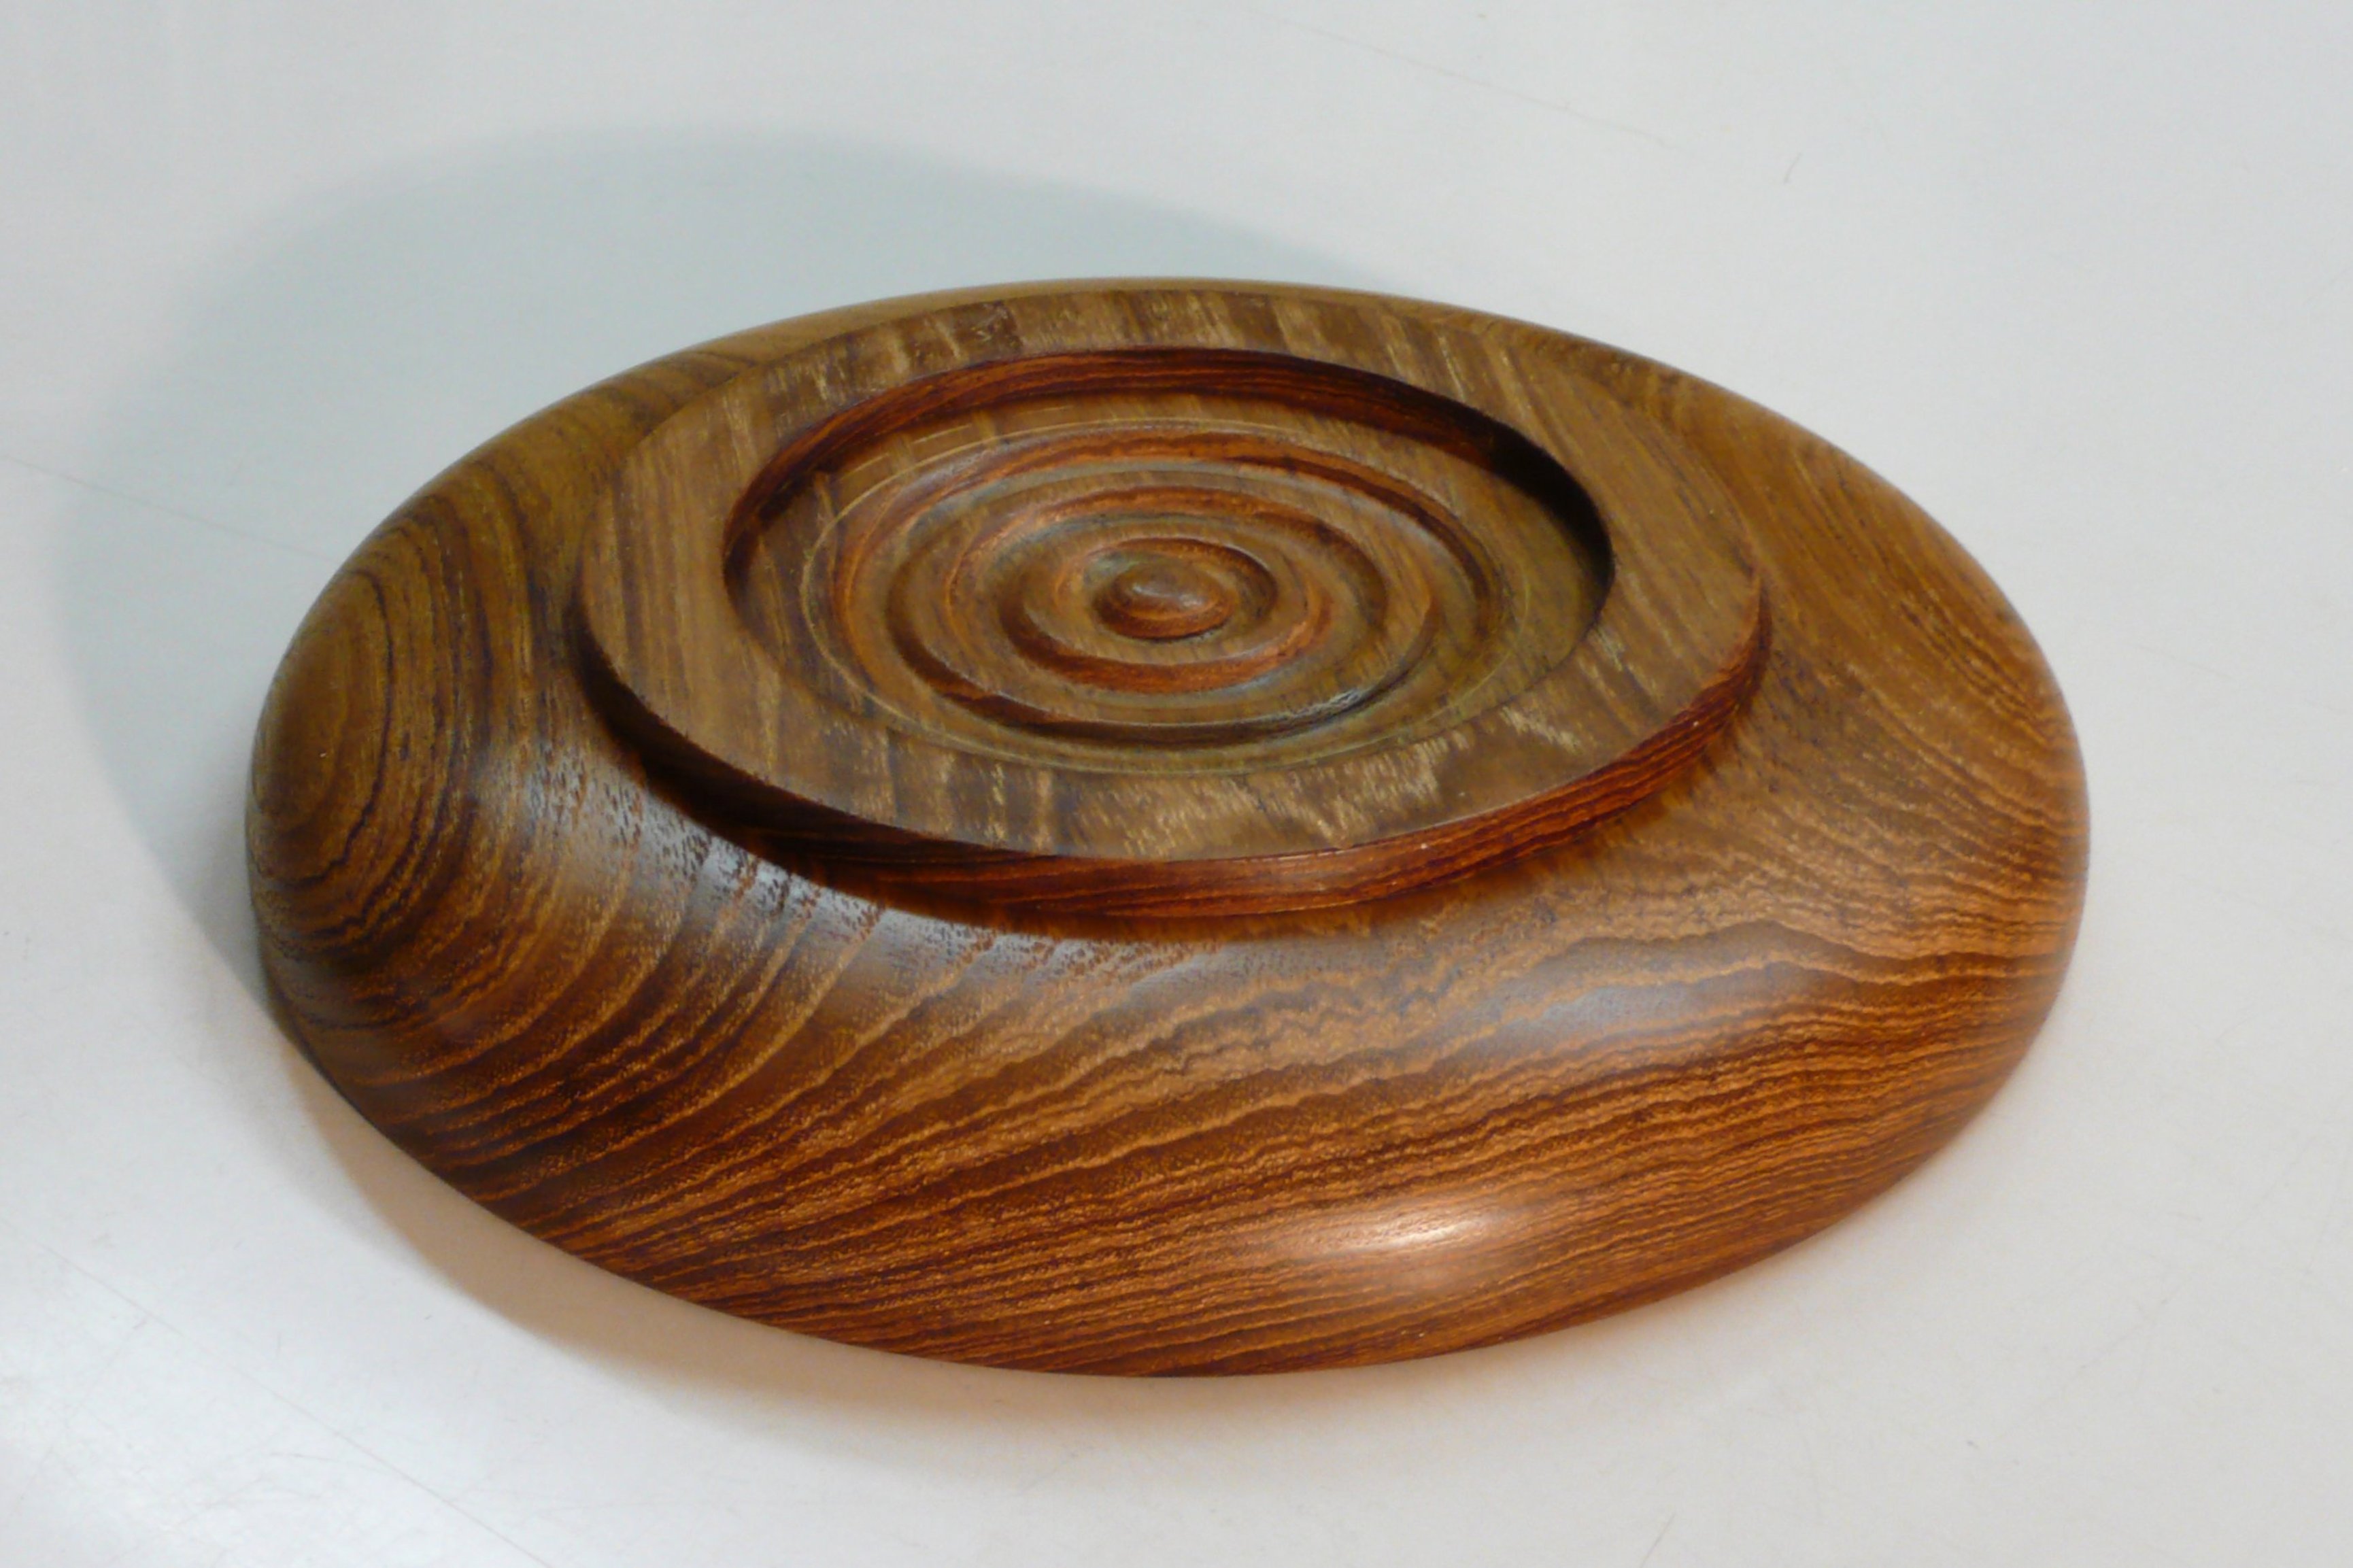
Turning a plate on a lathe is a challenge because of the difficulty in holding the relatively thin piece of wood. However, the task has been made much easier in recent years with a 4-jaw, self centering chuck that can grip either in expansion mode inside a turned, shallow void on the bottom, or contraction mode around a turned ring on the bottom. (Click on any image to enlarge)
Teak is a naturally oily wood. For a plate on which food will be served, and which is then going to go into soapy water, the natural oil helps preserve the wood and keep it from drying and cracking.
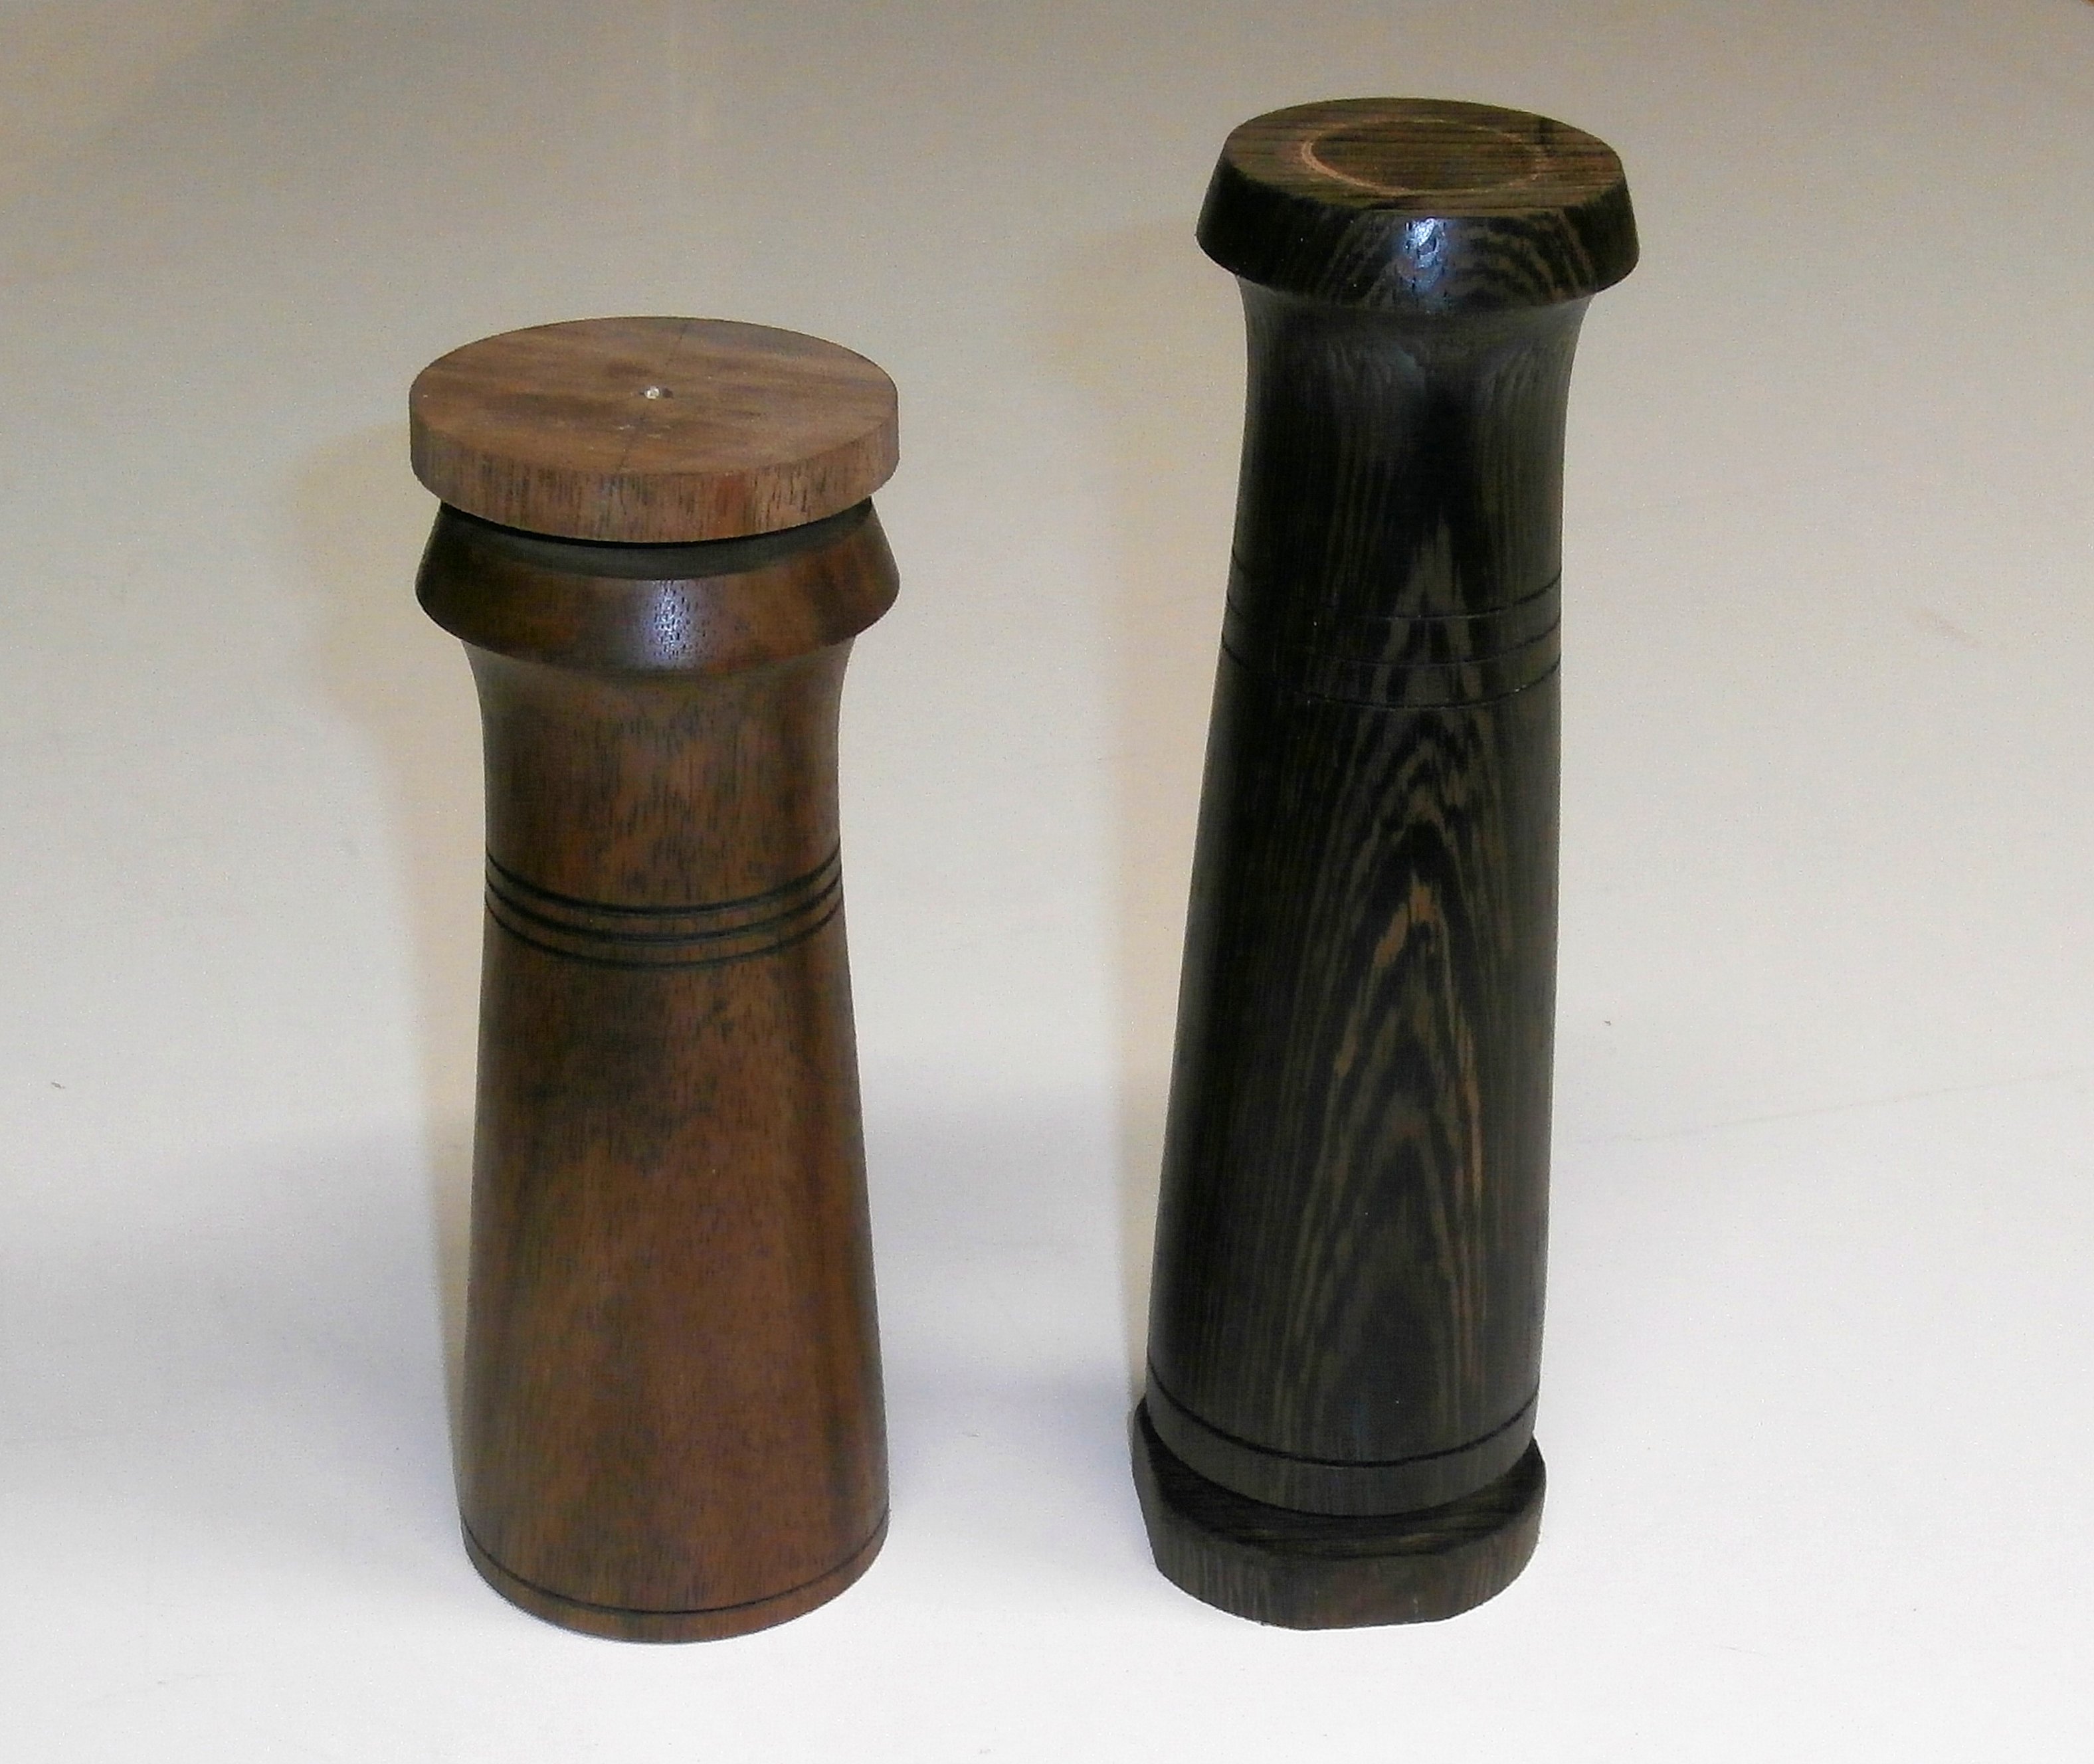
These are the first three I turned on my lathe in, from l. to r., black walnut, American black cherry, and white oak. They stand about 5.5″ tall. In addition to being drilled out at the top to hold dried flowers, branches, ornamental grass, or interesting weeds, the bottoms also have a cavity drilled out which is filled with steel shot and then sealed with a wood plug. The bottom-weighting provides stability. (Click on any image to enlarge)
Since the first three were made, I have experimented with other shapes and heights, as well as with some exotic woods. Below, l. to r., Claro walnut and Wenge, straight off the lathe.
I’ve also ordered various sizes of glass test tubes to be inserted into properly sized holes in the tops so that in addition to holding dried arrangements, a single rose or small flower grouping can be kept fresh in water.
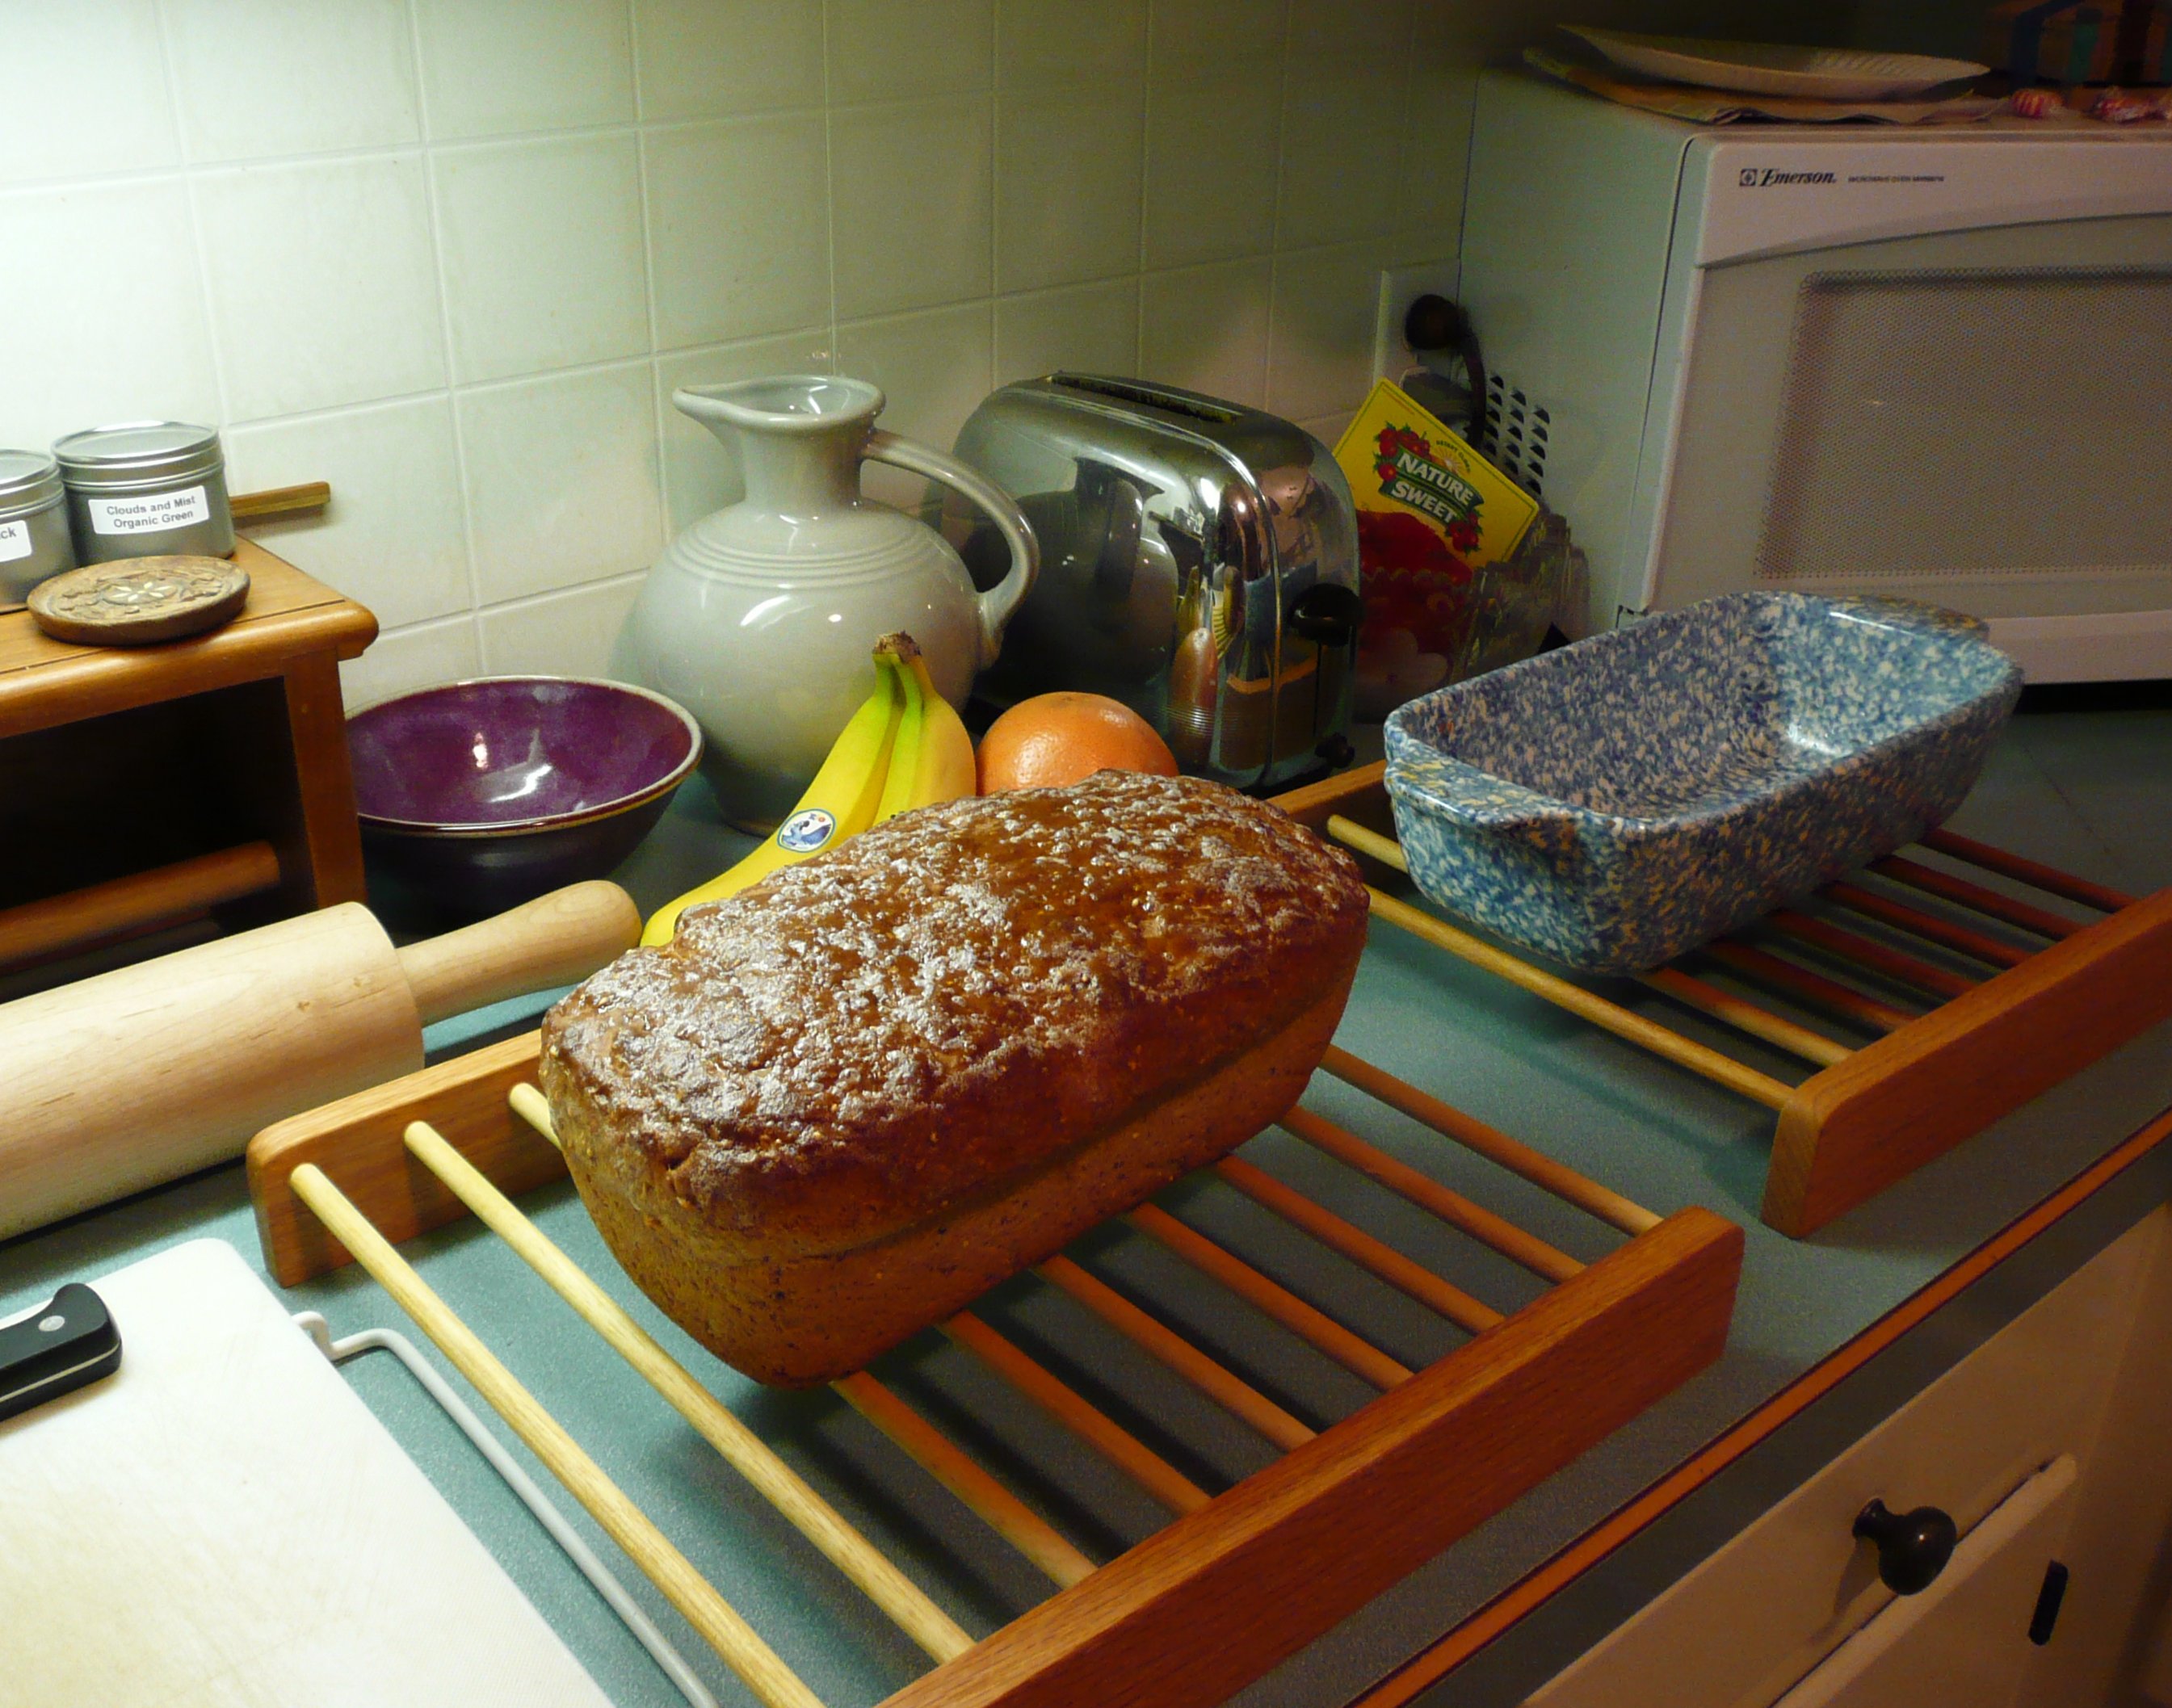
Part of my weekly routine is to bake a loaf of whole wheat bread, and tonight was the night. Thanks to my friend Ann who gave me the basic no-knead recipe, I’ve not purchased a loaf of bread in over three years. My standard loaf now includes millet, sesame, flax, and sunflower seeds. It makes great regular toast, and an especially hearty and tasty French toast with real butter and some maple syrup added. (Click on the image to enlarge)
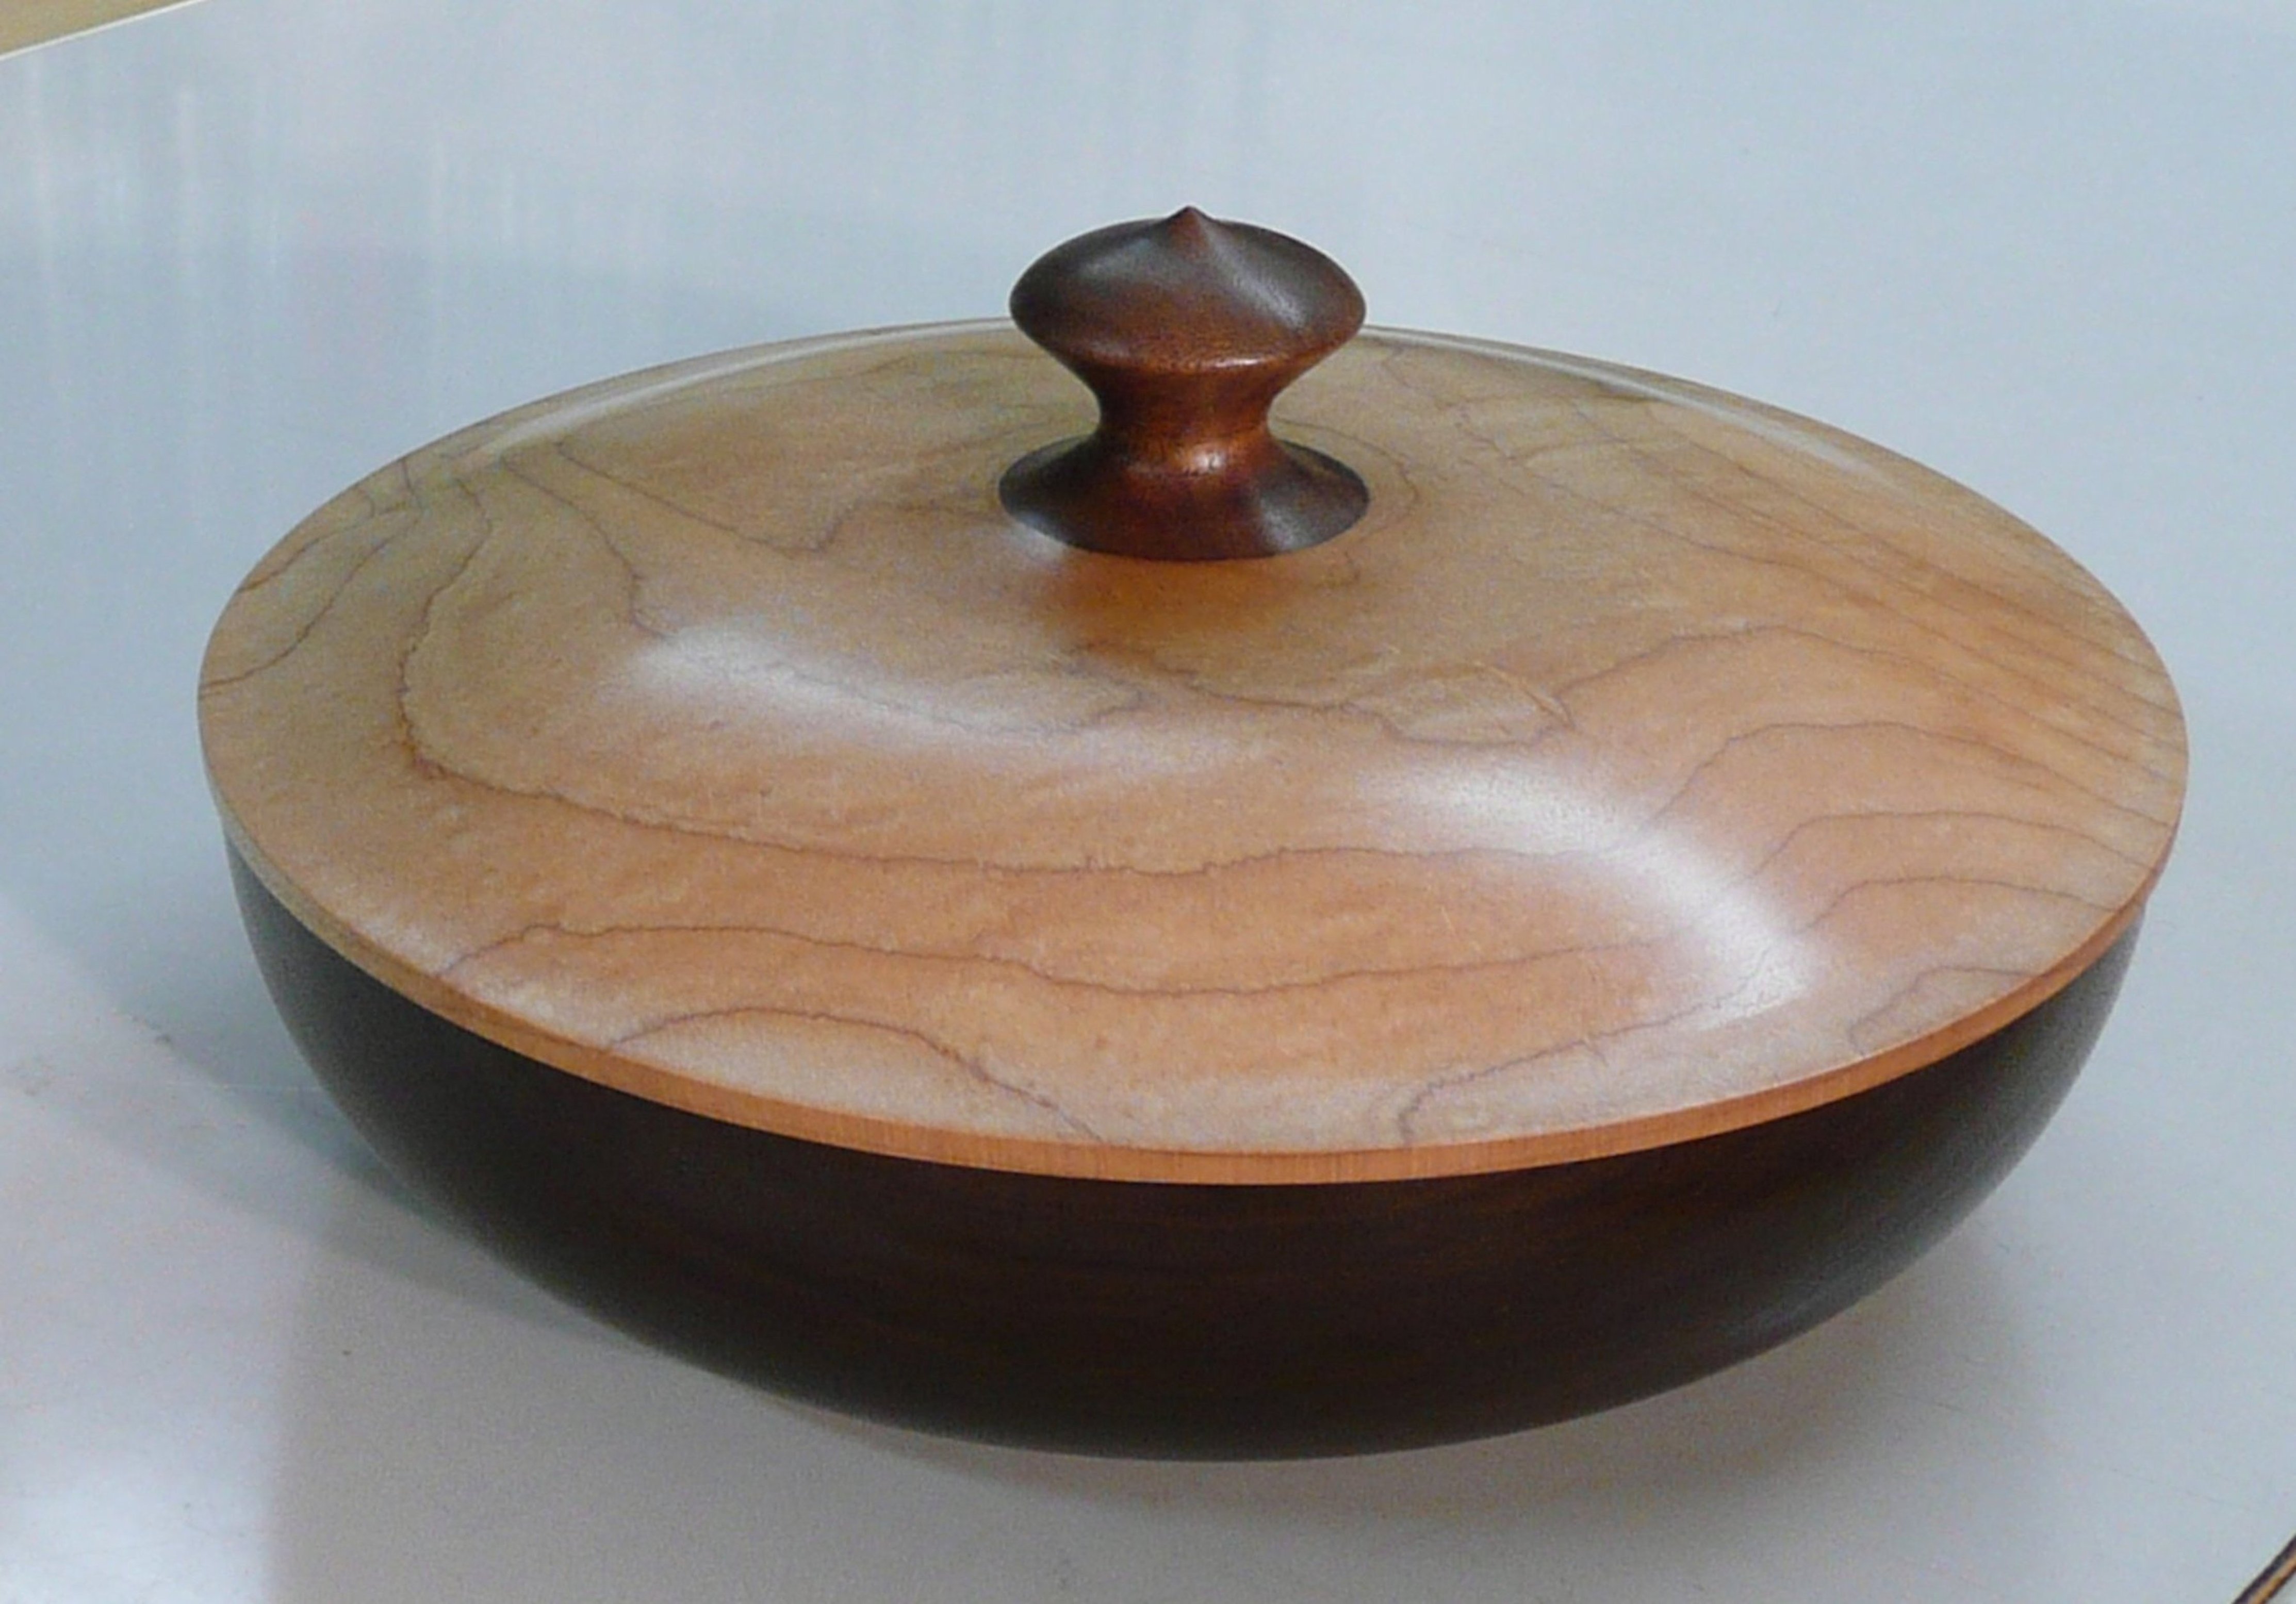
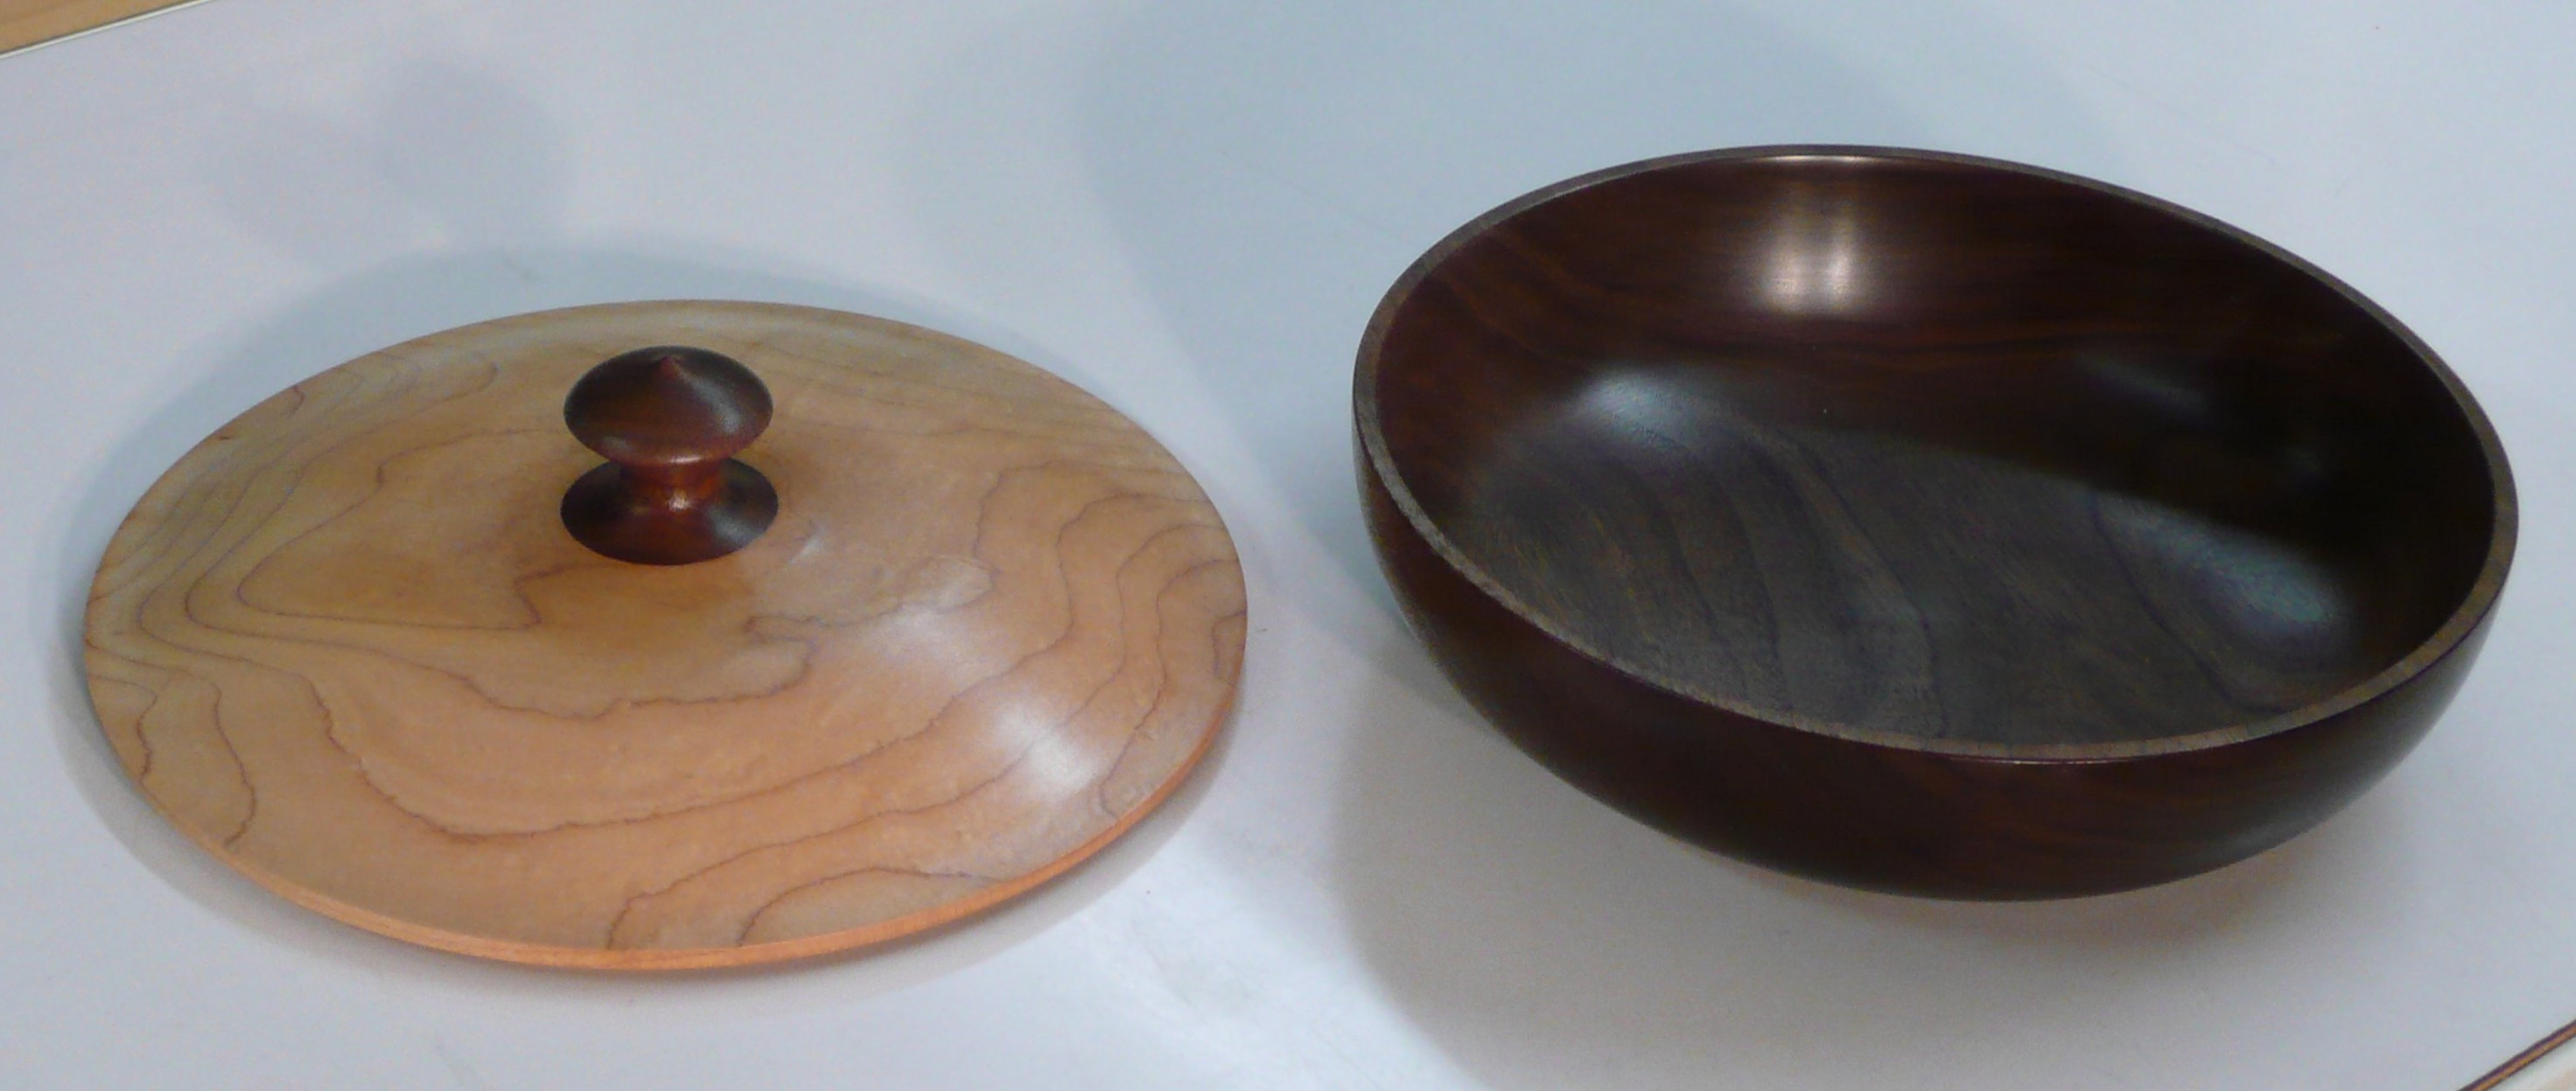
I turned this 12″ wide, 3″ deep, black walnut bowl with the intention of also turning a lid to fit. For the lid, I used a piece of northern sugar maple with a block of walnut glued to it for the knob, and turned the two simultaneously. The lid has an indent under the lip to match the inner diameter of the bowl. The fit is such that there is a slight suction effect when the lid is lifted. (Click on any image to enlarge)
The bowl is large enough from which to serve food, such as fruit or green salads. And if it is used to serve something like pasta, then the lid can serve as a cover. This bowl, and all my bowls so far, have been finished solely with my own recipe for a “food safe” finish: 100% pure, organic, filtered beeswax combined with pharmaceutical grade mineral oil.
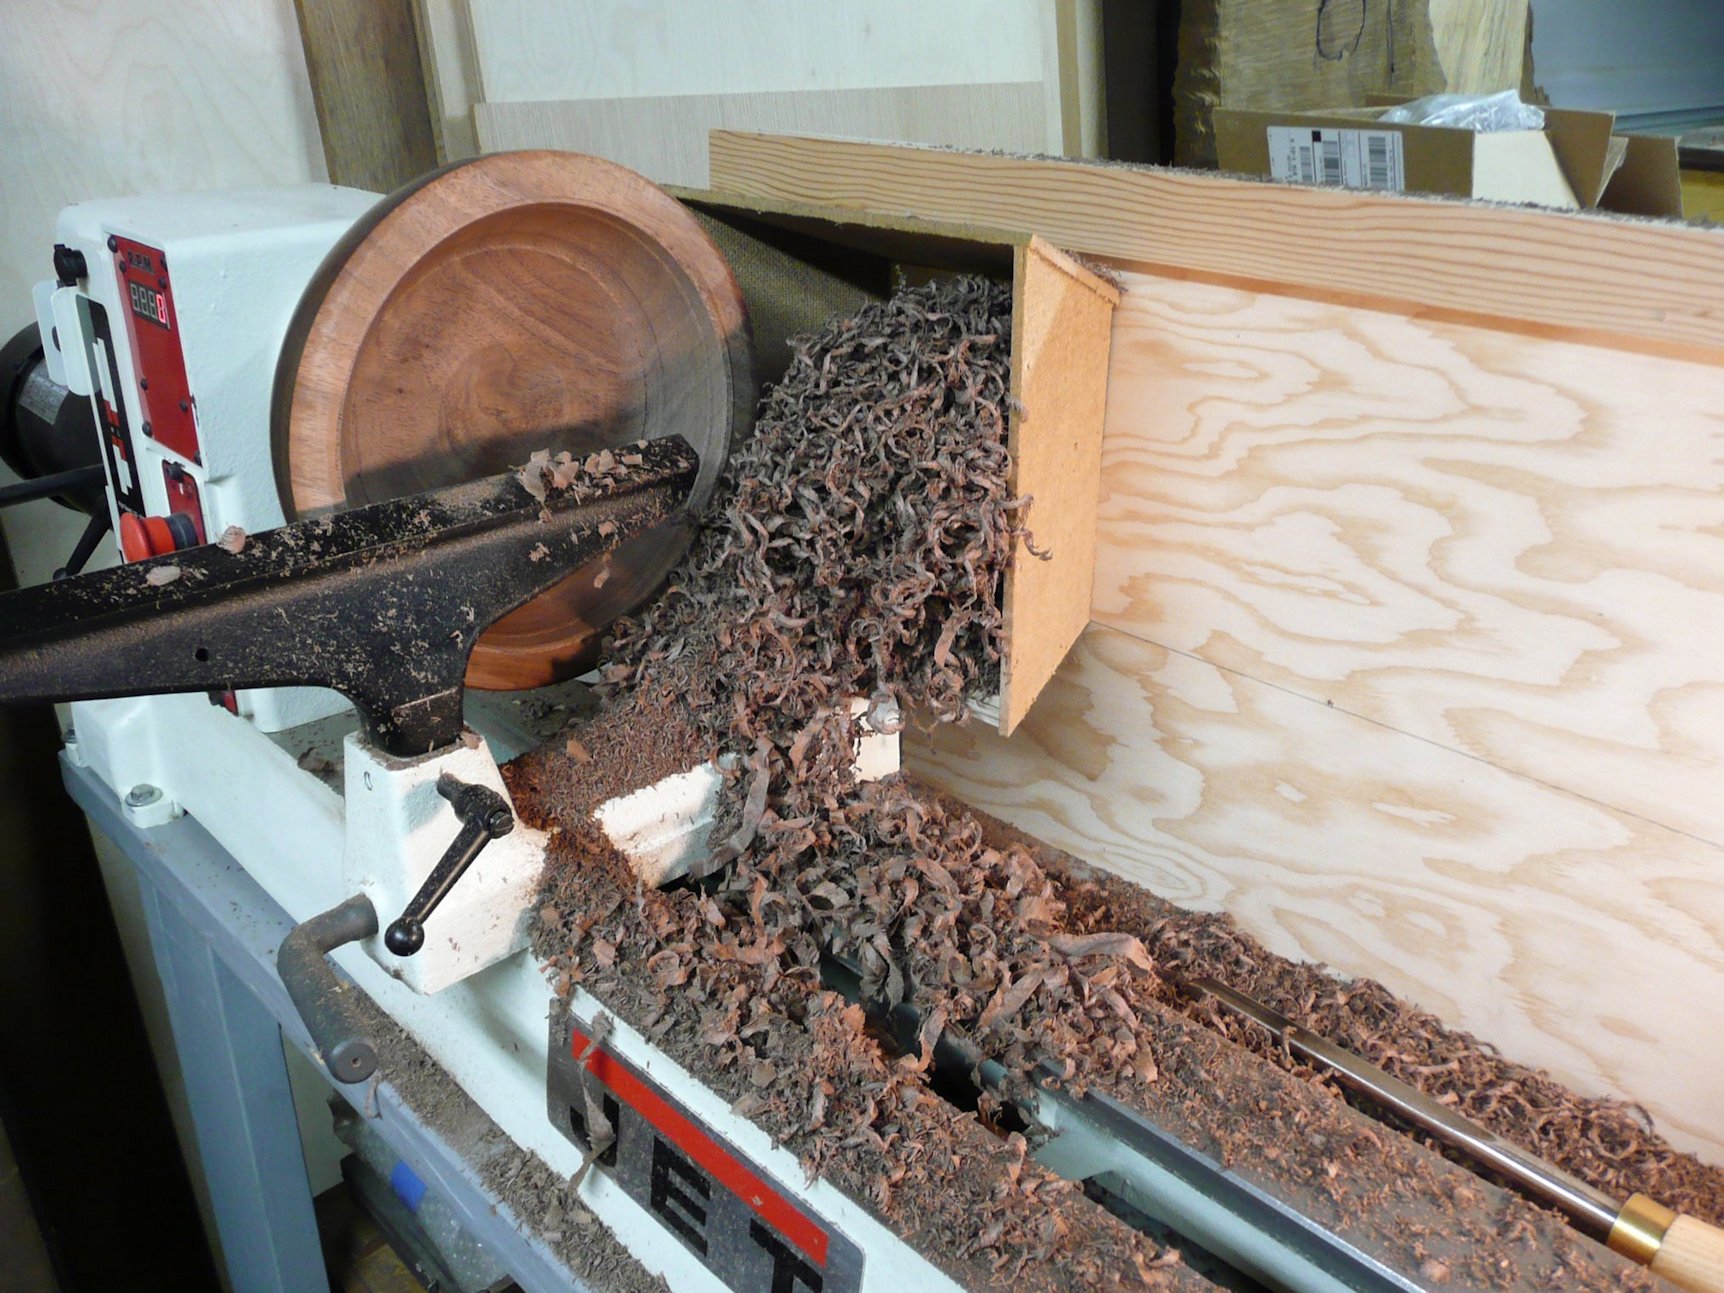
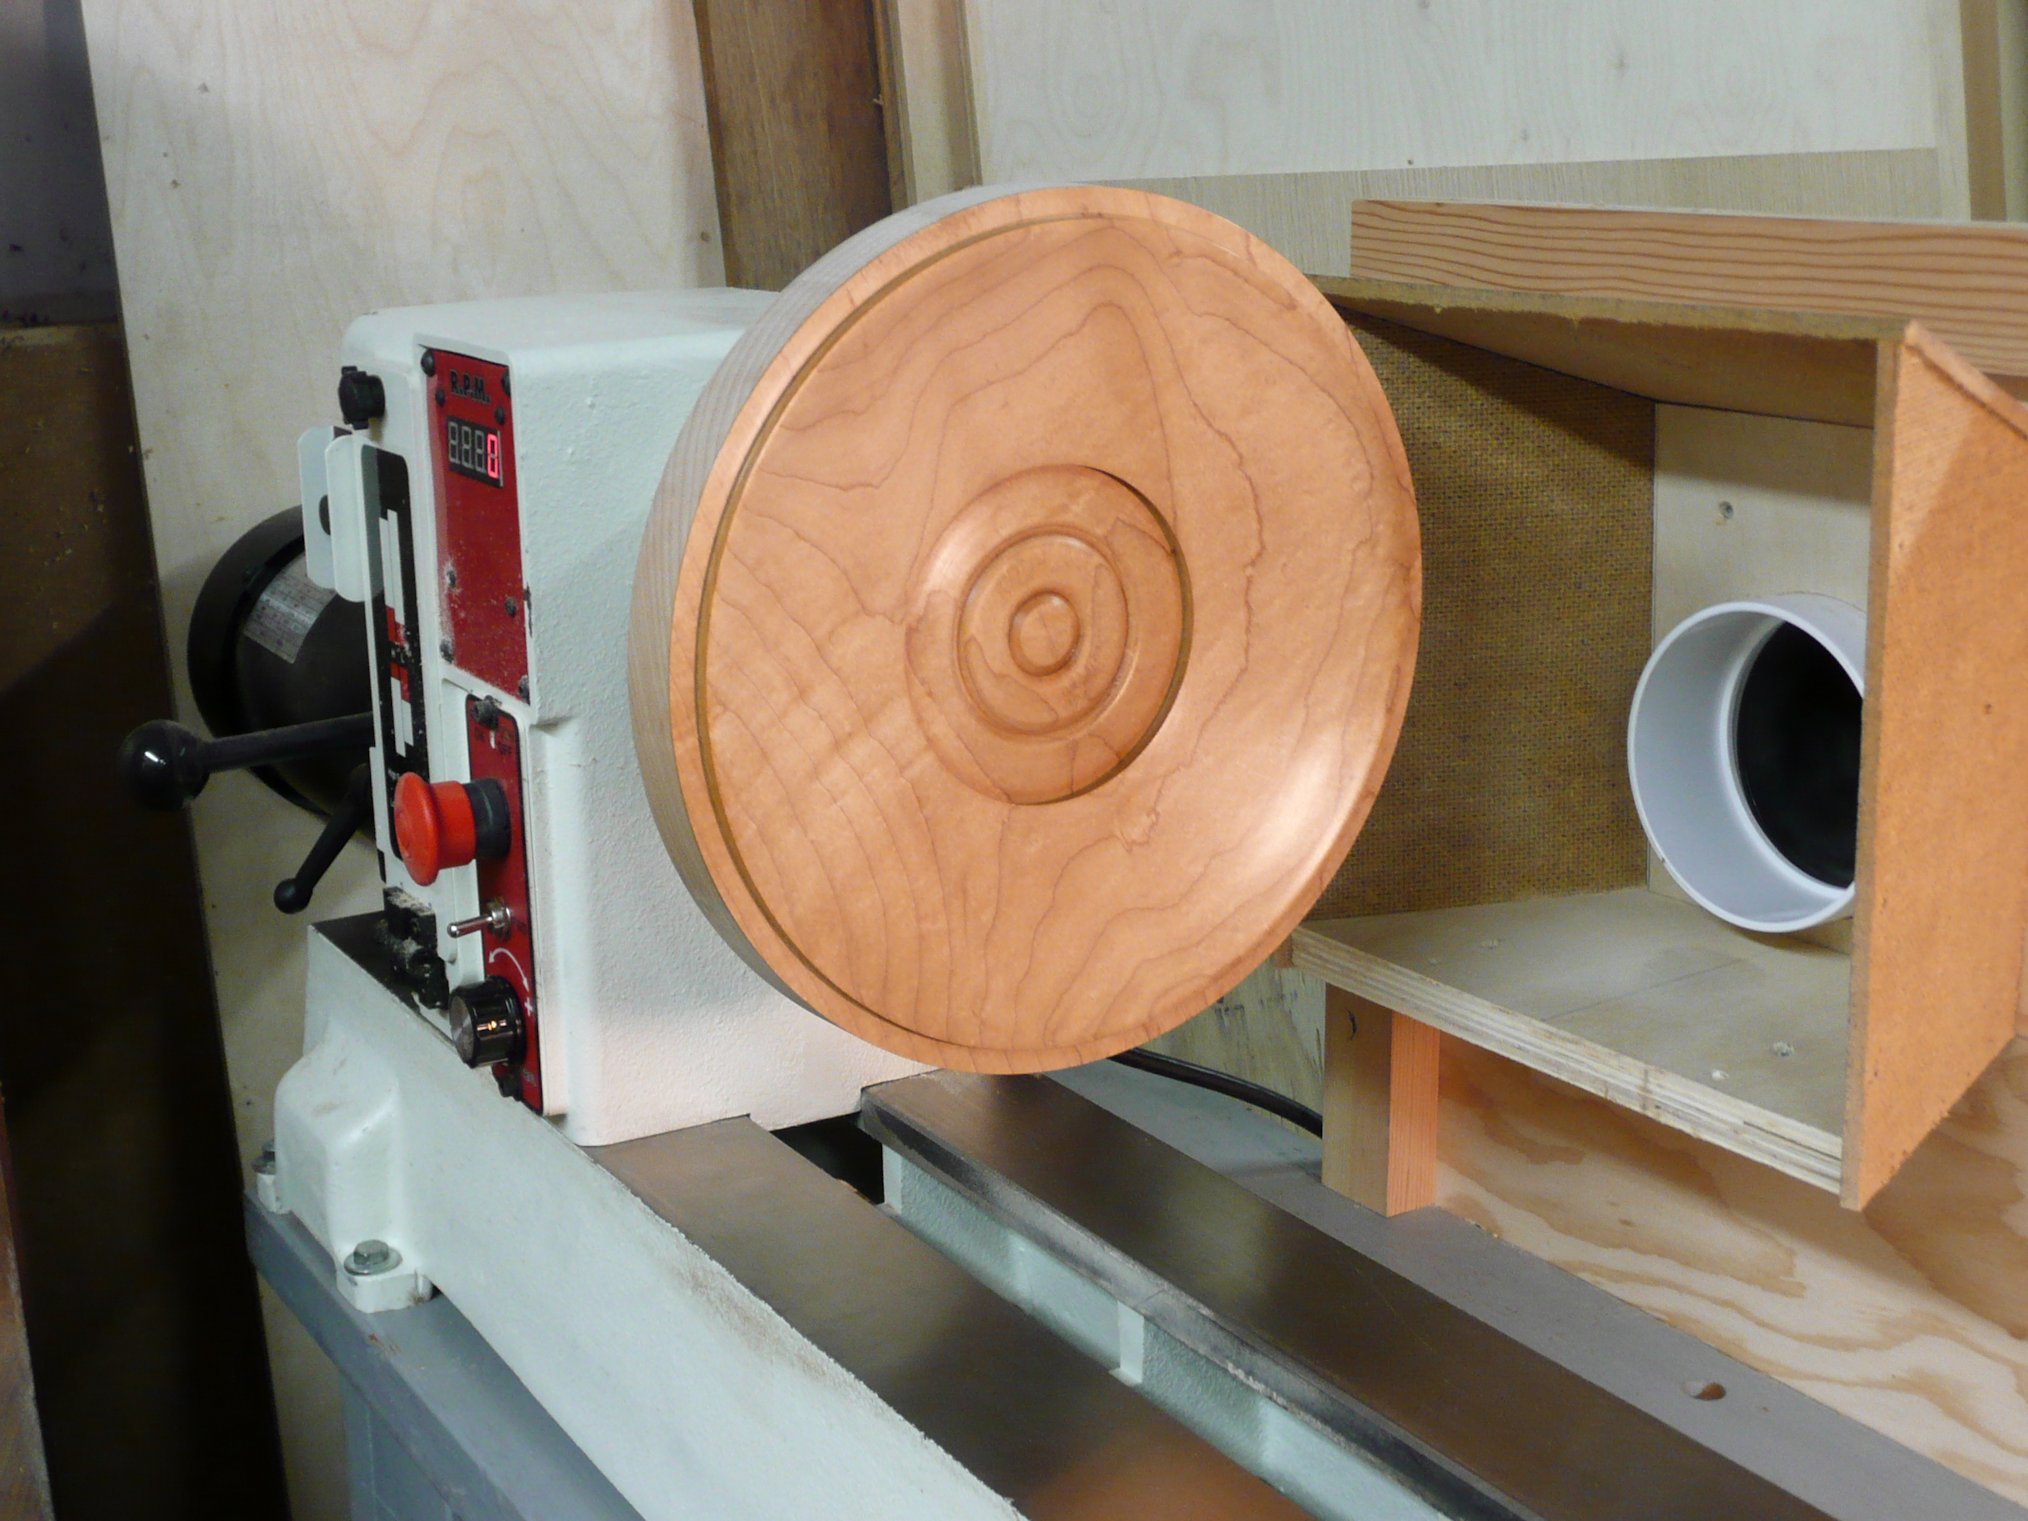
Here is the bowl on my new Jet 2HP lathe. I intentionally left the dust collector temporarily turned off to give some idea of the volume of shavings produced by my bowl gouge during the hollowing process.
And finally, I’ve included a photo showing the underside of the lid while still mounted on the lathe. The indent under the lip was reduced incrementally to fit, using the completed bowl as a gauge.
To live content with small means; to seek elegance rather than luxury, and refinement rather than fashion; to be worthy, not respectable; and wealthy, not rich; to study hard, think quietly, talk gently, act frankly… this is my way. (Anonymous)