Luz, Amor Y Vida. Light, Love and Life.
Unconditional Love
PREAMBLE
Having first written the journal entry below, I’m coming back to acknowledge that it may have some value for the uncounted number of people who struggle to create and maintain healthy romantic relationships, but it is myopic at the same time. The greater value in understanding and incorporating unconditional love into our lives is to apply the principles of acceptance and respect to ALL our human relationships! I am reminding myself daily to not judge others near and far, but rather to accept that everyone . . . everyone is involved in their own struggle through life.
JOURNAL ENTRY
The following comes from Psychology Today: ” When love is unconditional, these three signs are usually present. 1) When your partner loves you unconditionally, they love the version of you that’s right in front of them. There’s no secretly hoping that you’ll change with time, no ideal version they’re waiting on; 2) A lot of love is lost in the expectation of having it returned . . . Keeping score doesn’t help . . . this type of love turns bitter and eventually falls apart; and 3) When your partner thinks of the relationship and what would make you happy before their own ego, pride, and selfish desires, it shows more than just commitment. Feeling completely safe to be yourself around your partner and experiencing a deep emotional connection without fear of judgment is one of the biggest signs of unconditional love.”
[Psychology Today continues . . . ]
“A 2020 study published in Frontiers in Psychology proposed a comprehensive theory of love, identifying four core factors— attraction, connection, trust, and respect—that interact to create lasting love . . . Among the four essential components of love, the roles of trust and respect are especially important for creating emotional safety and prioritizing a partner’s happiness.”
[Photo ![]() Max Vollmer, Click on image to enlarge]
Max Vollmer, Click on image to enlarge]
The Gift Fulfilling Jewel – A Buddhist Parable
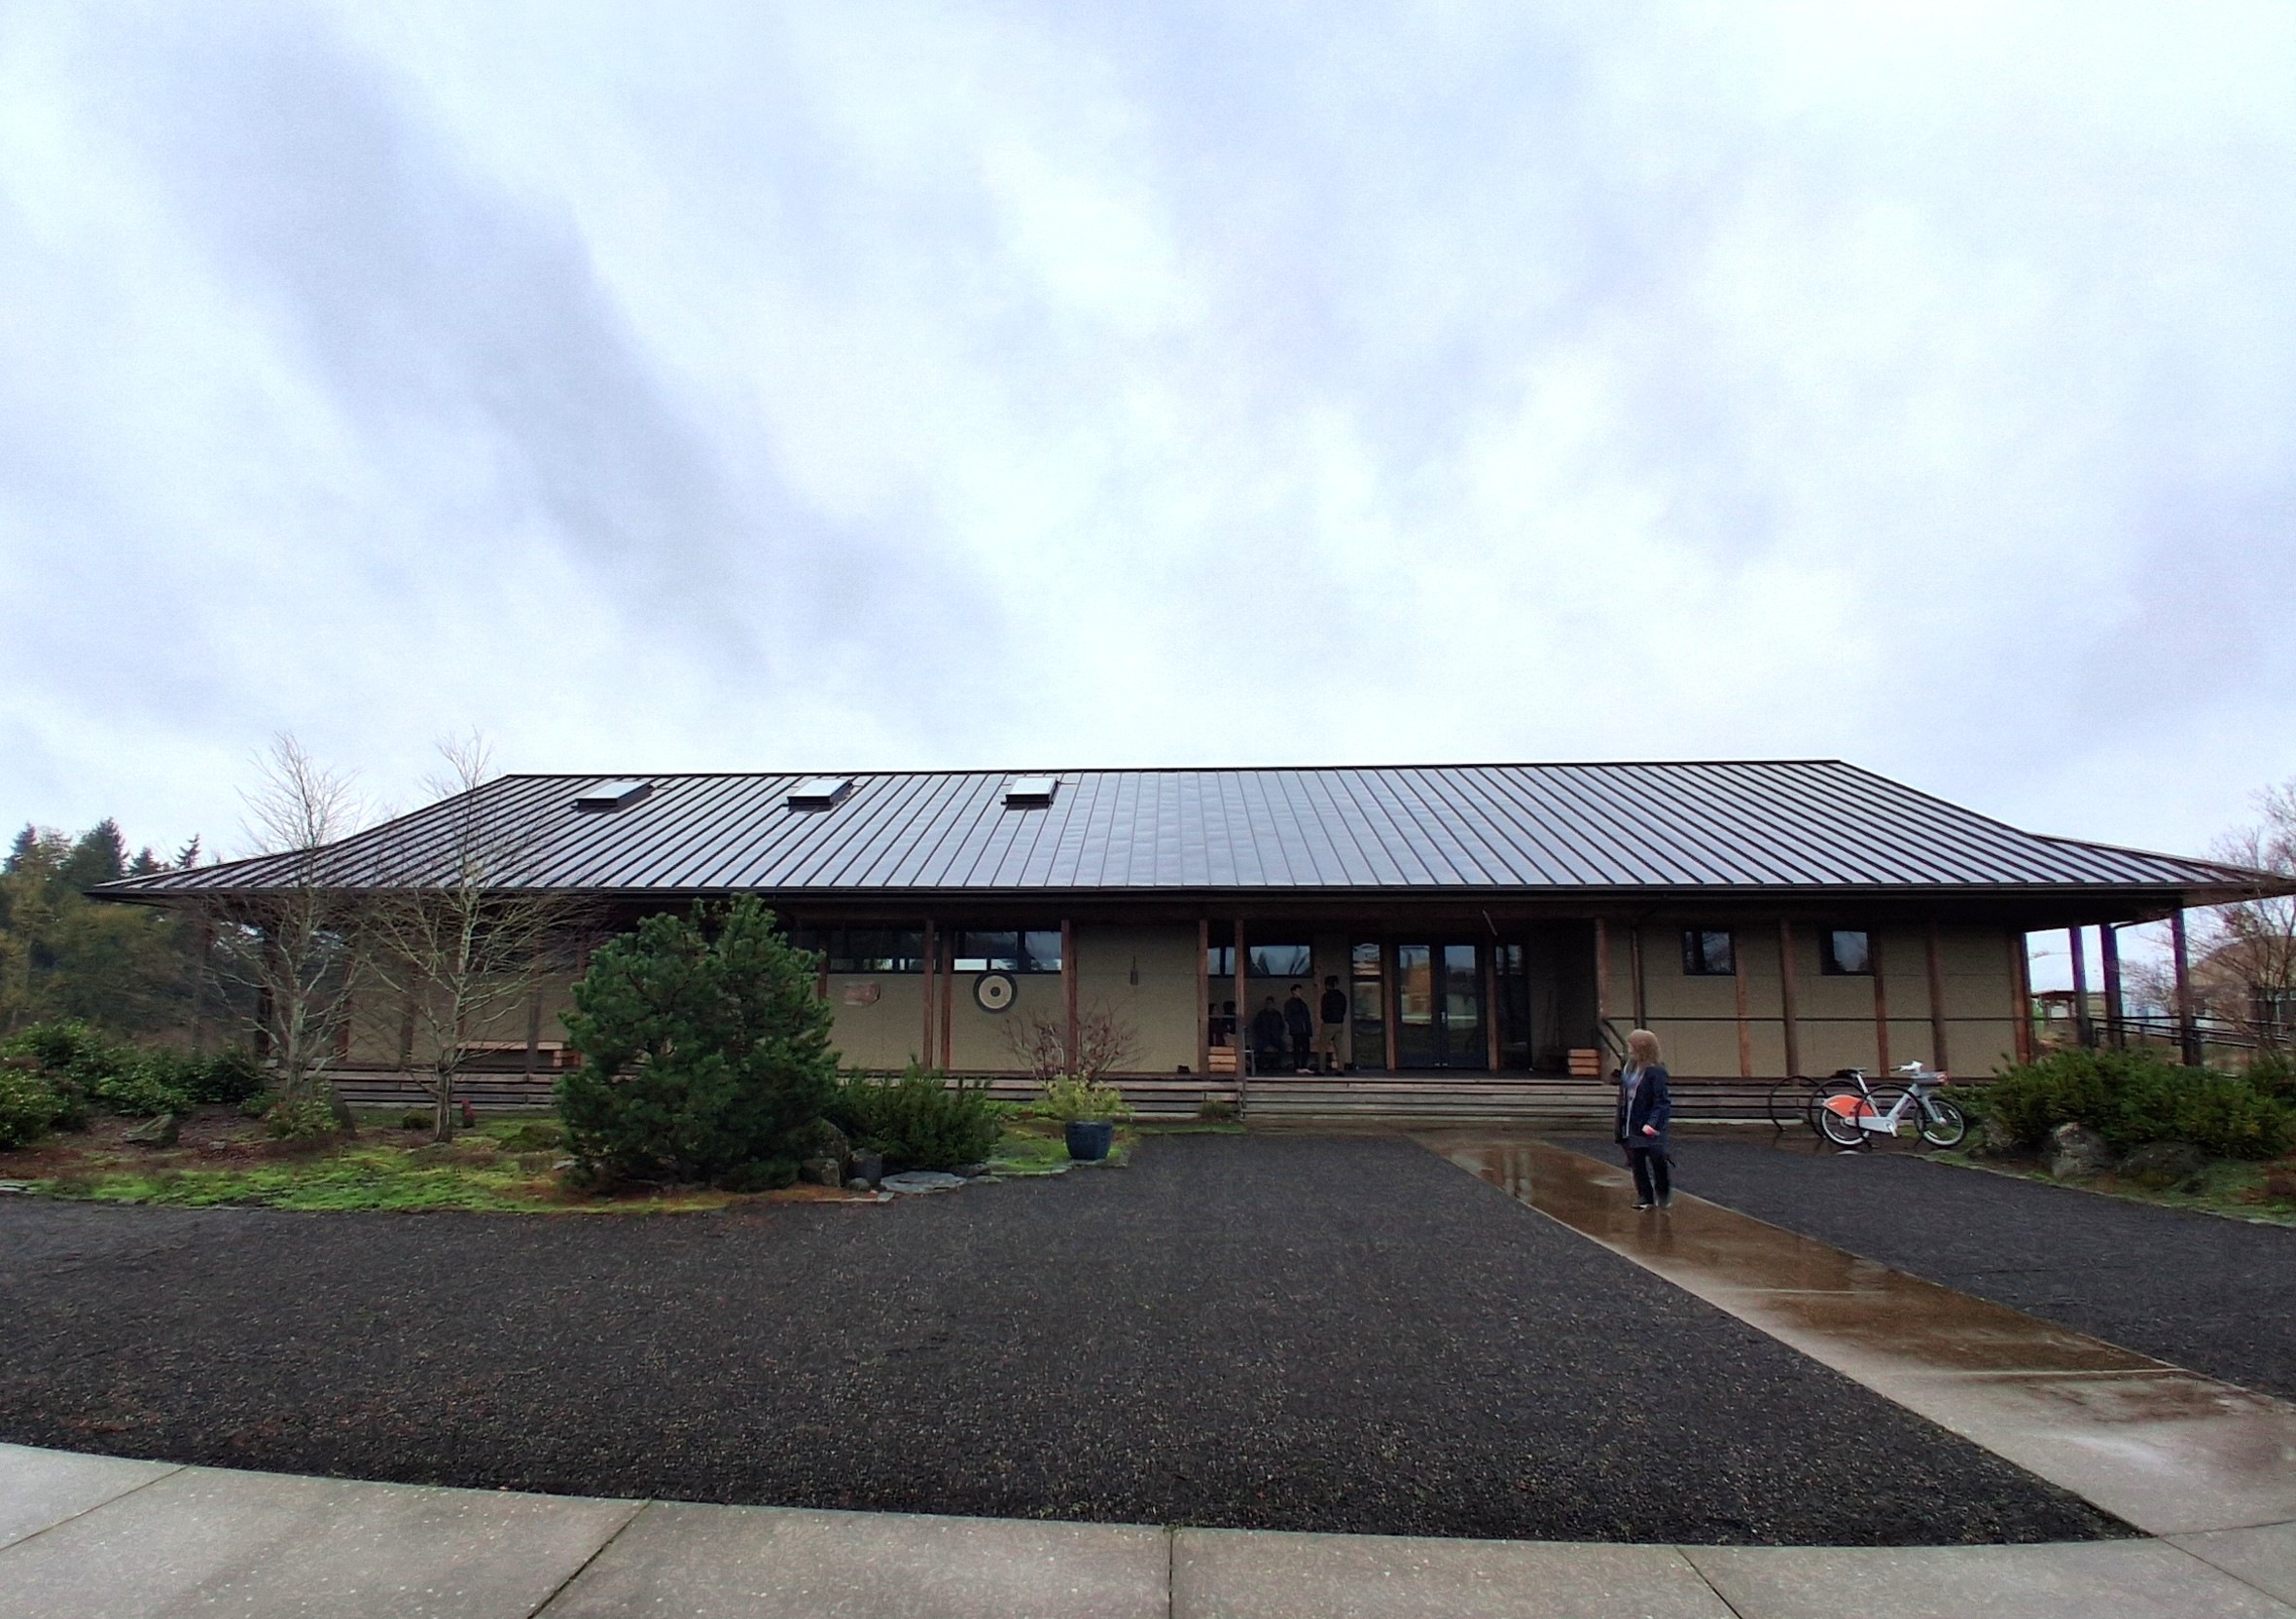
I spent this past Sunday with my daughter Yukyo at the Dharma Rain Zen Center in Portland, OR. Yukyo (her given name was Emily) is a resident at Dharma Rain and a student of Soto Zen Buddhism. The monestary was co-founded by Kyogen (Gary) Carlson with his wife Gyokuko Carlson in 1986. Kyogen had this to say about his Buddhist practice: “There is so much to learn and so much to know. It’s good to keep moving forward. And yet, whatever we have is, in a very profound way, absolutely complete and always enough.”
Most Sunday mornings at the Zen Center, following meditation, a Dharma Talk (a lesson or teaching) is given by an experienced member of the community. On this particular day the topic was Seeking Refuge. It began with a parable known as the Gift Fulfilling Jewel.
In this parable, two old friends, one wealthy and one poor, are eating and drinking wine together. The poor man drinks himself into a stupor and falls asleep. Early the next morning, the wealthy one must leave on business. Before he leaves, the wealthy friend sews a priceless jewel inside of the robe of his poor friend, who is still asleep. Later, the wealthy man comes across his friend, who is still living in poverty. He points out to his poor friend that all this time there has been a priceless gem hidden inside his robe and that he did not have to be living in poverty.
This parable shows, in simple terms, the principle that every human is endowed with infinite potential and inestimable worth. It teaches us that the key to overcoming the constraints of our present reality, whatever they may be, lies within ourselves.
[Photos ![]() Max Vollmer, Click on any image to enlarge]
Max Vollmer, Click on any image to enlarge]
Auld Triangle – The Punch Brothers and Marcus Mumford
A traditional Irish tune that appeared in the Coen Brothers’ film, Inside Llewyn Davis.
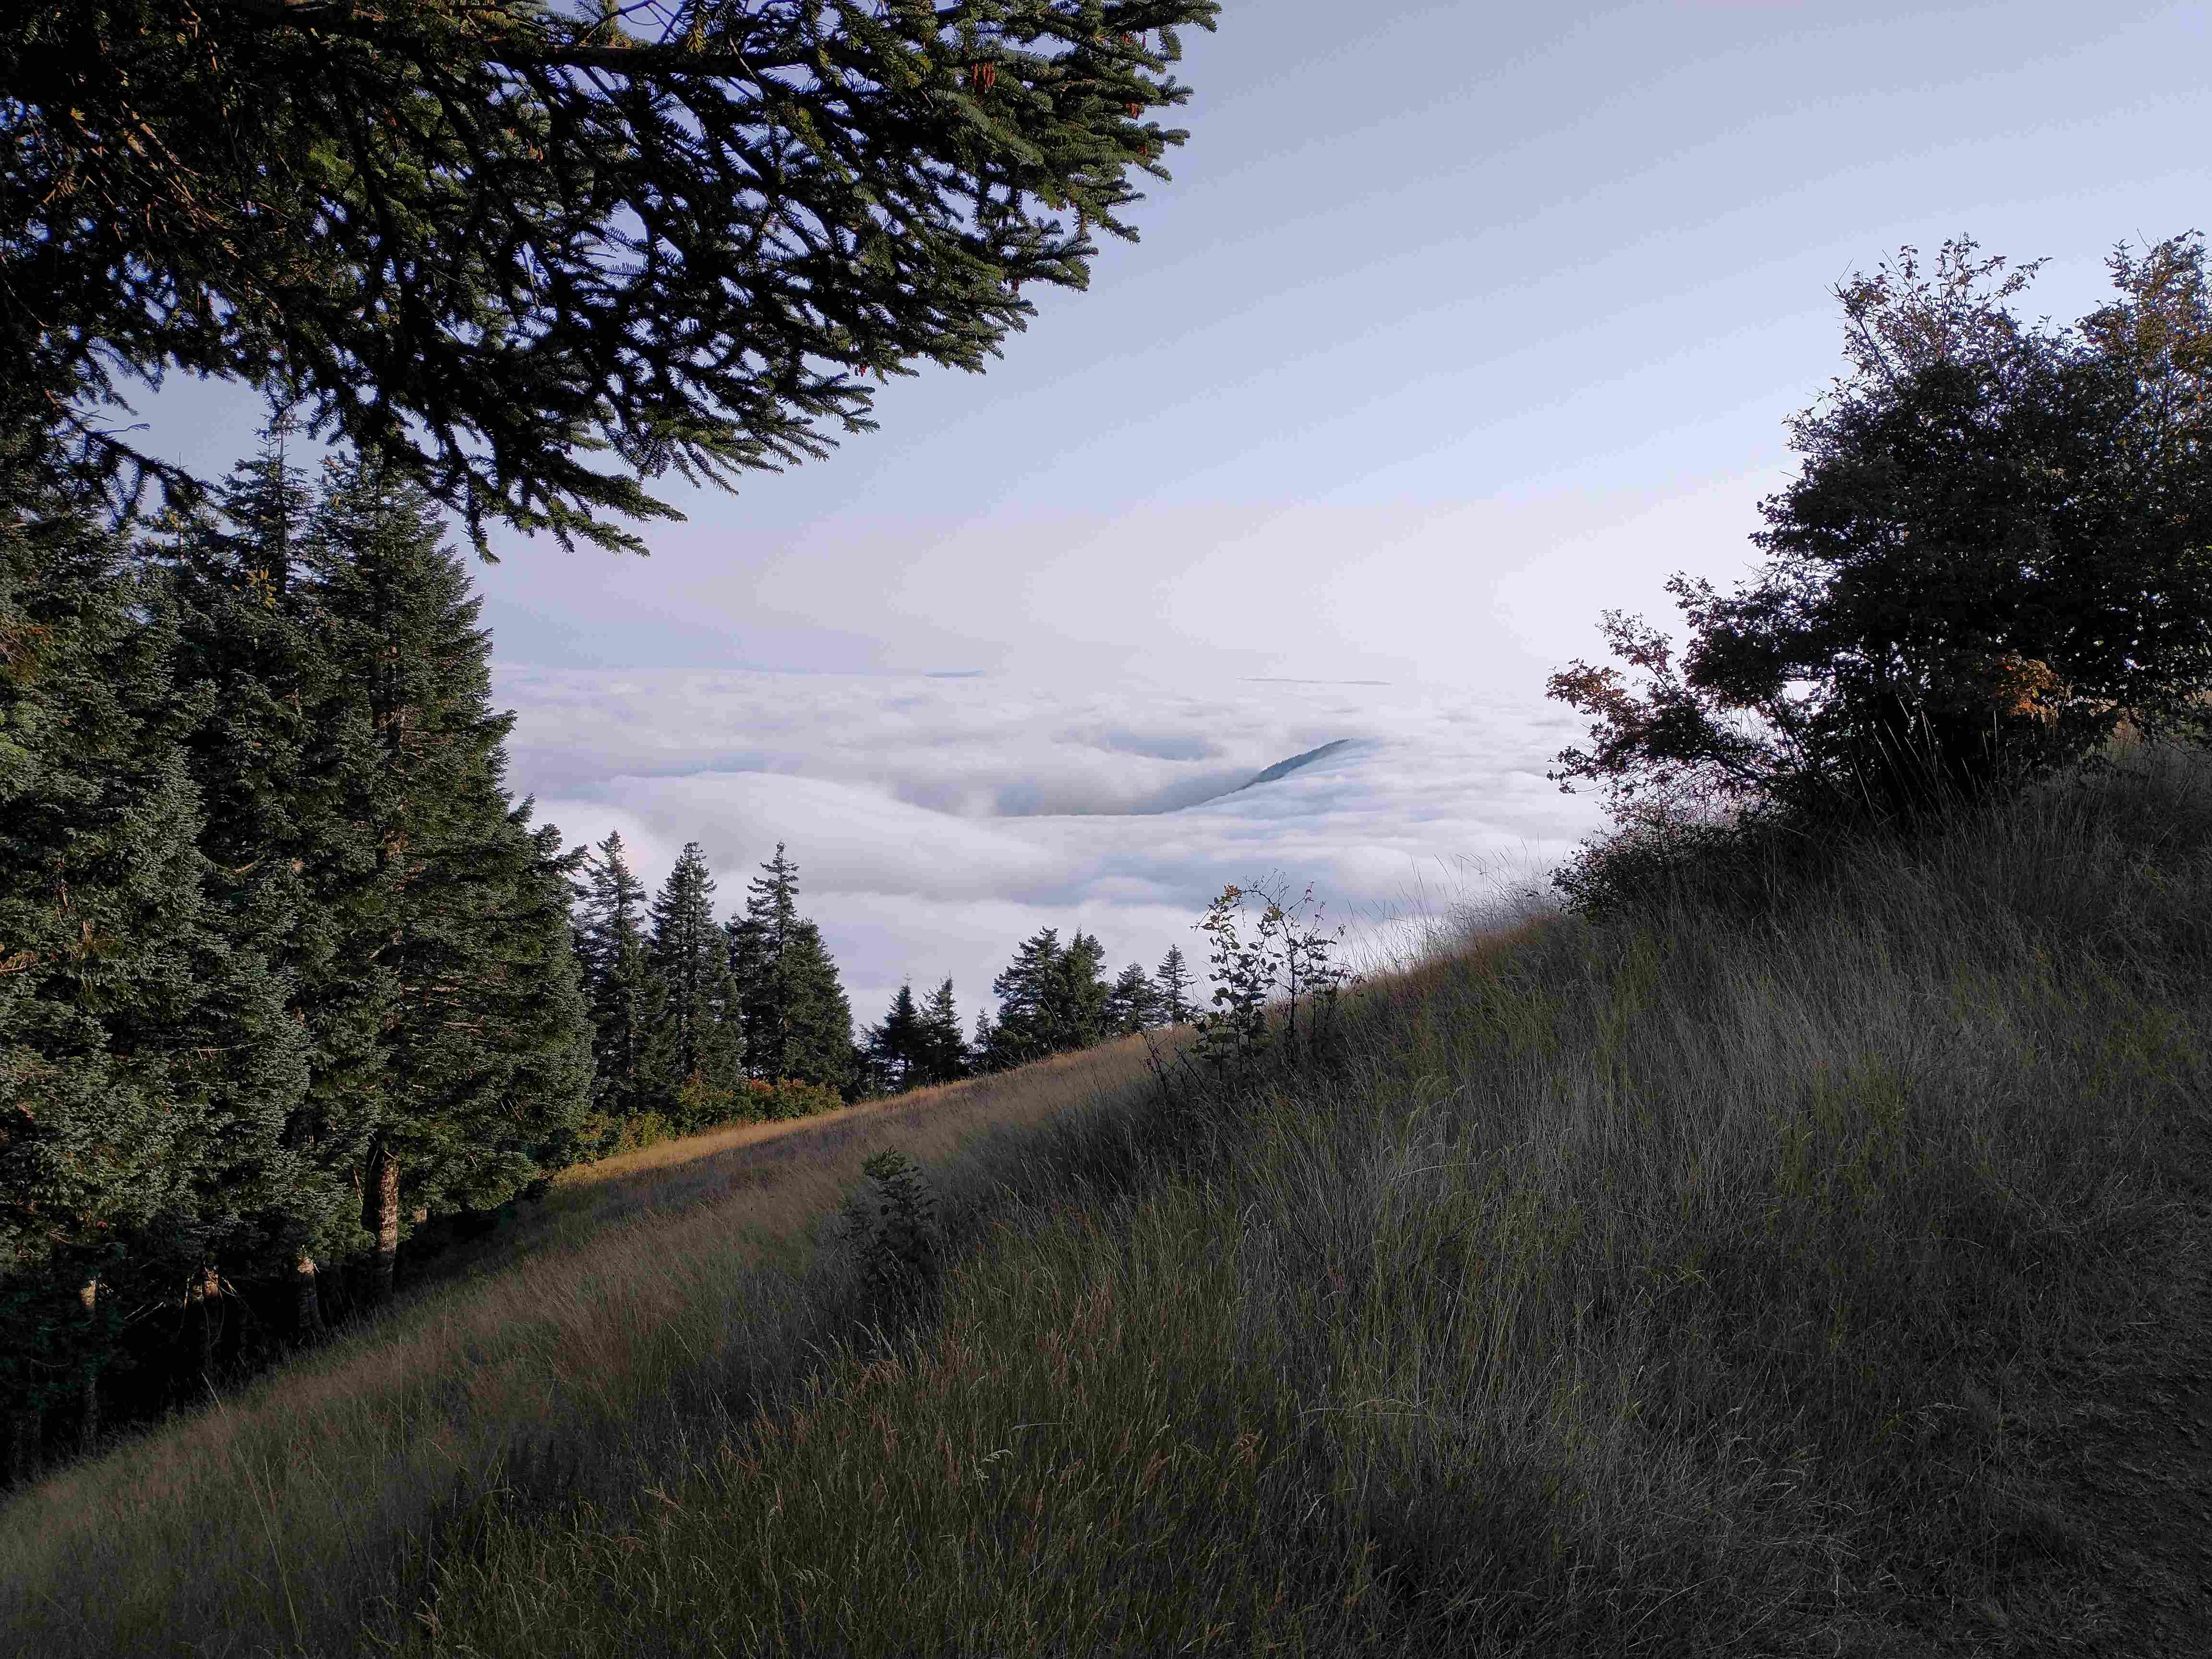
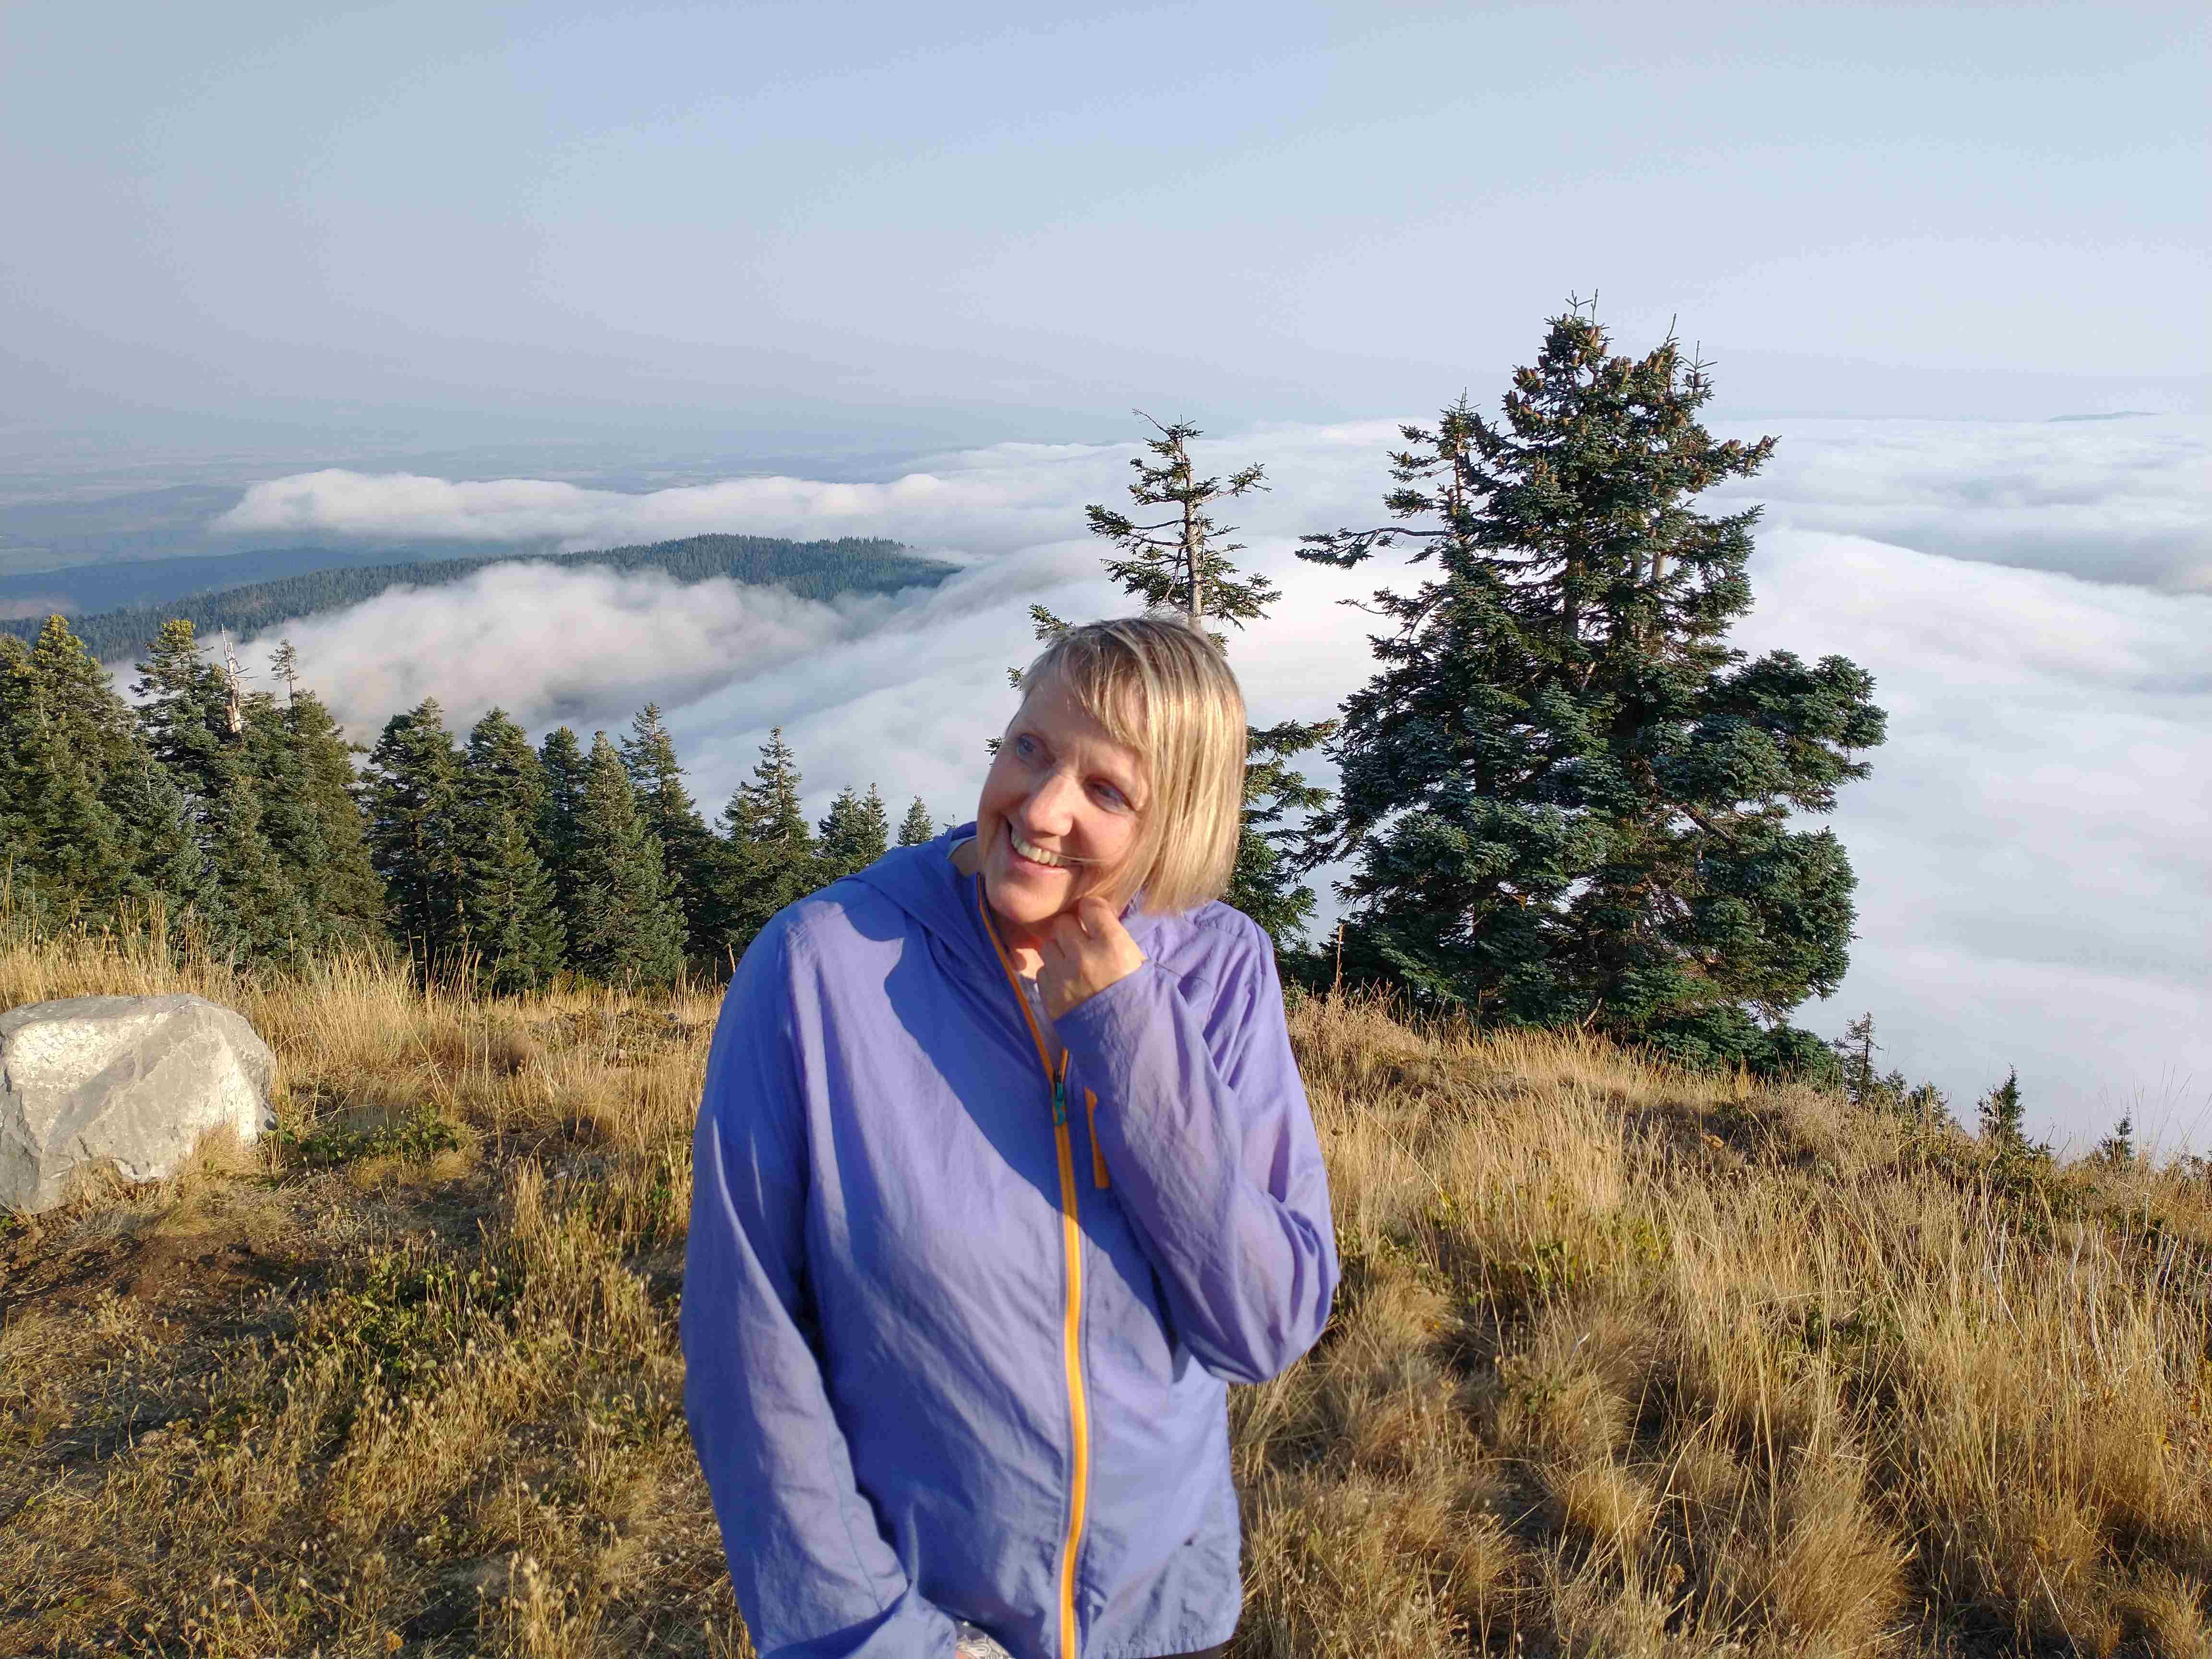
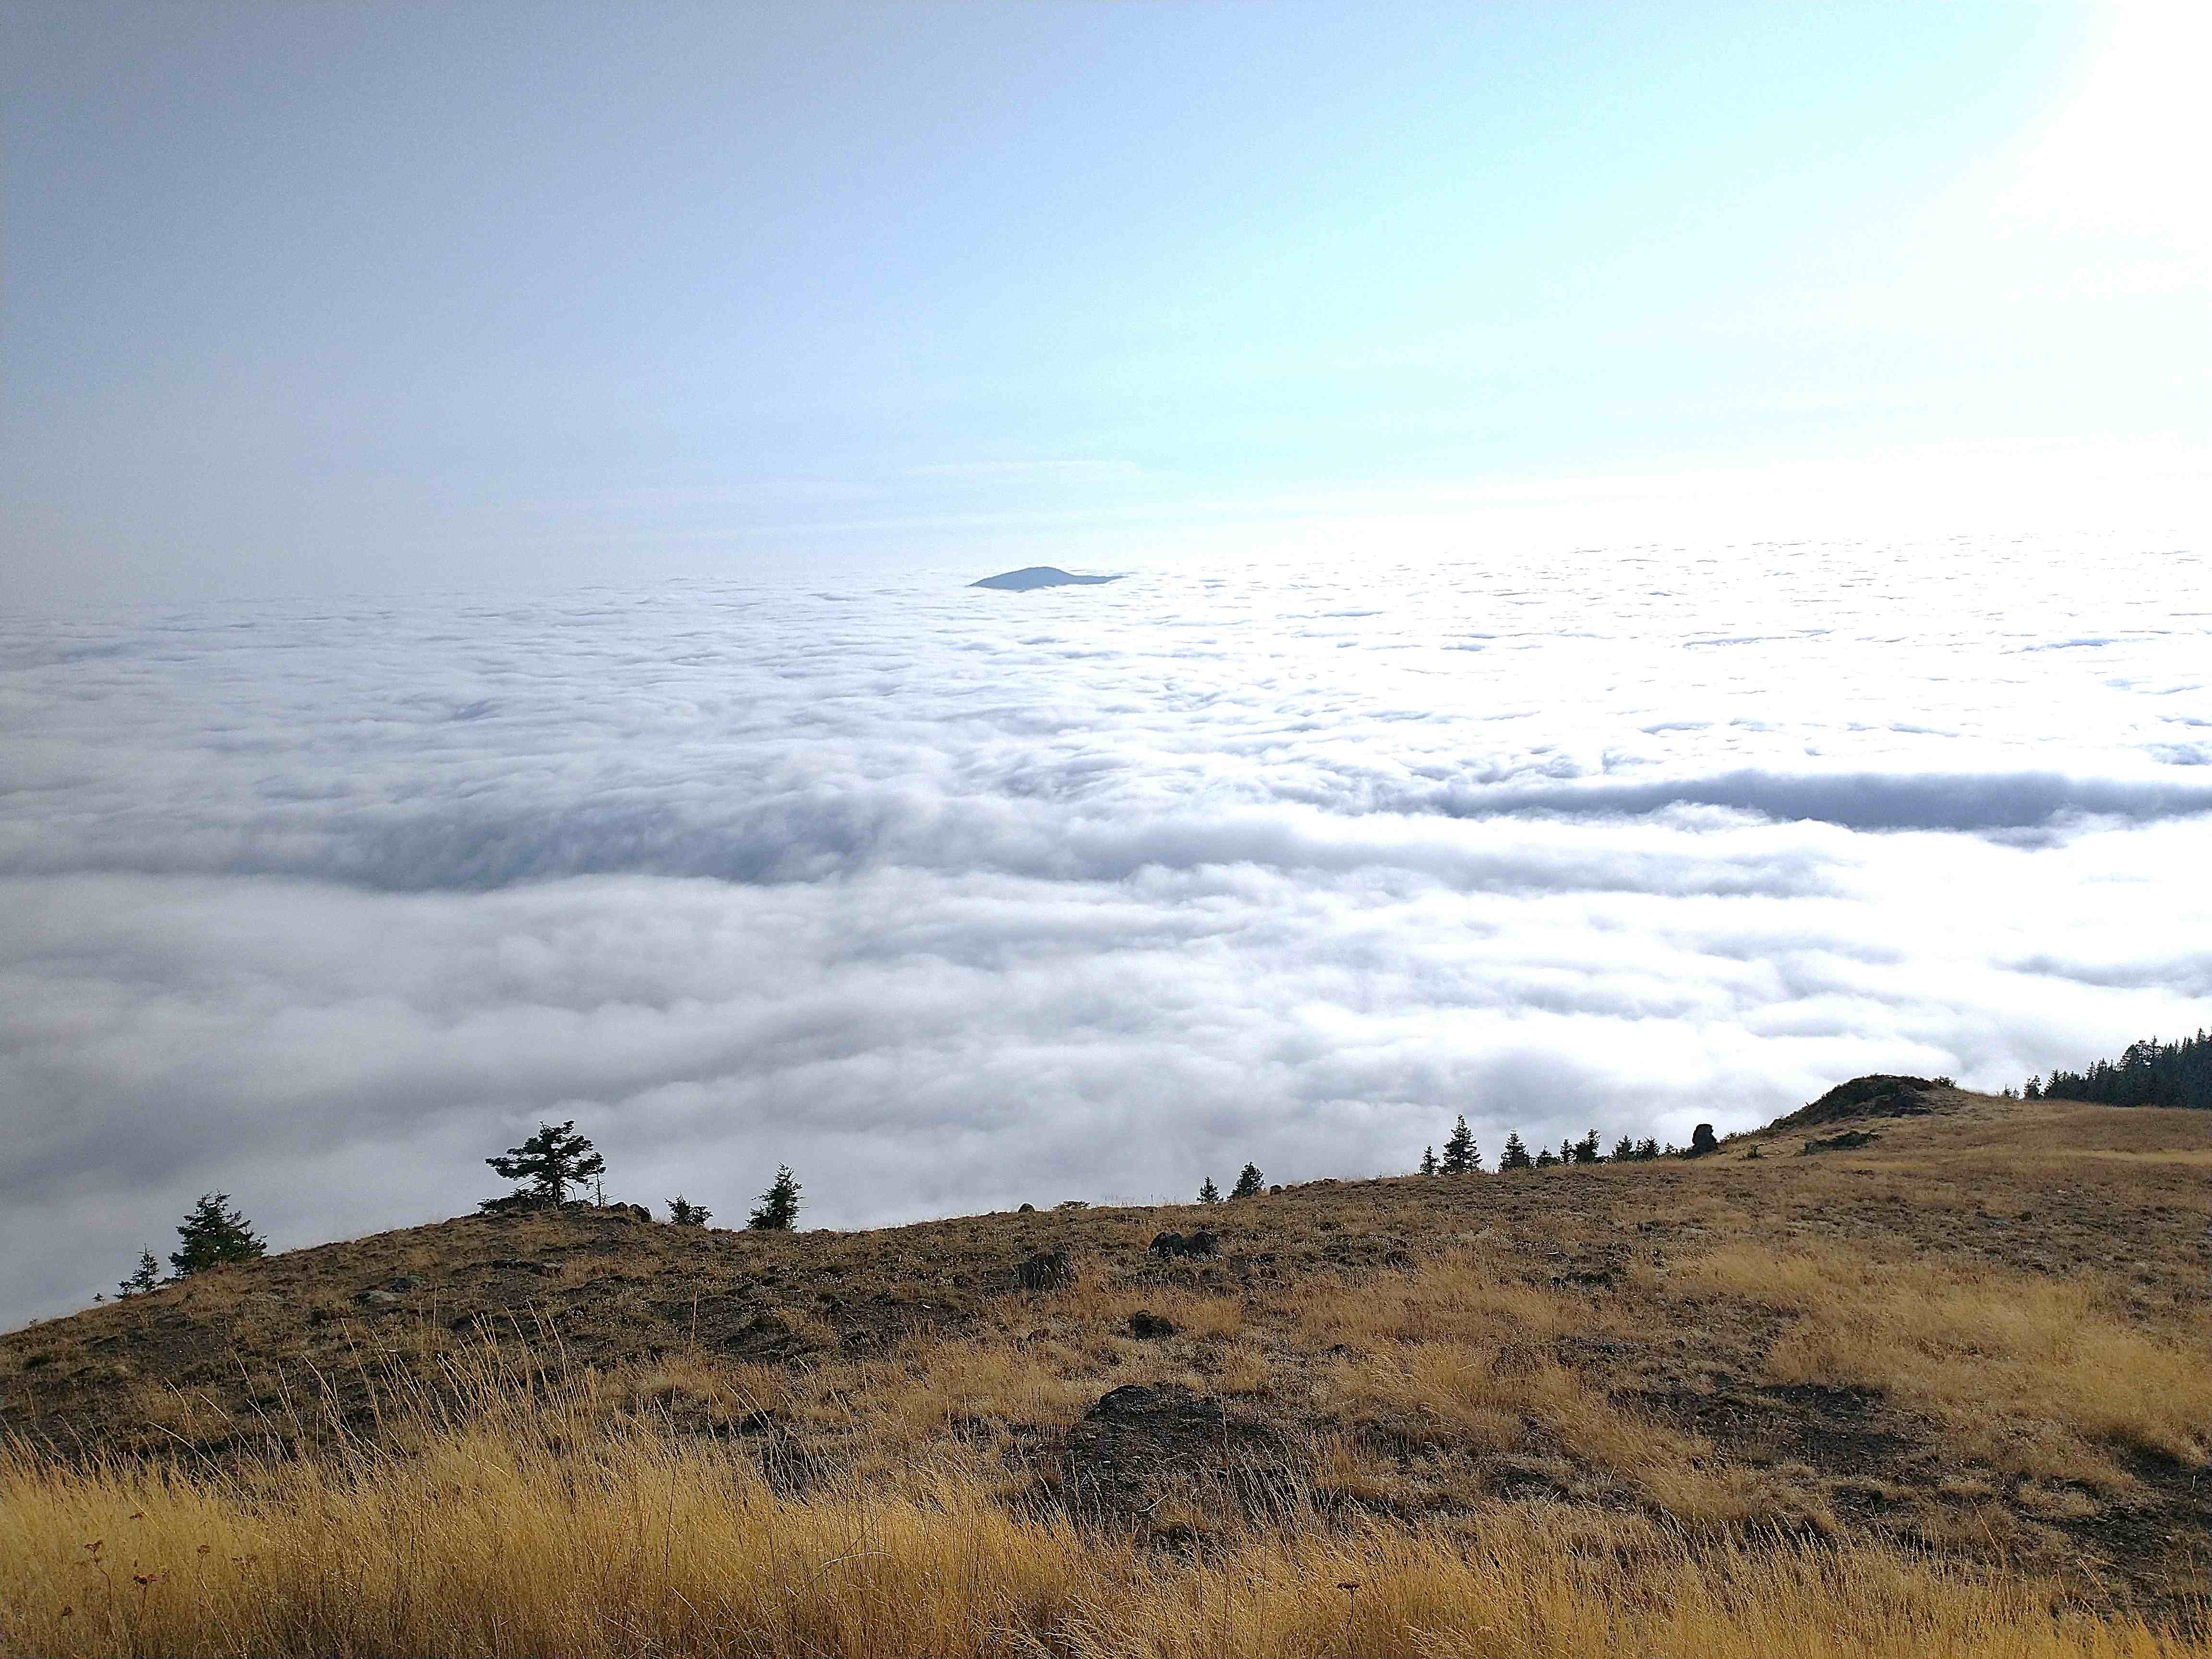
Mary’s Peak – Benton County, OR
Mary’s Peak is the highest point in the Coast Range. The day Kat and I visited, the summit was well above a cloud bank. [Photos ![]() Max Vollmer, Click on any image to enlarge]
Max Vollmer, Click on any image to enlarge]
Winding Down
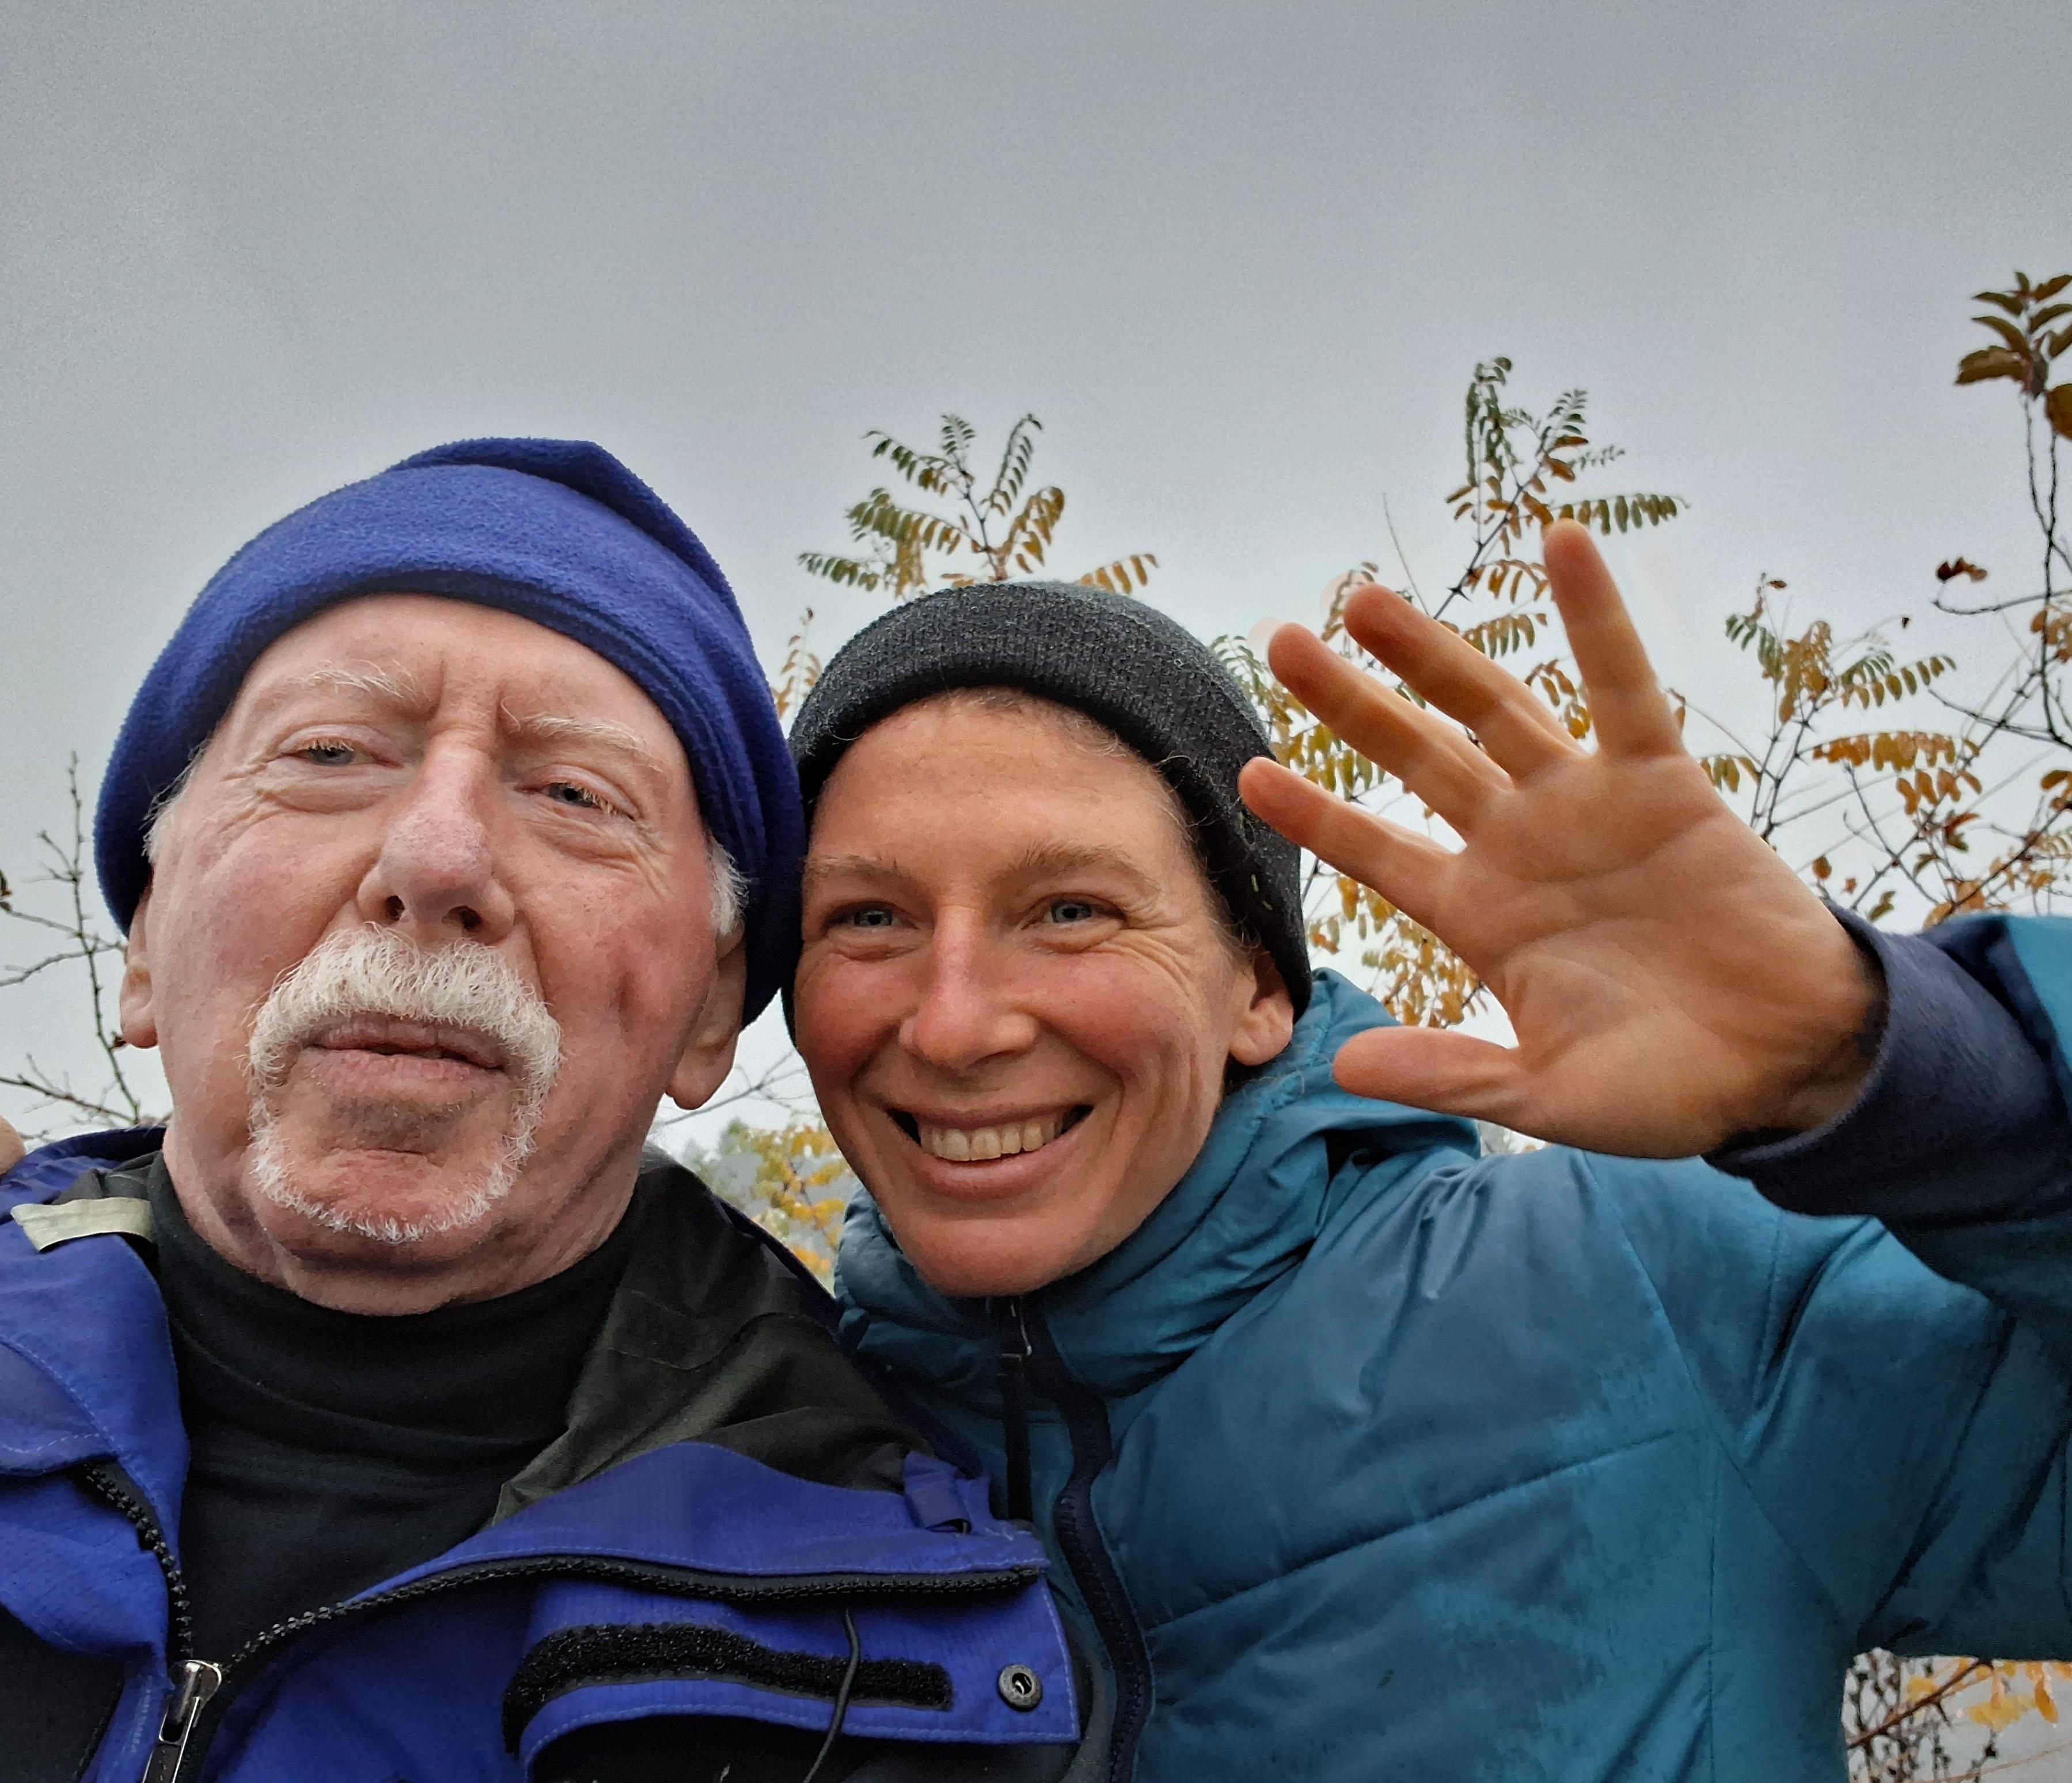
My trip by train across Canada was a long time coming, but it more than met my expectations. What stands out above all is the courtesy, kindness. and generous spirit of Canadians at every turn. This has been the longest visit I have had with Karl since he was a kid at home and Karl, having become a Canadian citizen, mirrors the character of his adopted country.
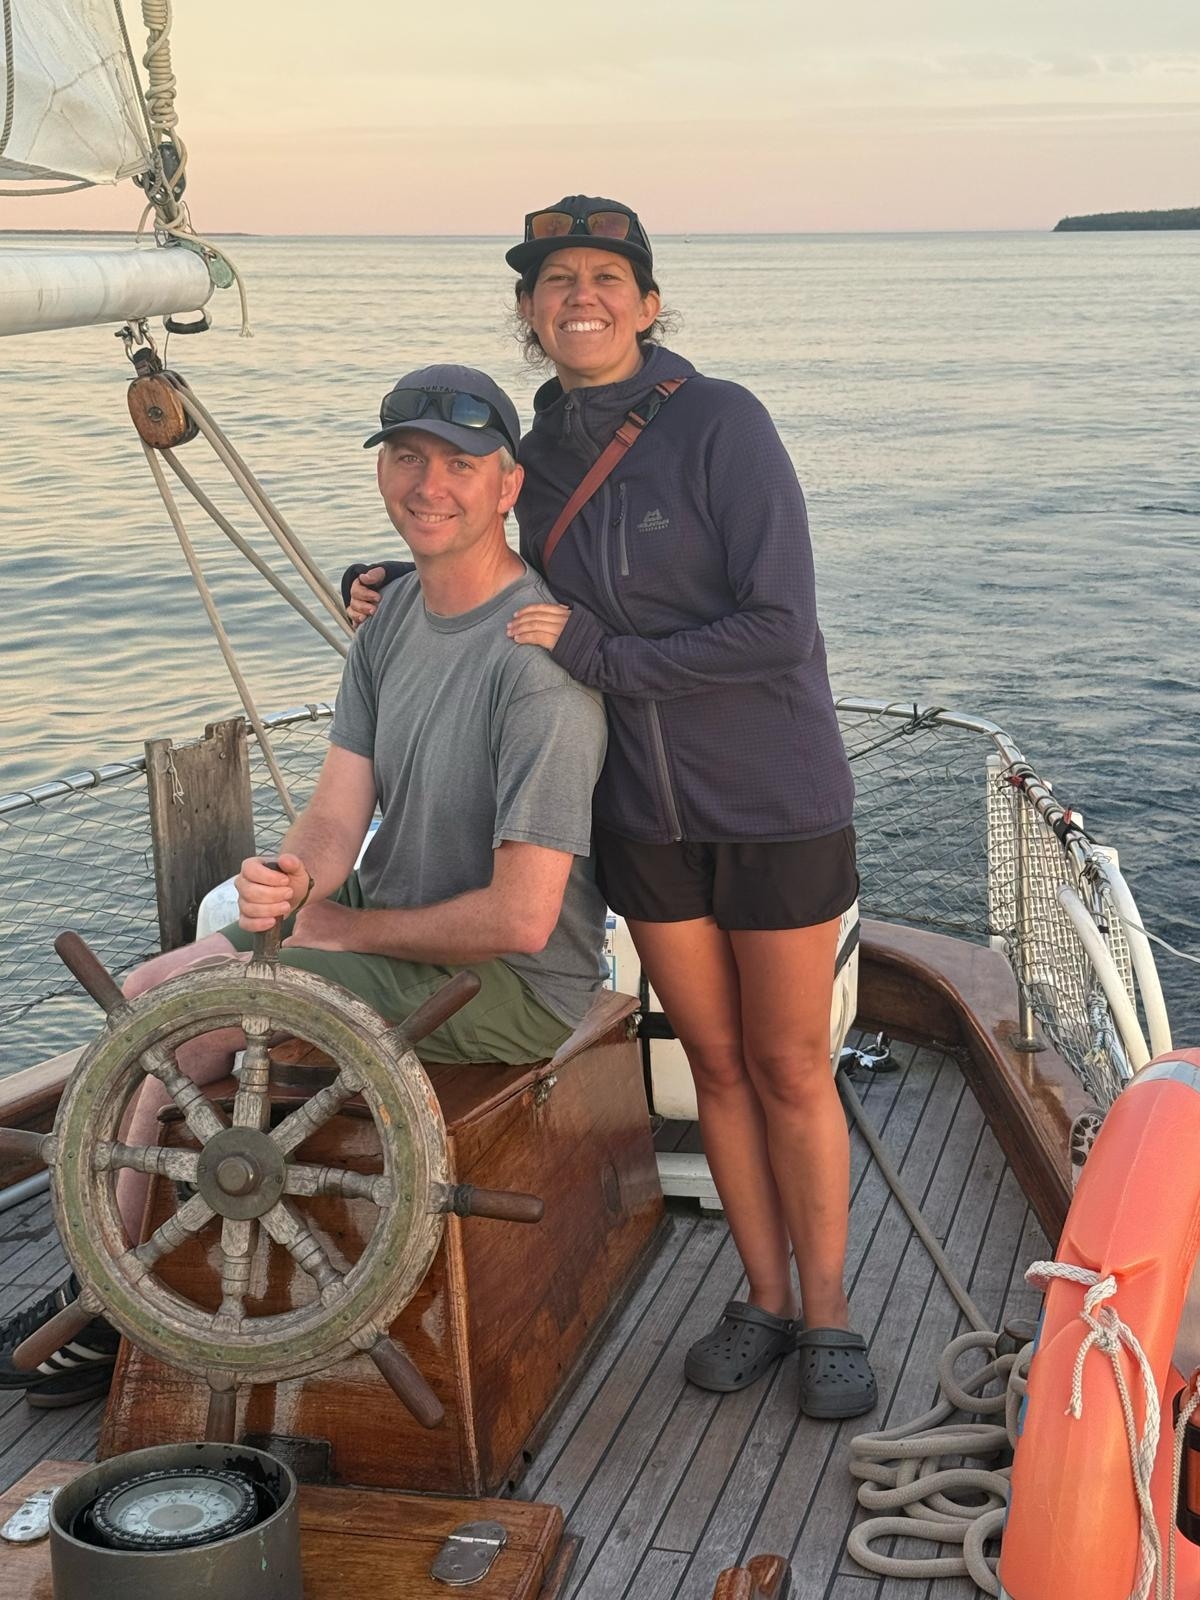
Foregoing a return by train, I’ll get on a flight tomorrow morning and be back home in Eugene tomorrow night. I have had a wonderful time in Nova Scotia, but there is much that awaits me back home. I am looking forward as always to what lies ahead.
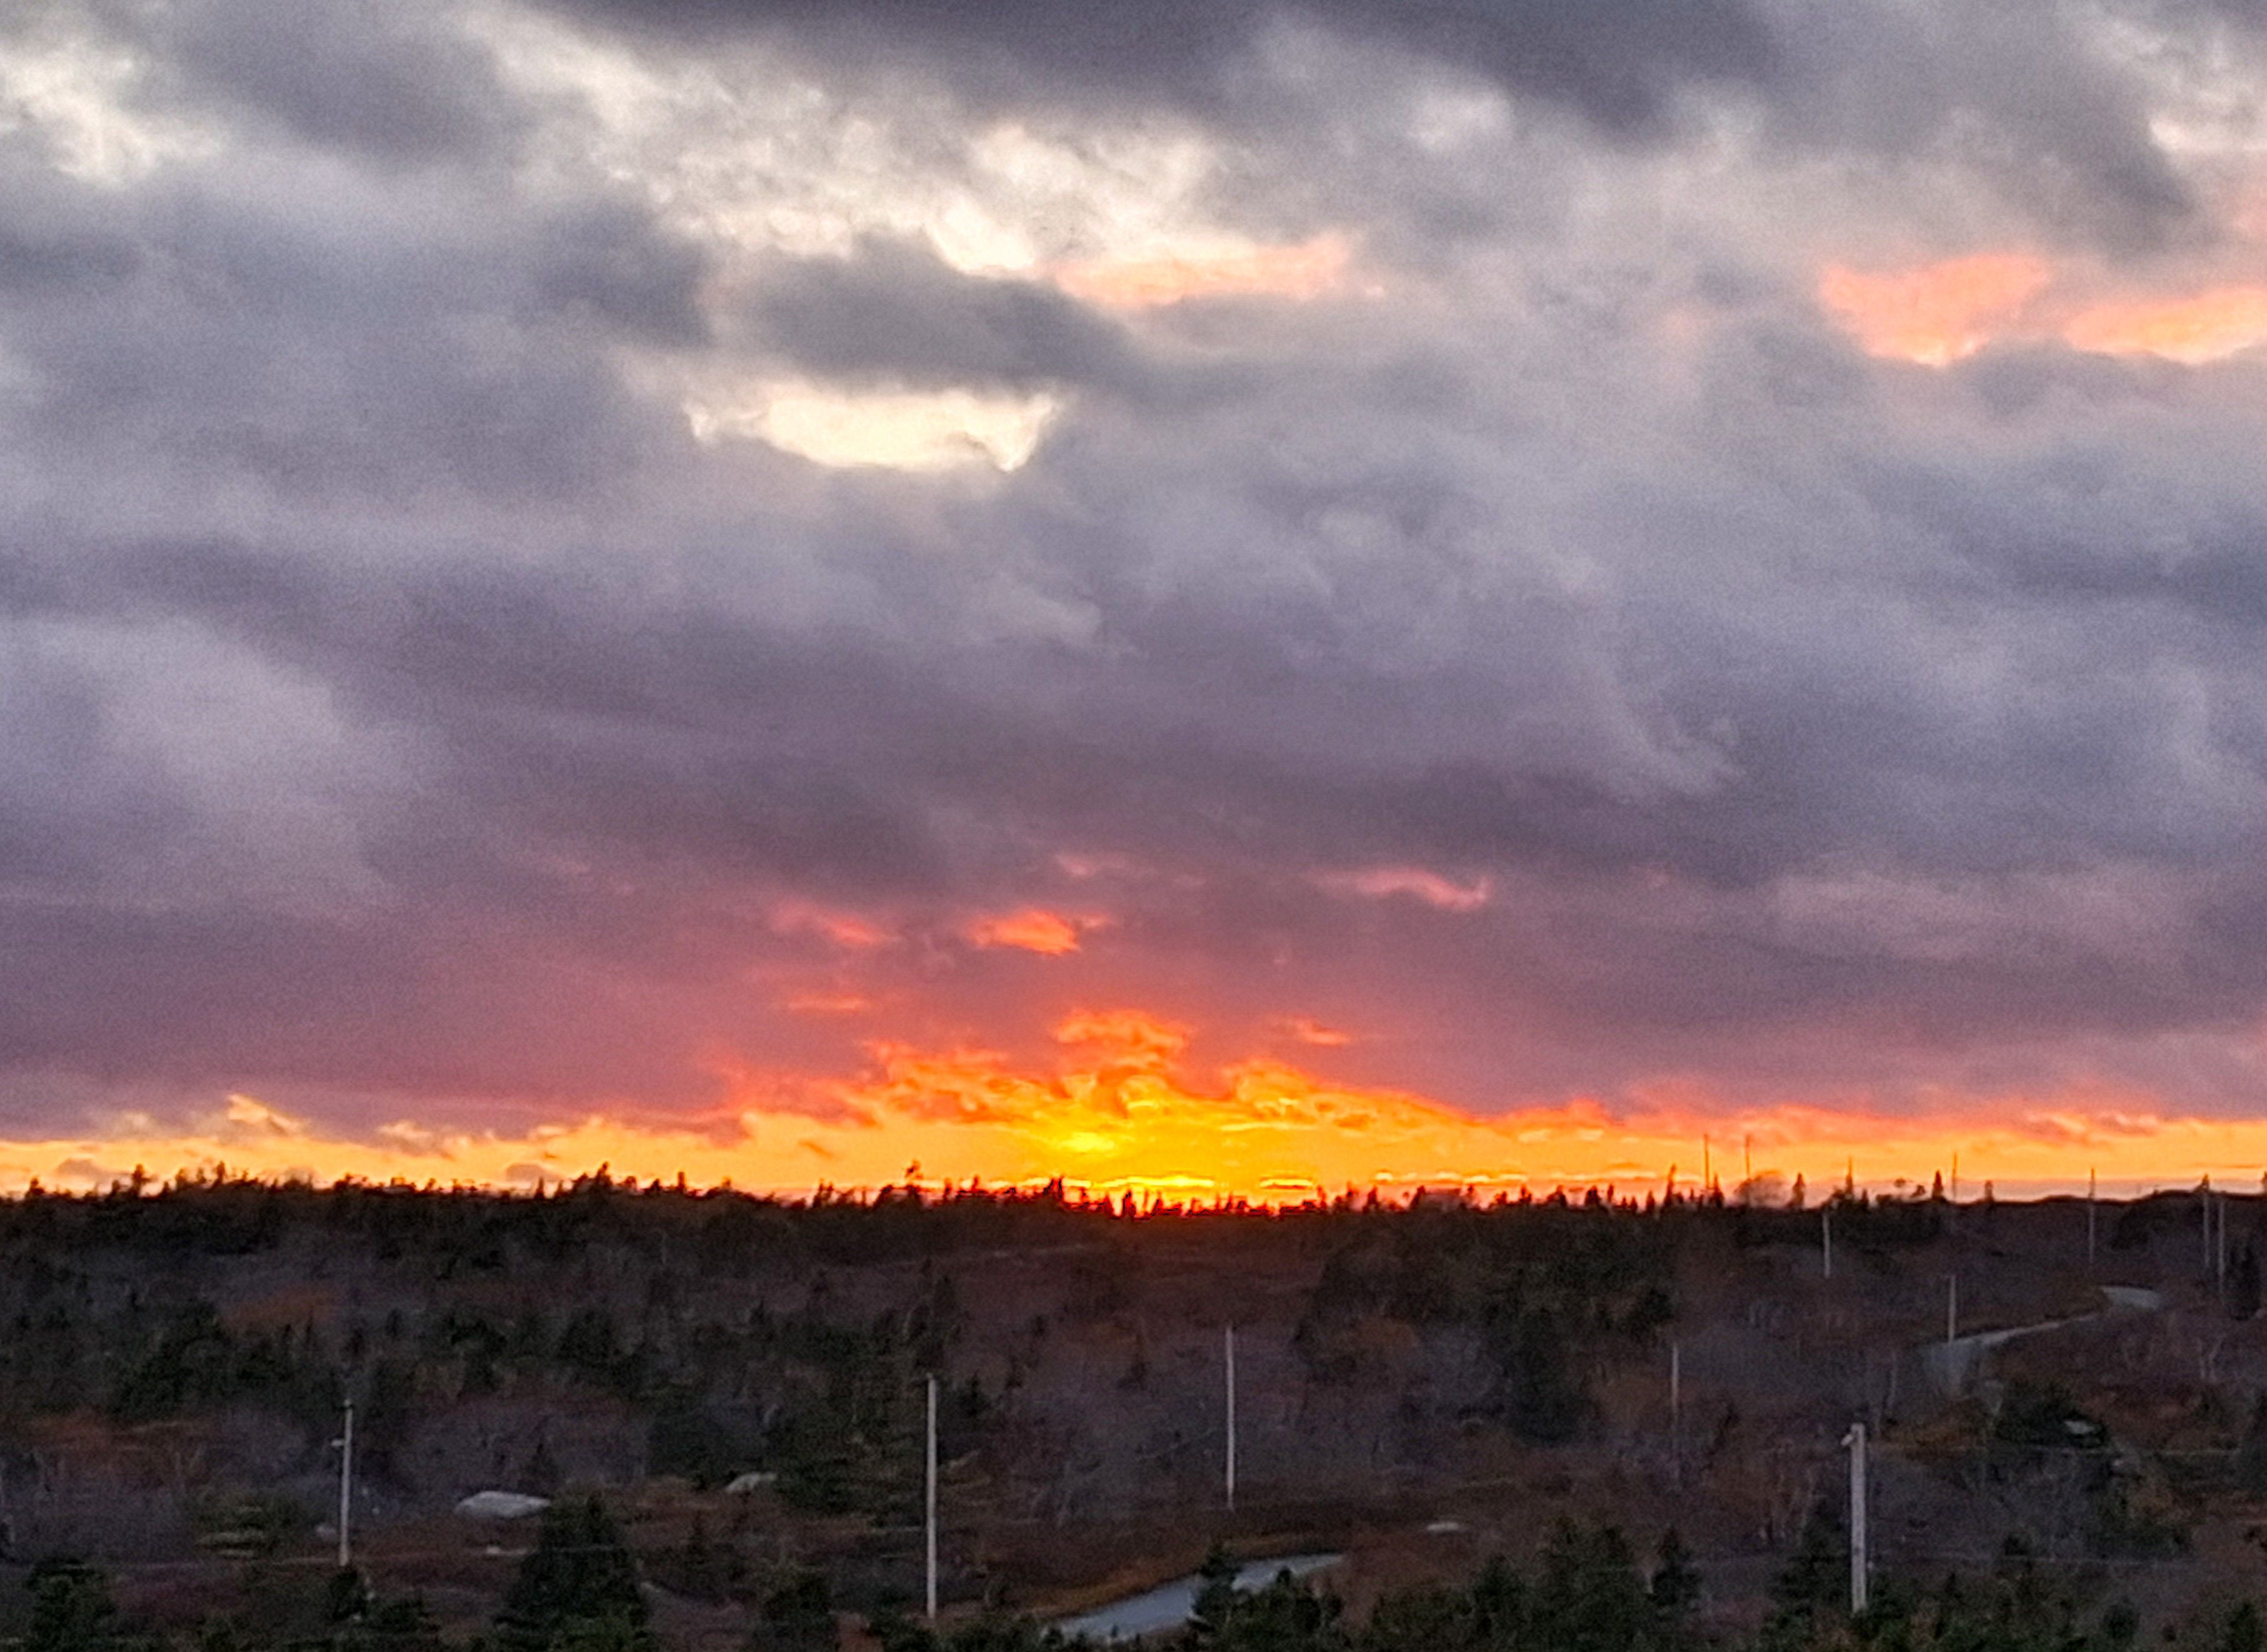
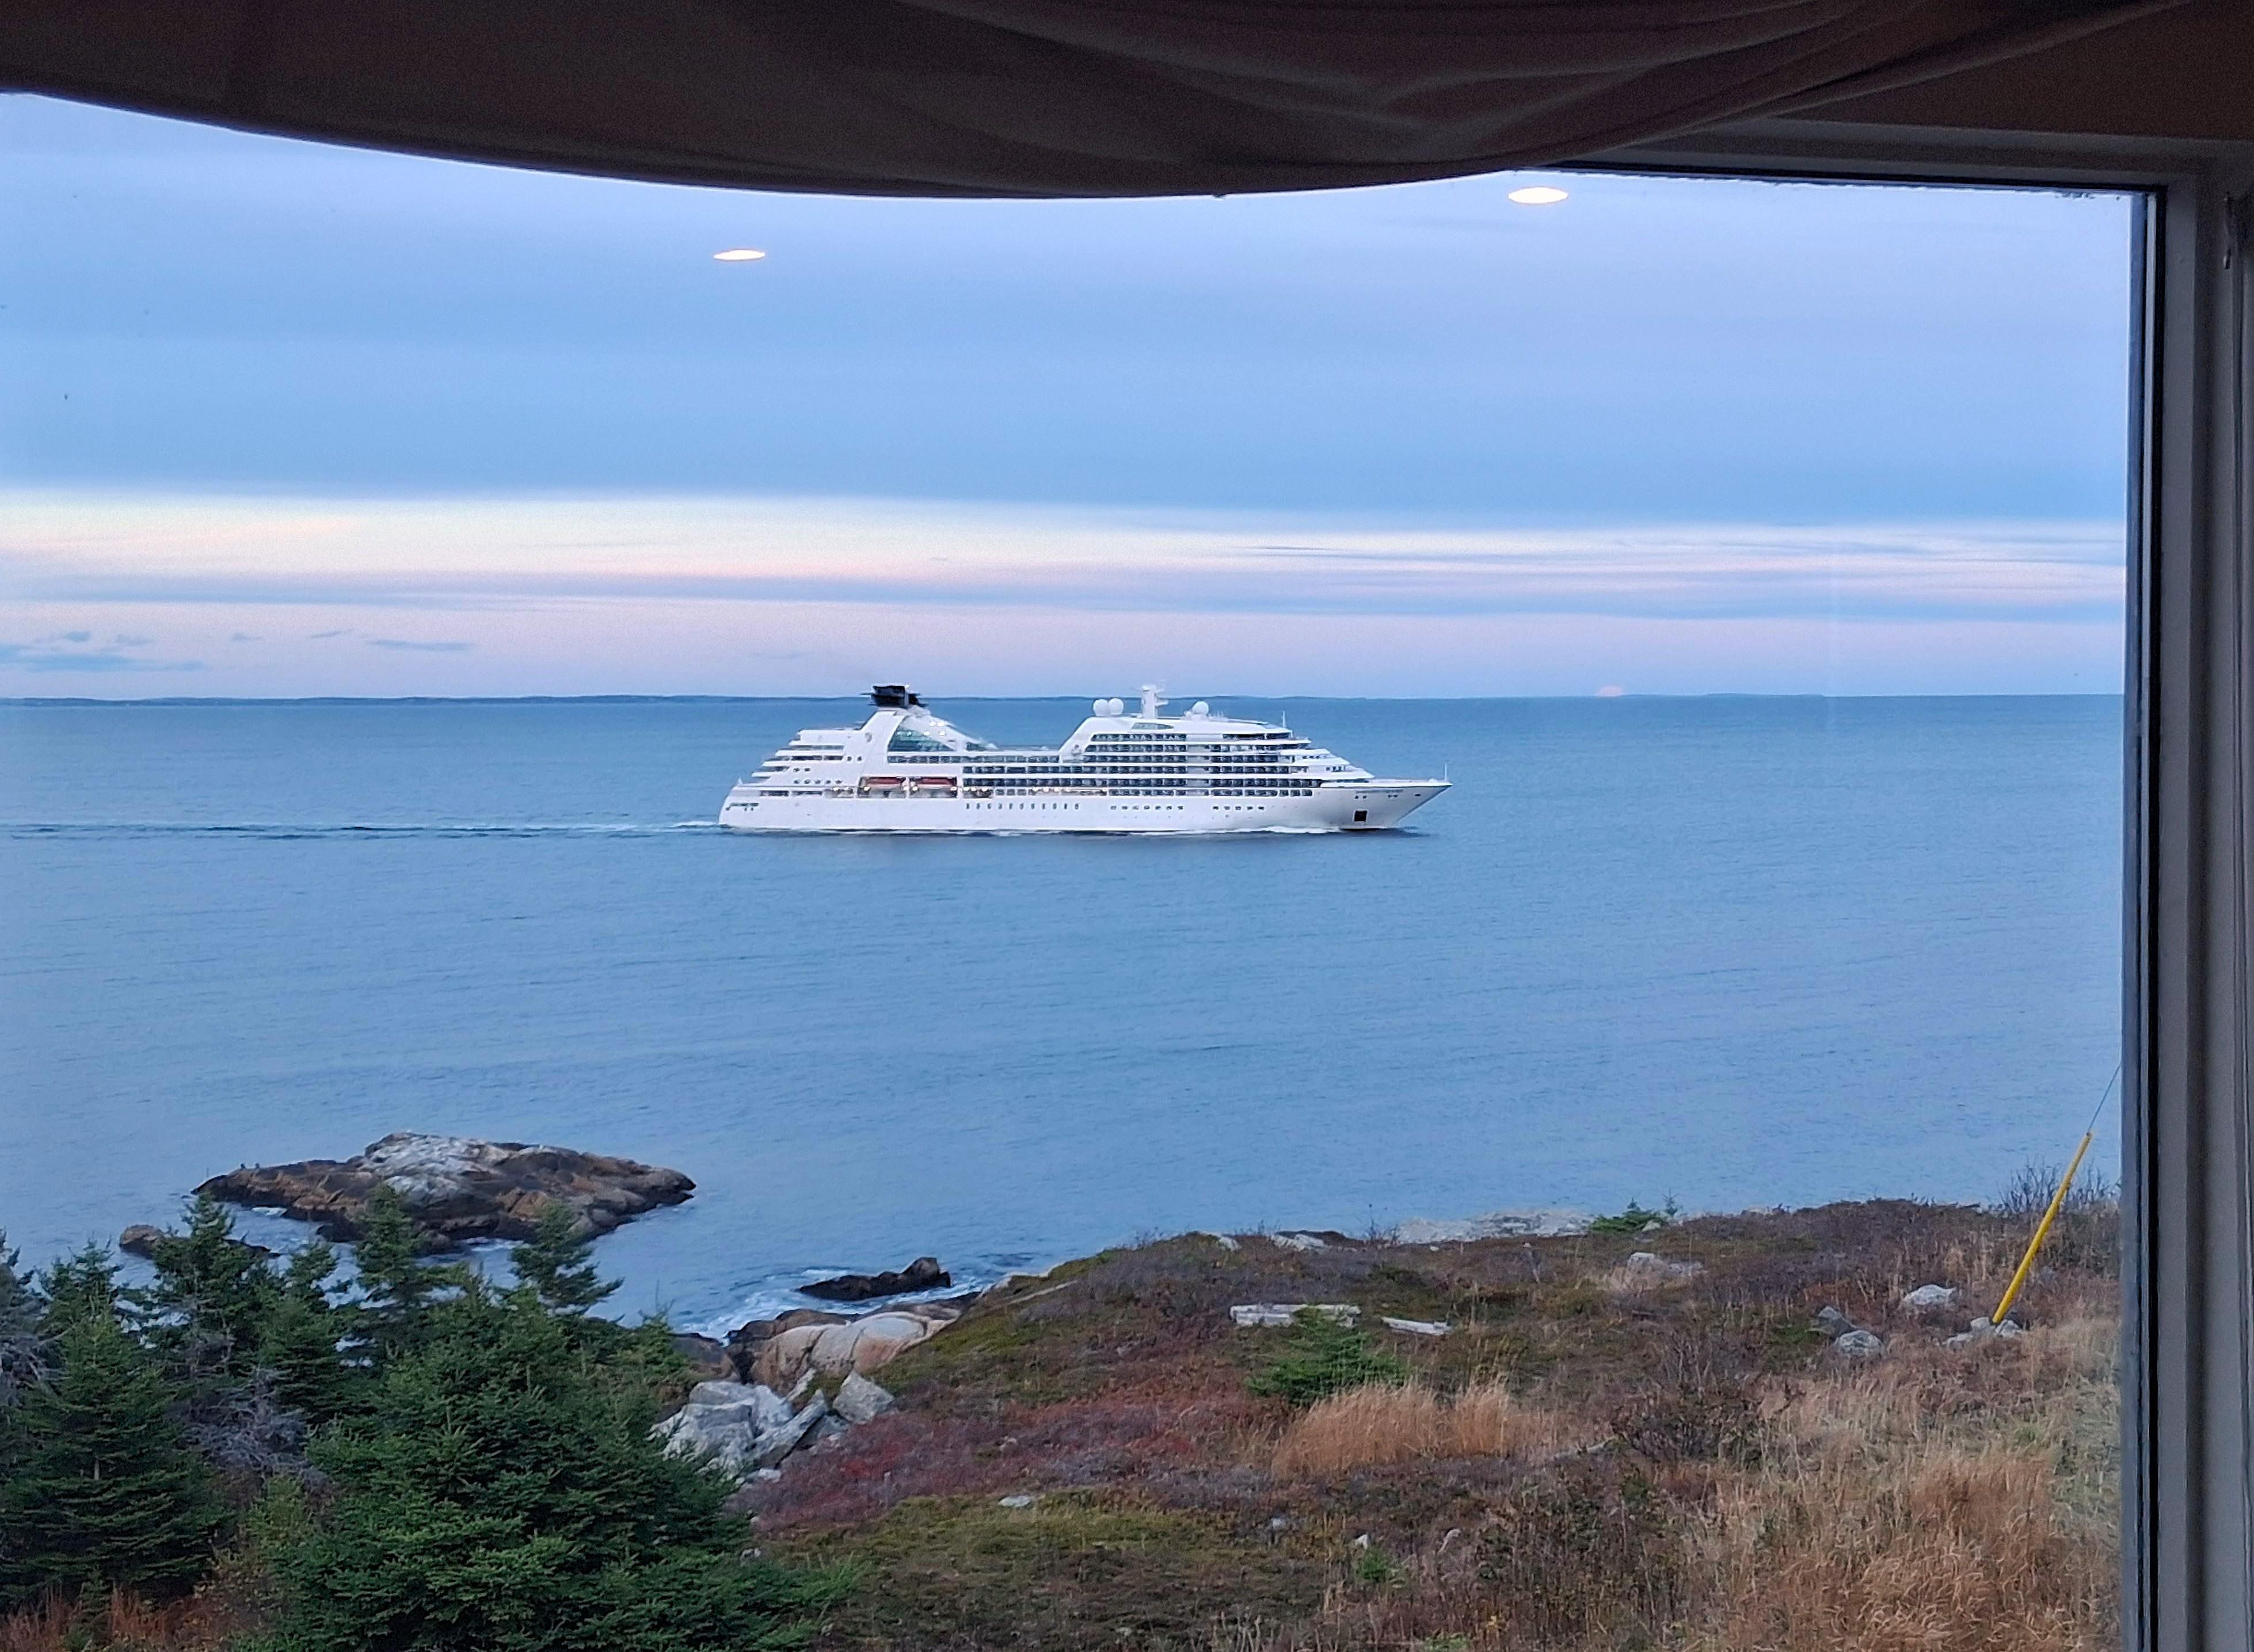
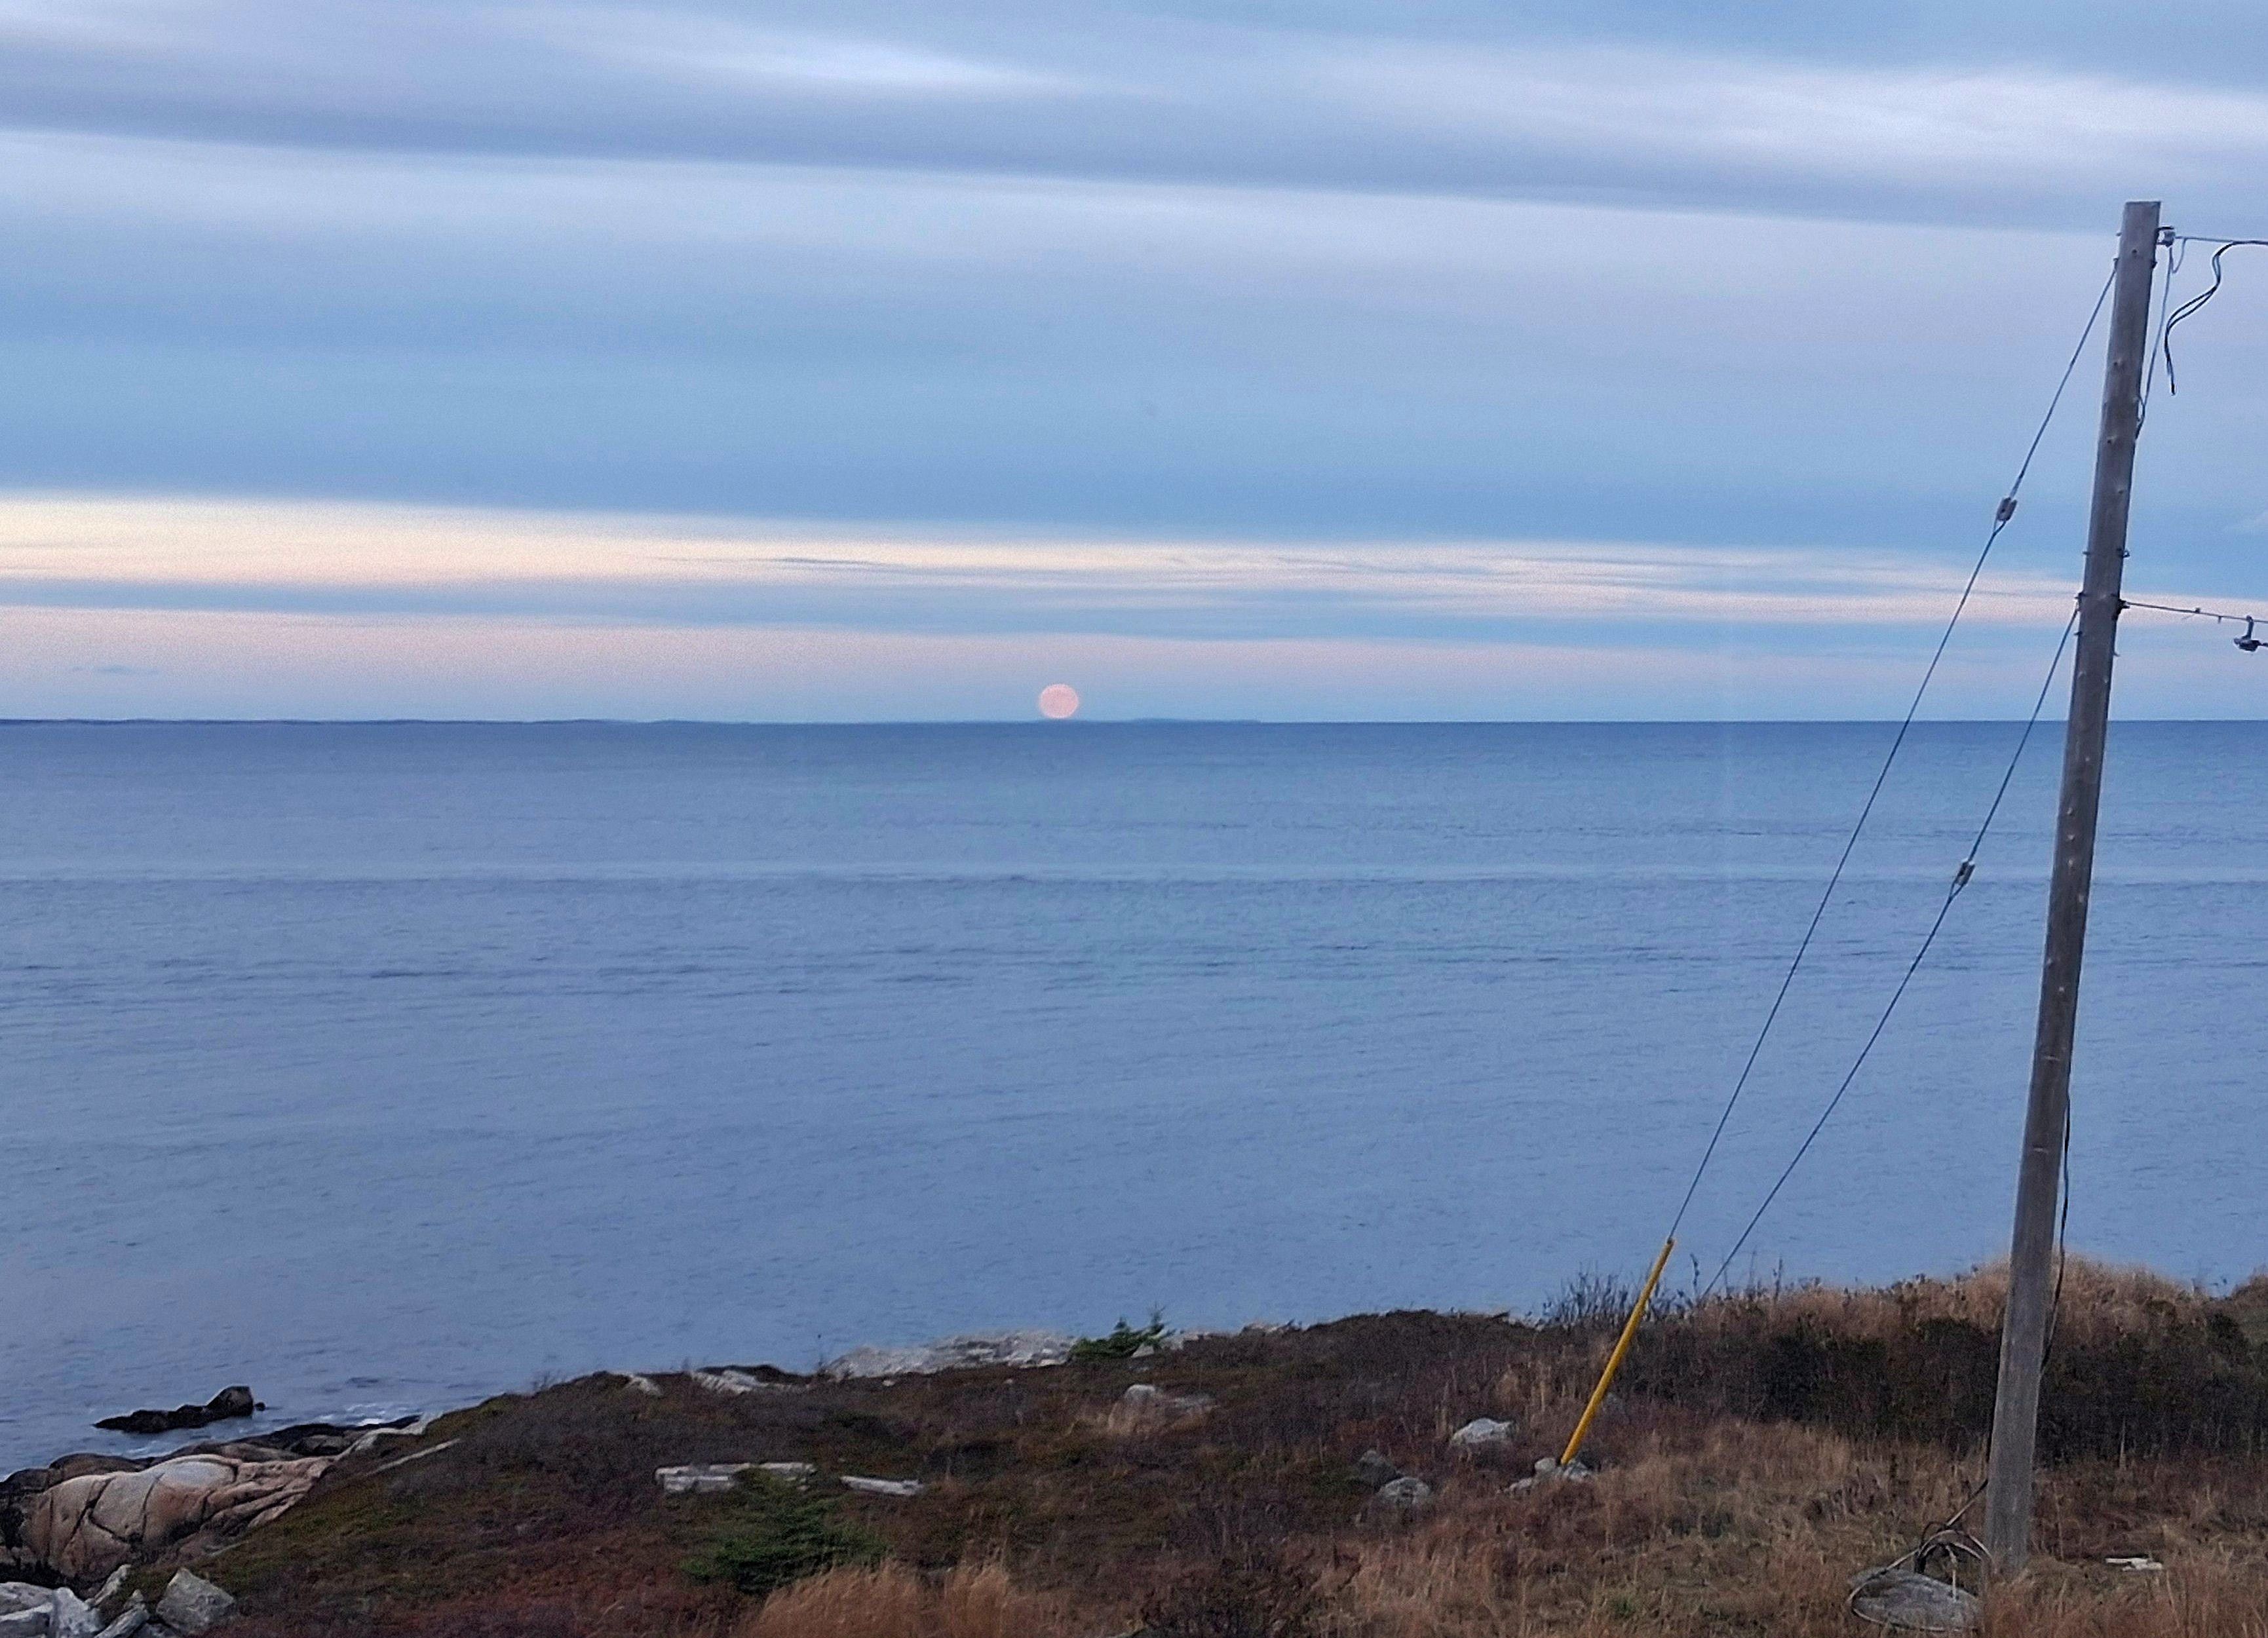
Evening at Duncans Cove
Clouds will bring rain tomorrow, but this evening there was a sunset that looked like the interior of the island was on fire, and a full moon rose at virtually the same time across the harbor. For me, this signified balance and harmony. I spotted the moonrise on the horizon because a tour ship passing in front of Karl’s house caught my attention just as a slice of moon appeared over the water to the east. Can you spot it? [All photos ![]() Max Vollmer, Click on any image to enlarge]
Max Vollmer, Click on any image to enlarge]
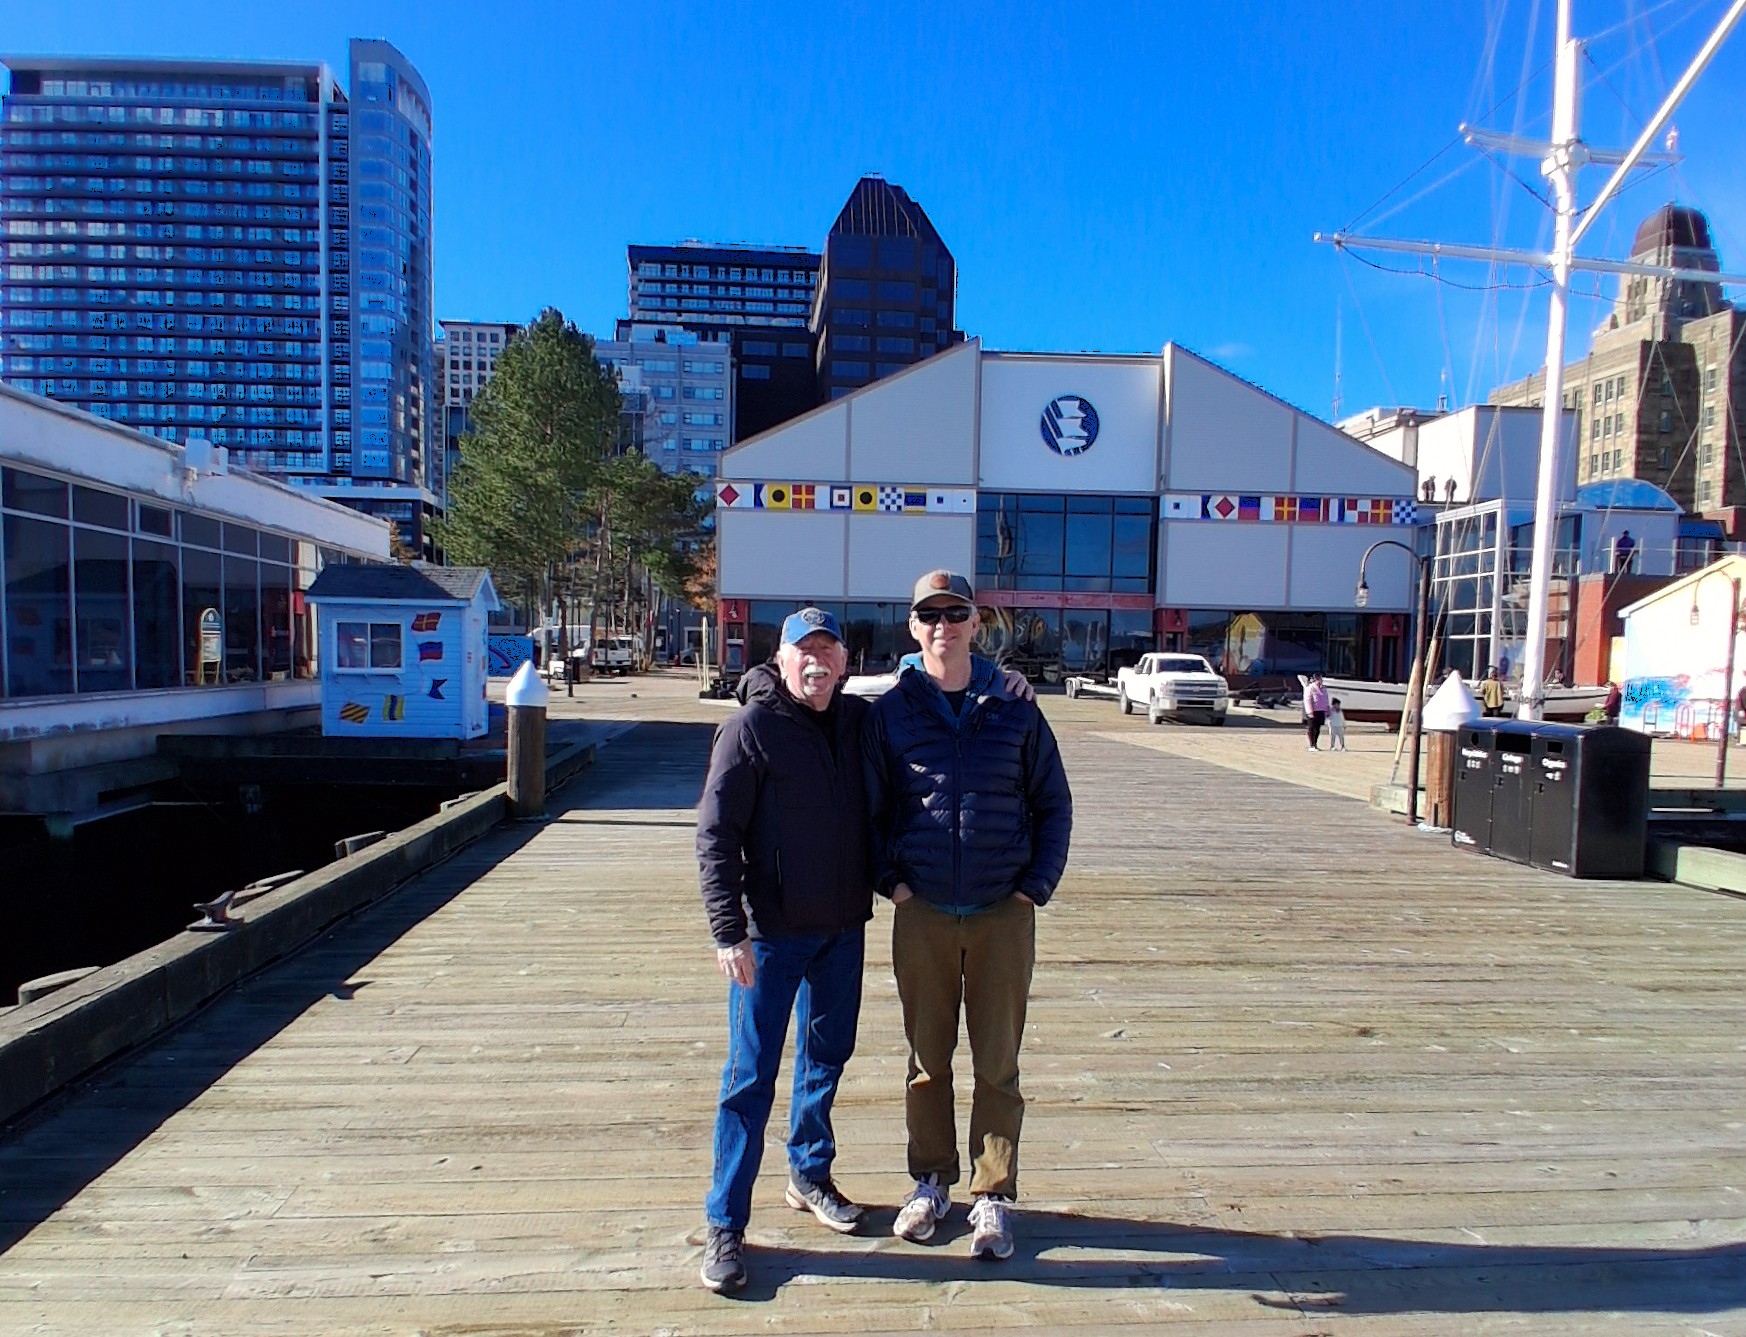
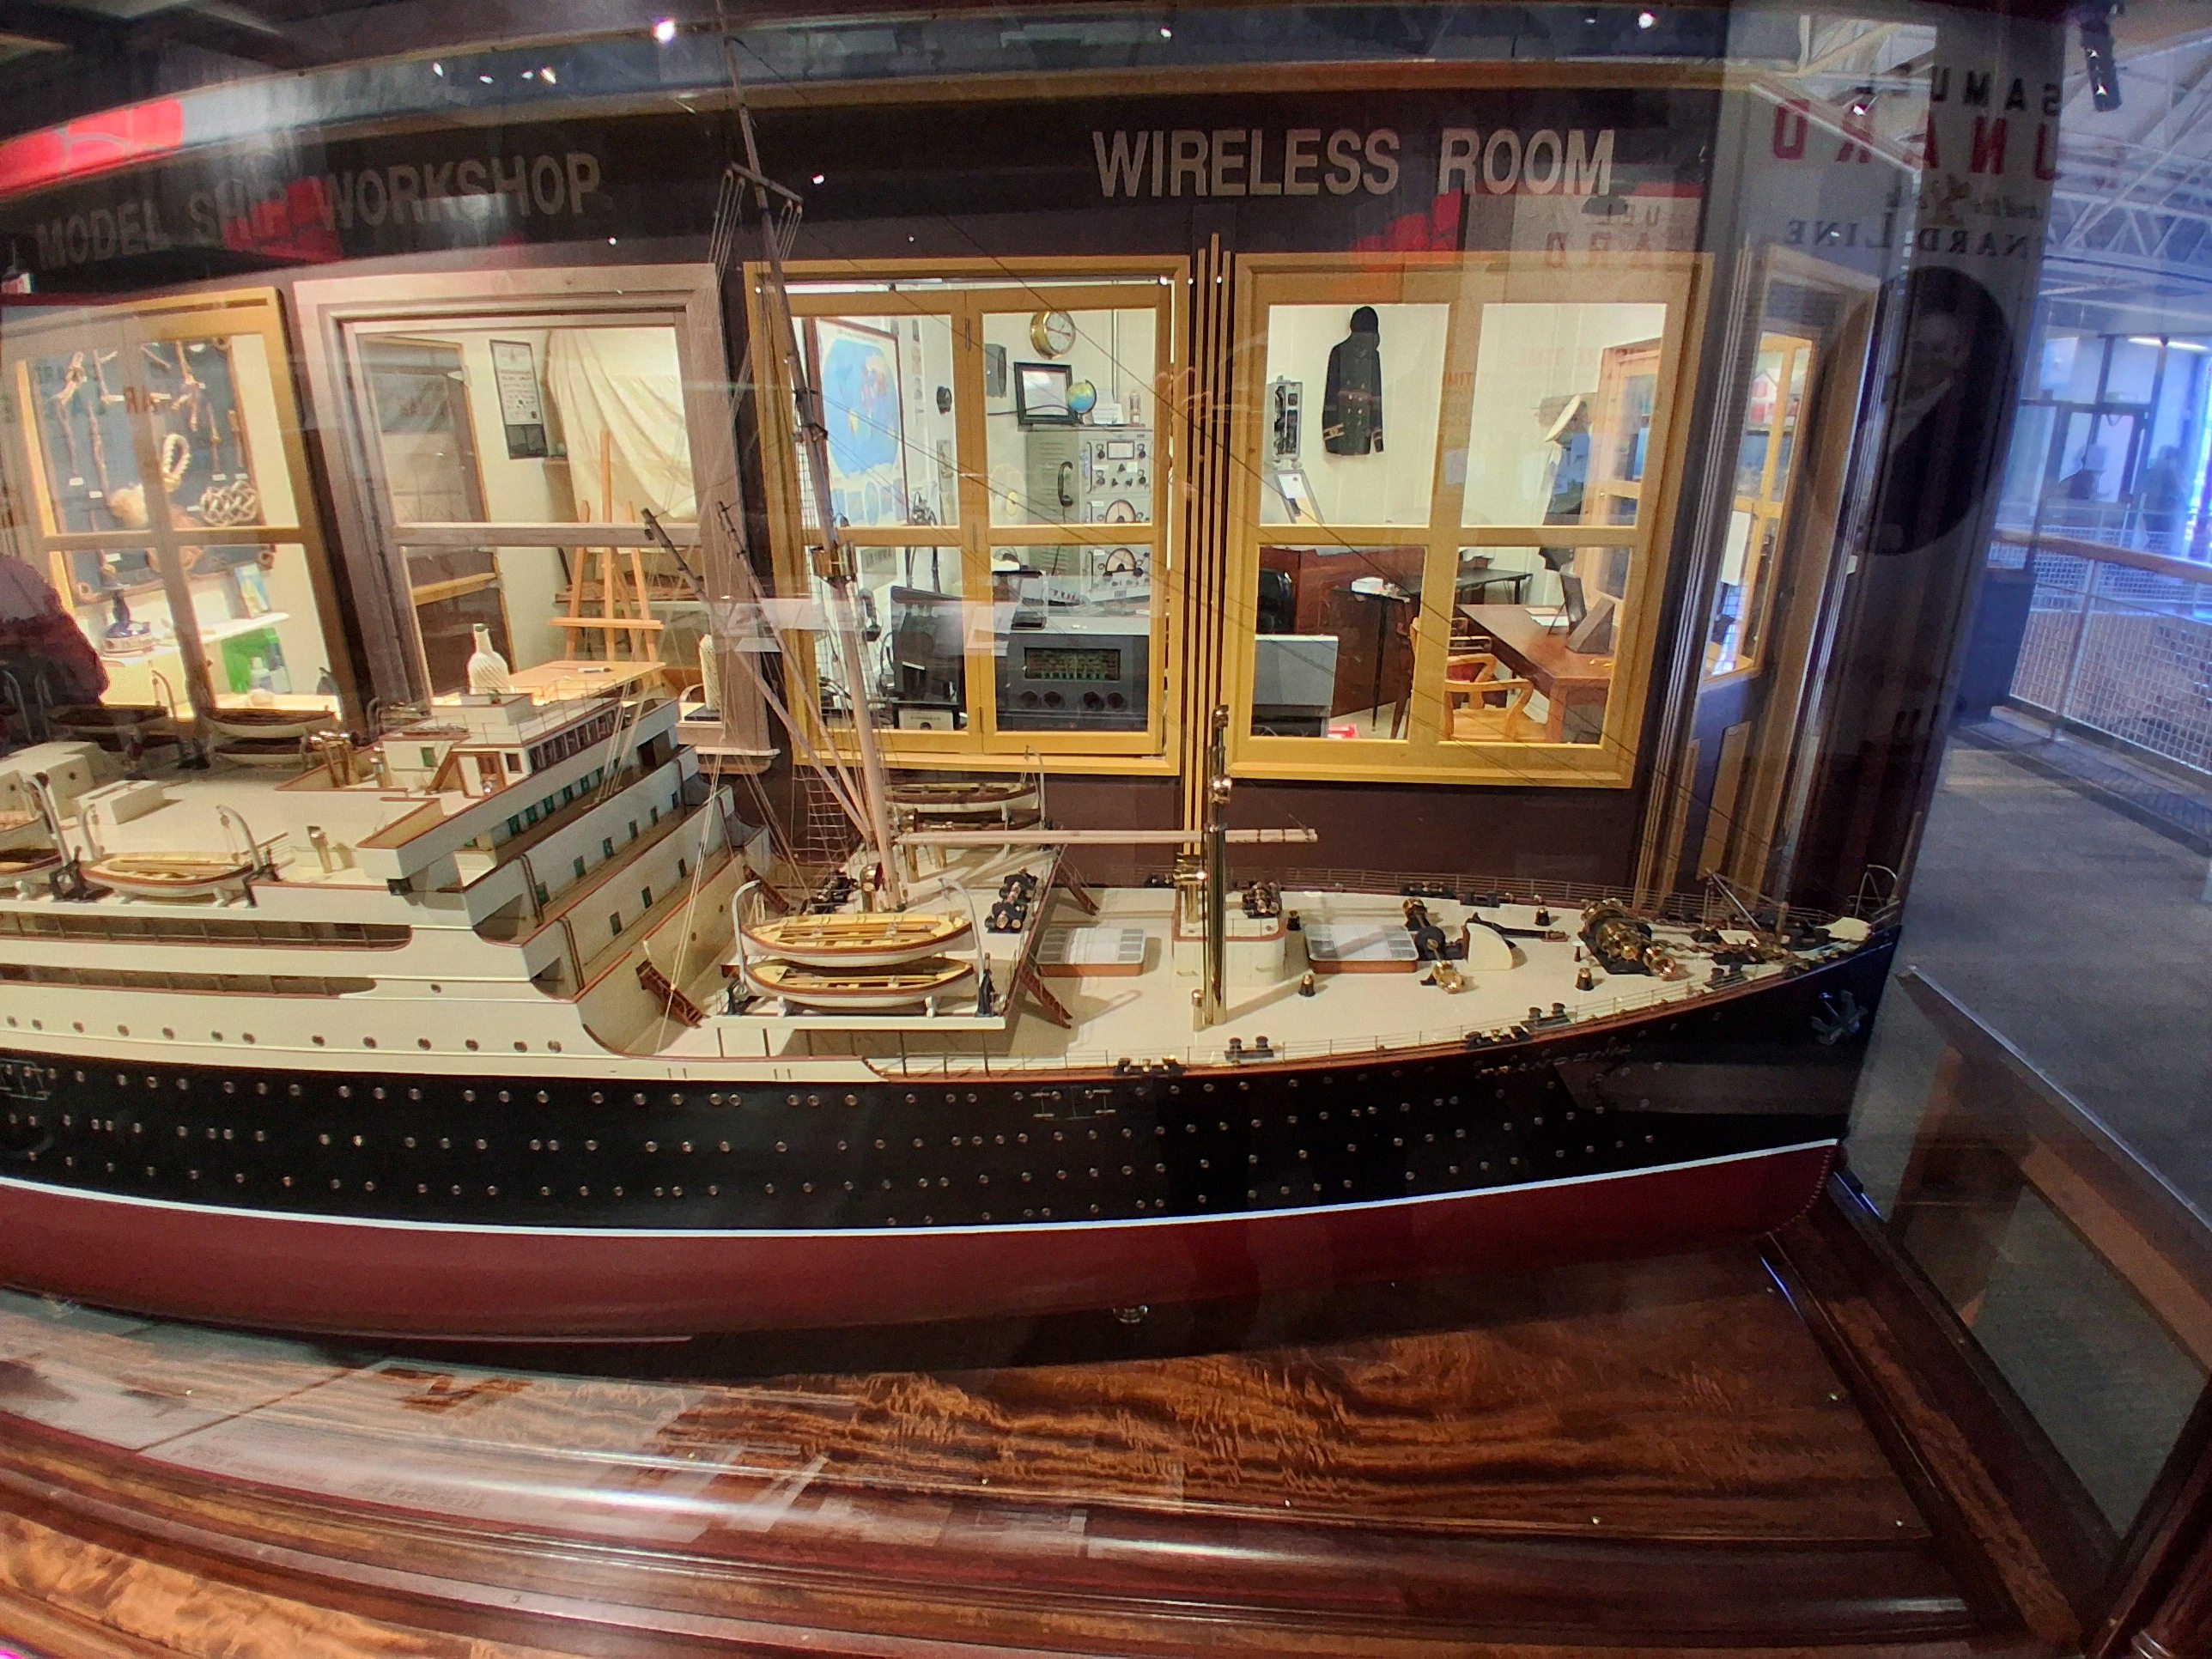
Maritime Museum – Halifax, N.S.
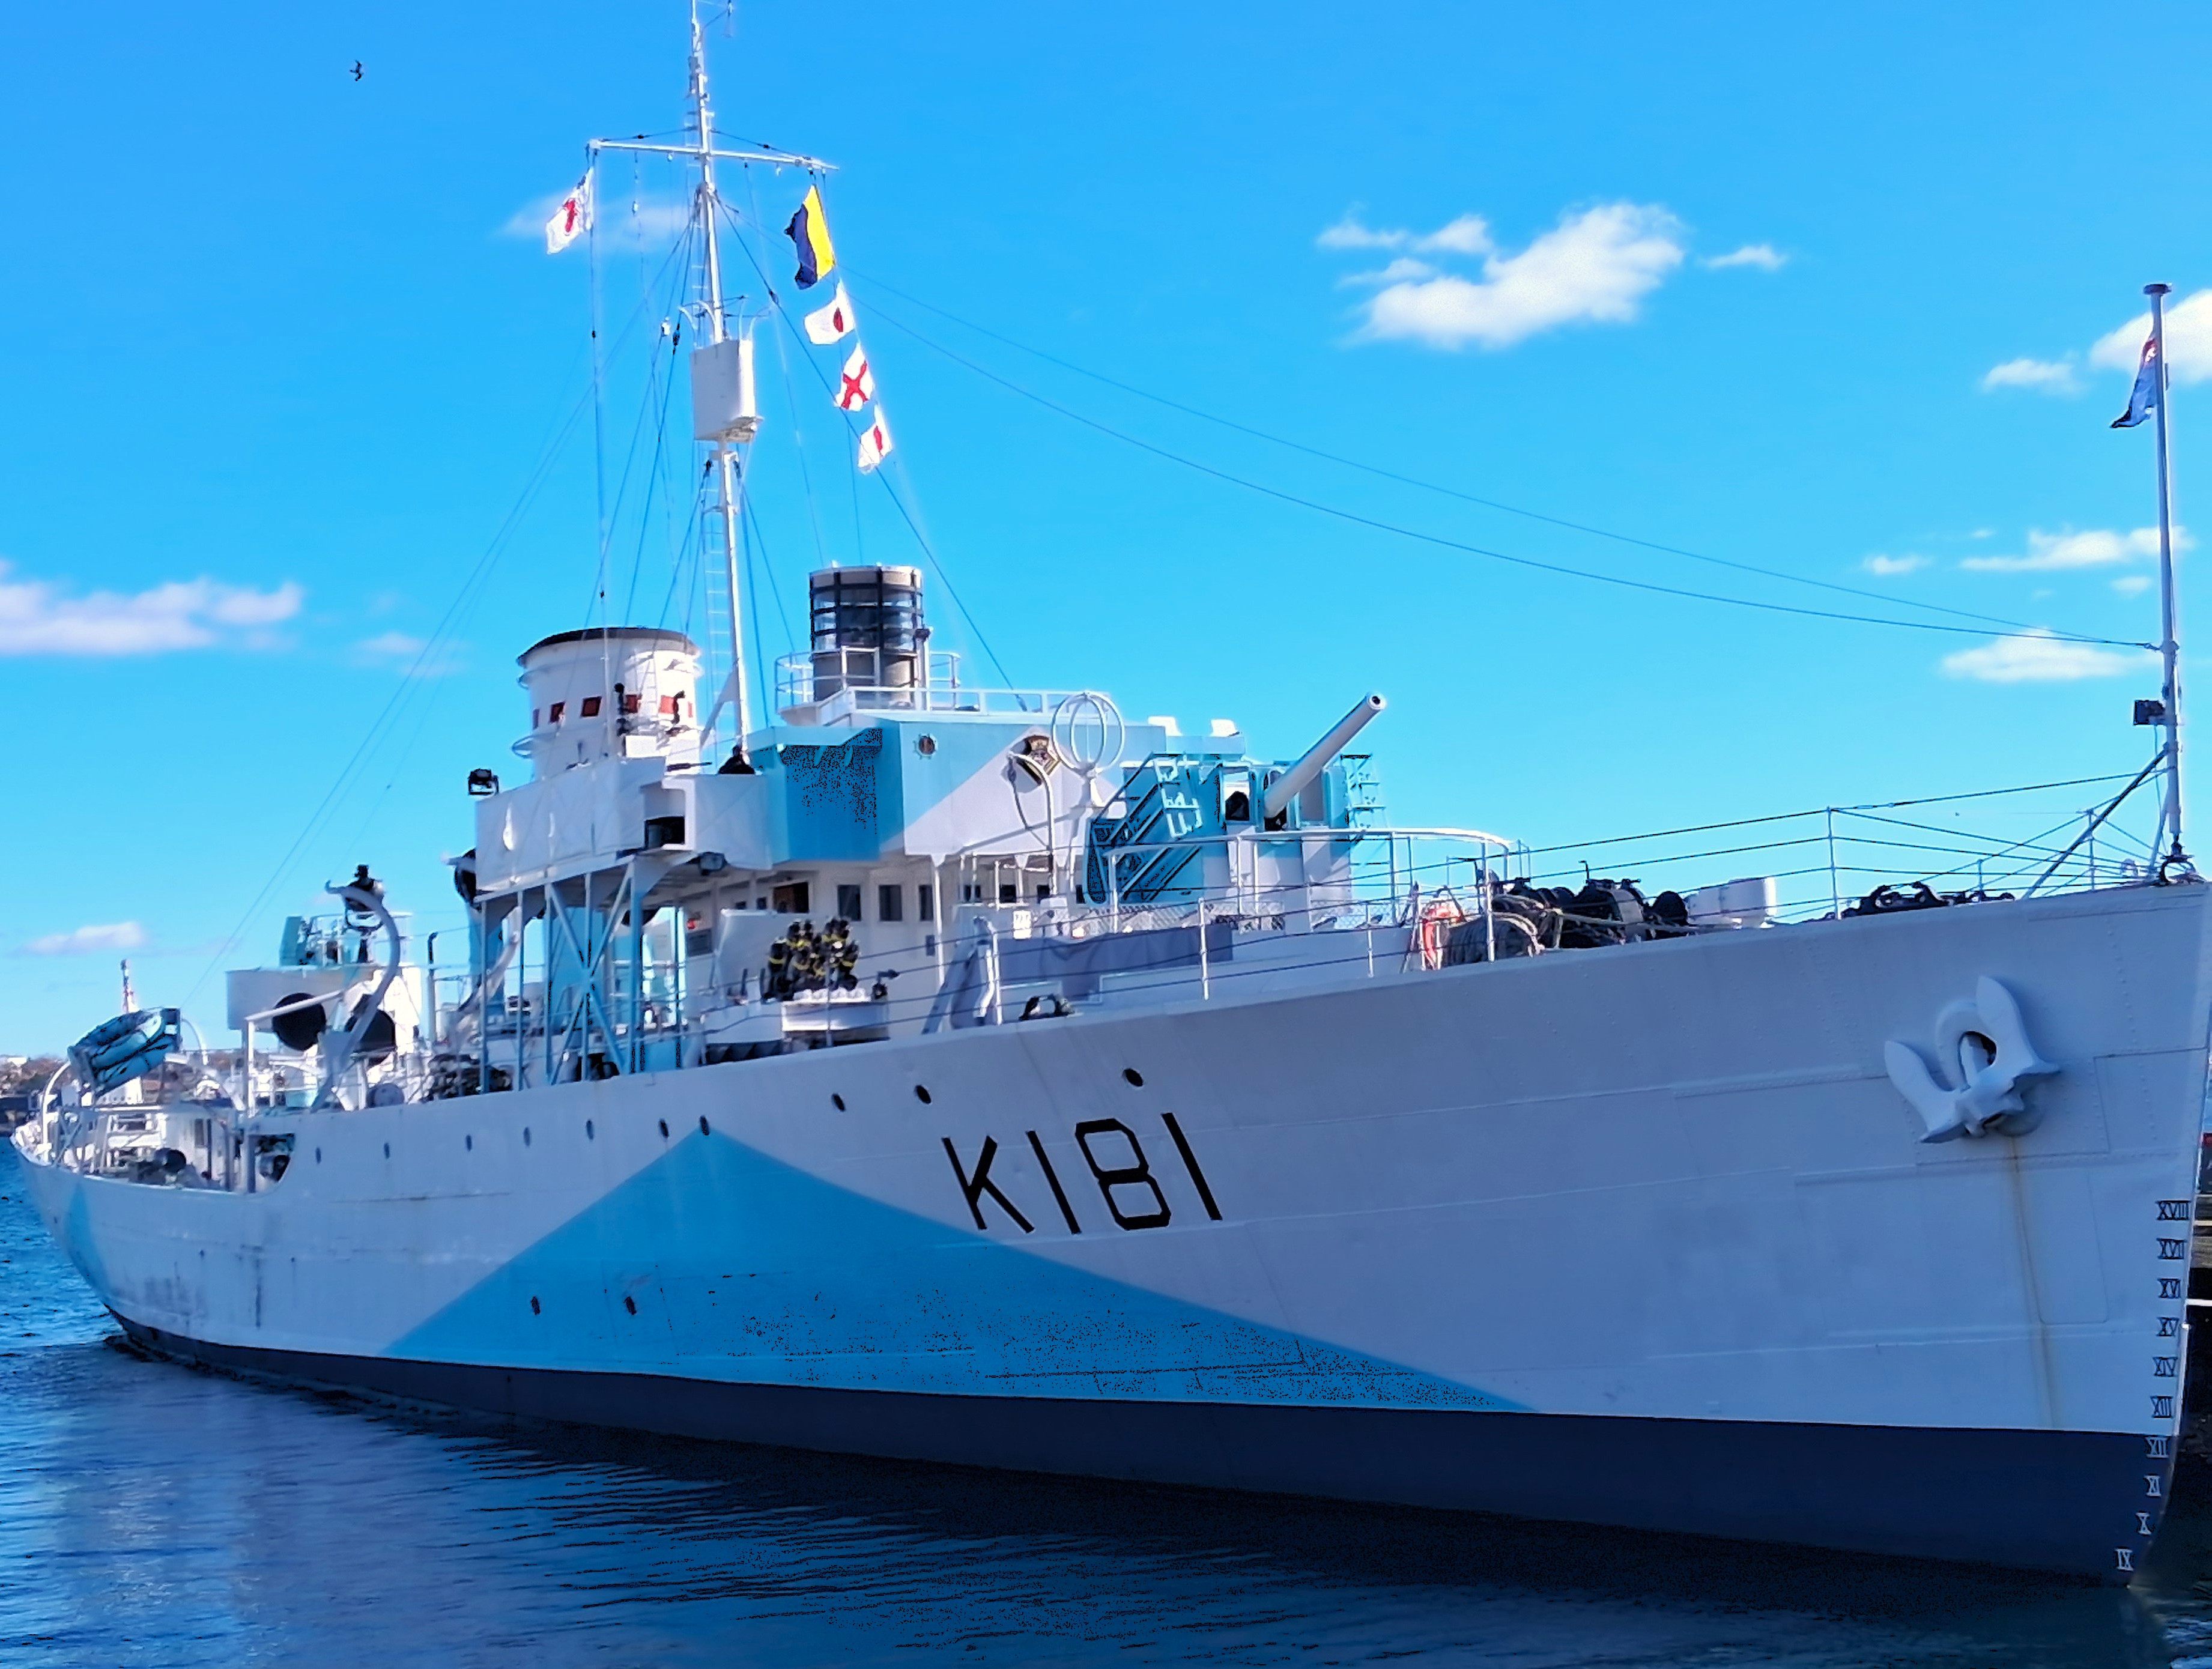
Karl and I visited the Maritime Museum on the downtown waterfront today. It has indoor and outdoor exhibits covering virtually every aspect of travel on the water, from the birch bark canoes made by the indigenous Mi’kmaq people long before the arrival of Europeans, up to and including a scale model of an experimental, armed hydrofoil ship built in Halifax for the Canadian navy. (All photos ![]() Max Vollmer, Click on any image to enlarge]
Max Vollmer, Click on any image to enlarge]
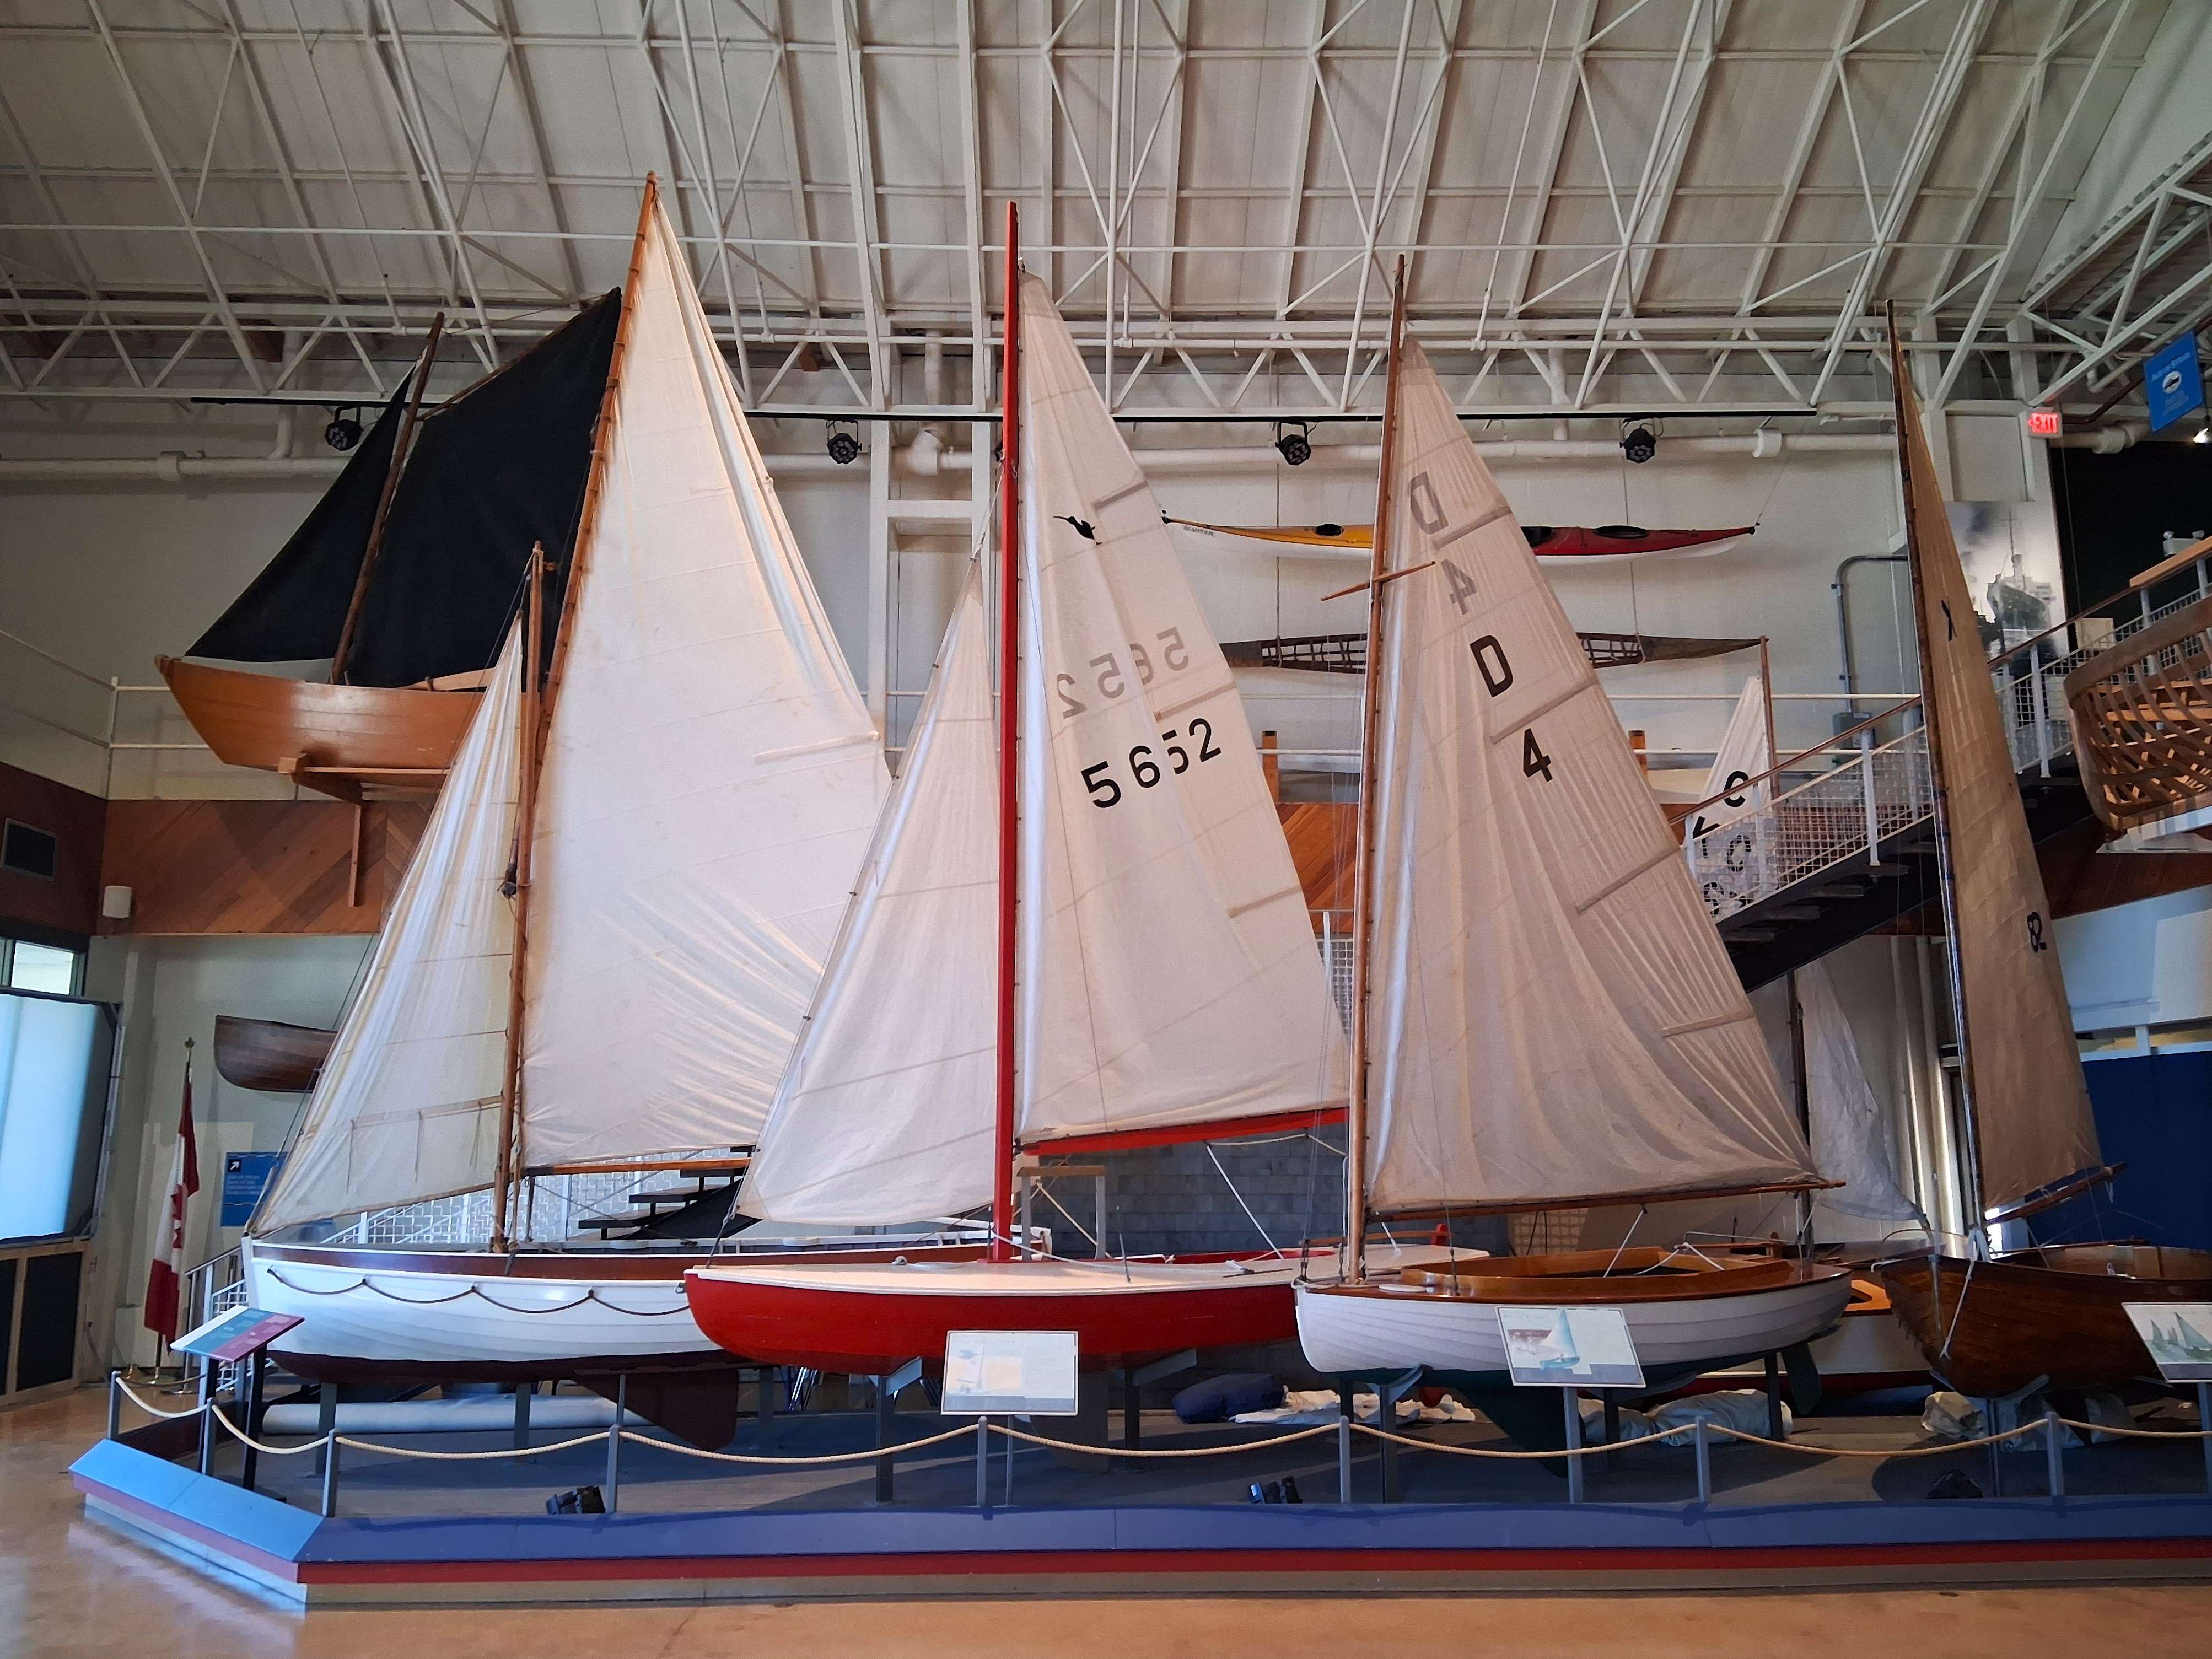
Inside, there are full size examples of small, wood, pleasure and working boats that illustrate differences related purpose and evolution over time.
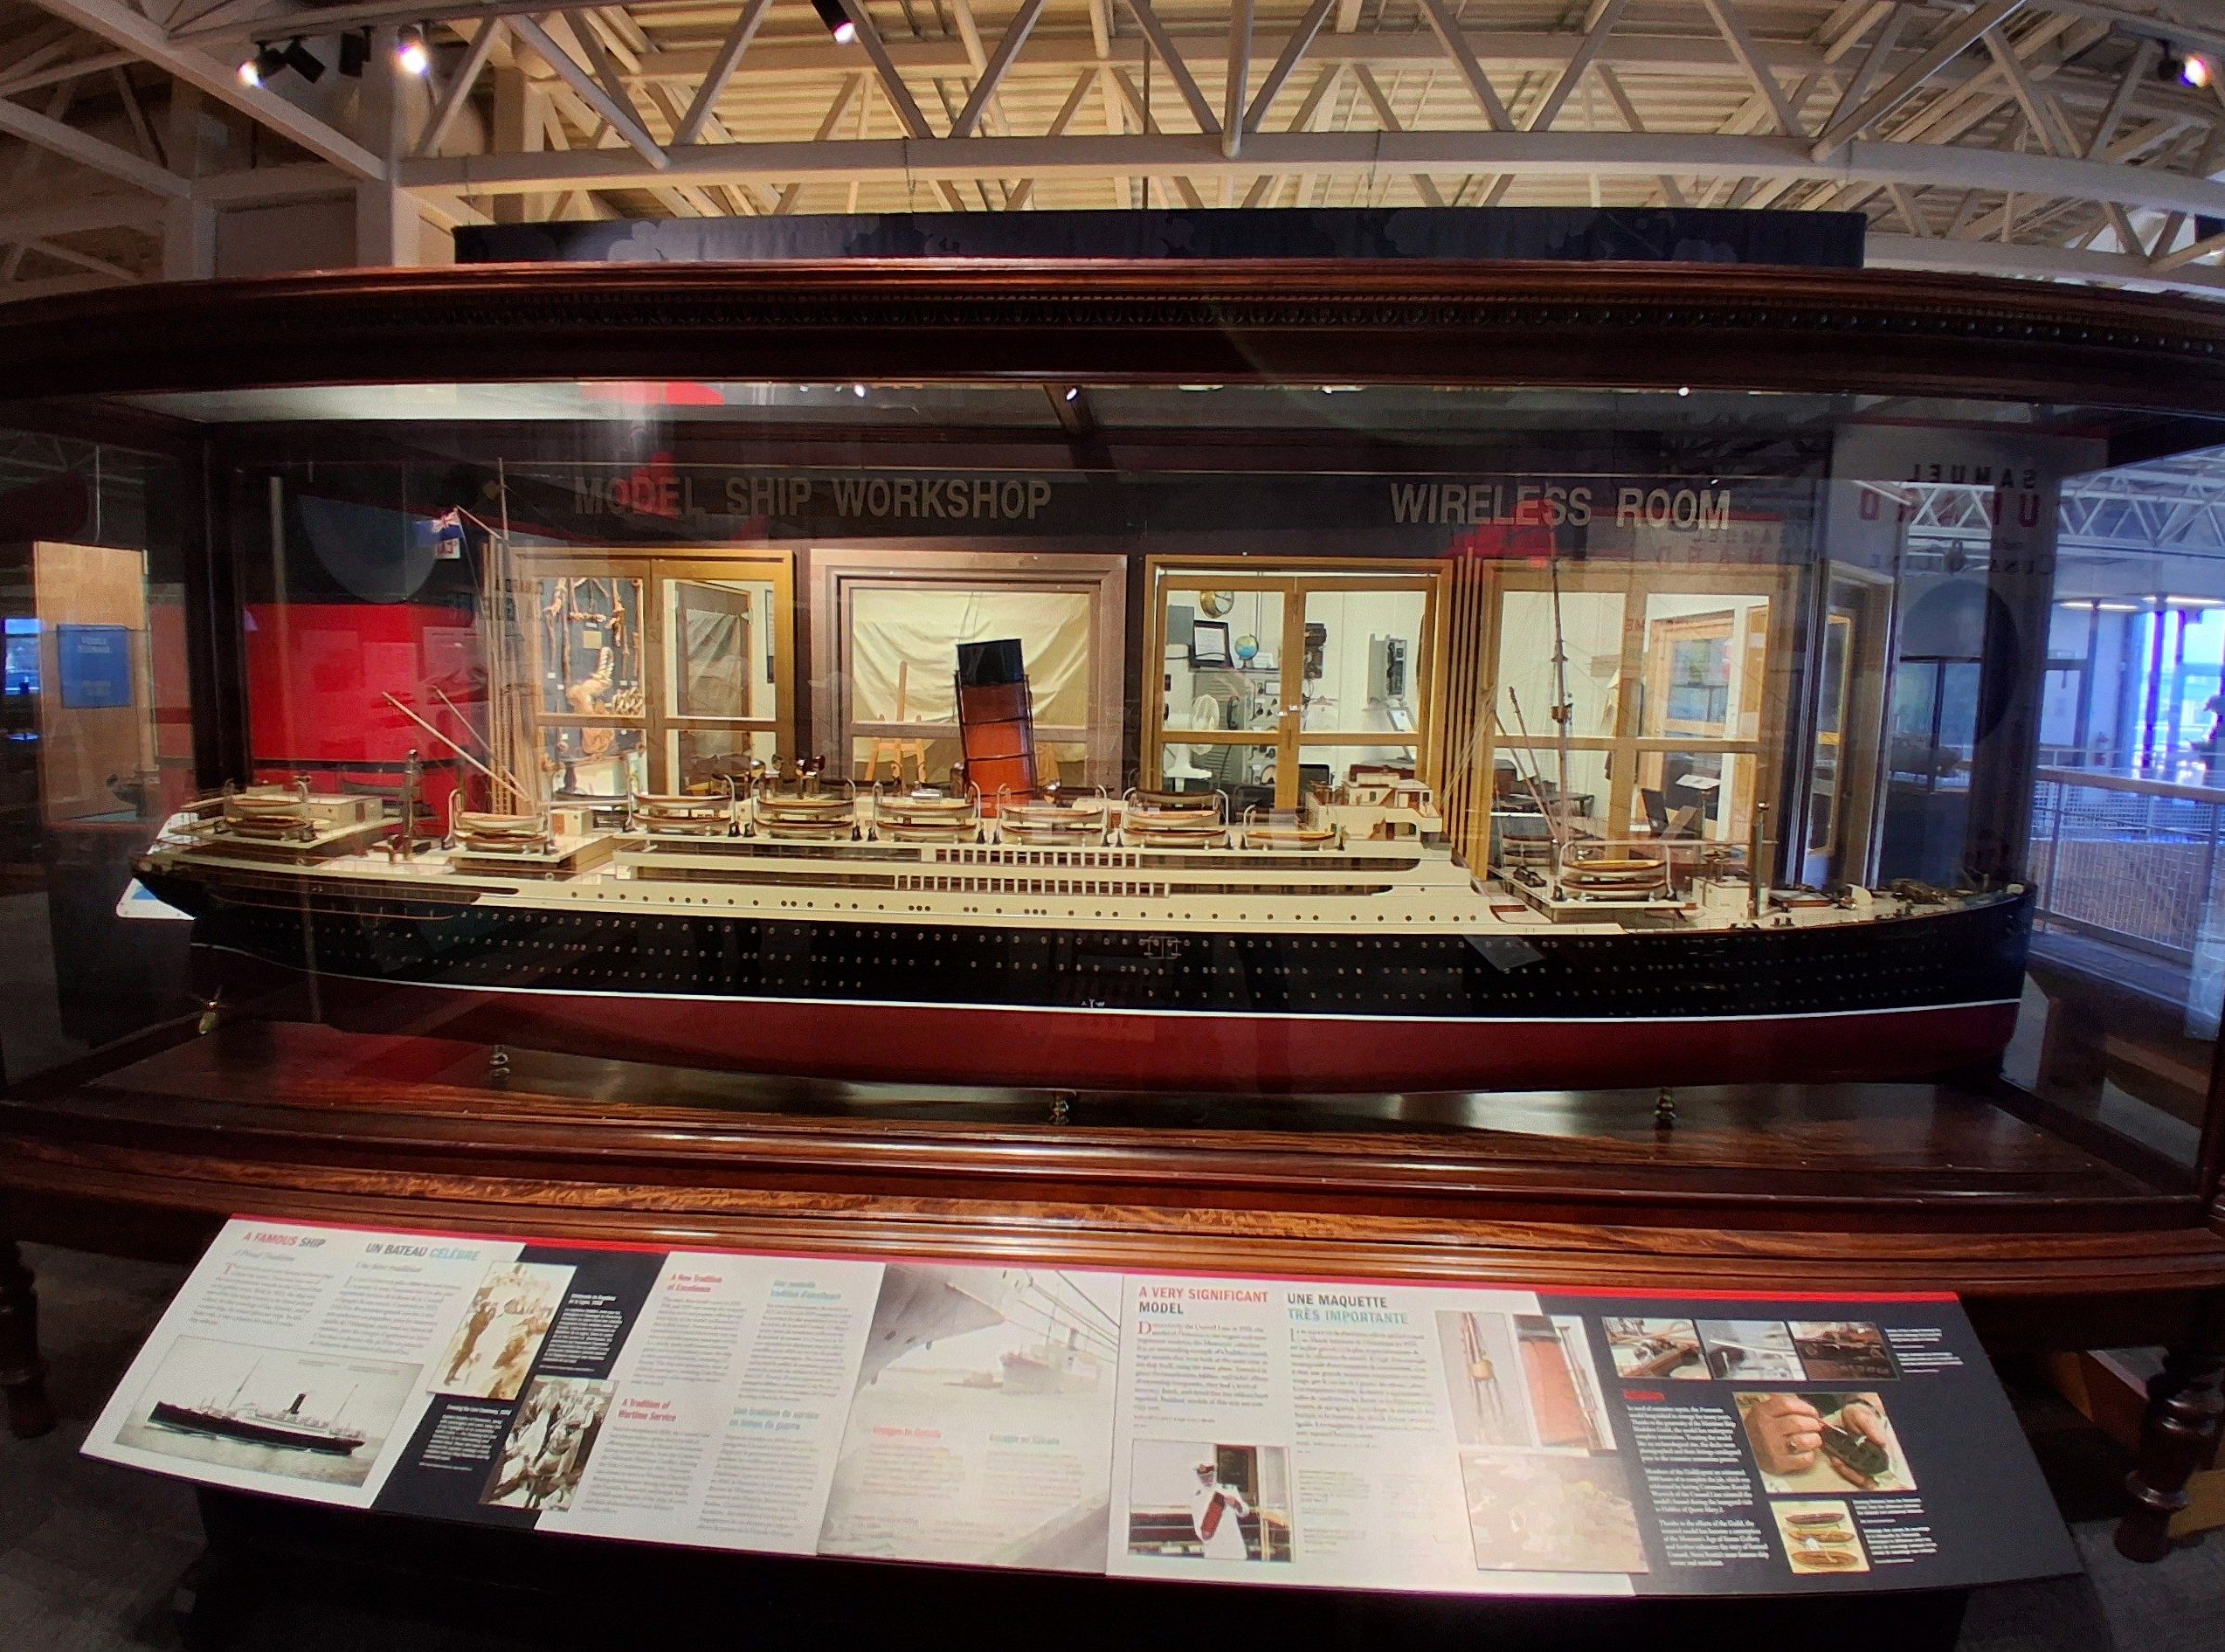
There are also exquisitely detailed, scale models of ships that served Halifax, like the White Star Lines, Mauritania, that plied the North Atlantic in peace and war. It was built for display in the company’s offices. The model is approx. 6 feet long.
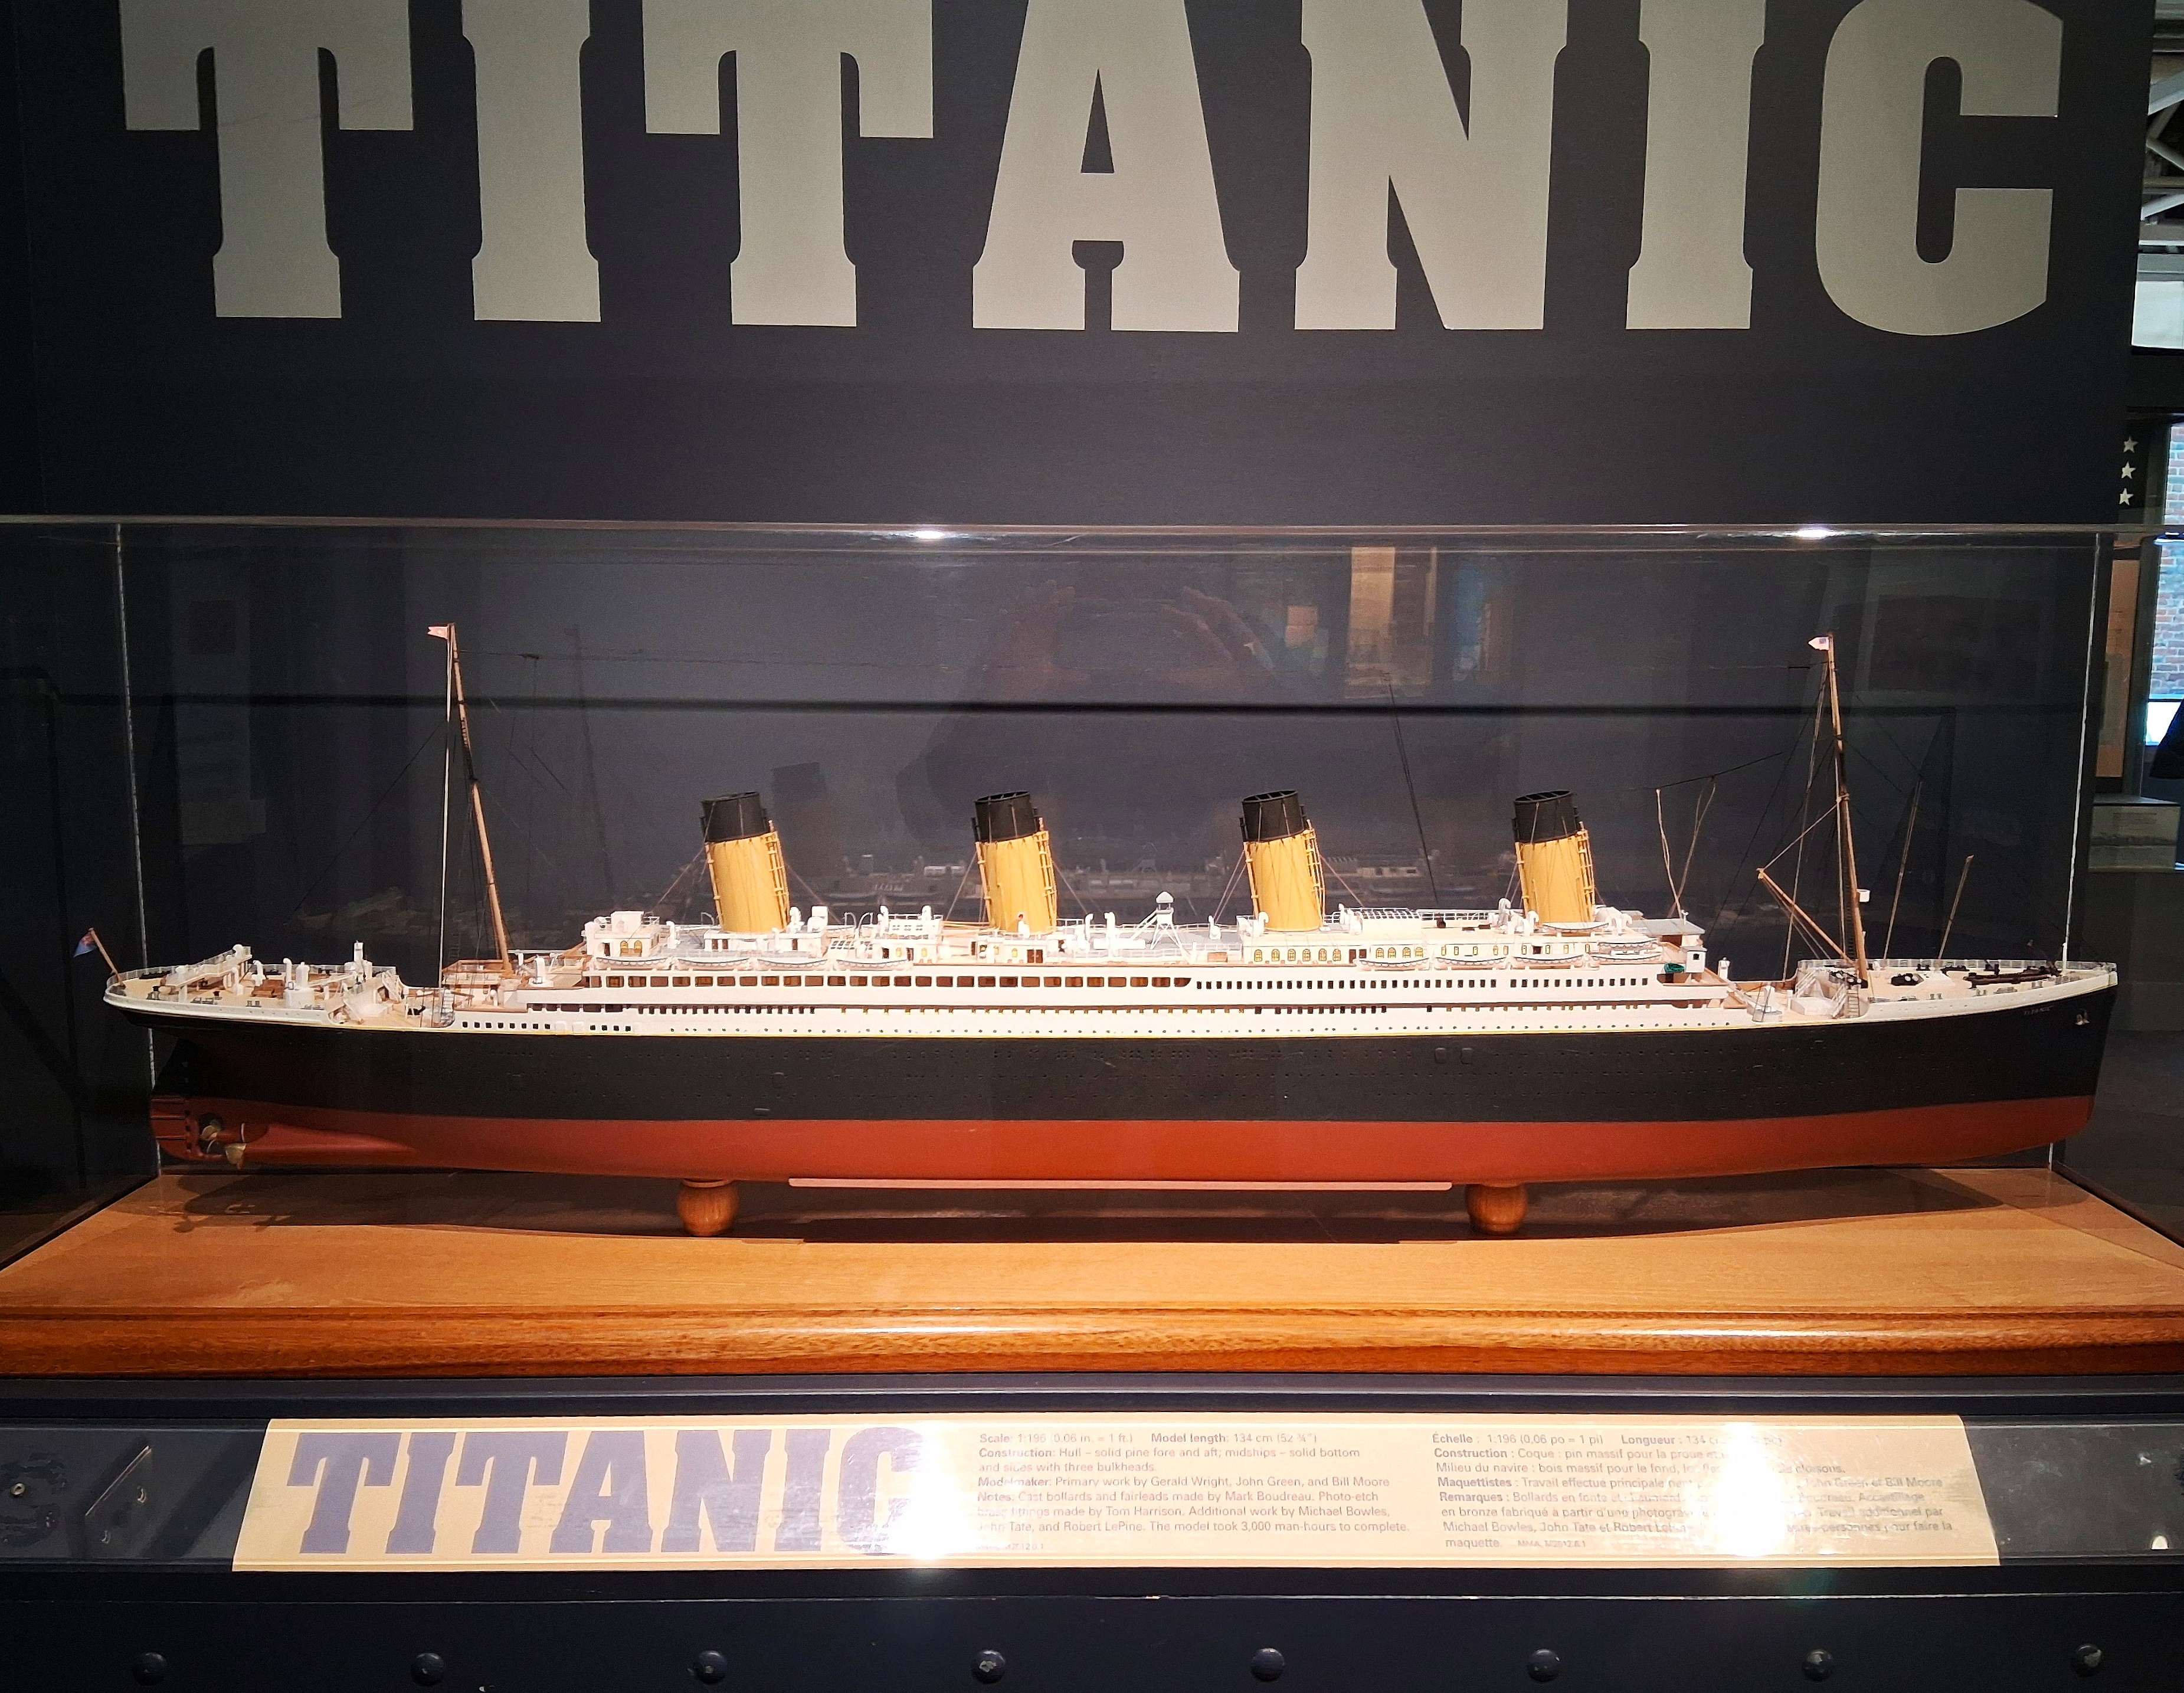
Halifax has a historic connection to the RMS Titanic. Although the ship was built in Belfast, Ireland, when she sank on her maiden voyage, rescue ships from Halifax went out to search for survivors. There are two cemeteries in the city where drowning victims from the disaster are interred. Her sister ship, the RMS Olympic, ferried thousands of Canadian and American troops from Halifax to Europe during WW I using the shortest route across the North Atlantic.
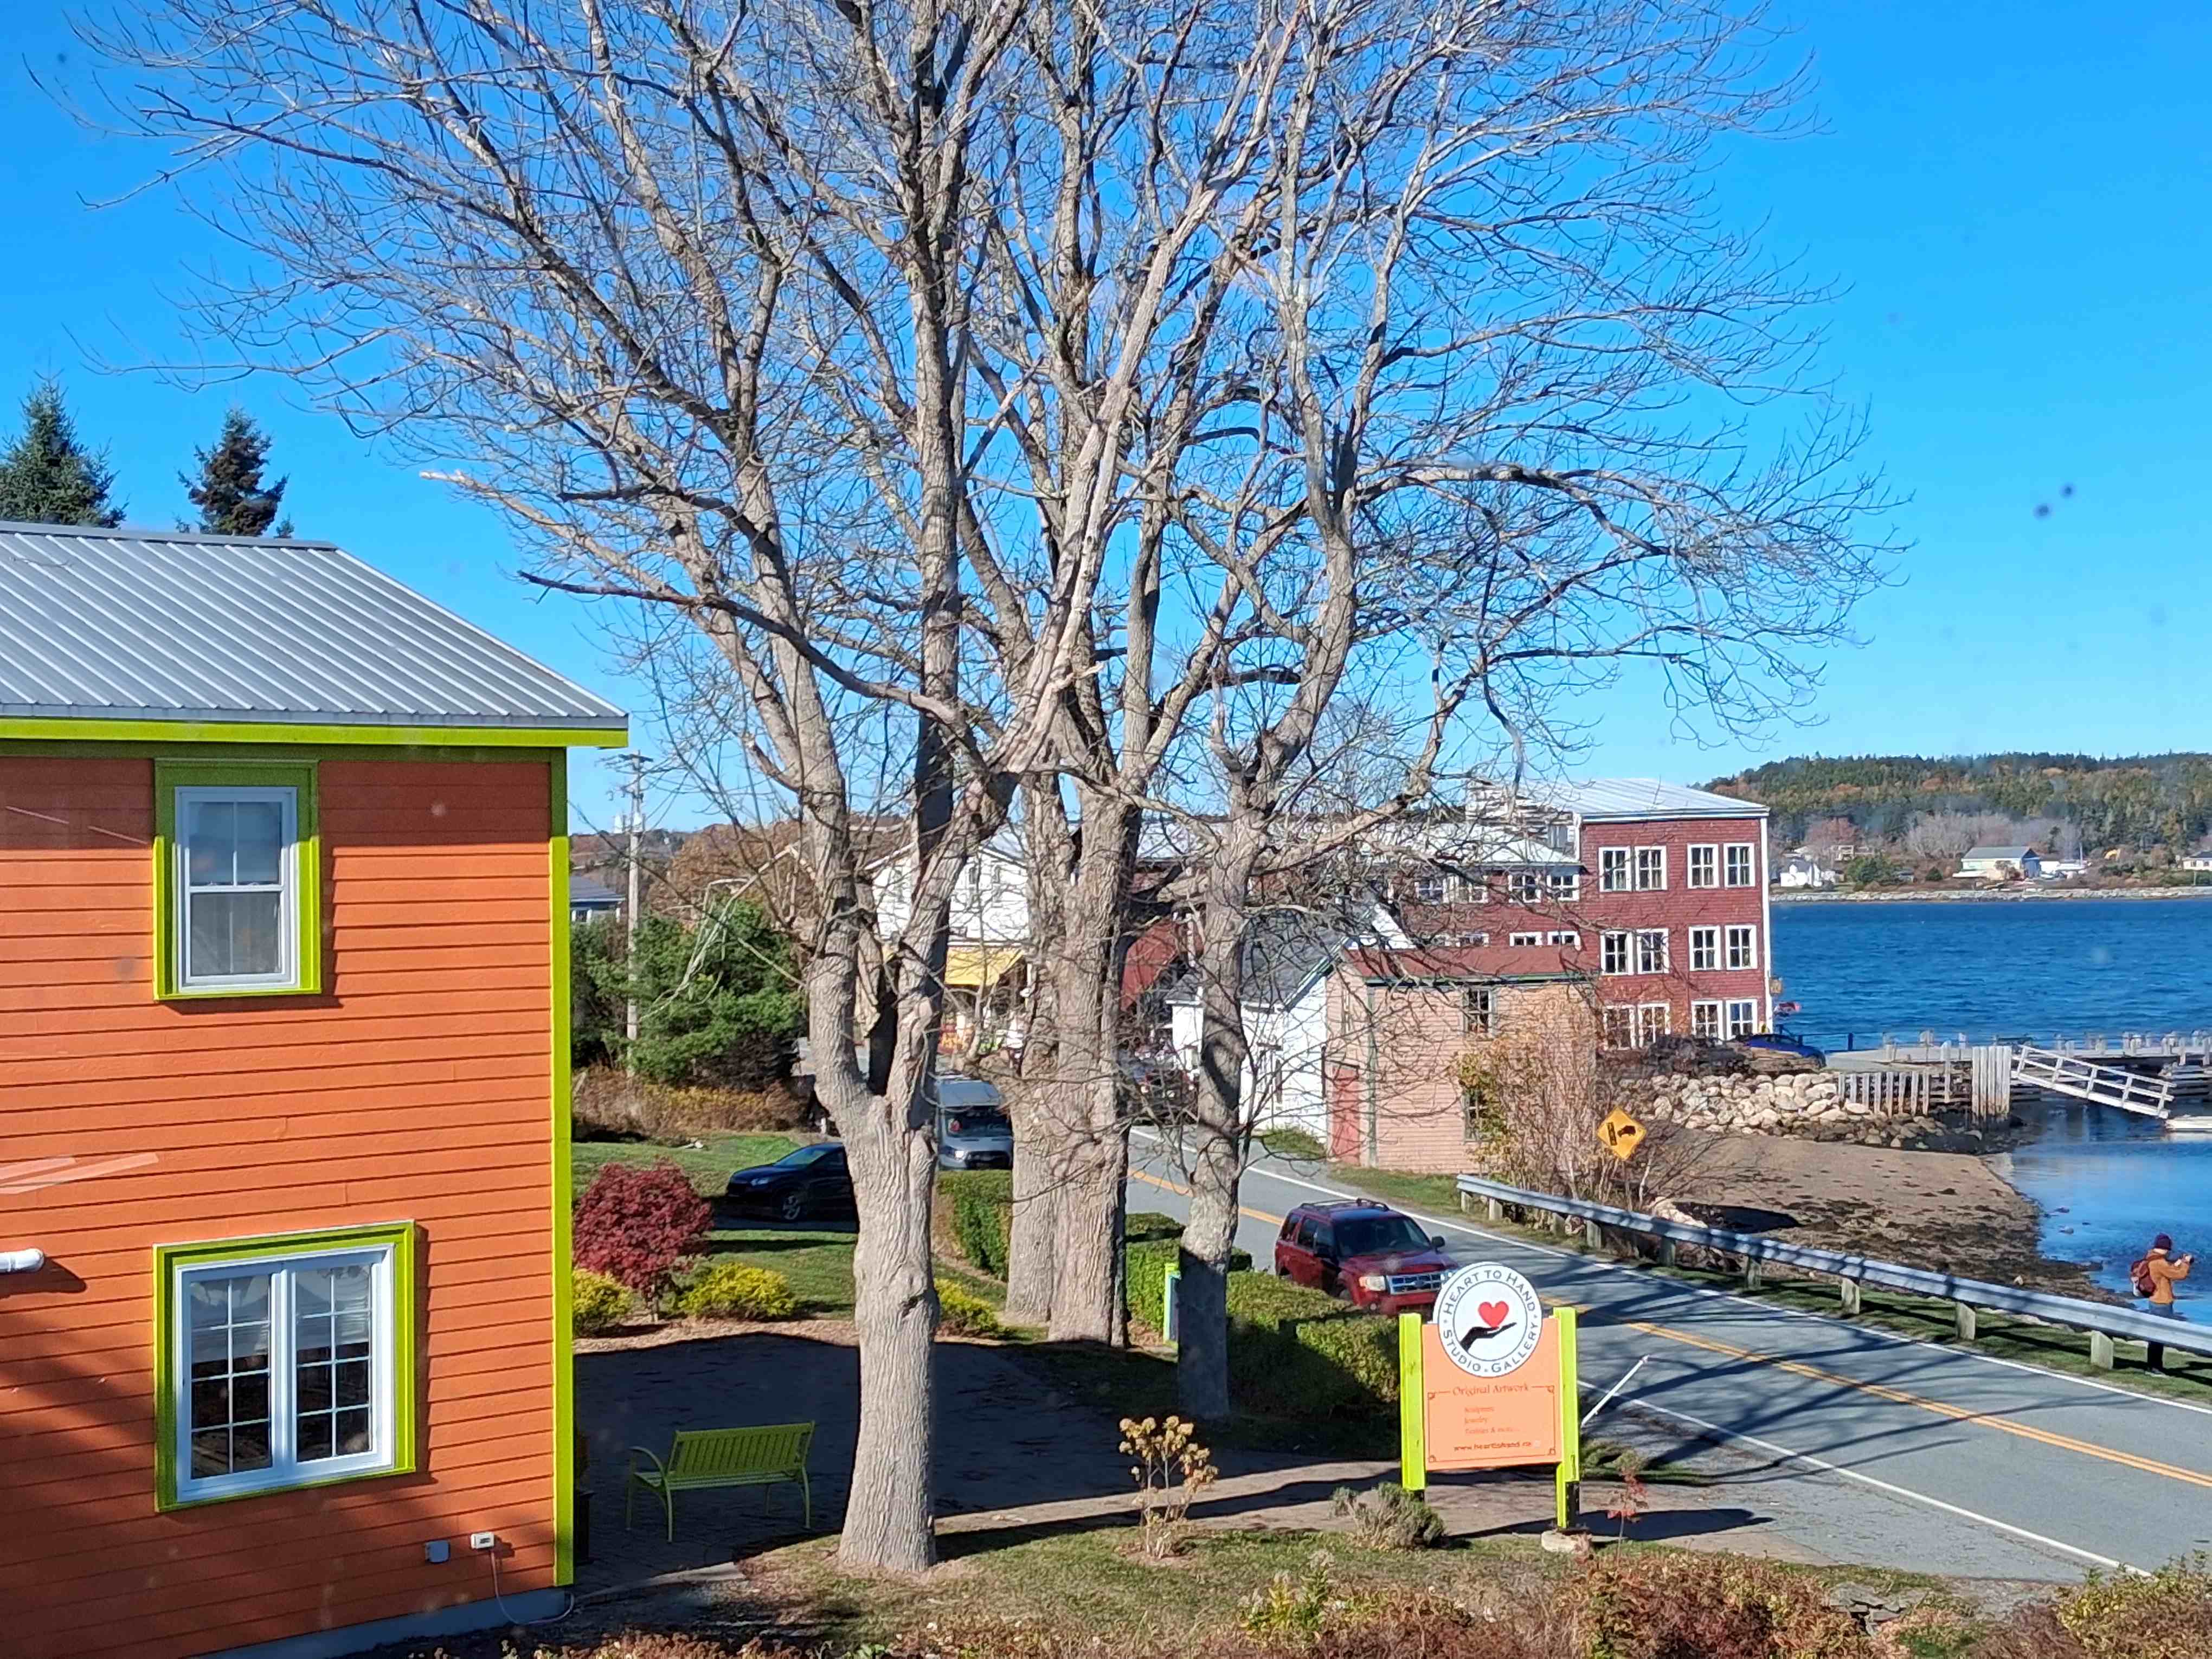
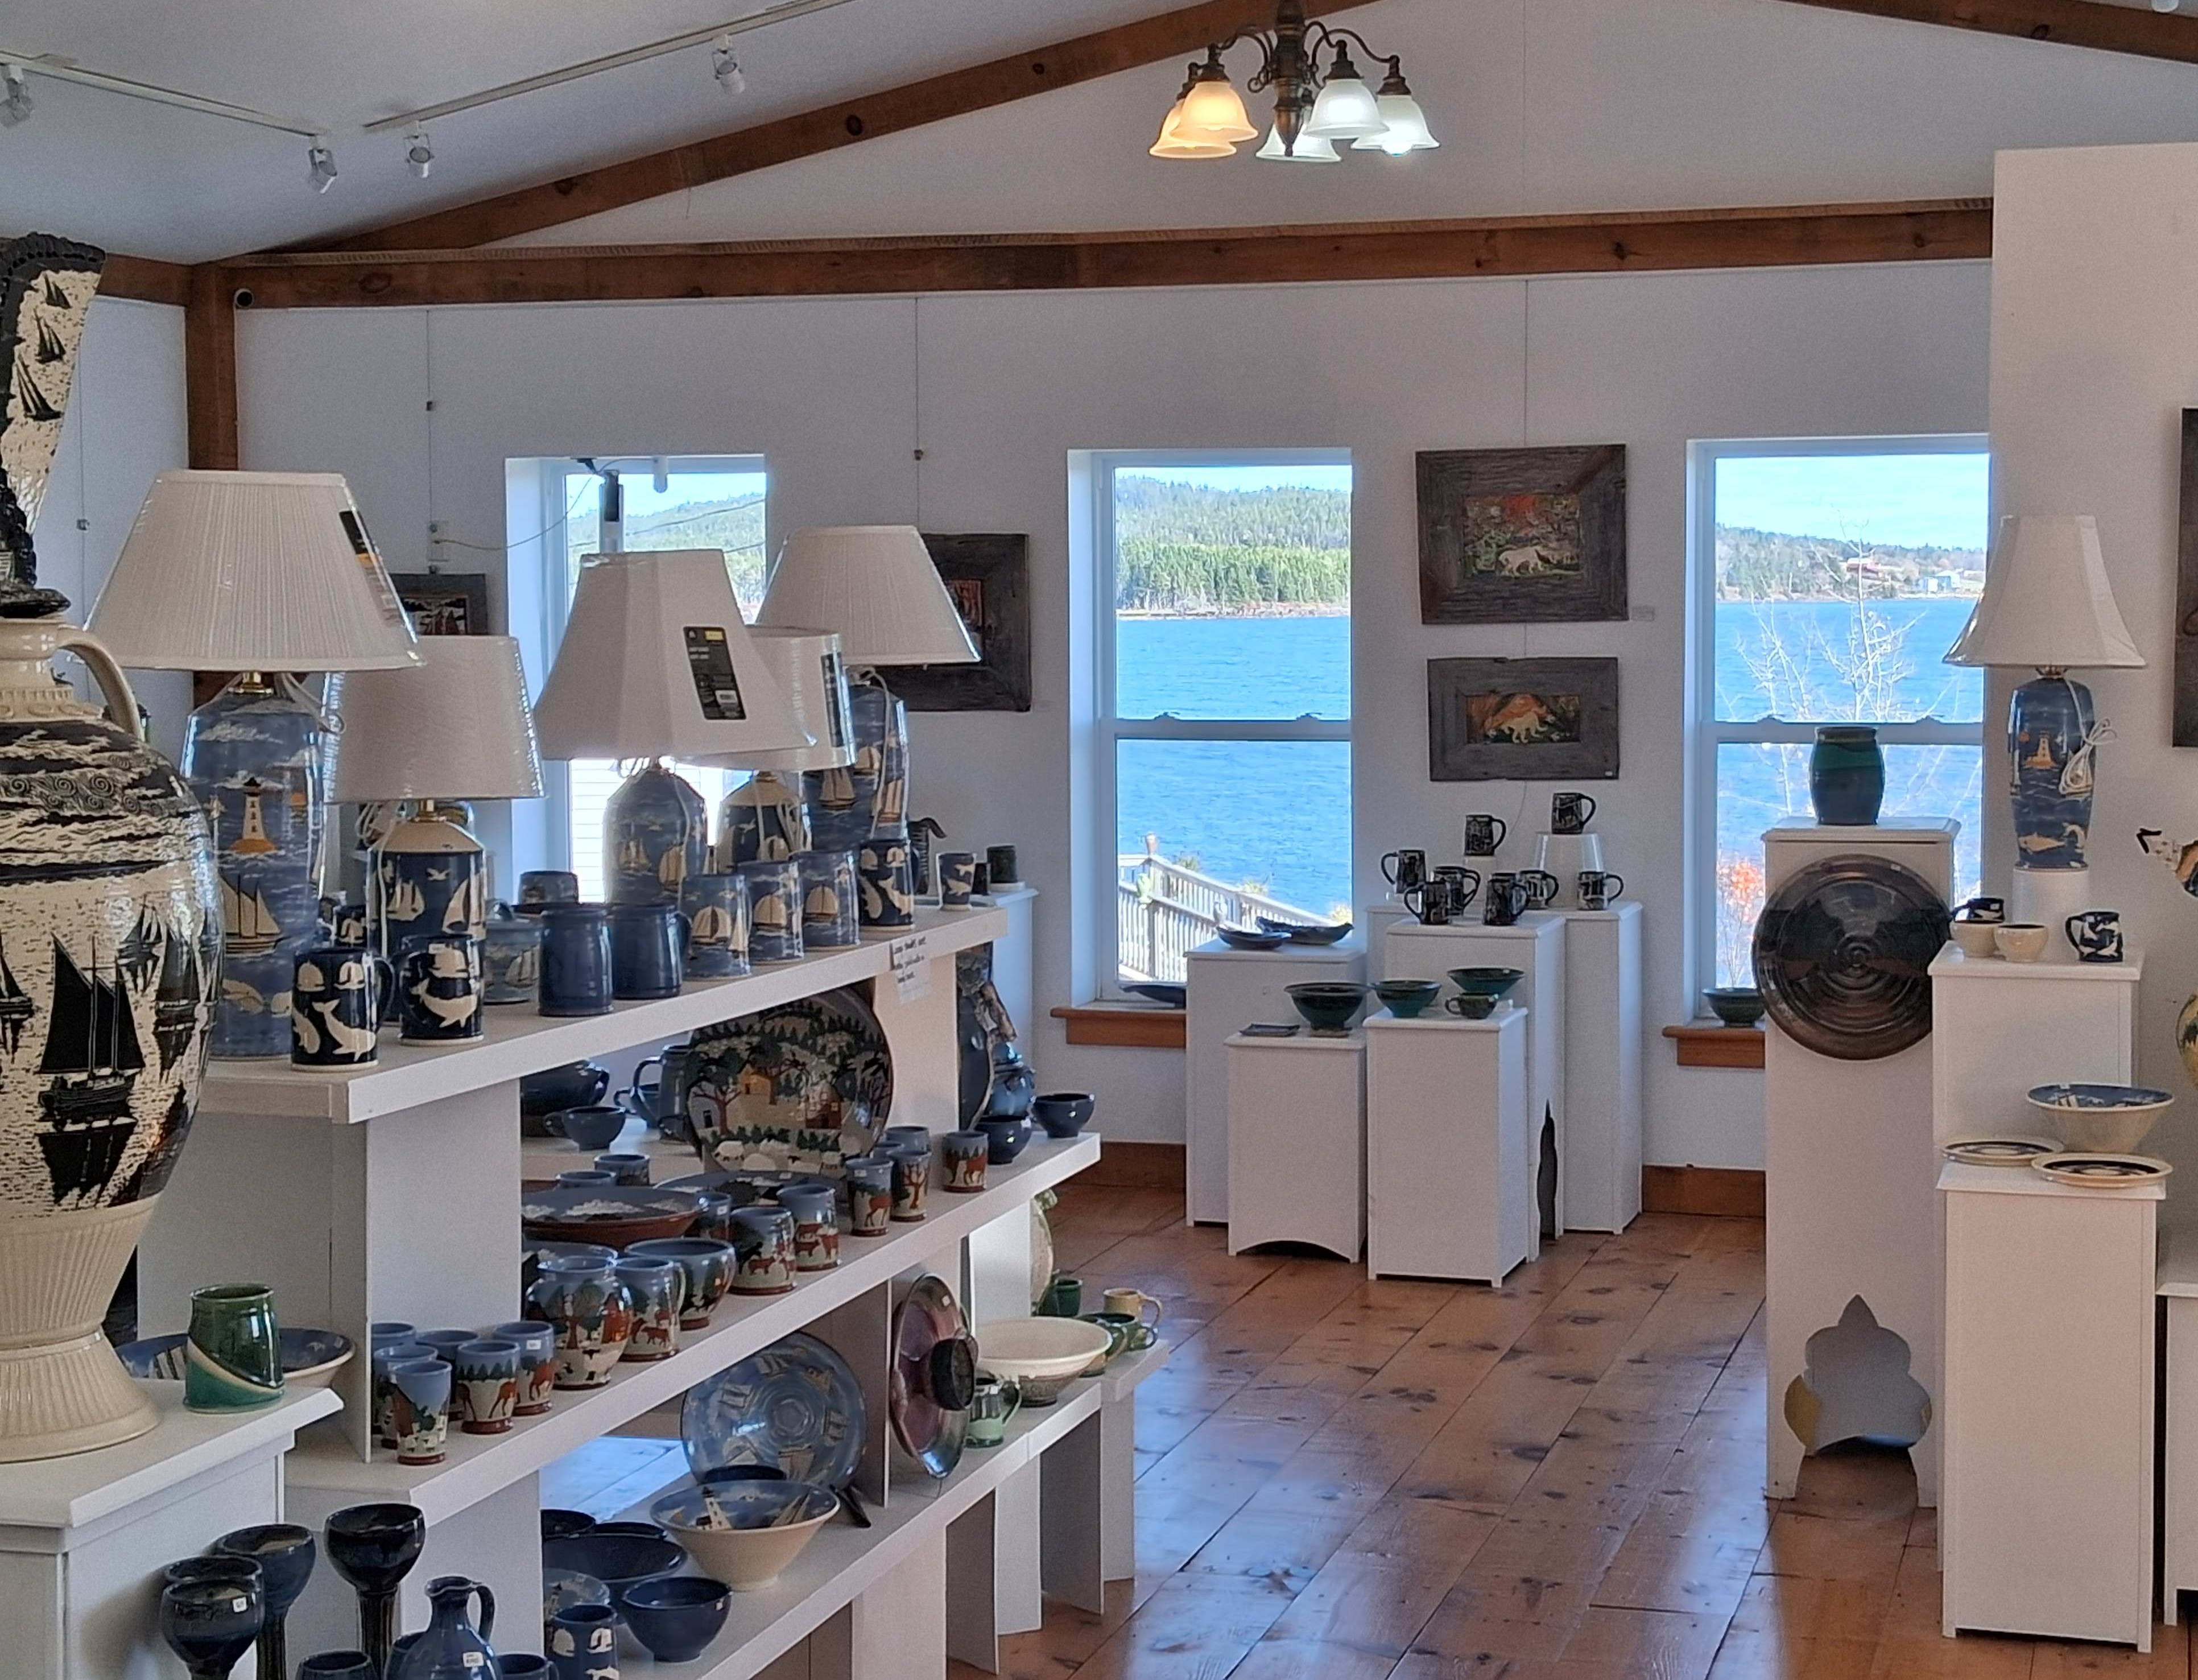
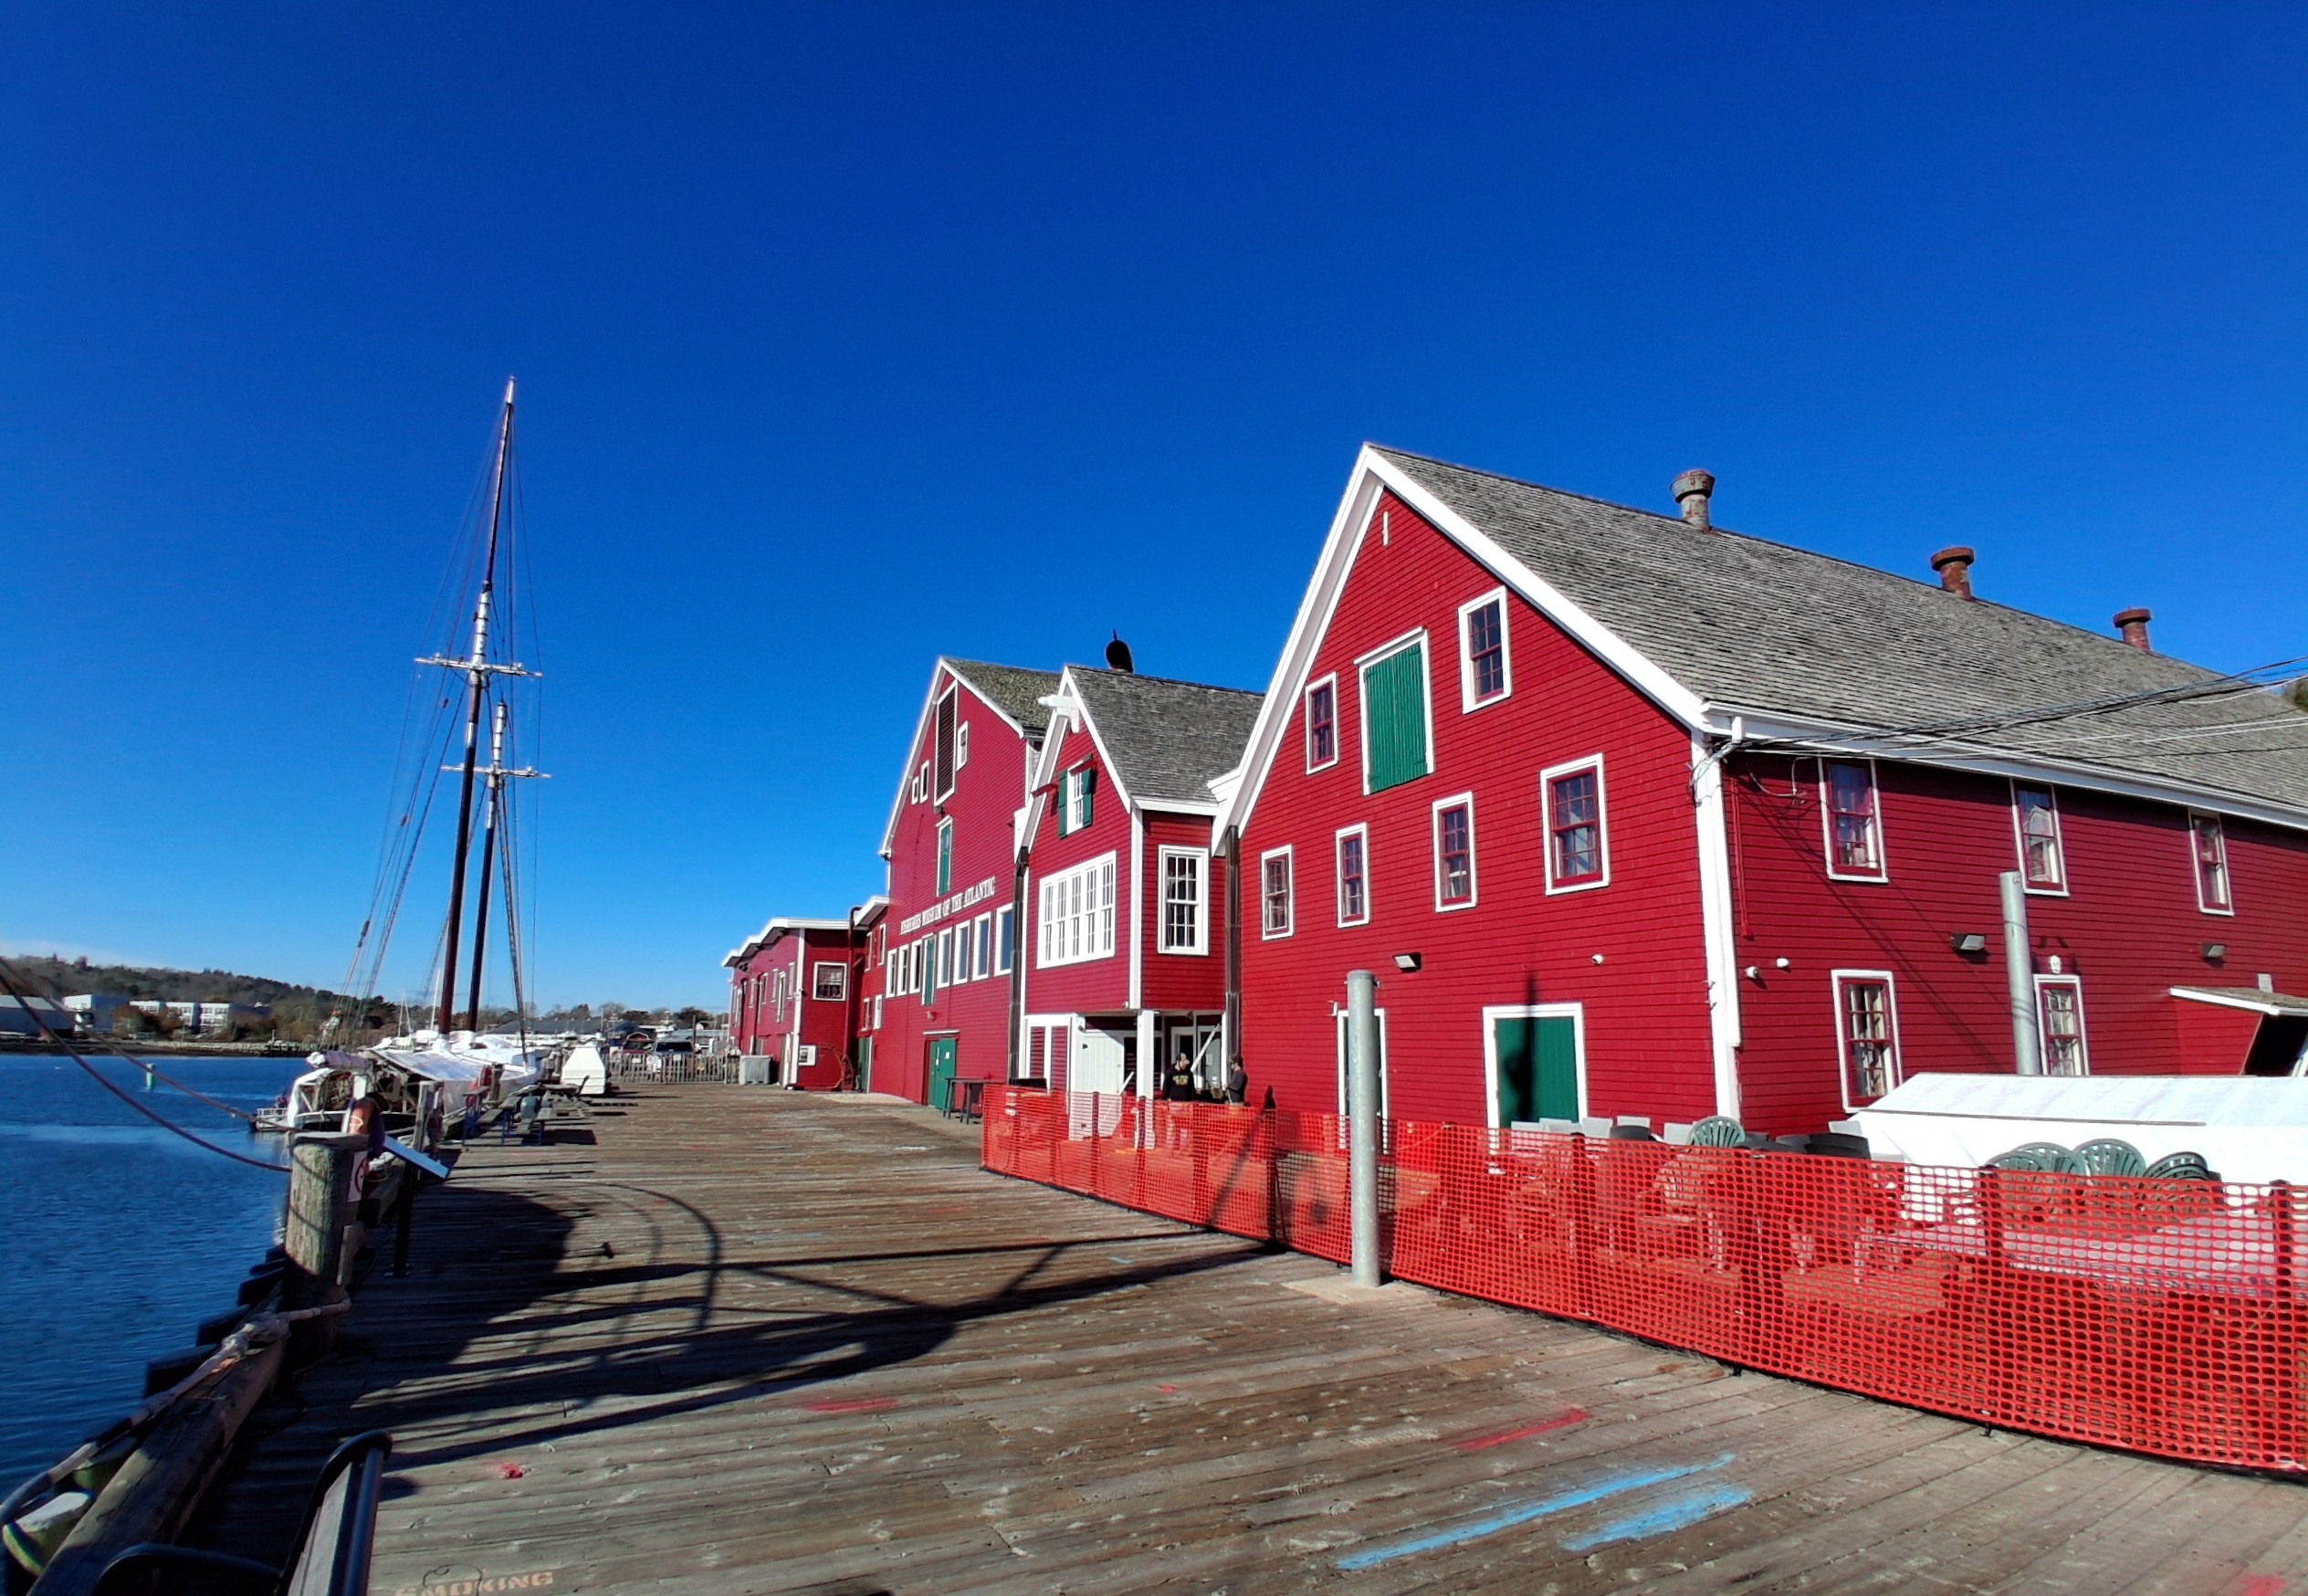
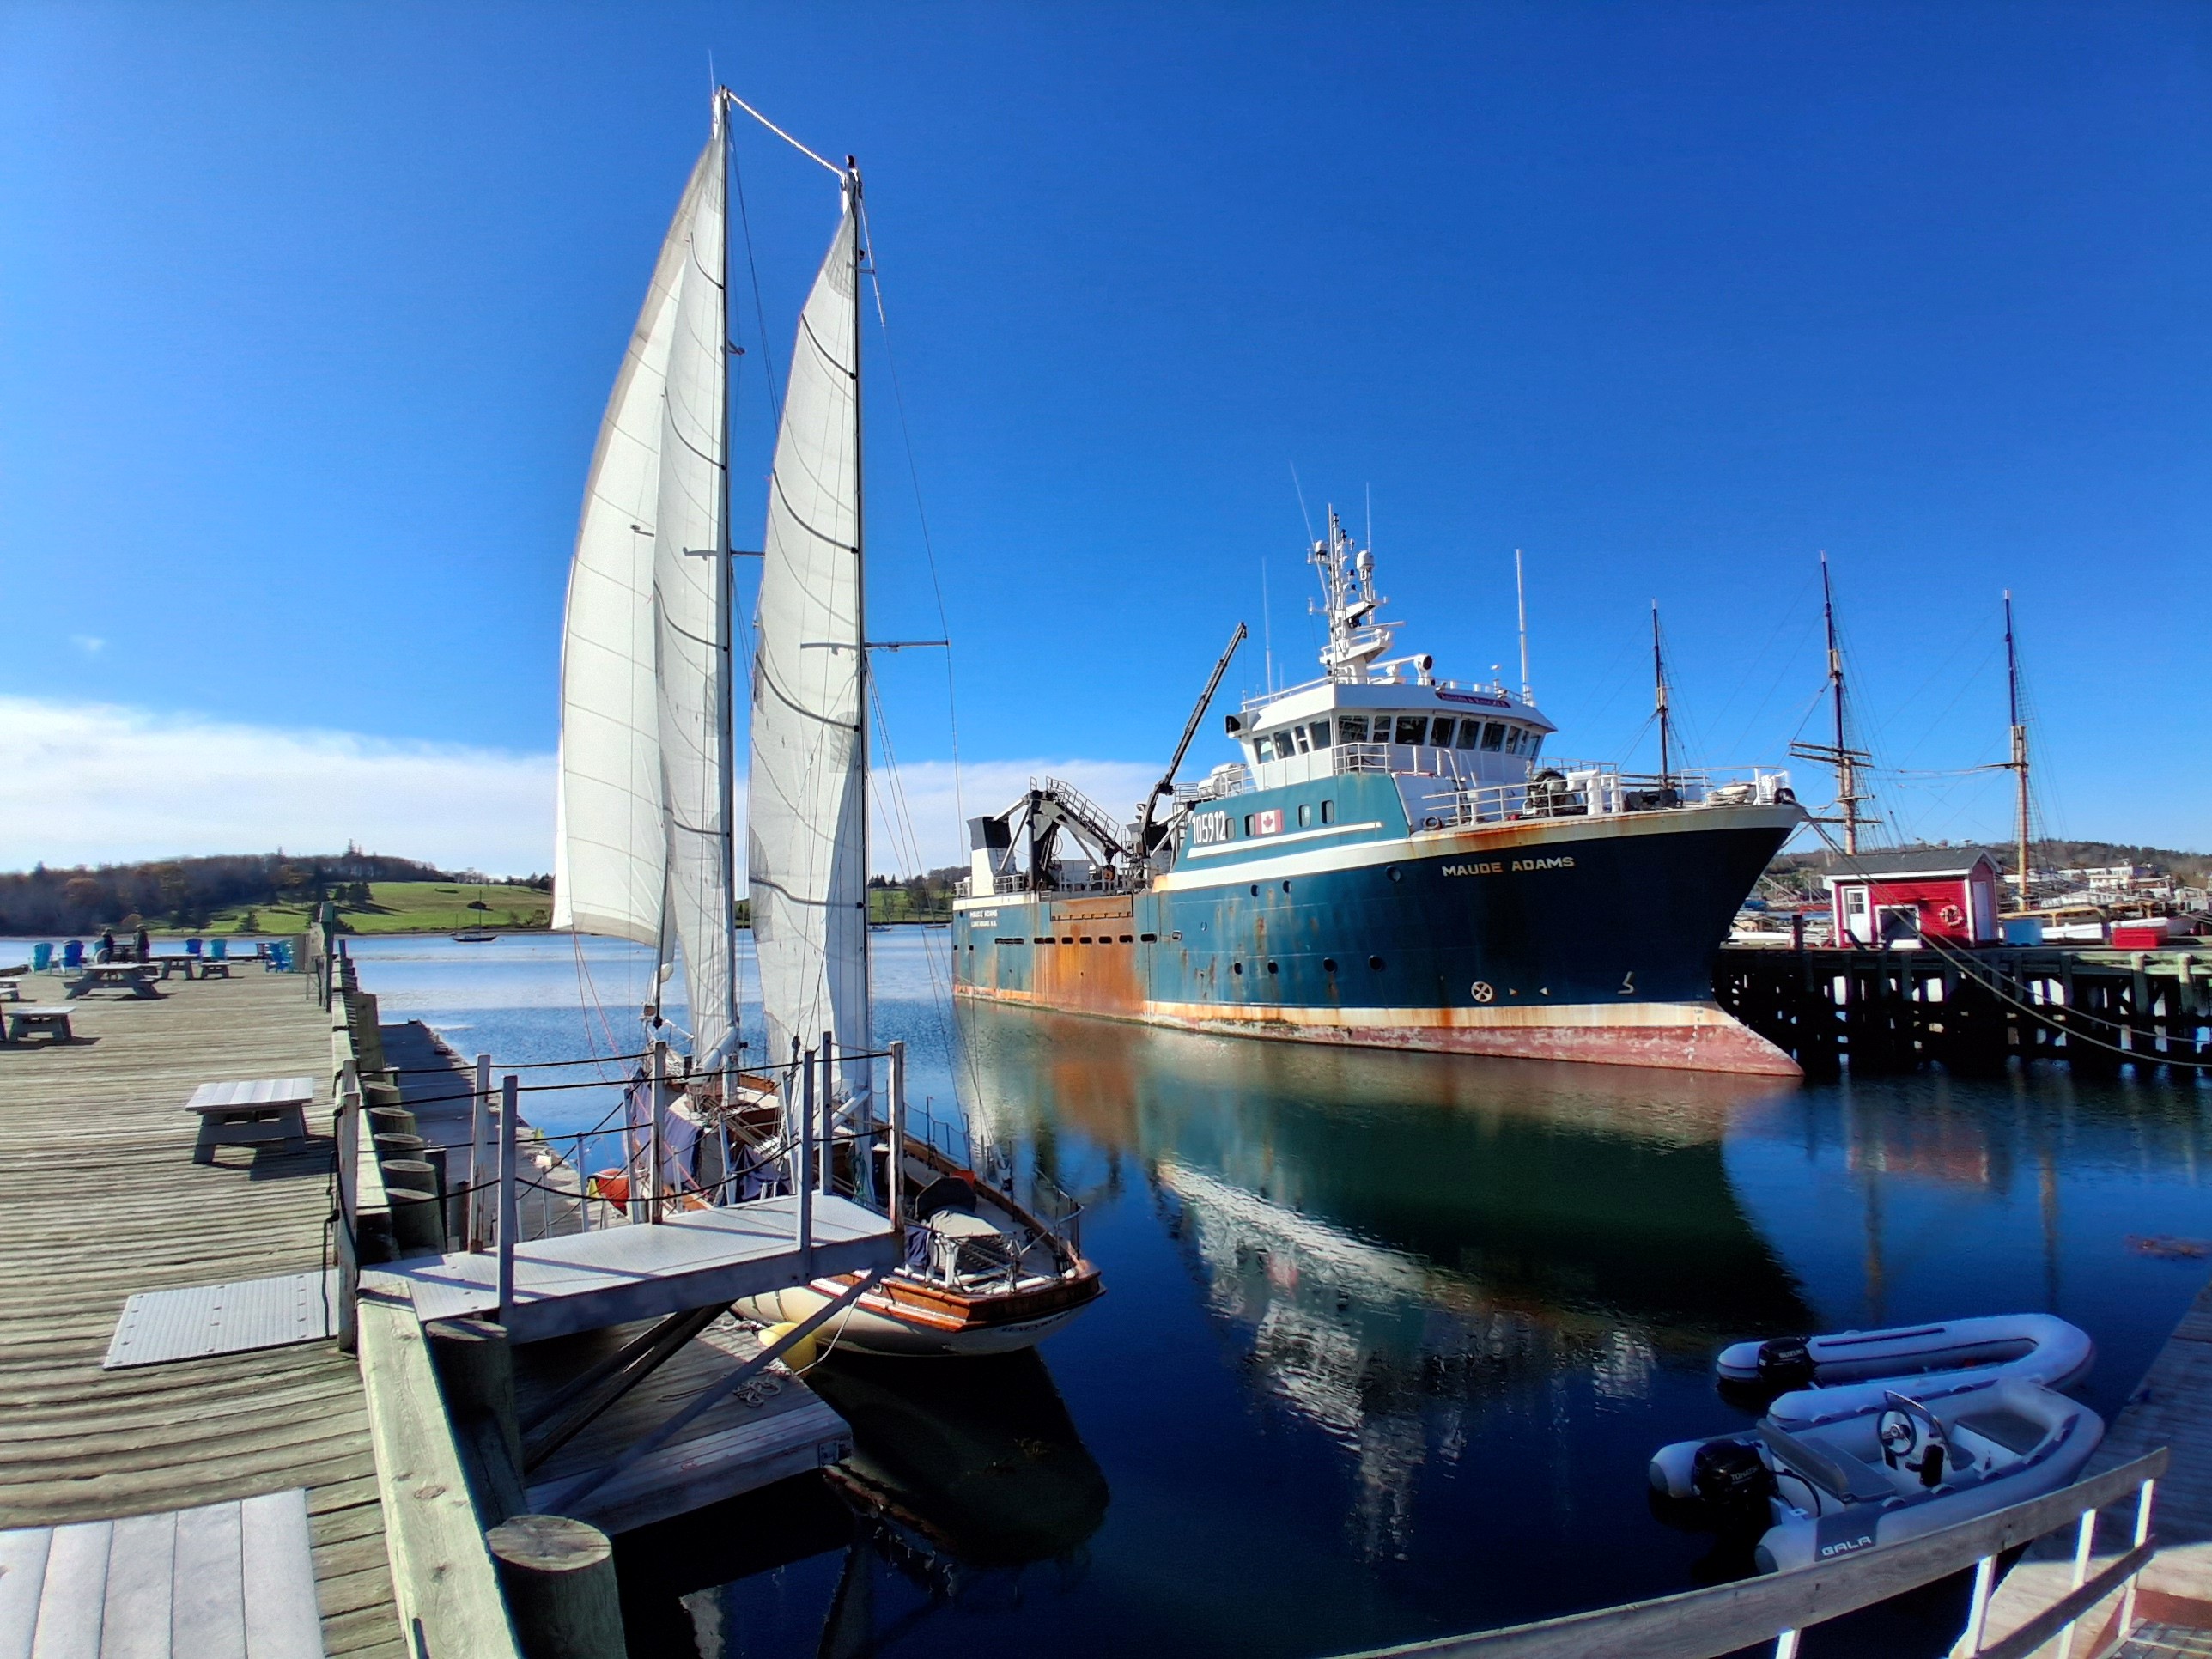
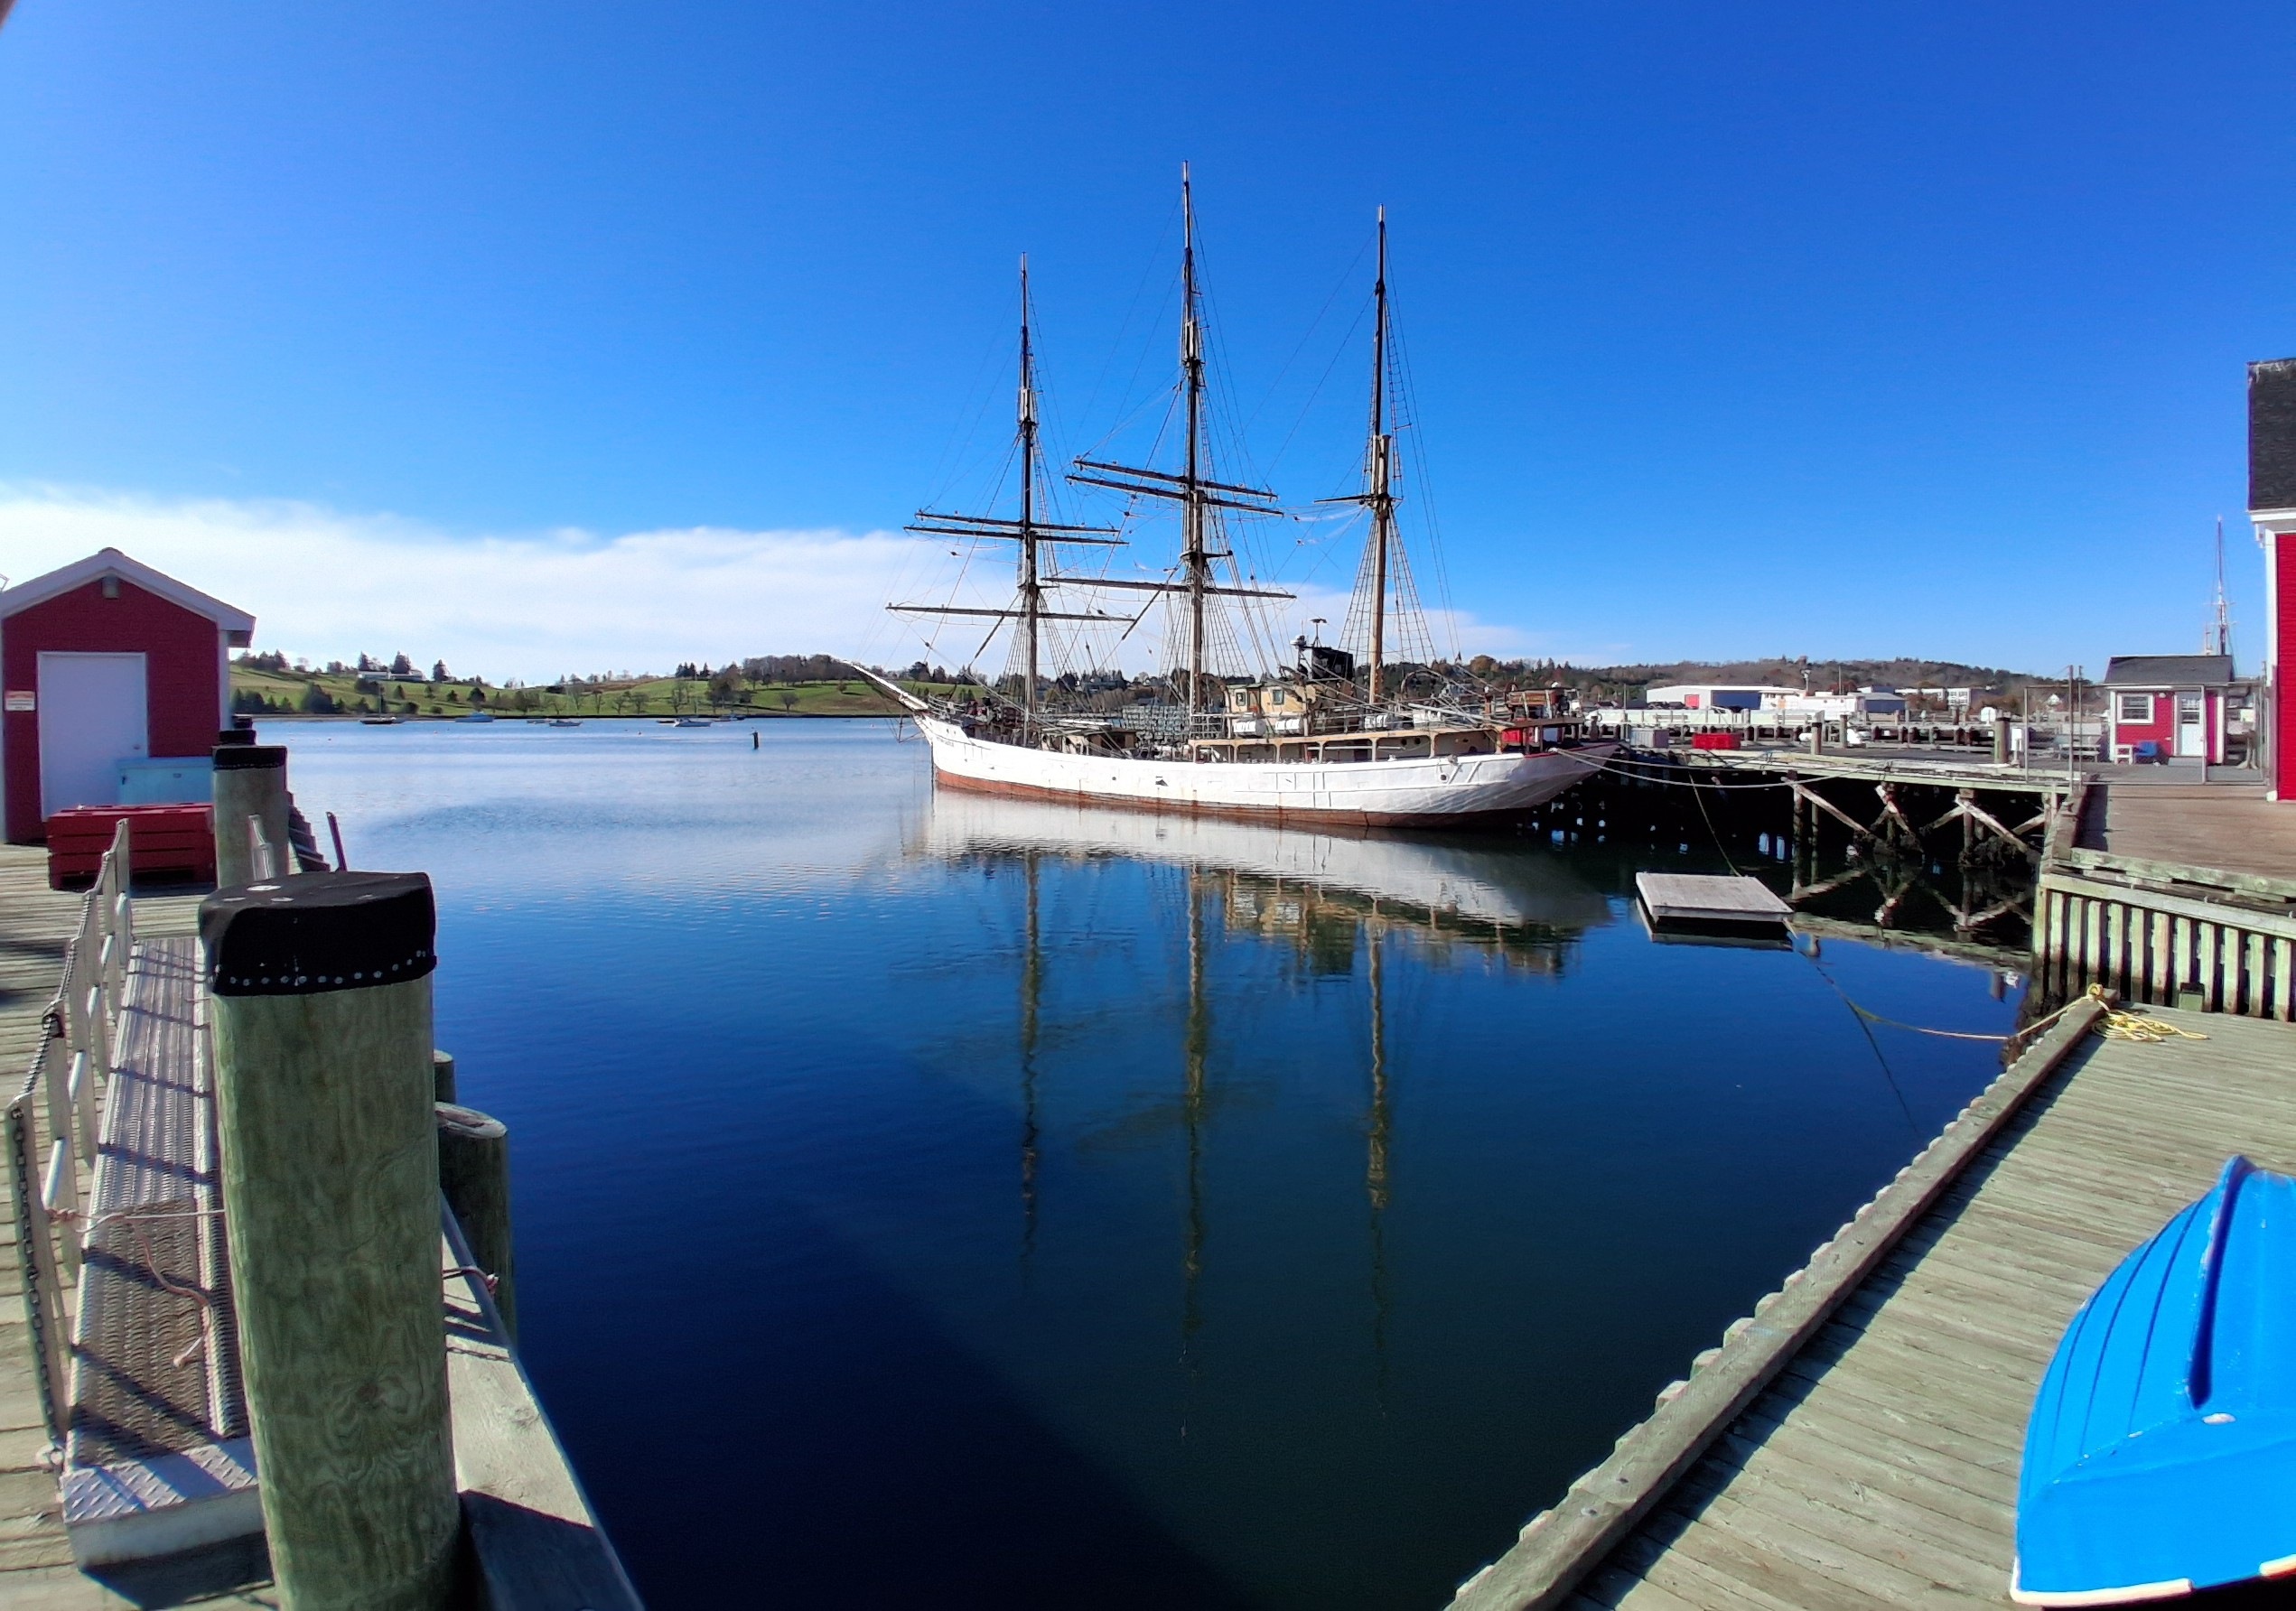
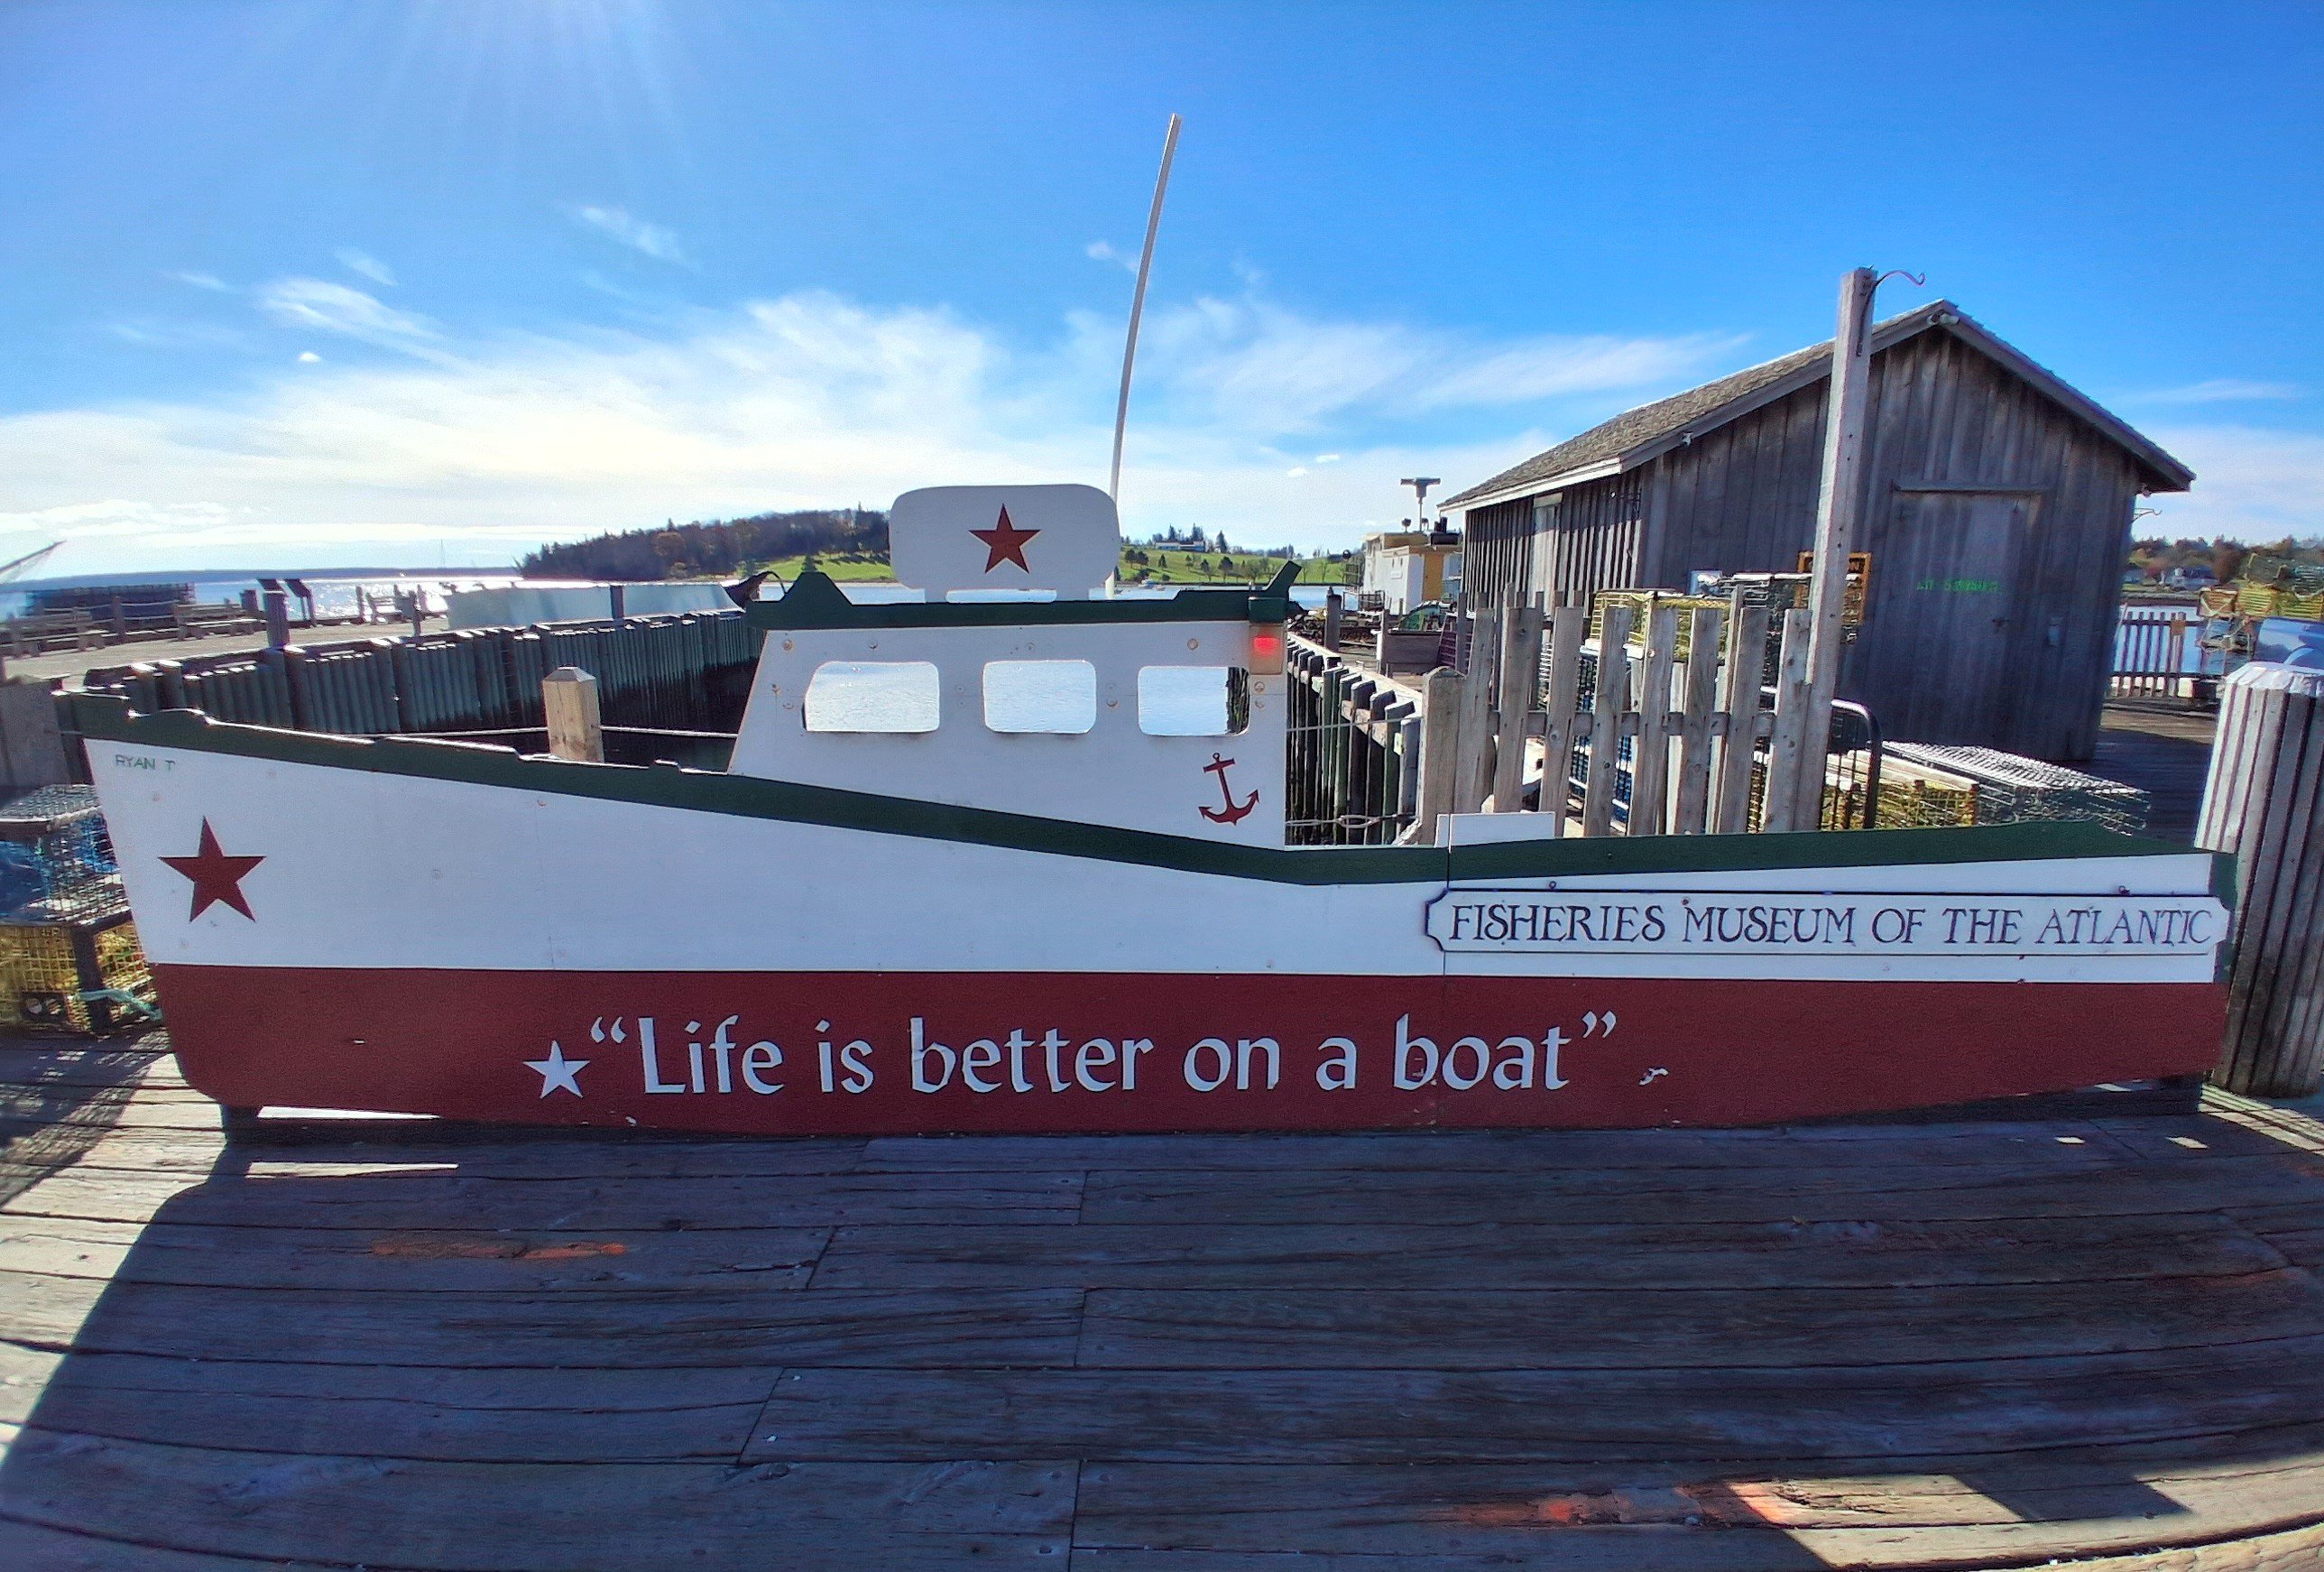
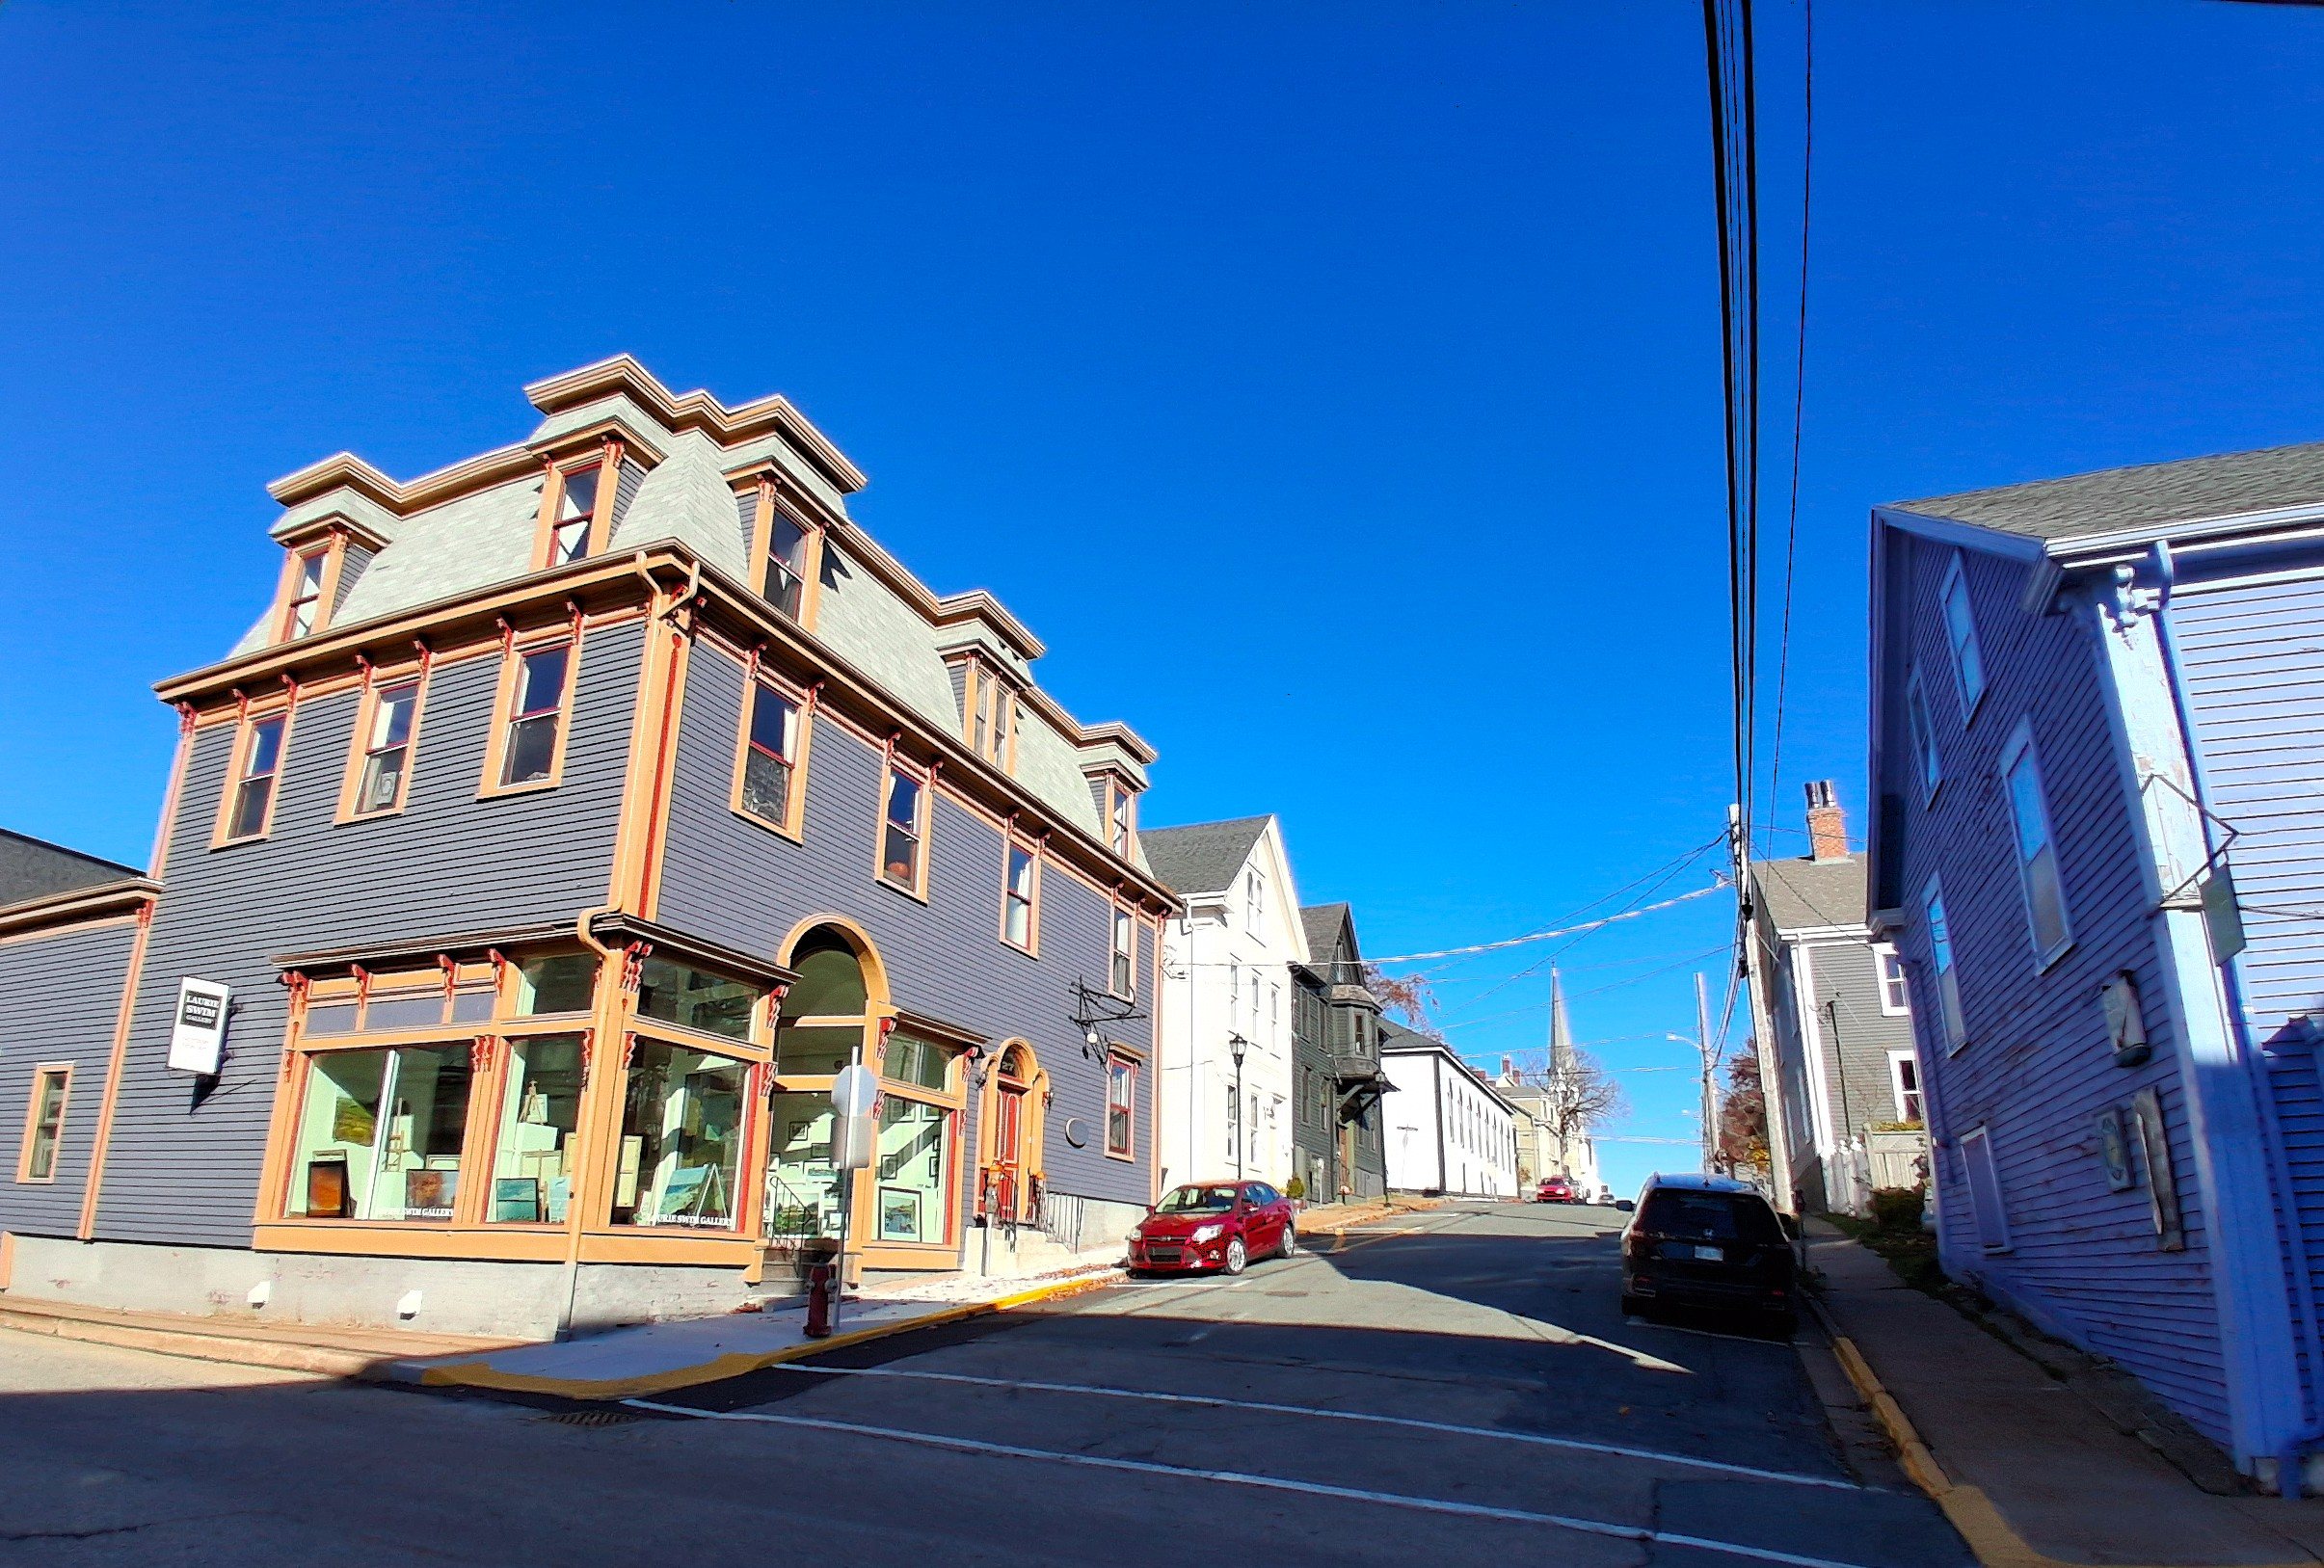
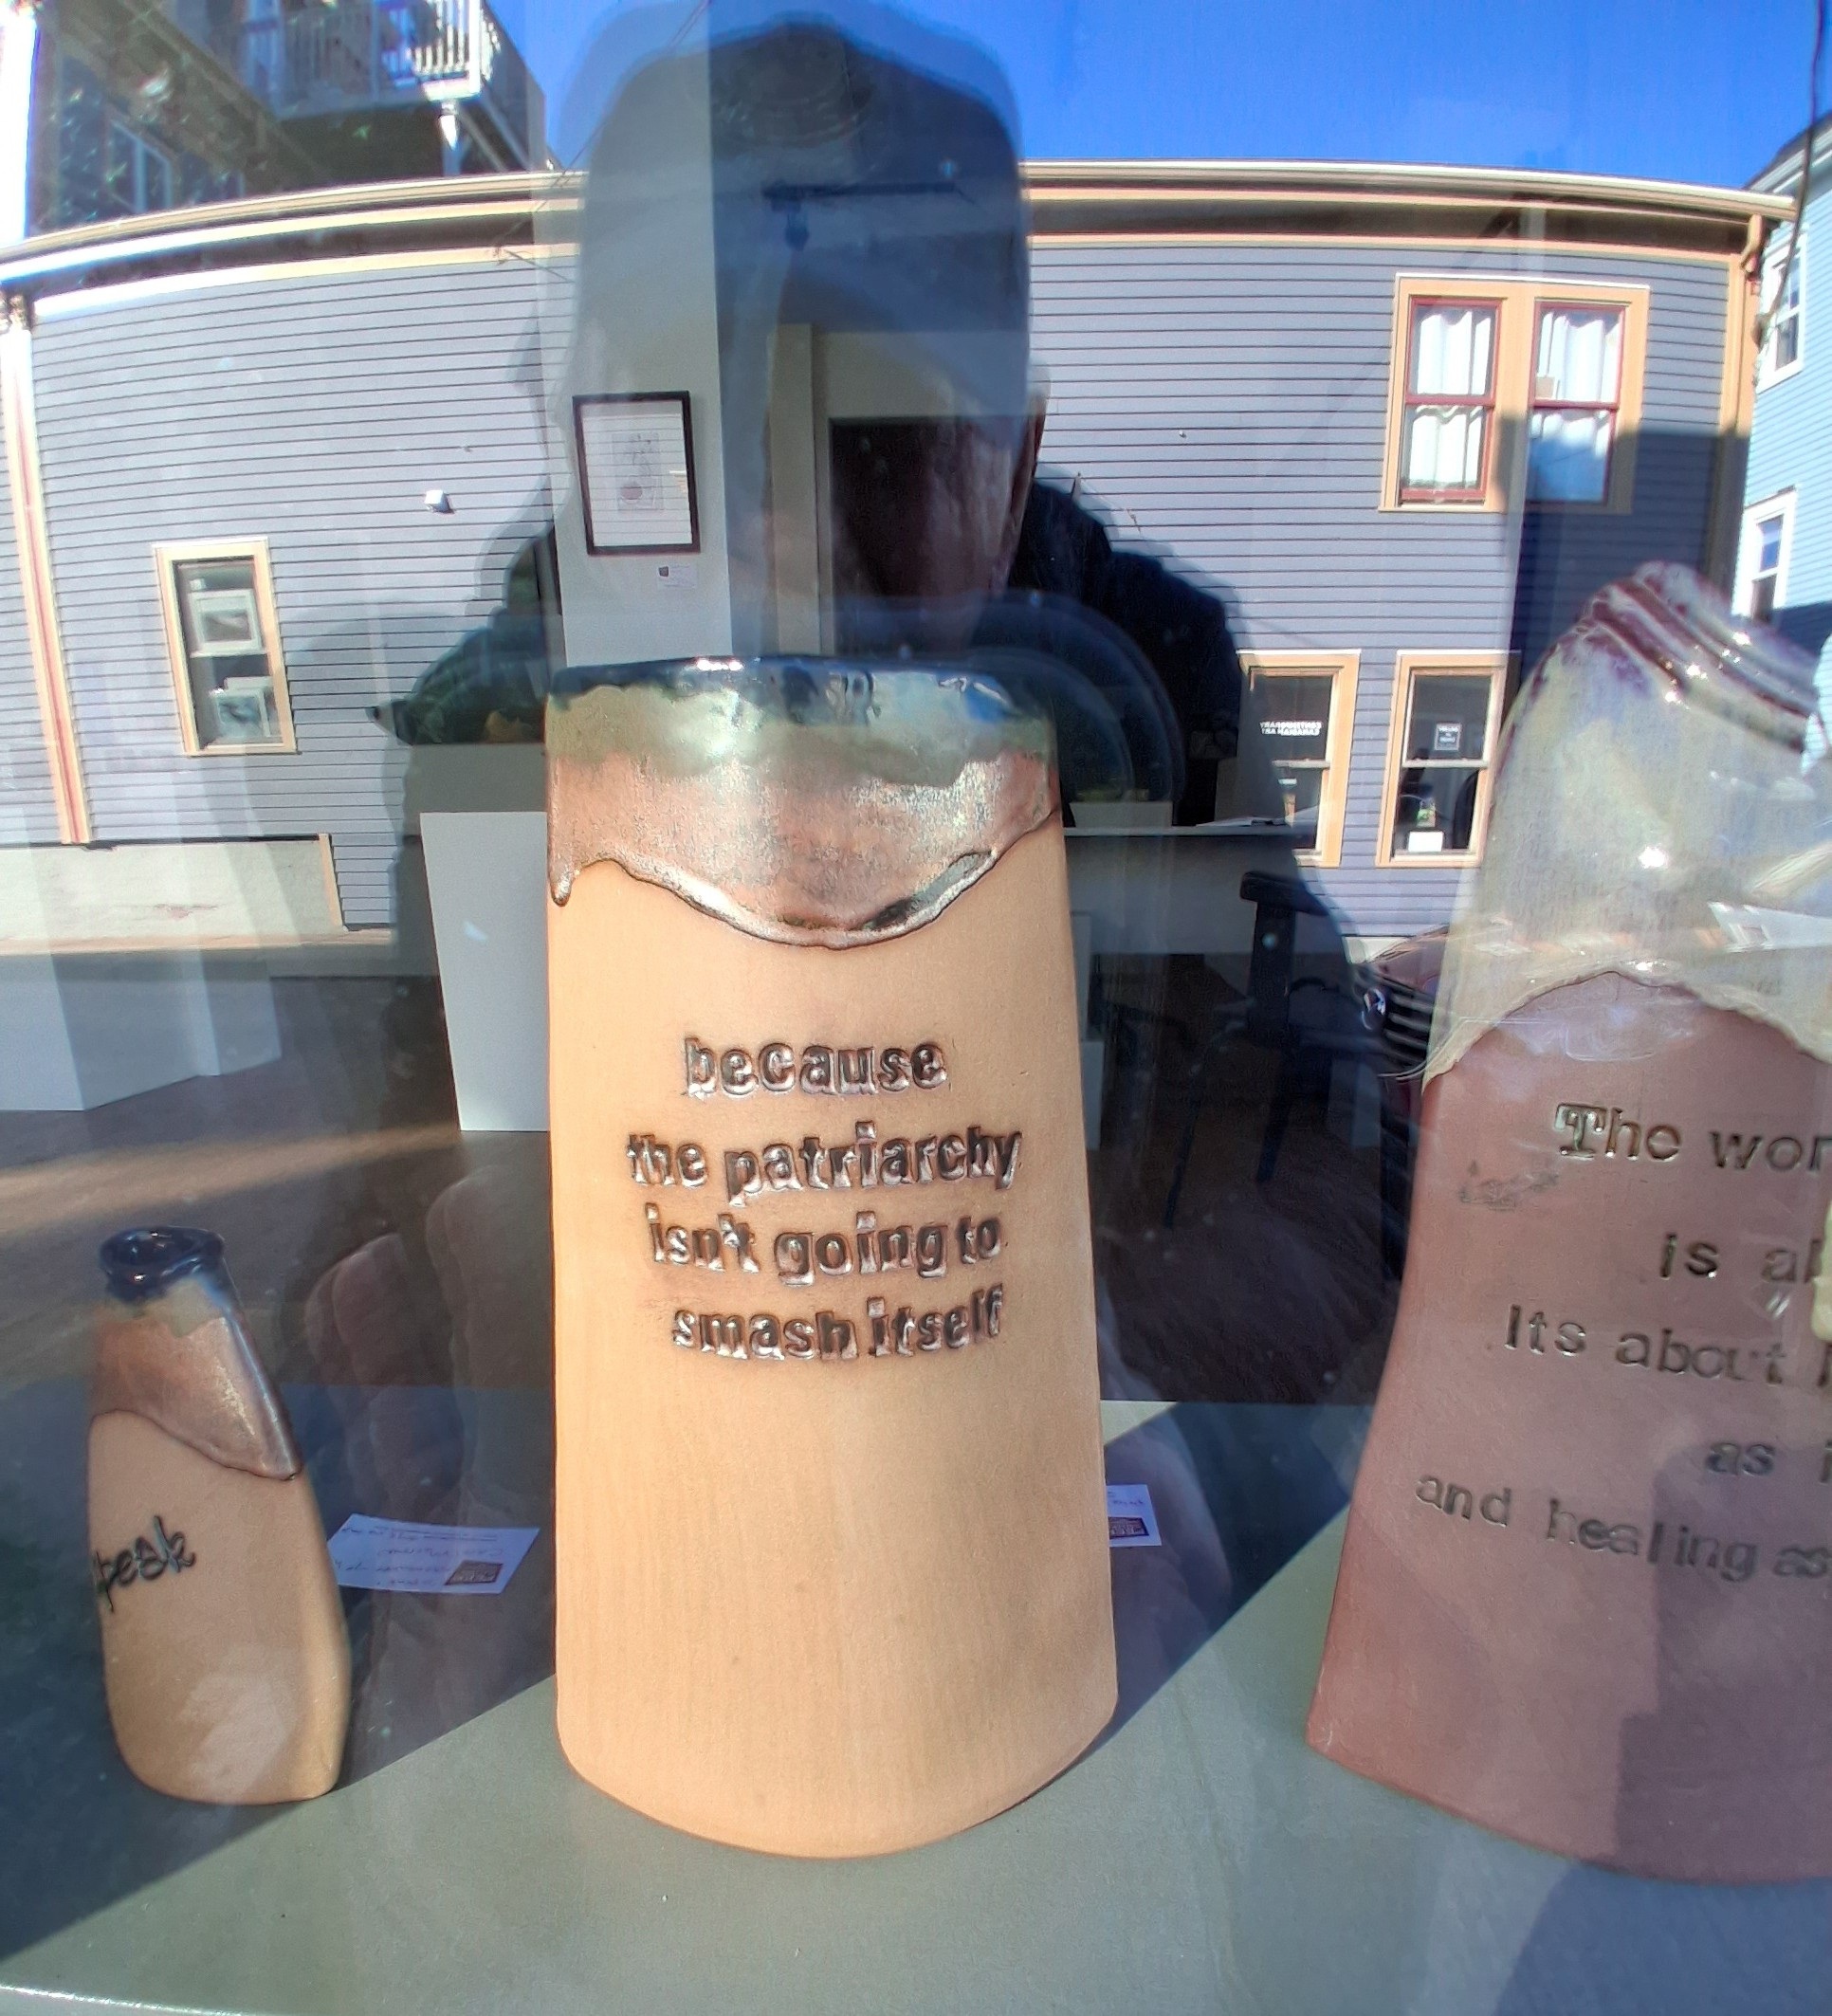
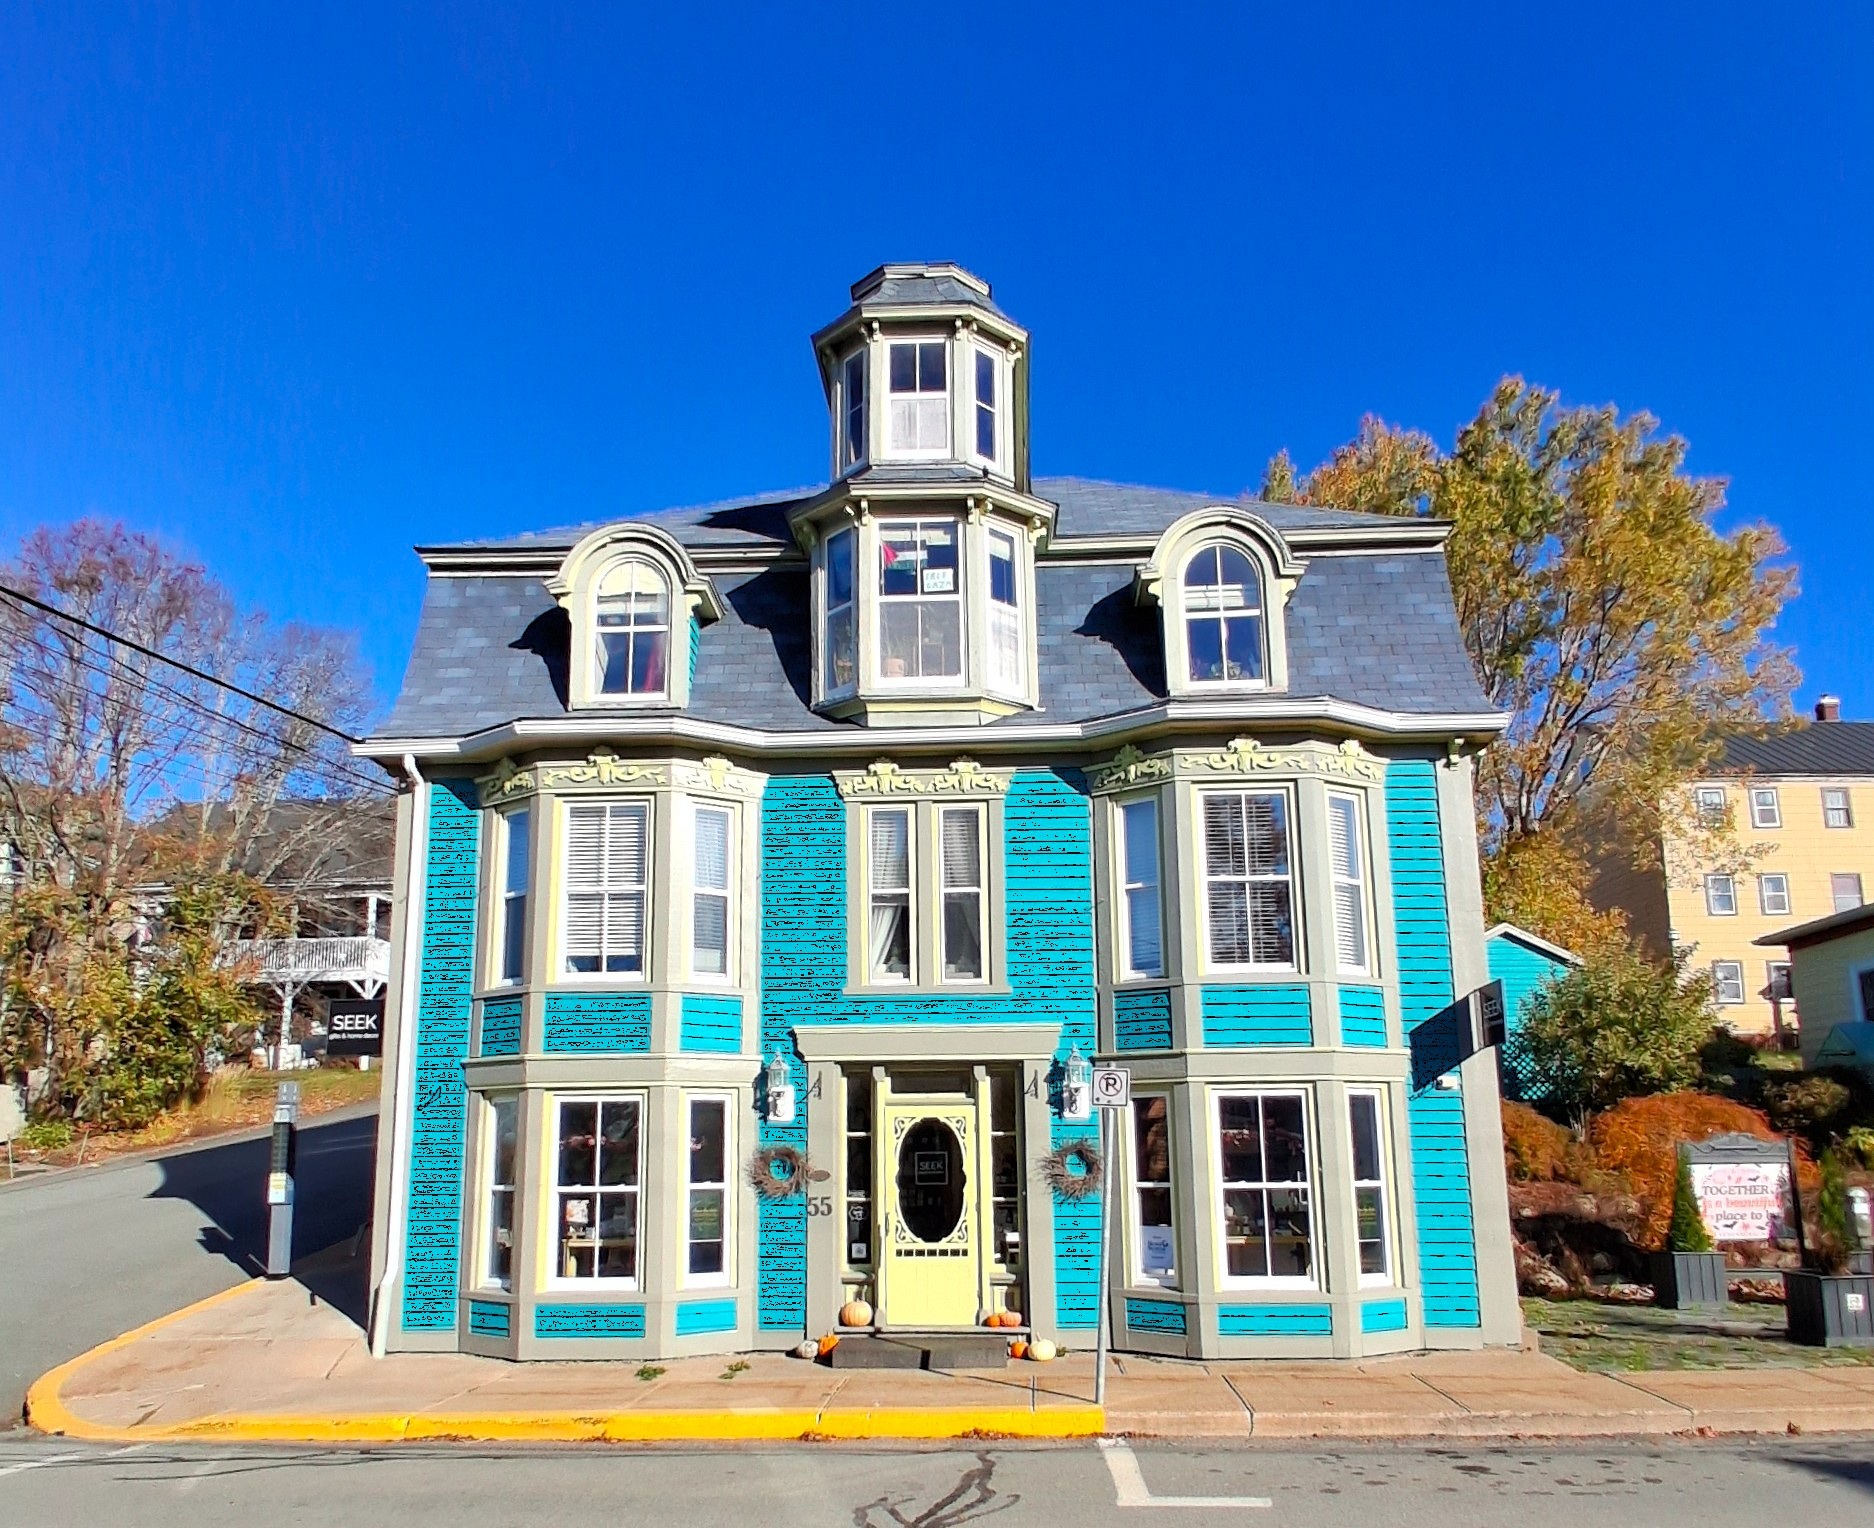
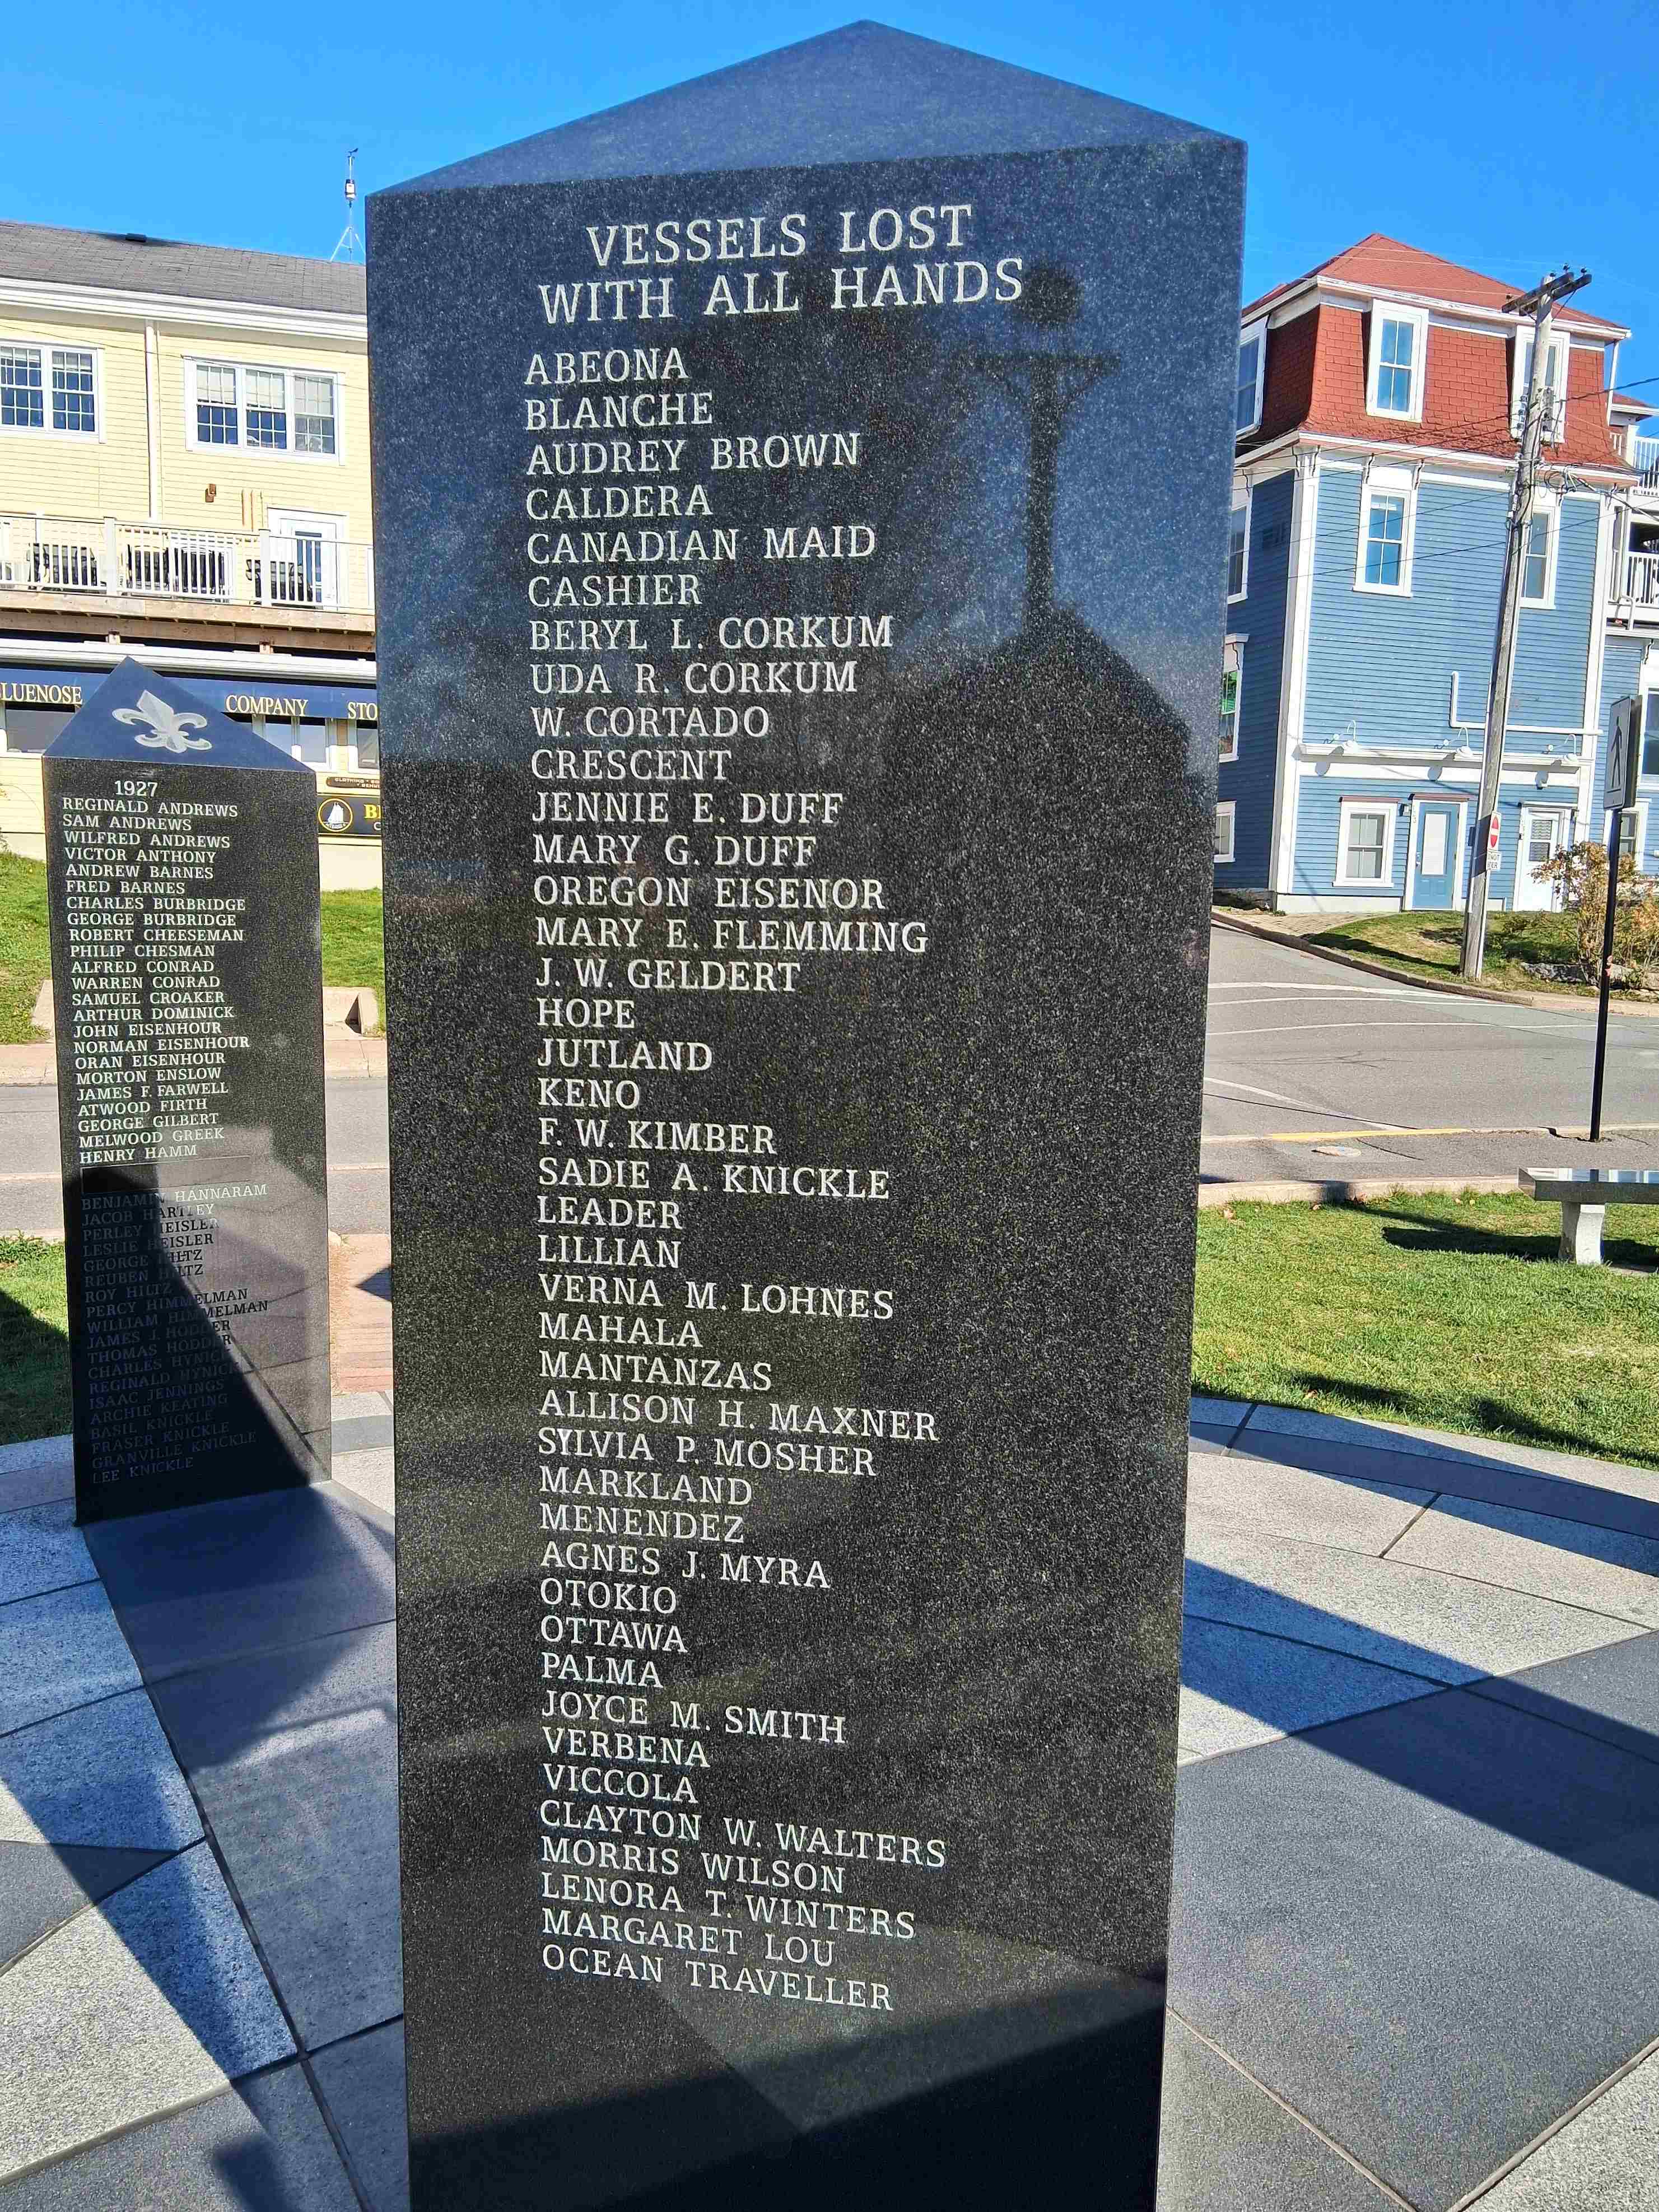
South Coast – LeHave and Lunenberg
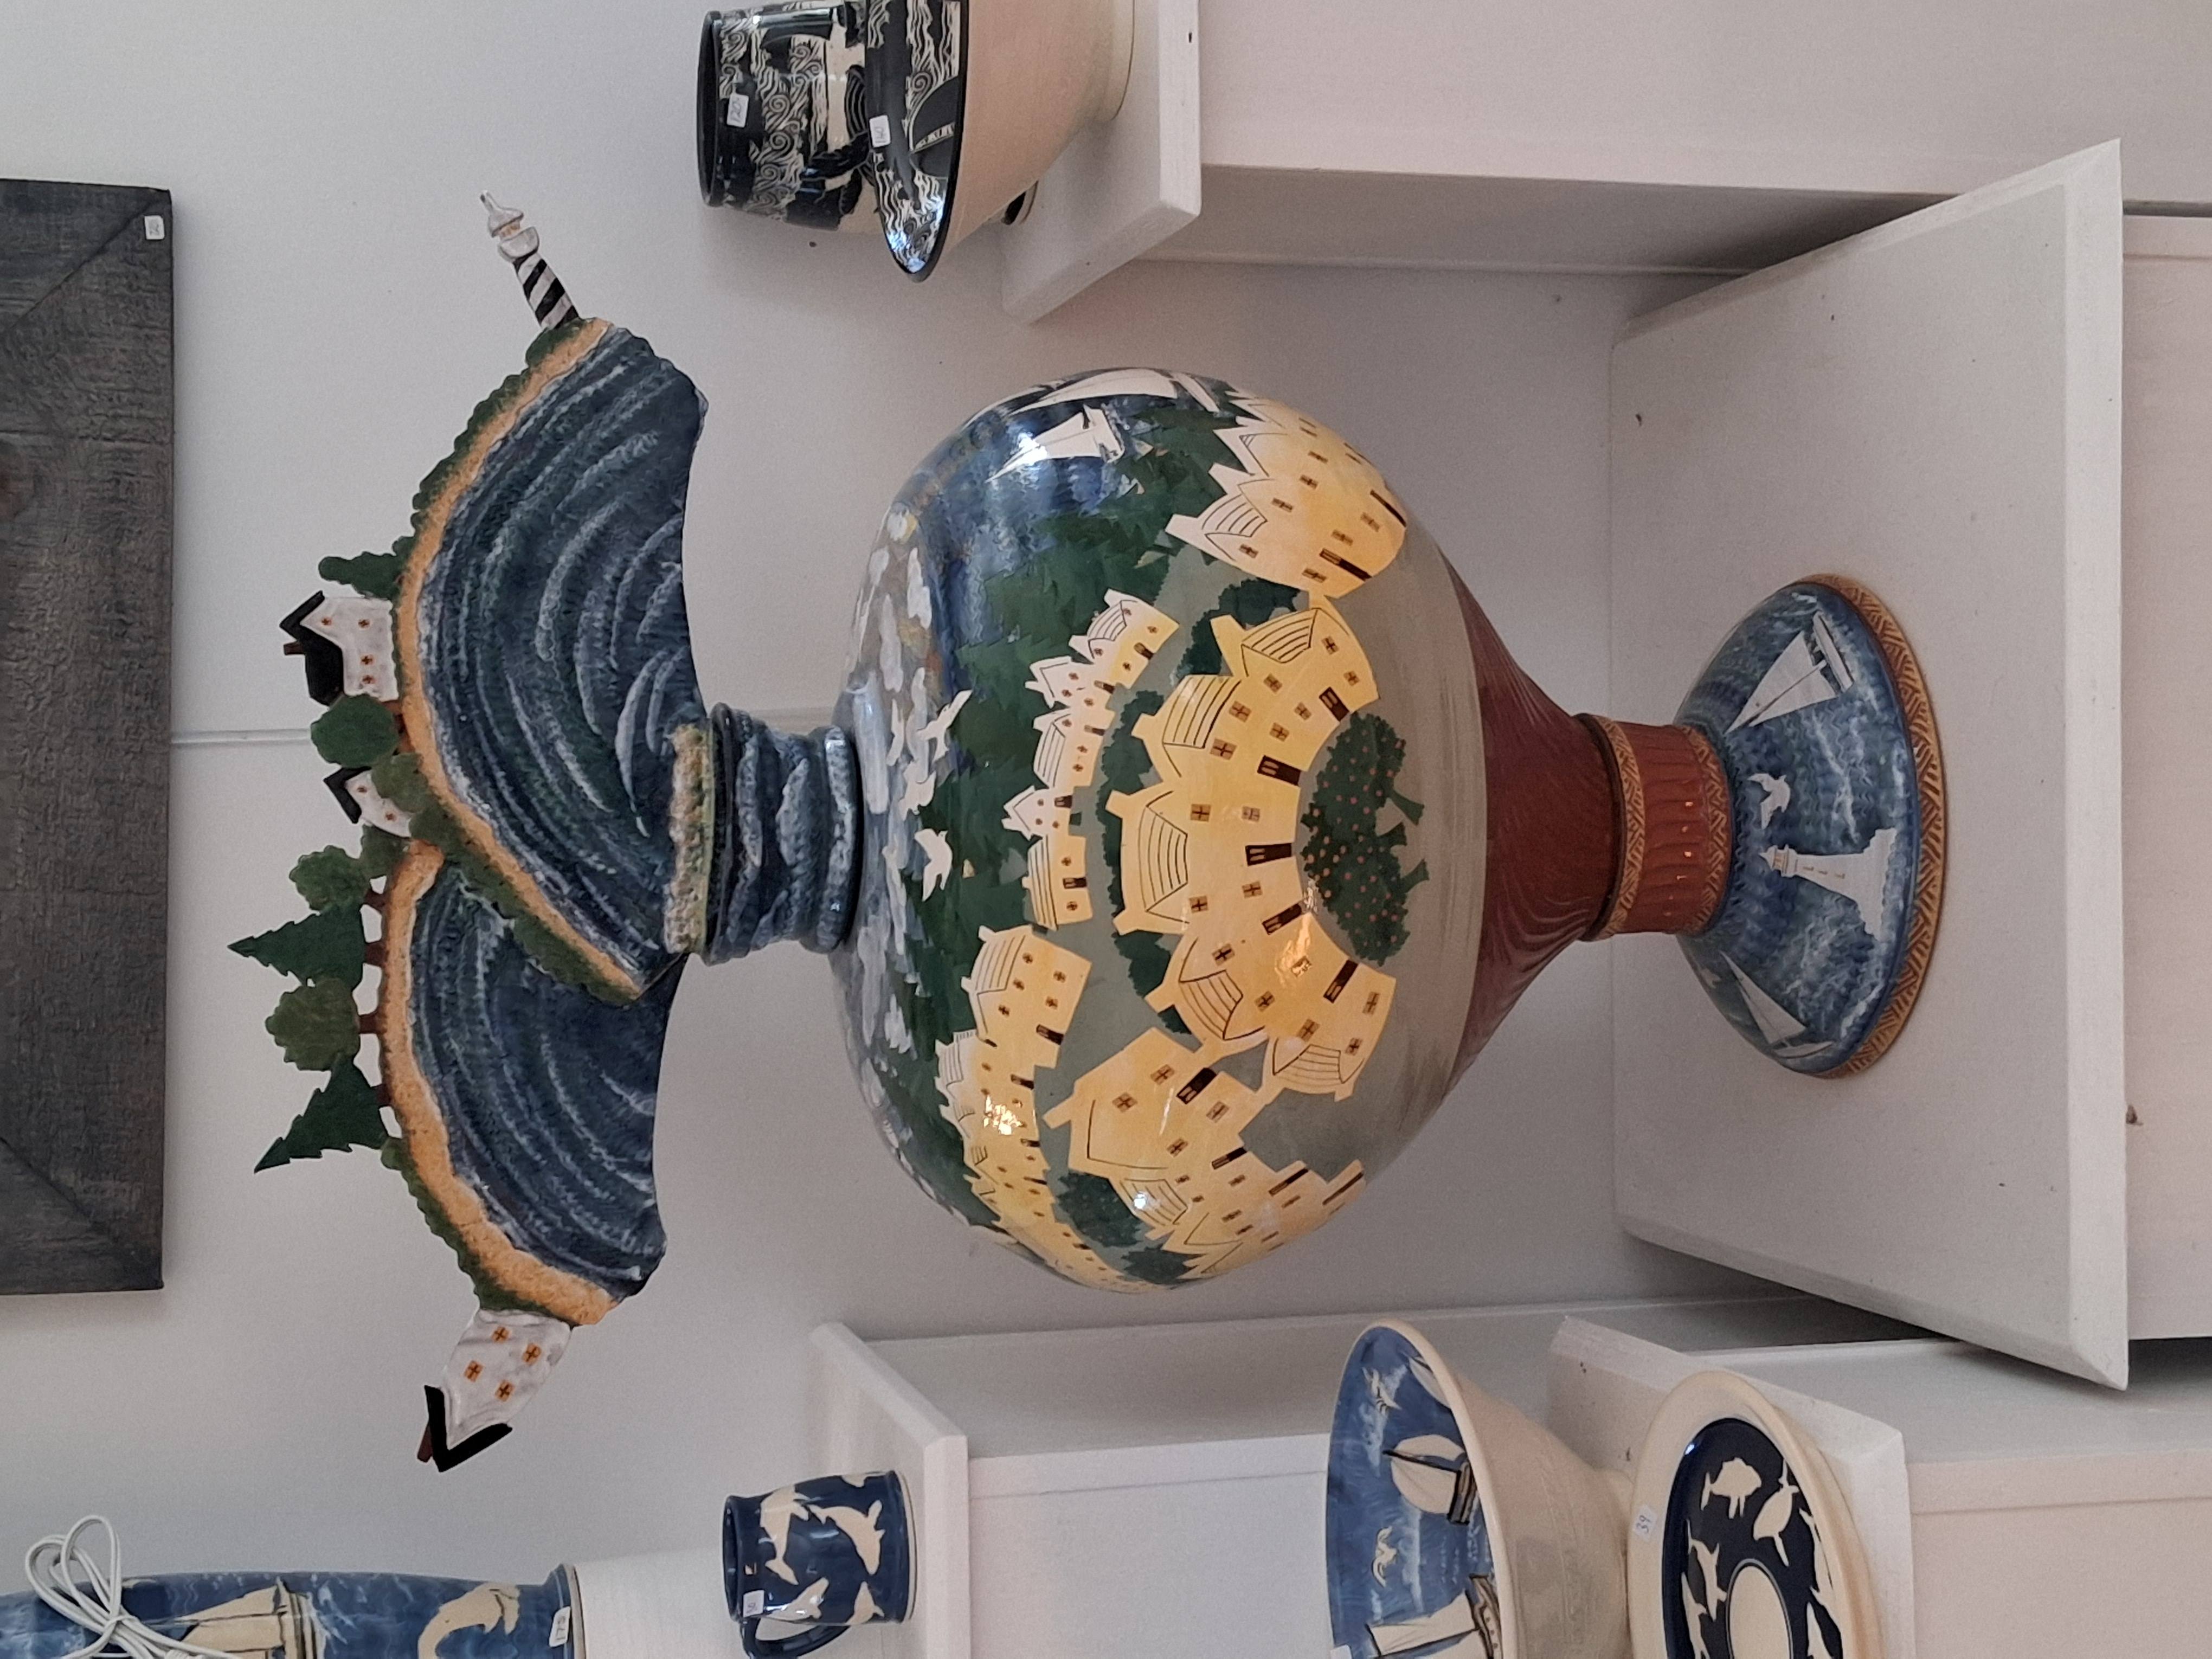
The south shore of Nova Scotia is known for its picturesque small towns where fishing is still an important part of local economies, and for its historic buildings, artist galleries, restaurants, surfing beaches and resorts. [All photos ![]() Max Vollmer, Click on any image to enlarge]
Max Vollmer, Click on any image to enlarge]
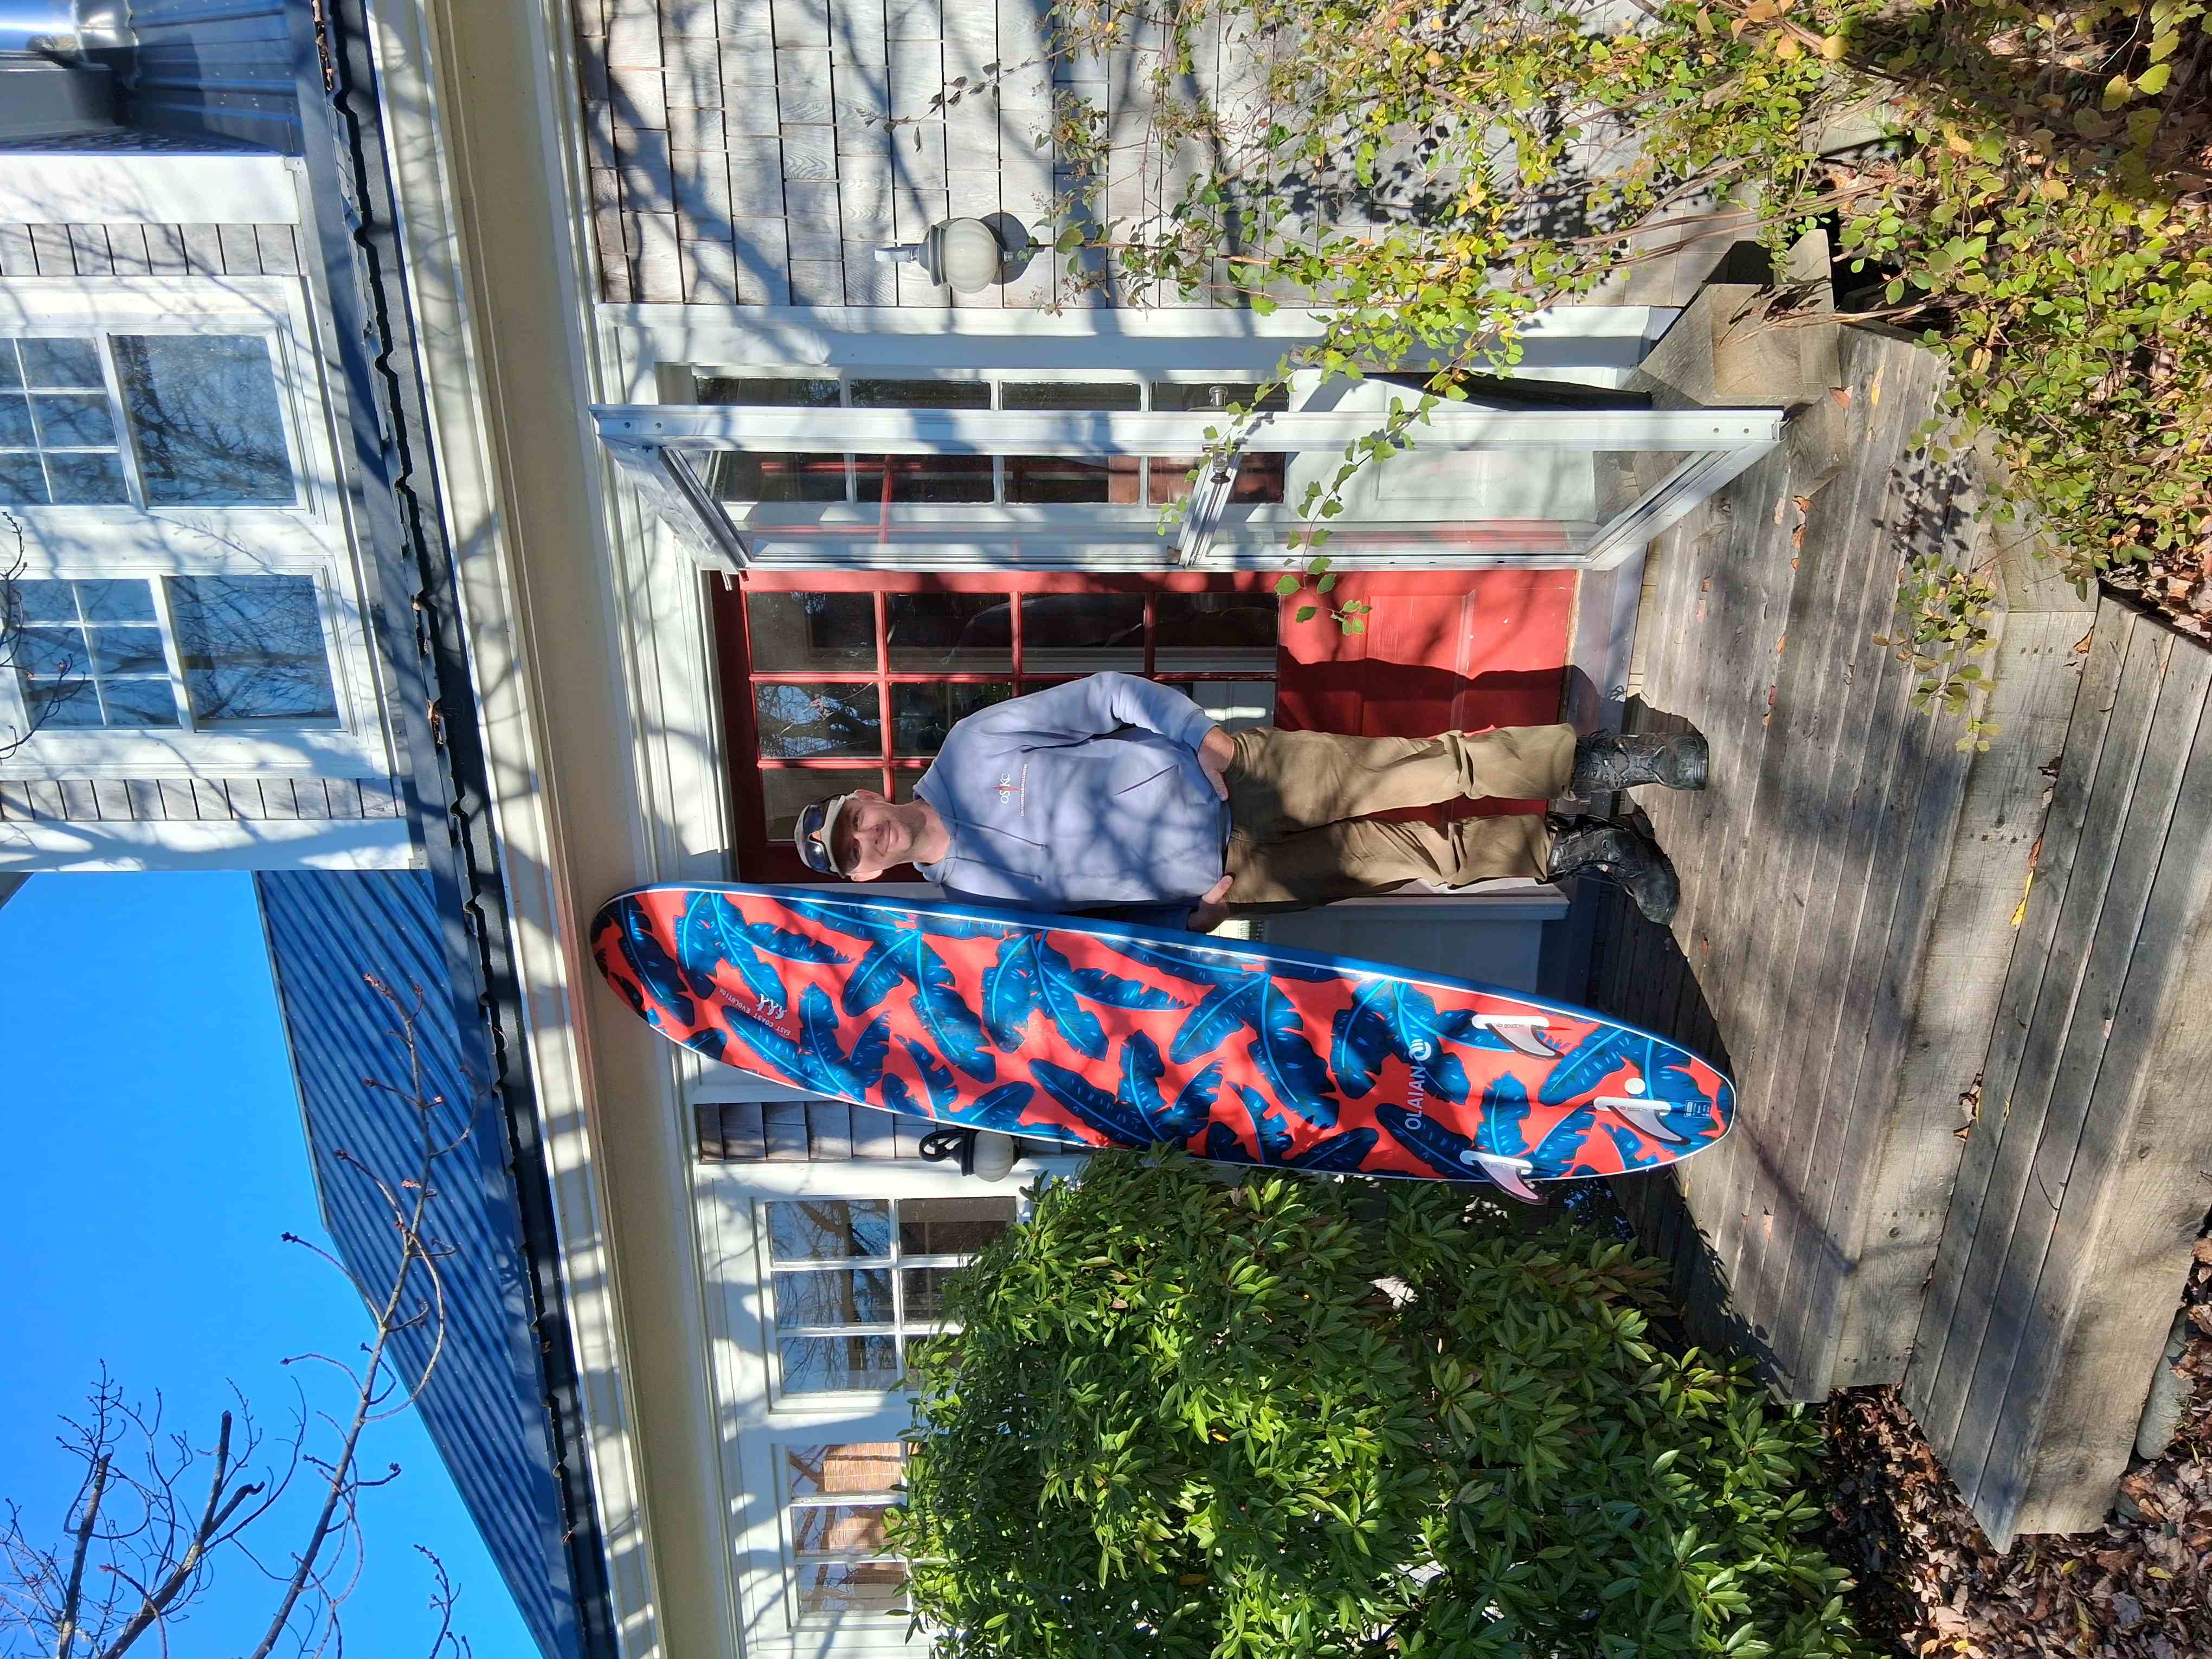
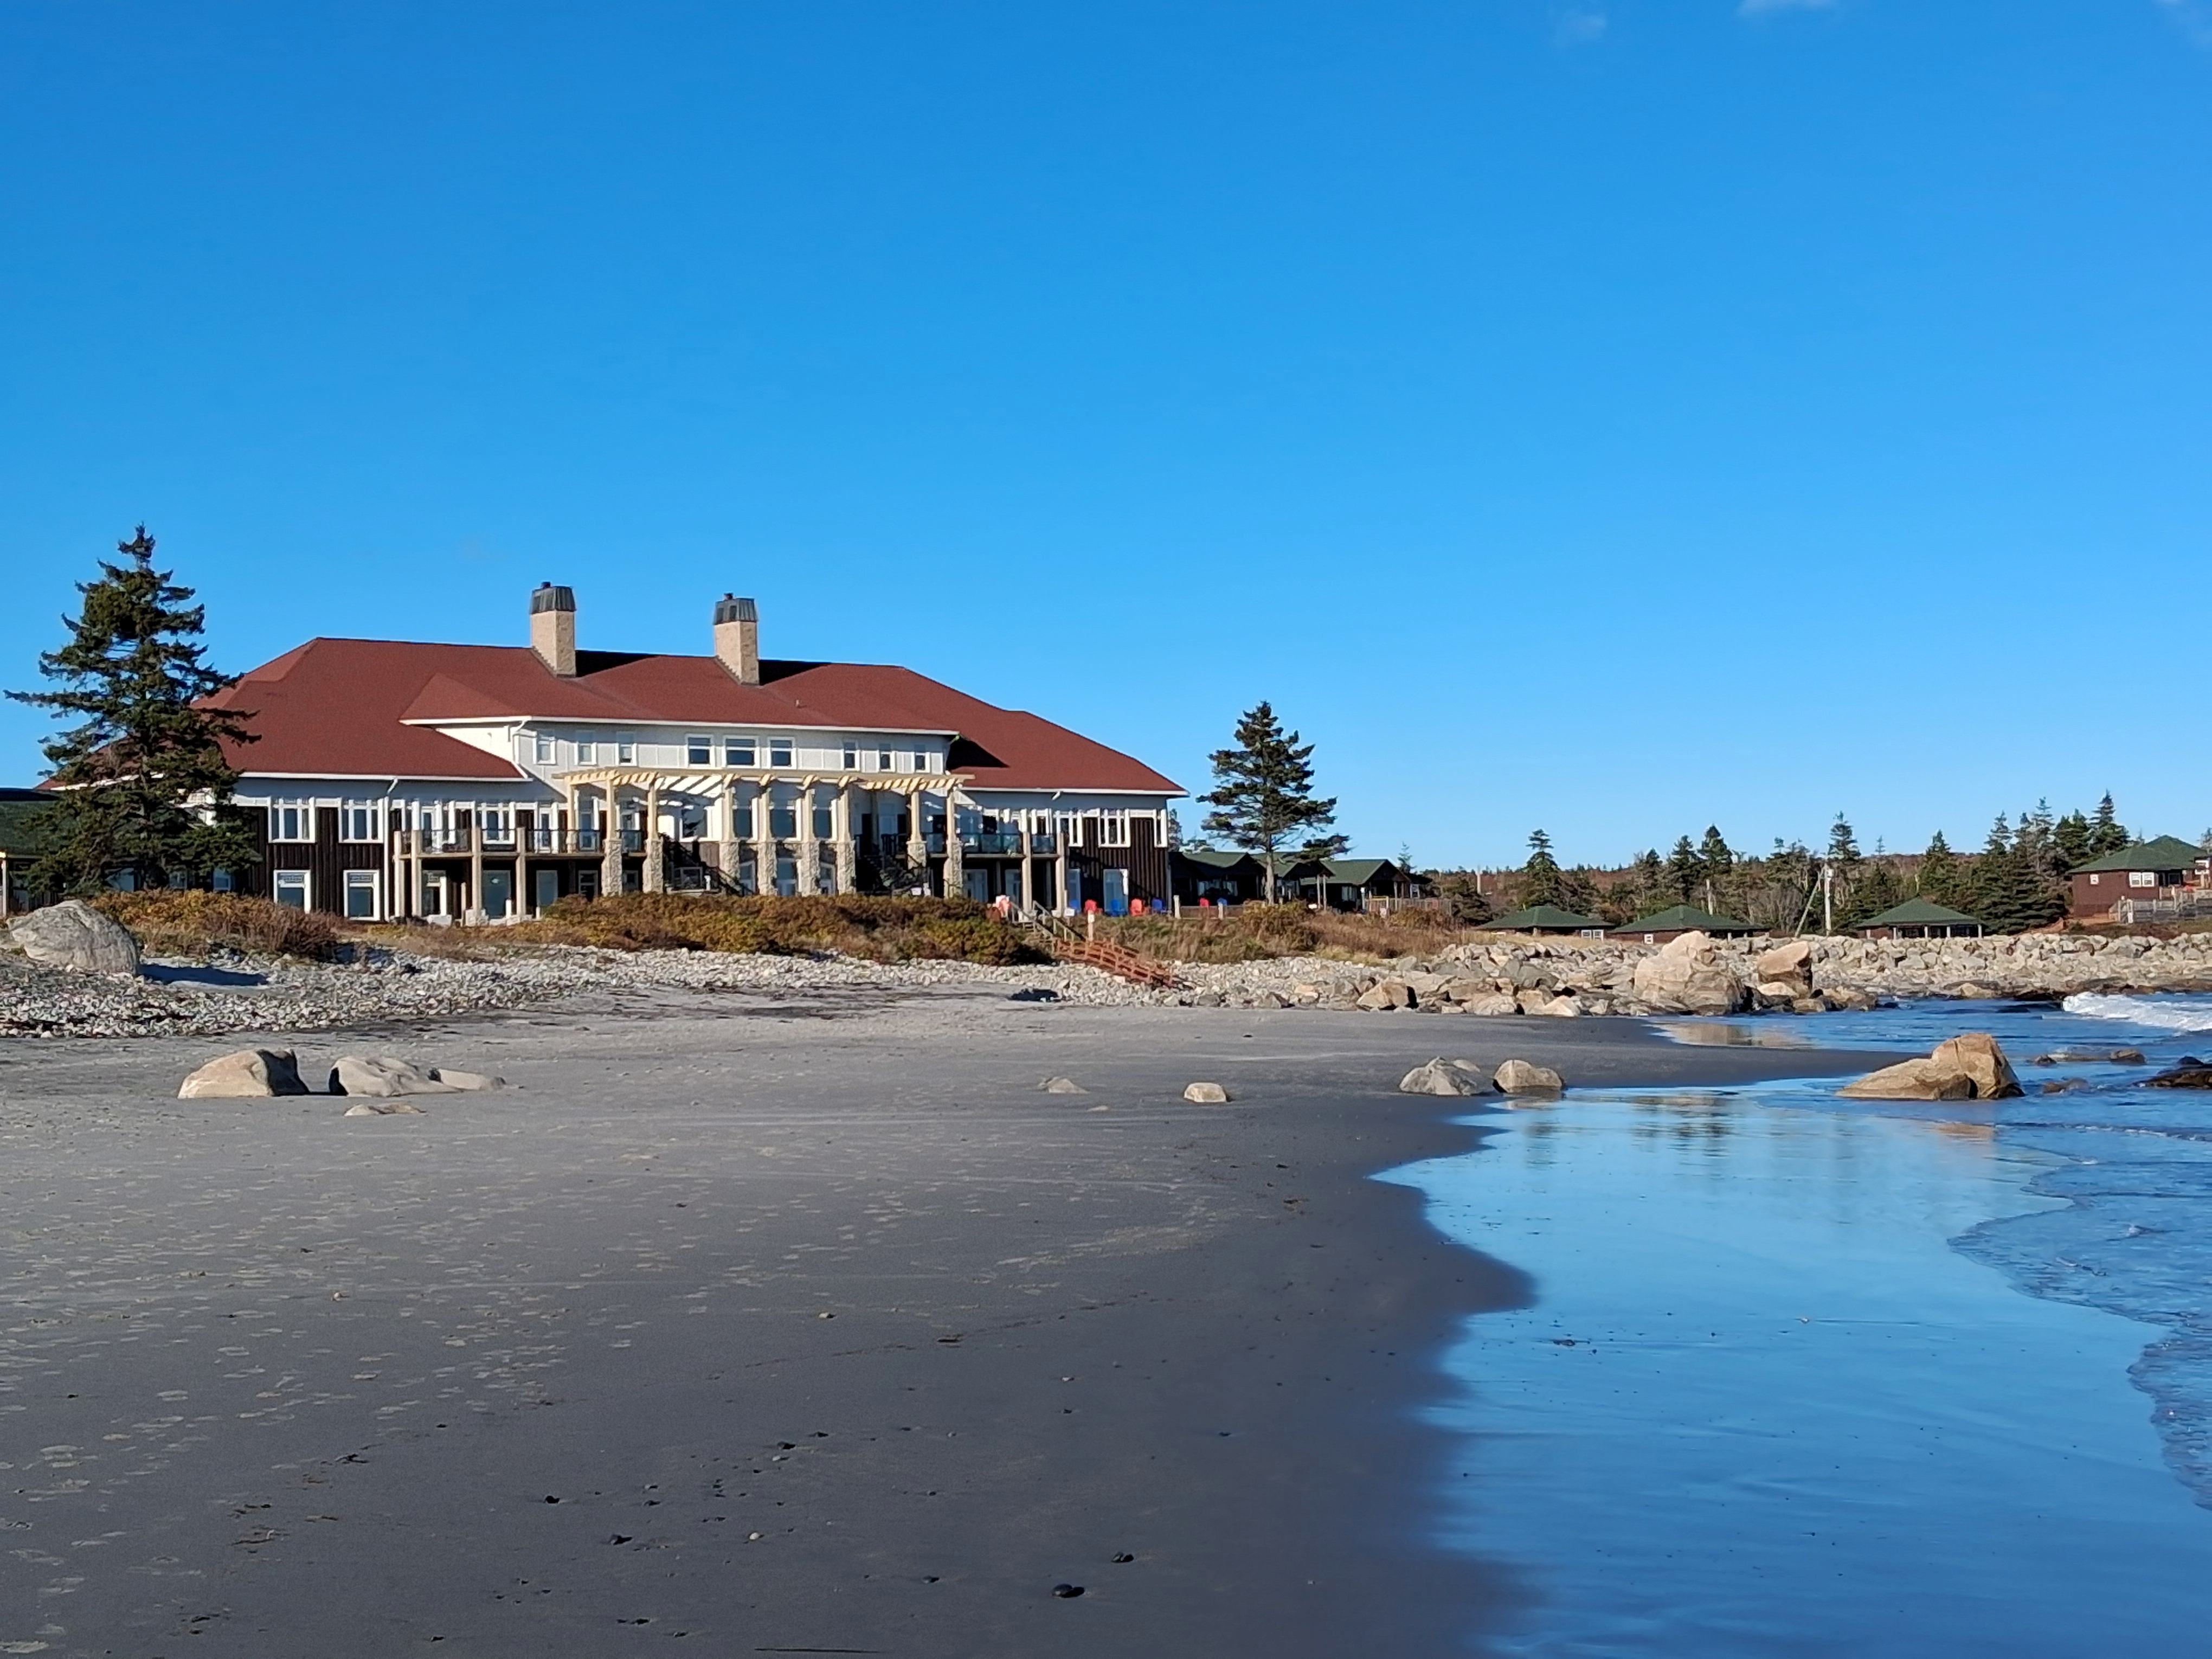
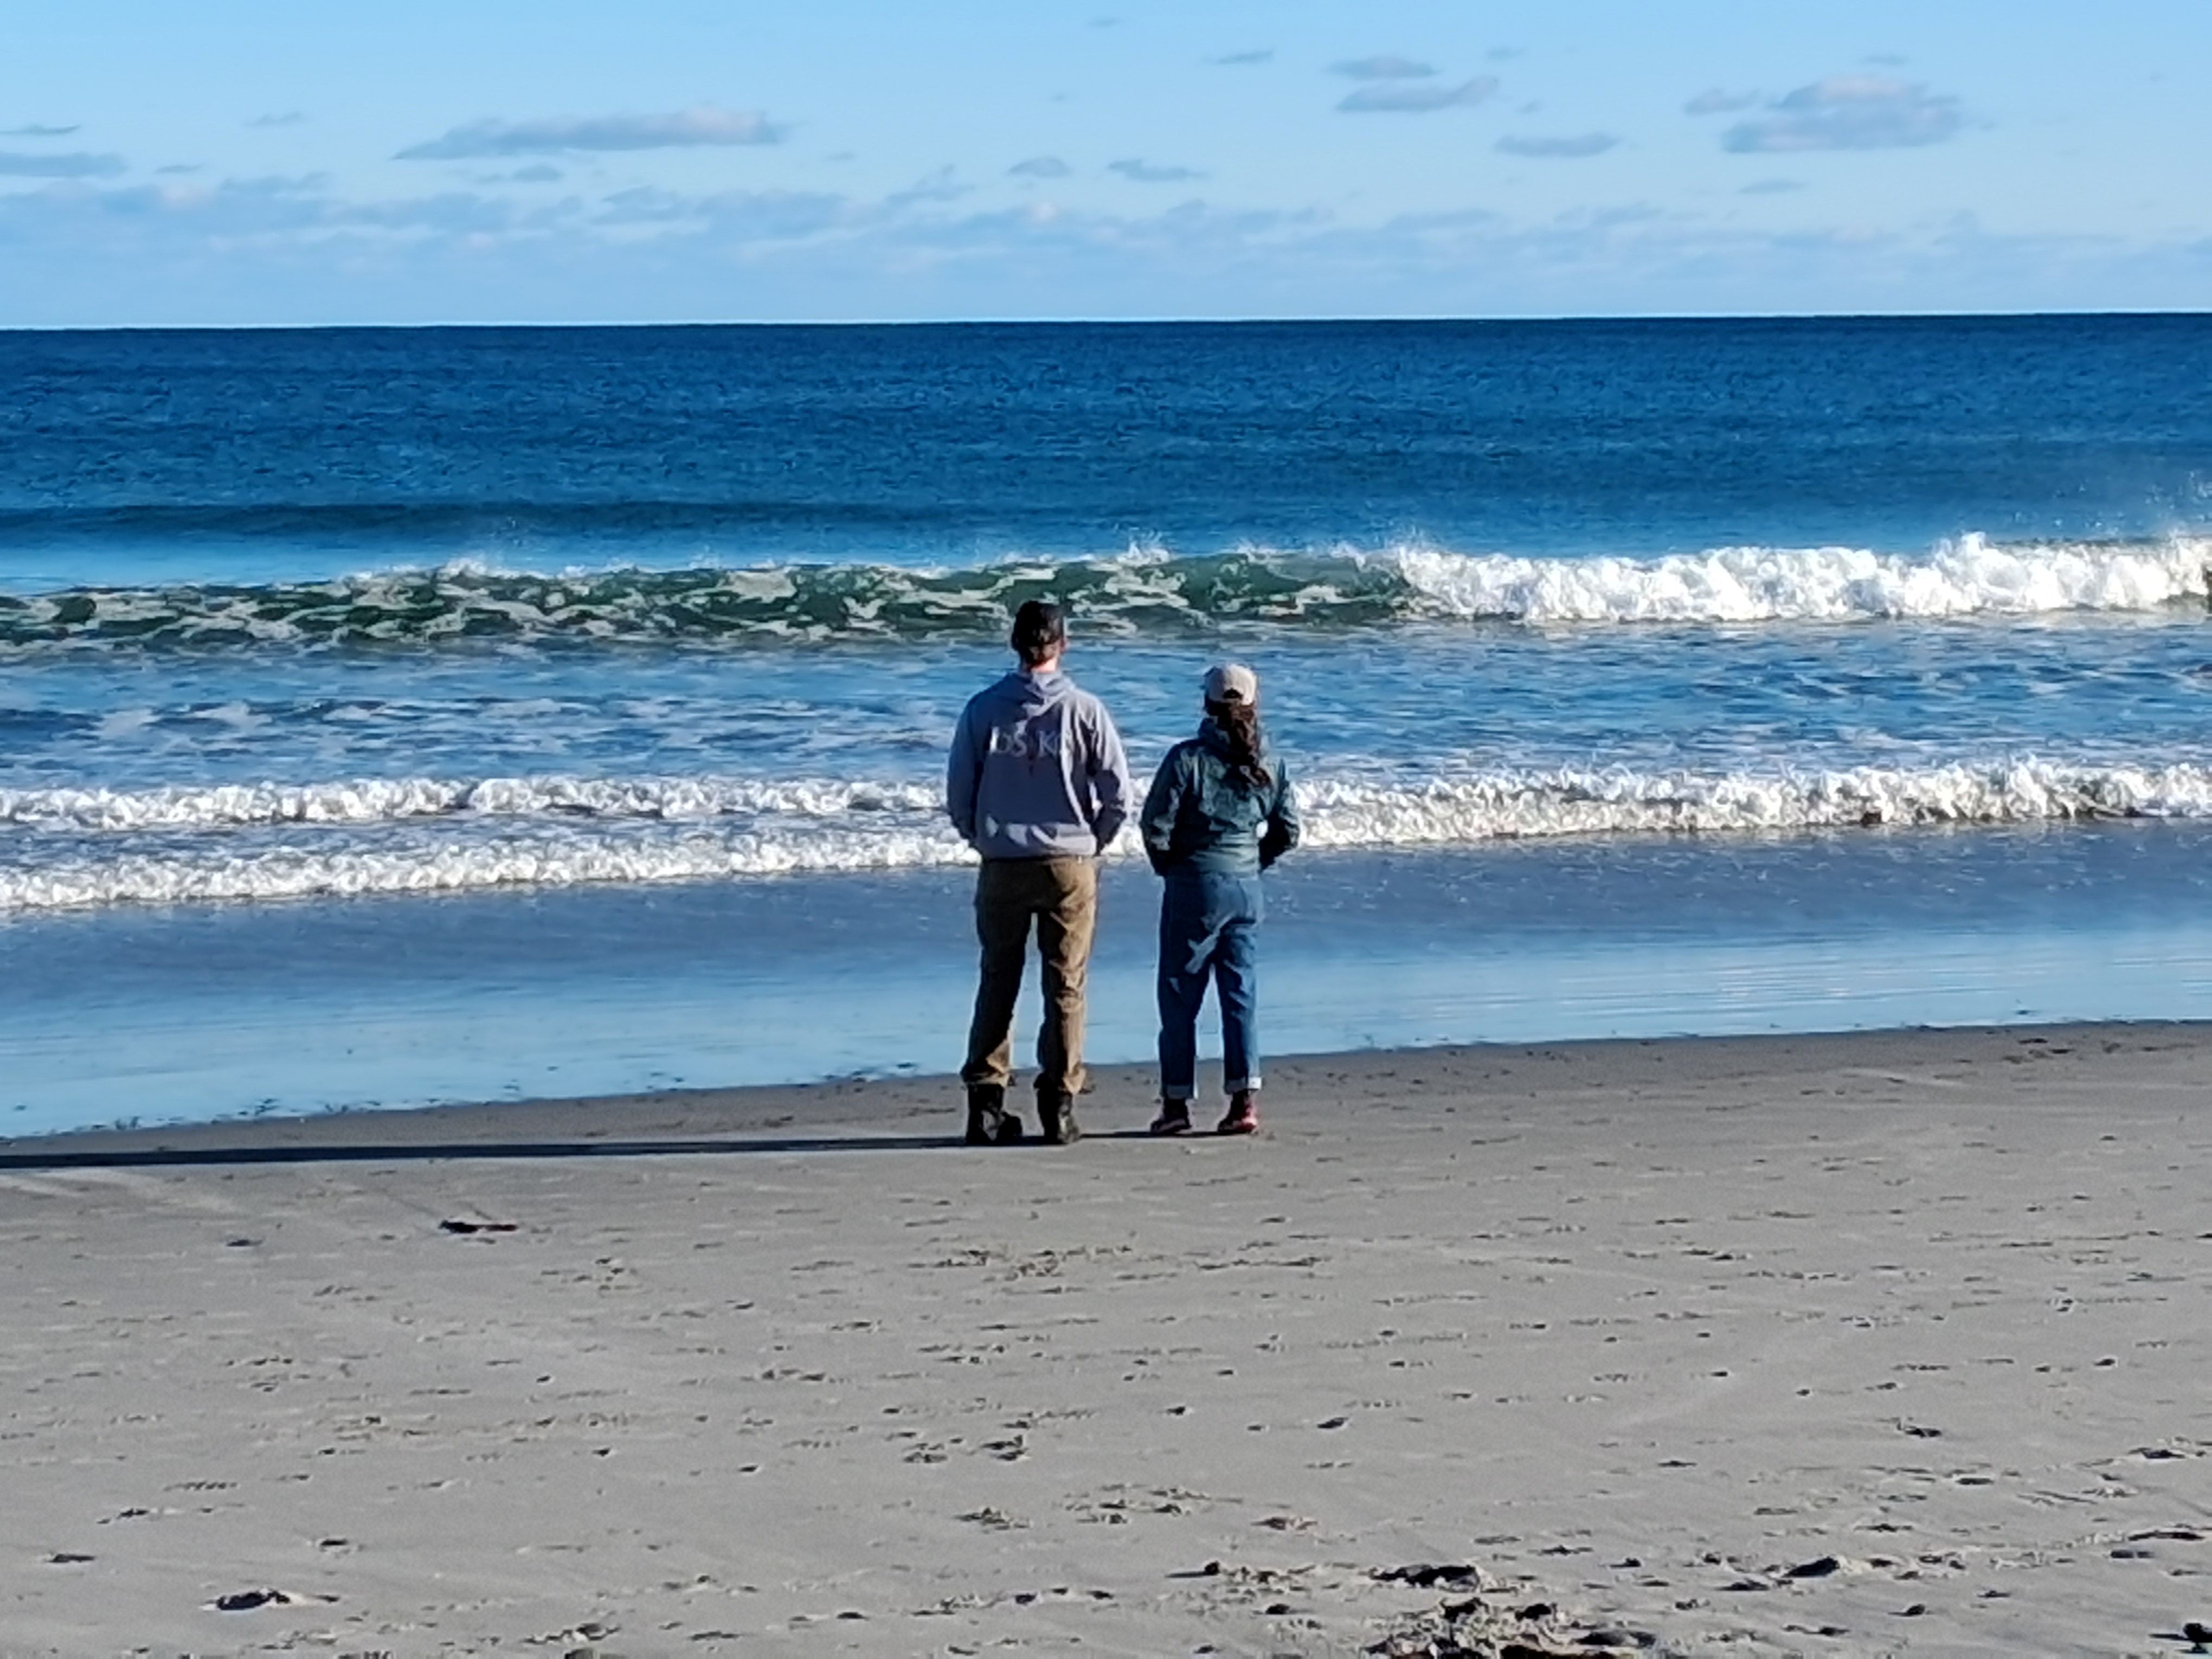
On Sunday, Karl, Stephi and I had dinner at the historic White Point Inn. Beaches there and nearby attract surfers from as far away as Halifax when the waves are good.
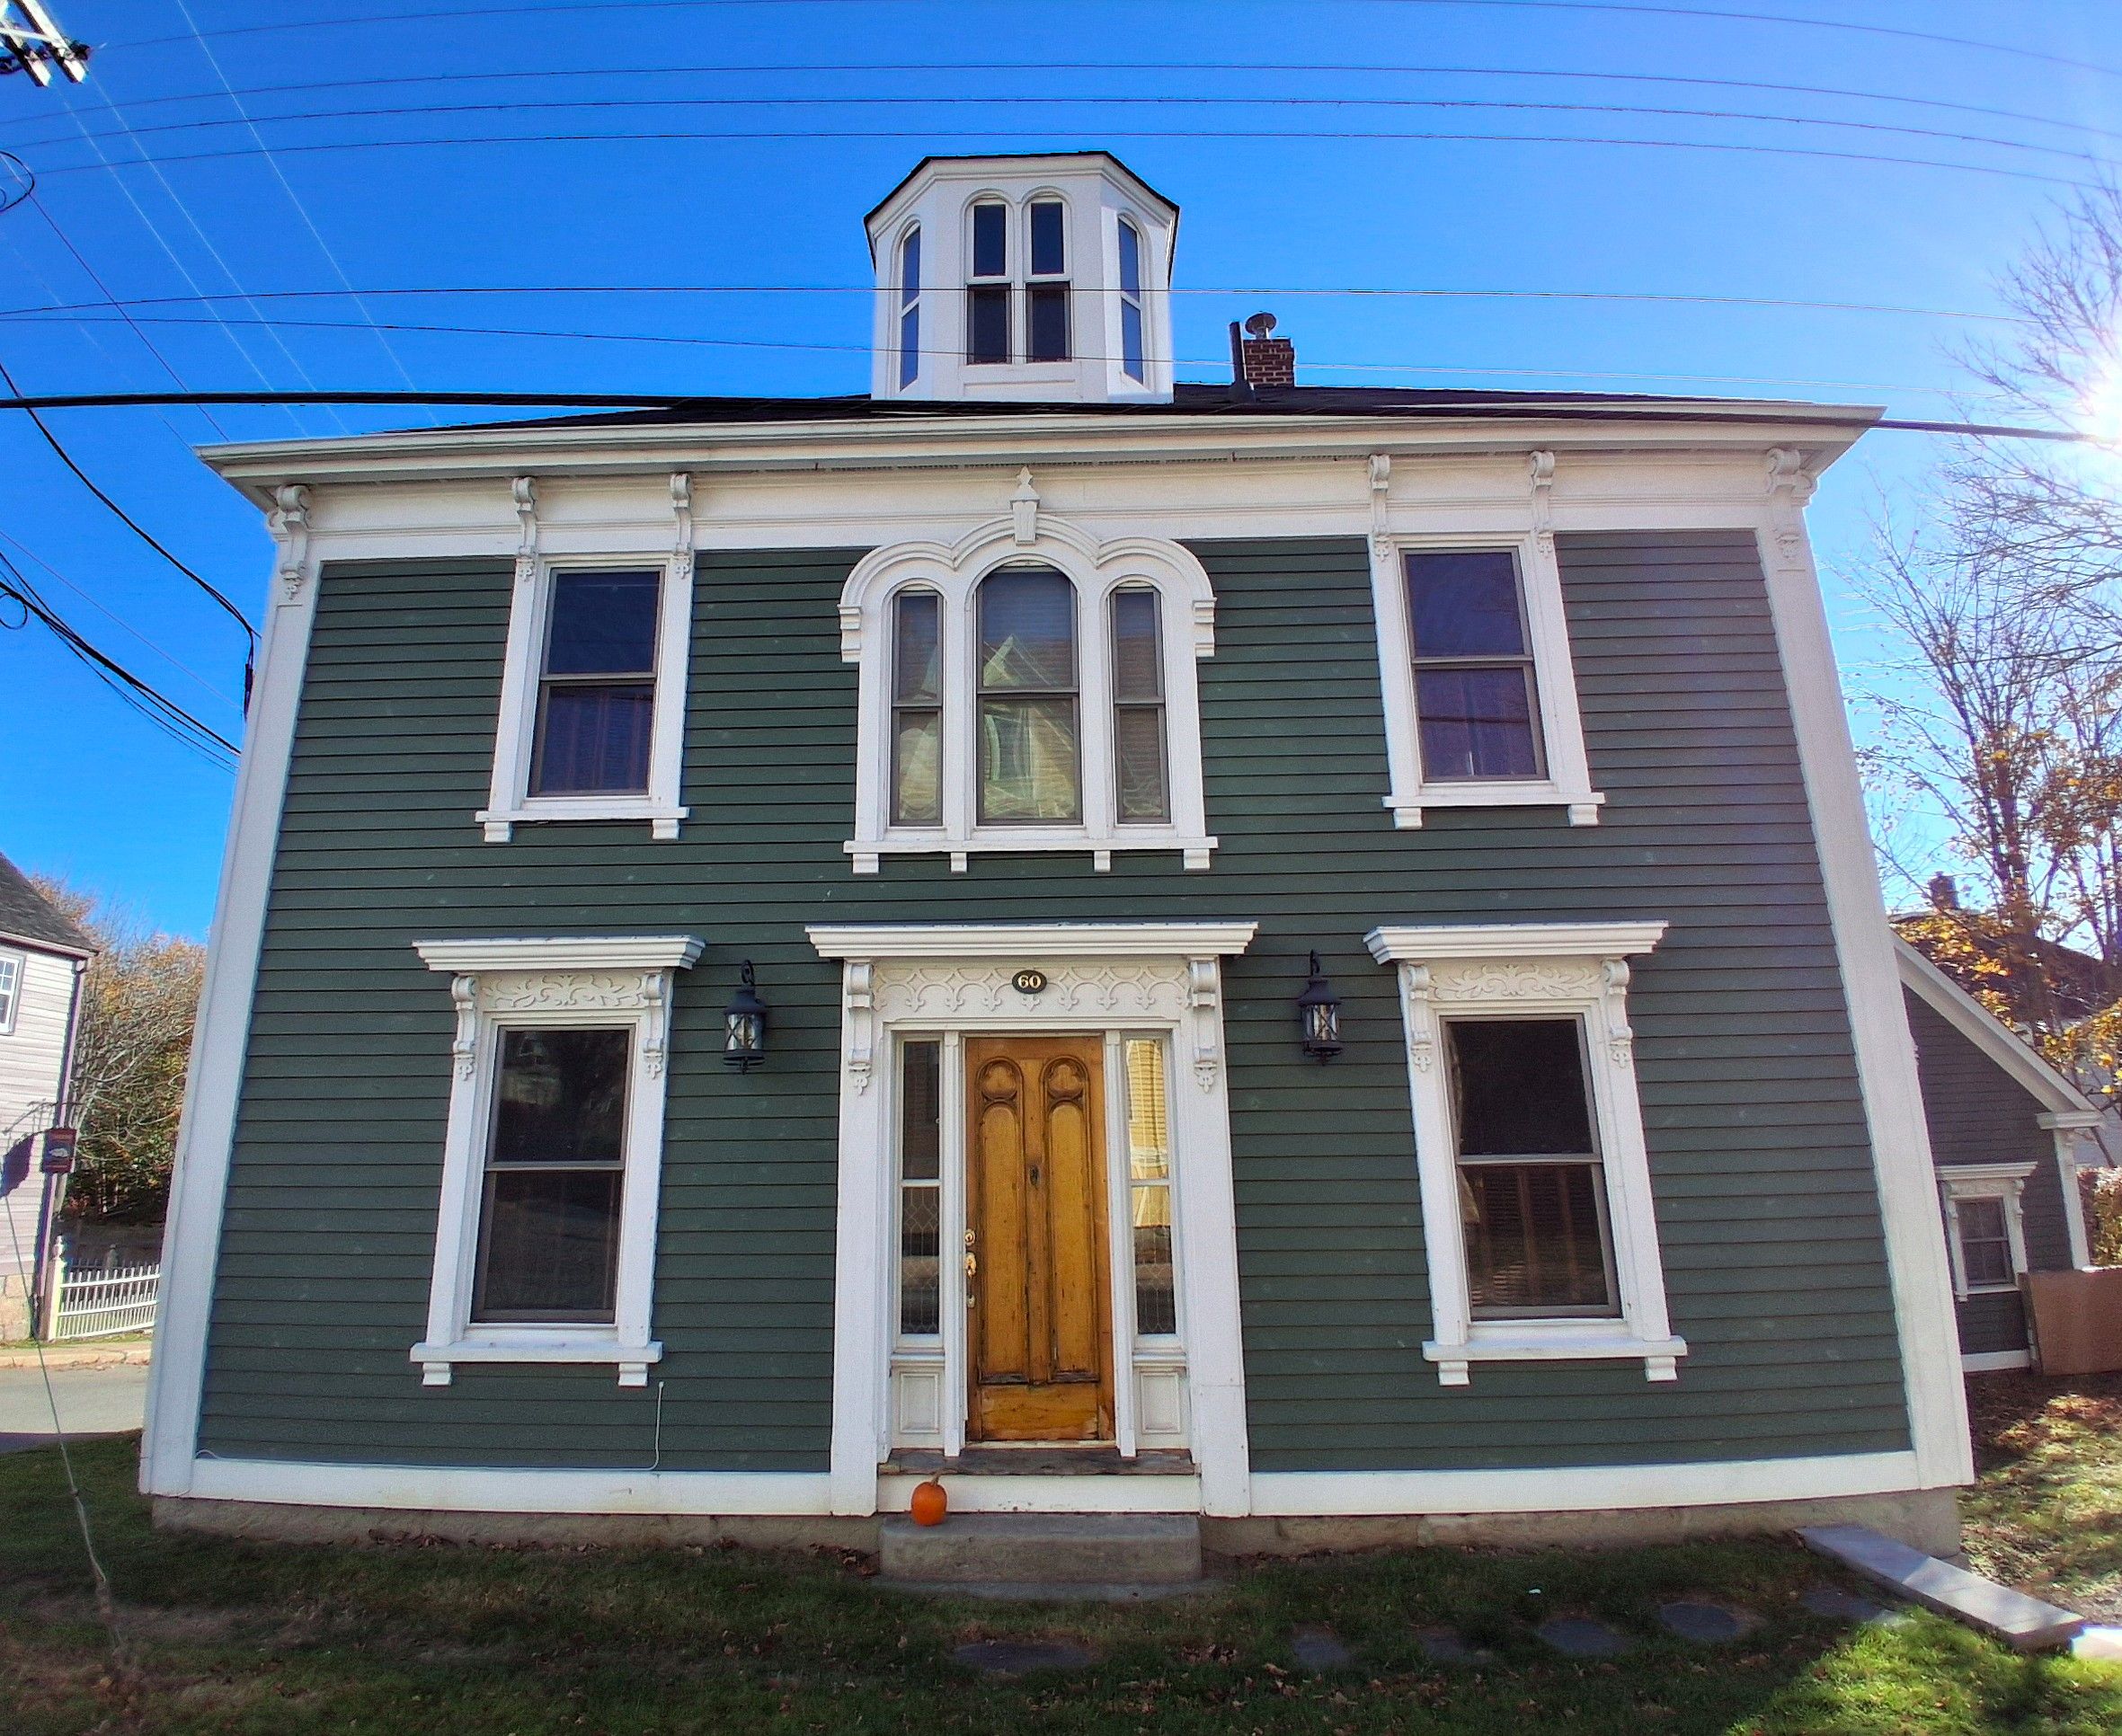
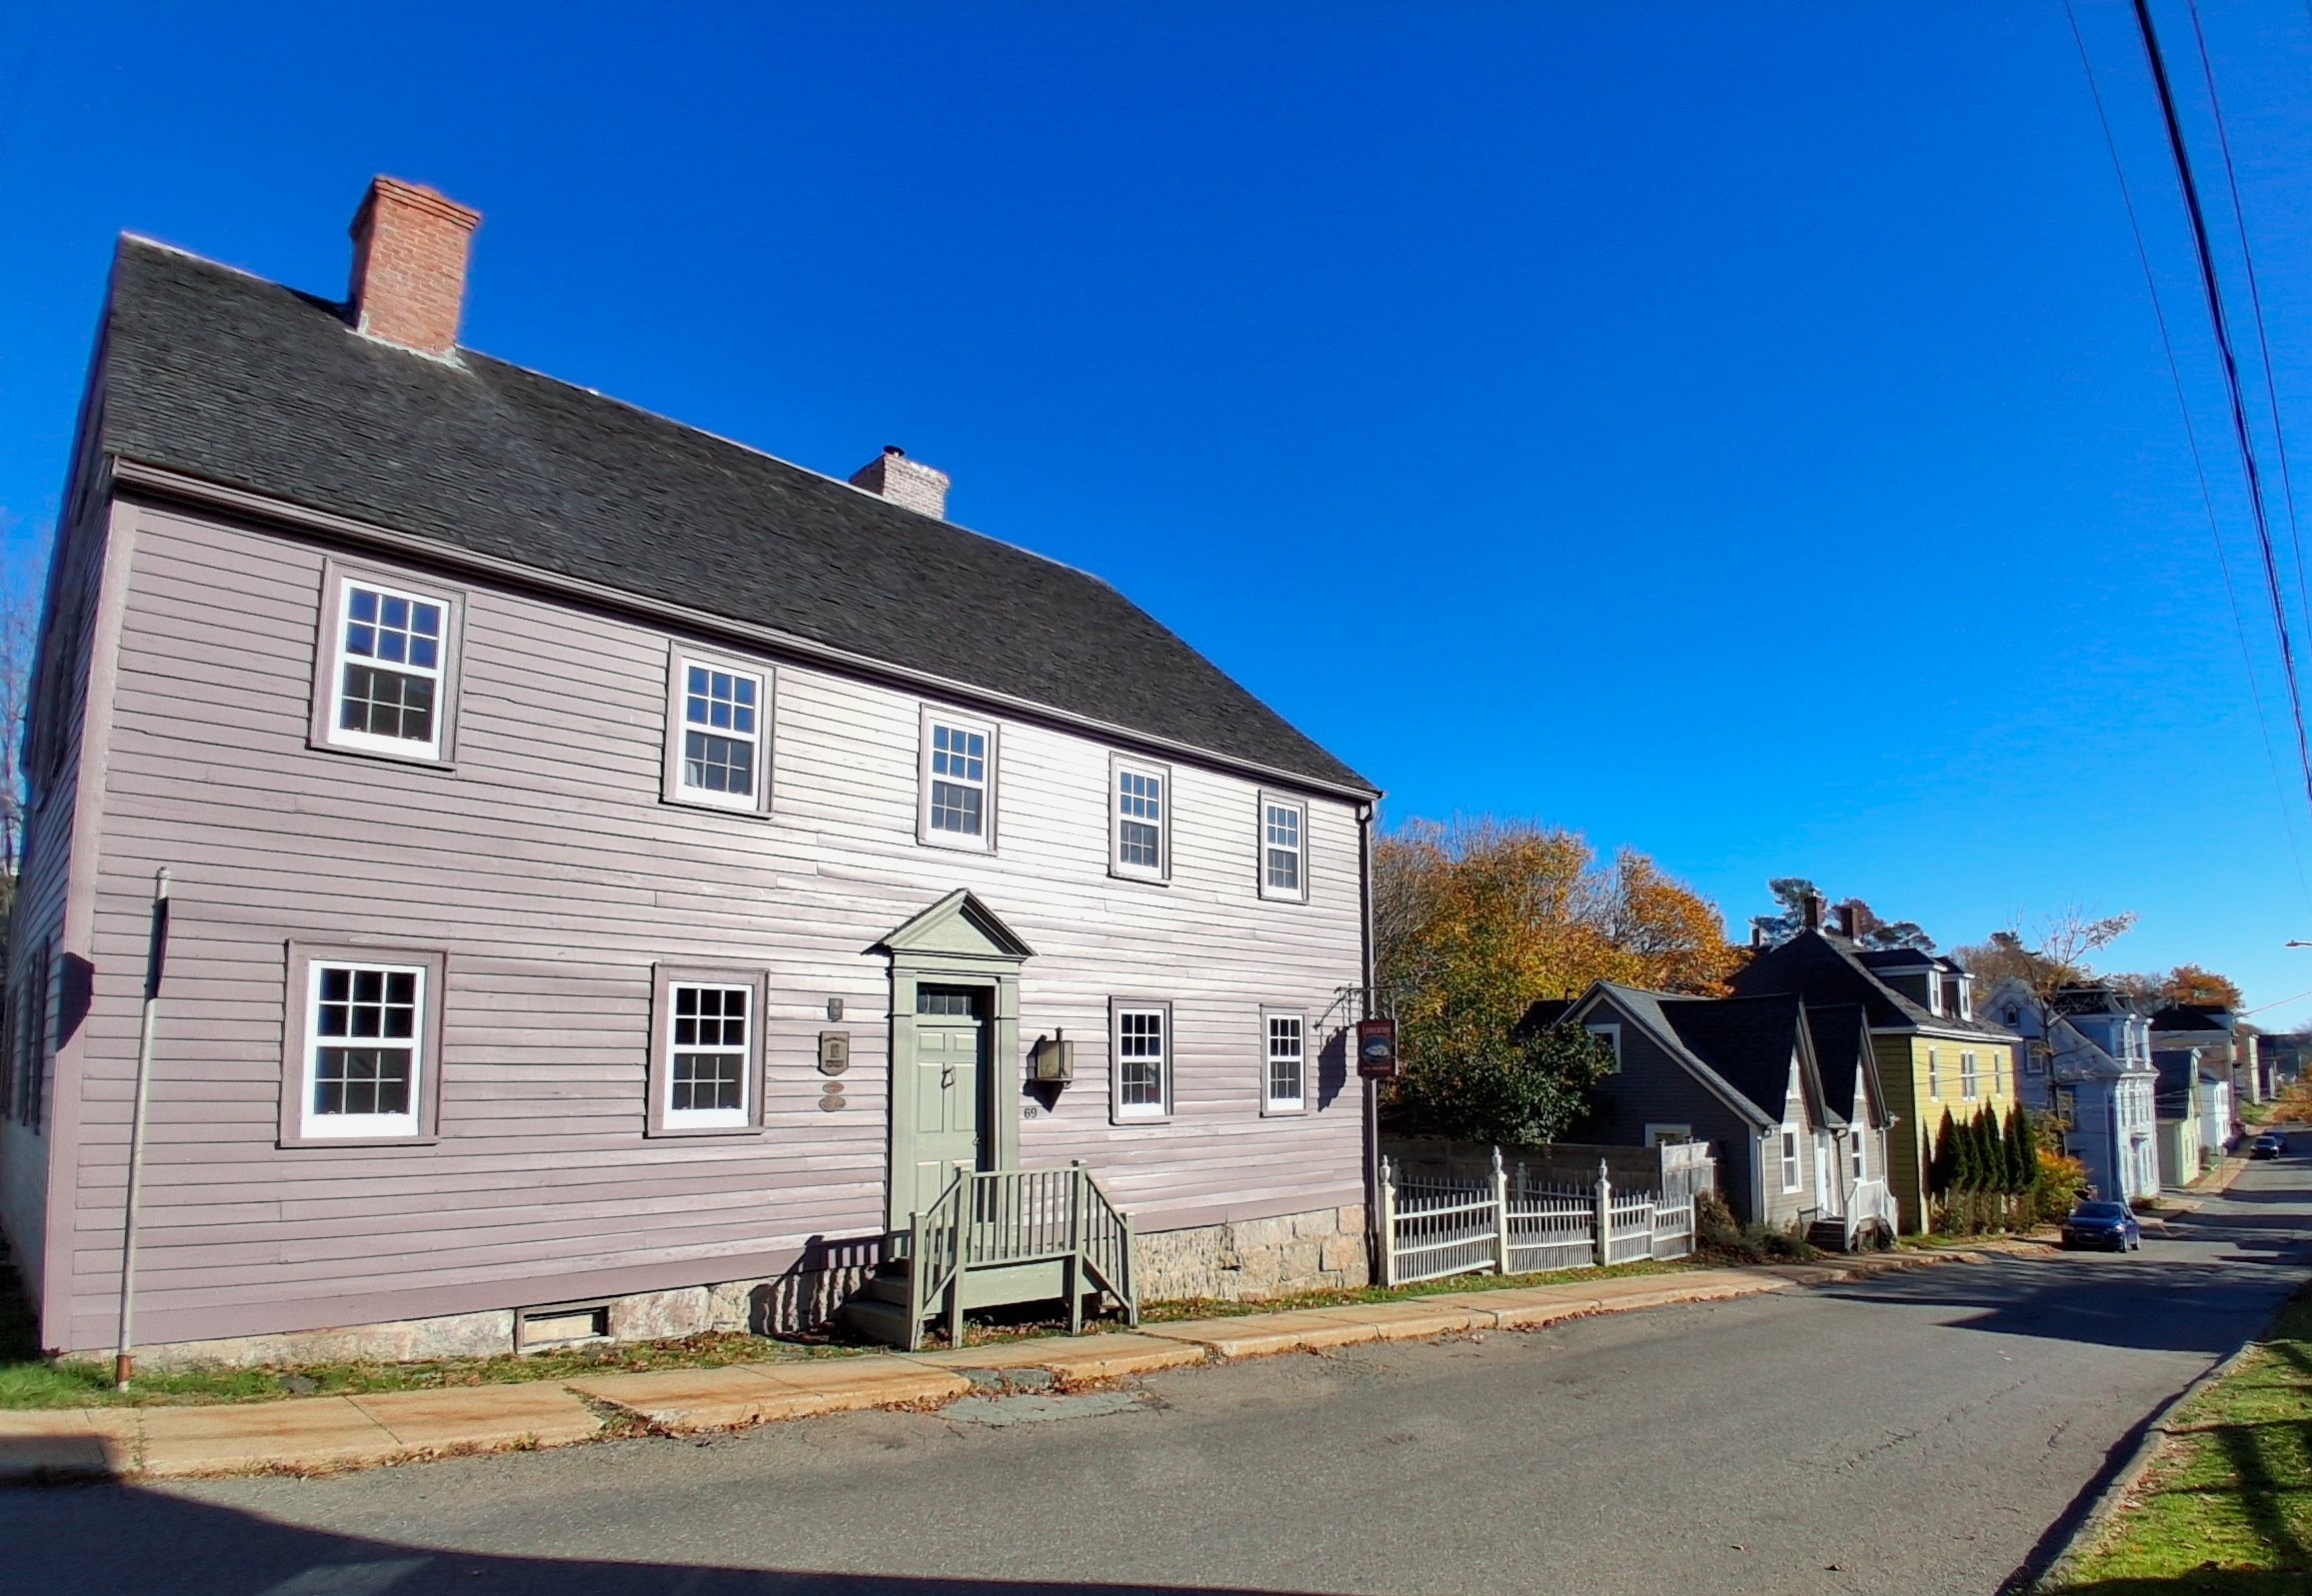
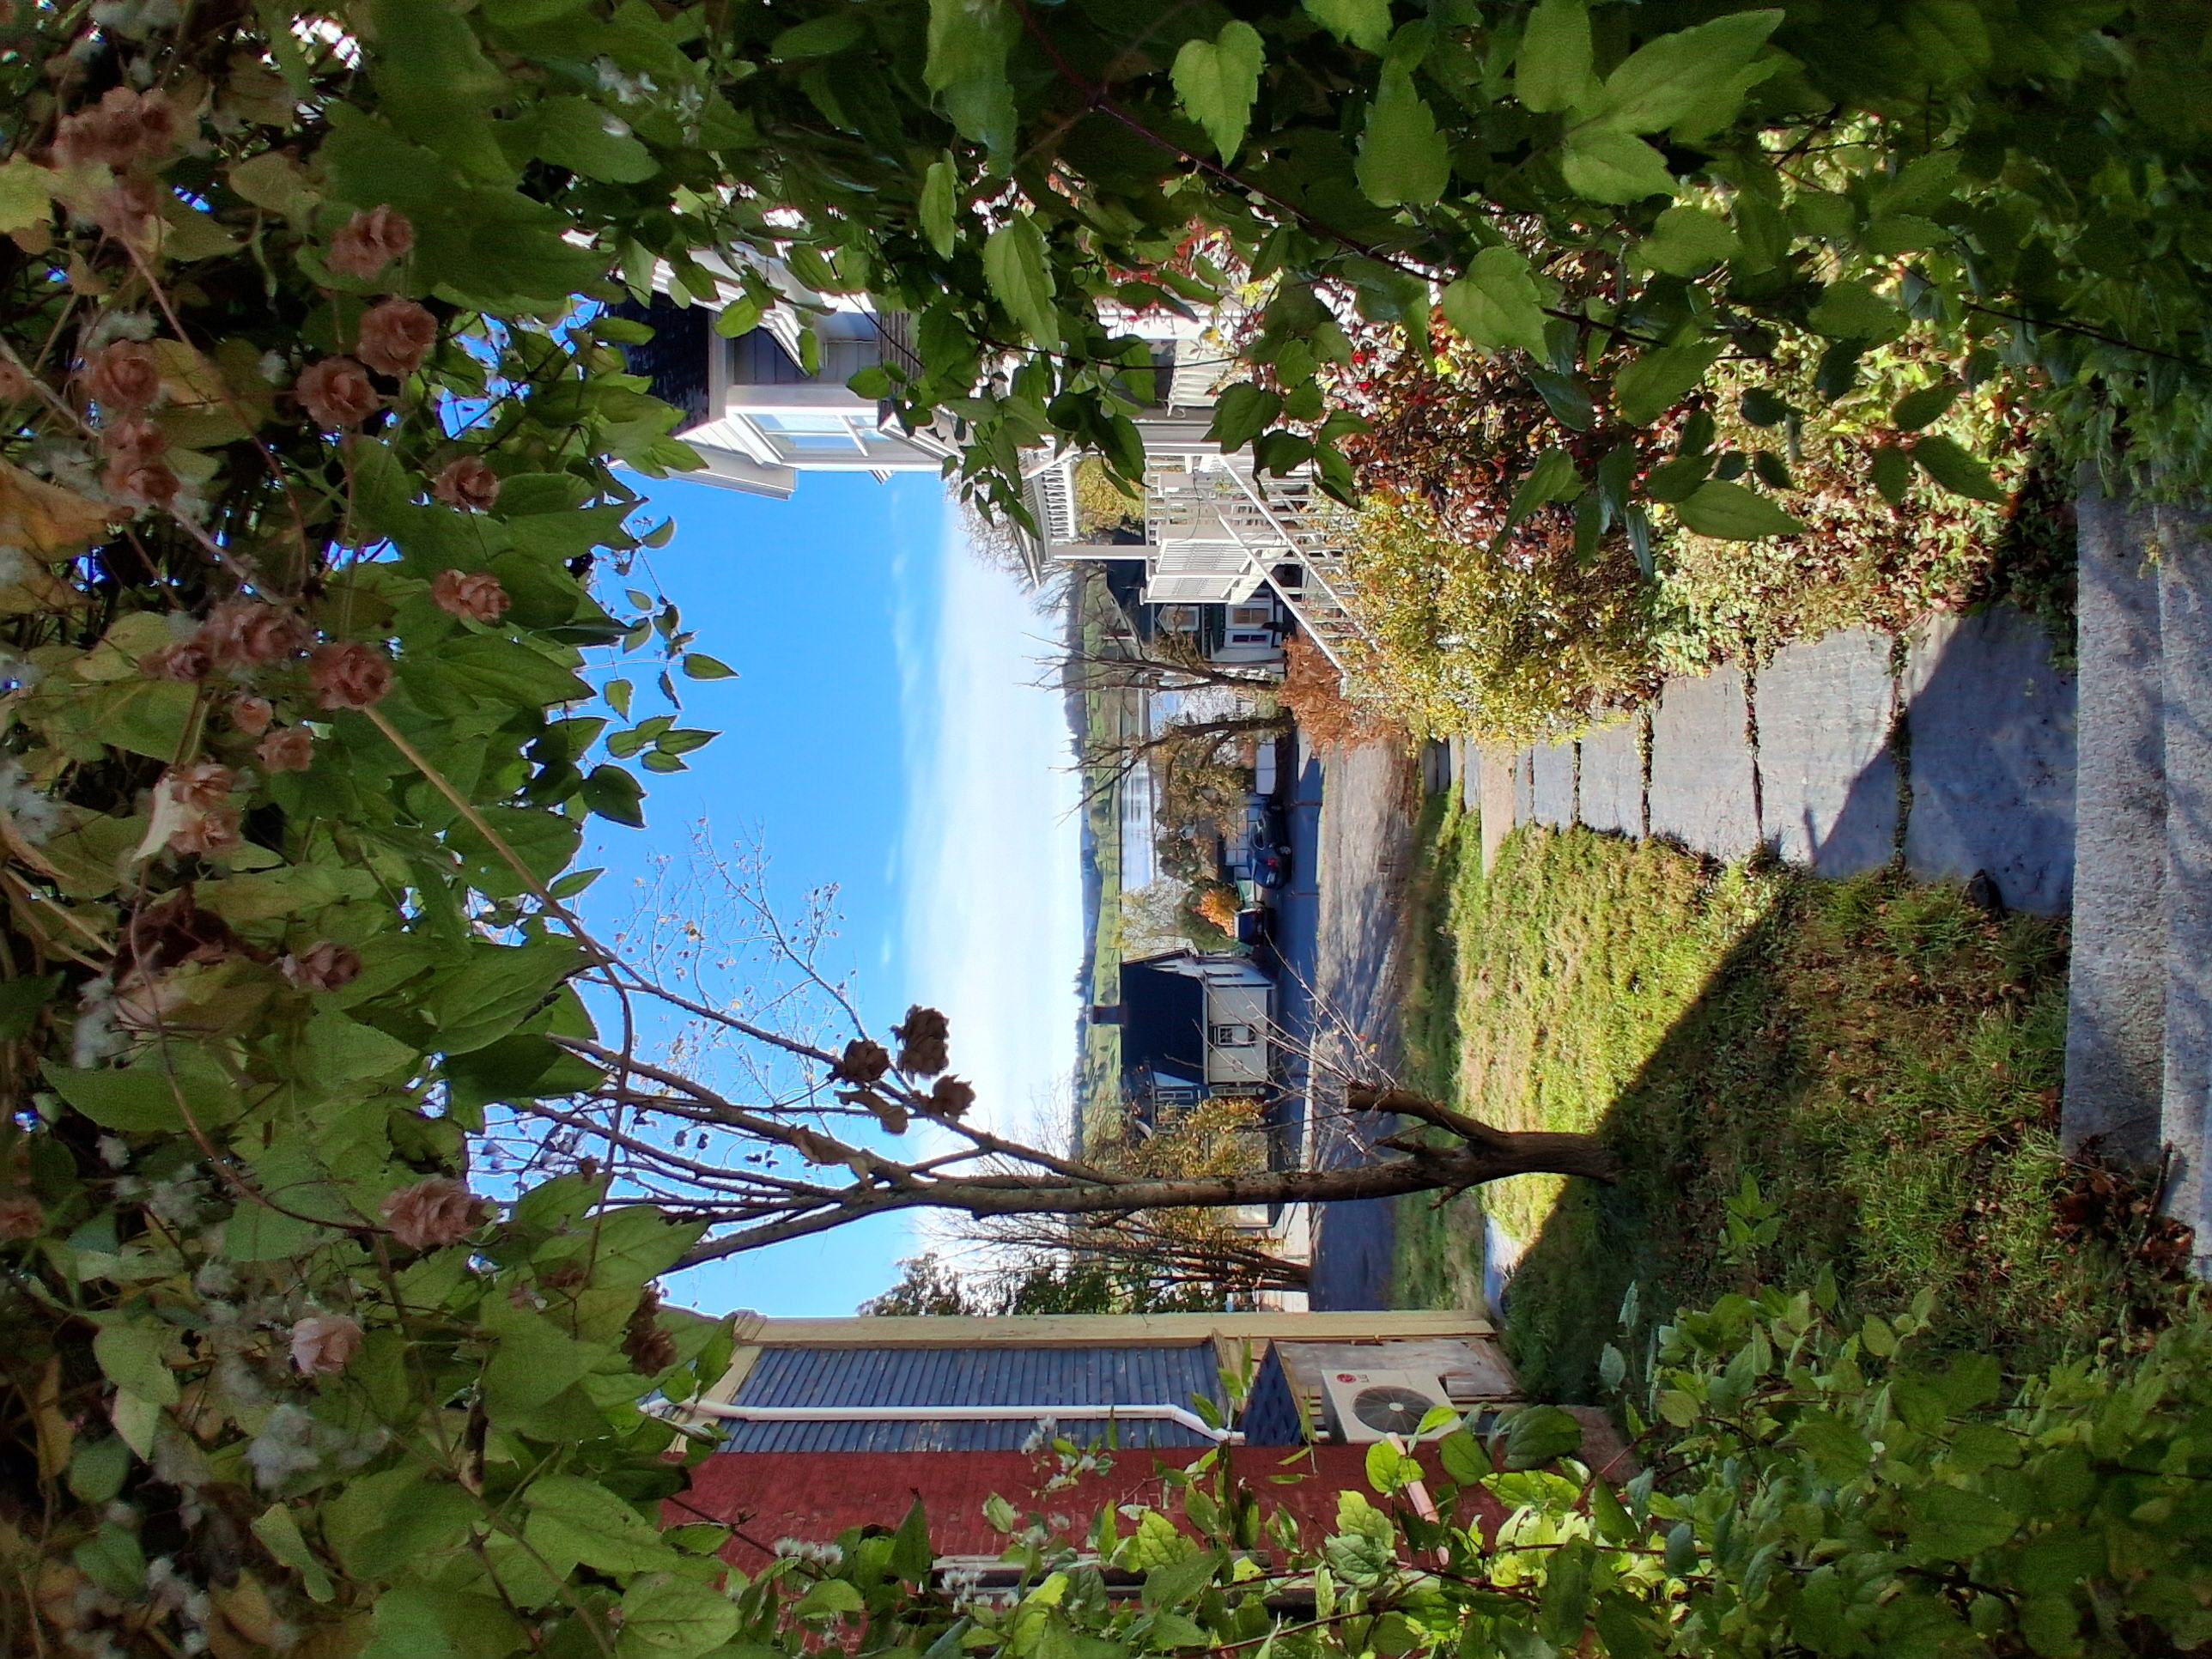
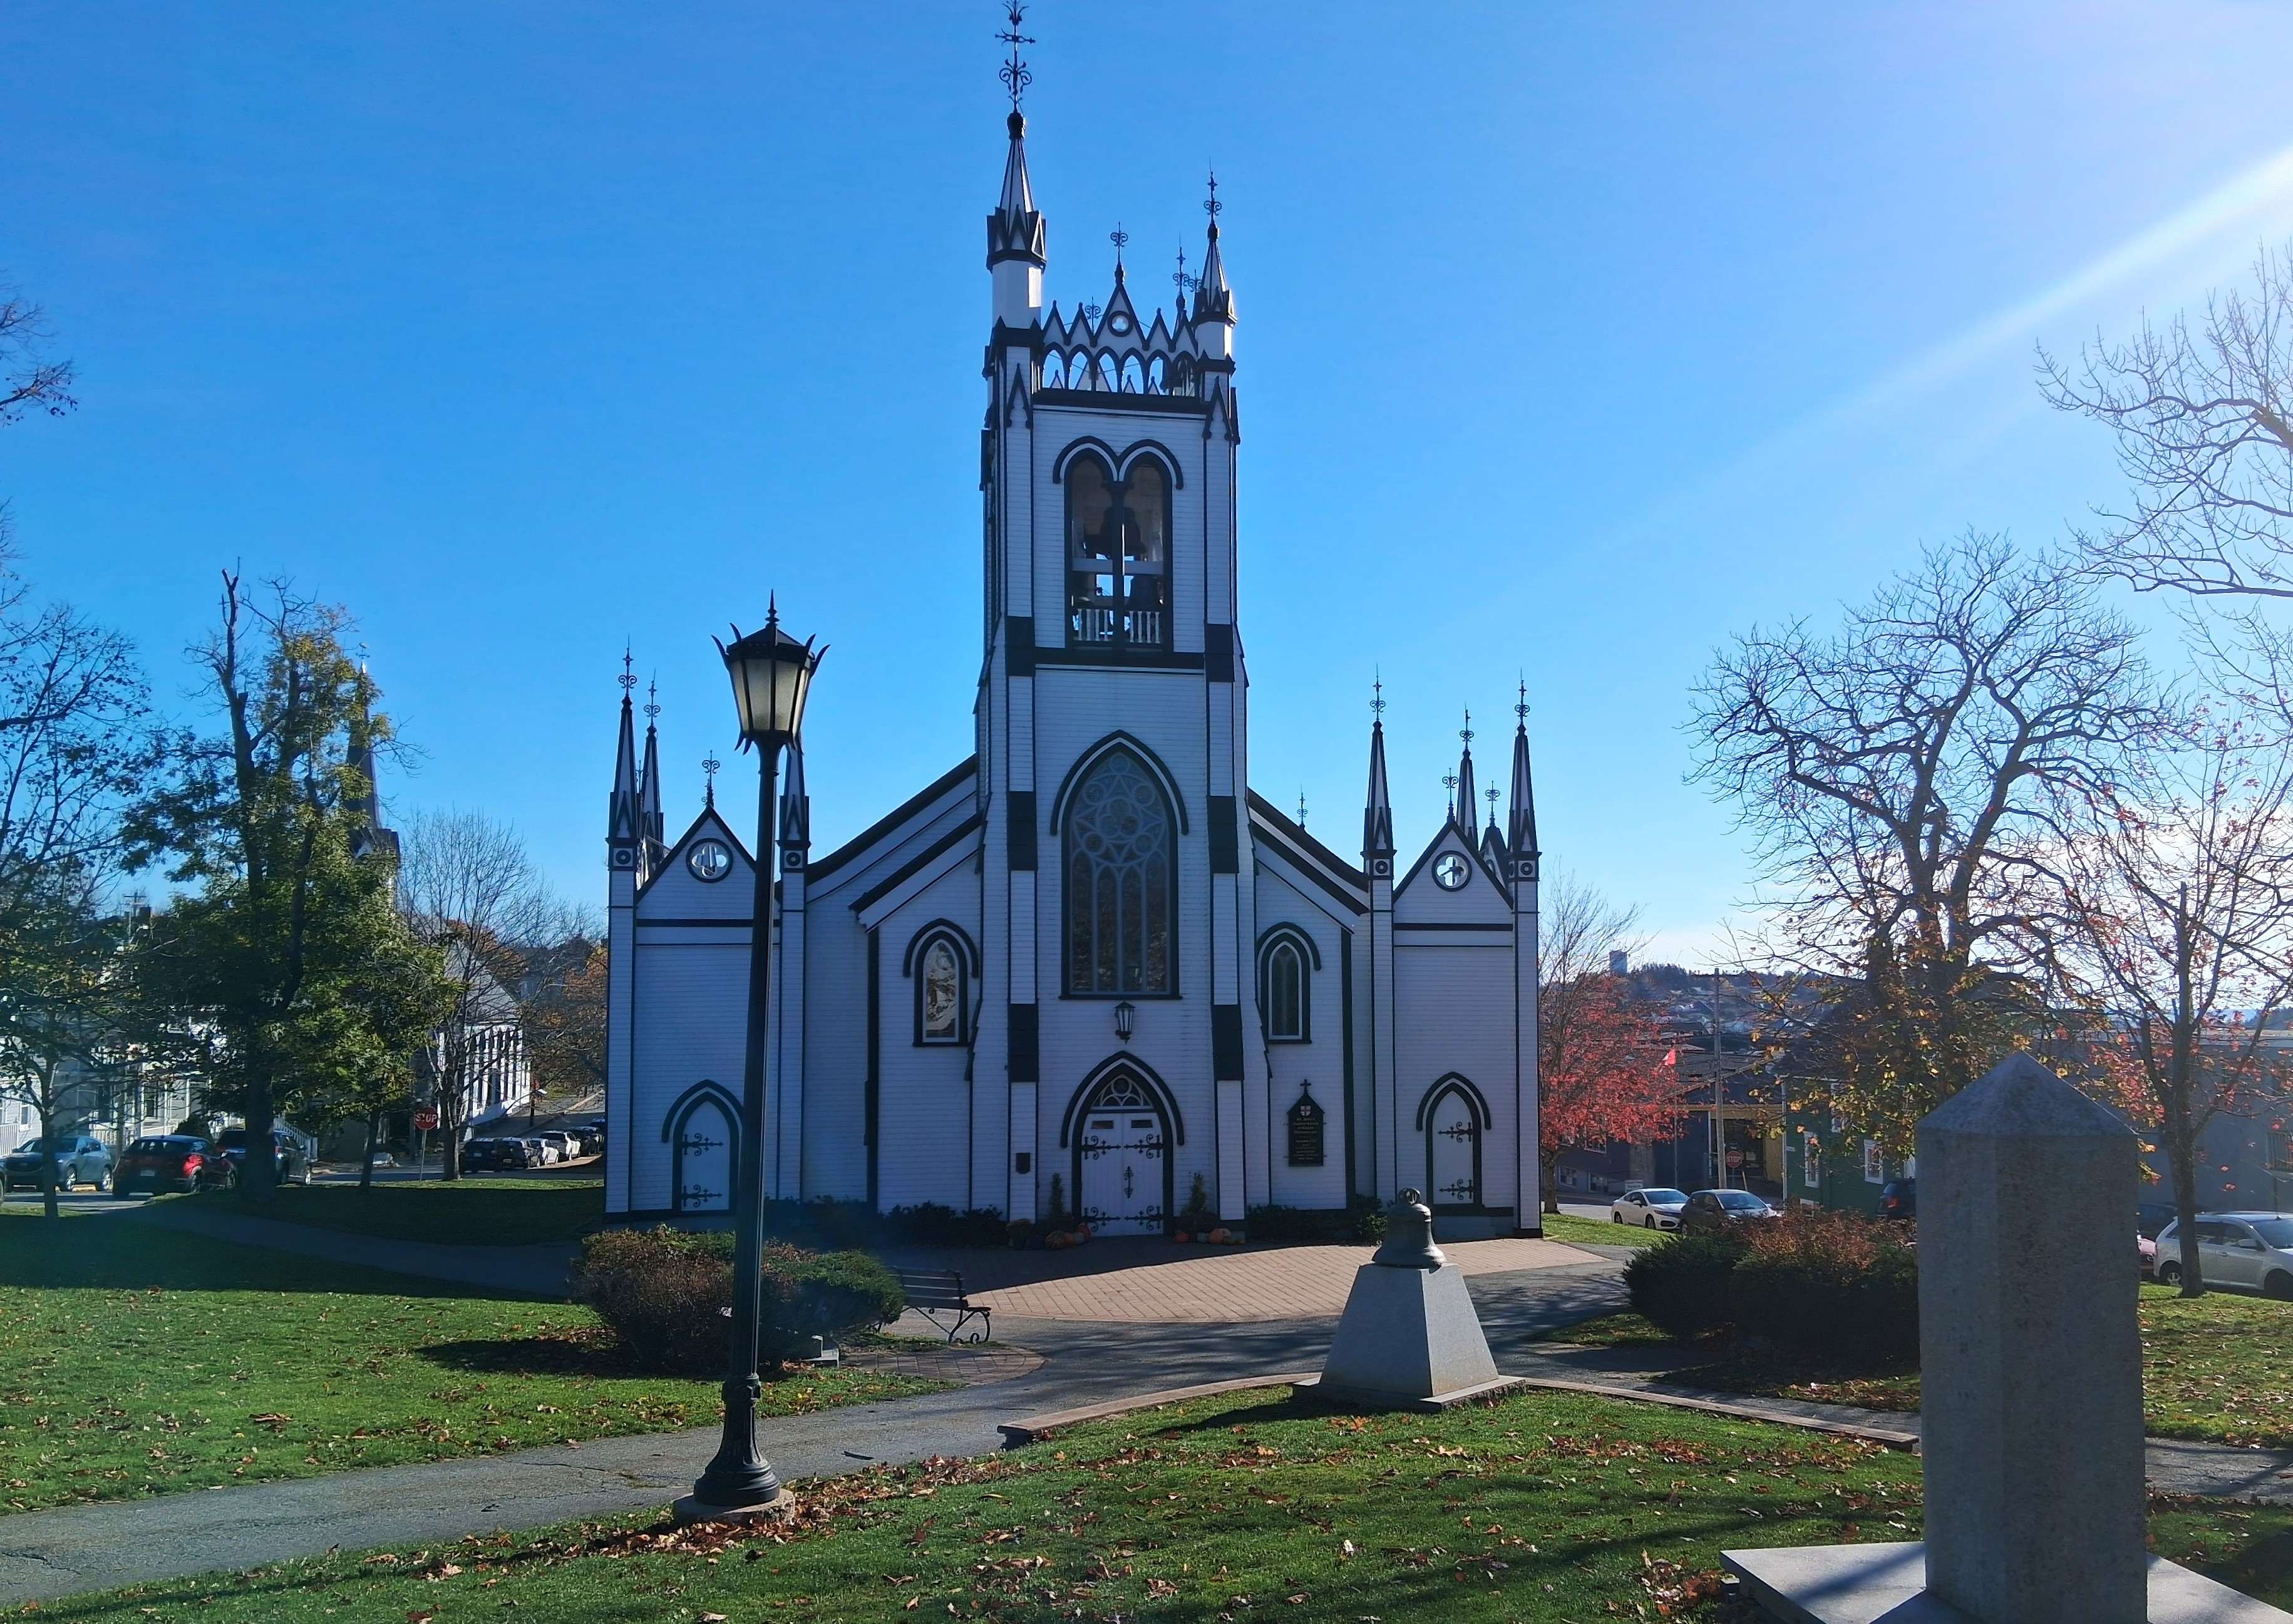
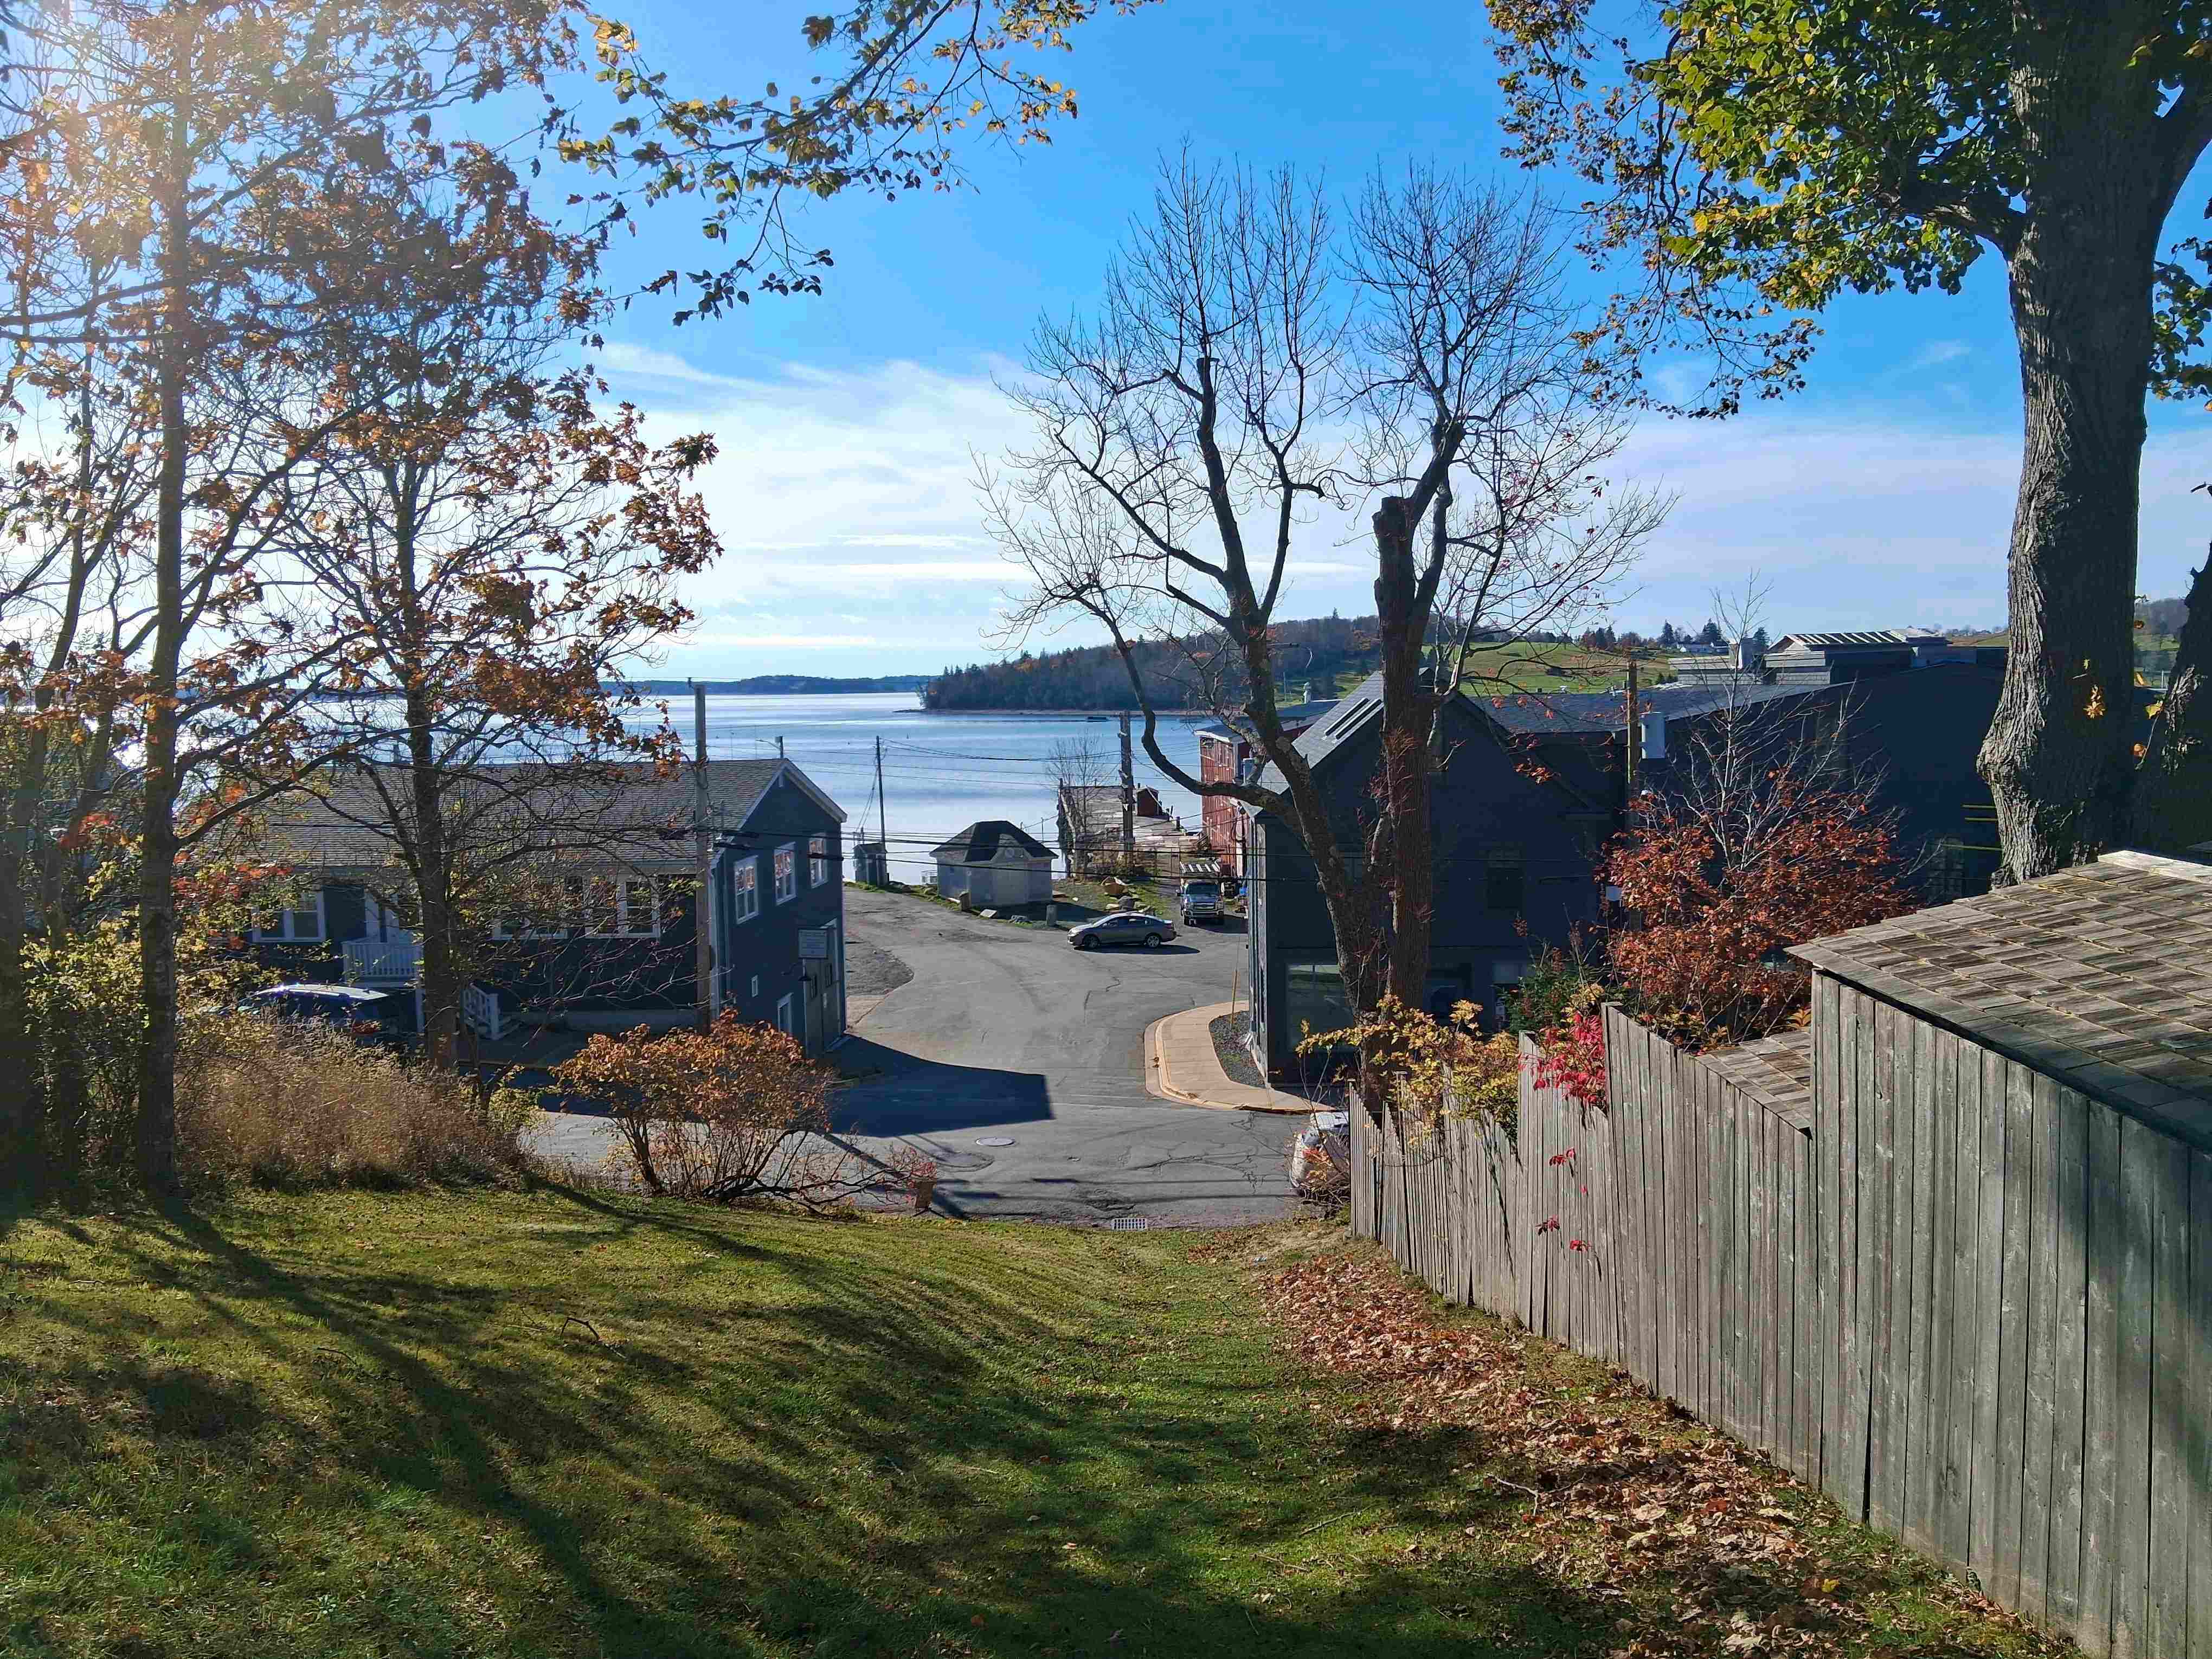
I stayed in the Dockside Hotel in Lunenberg Sunday night with a room overlooking the harbor. Lunenberg was founded in 1753 by German immigrants and is known for its lobster fishery and its colorful historic Old Town which is a UNESCO World Heritage Site.
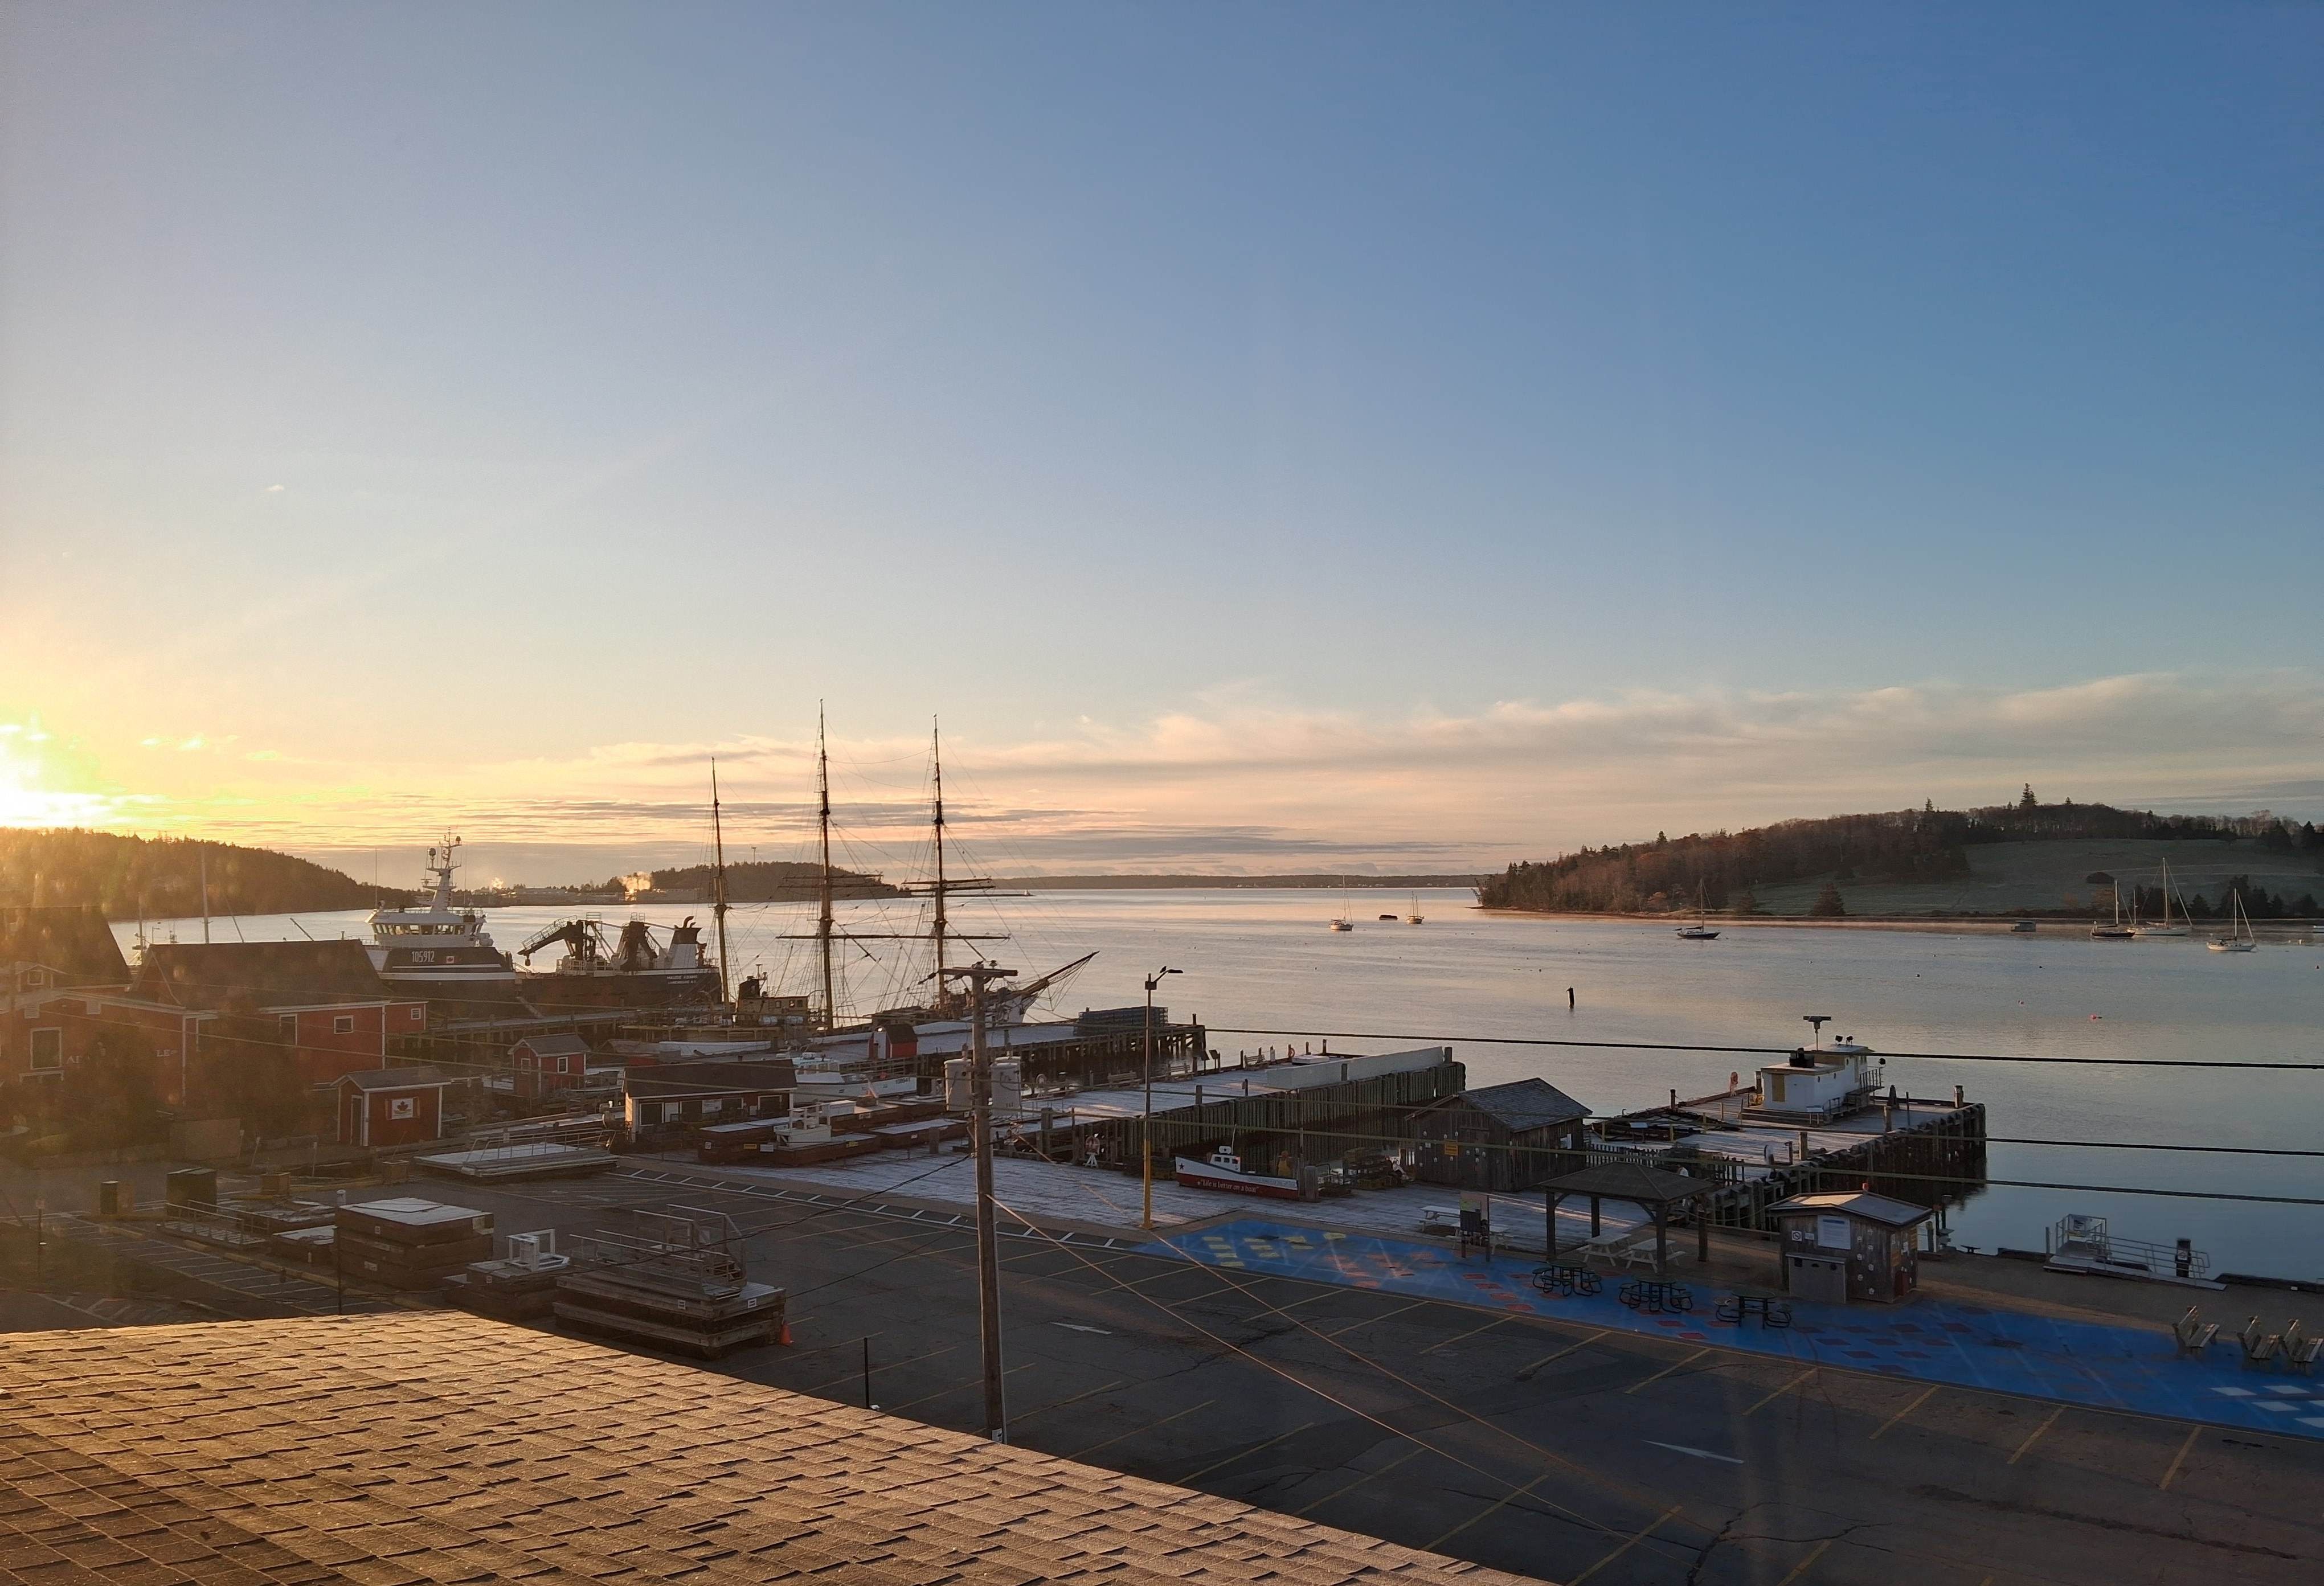
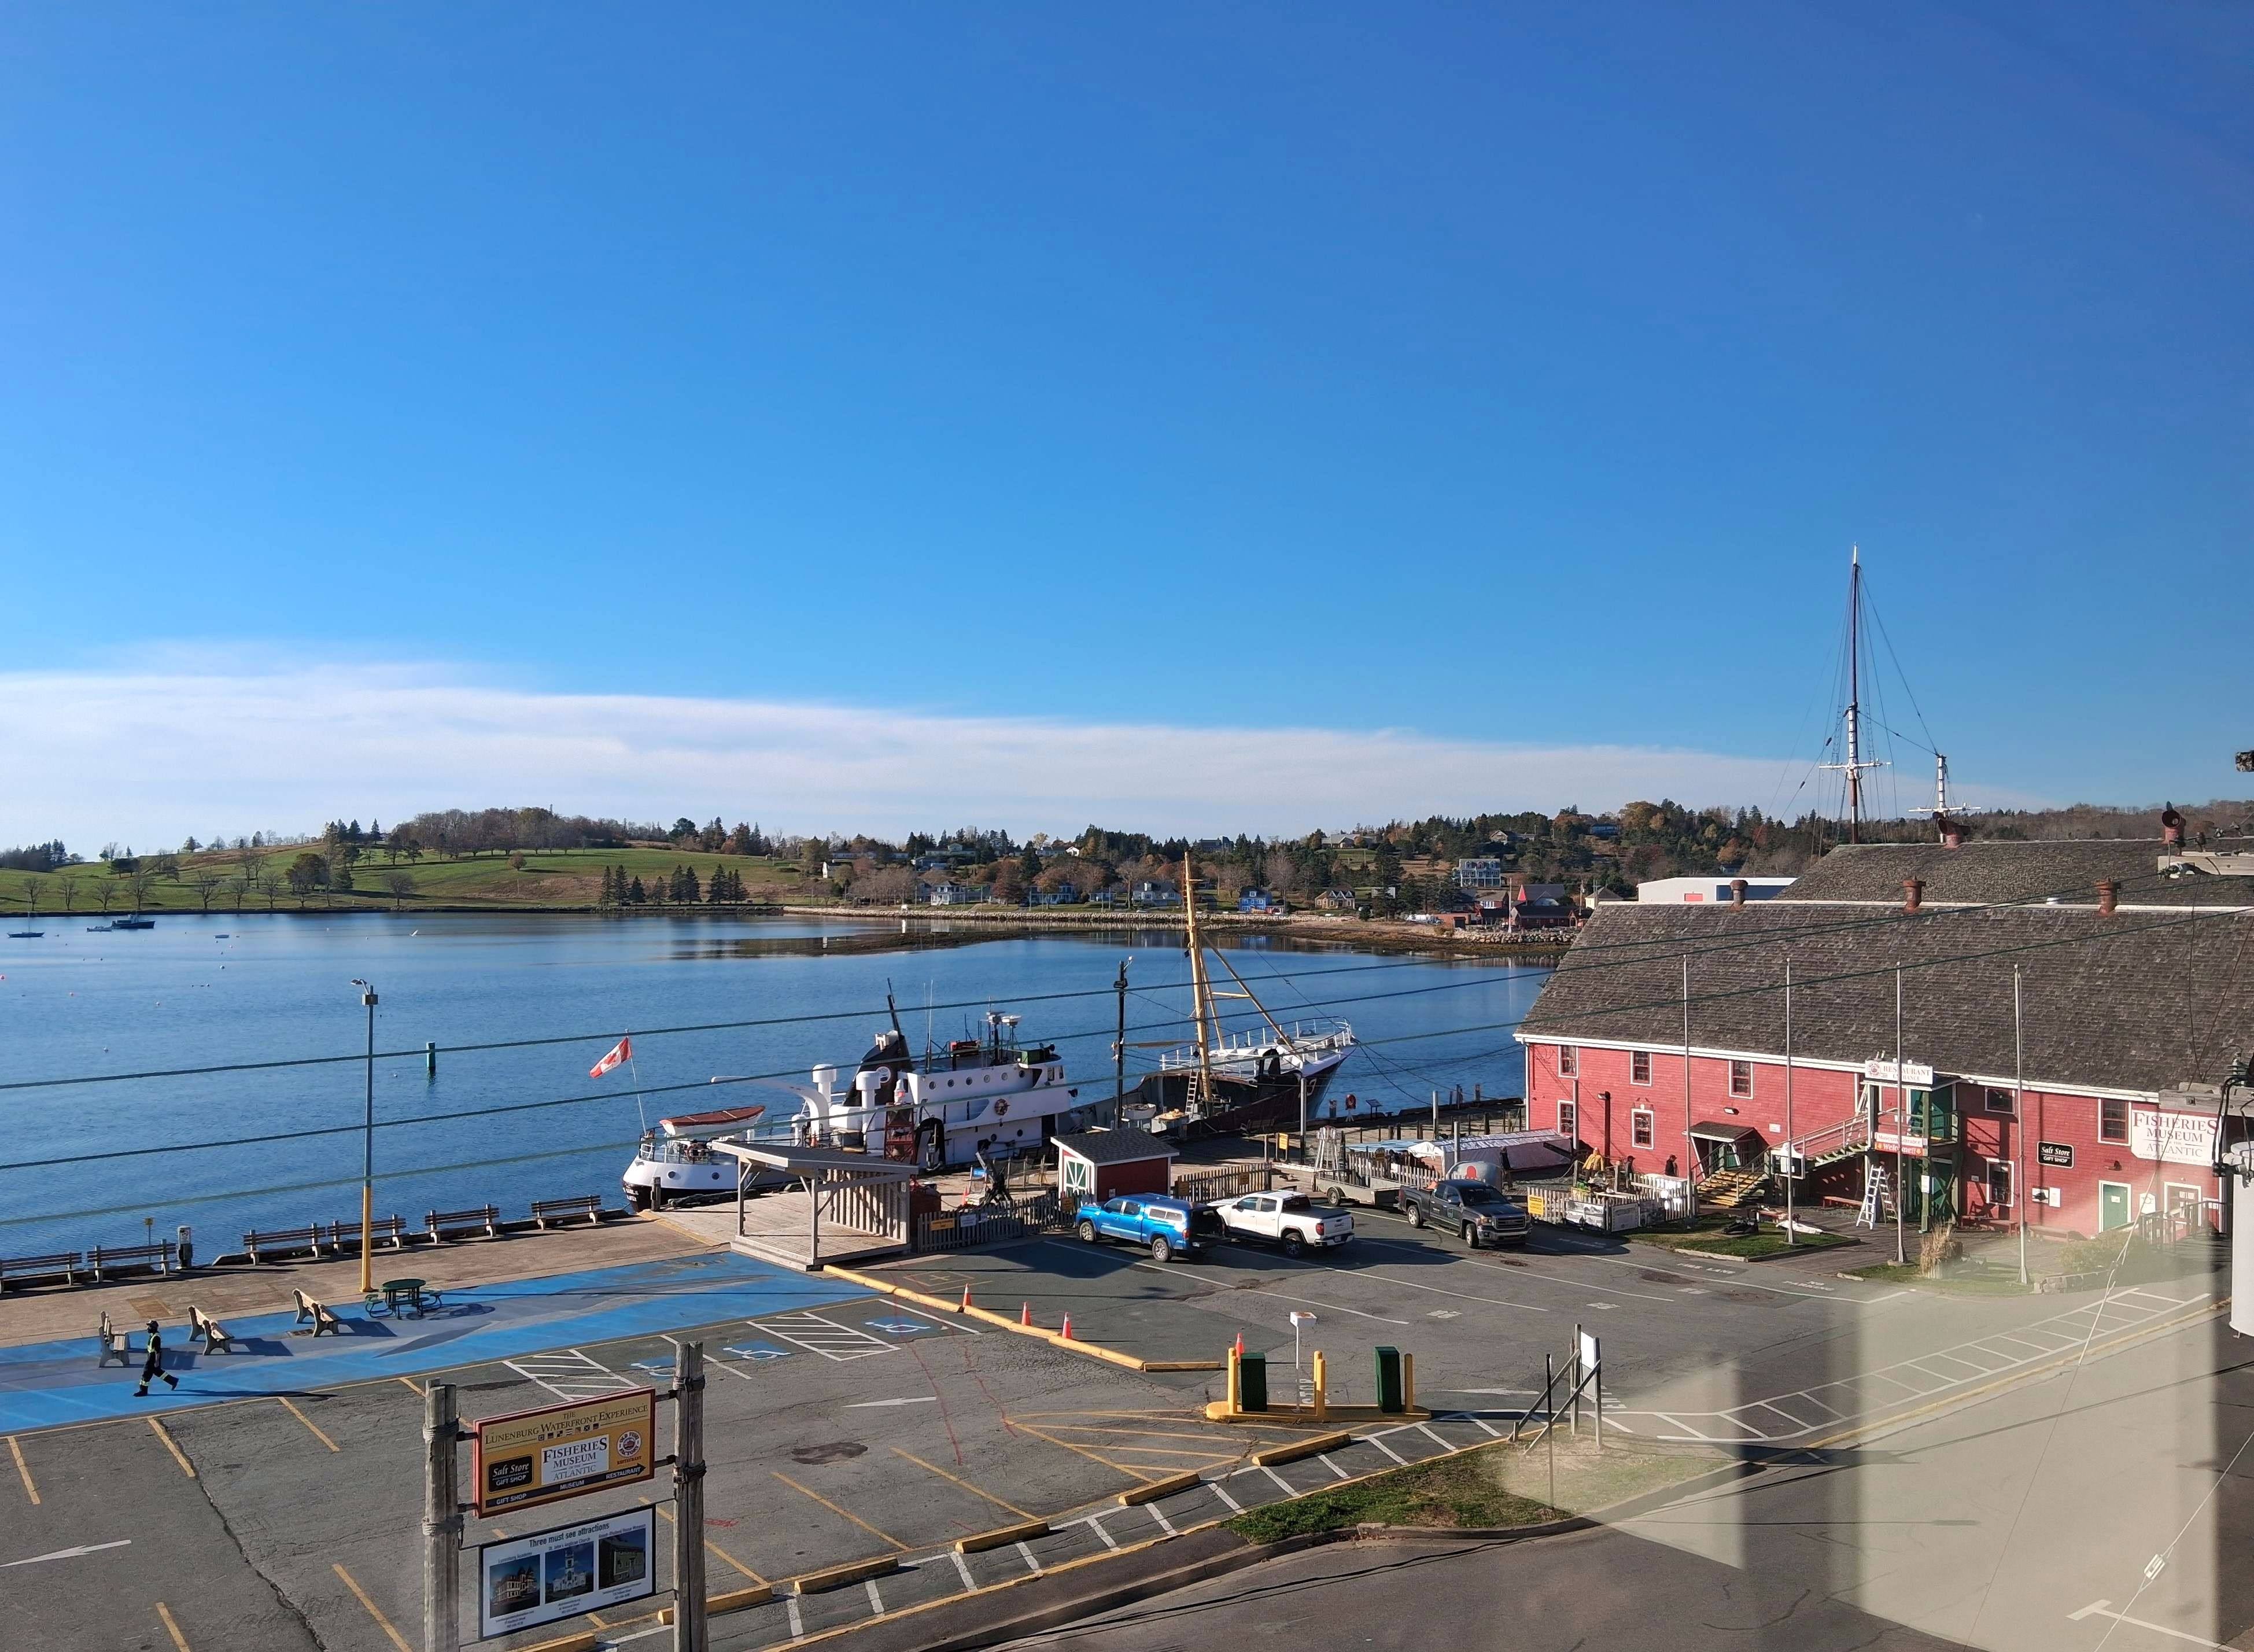
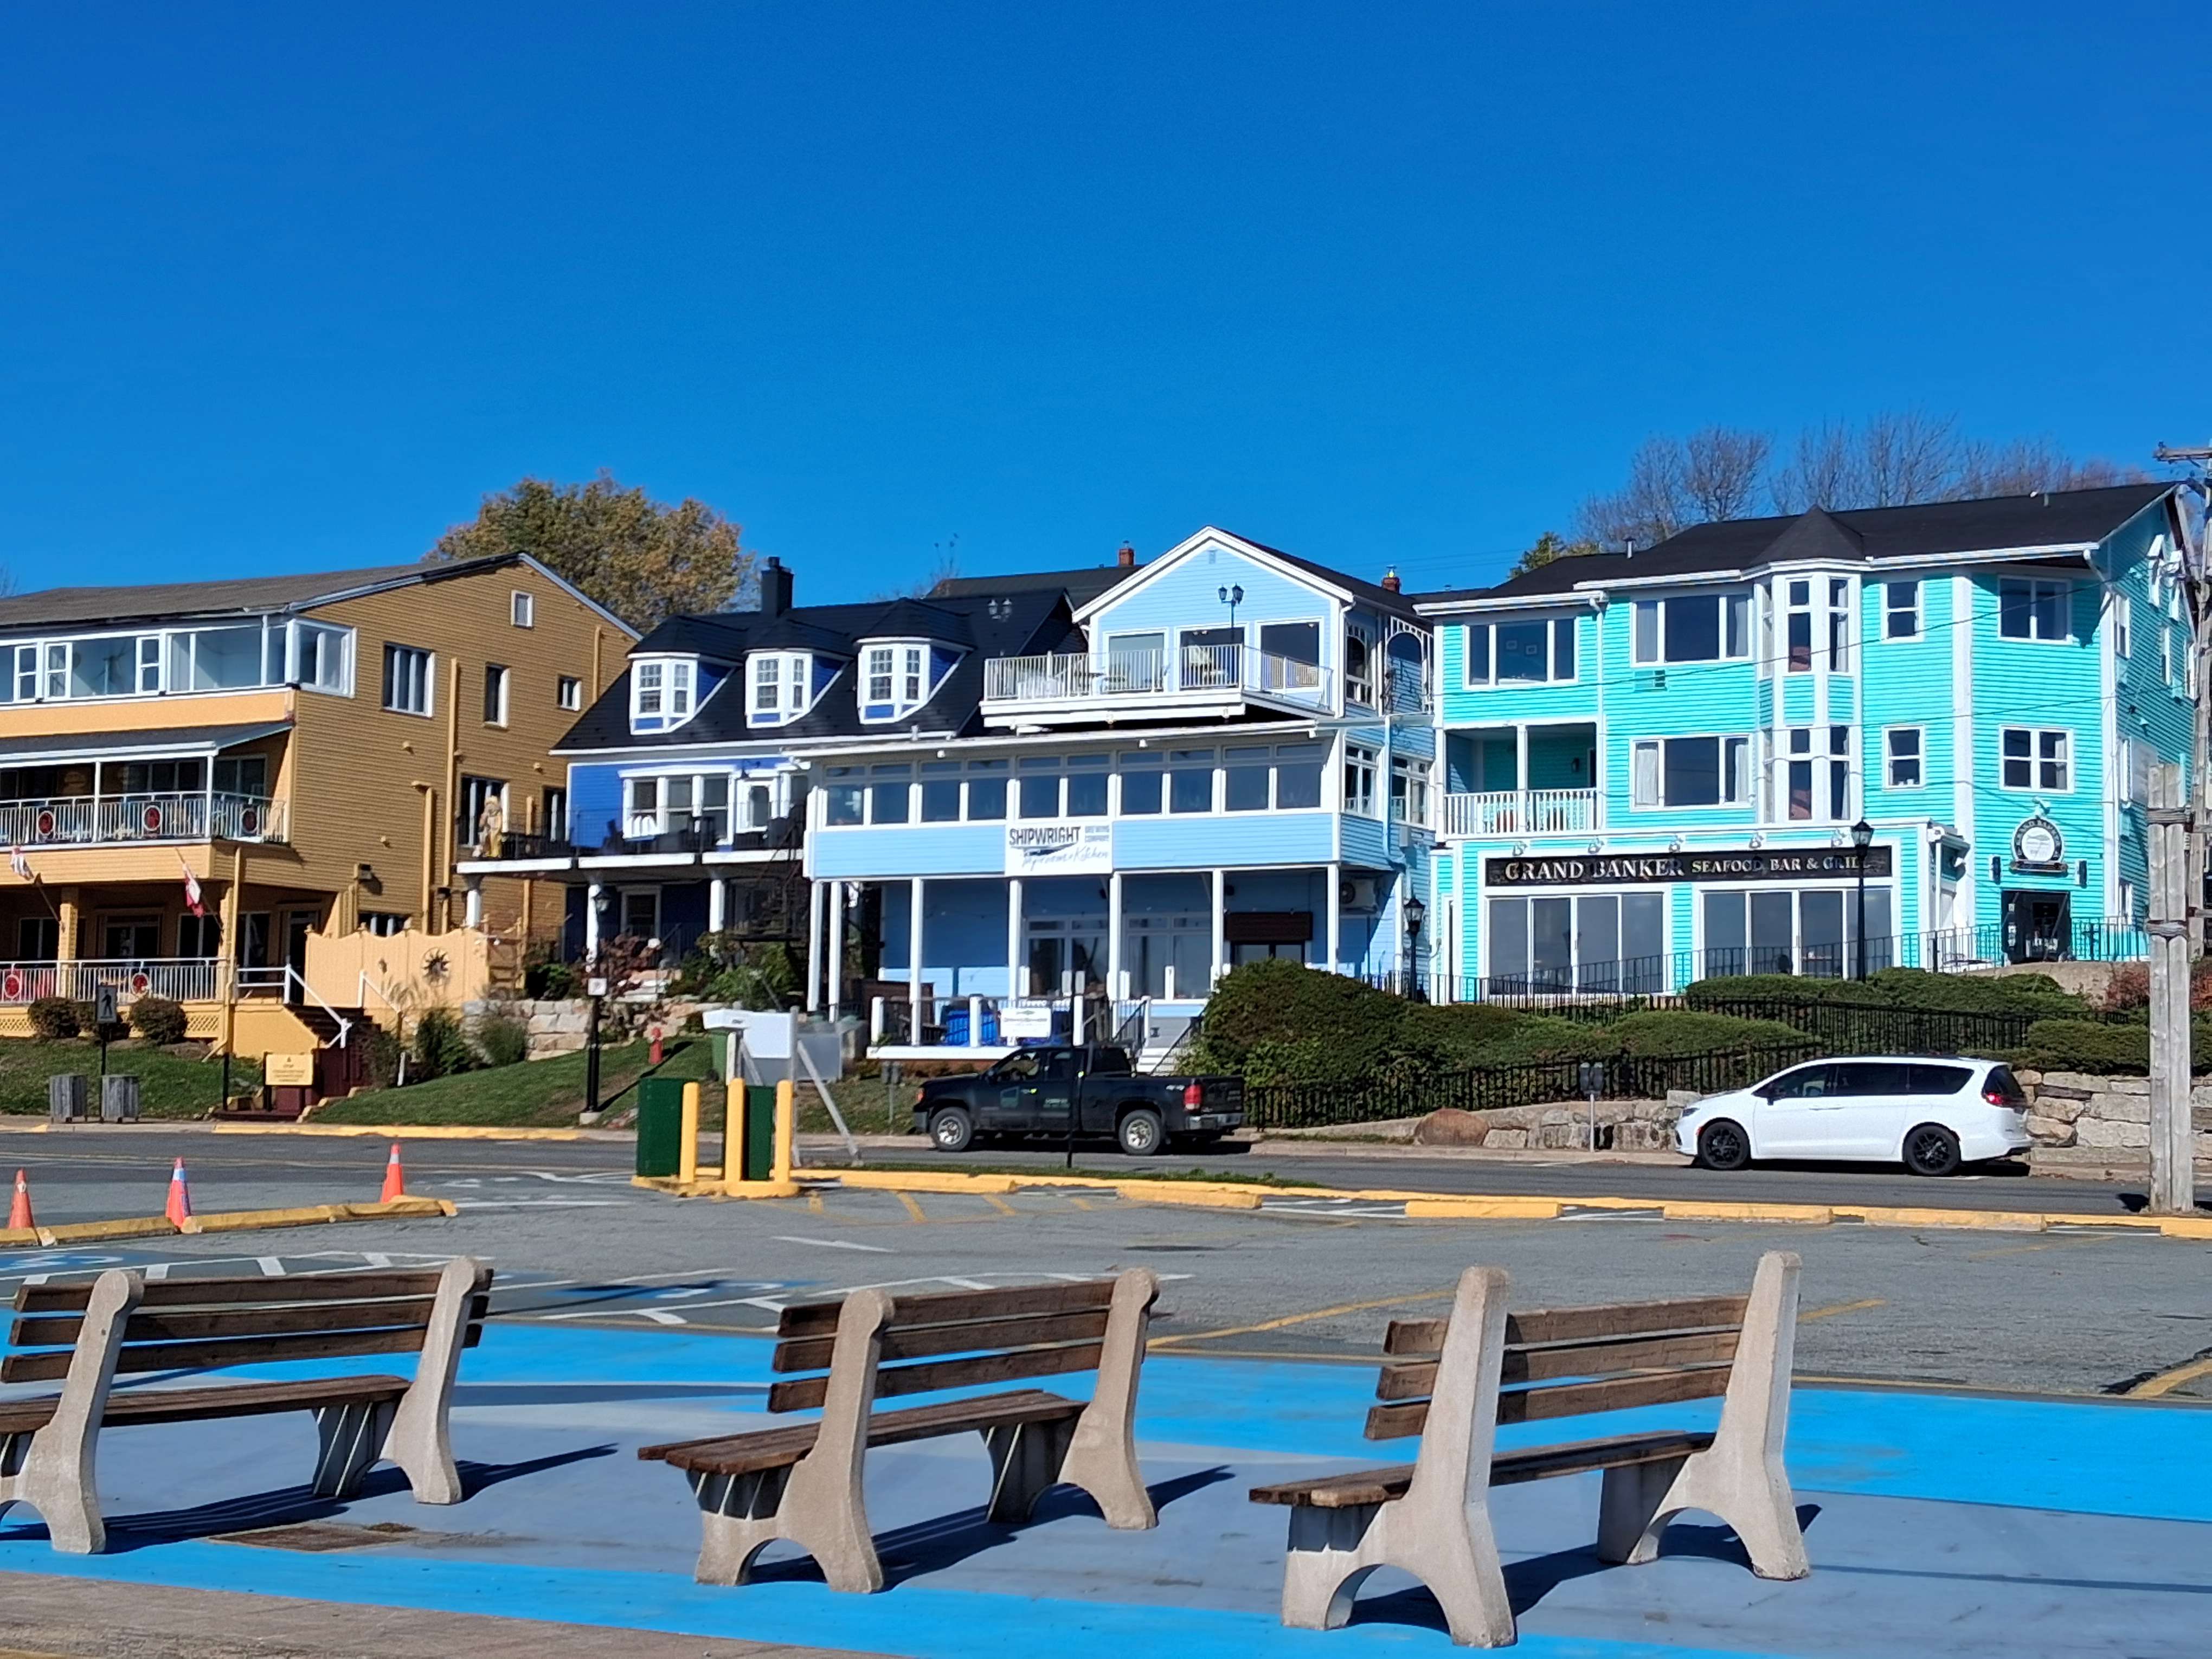
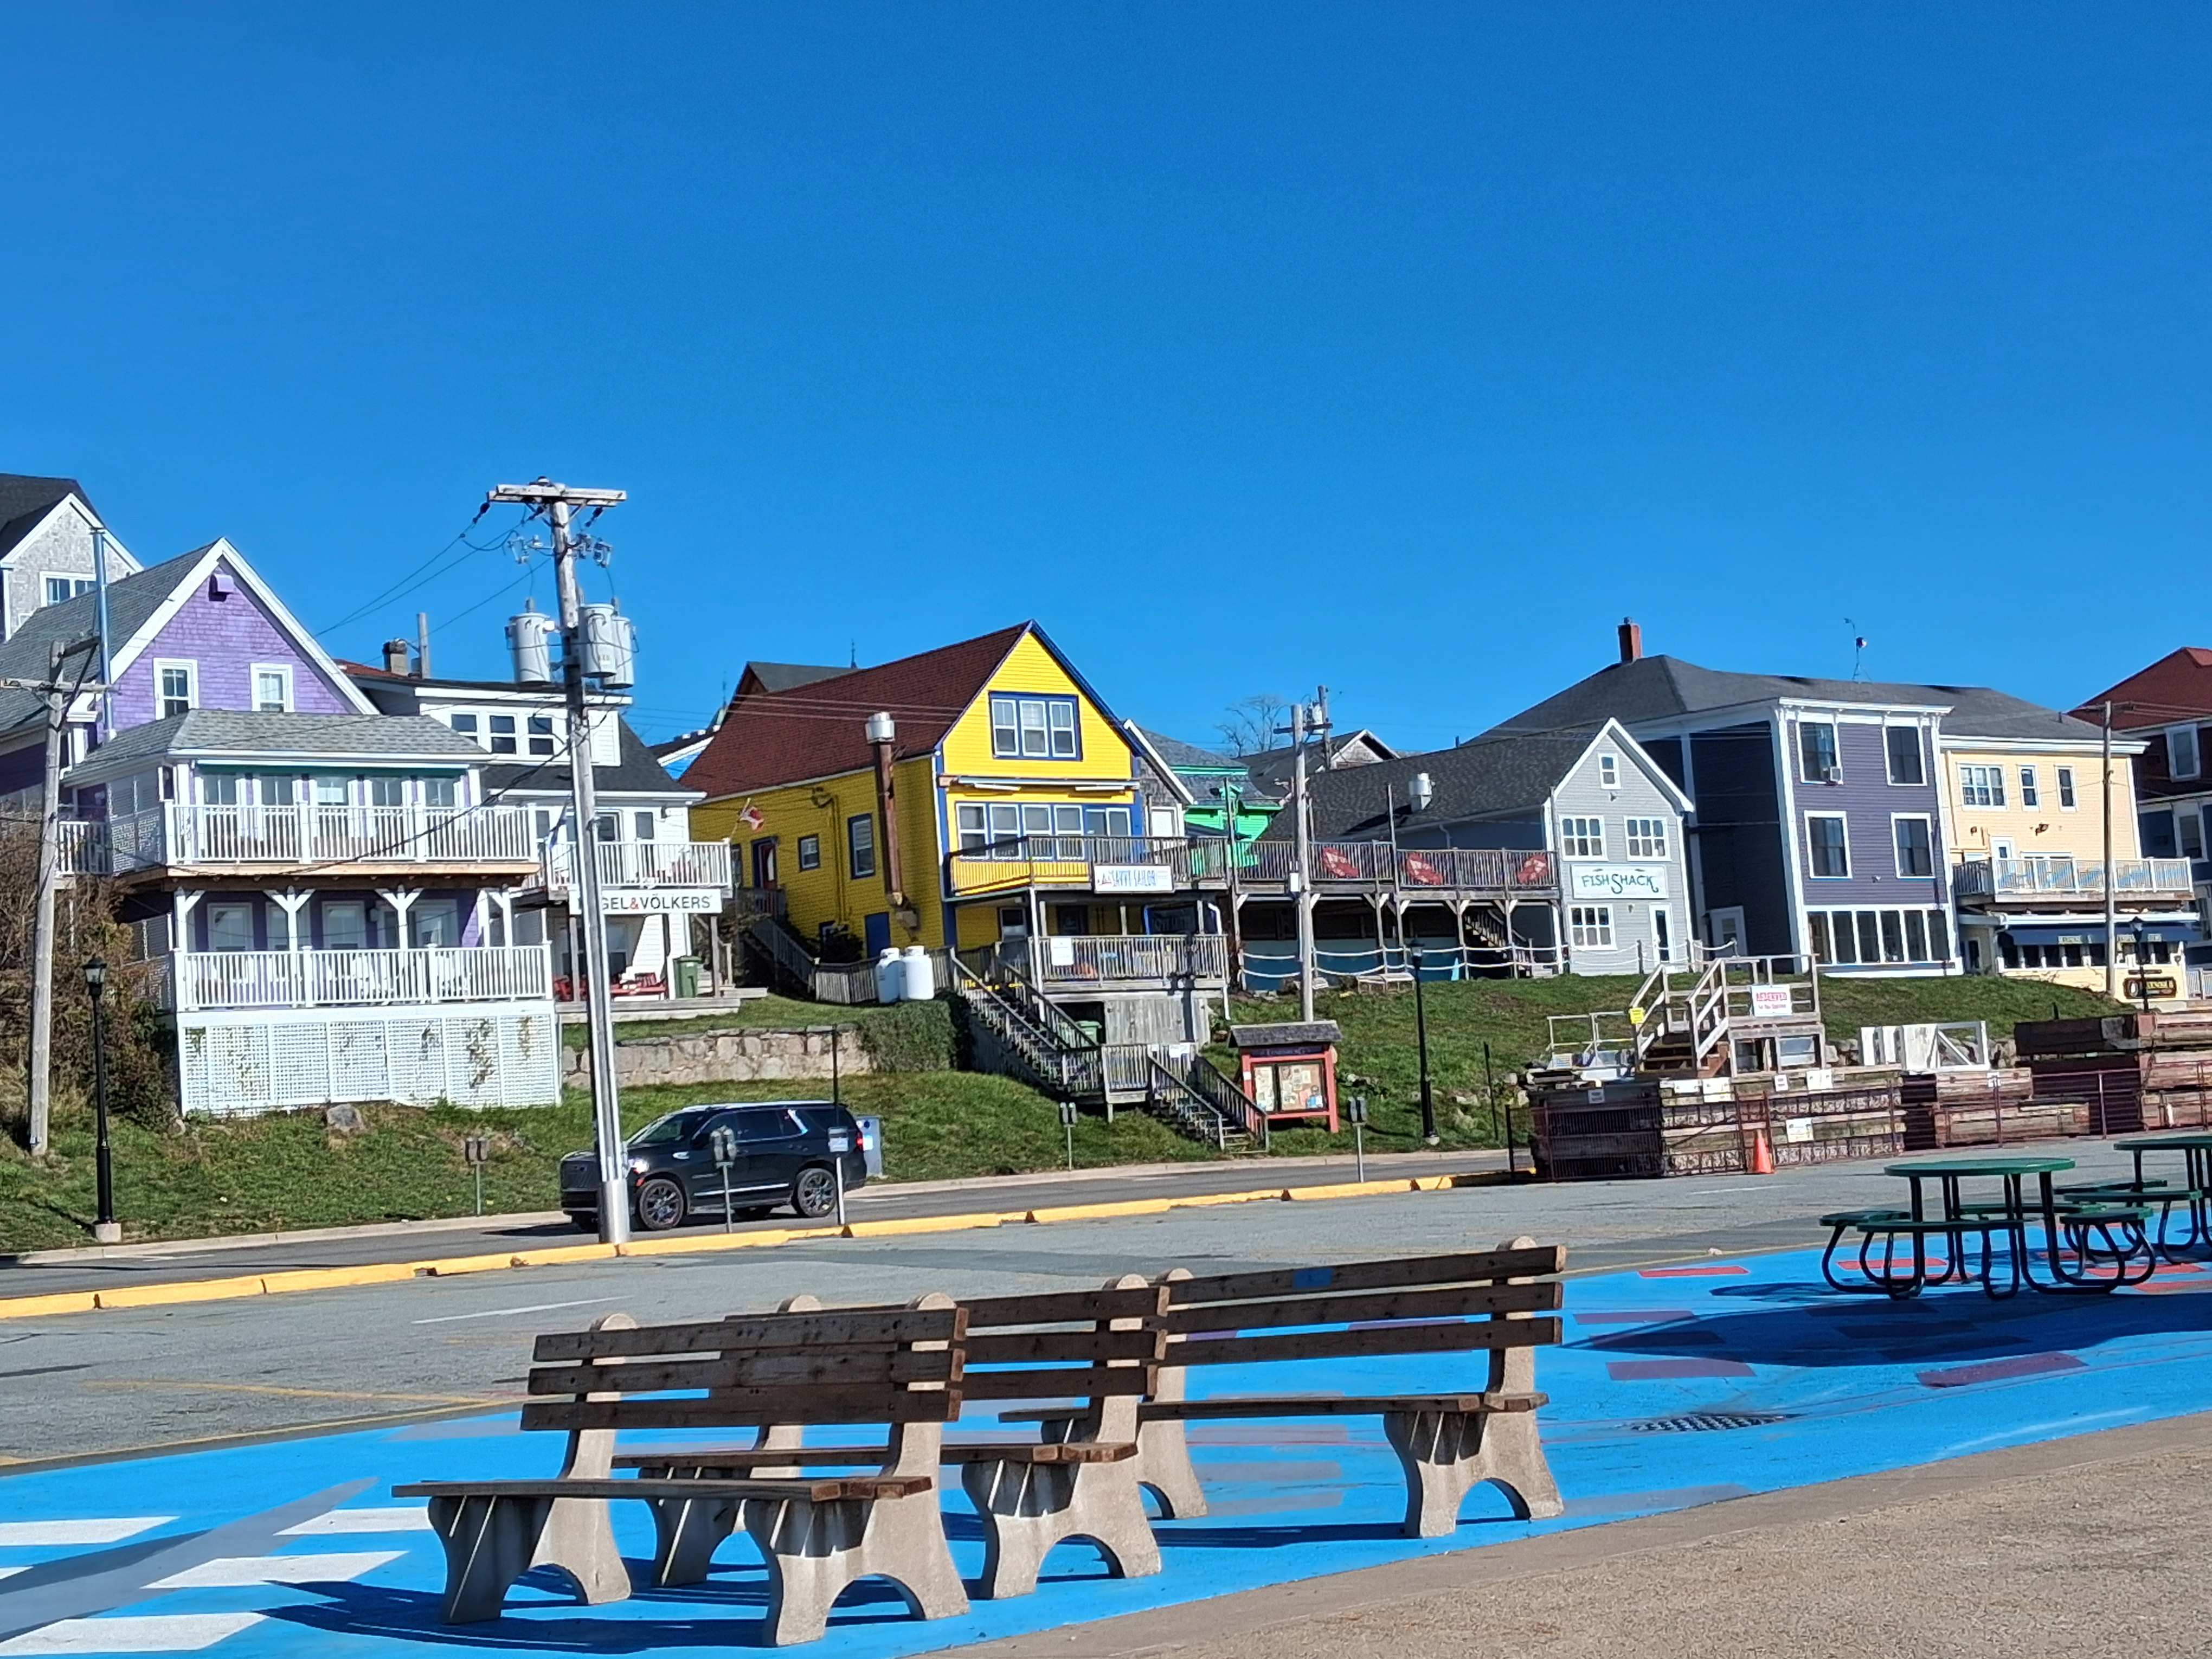

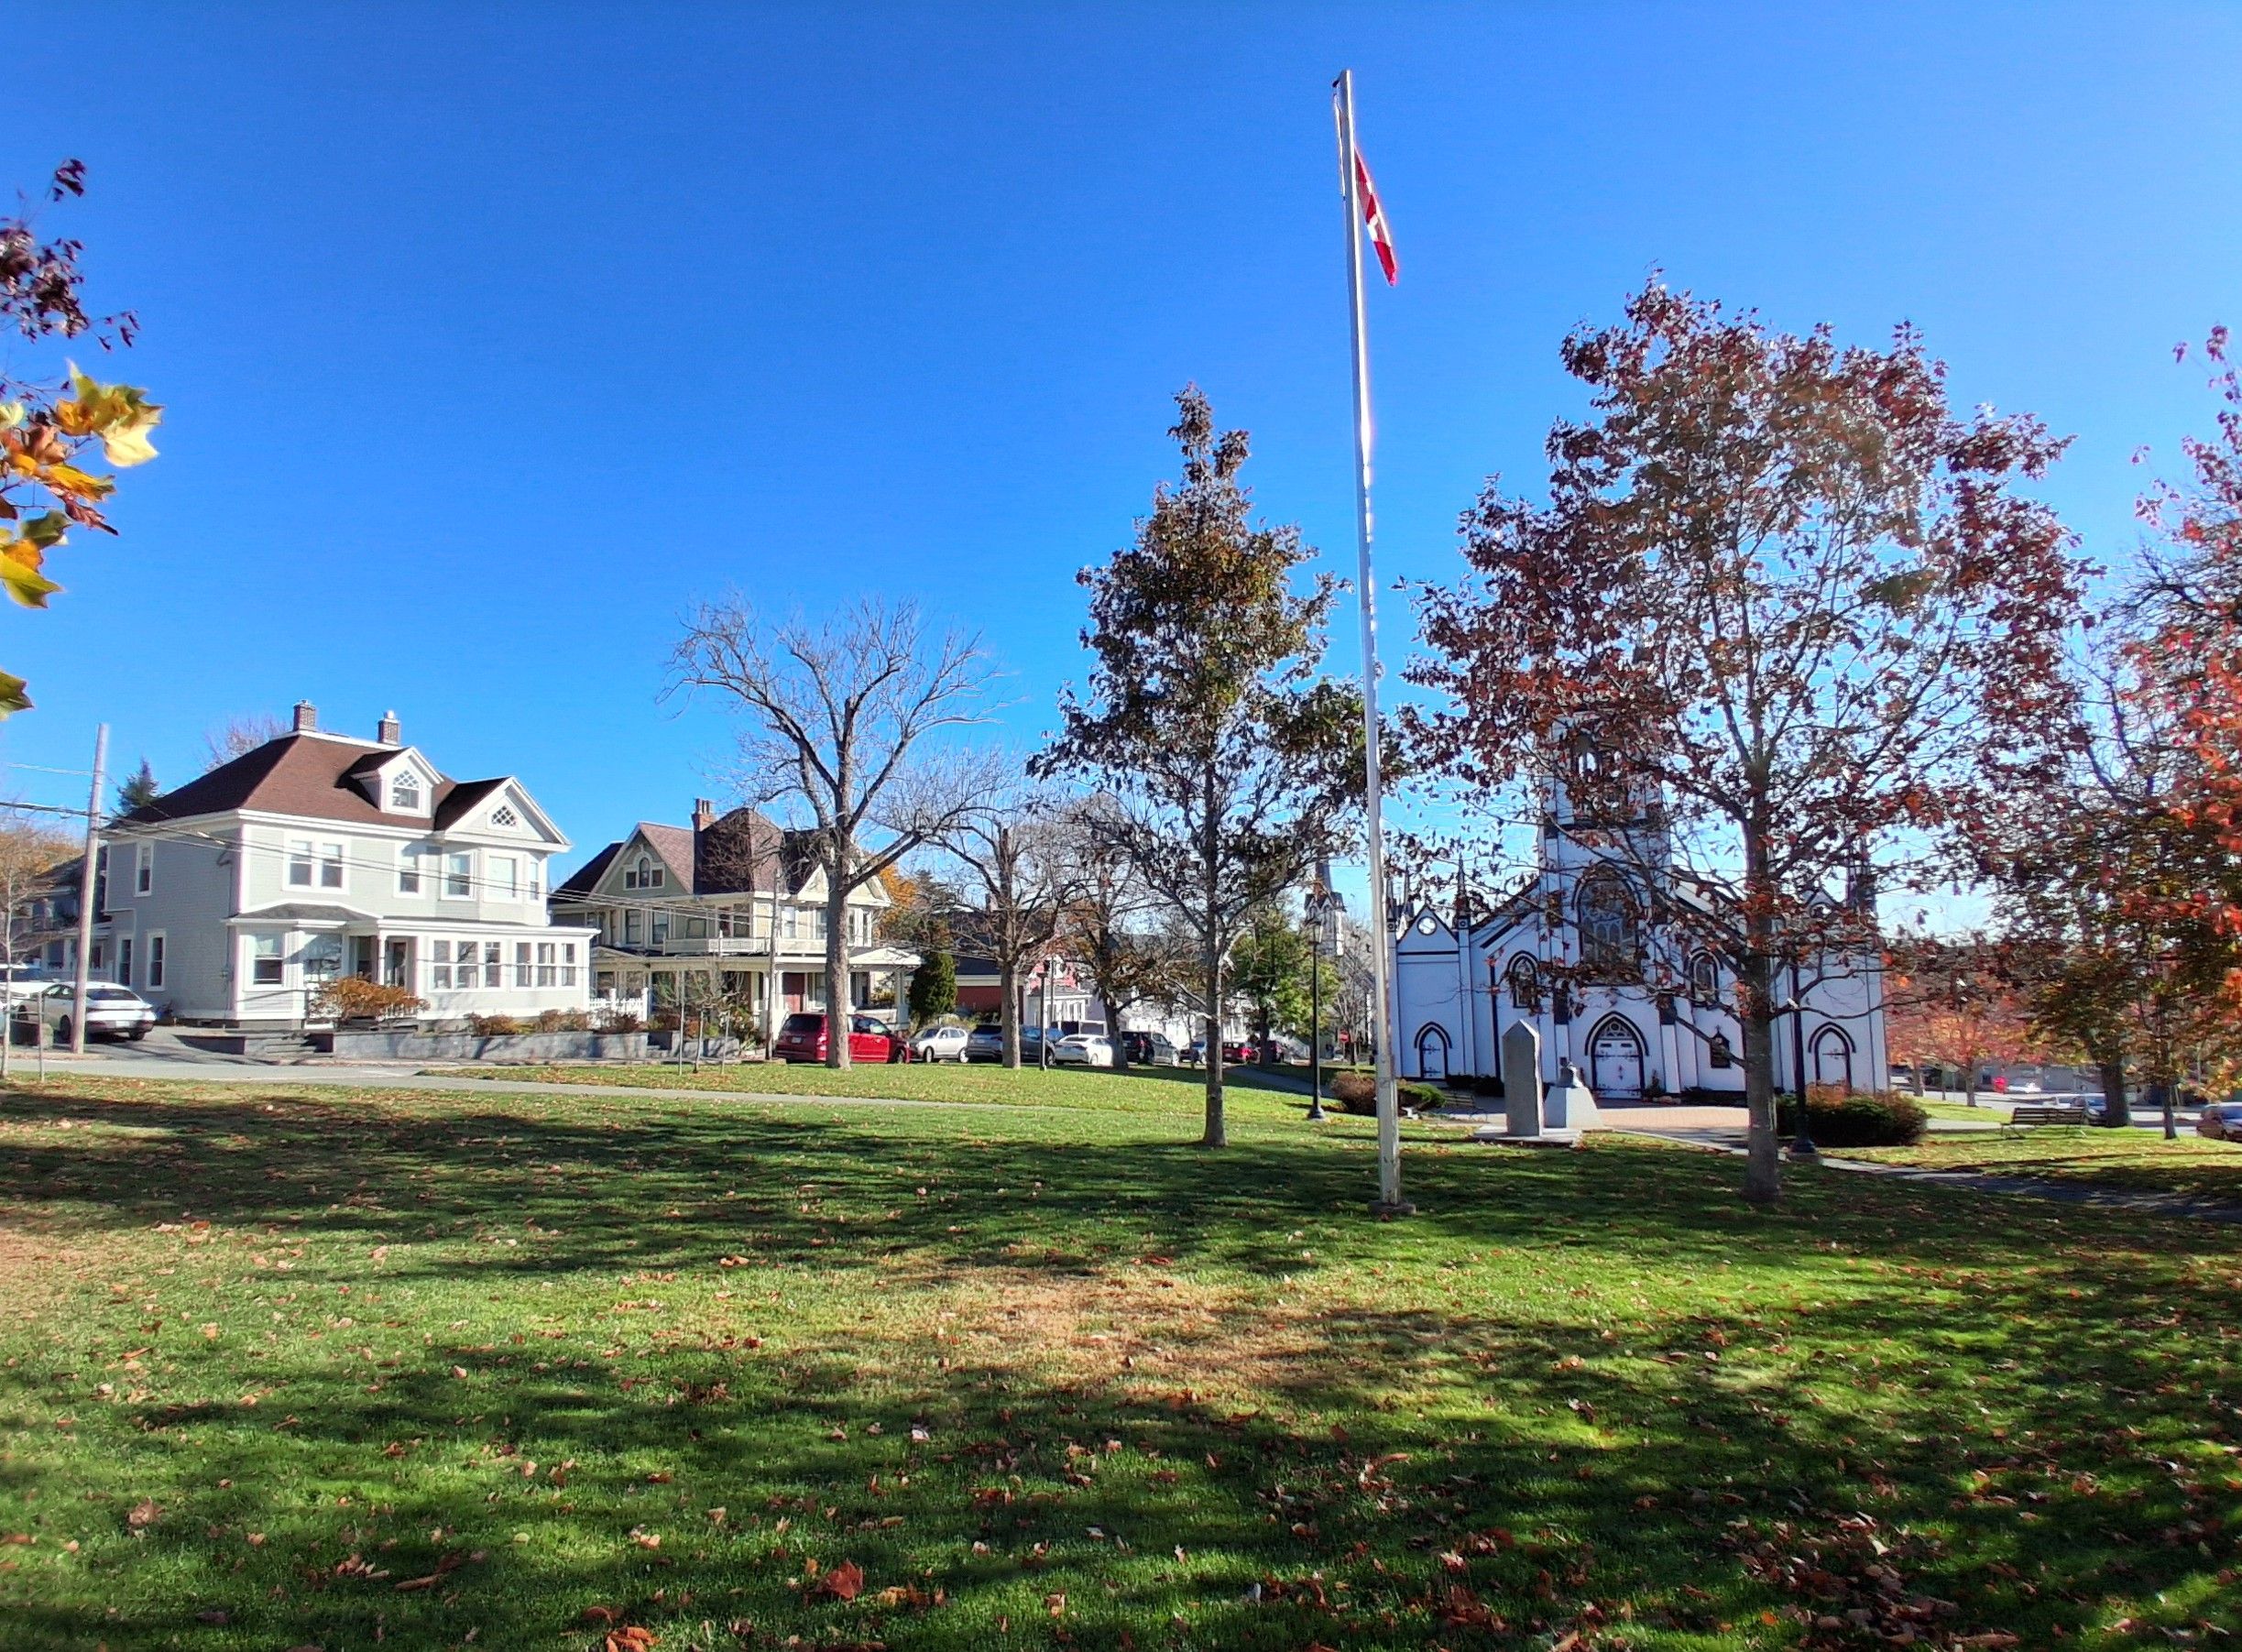
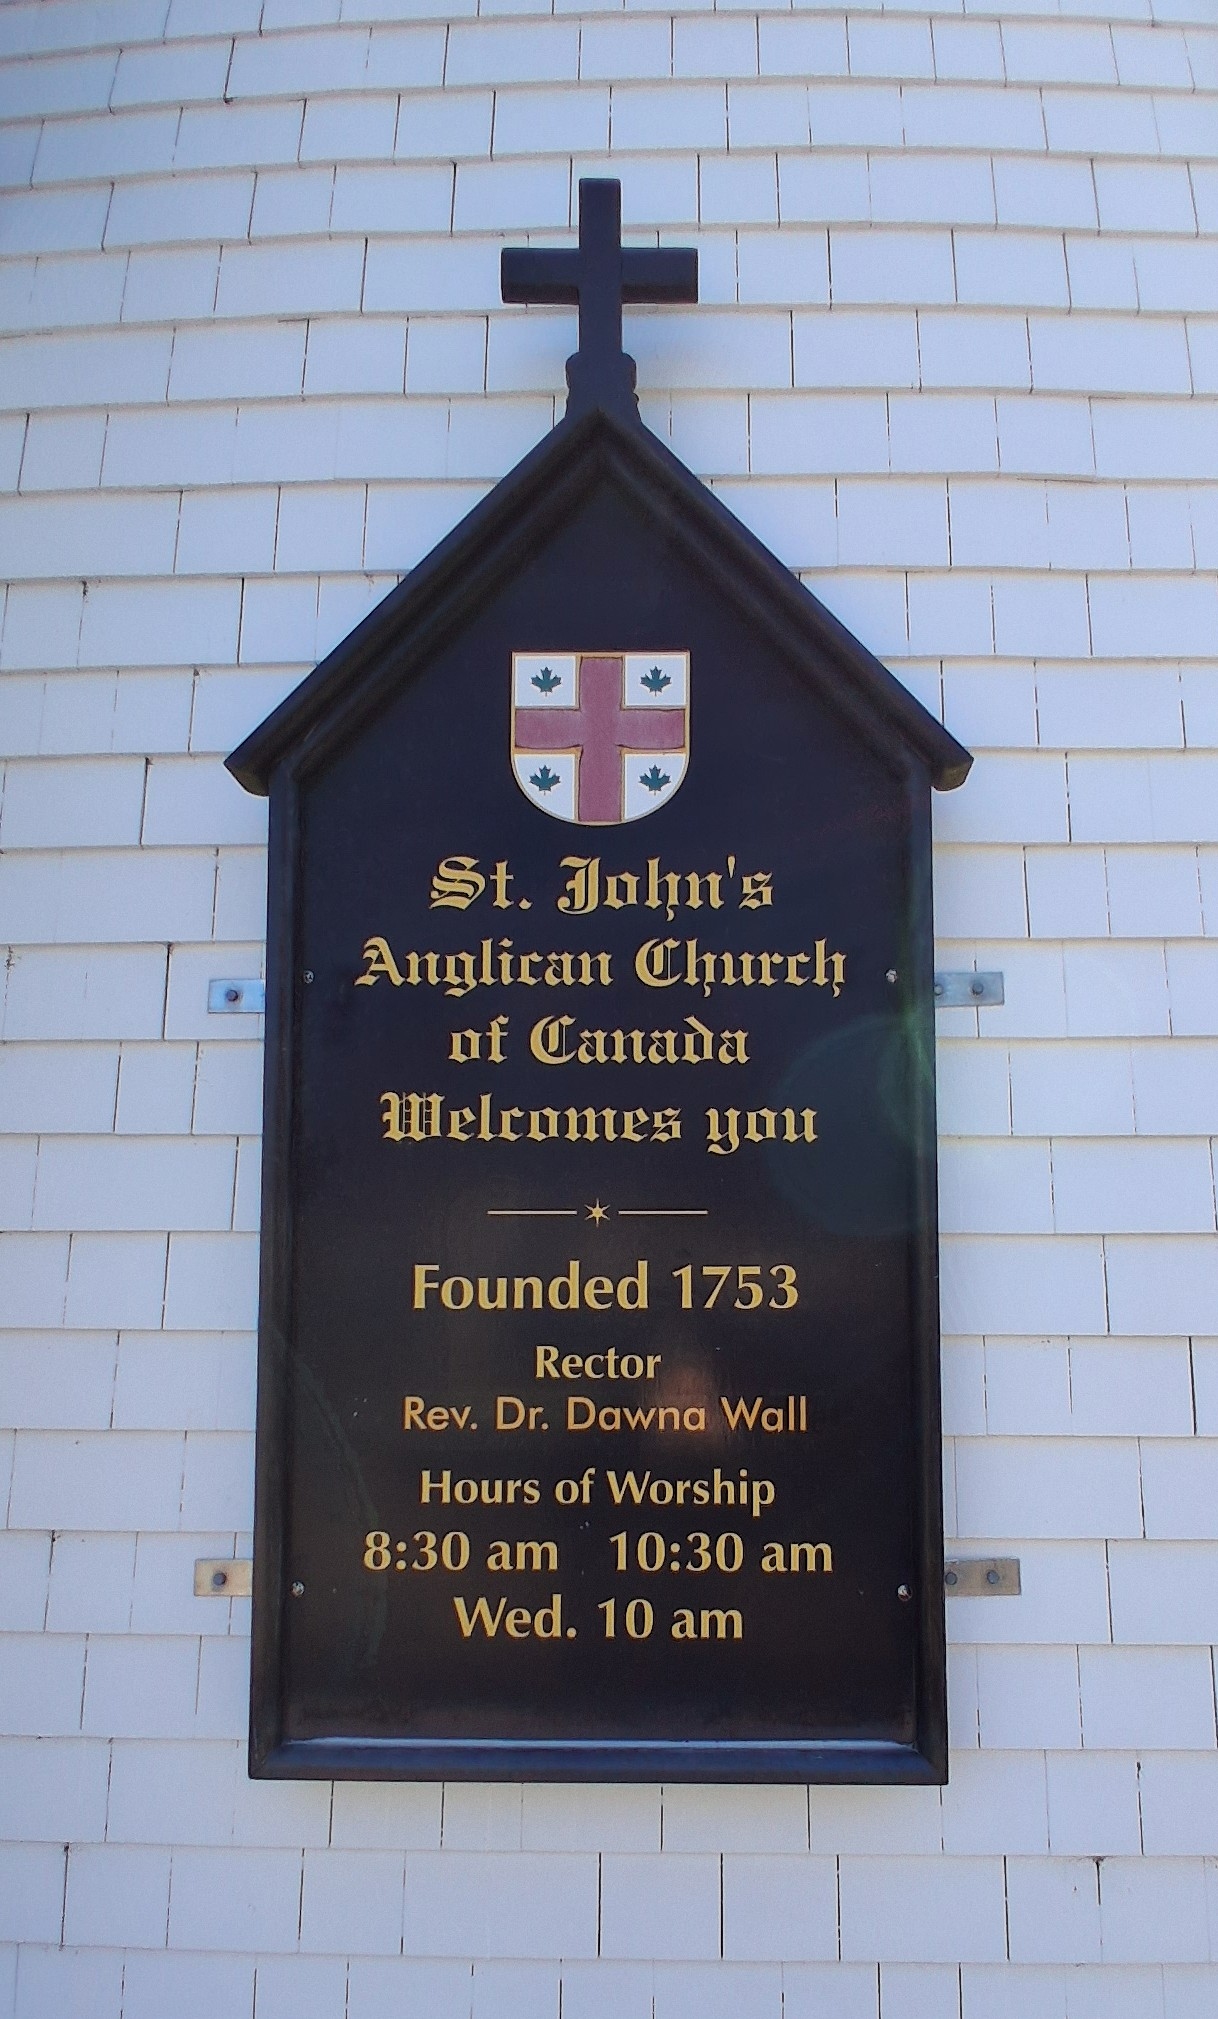
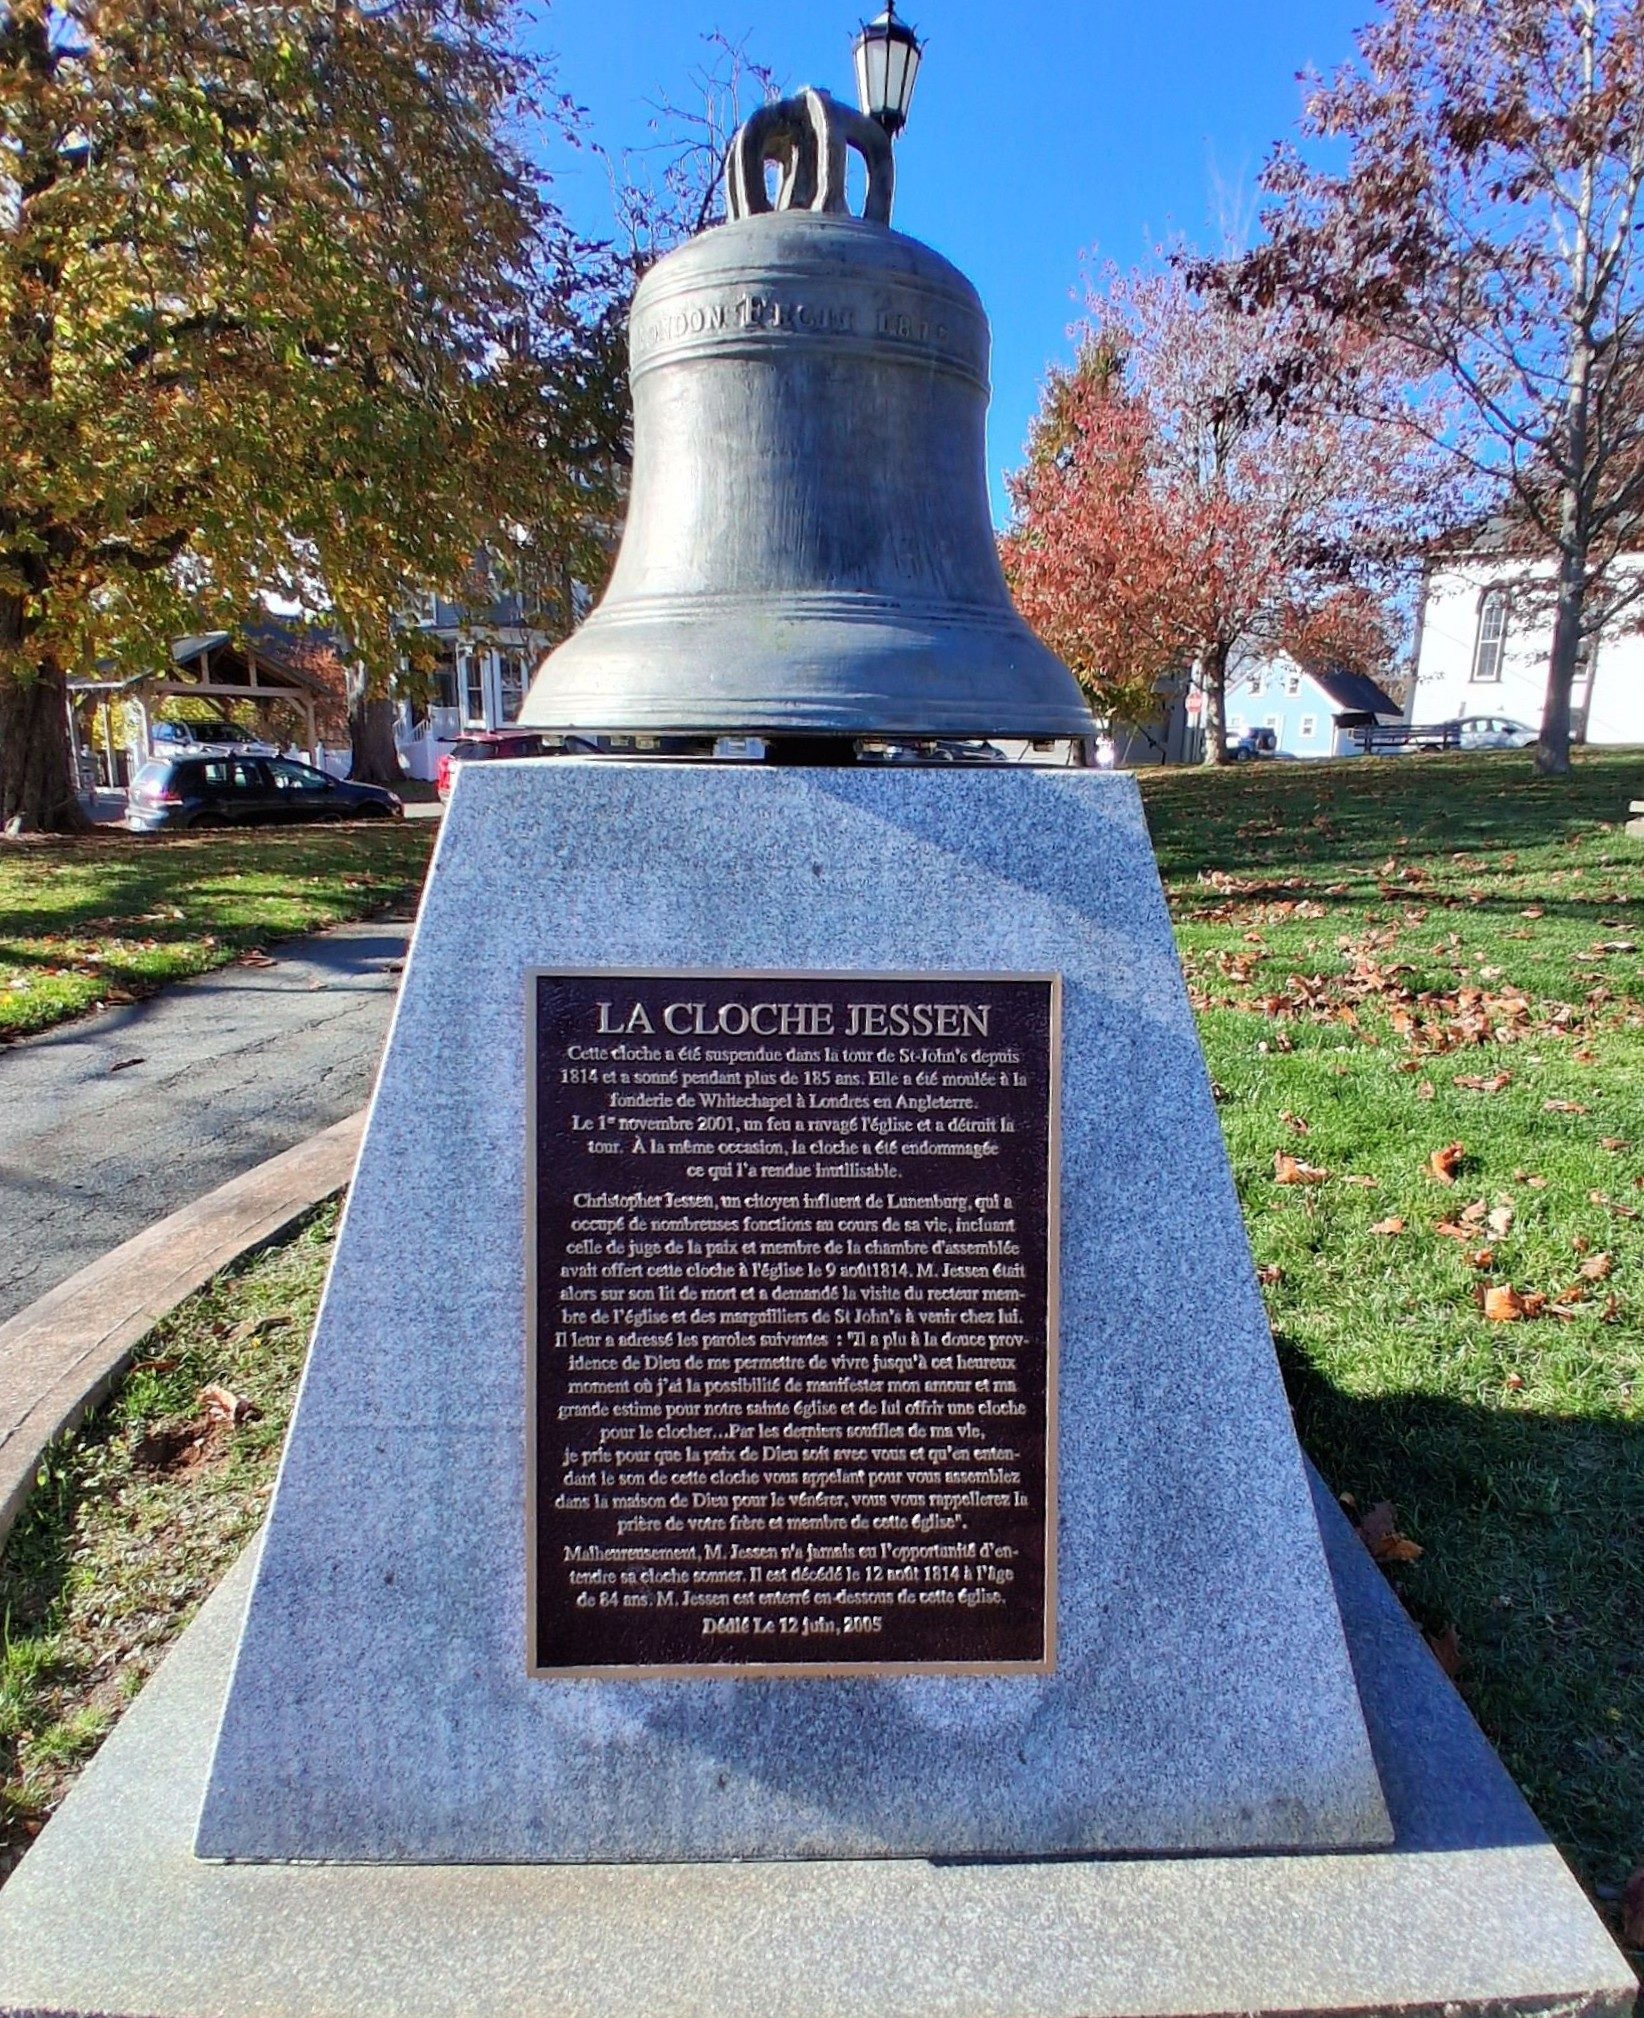
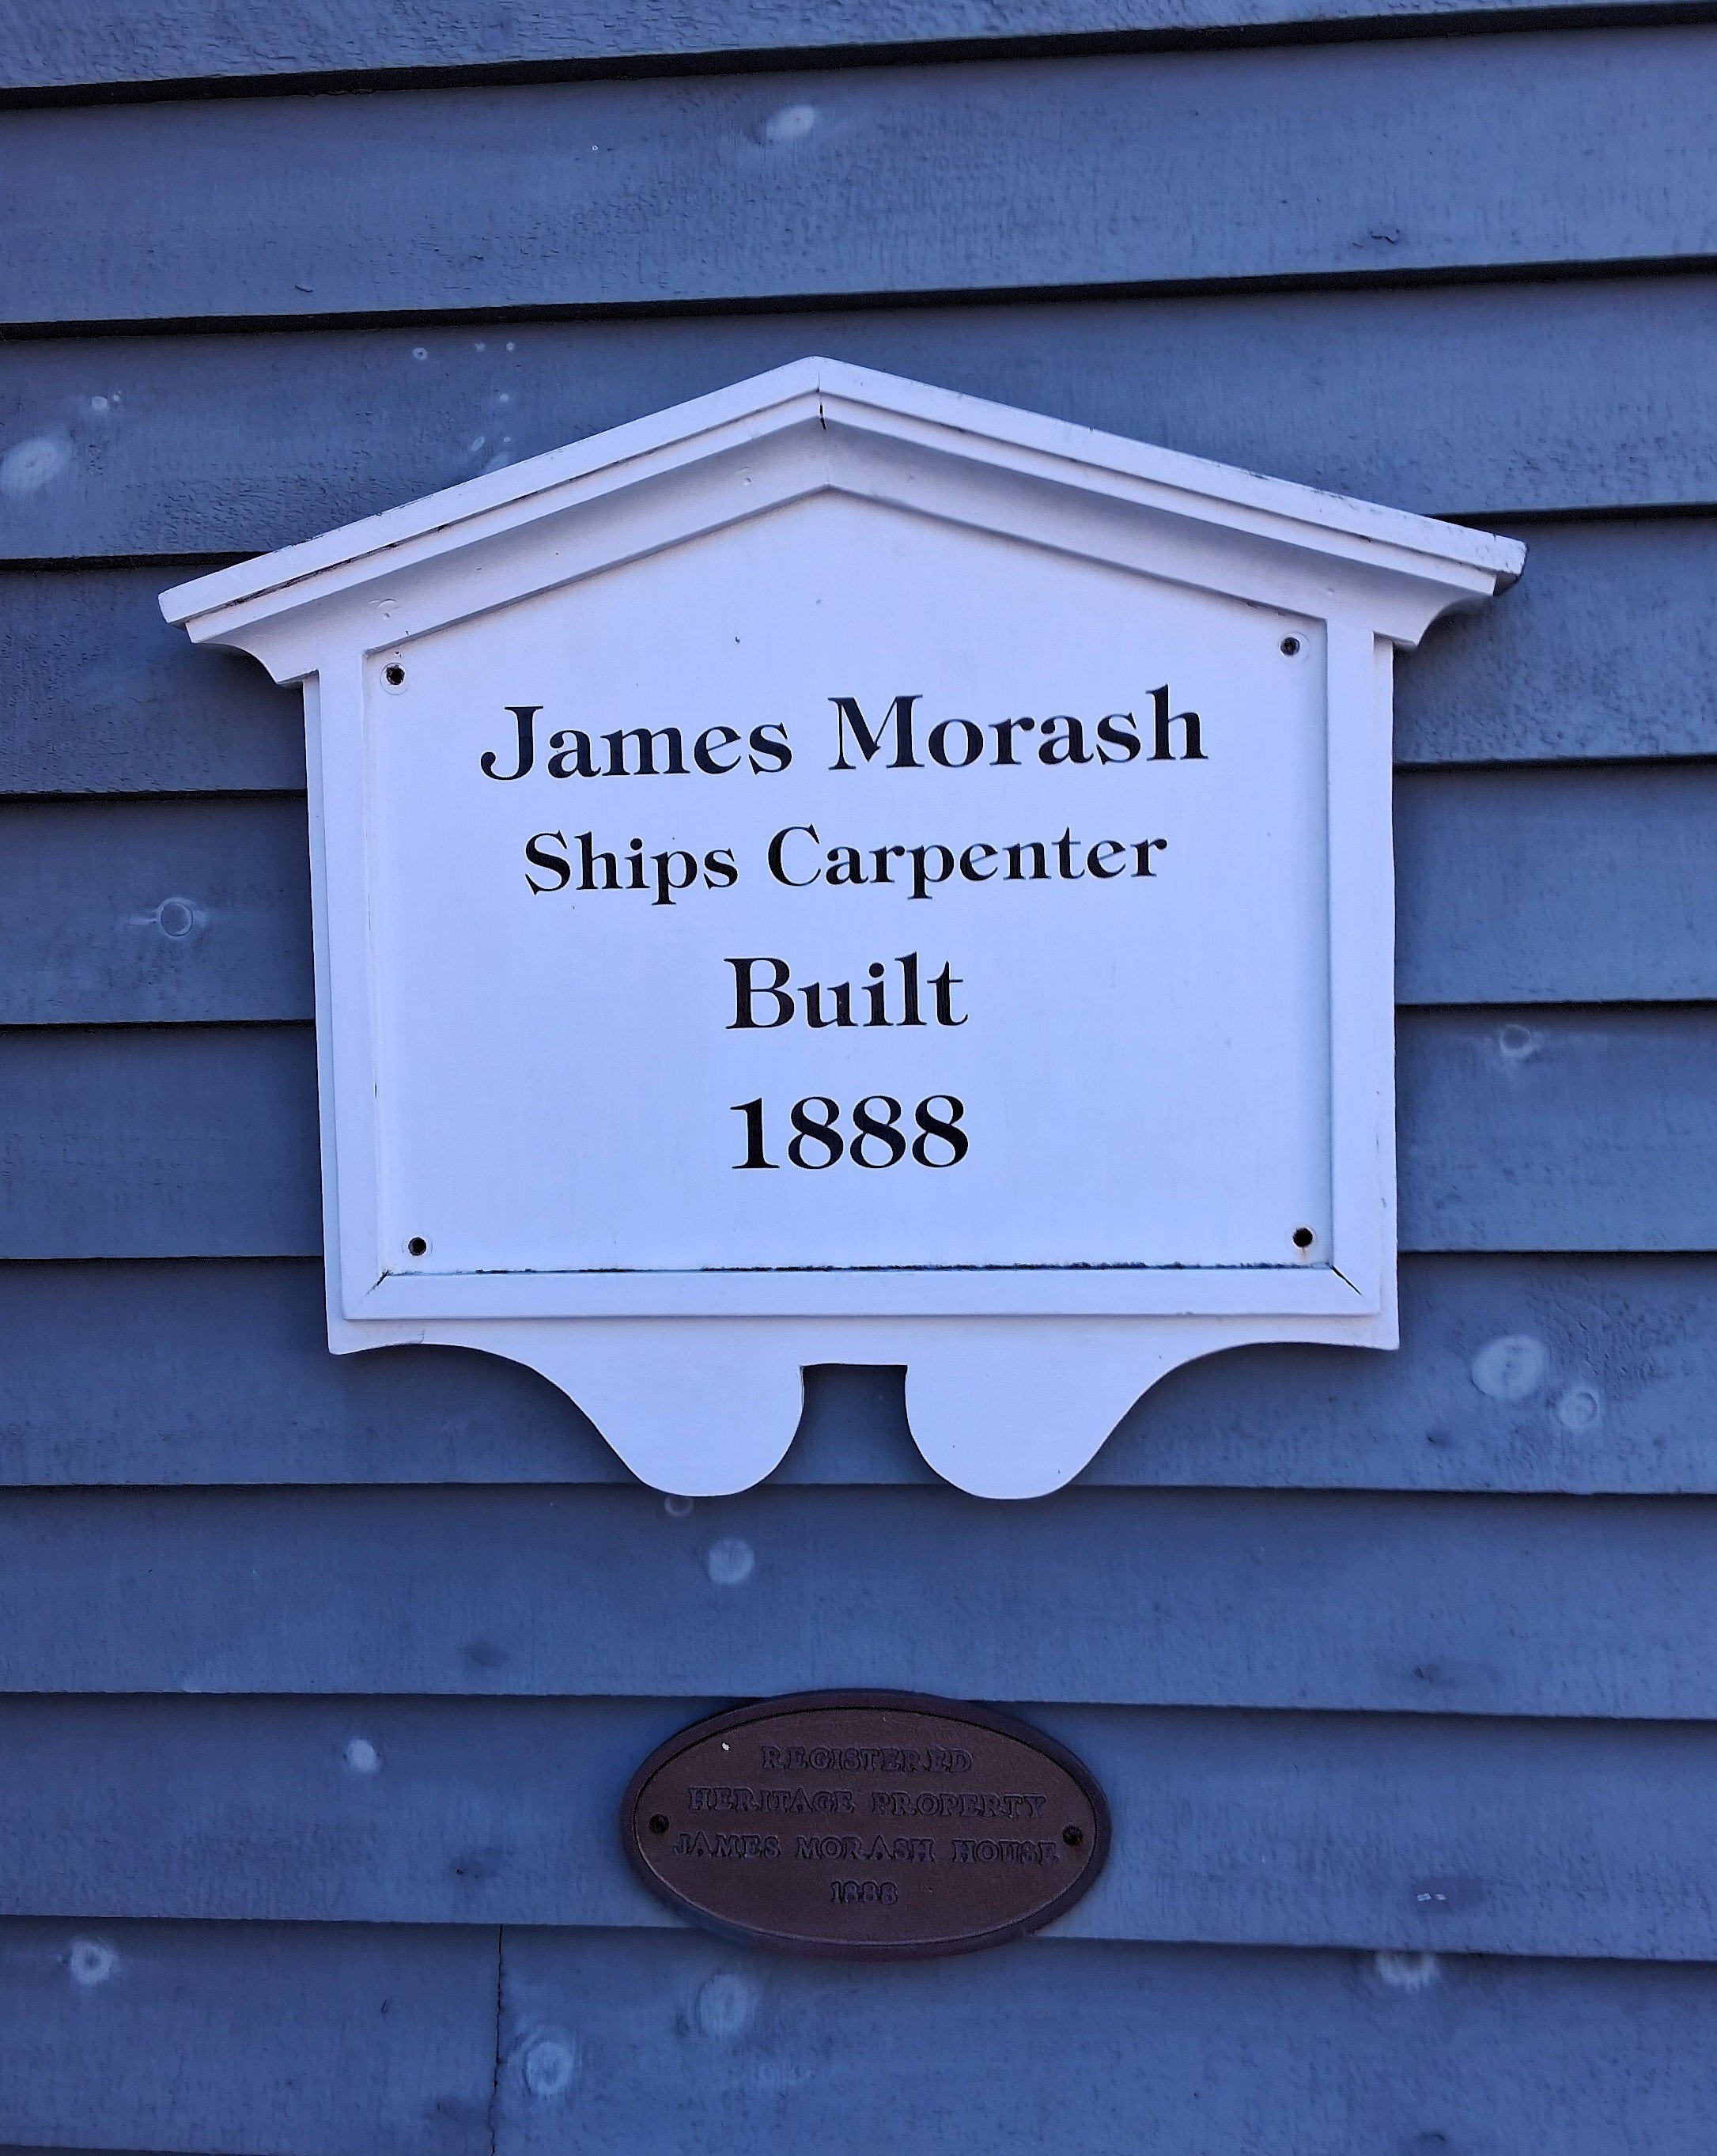
The Old Town streets rise steeply from the waterfront. Homes facing the harbor date from the 1700’s and 1800’s. There is no shortage of churches including St. John’s Anglican Church of Canada, founded along with the town in 1753, and built in the second half of the 18th century.
We lost Stan Rogers, Canadian singer songwriter, in 1983 at age 34, but not before he left us memorable songs from the Maritimes. A Stan Rogers music festival is held each year in Halifax in his honor.
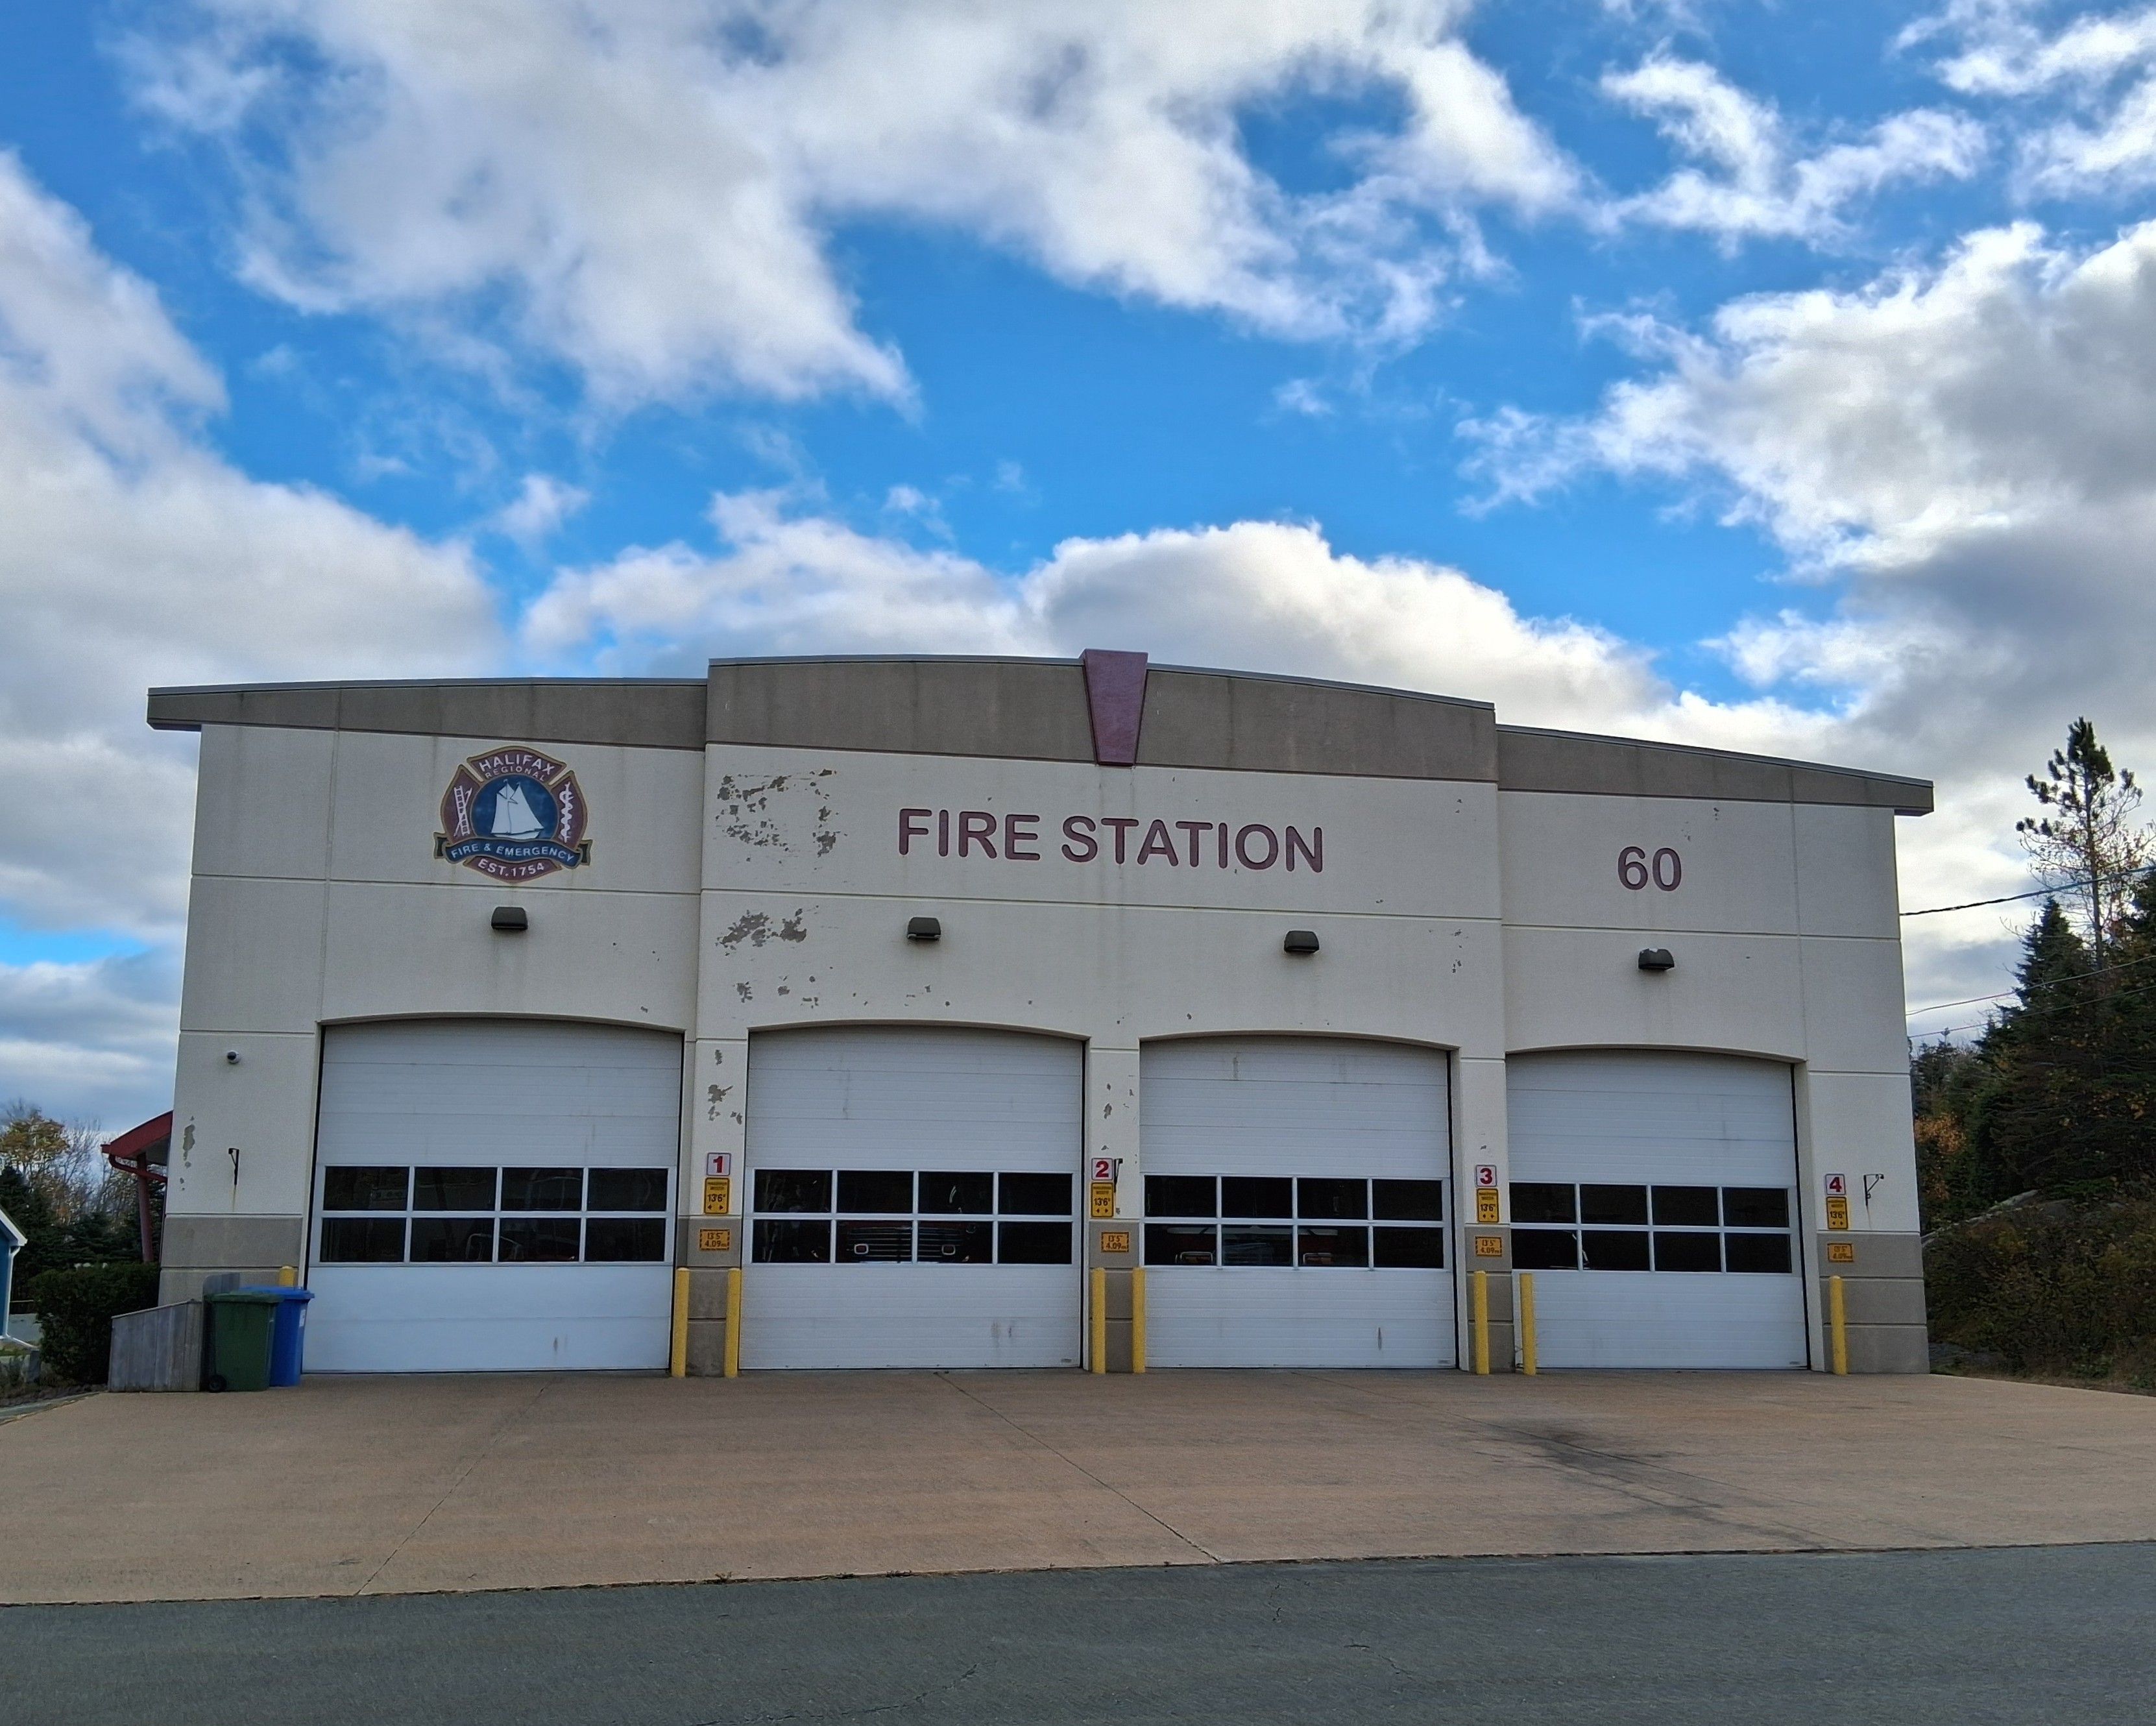
Eastern Shore of N.S. – Herrick Cove Fire Station
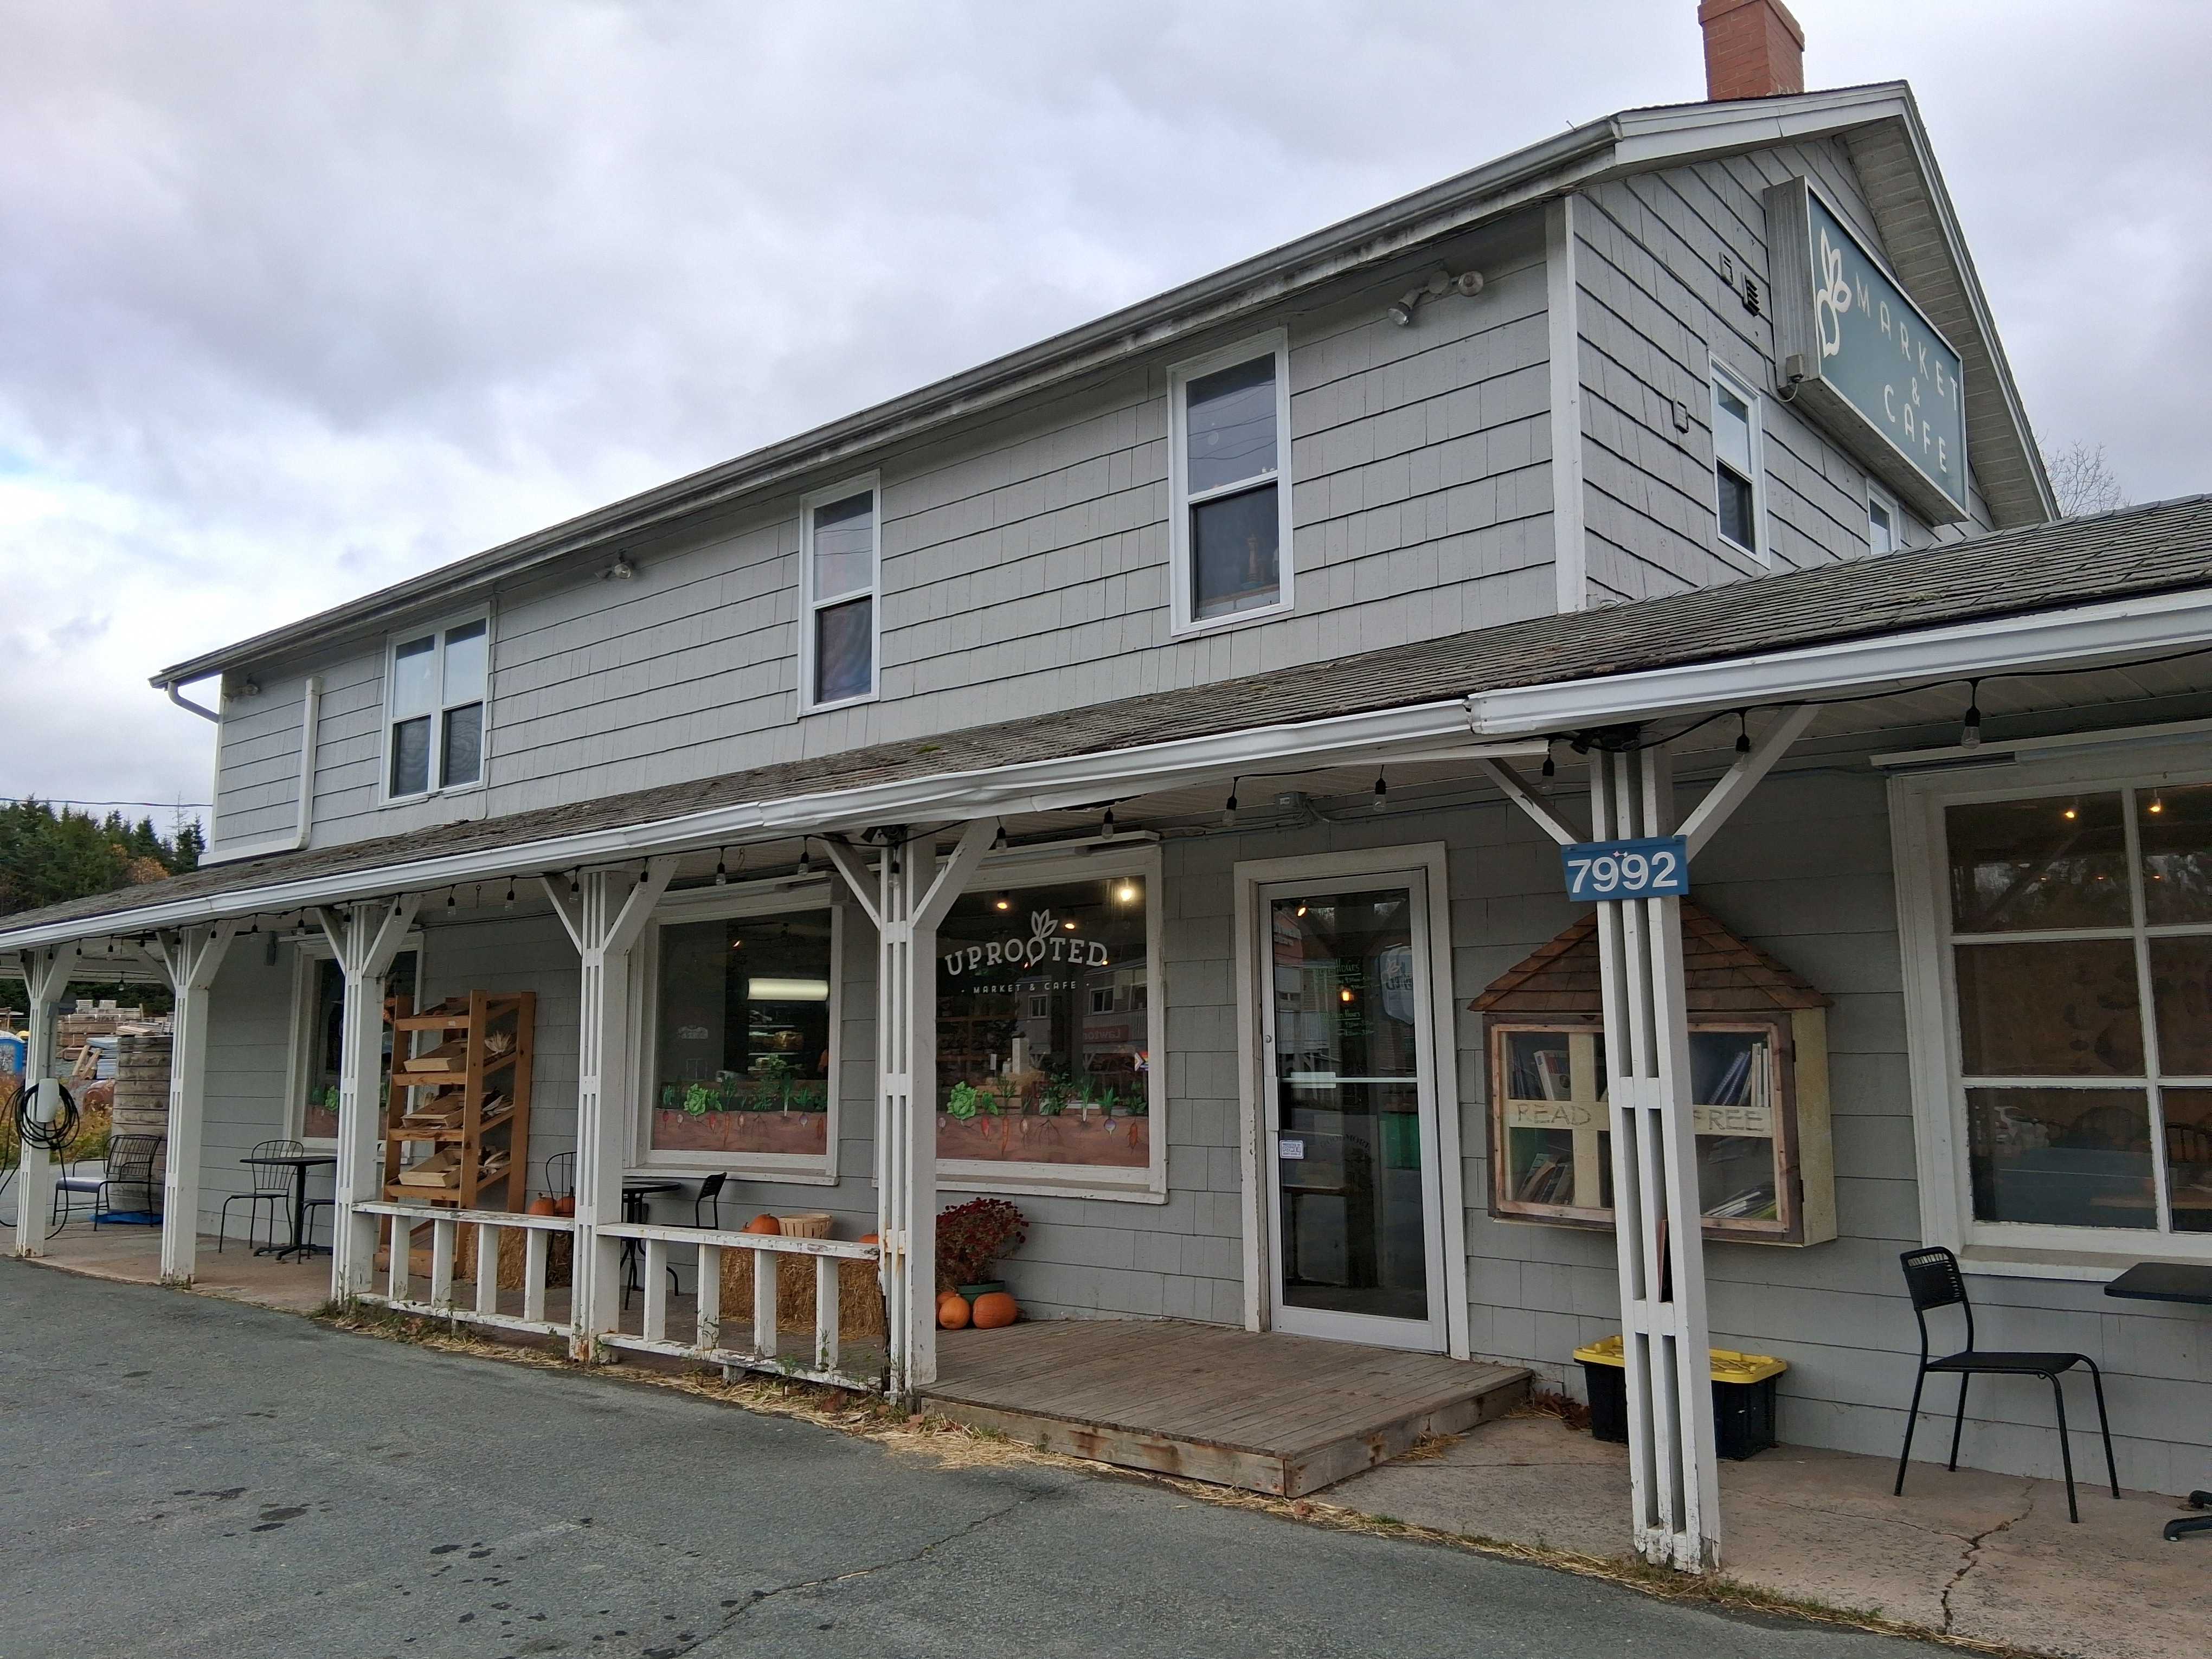
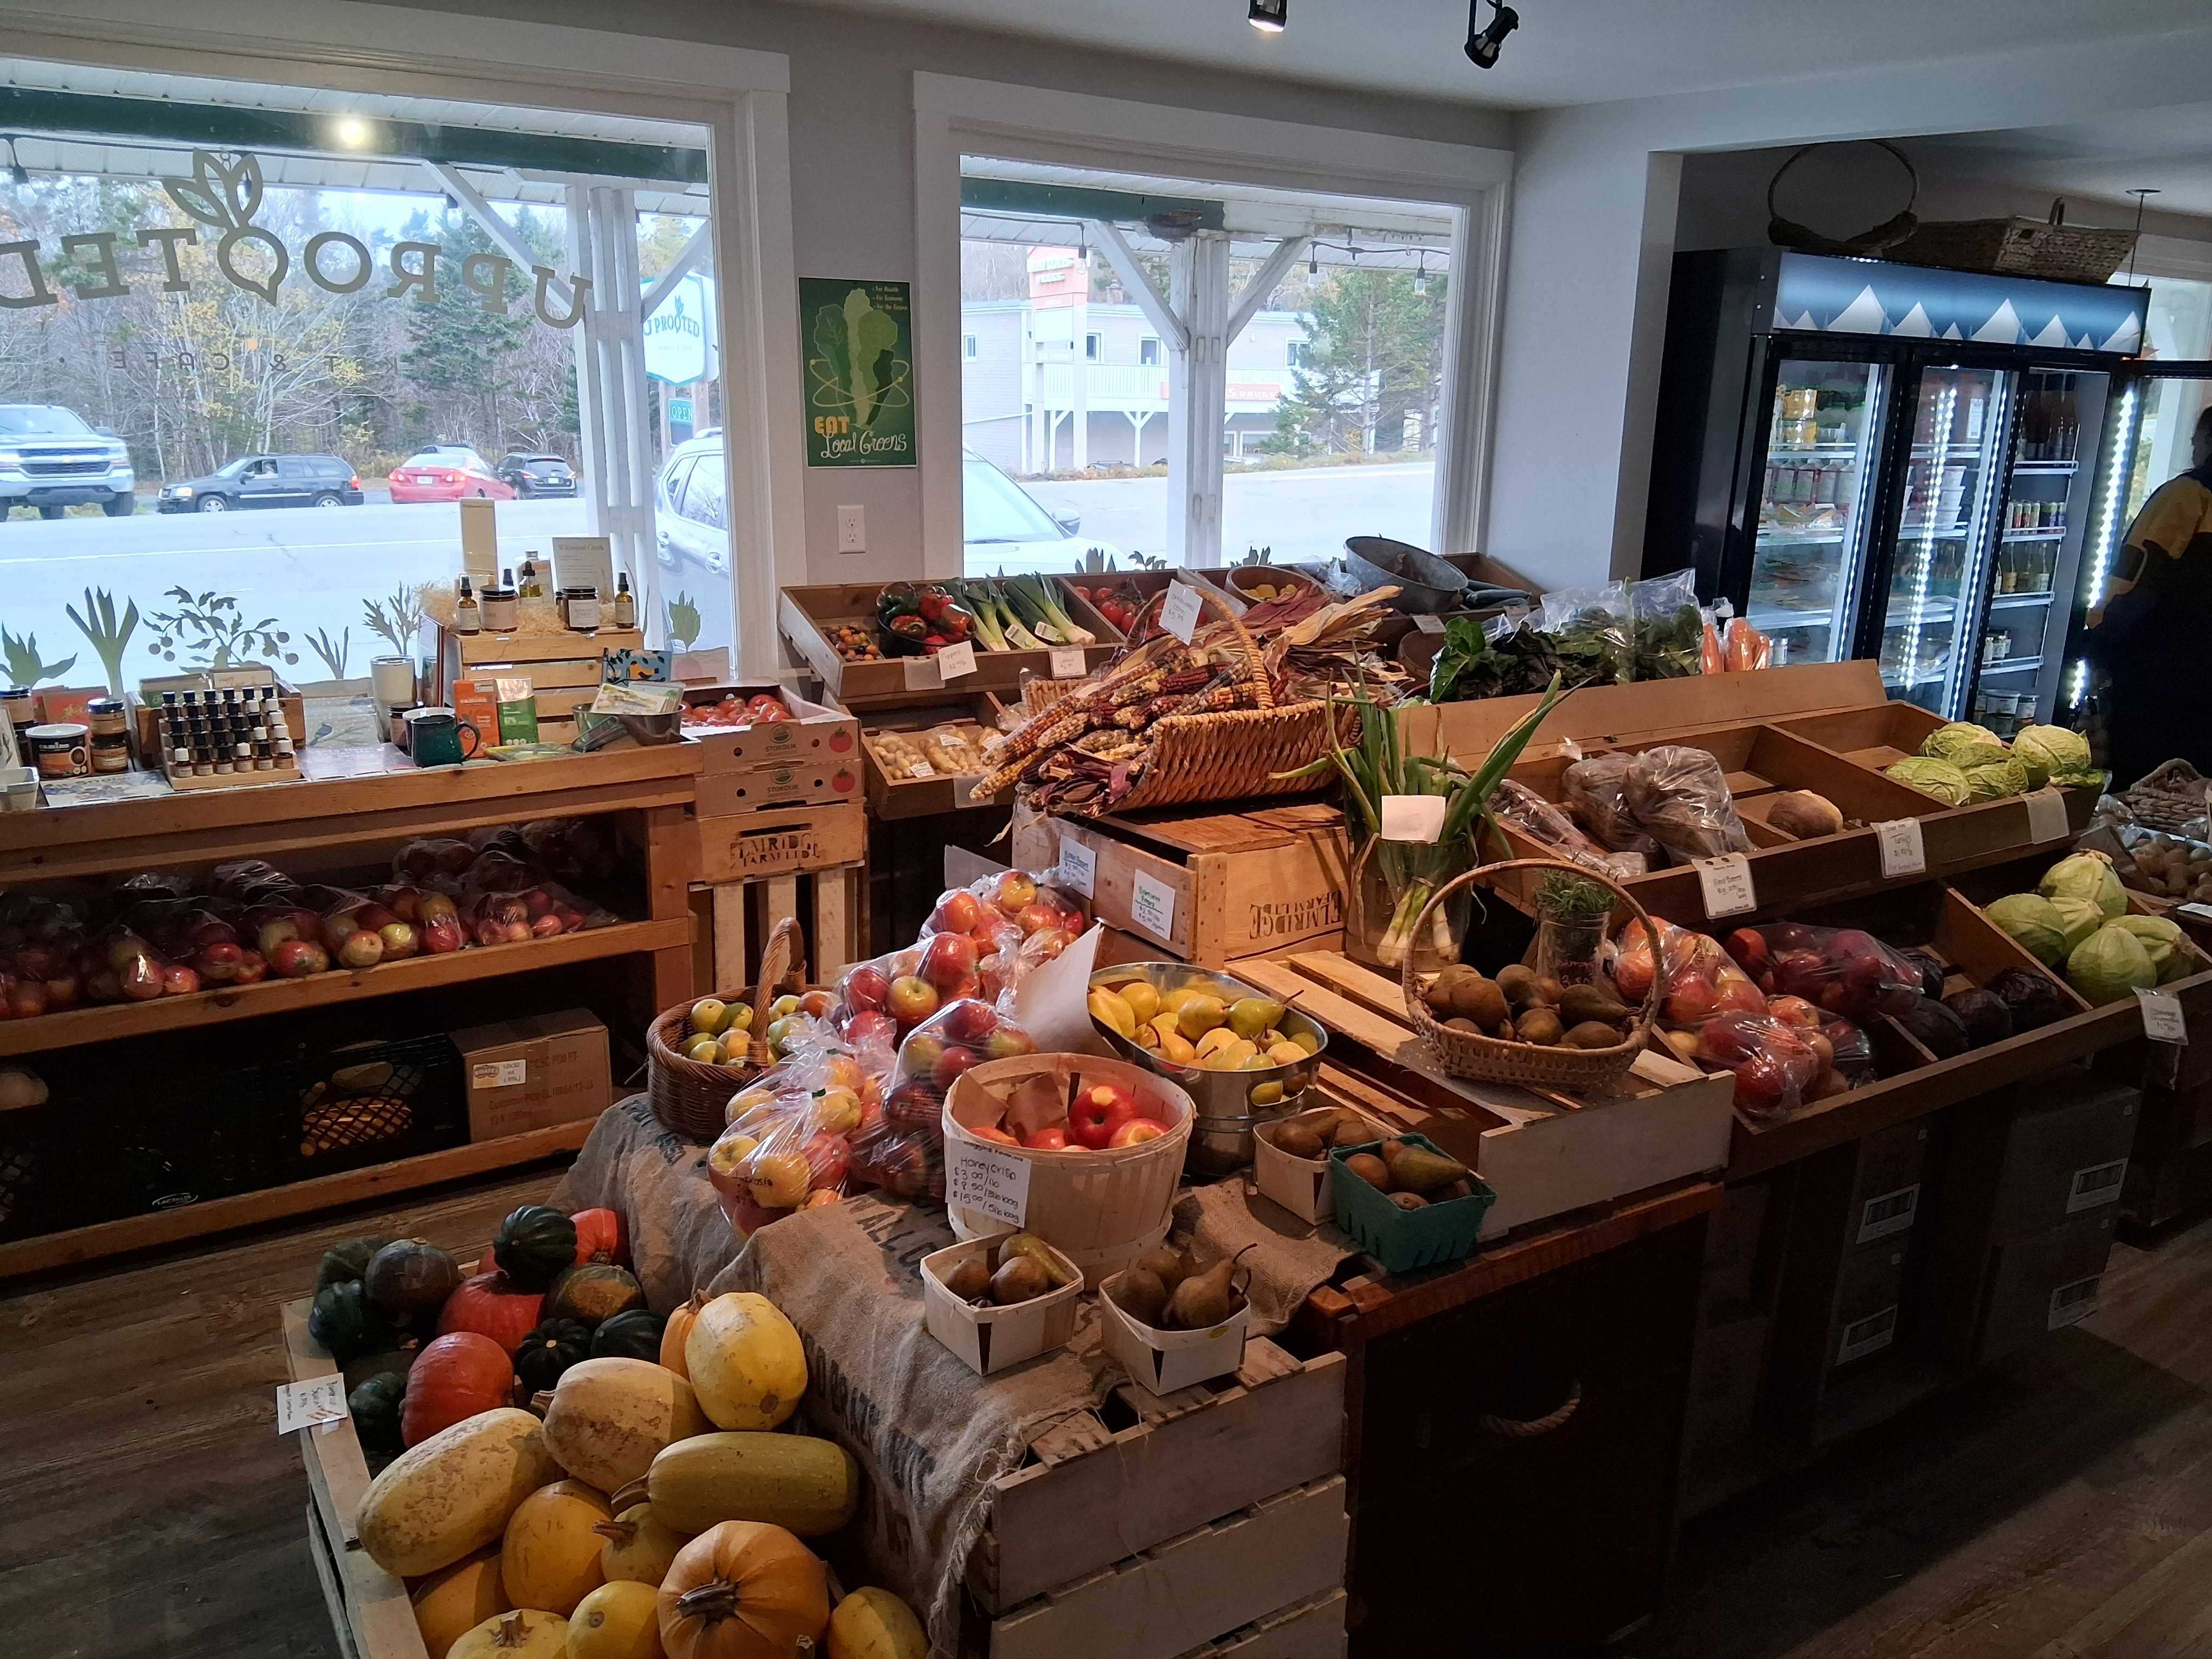
Drove over to the east shore beaches north of Dartmouth where Karl surfs. Good waves but too much wind, so we stopped at the Rose & Rooster for coffee and brownies. Went a little further to the tiny village of Musquodoboit Harbour (“Musket-dob-it”) about 45 km. from Halifax to turn around and grab some fresh, locally grown produce at Uprooted, the local grocery store. [All photos ![]() Max Vollmer, Click on any image to enlarge]
Max Vollmer, Click on any image to enlarge]
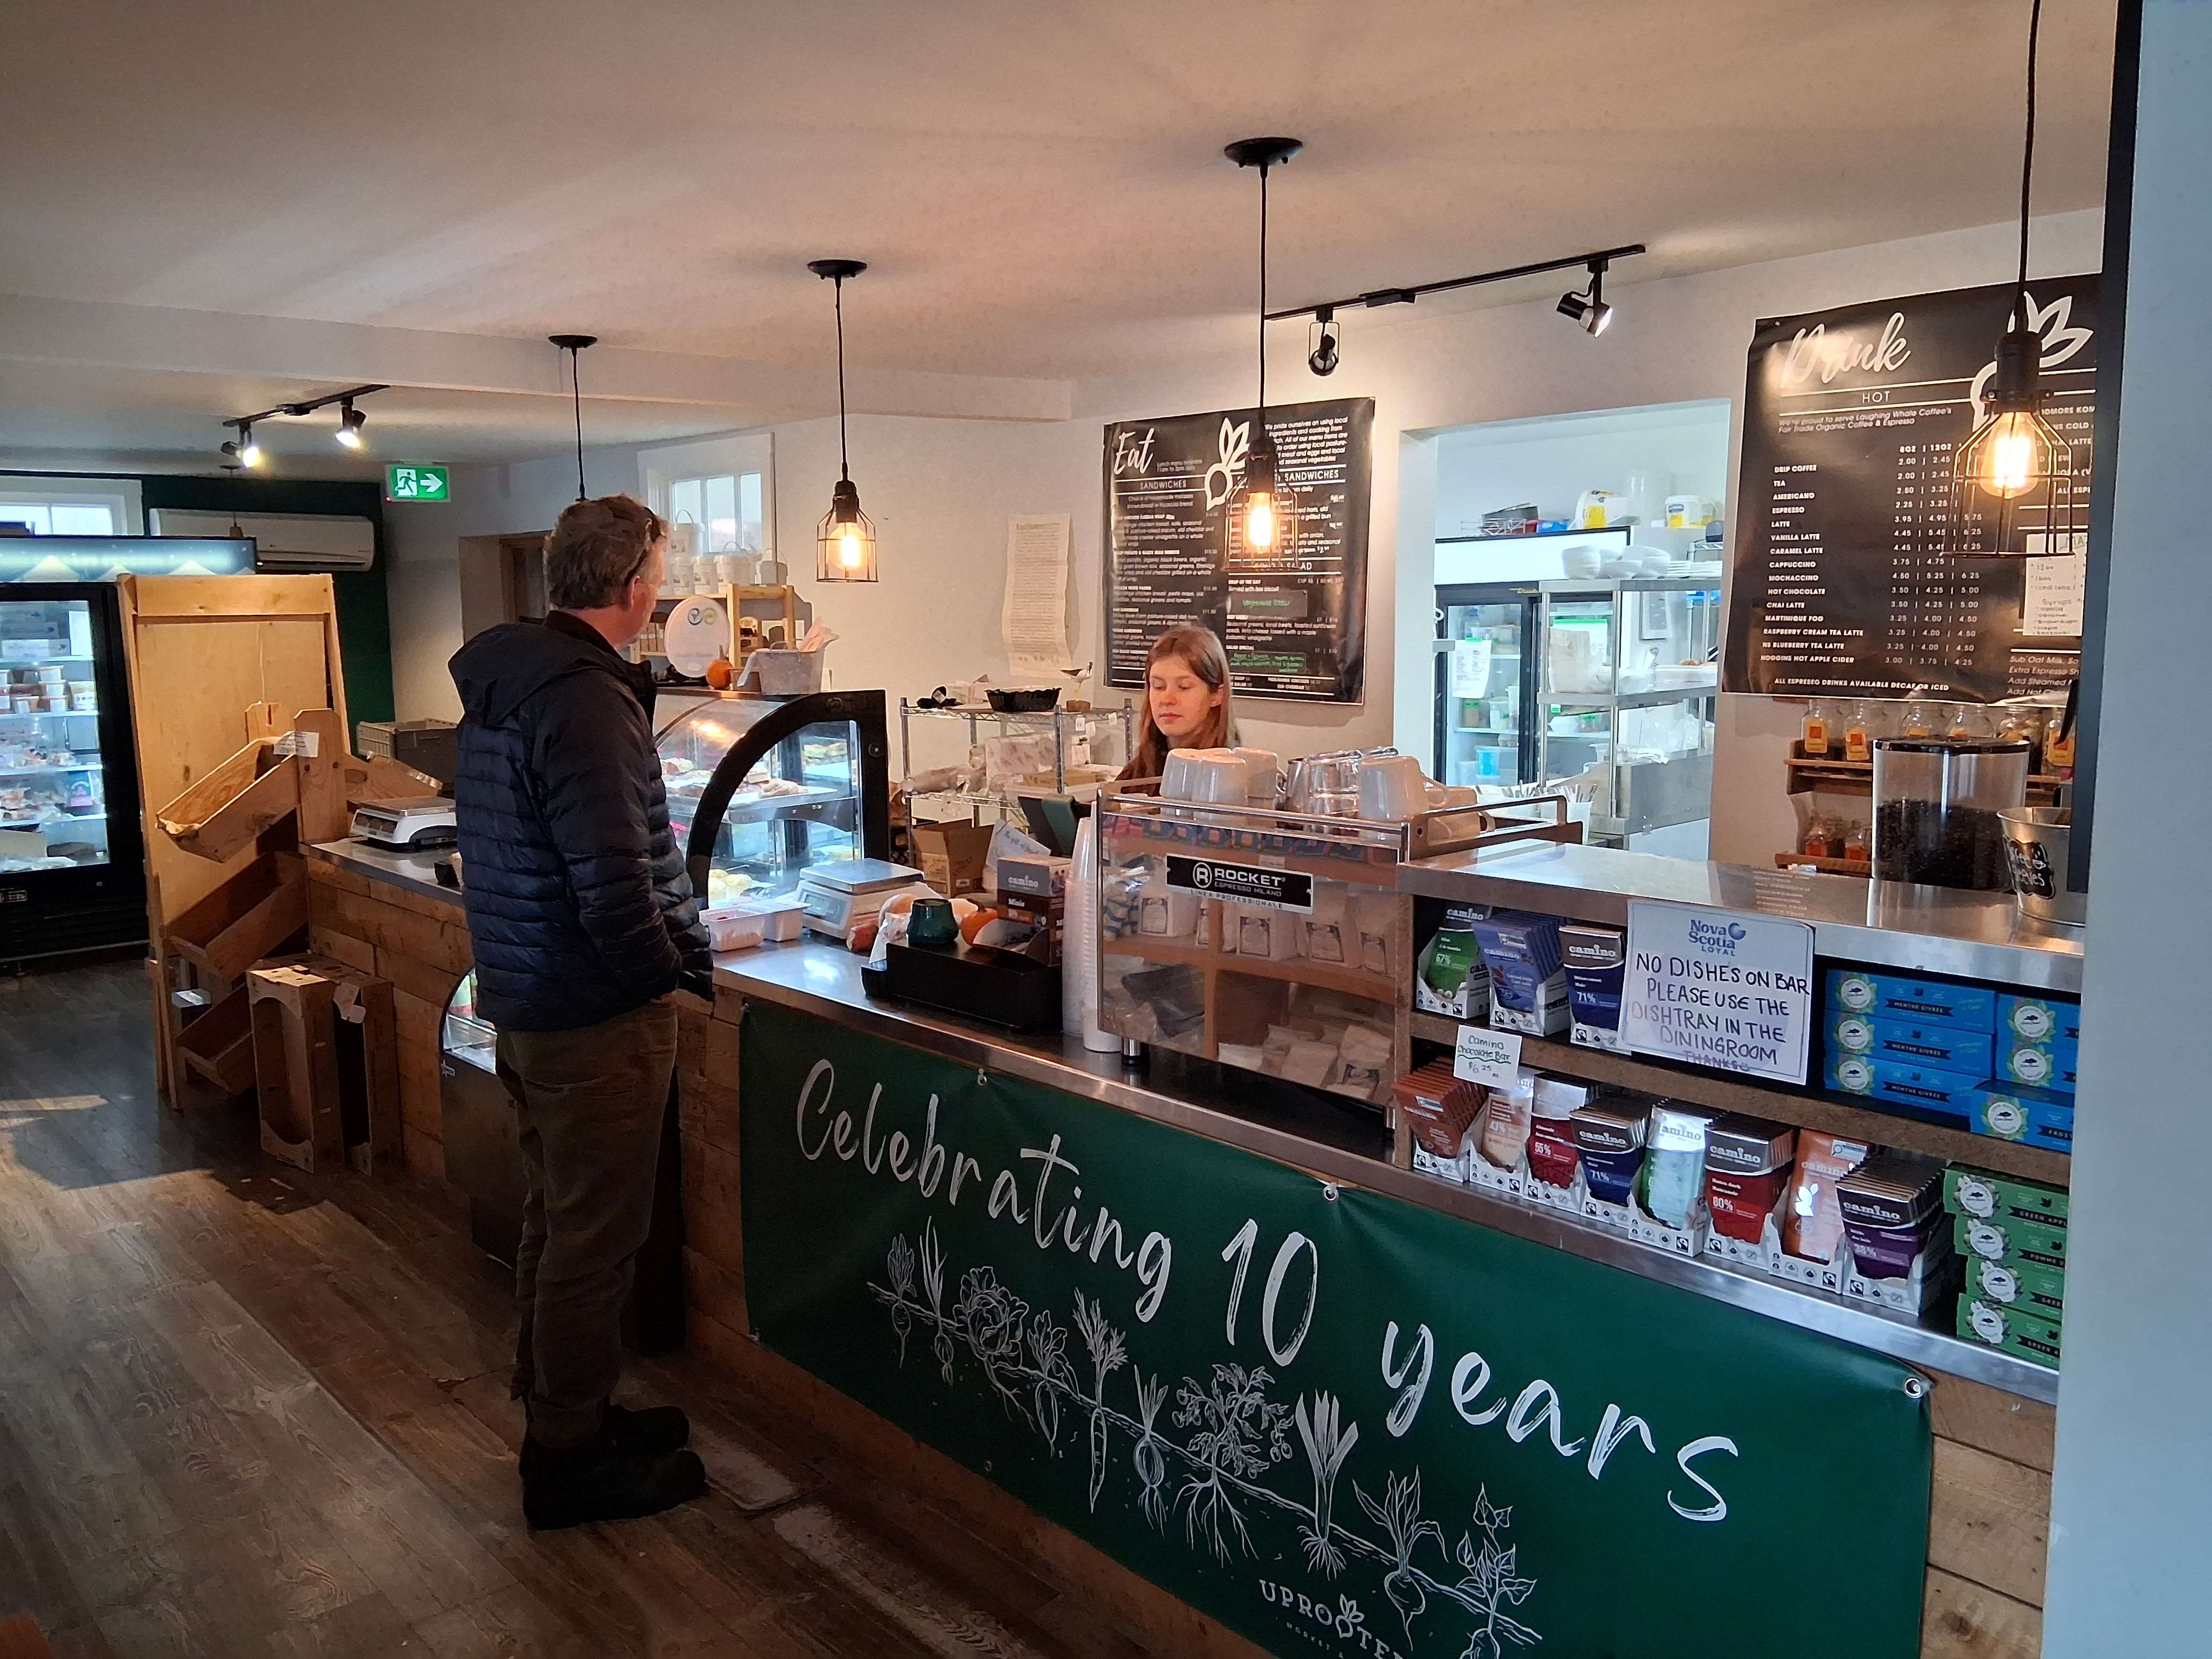
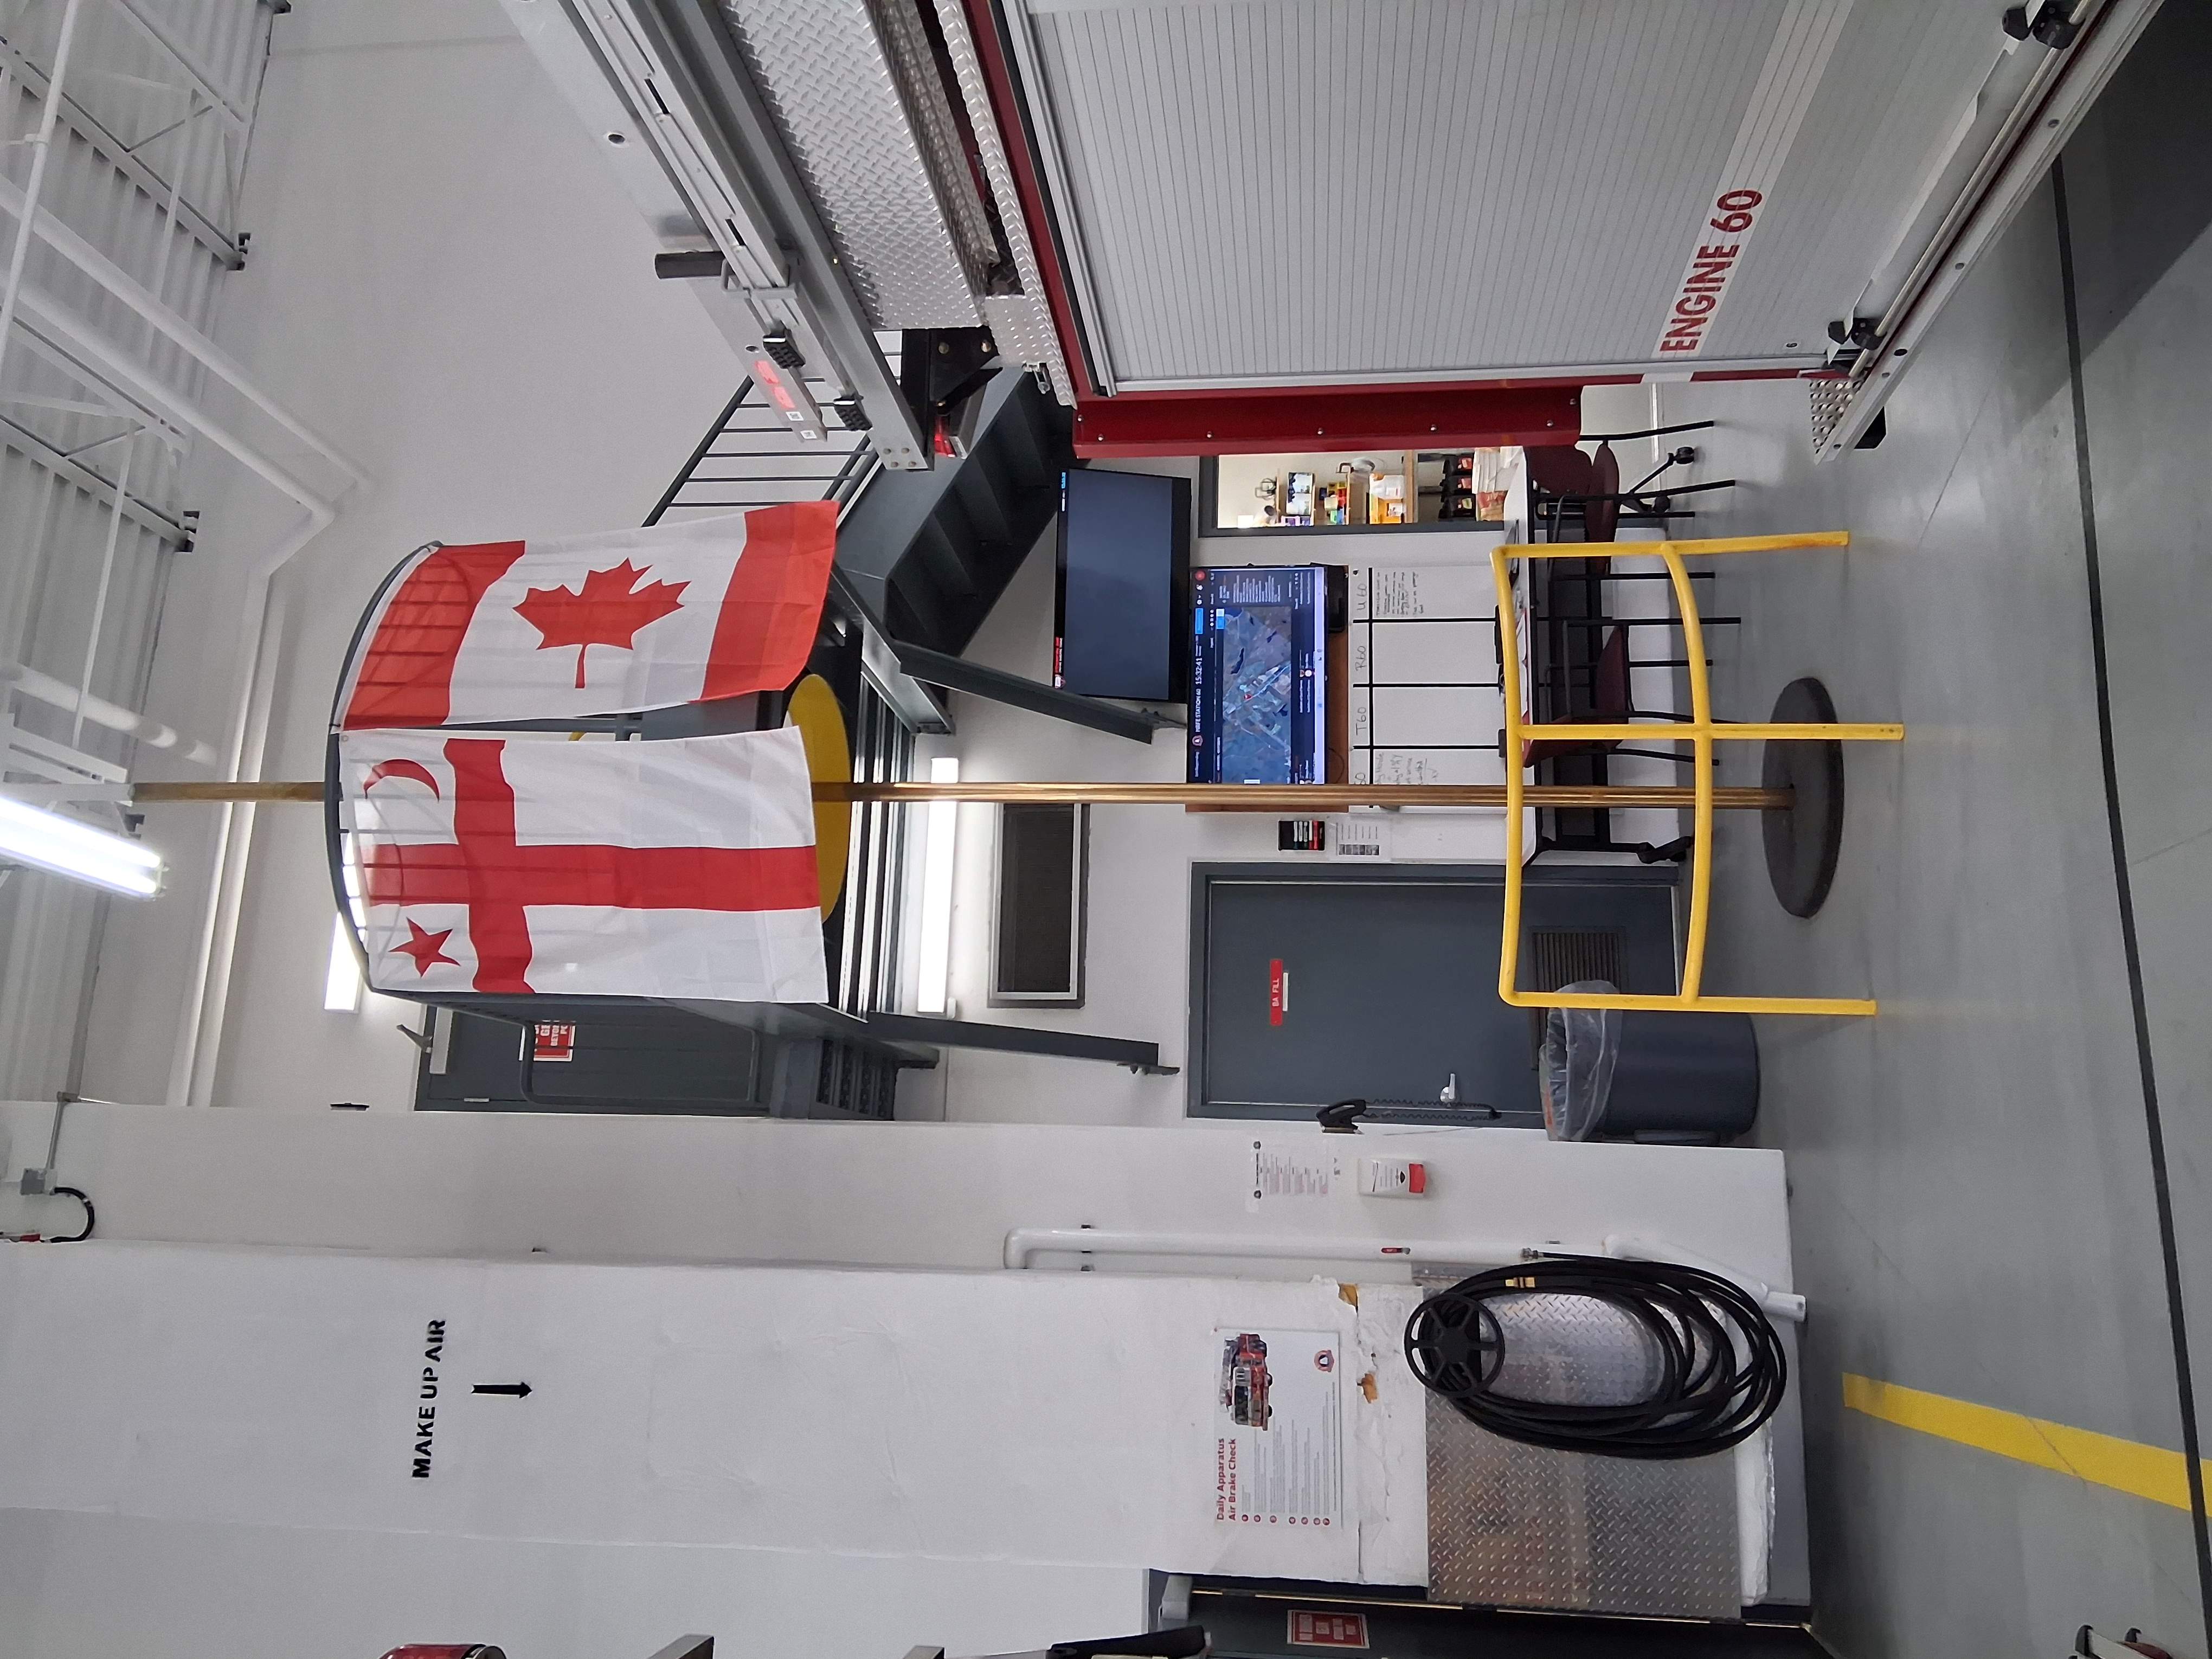
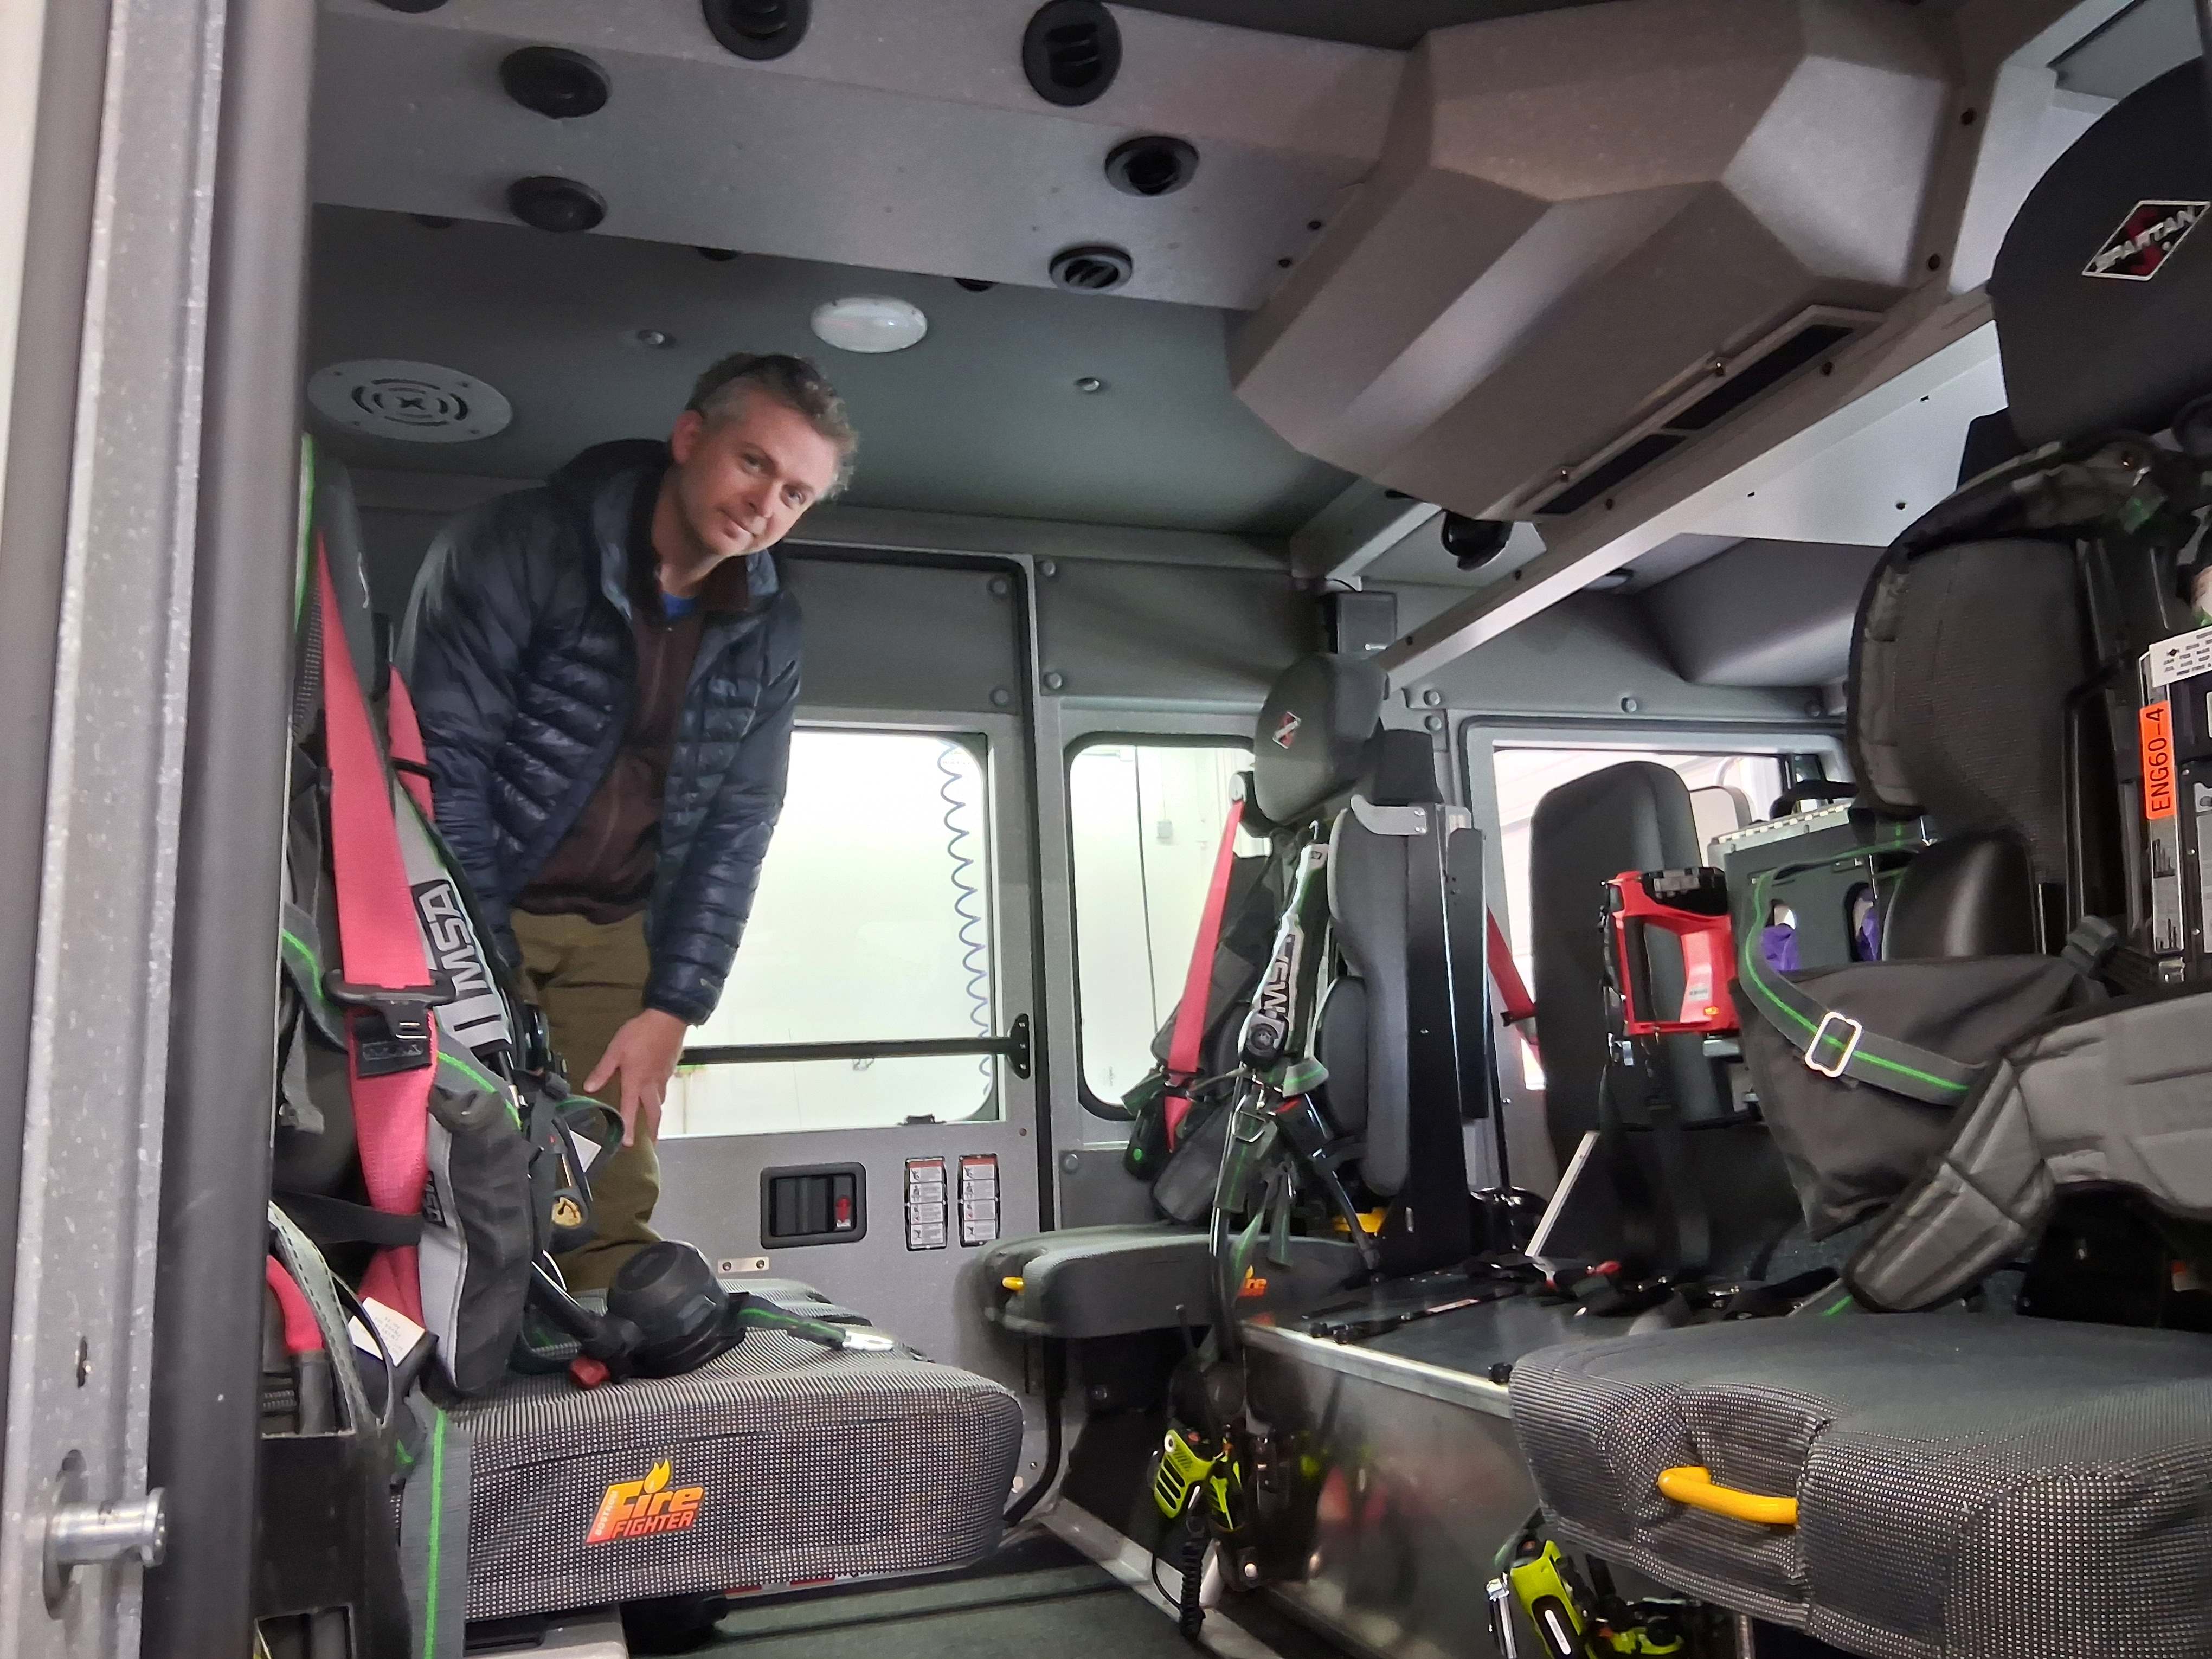
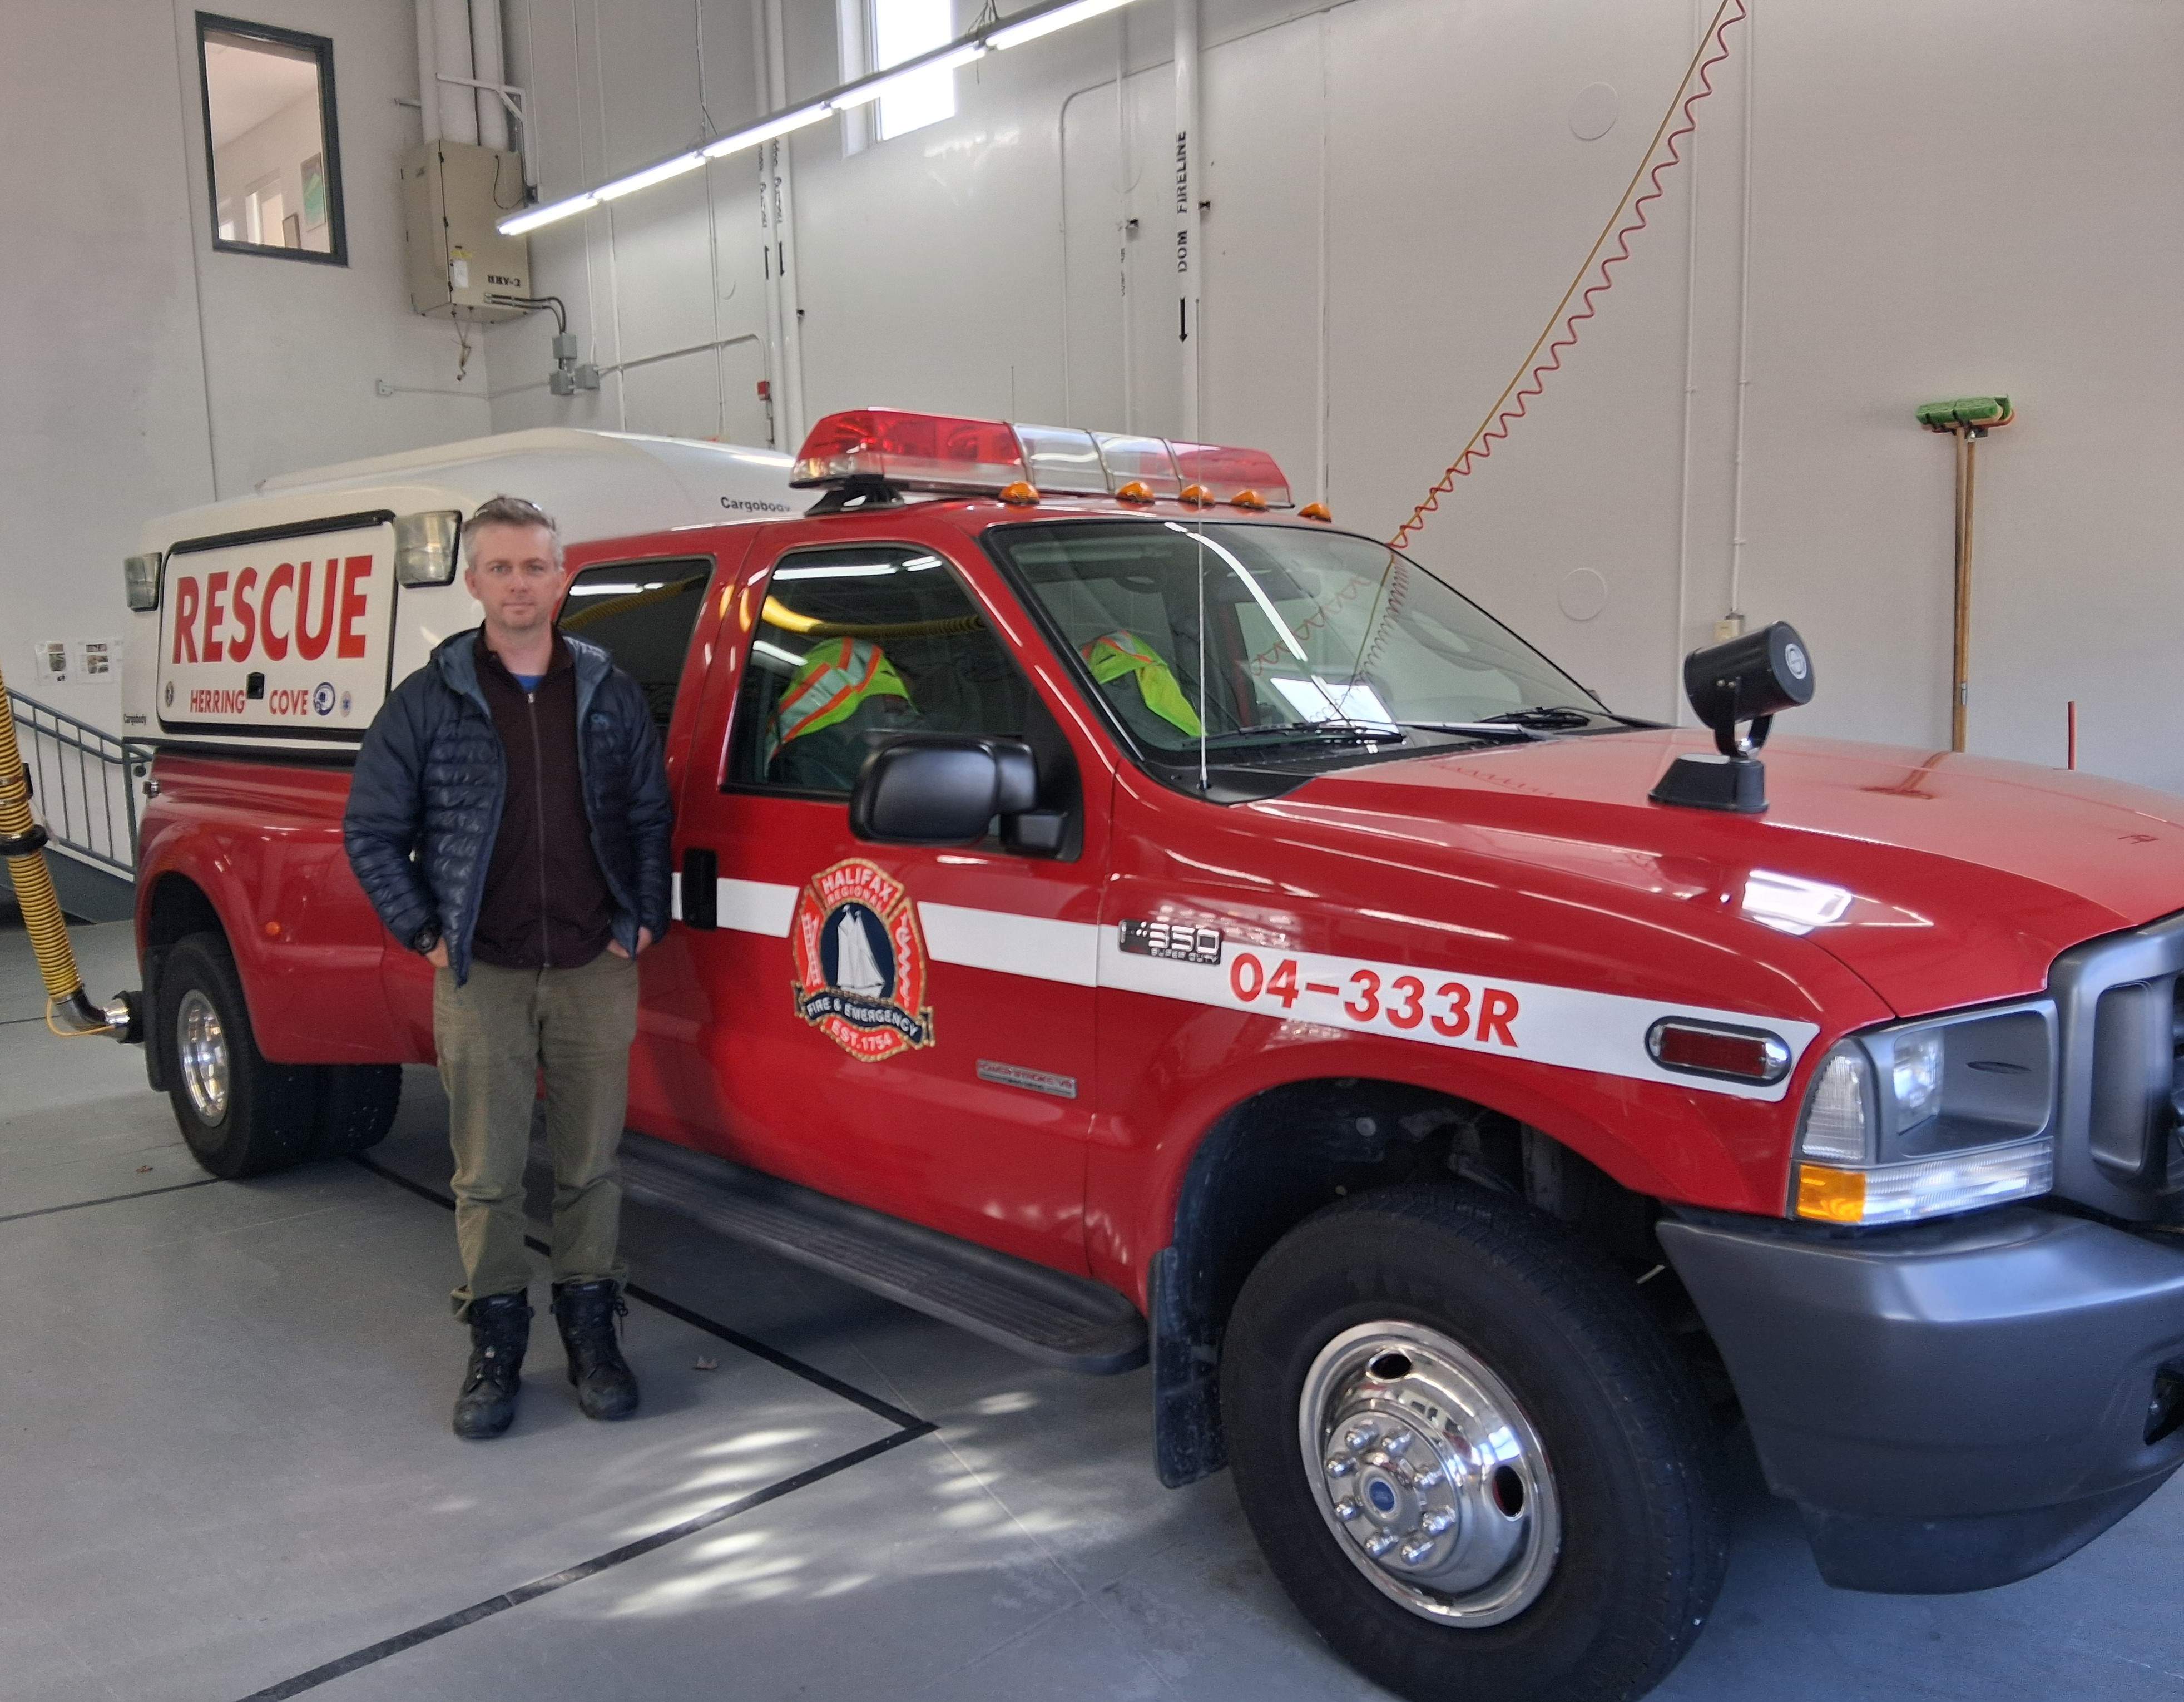
On the way back to Halifax we stopped at the Herrick Cove Volunteer Fire Station where my son Karl is the Captain. The station has five salaried career firefighters who are on call 24-7 and twenty four volunteer firefighters who respond to calls as needed.
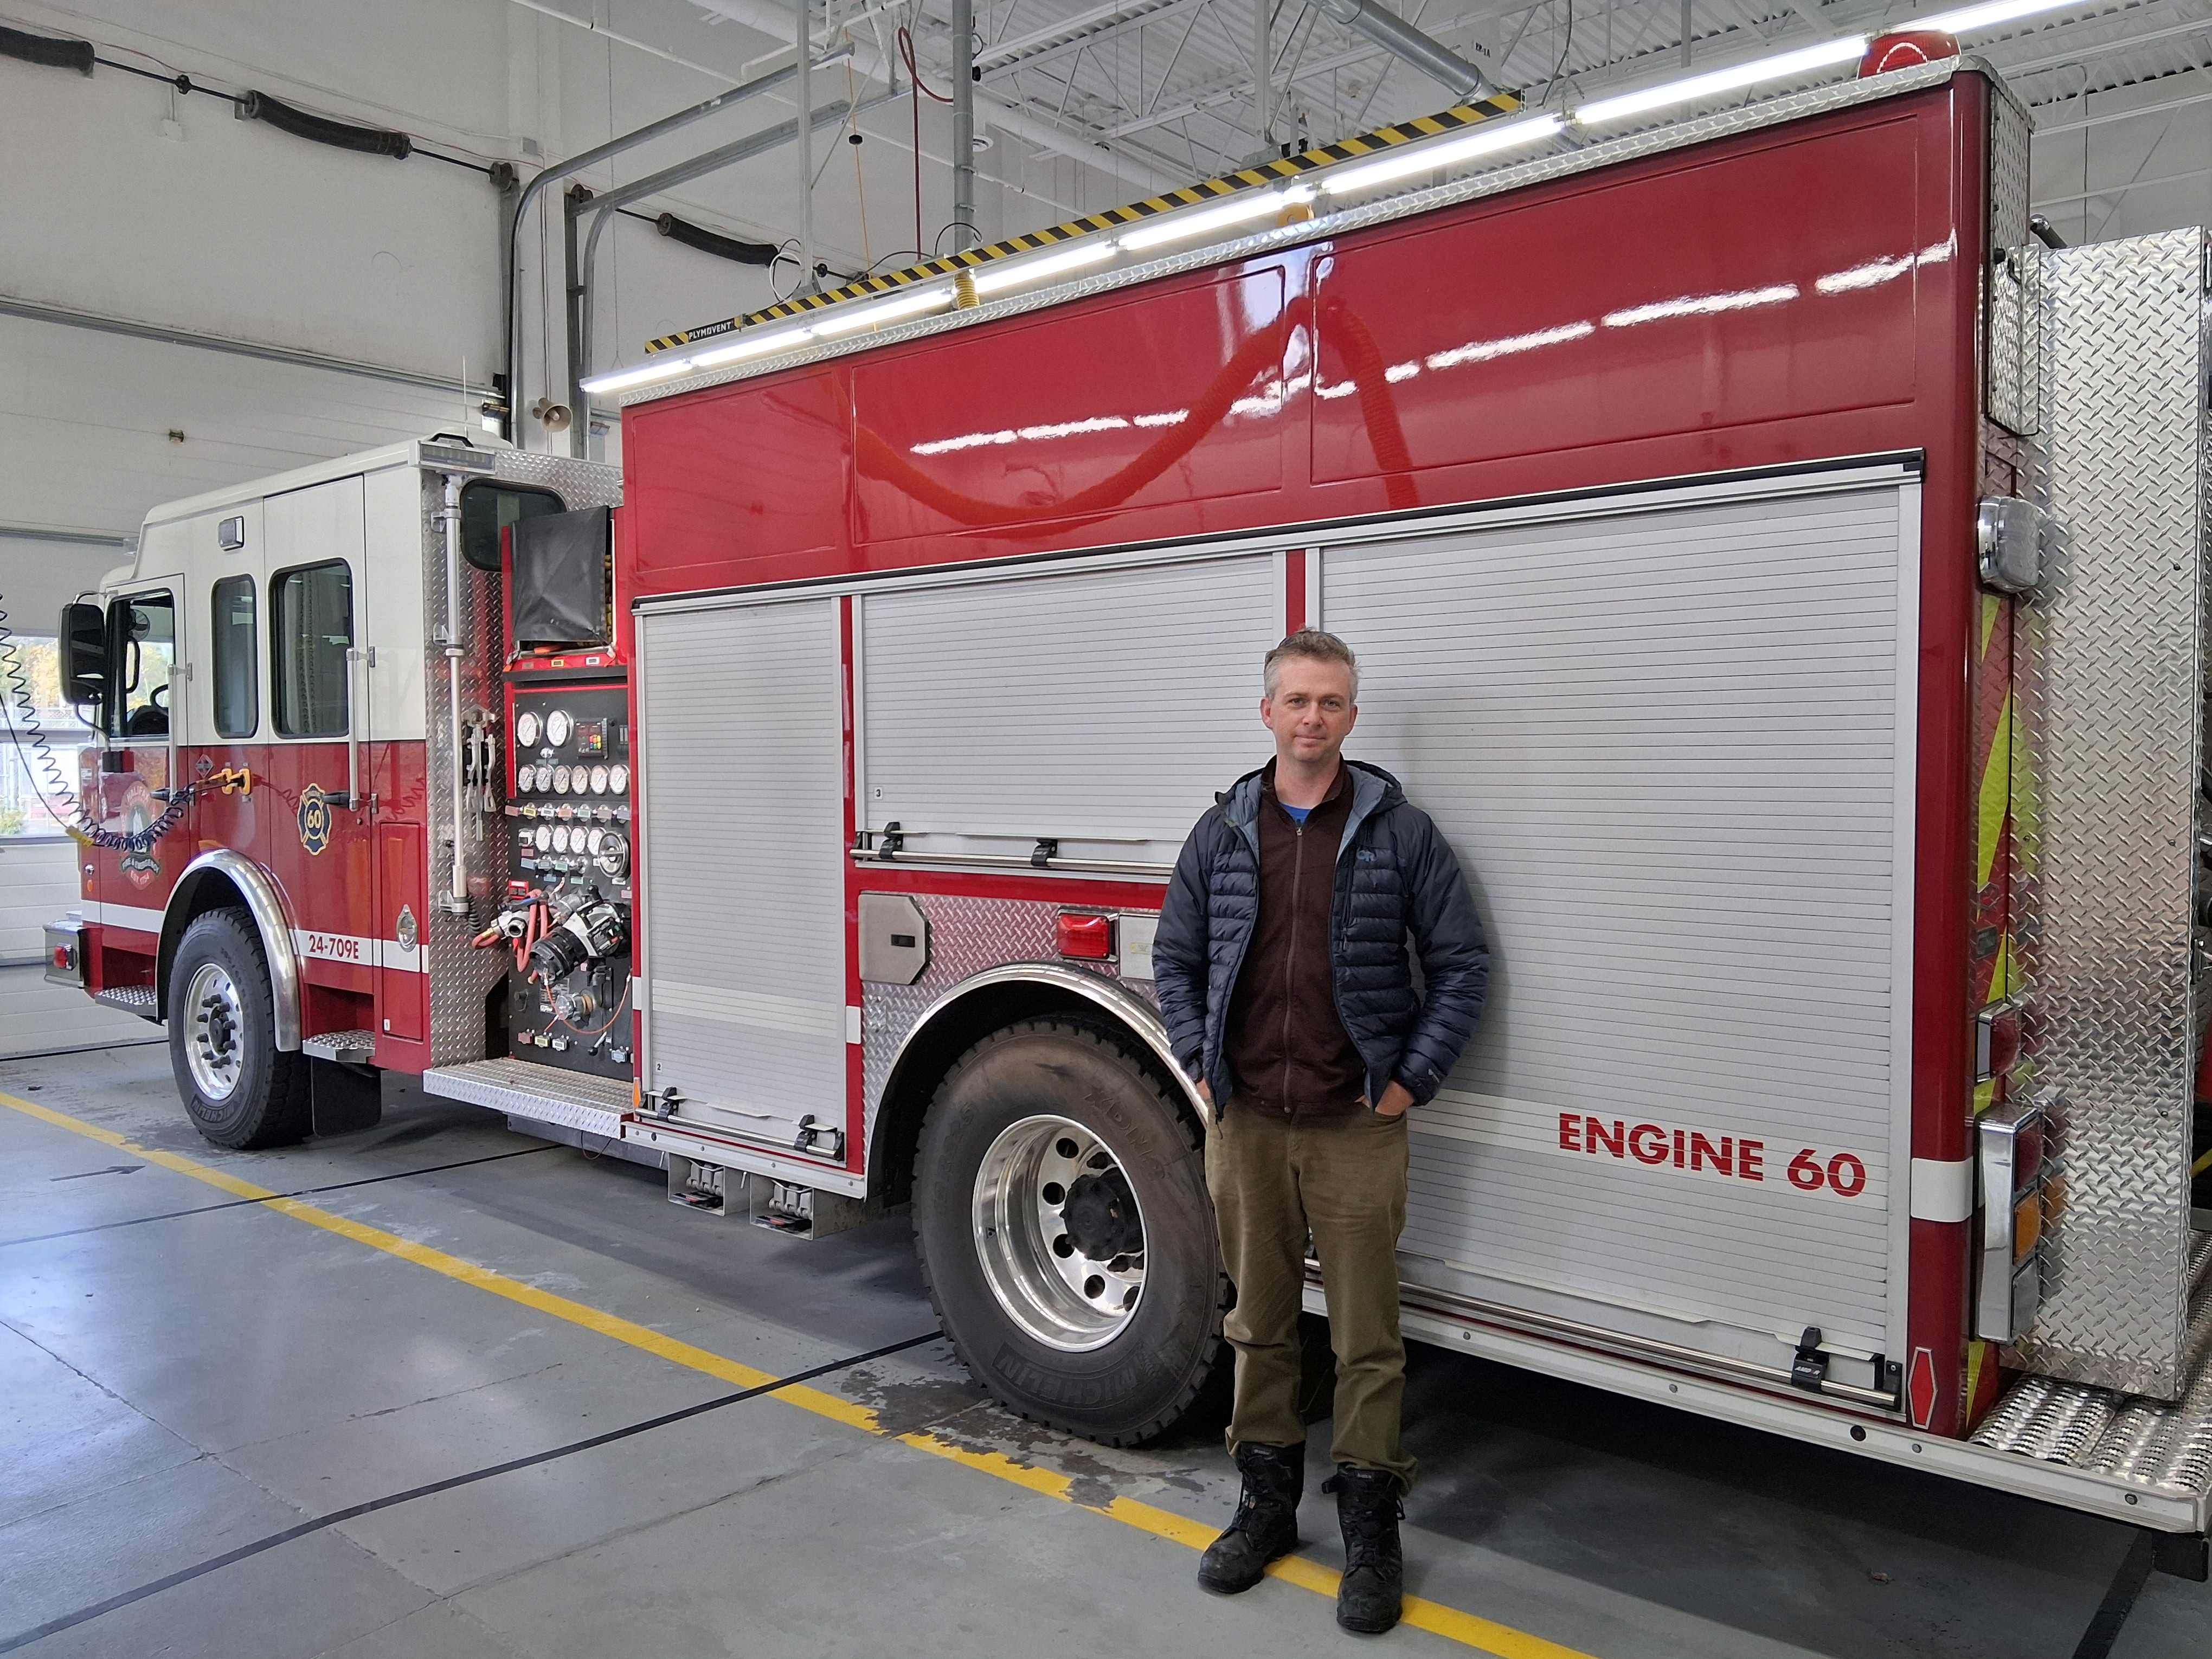
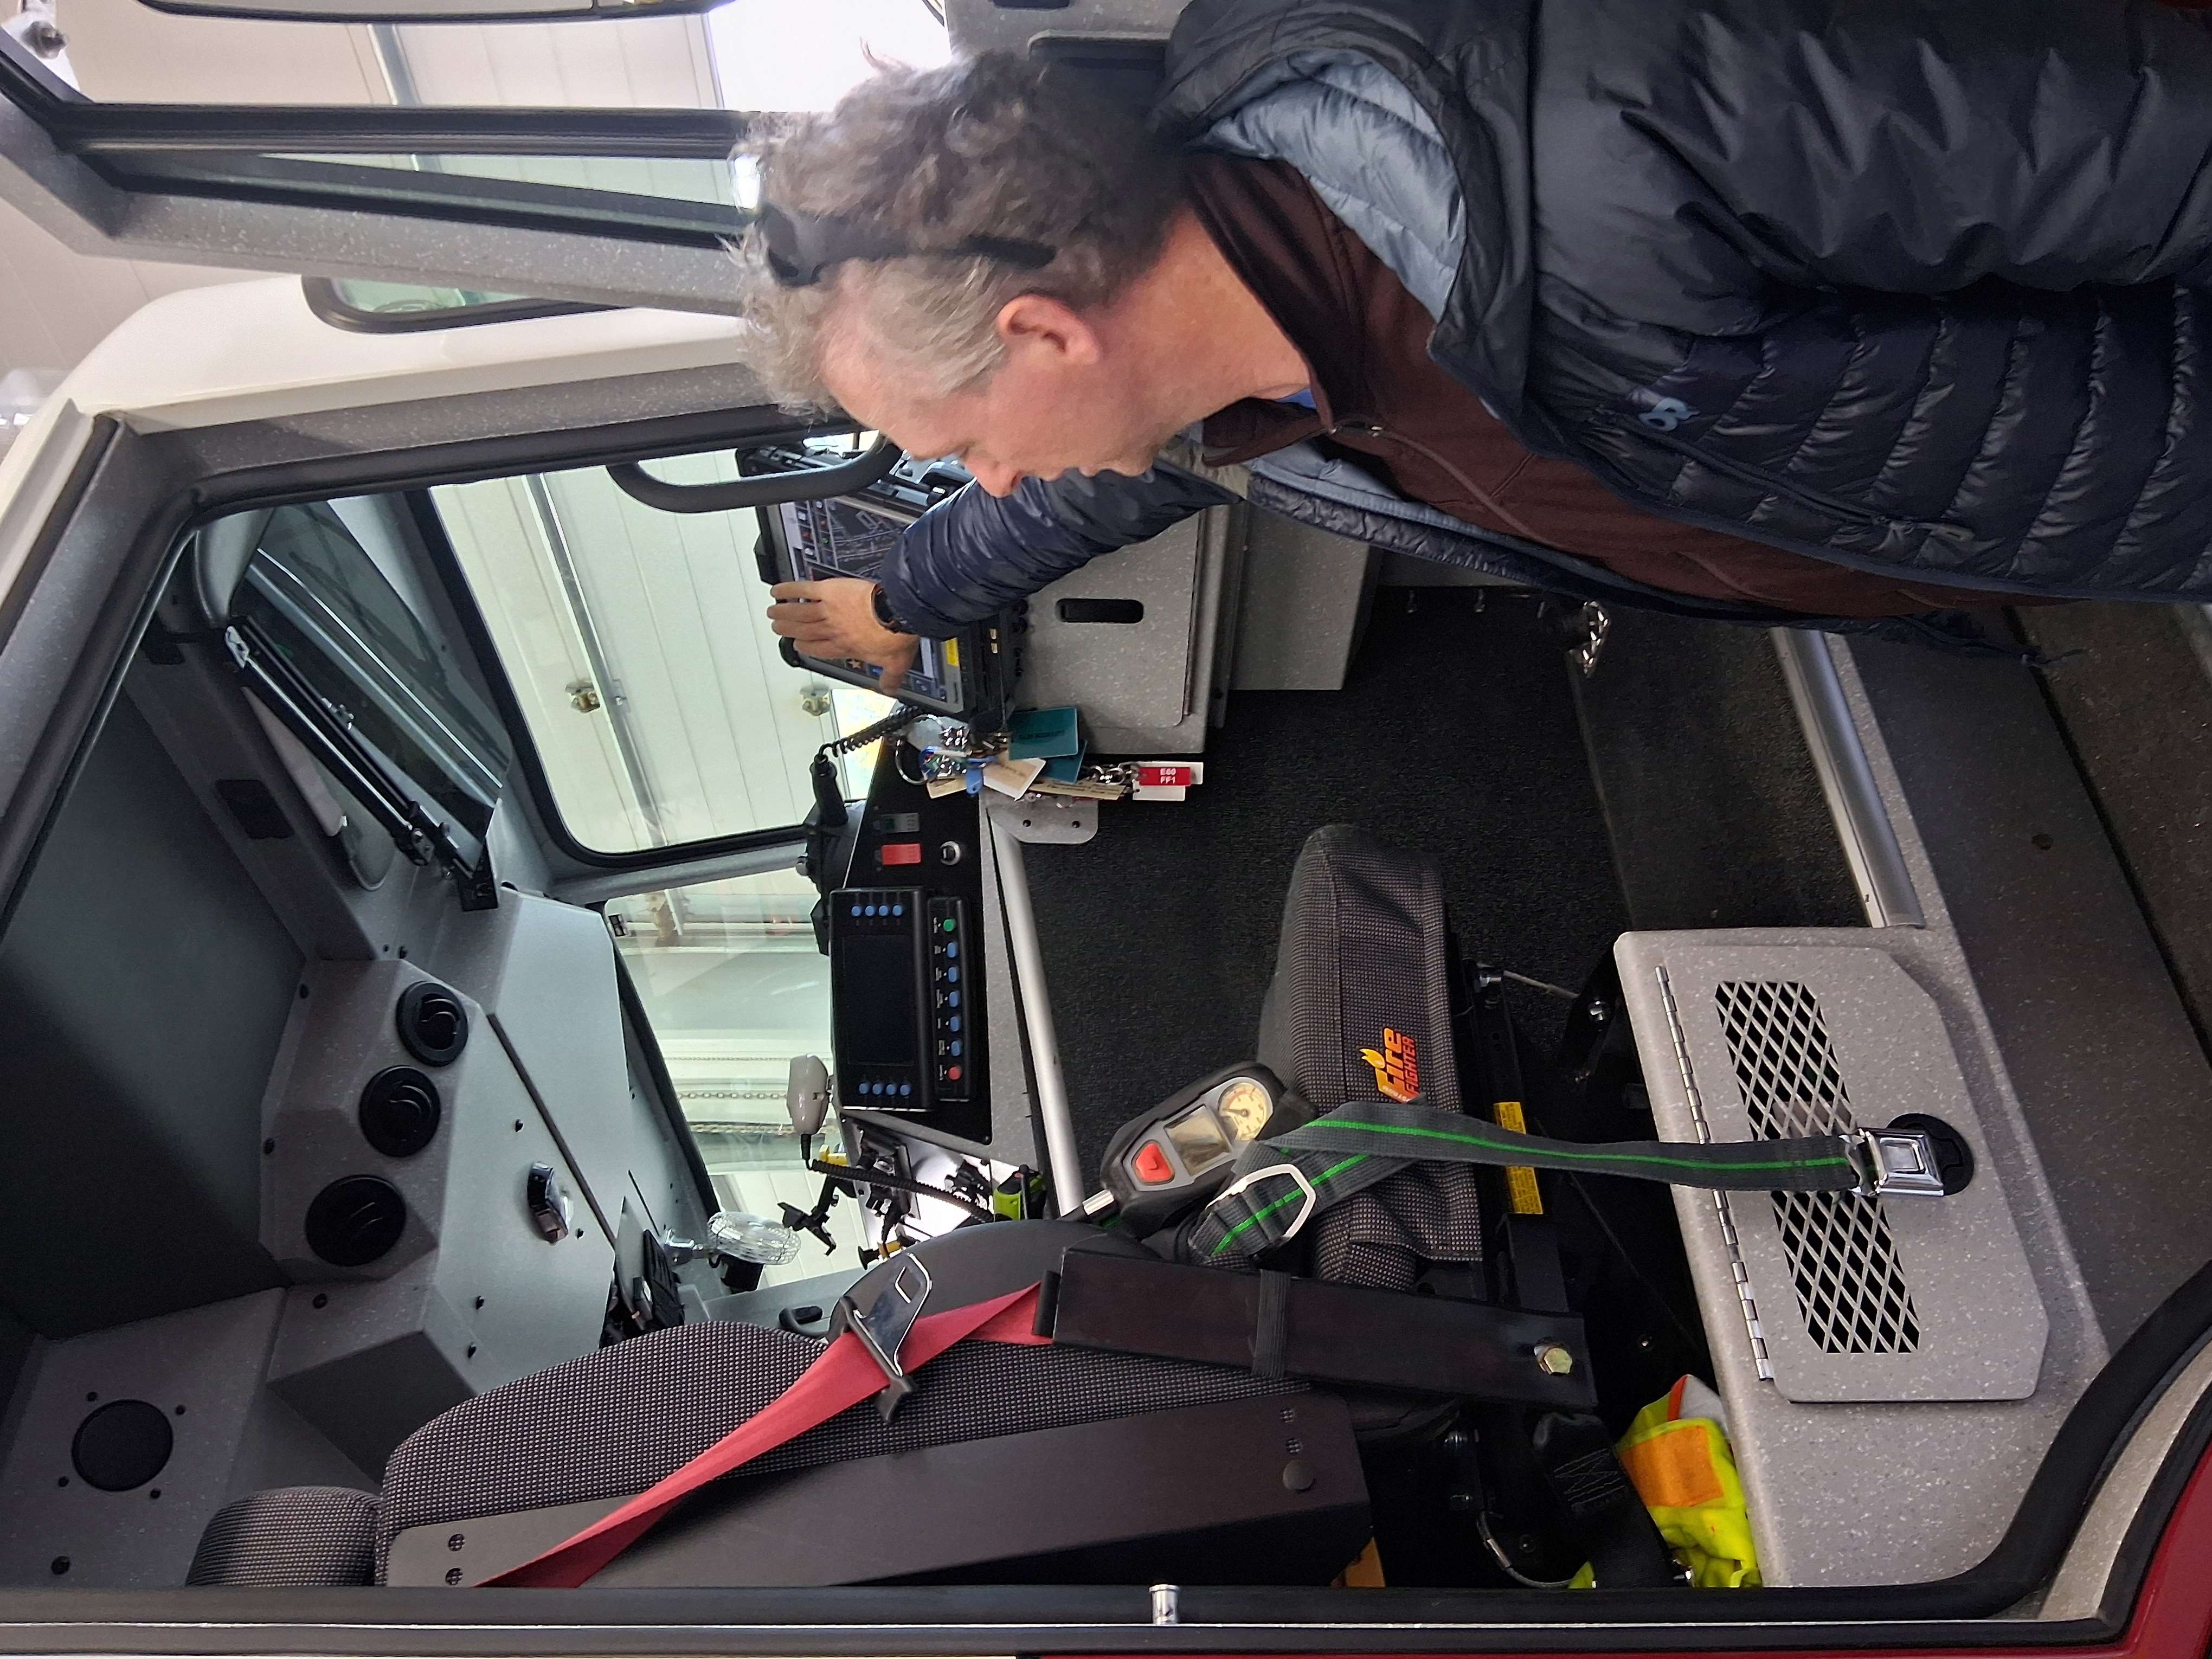
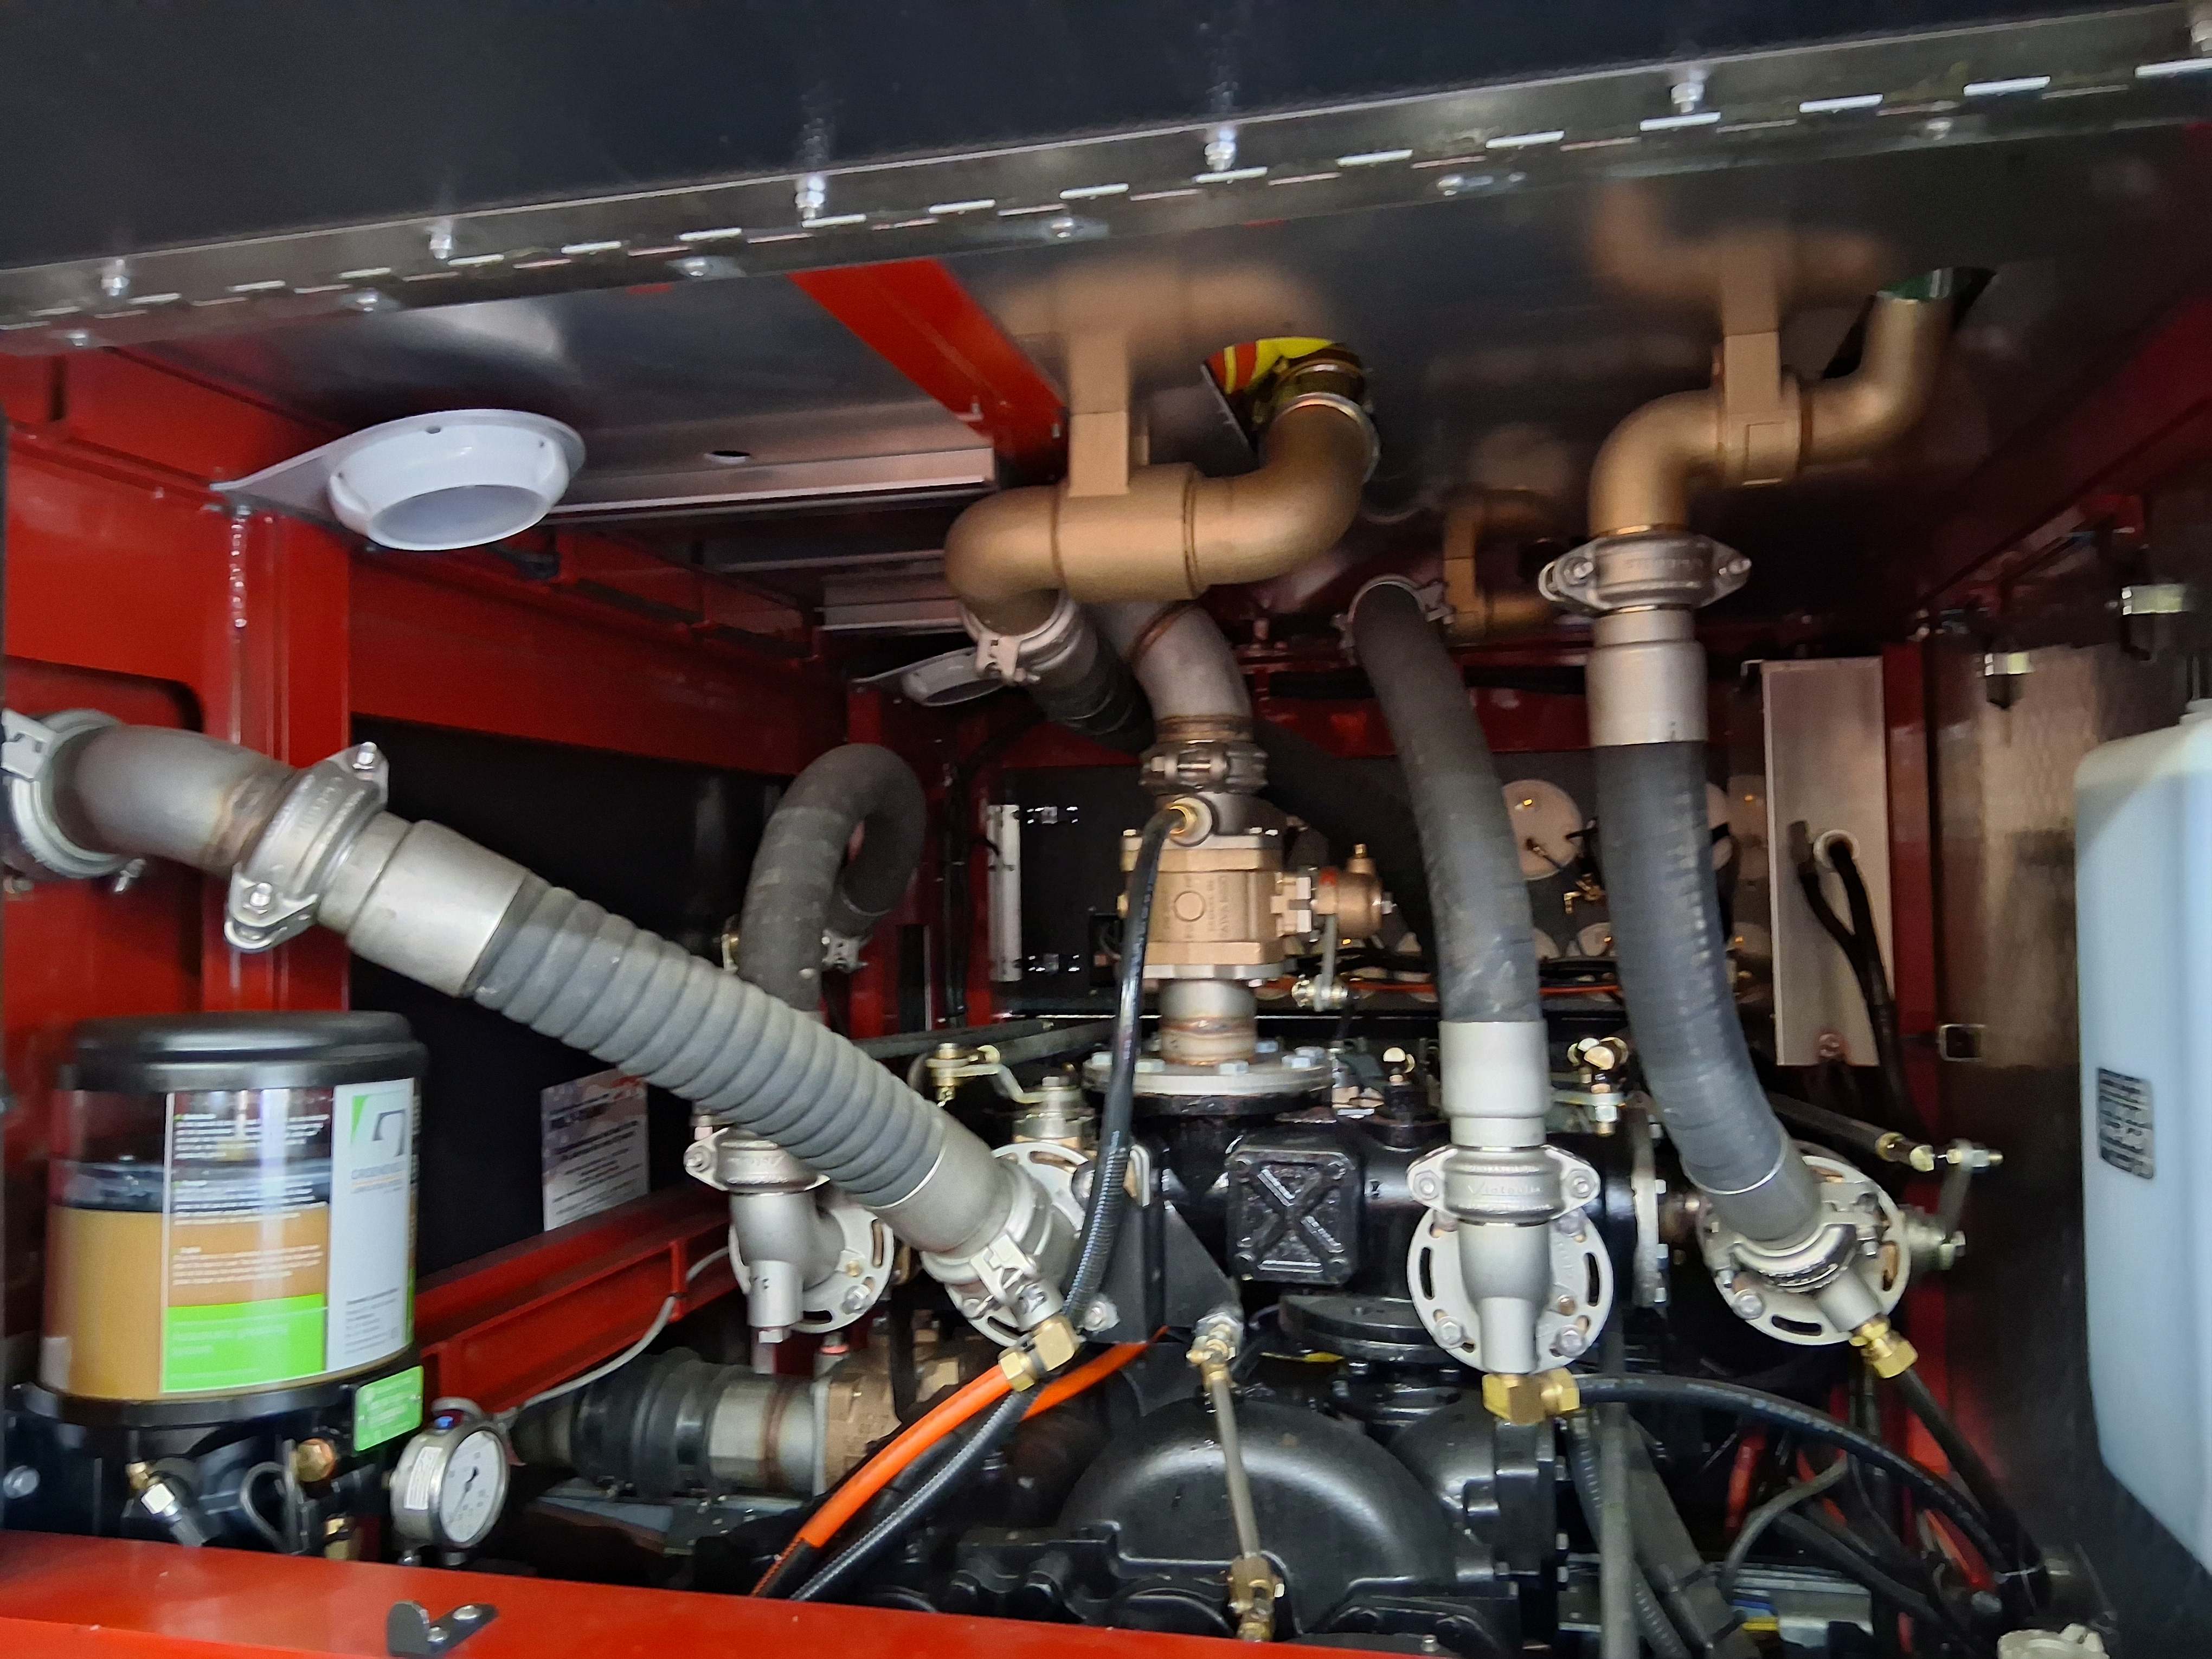
Engine 60 is only 3~4 months old, cost approx. $750,000, and is the workhorse with the pump that feeds up to four hoses. The captain rides in the right front seat with a driver who does not leave the truck. Four additional firefighters ride in the crew cab where they gear up on the way to a fire. Engine 60 carries oxygen tanks for crew, fire hose, and specialty tools like chain saws, “jaws of life,” etc.
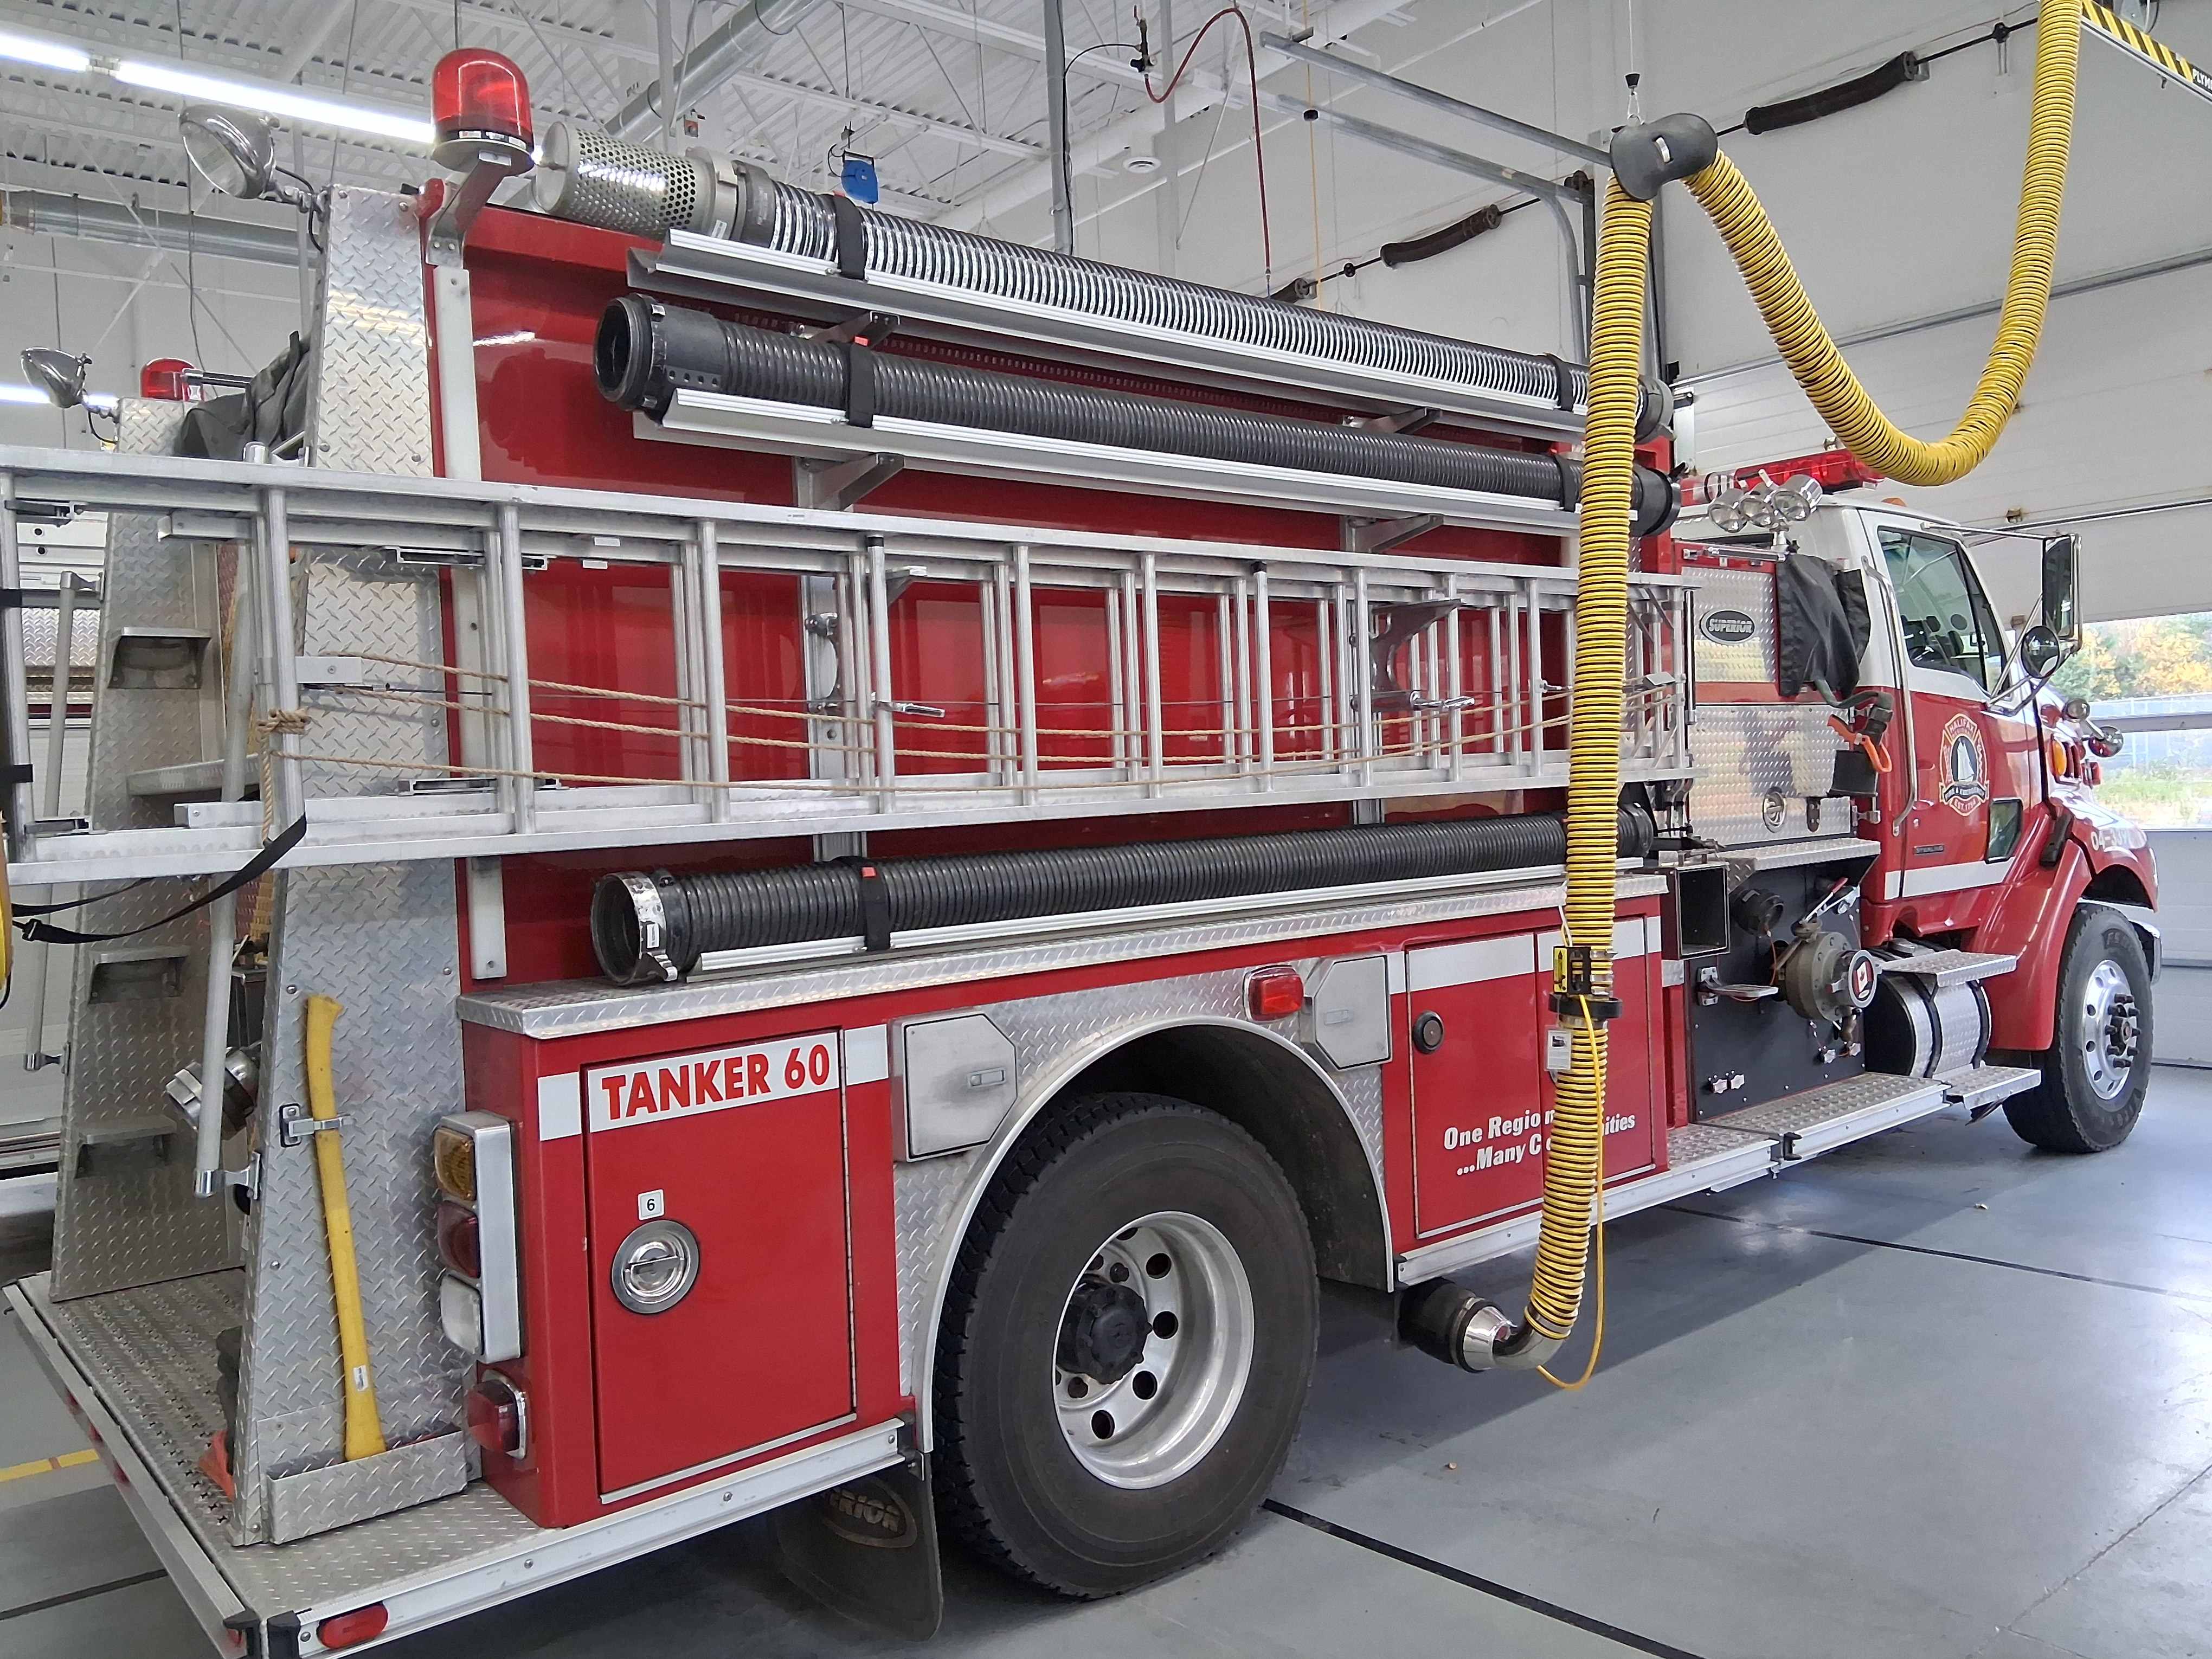
Tanker 60 carries approx. 1200 gal. of water, 1.5 km. of fire hose, and a two ladders, one of which is a 2-flight ladder that will support a fireman in full gear carrying a second person in the case of rescues from upper stories.
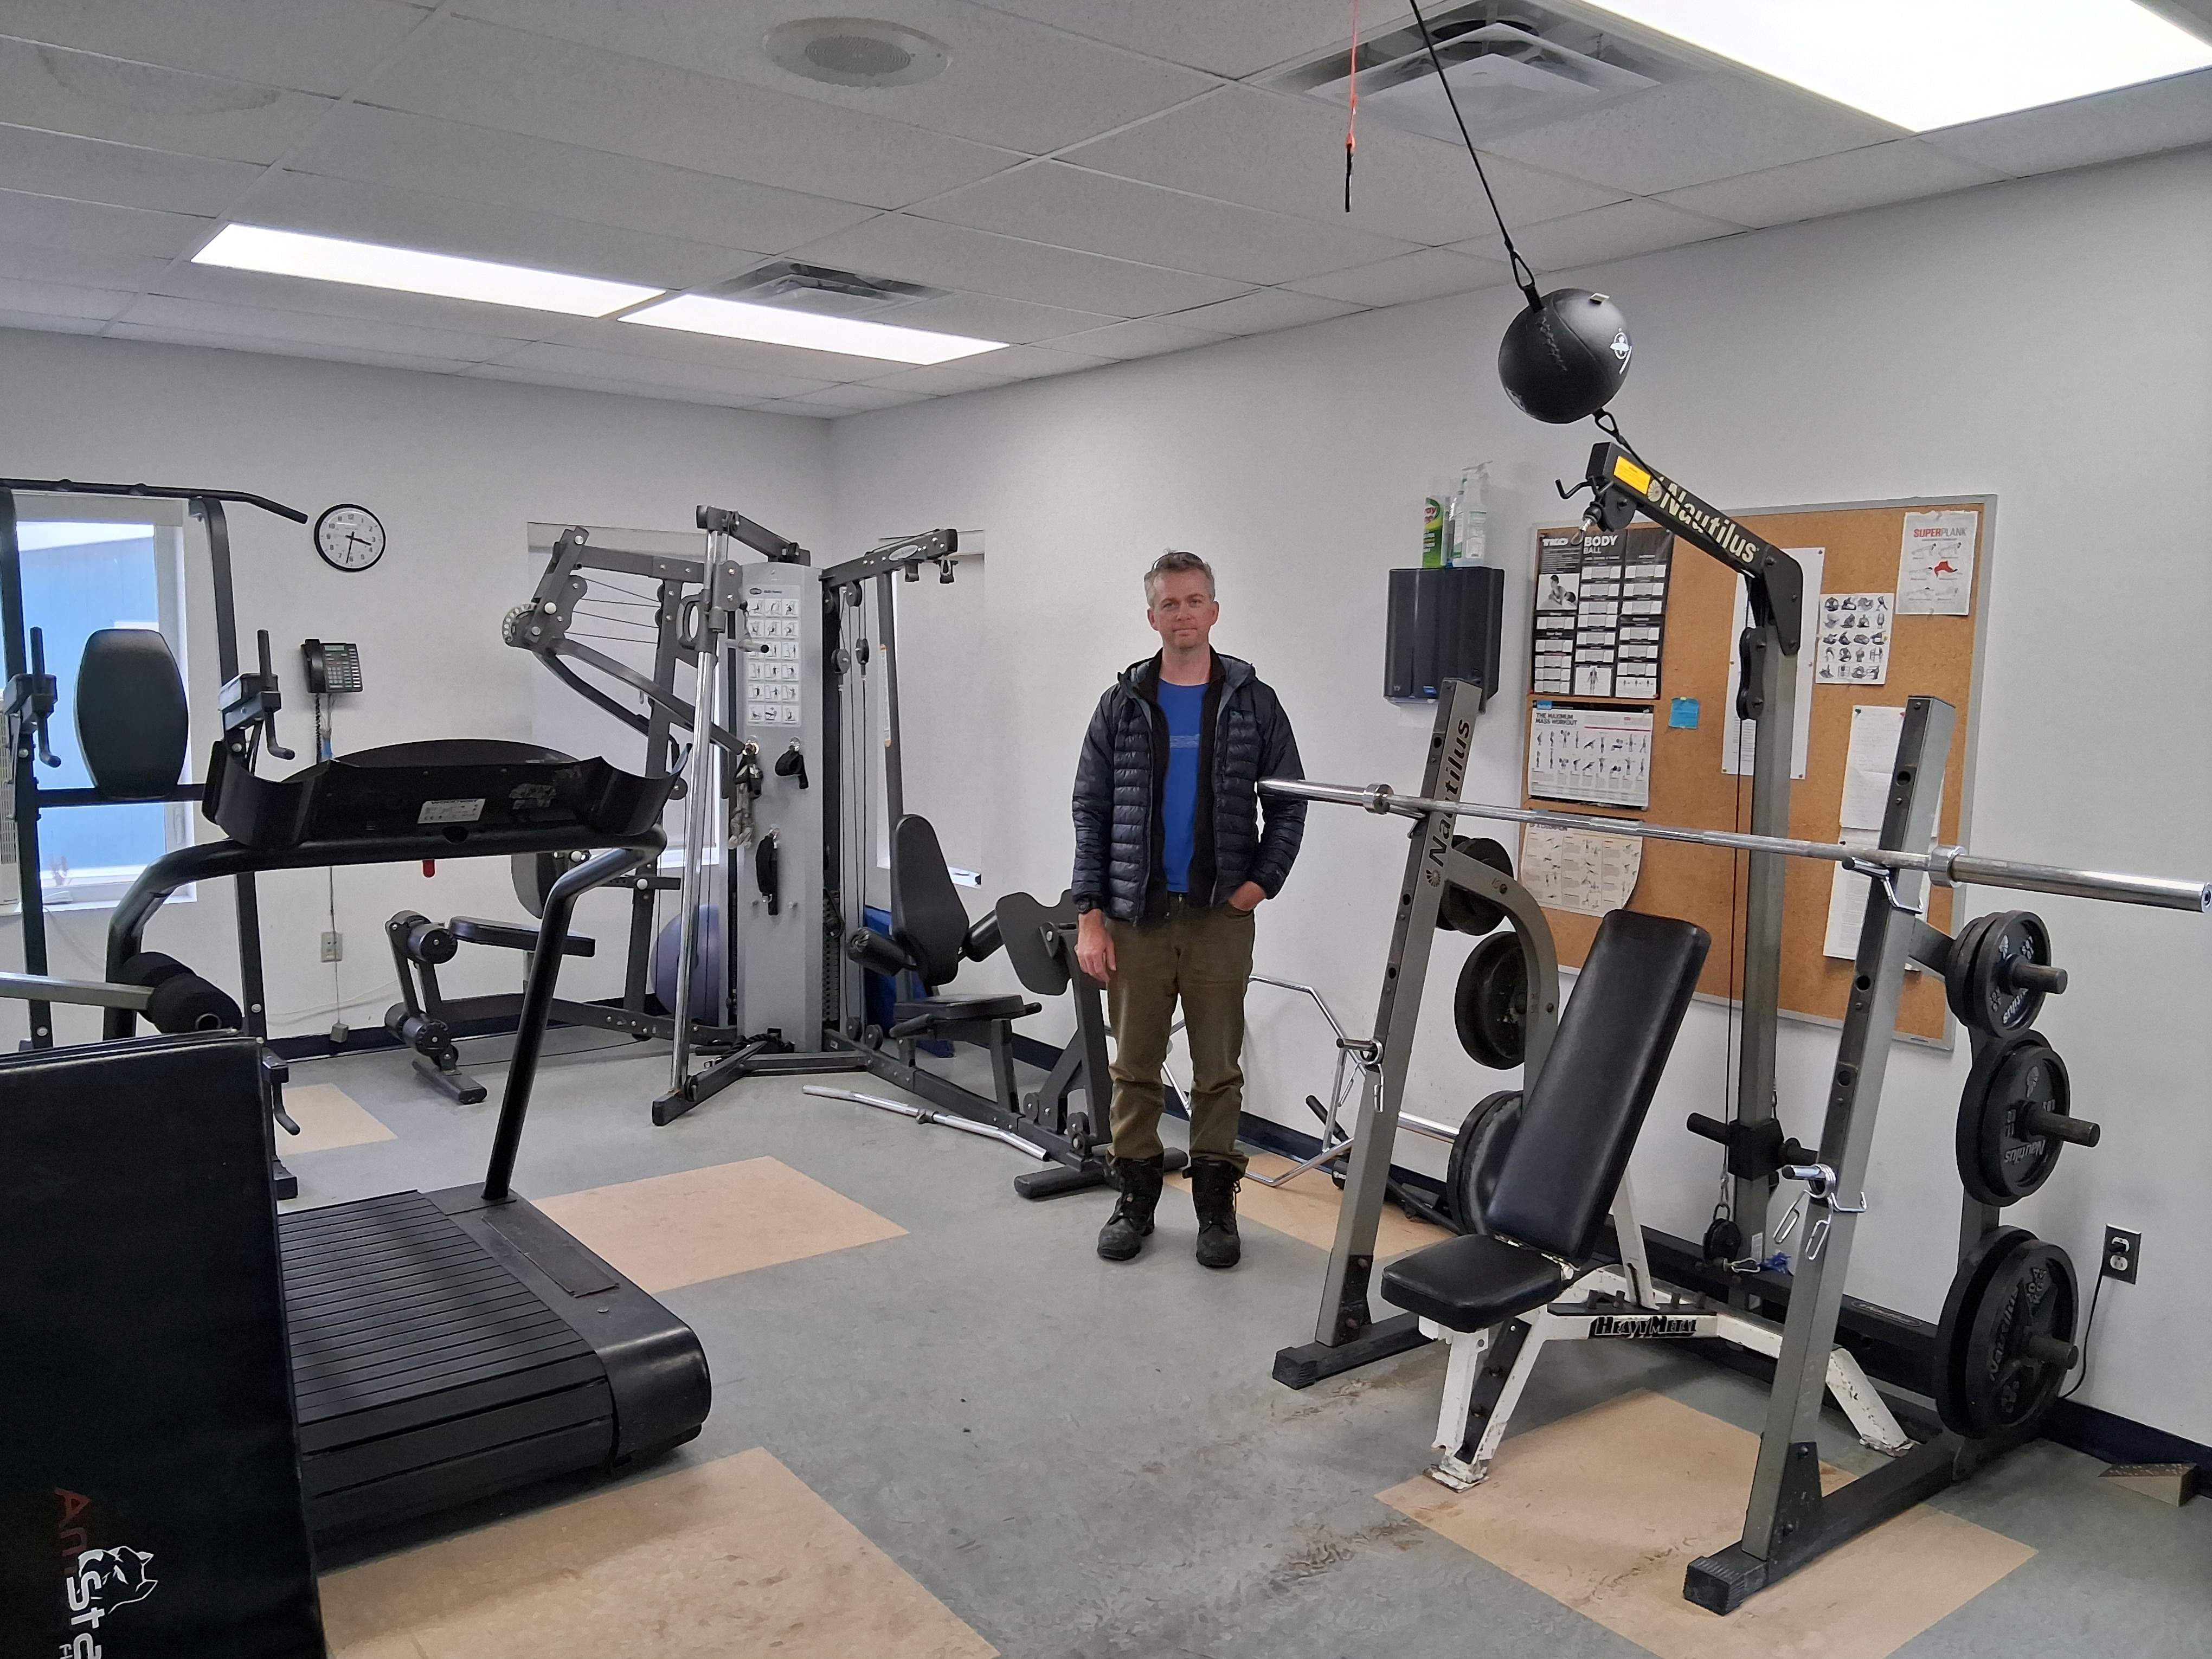
Bunks, bathrooms, kitchen, break room, gym, and Karl’s office are on the 2nd floor. There is a traditional fire pole for firefighters to descend quickly from the 2nd floor. You see the Canadian flag along with one with the star, crescent, and red cross that is the Mi’kmaq flag of the indigenous people. Here’s a good place to mention that the Acadians have their own flag which is the French Tricolor with a yellow star in the upper left corner. I see it flown on homes of those who identify as Acadians.